


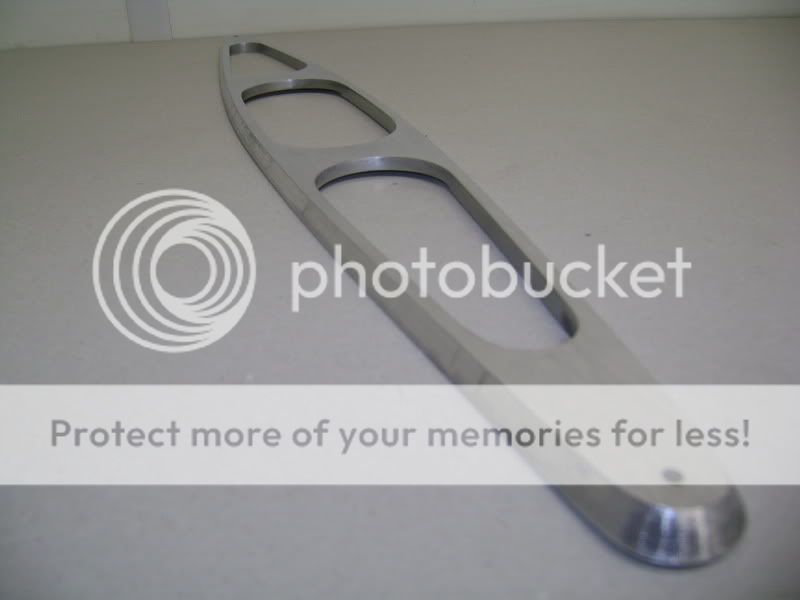
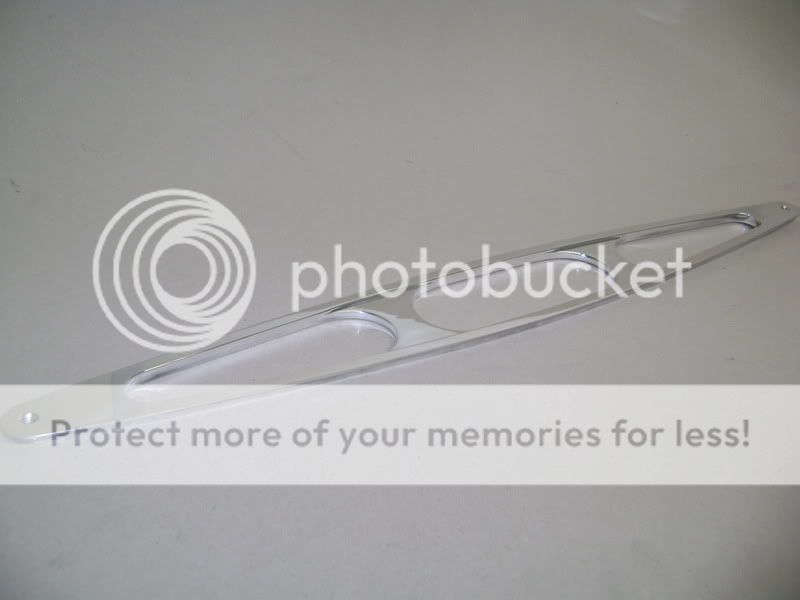
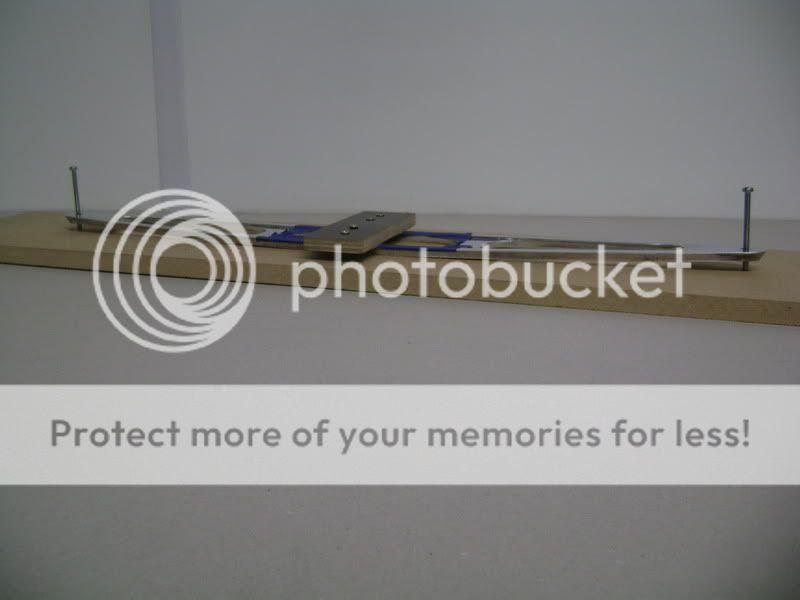
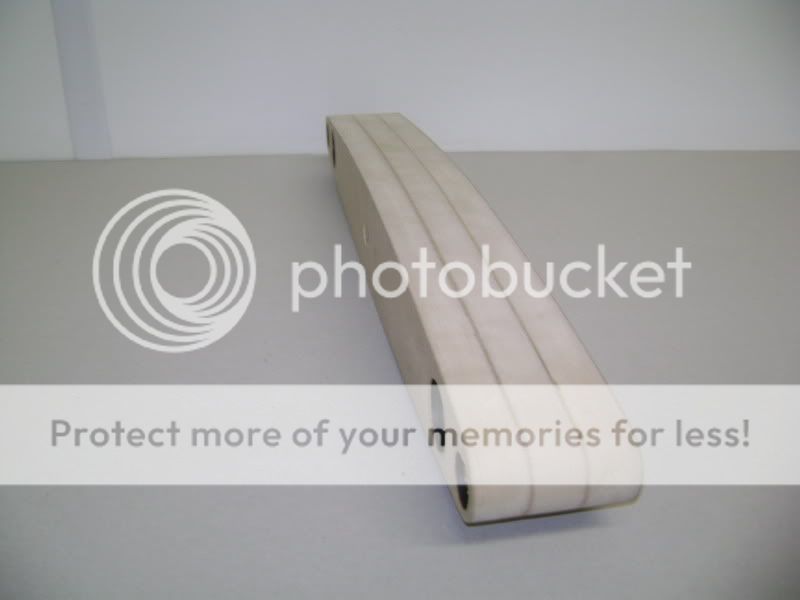
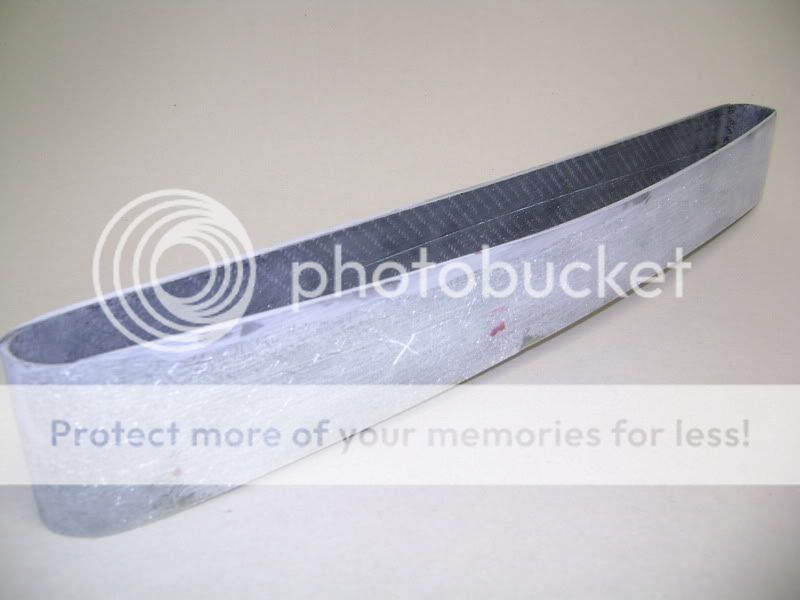
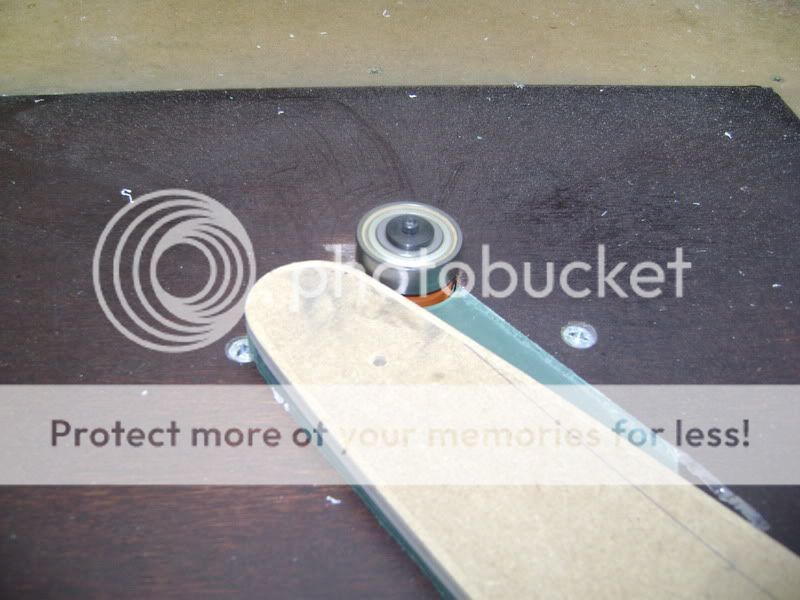
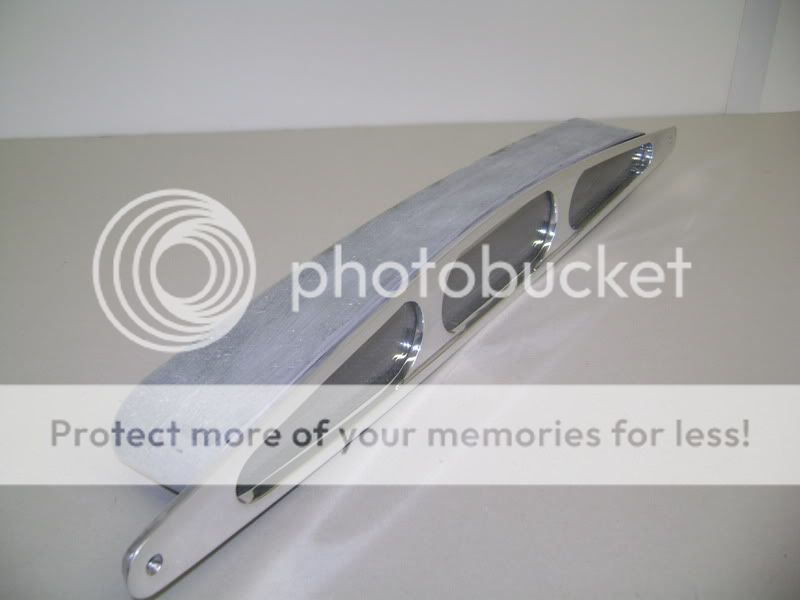
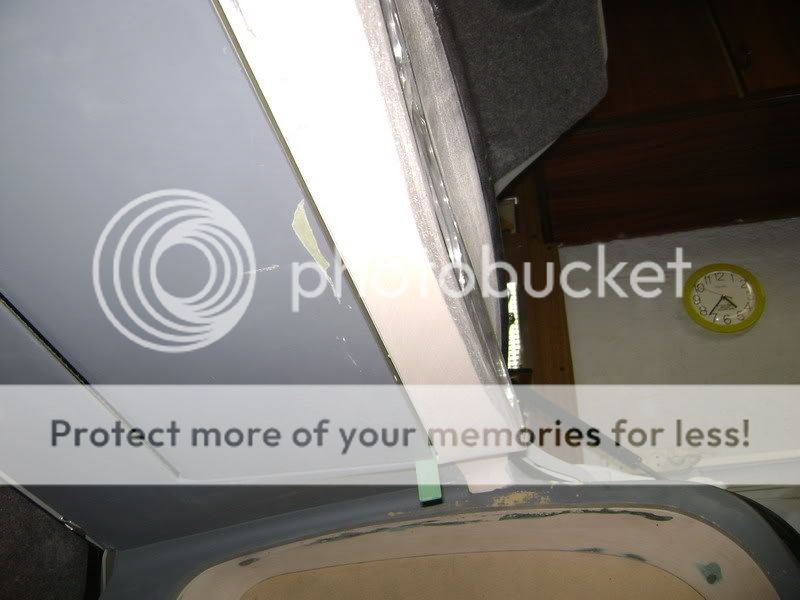
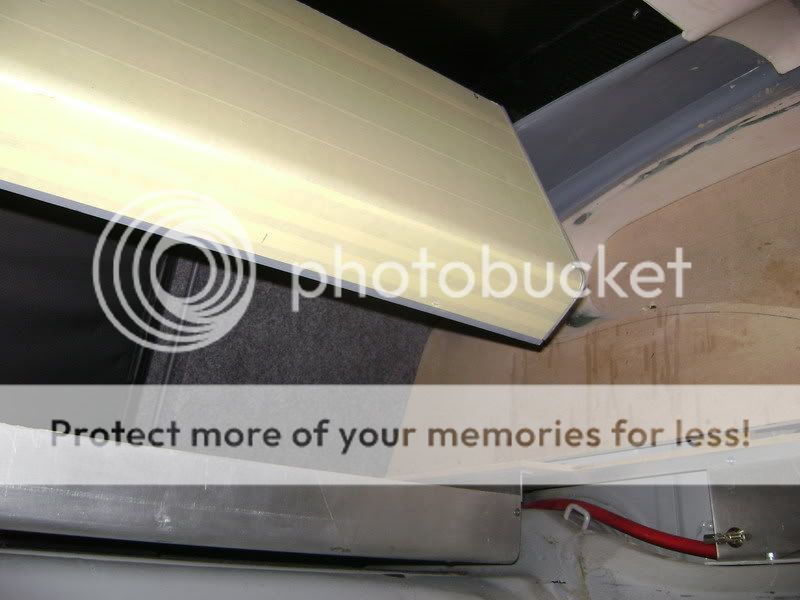
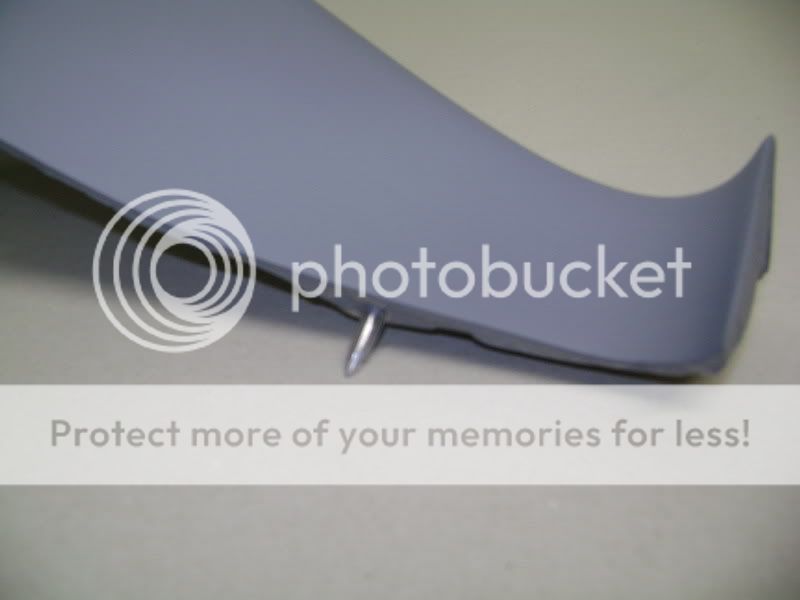
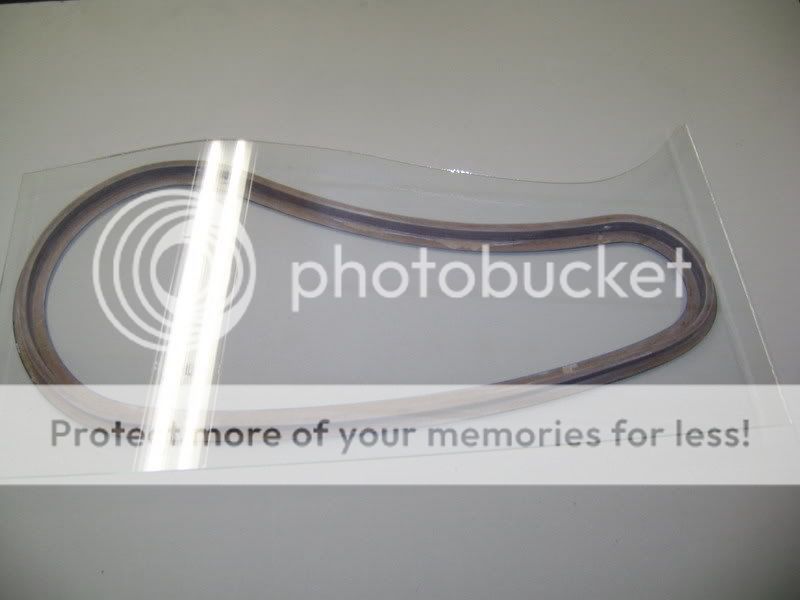
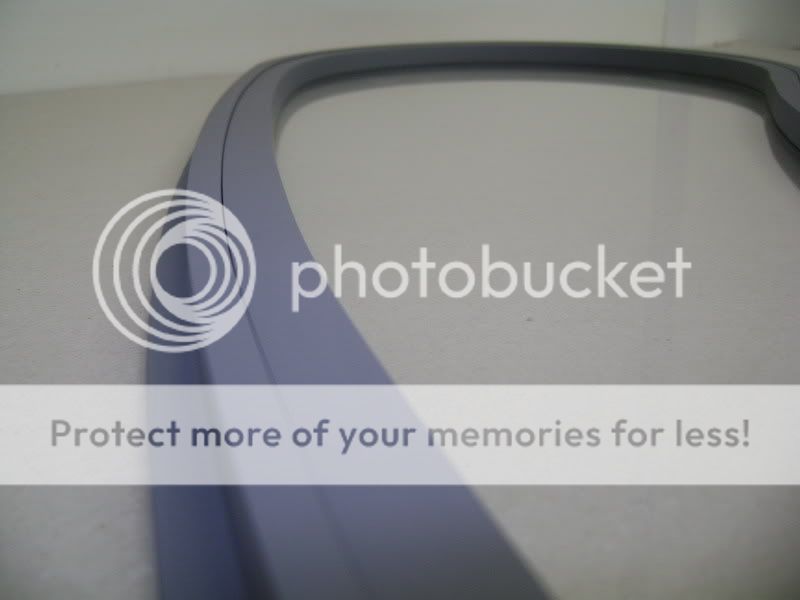
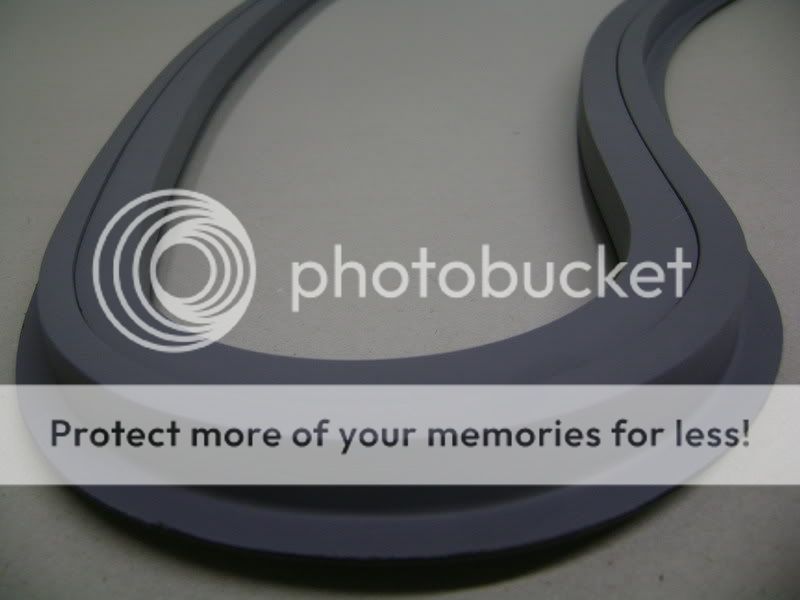
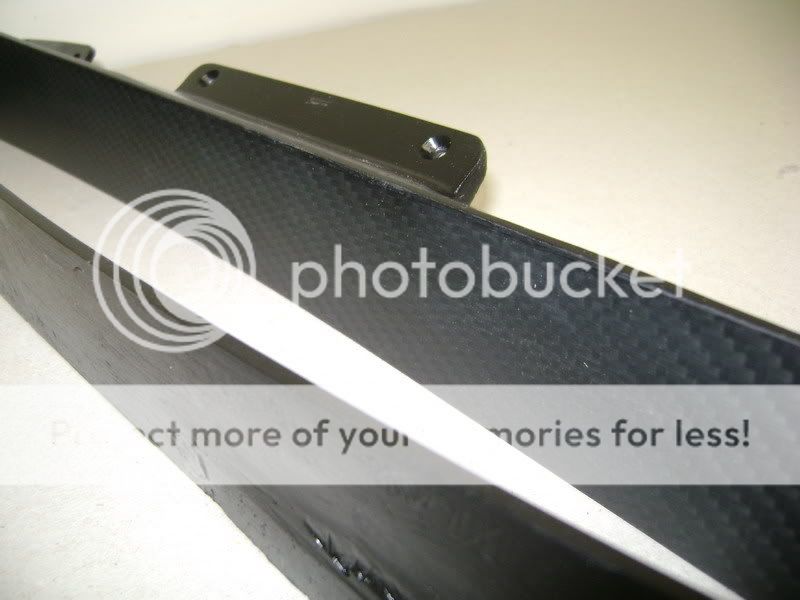
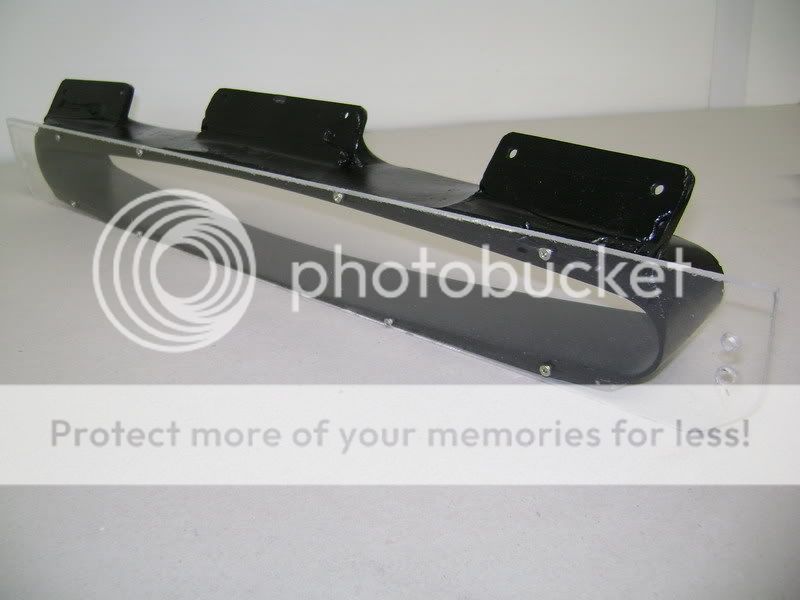
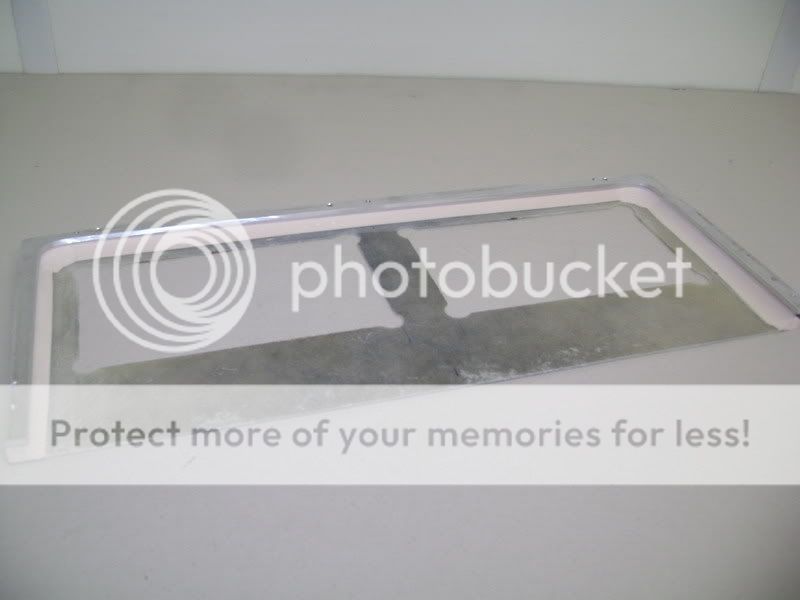
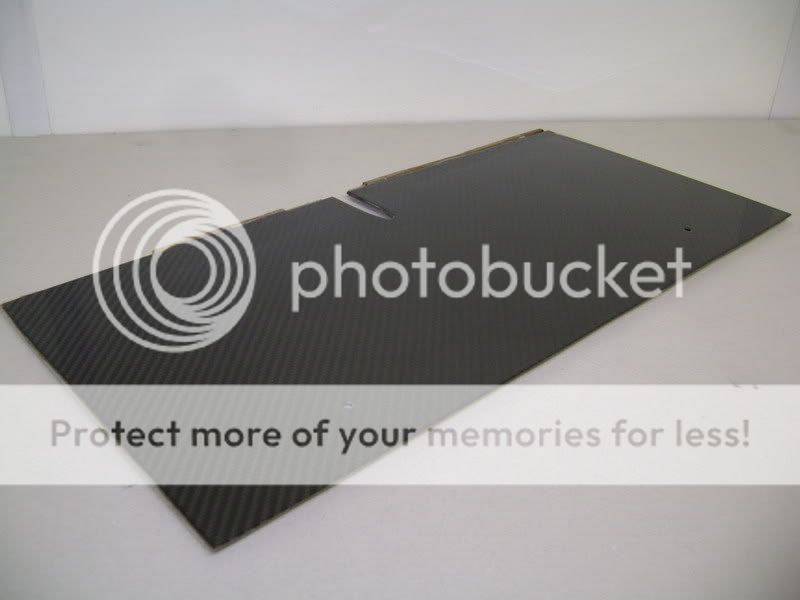
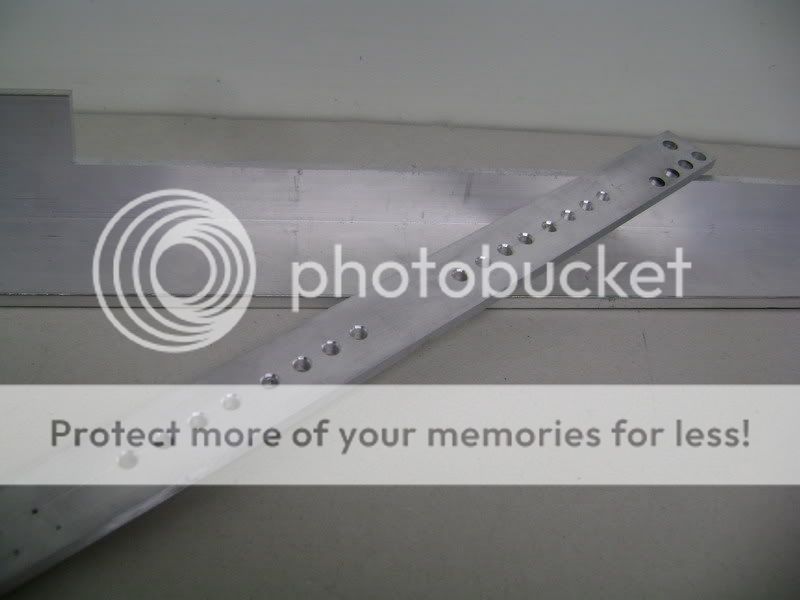
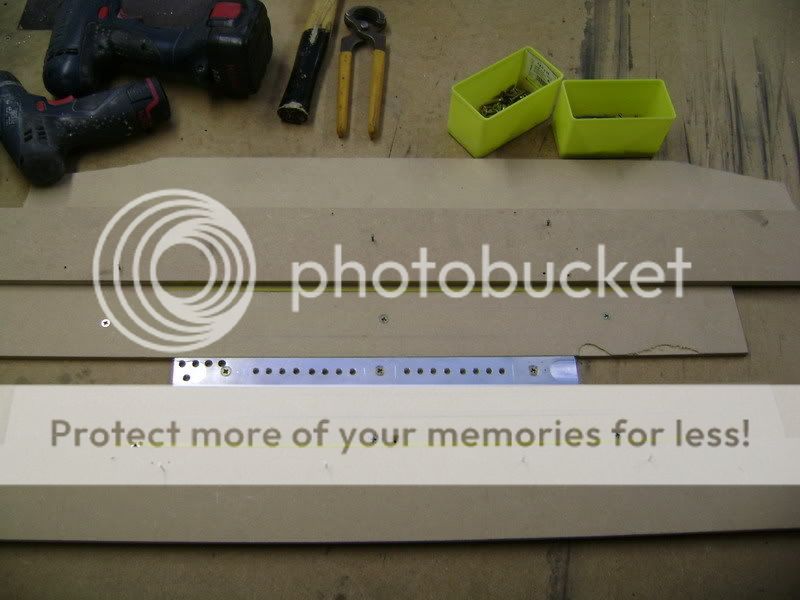
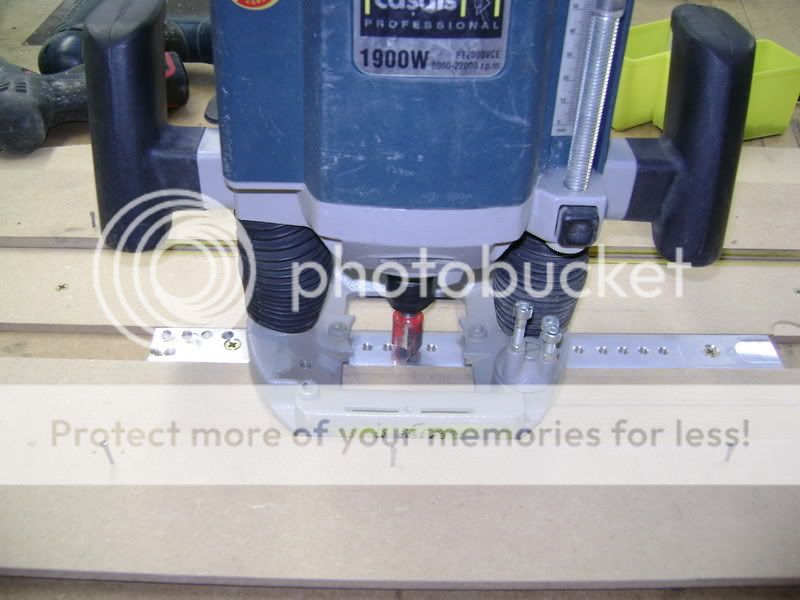
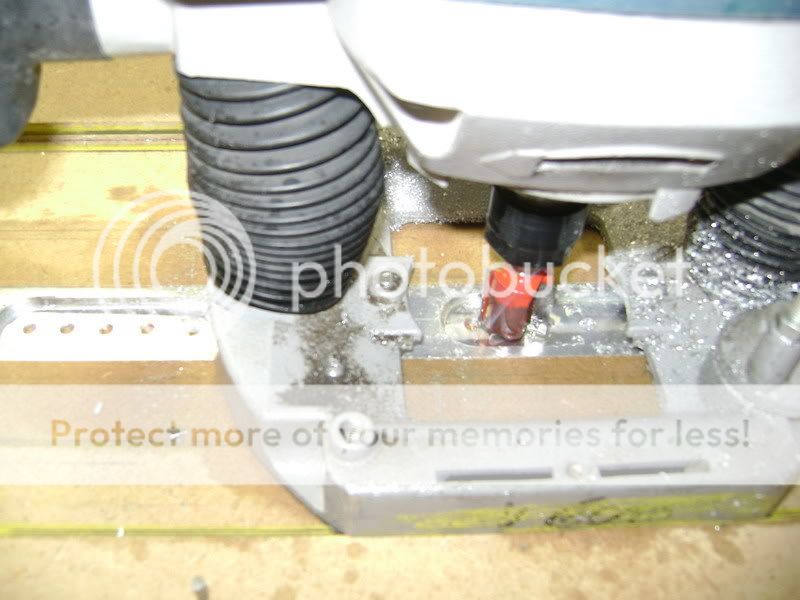
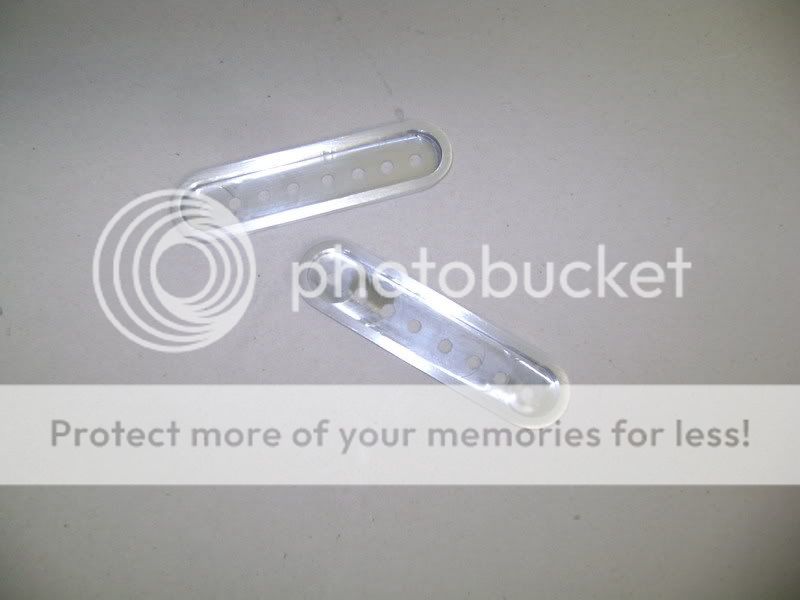
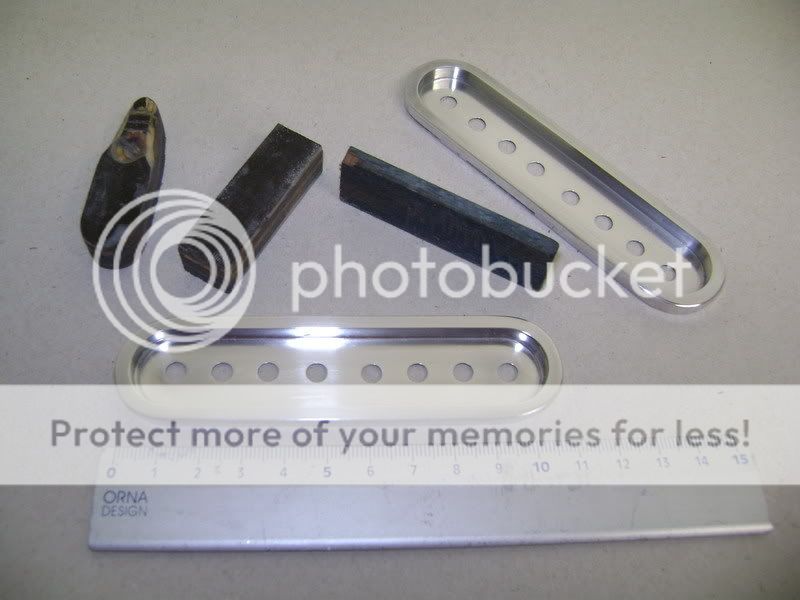
 So, now the part is ready to integrate in the rest of the booth. Now i need to make a piece to mount on the backside of the aluminium part. this will be made out of carbon. I've milled the model out of a 3 by 22 mm MDF board Afterward i had to mount them back to back.
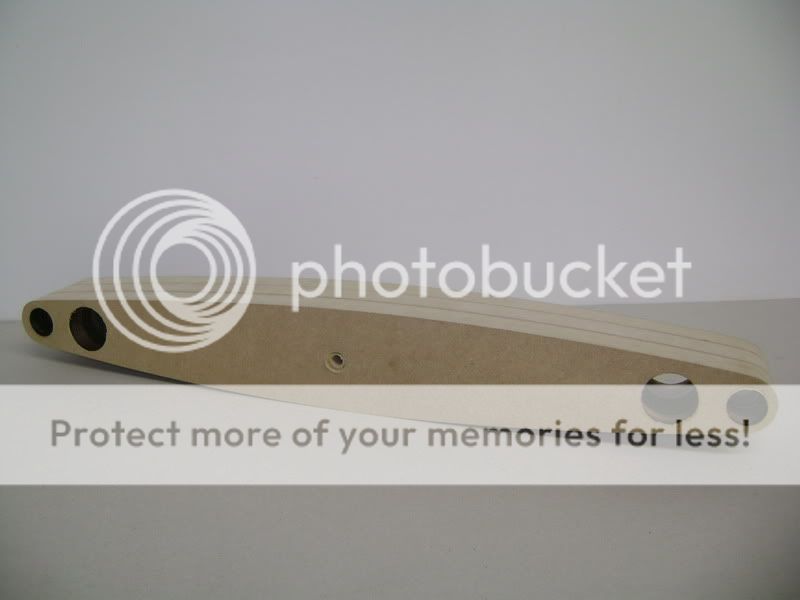
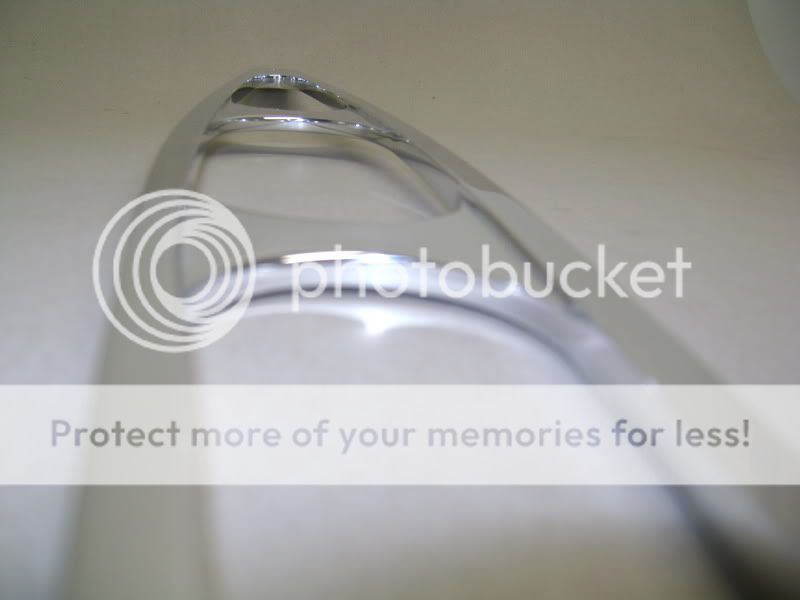
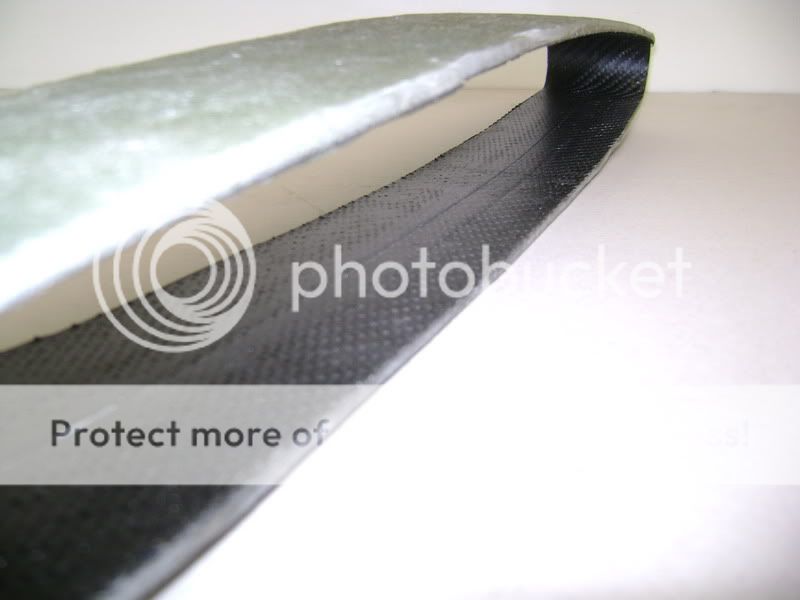
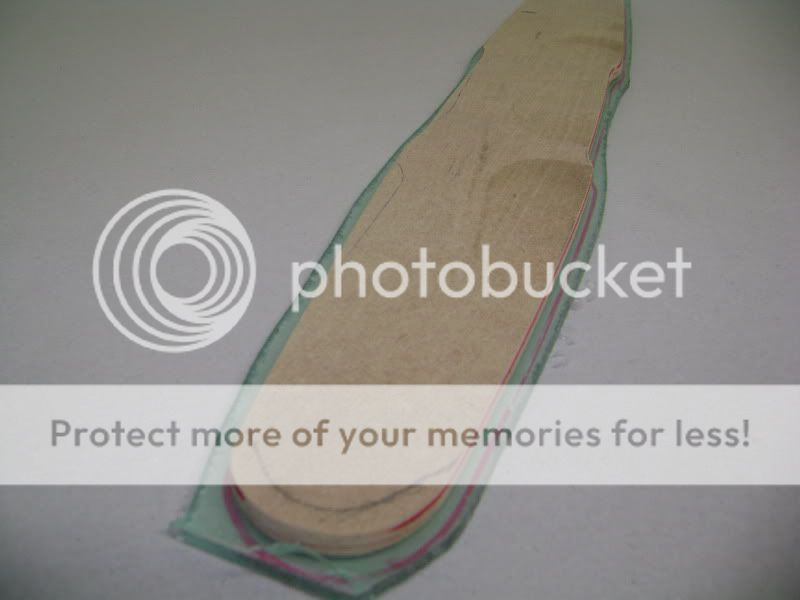
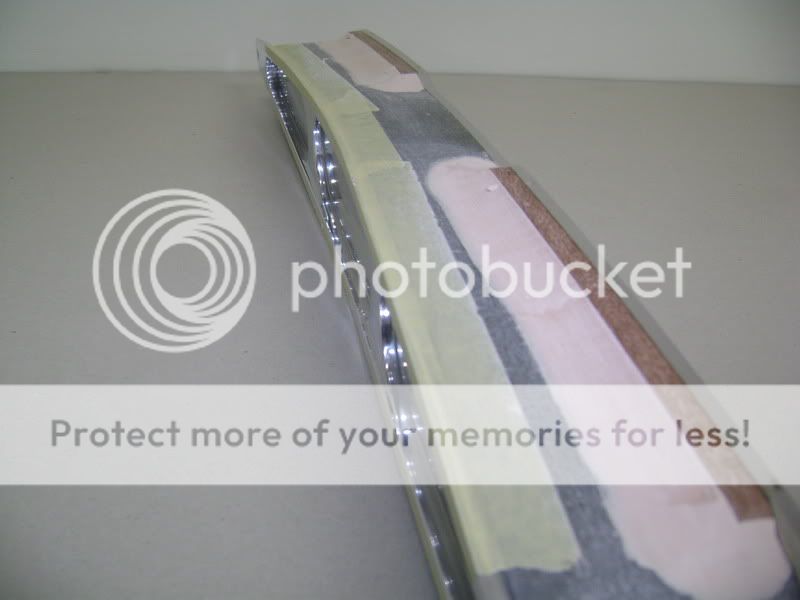
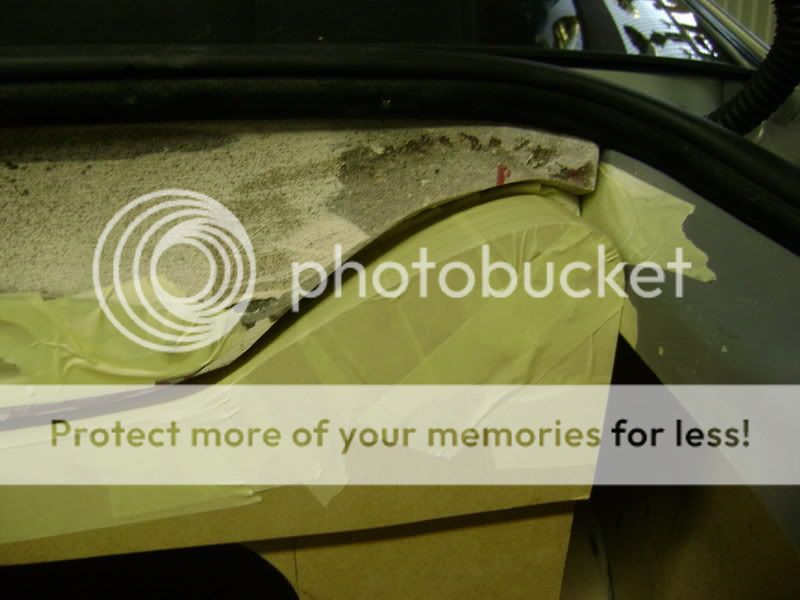
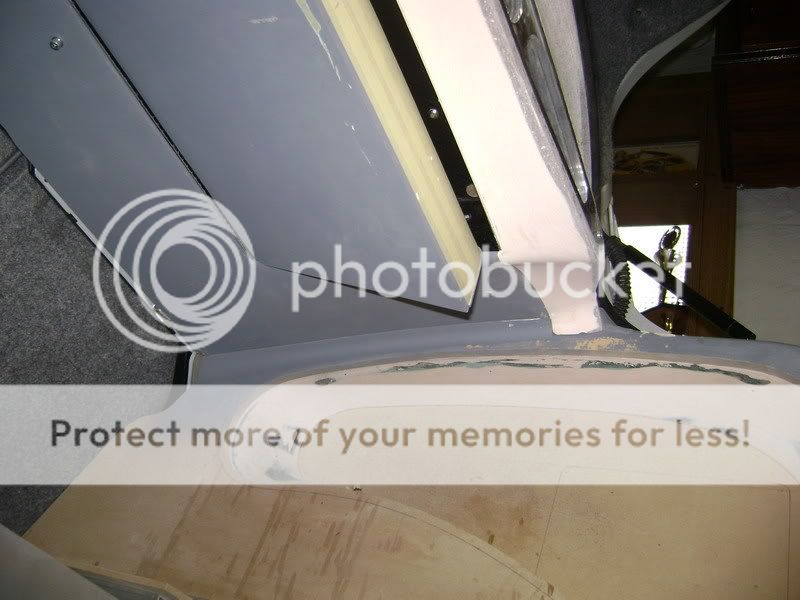
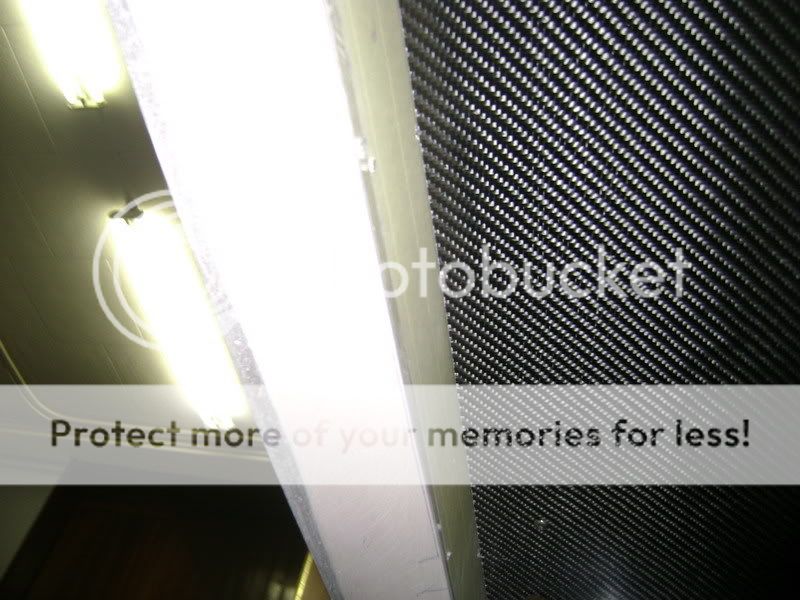
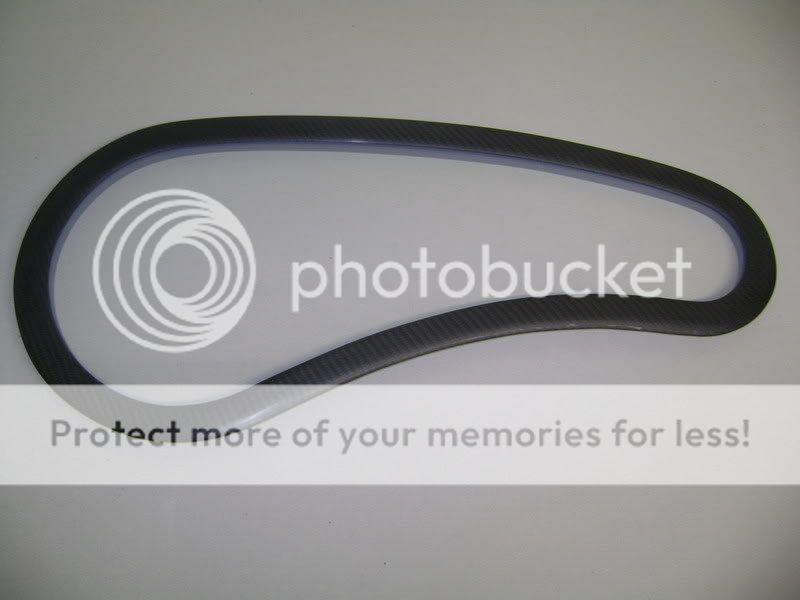
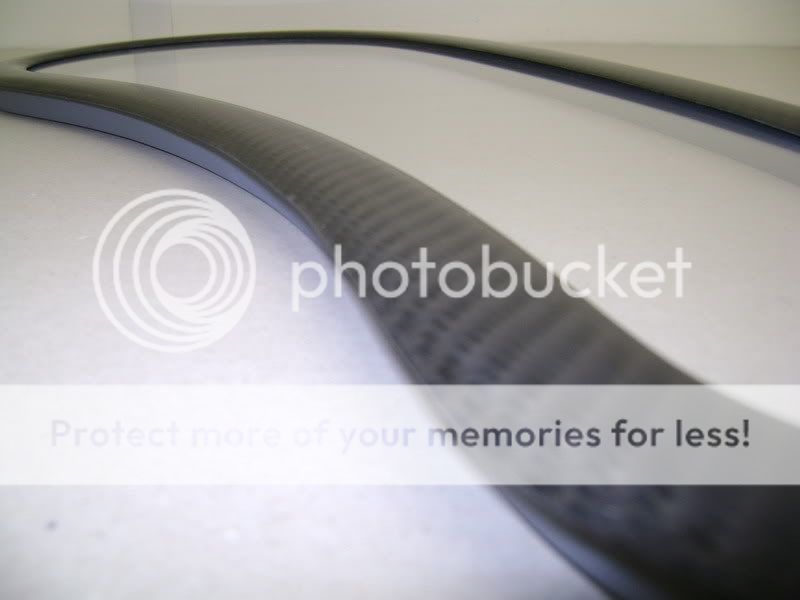
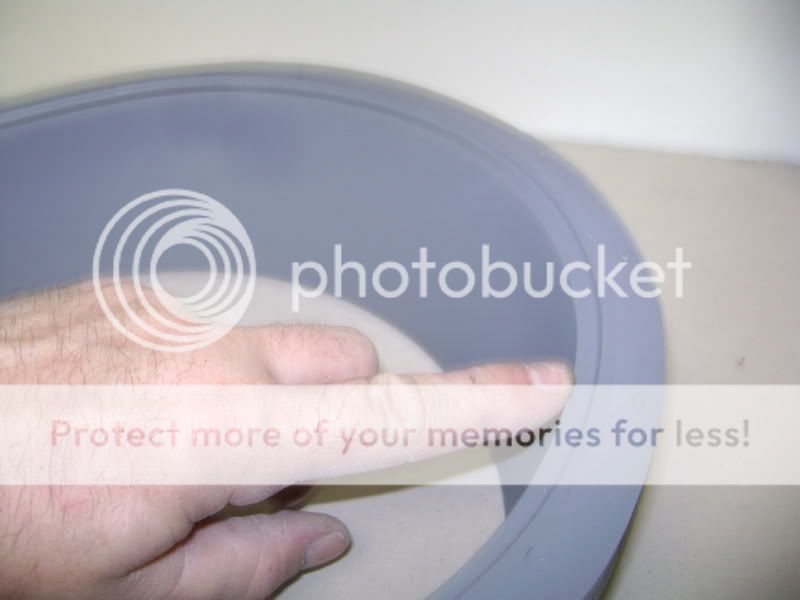
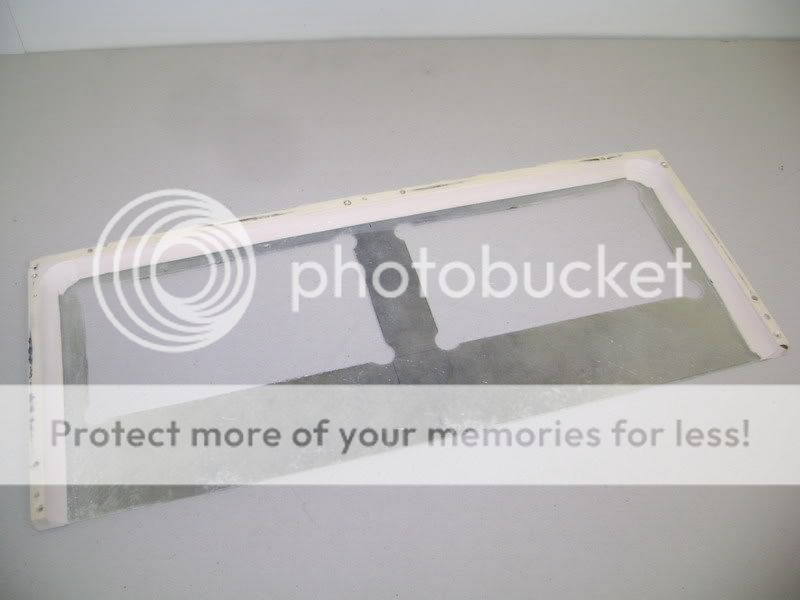
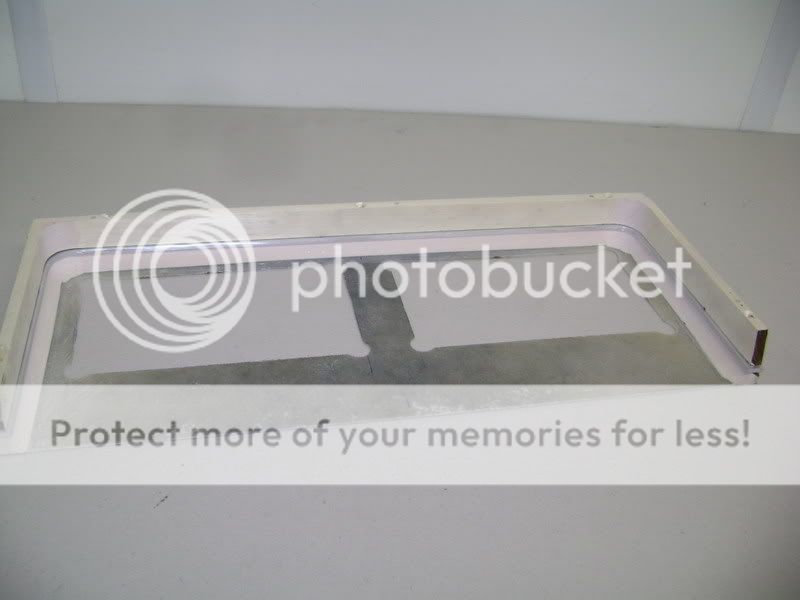
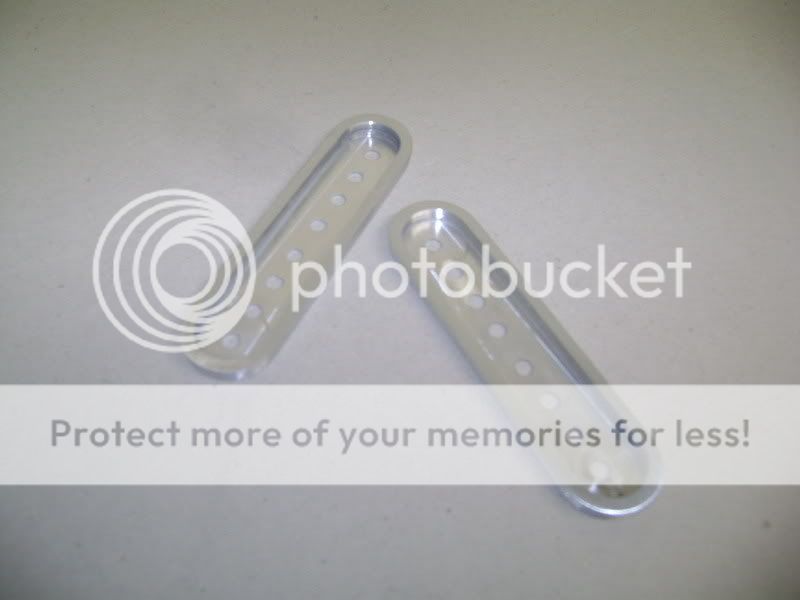
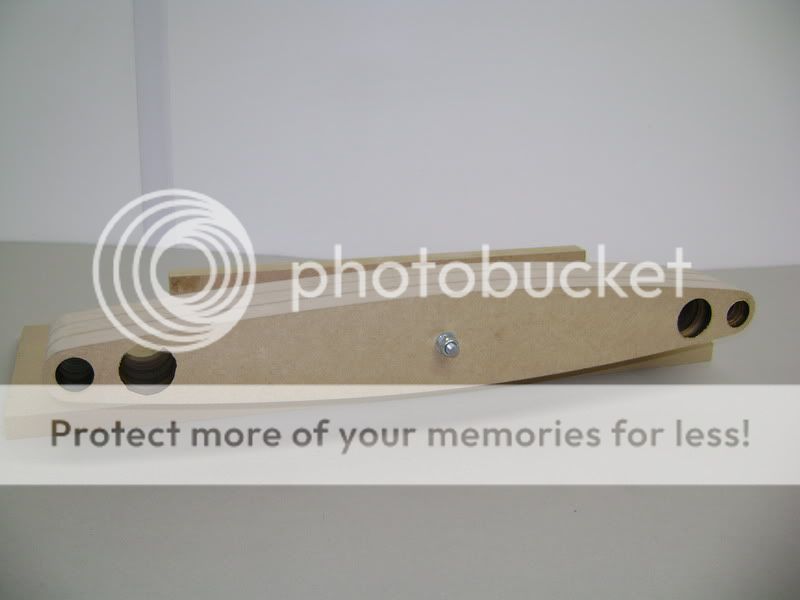 Here you can see that the part can spin.
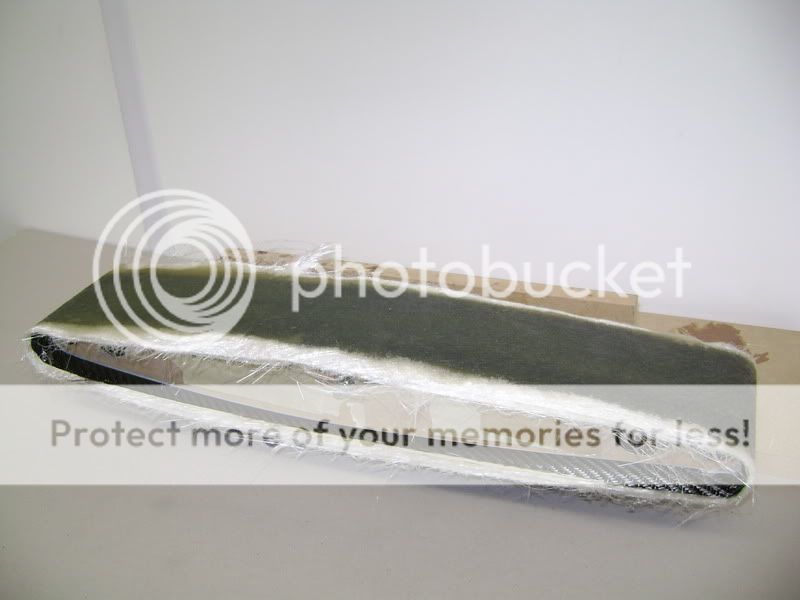
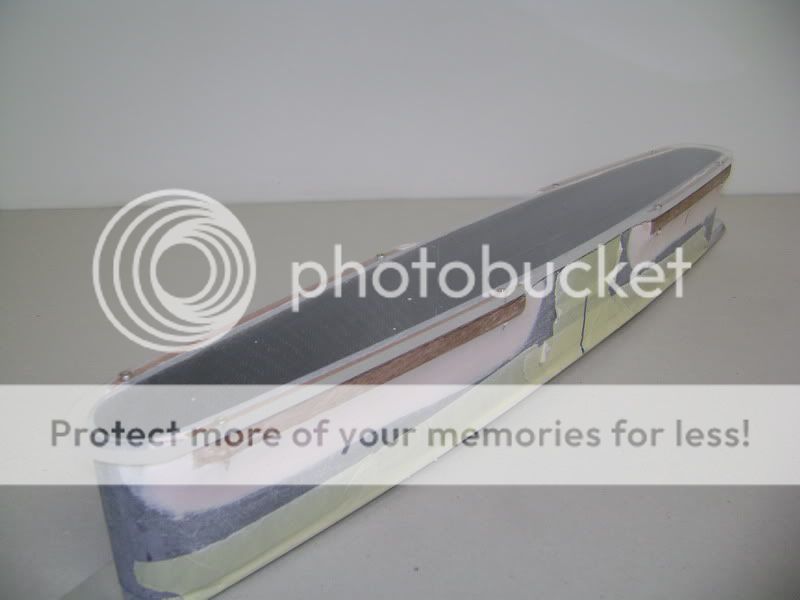
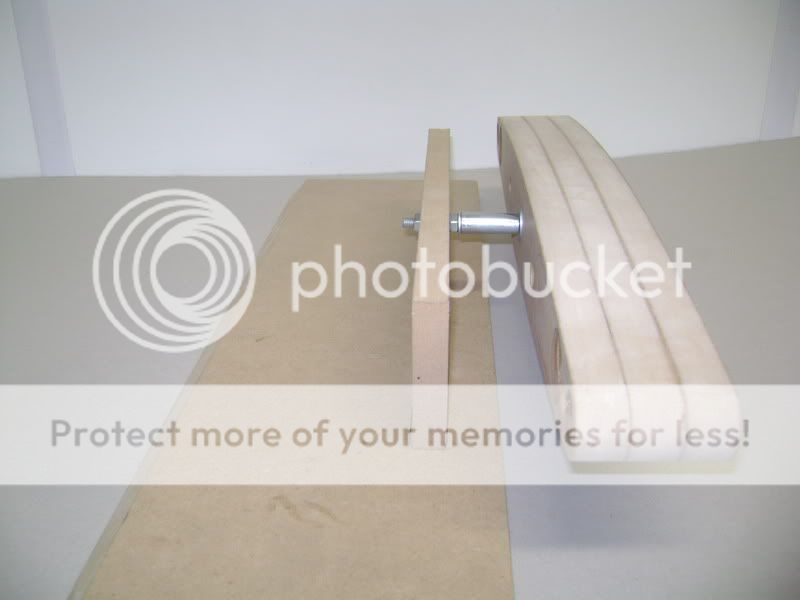 I've used some paper tape. Afterwards i've covered it with a layer of carbon en 4 layors of polyester.
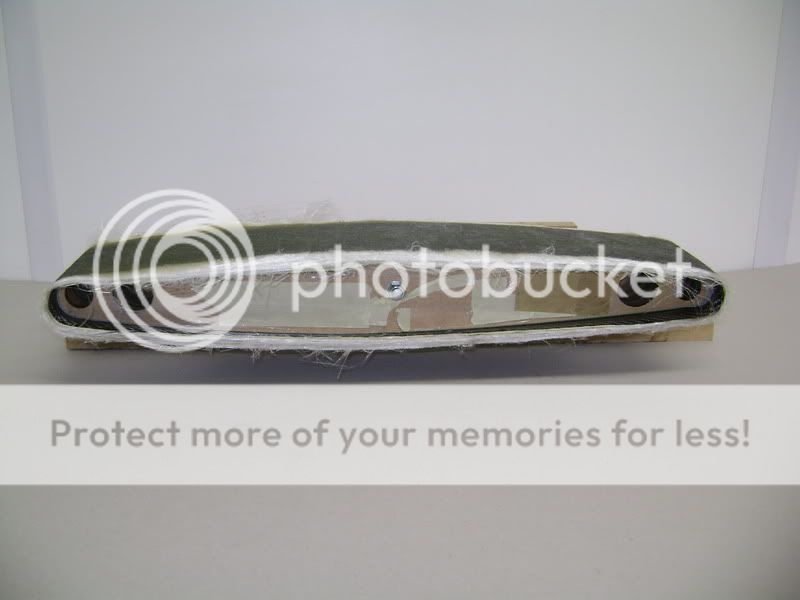

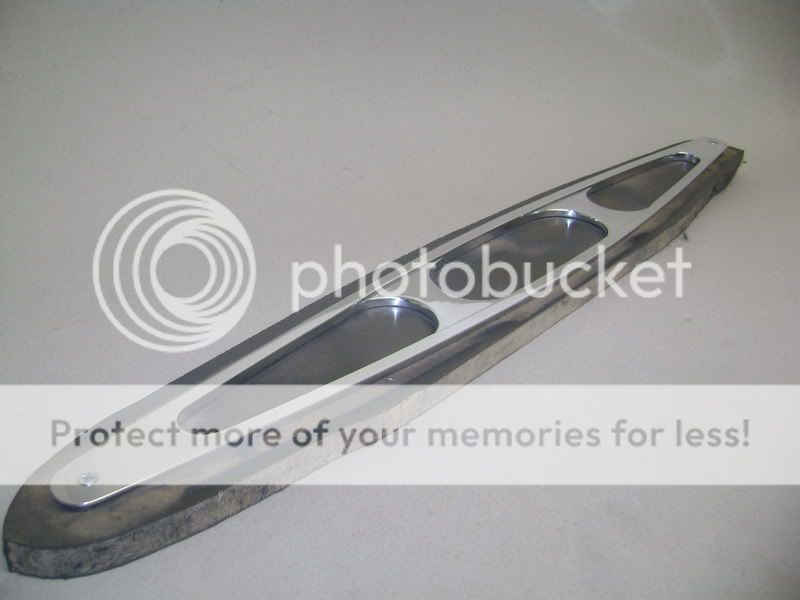
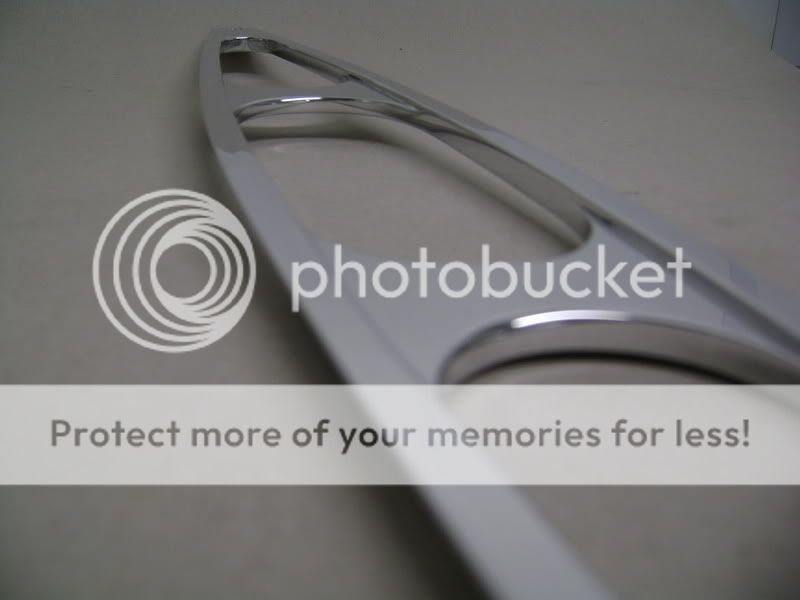
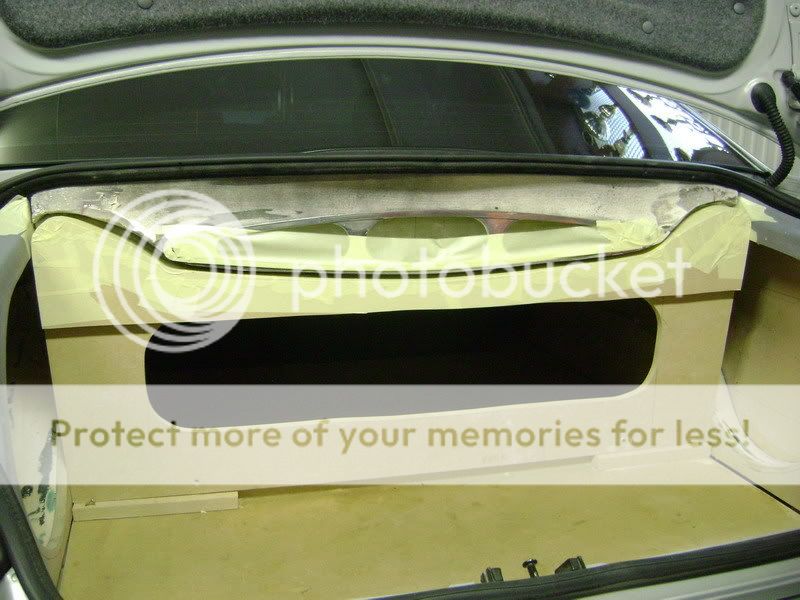
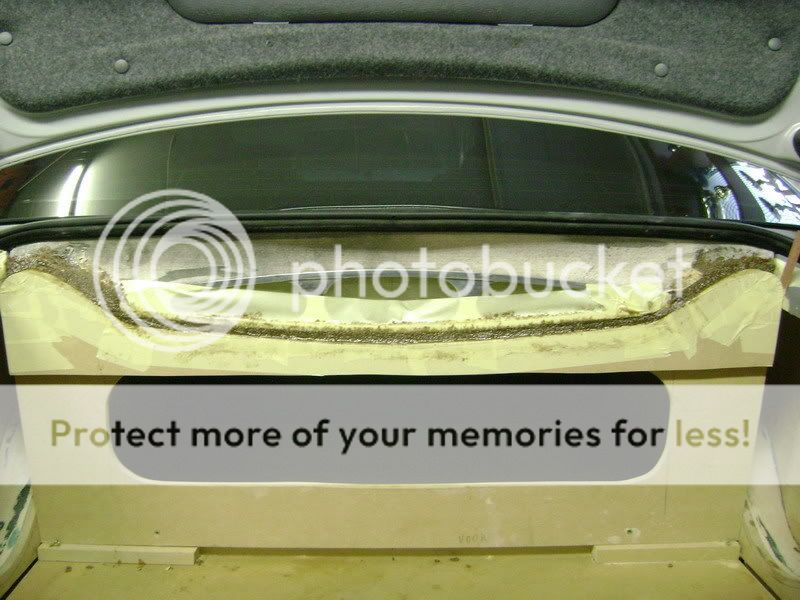
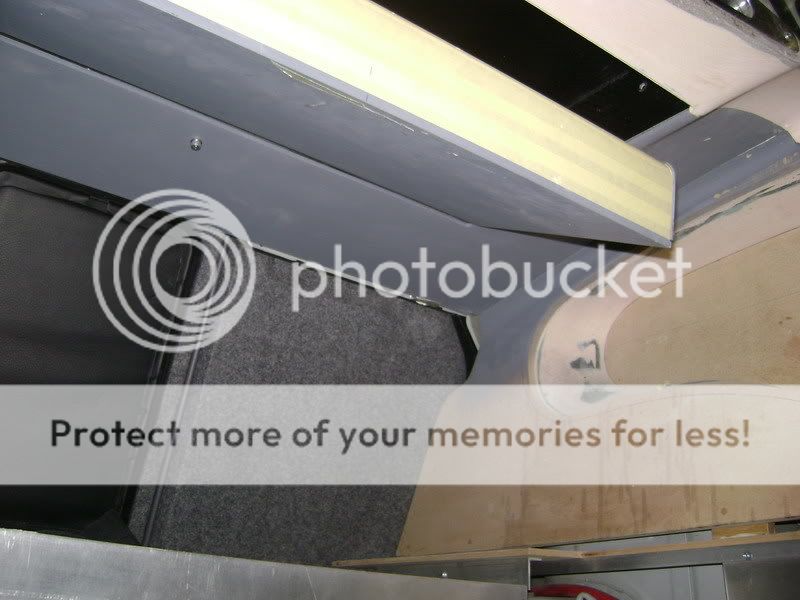
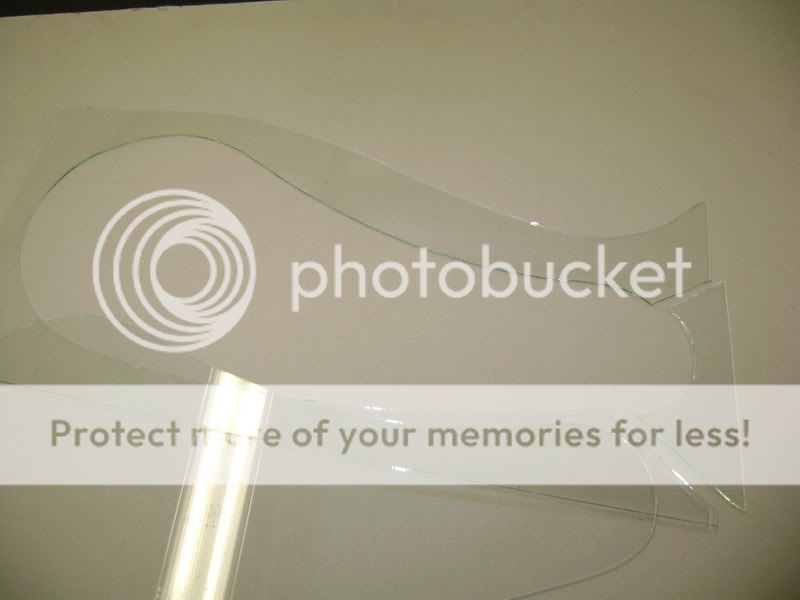
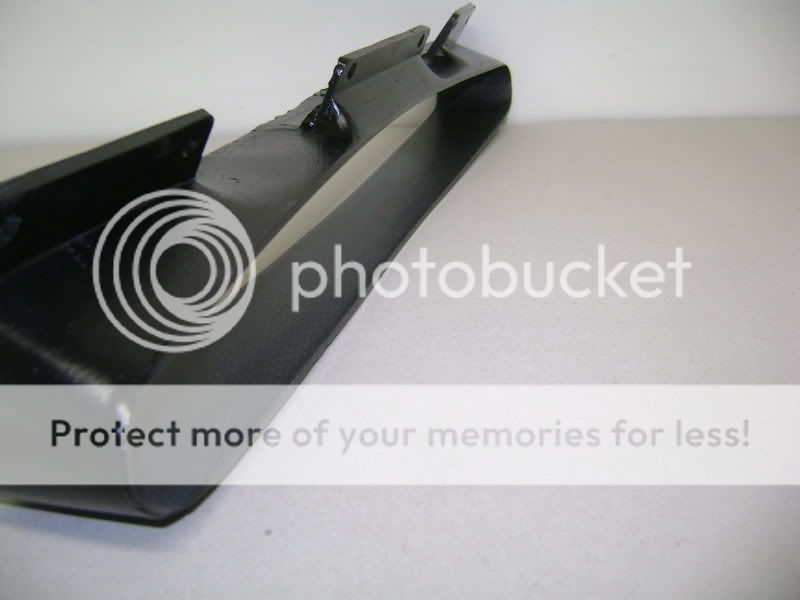
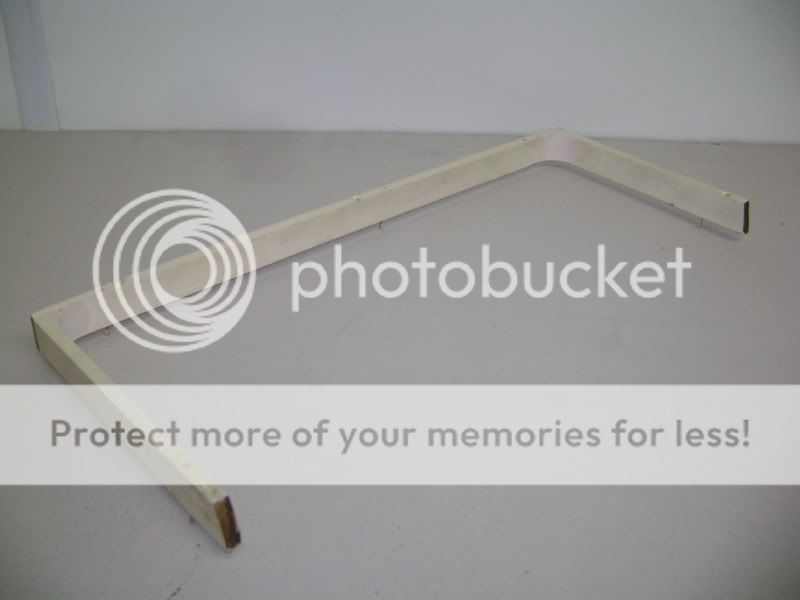
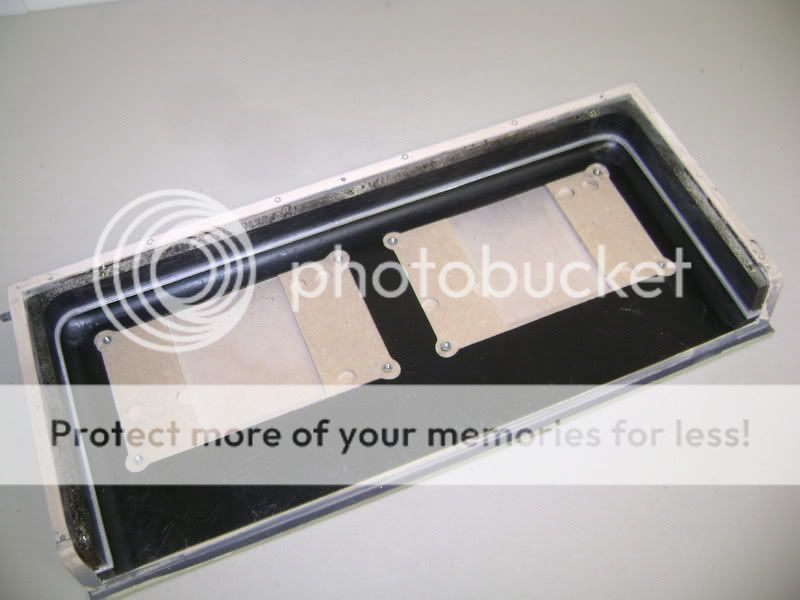
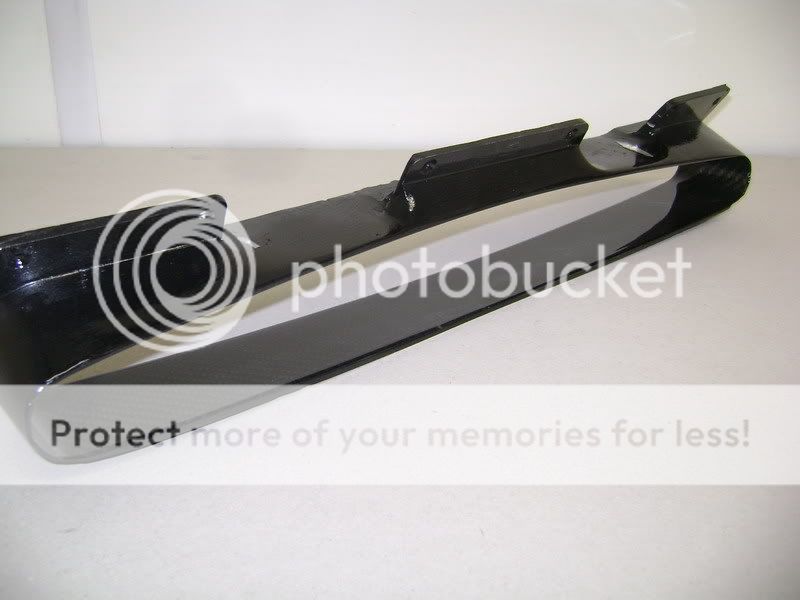
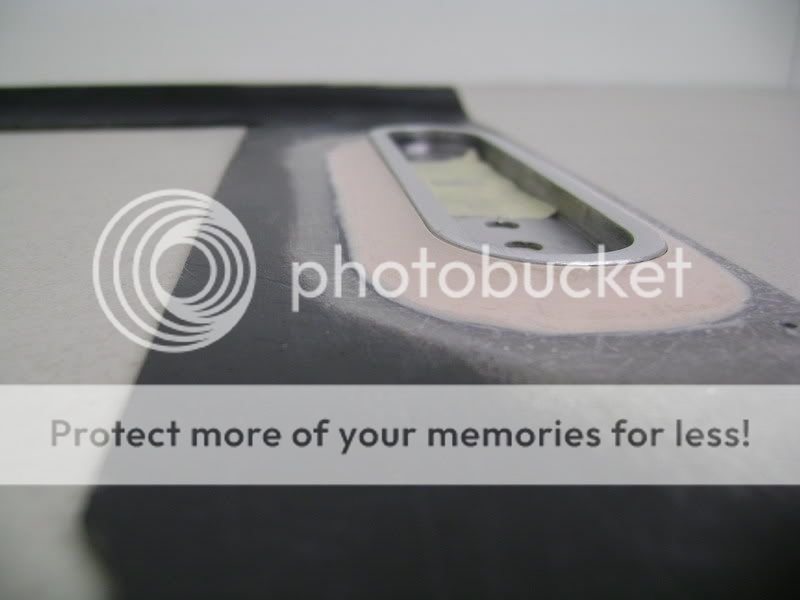
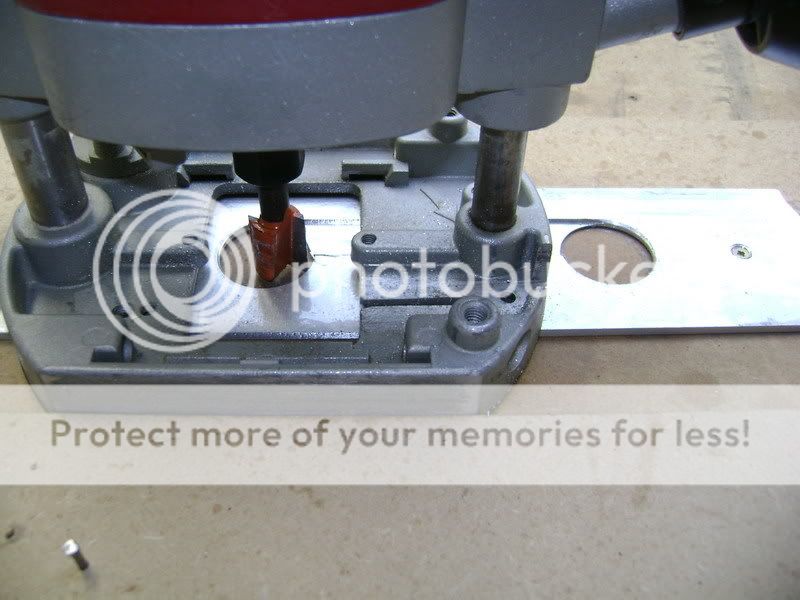
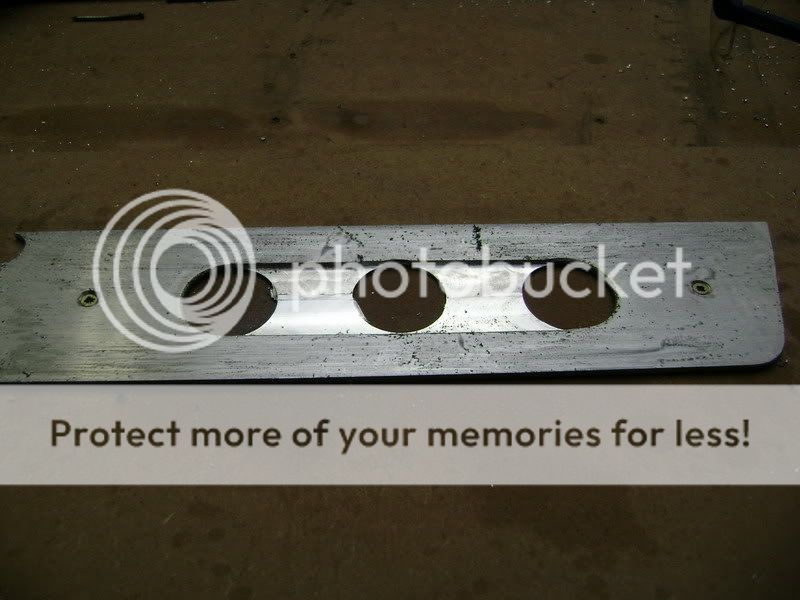
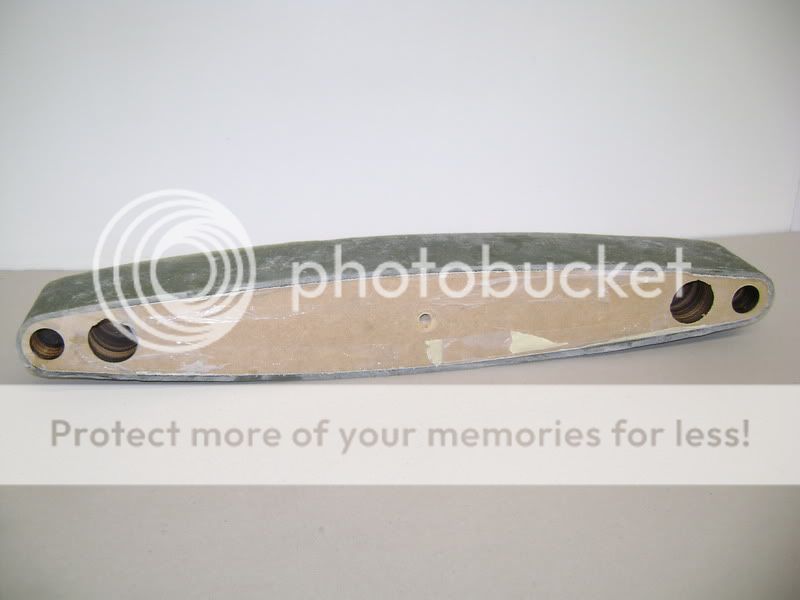 With an electrical saw i was able to remove the biggest pieces.
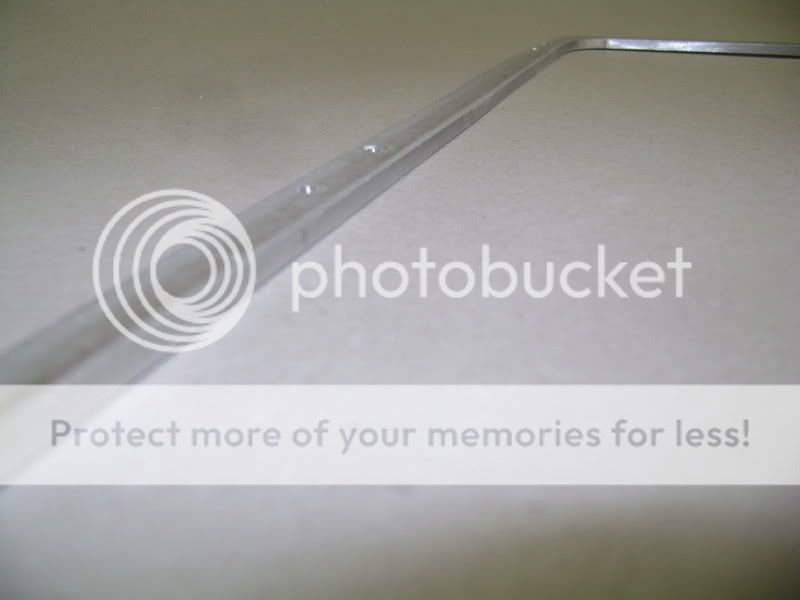
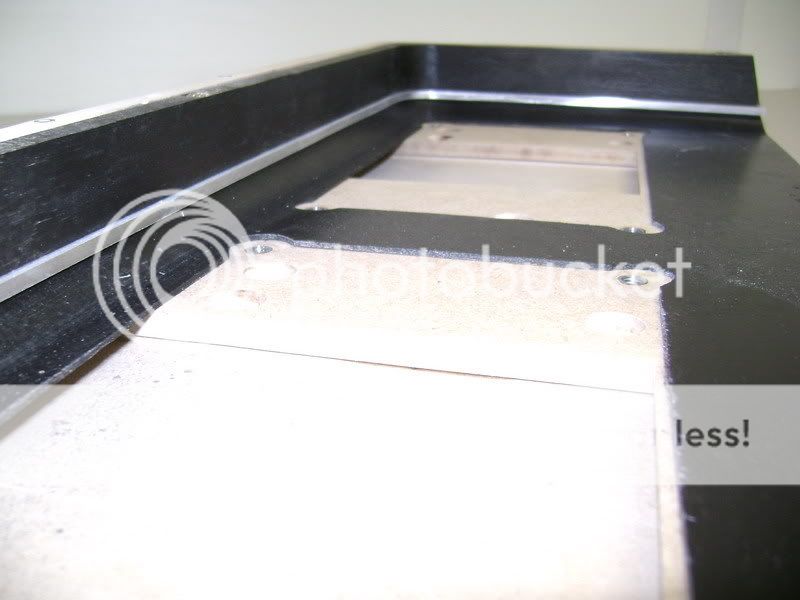
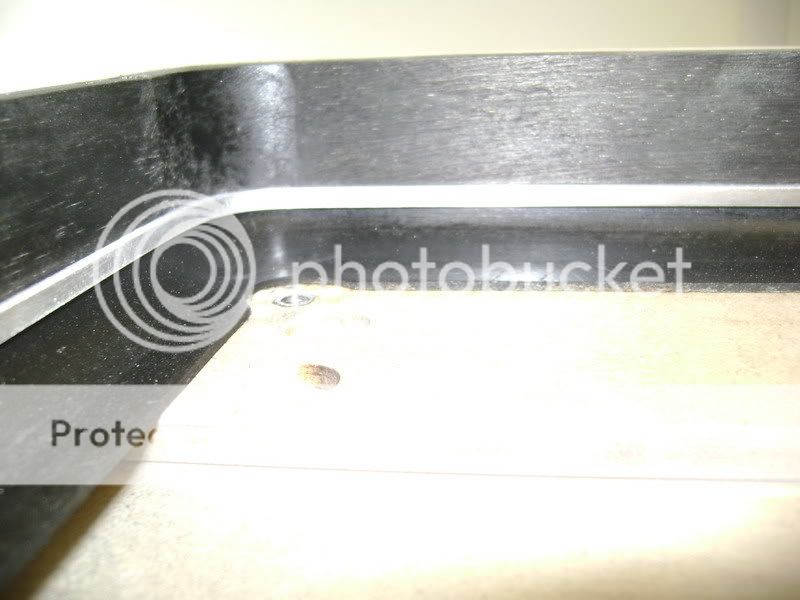
 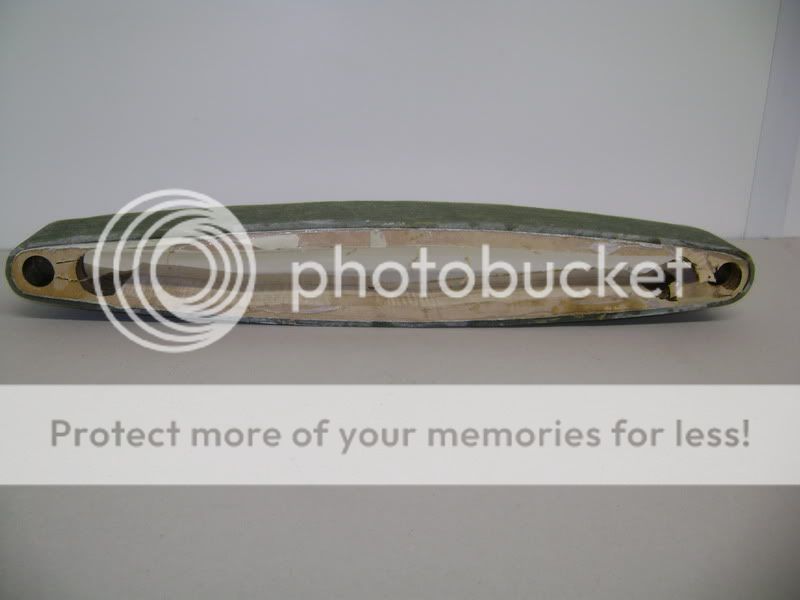 So now you see why i made the 2 holes in the board. Much easier to saw! The rest was taken out by hand.
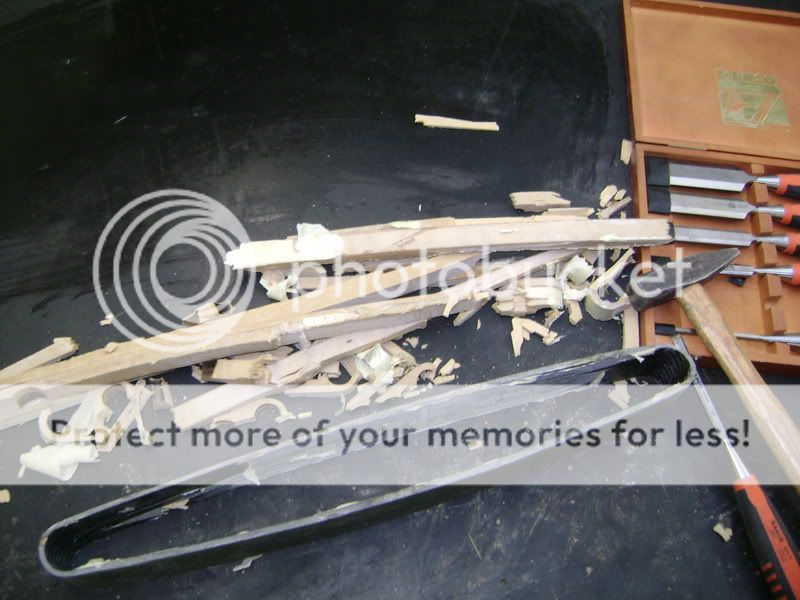
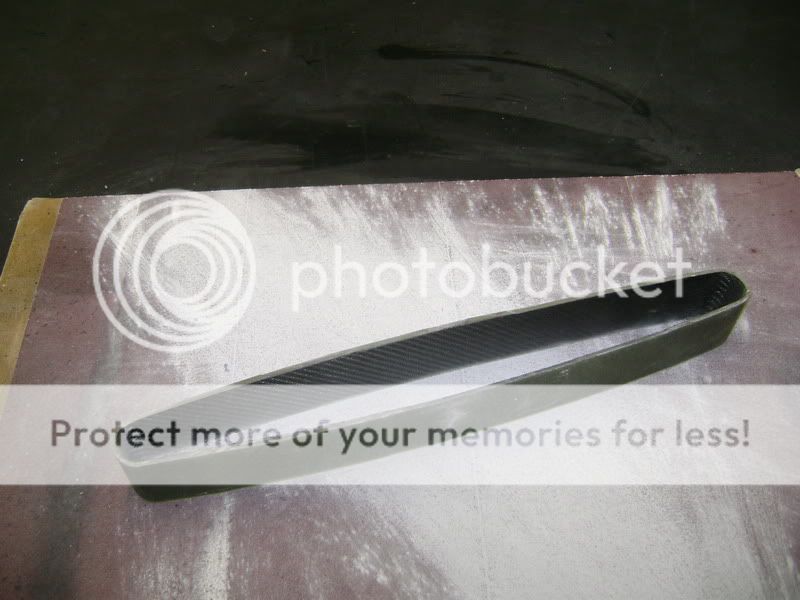
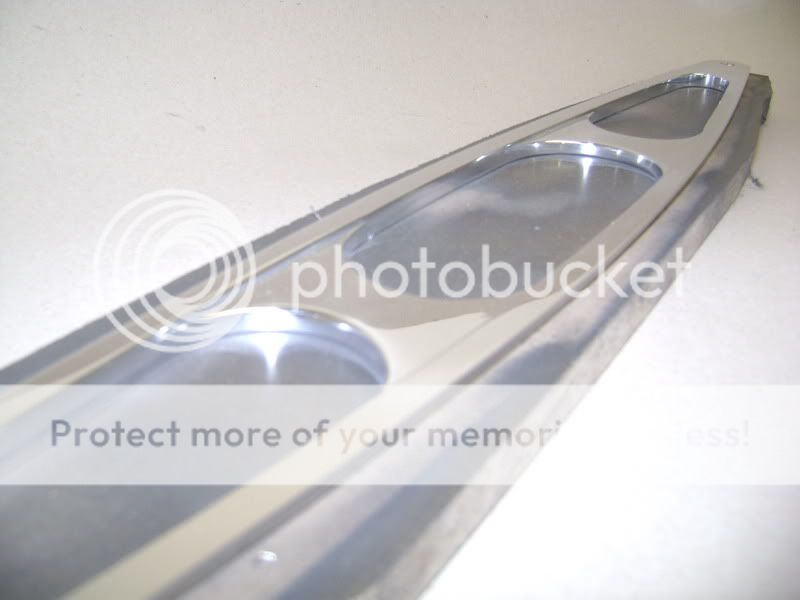
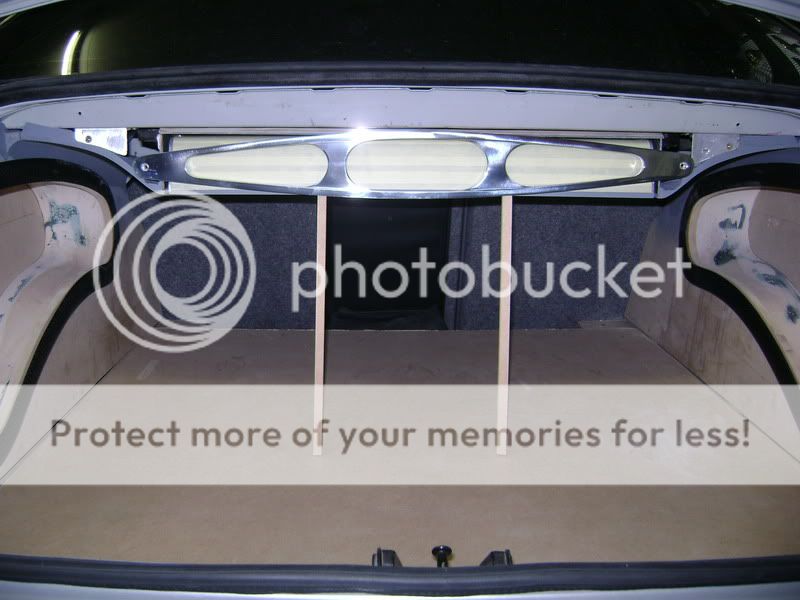
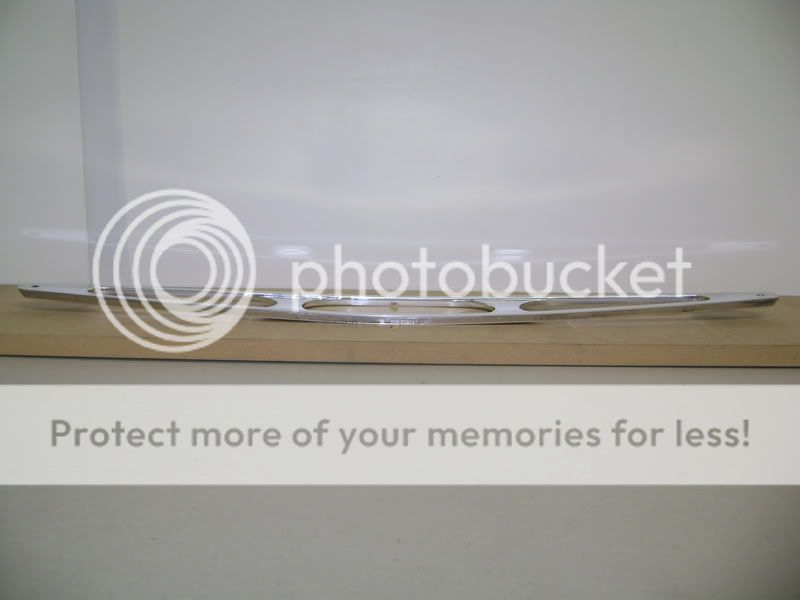
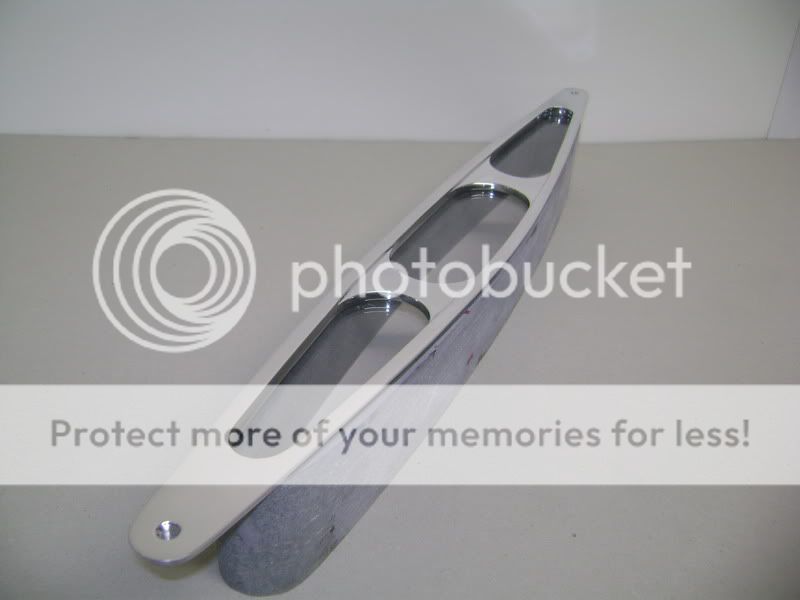
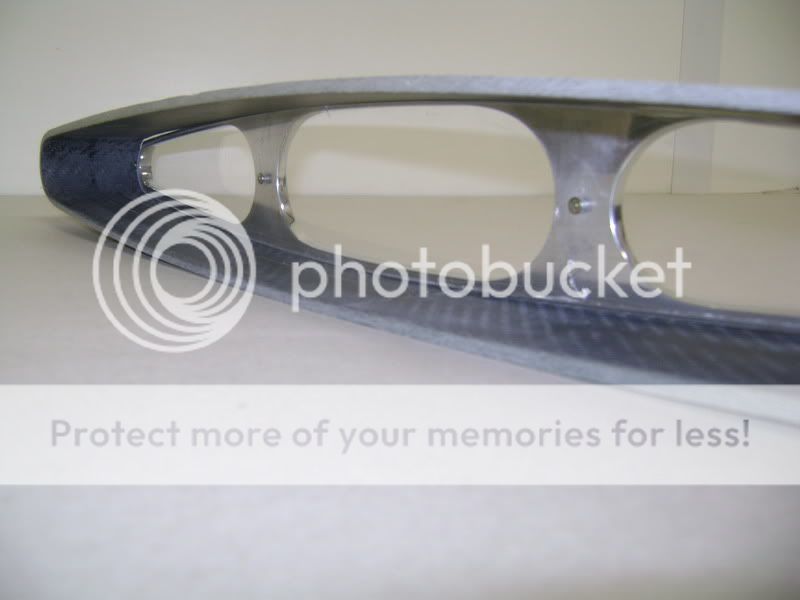
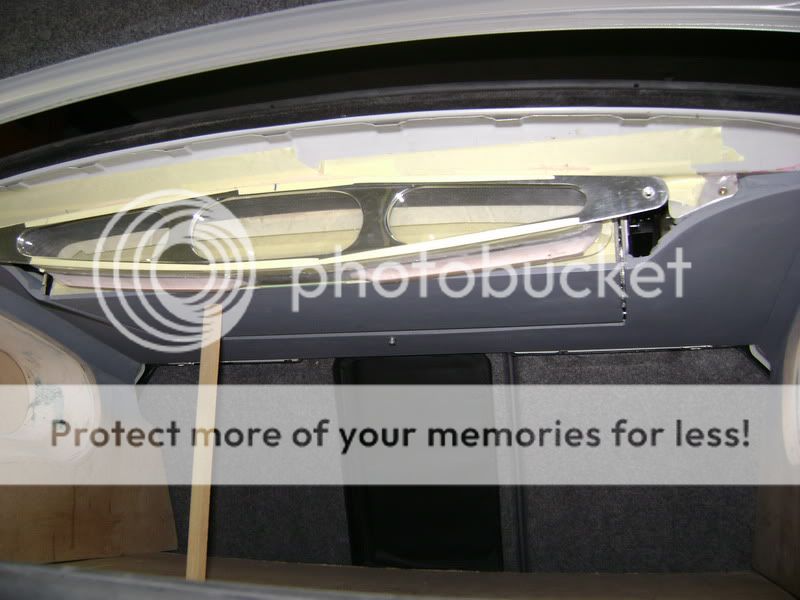
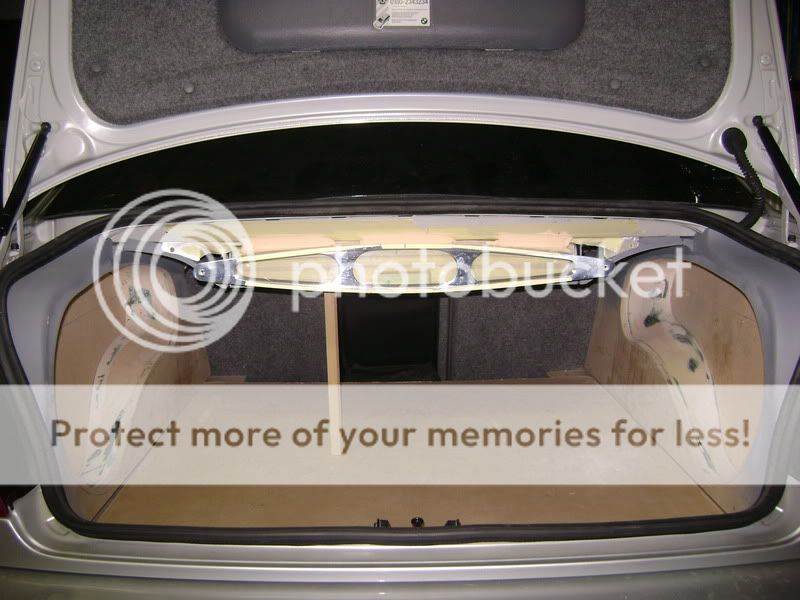
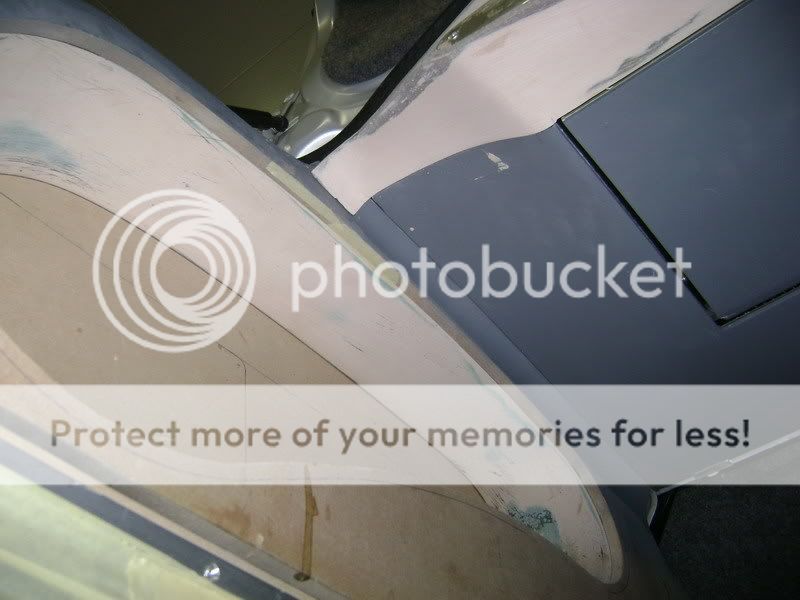
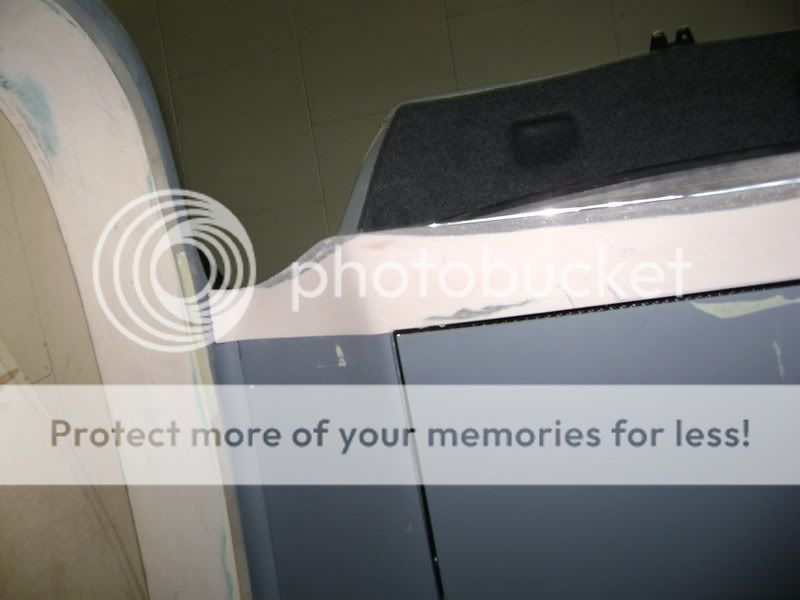
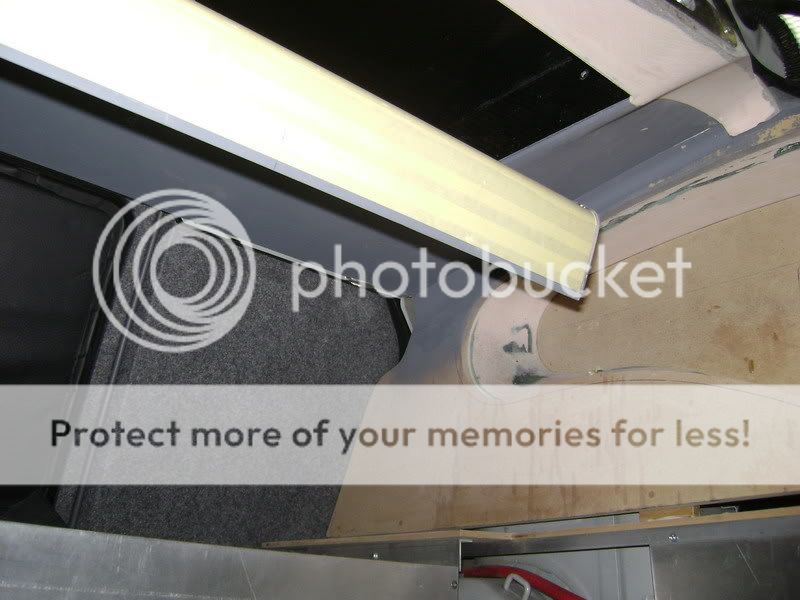
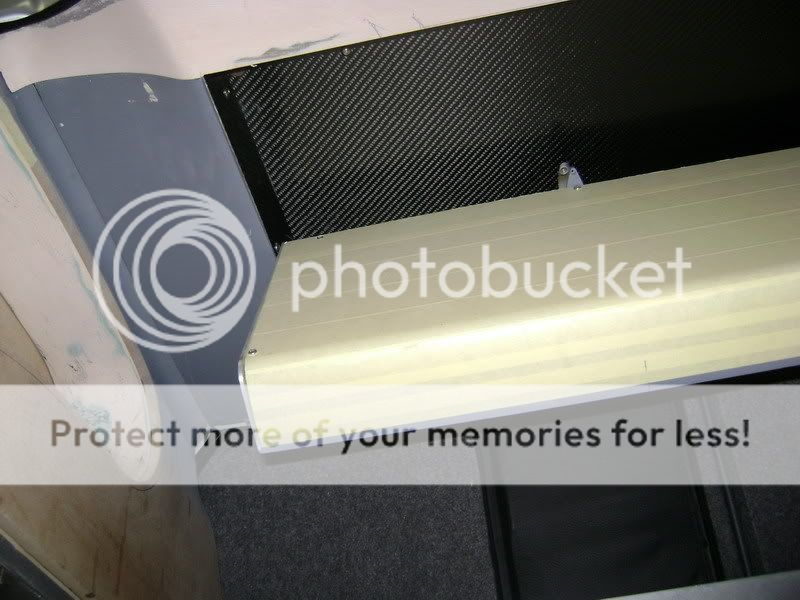
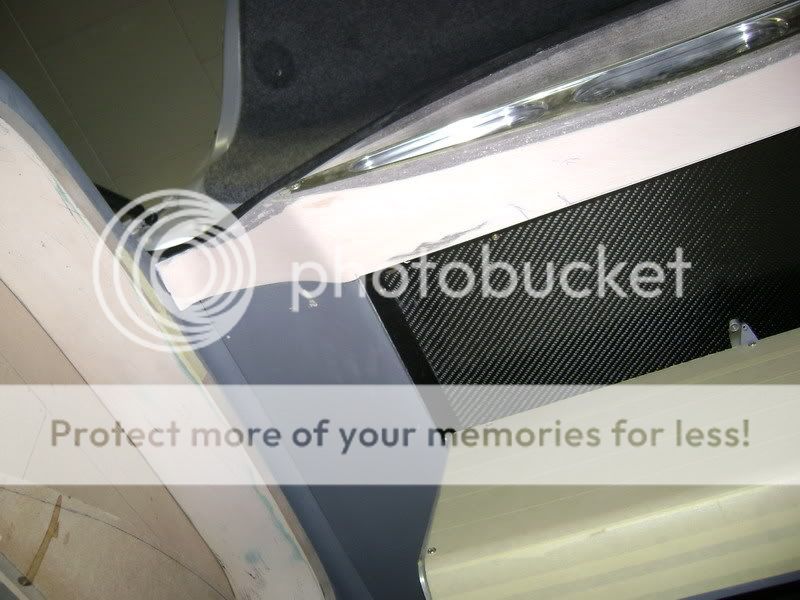
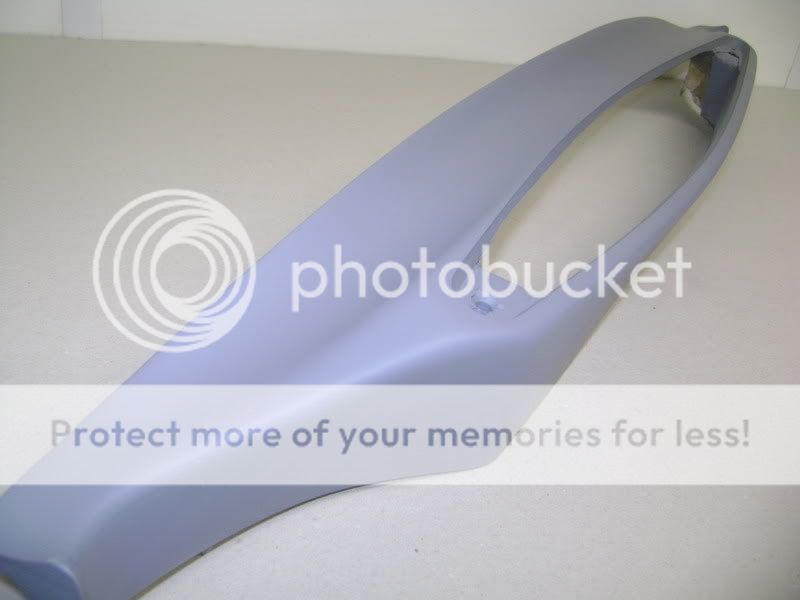
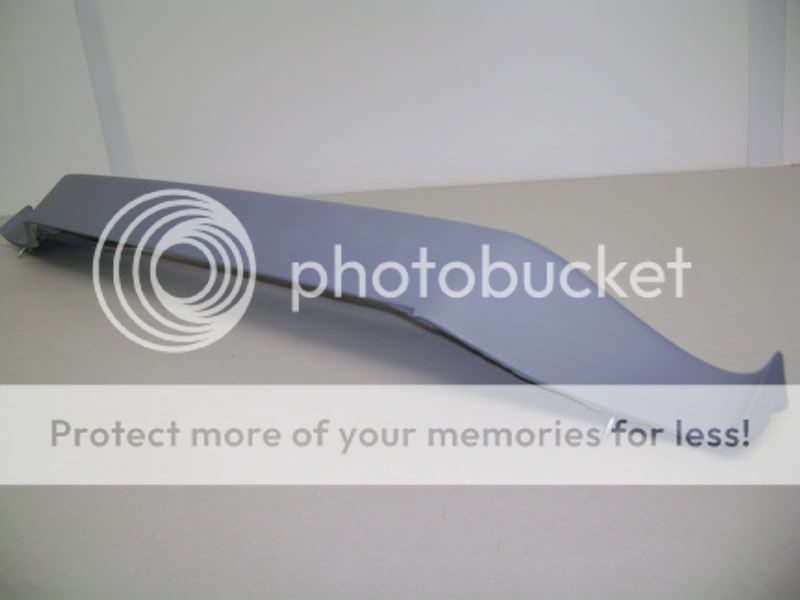
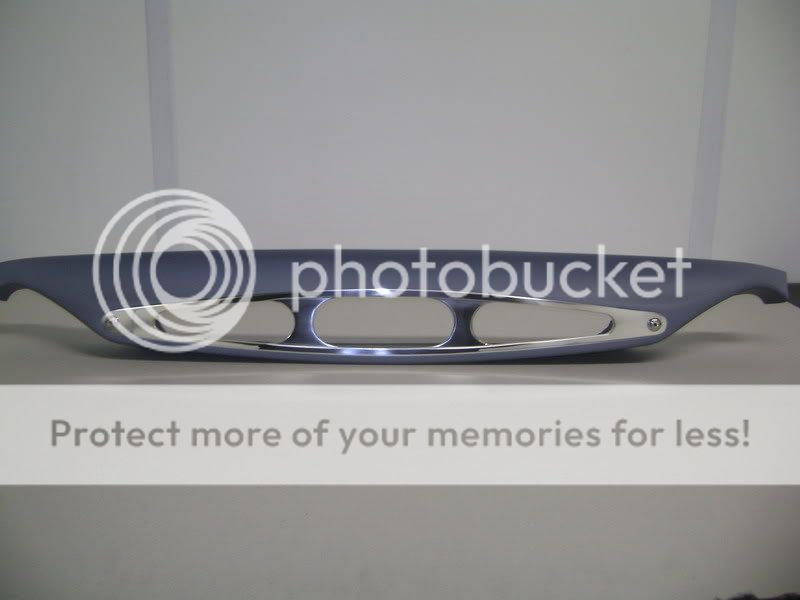
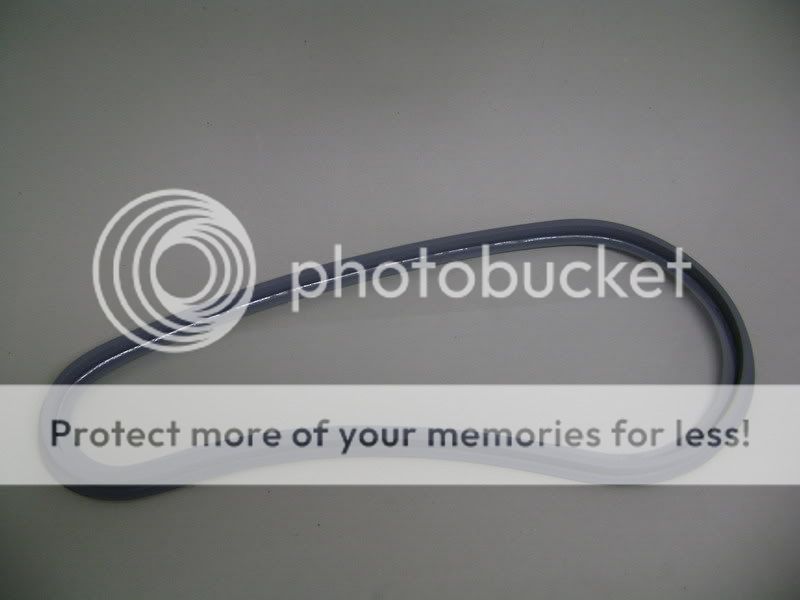
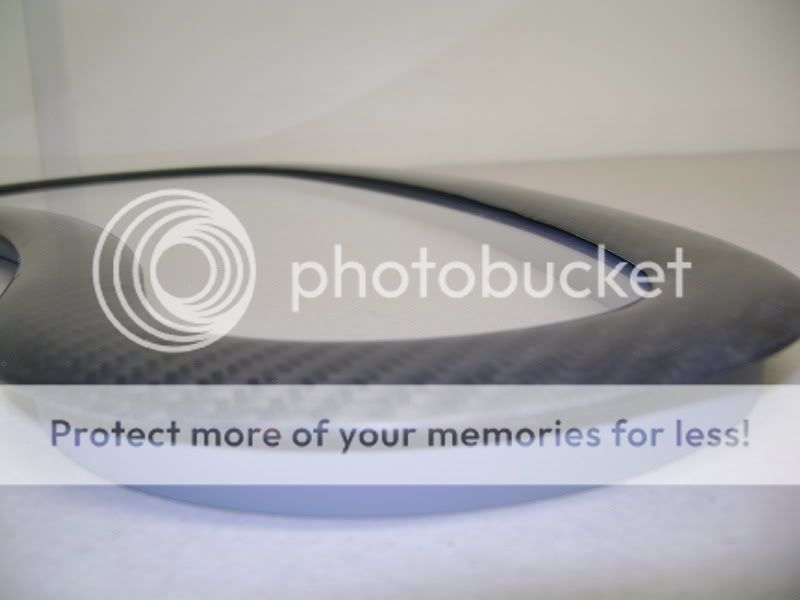
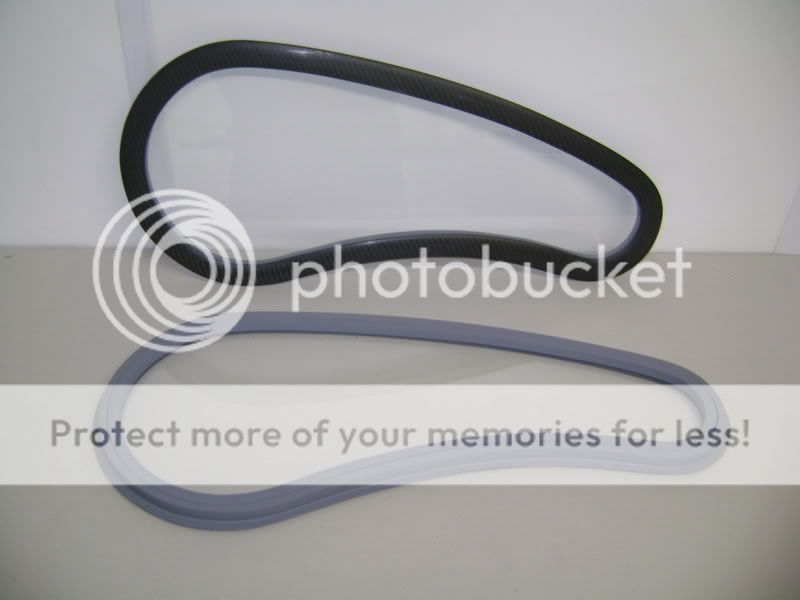
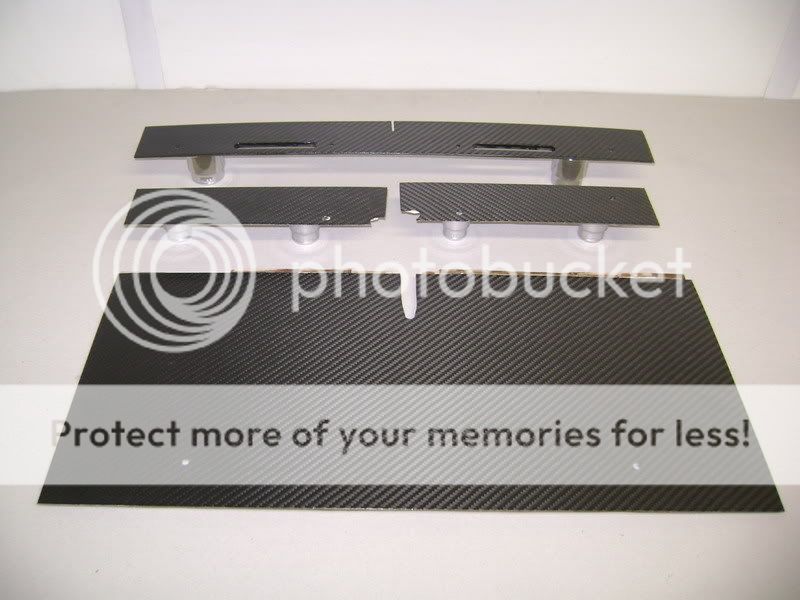
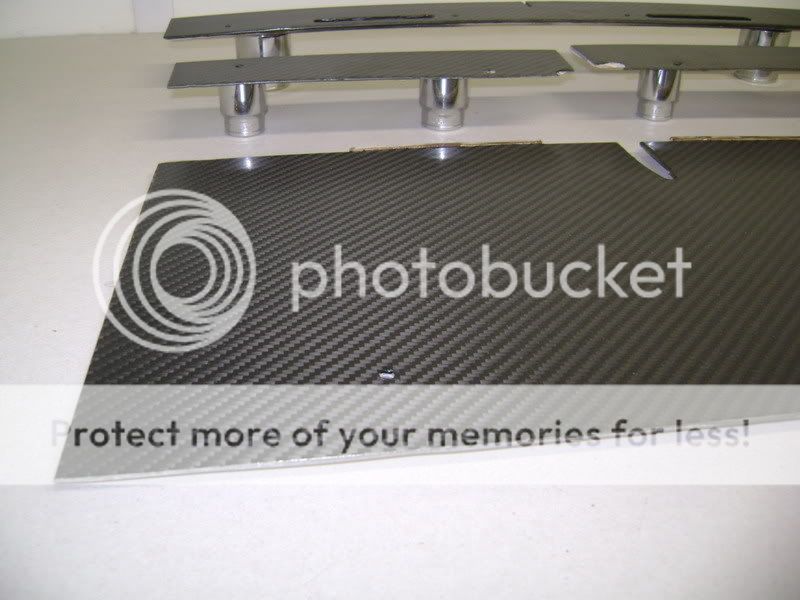
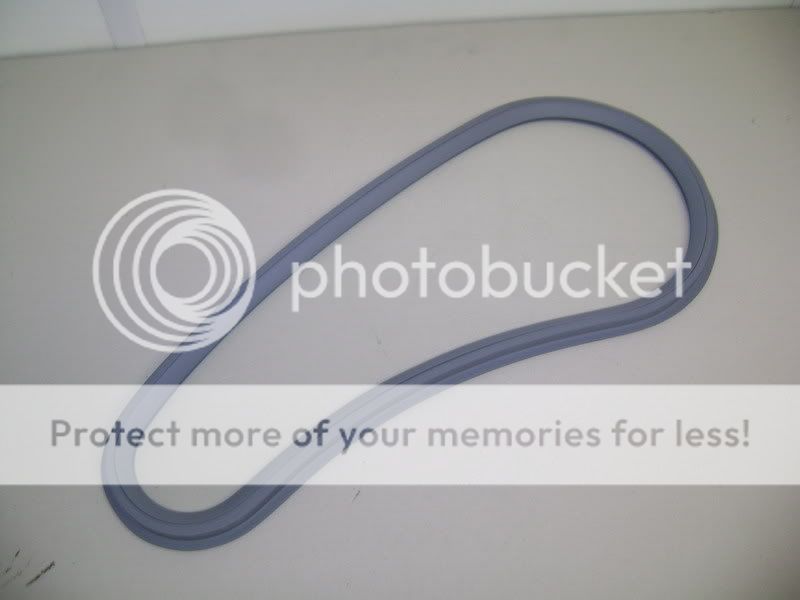
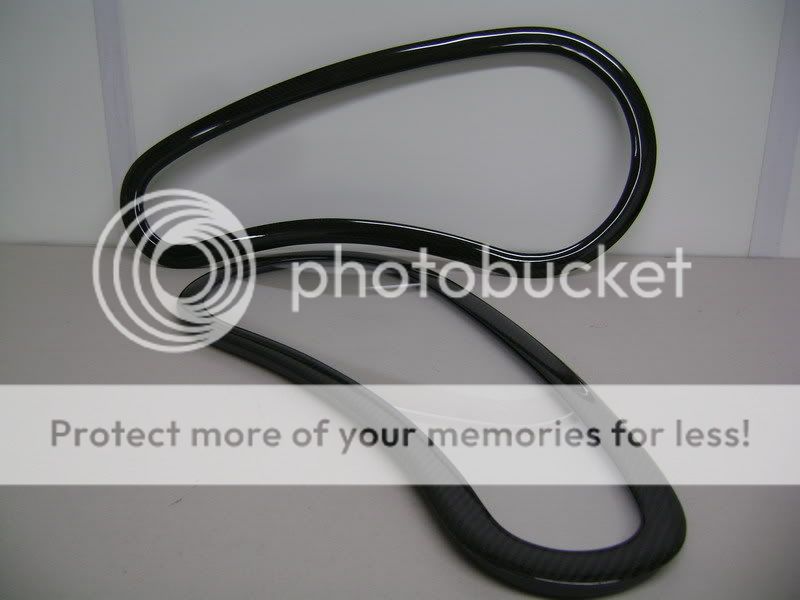
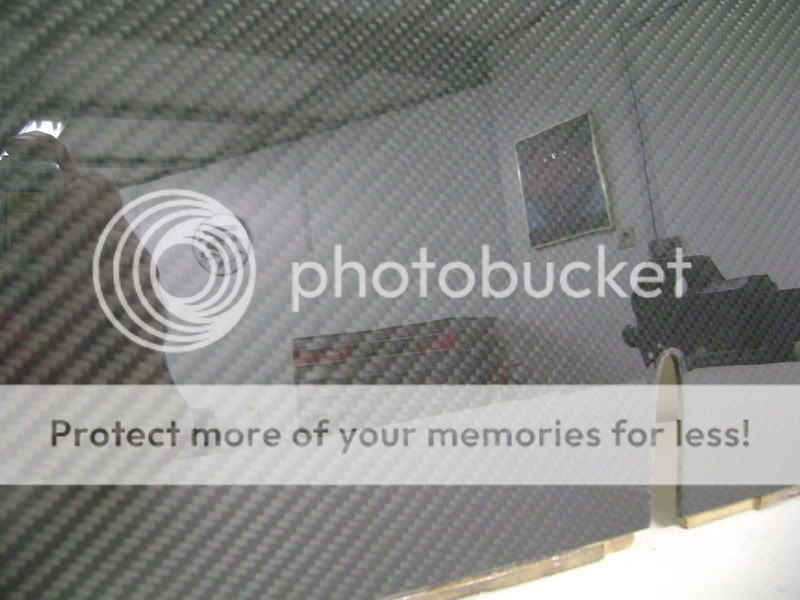
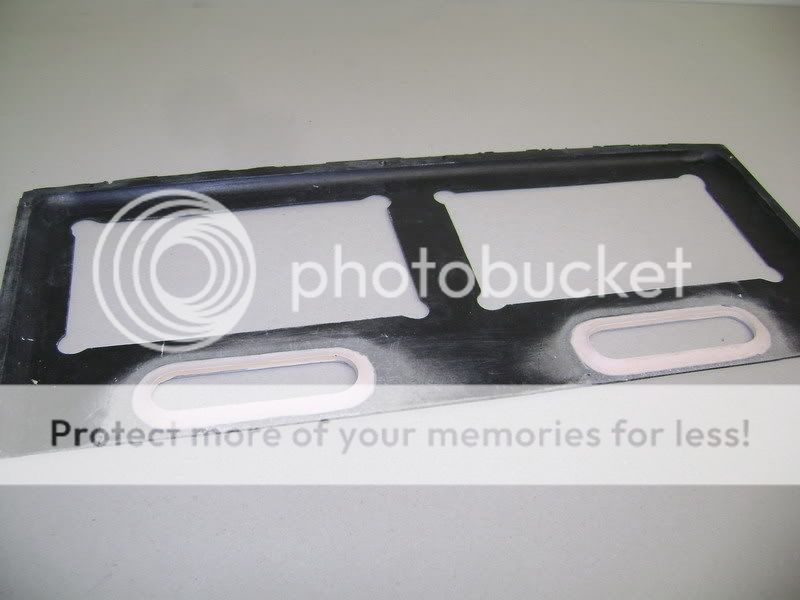
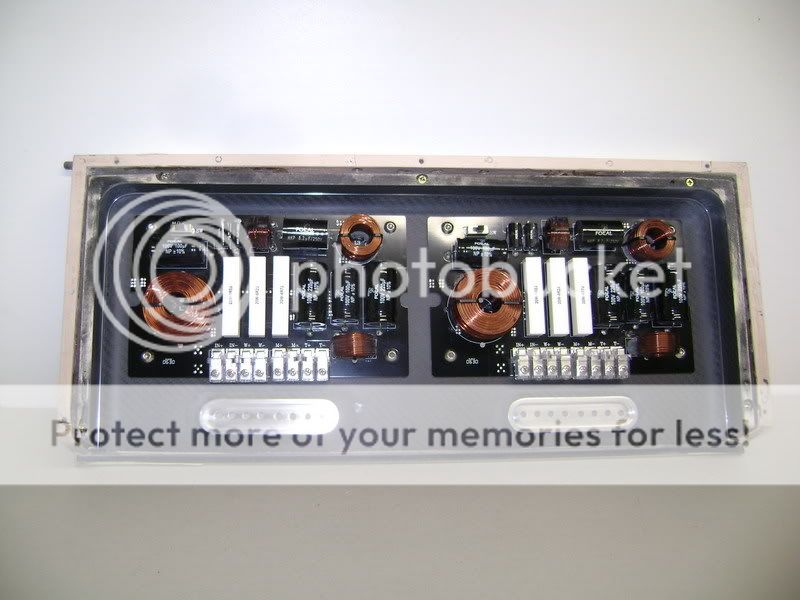
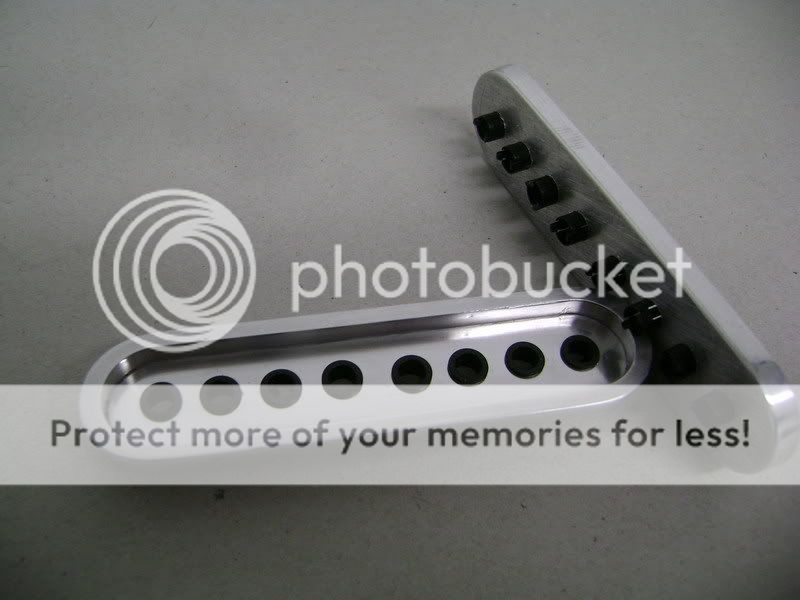
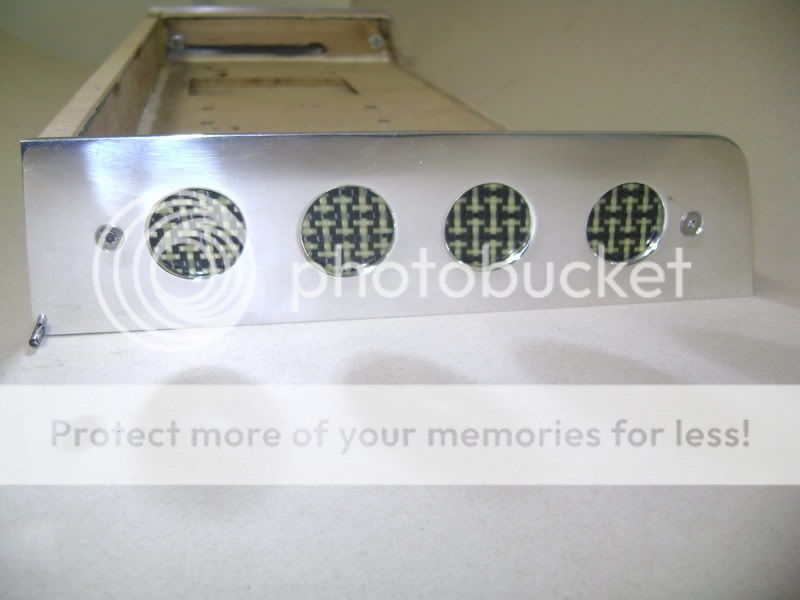
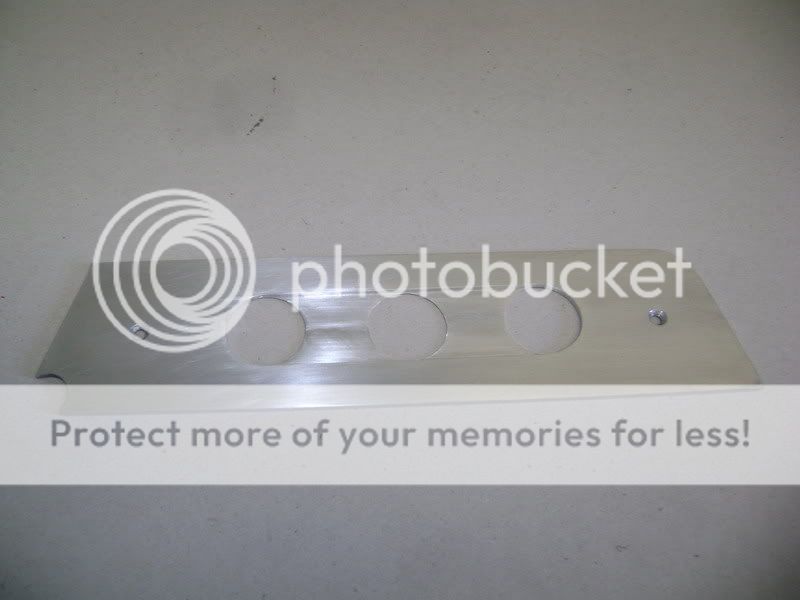
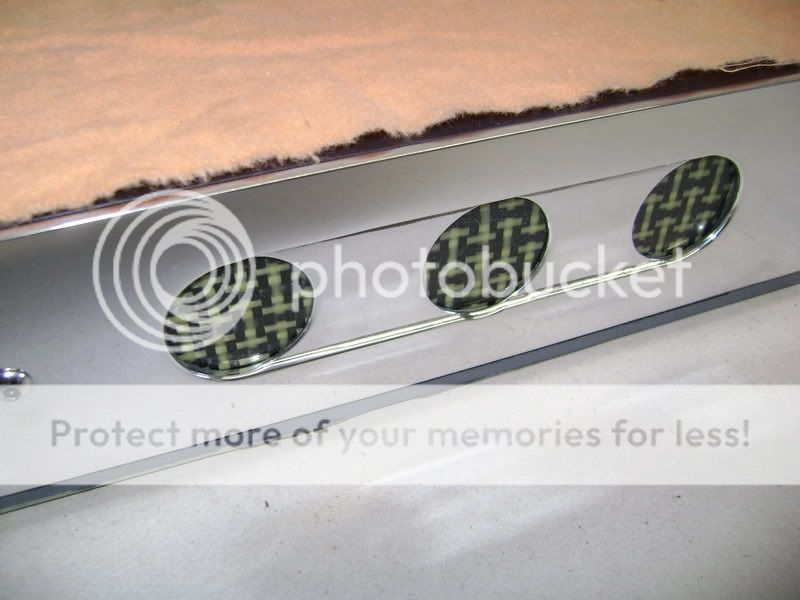
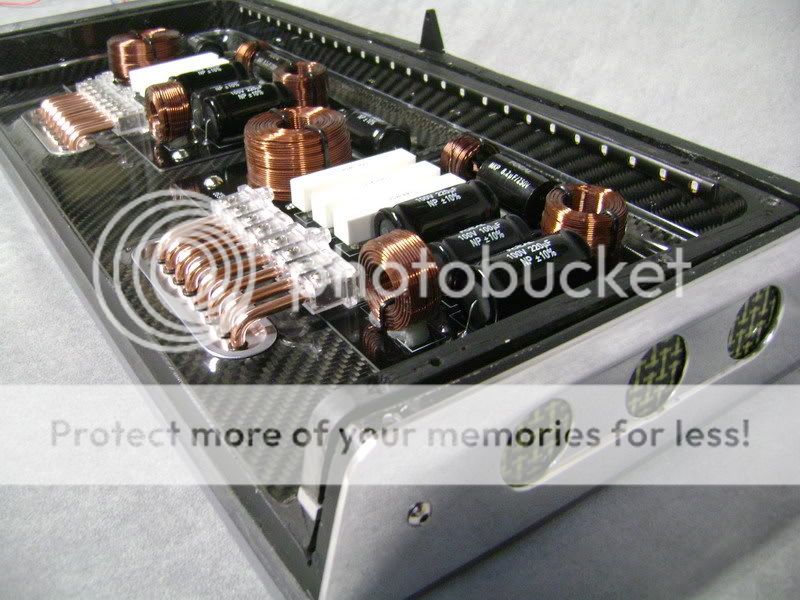
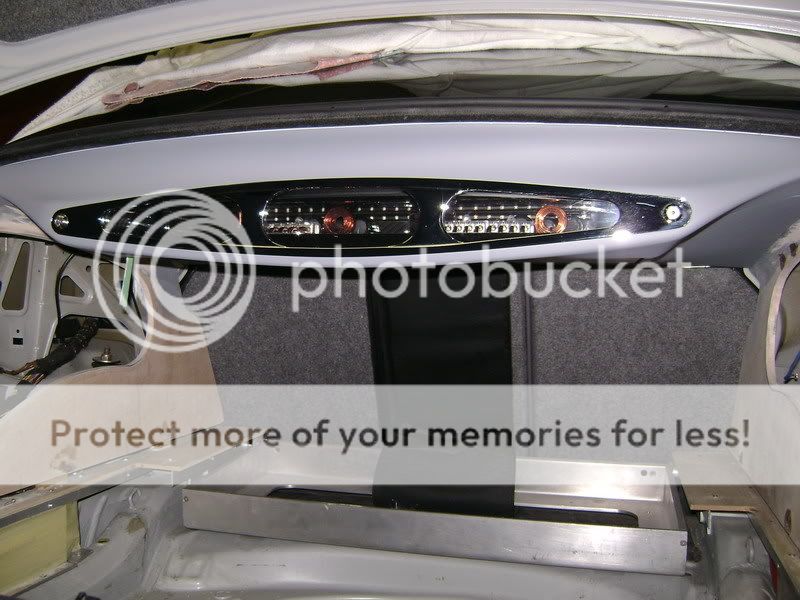
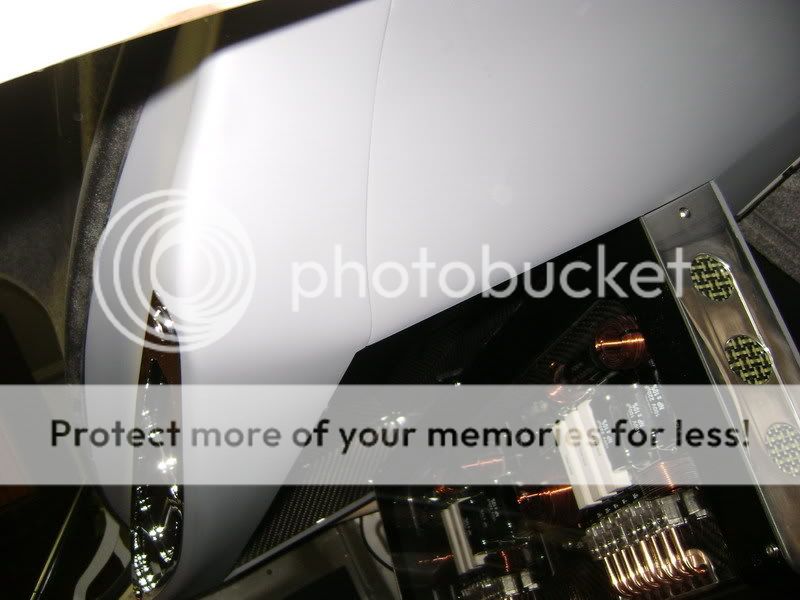
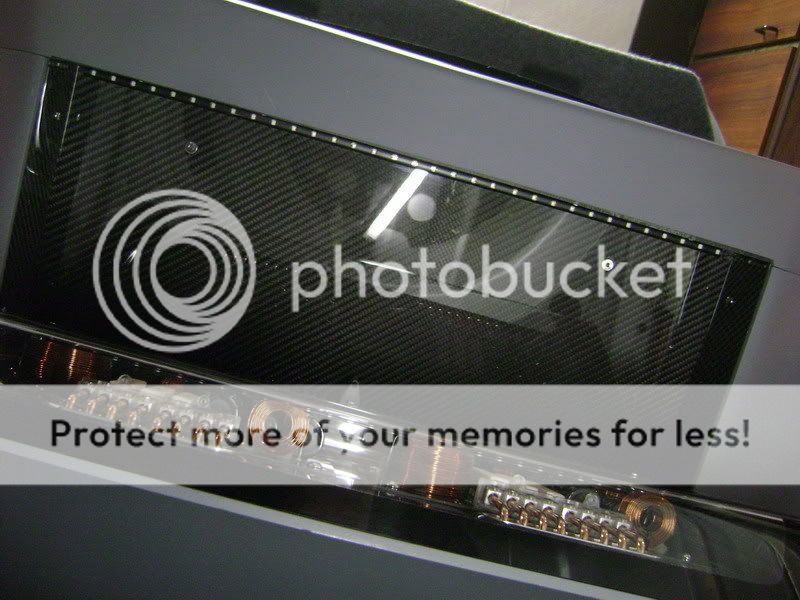
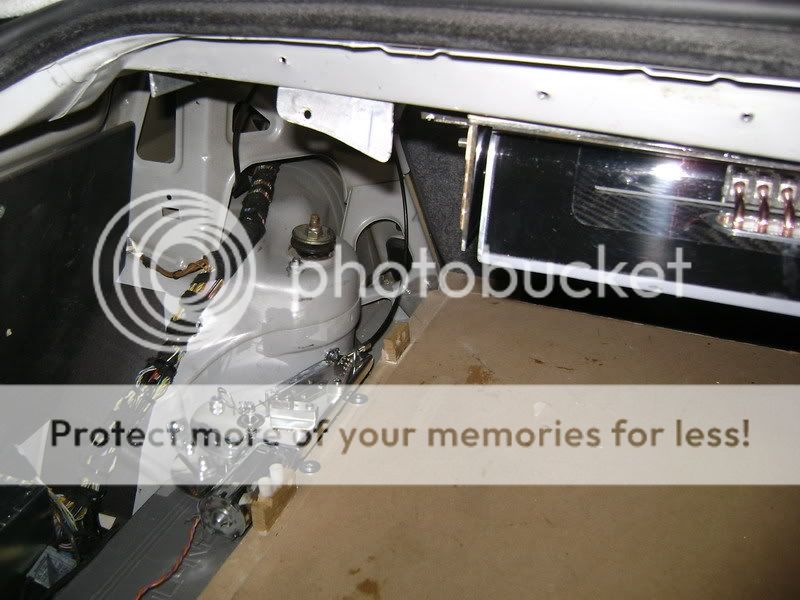
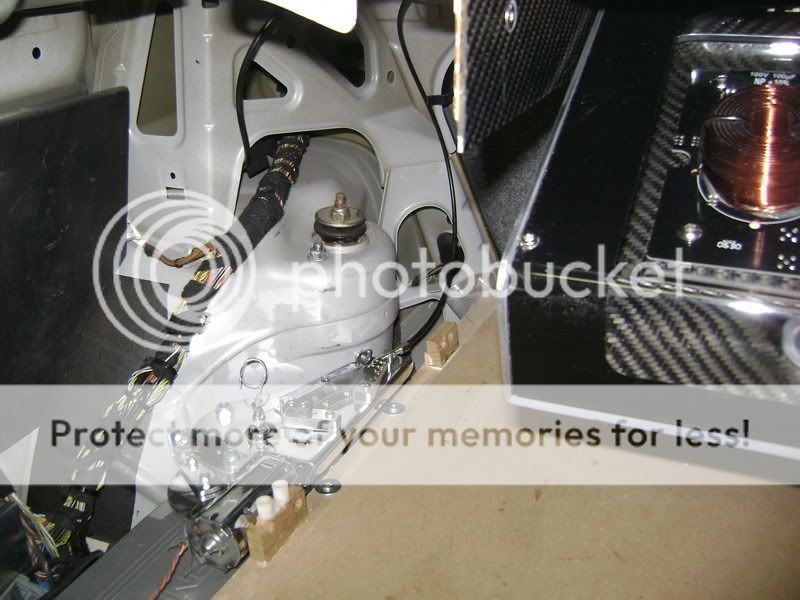
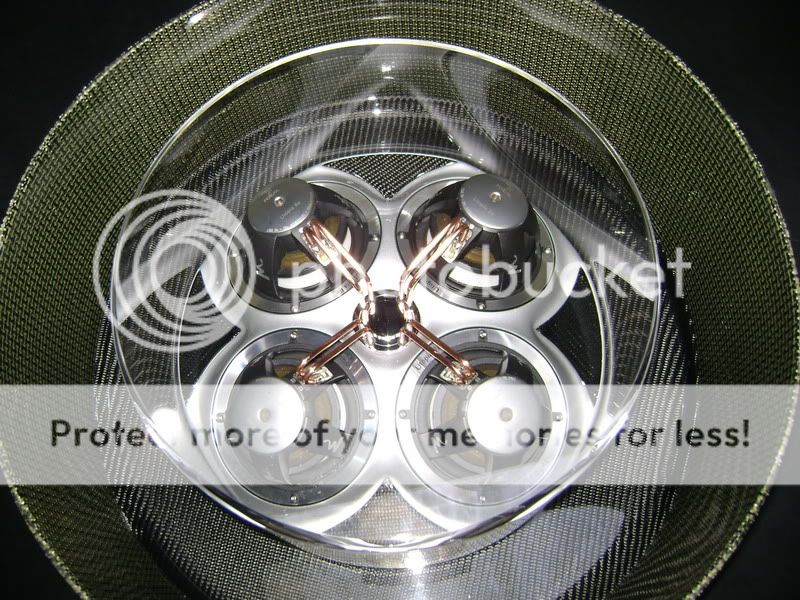
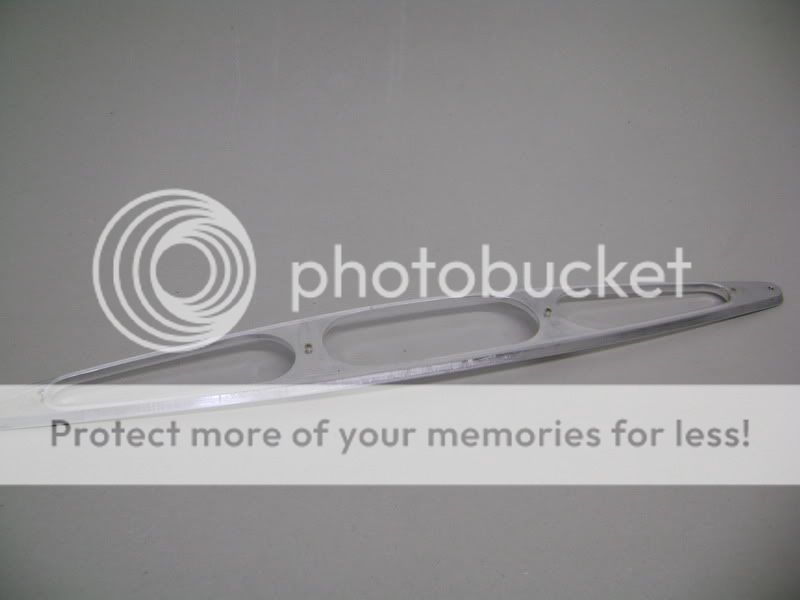 This is how everything should look like in the end.
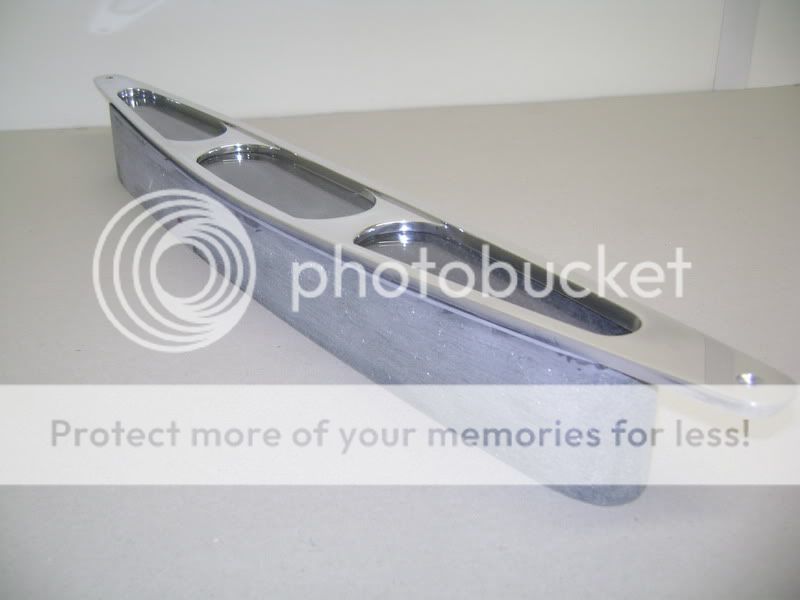

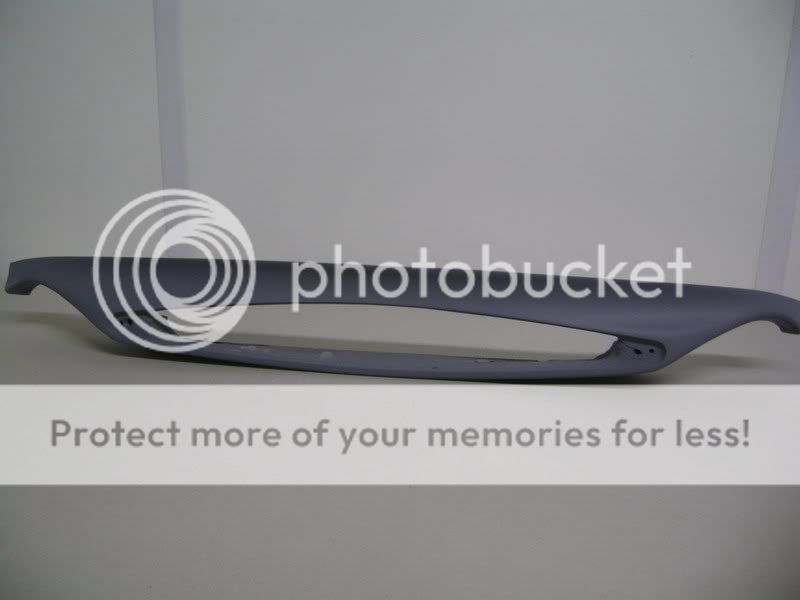

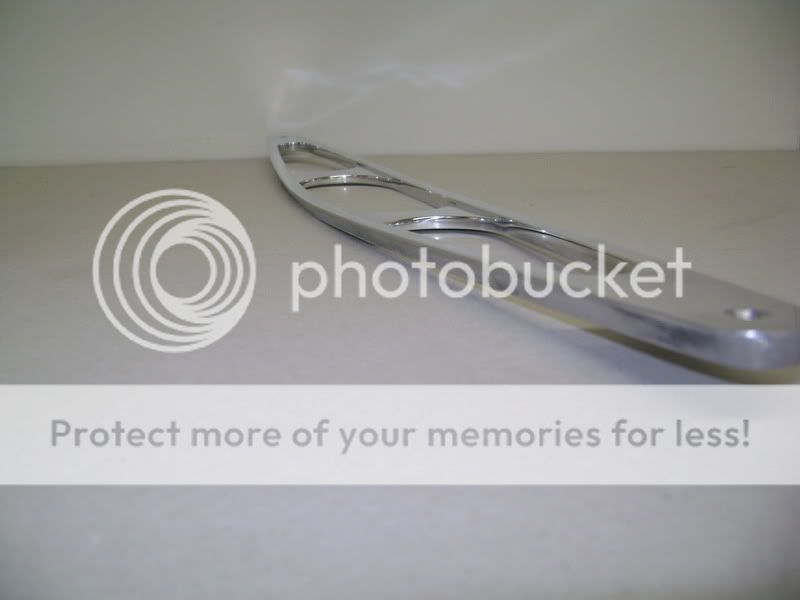
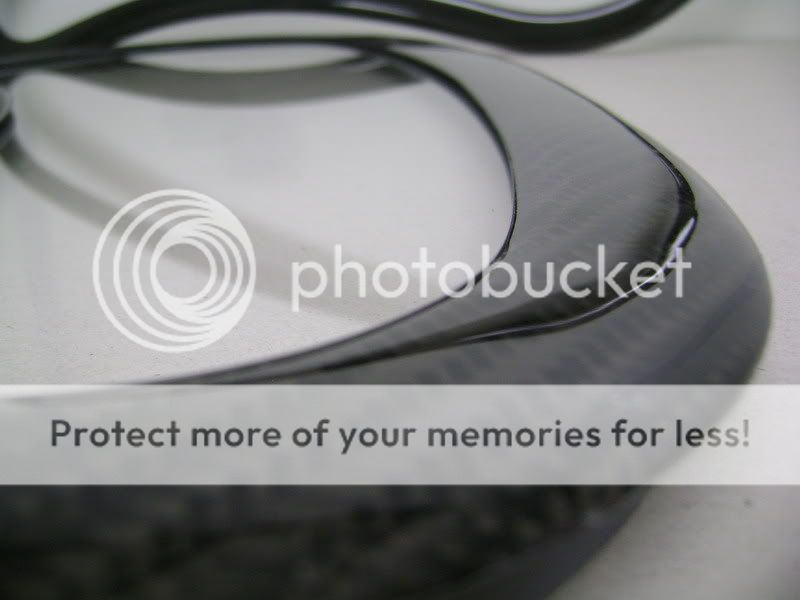
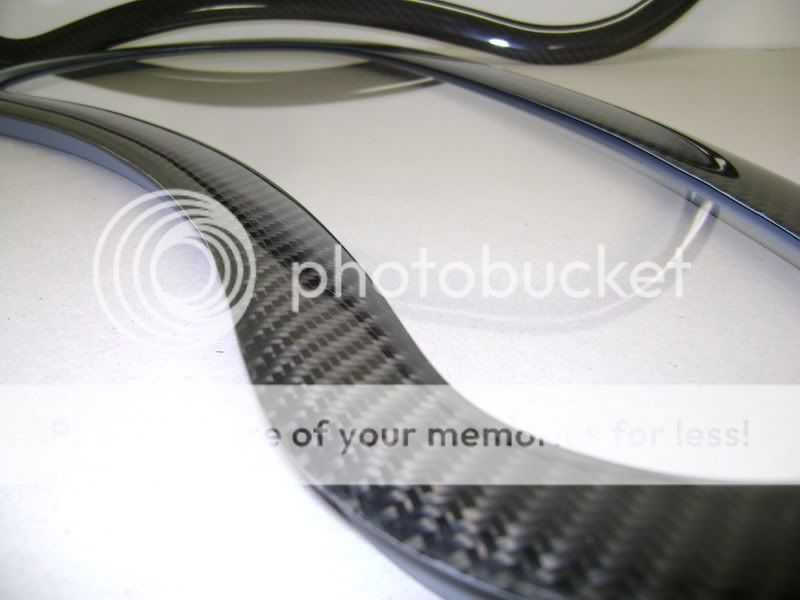
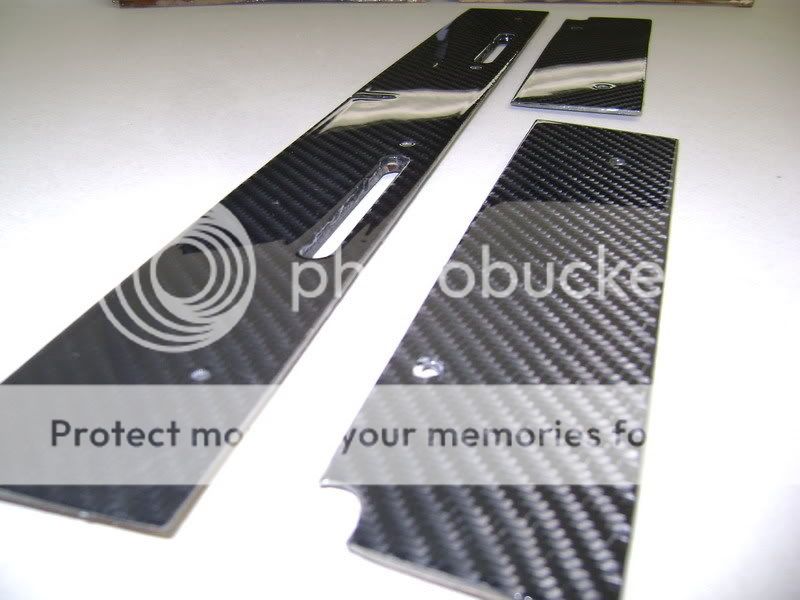
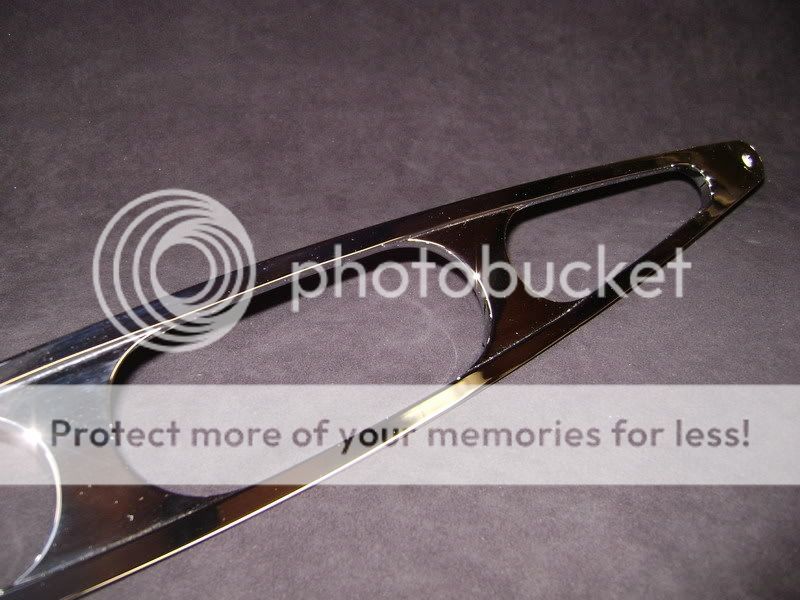
 Then i've sanded the carbon frames and prepared them to get painted.
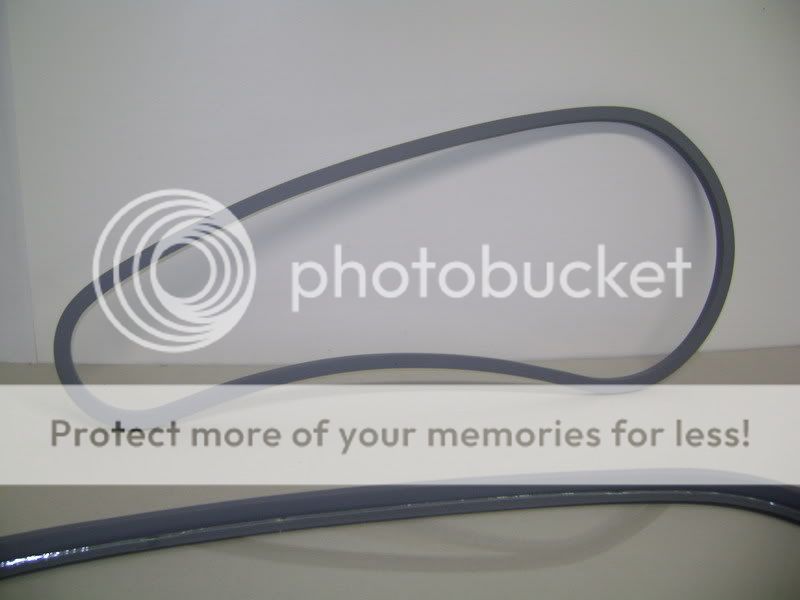

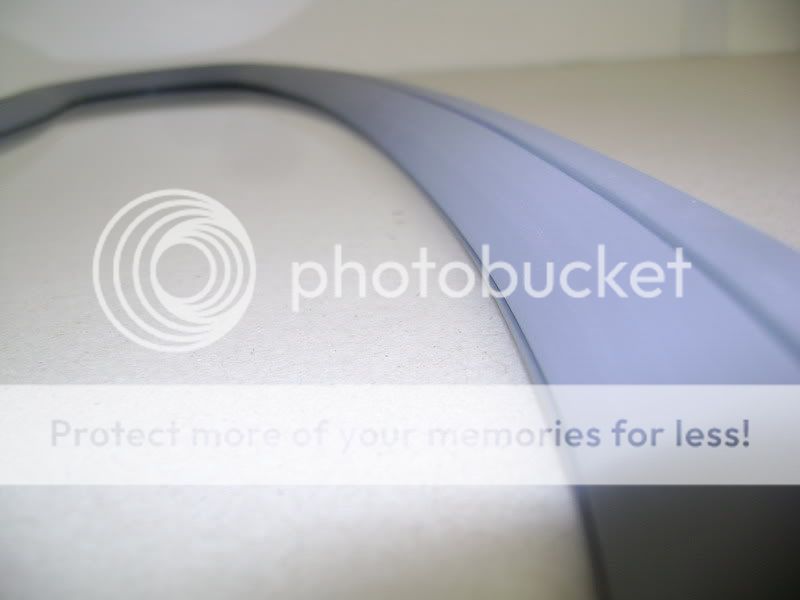
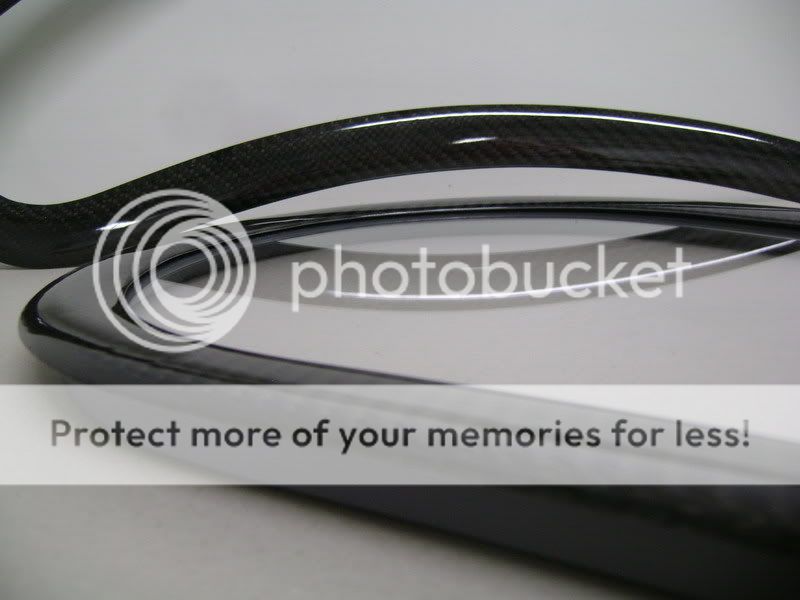
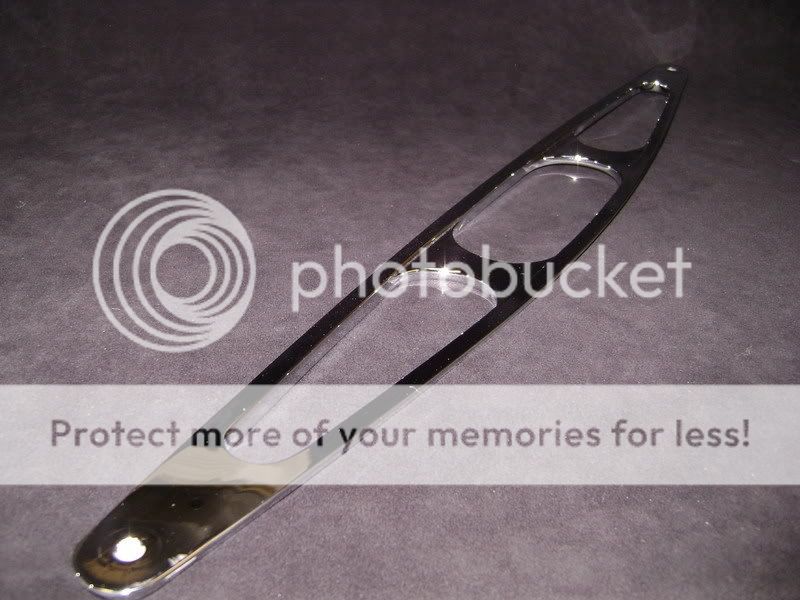
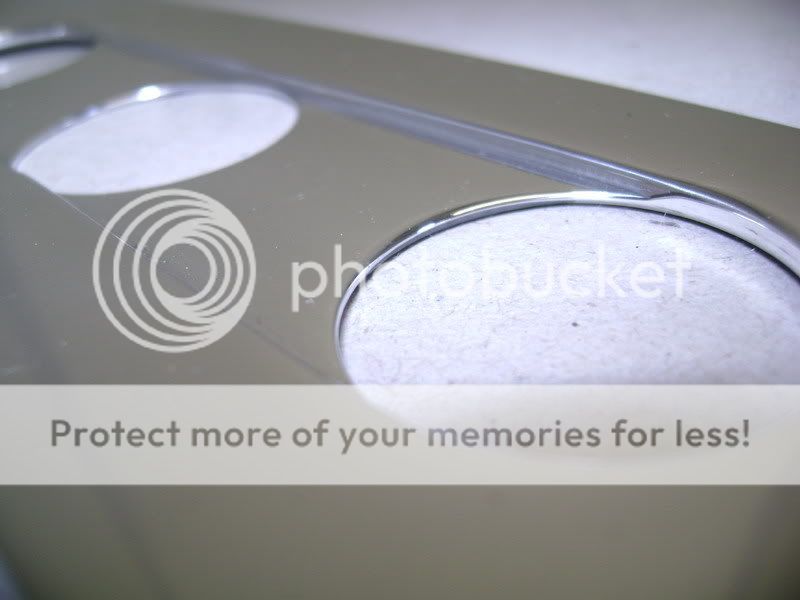
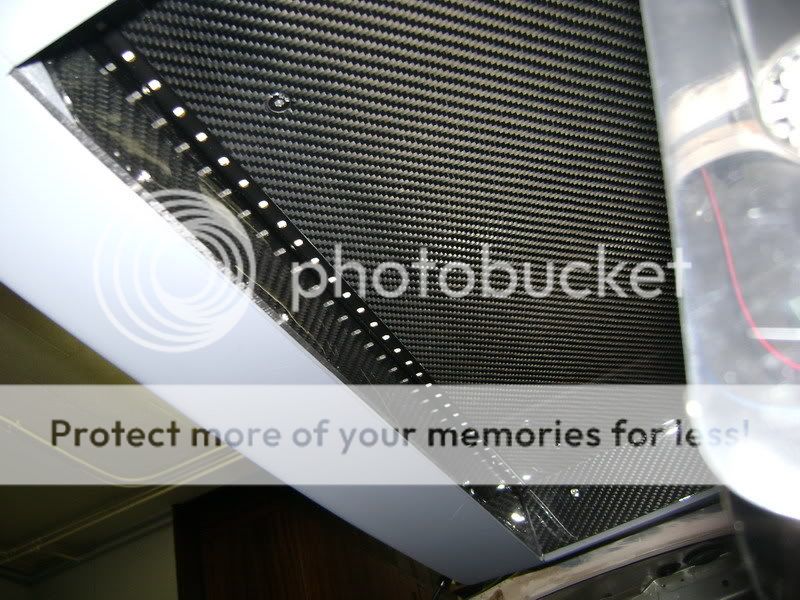
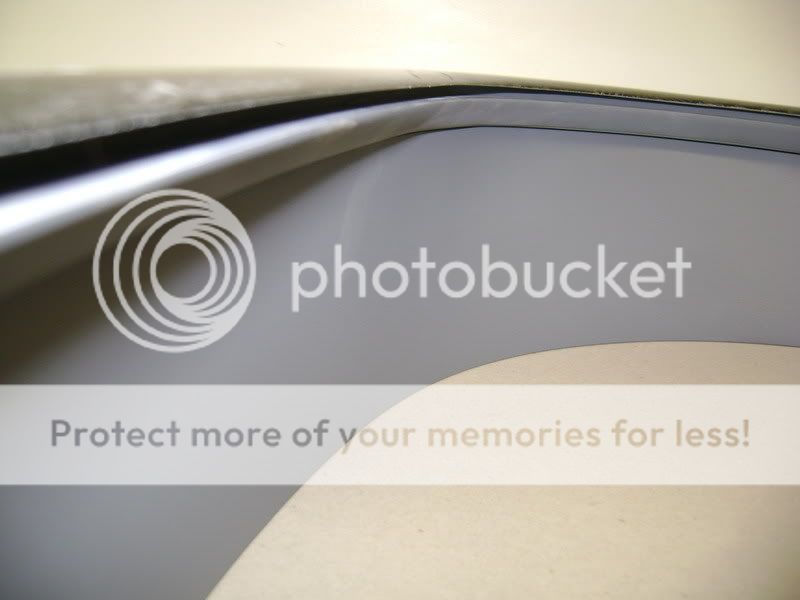 Clearcoated.


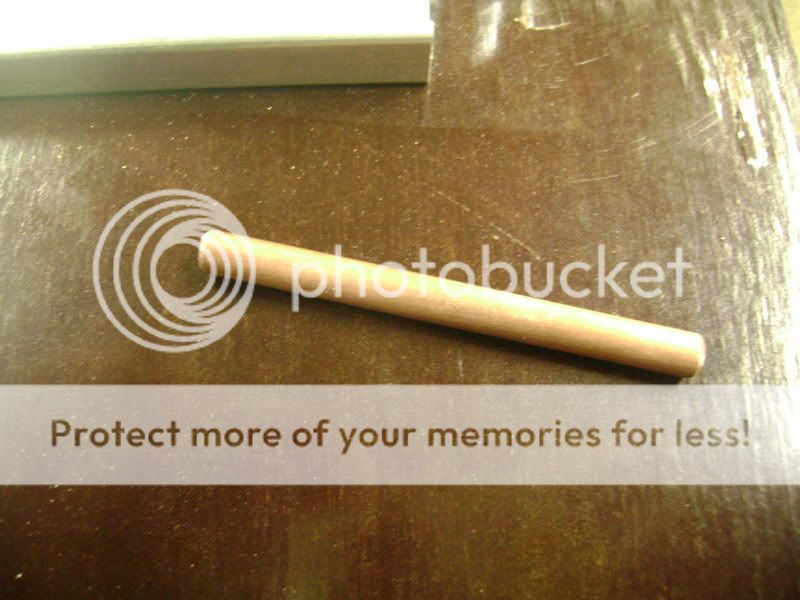
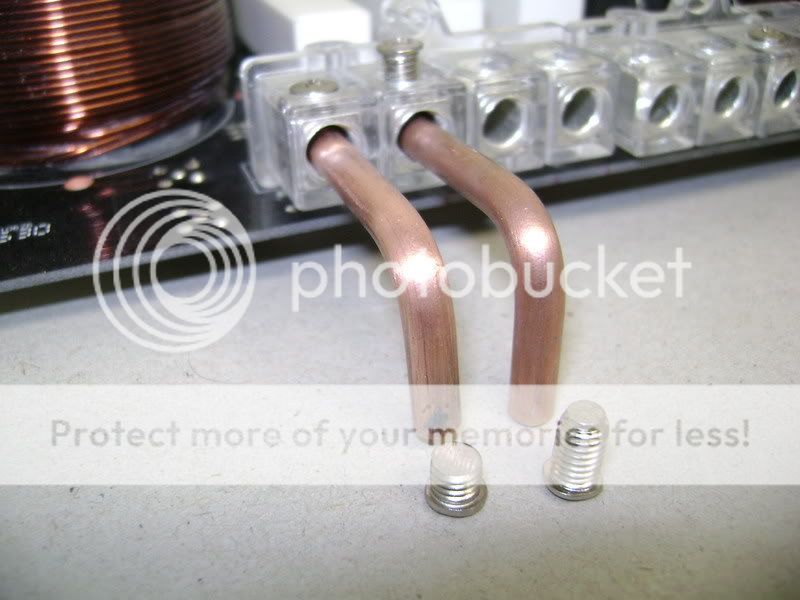

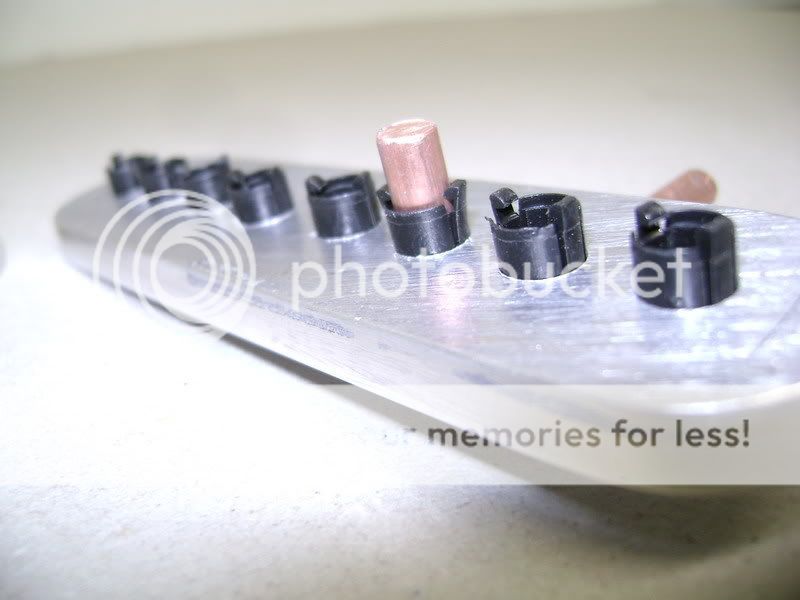

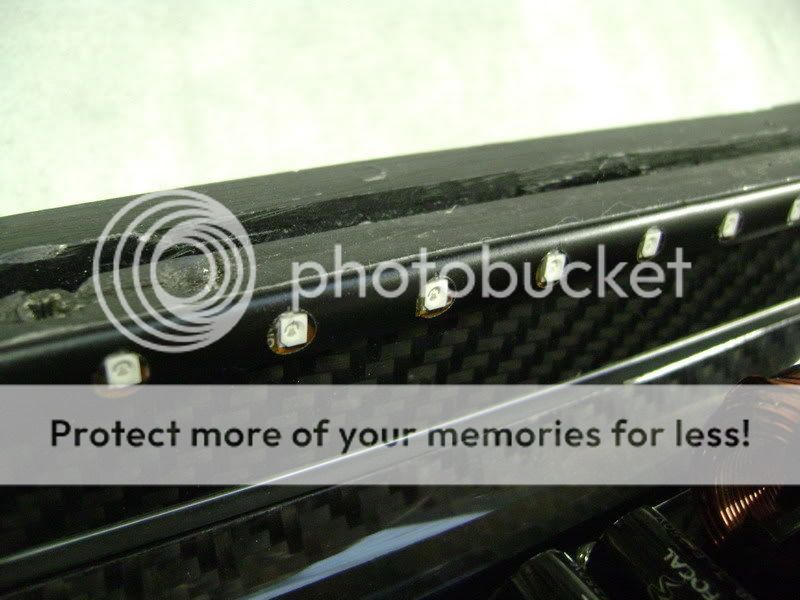
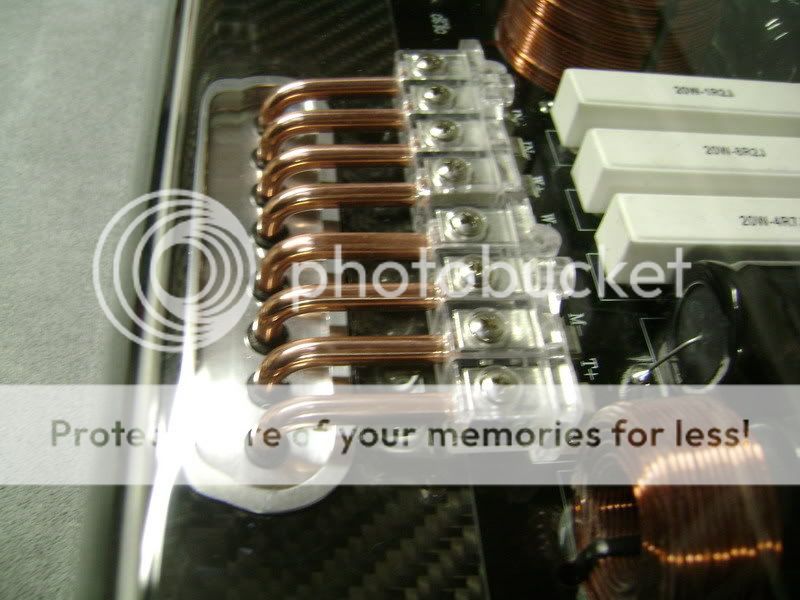
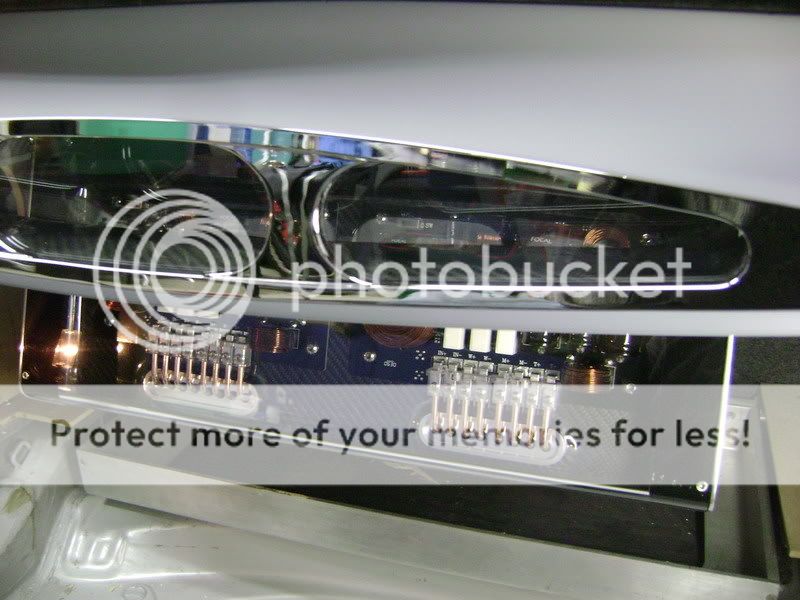
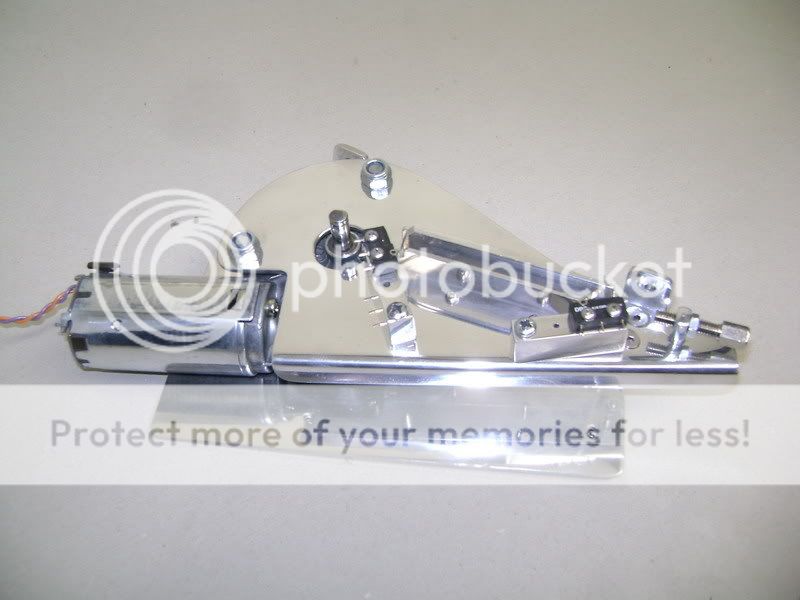
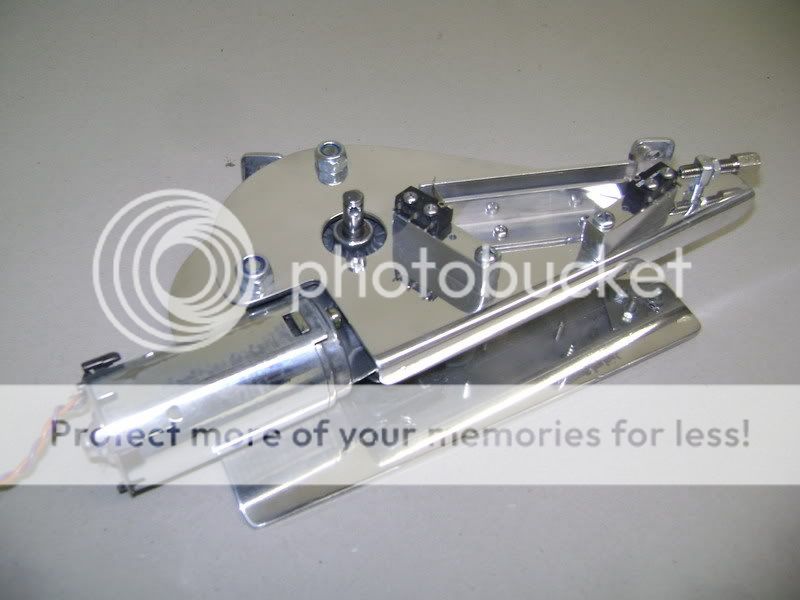
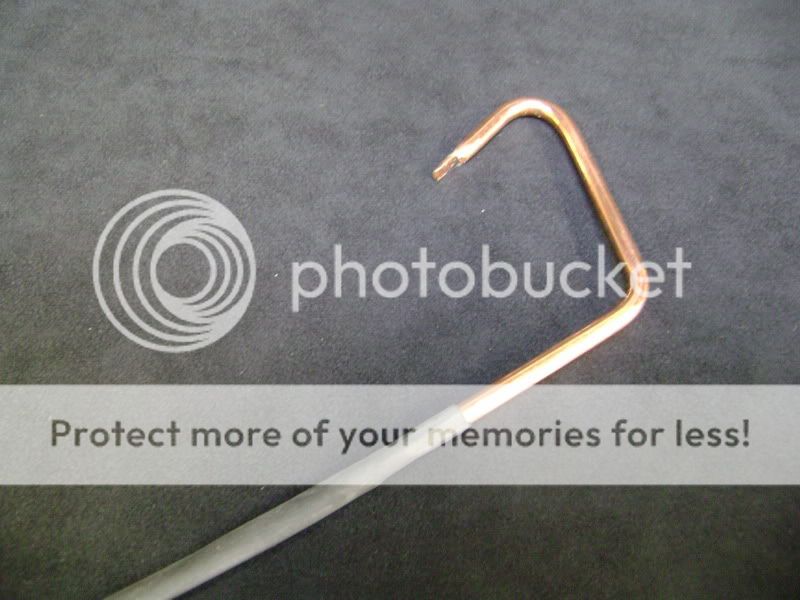
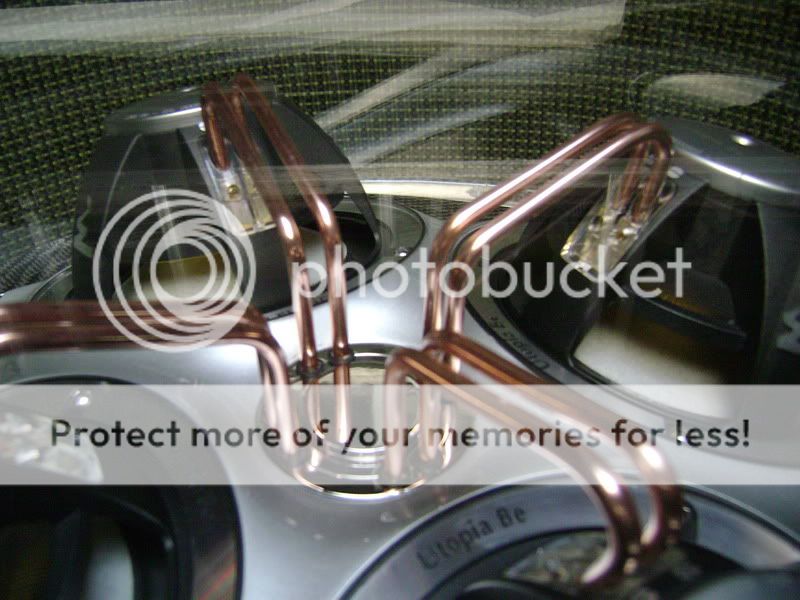
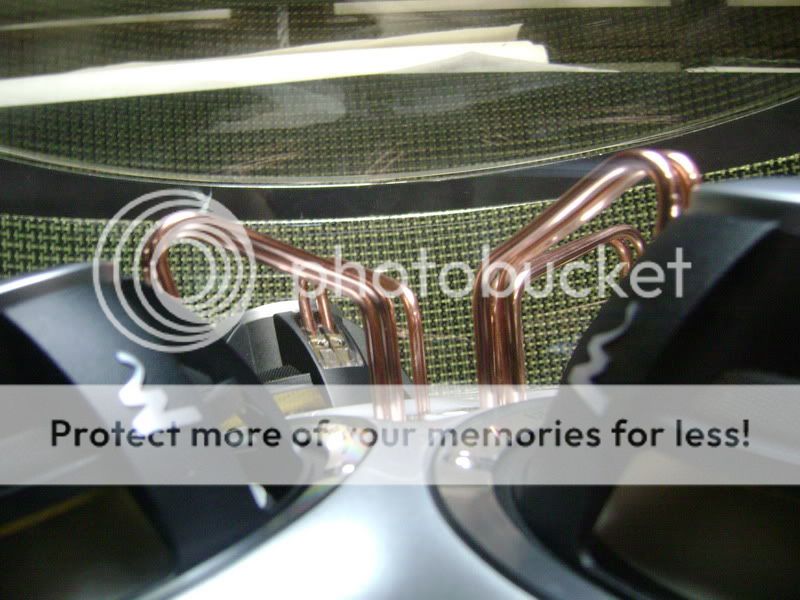
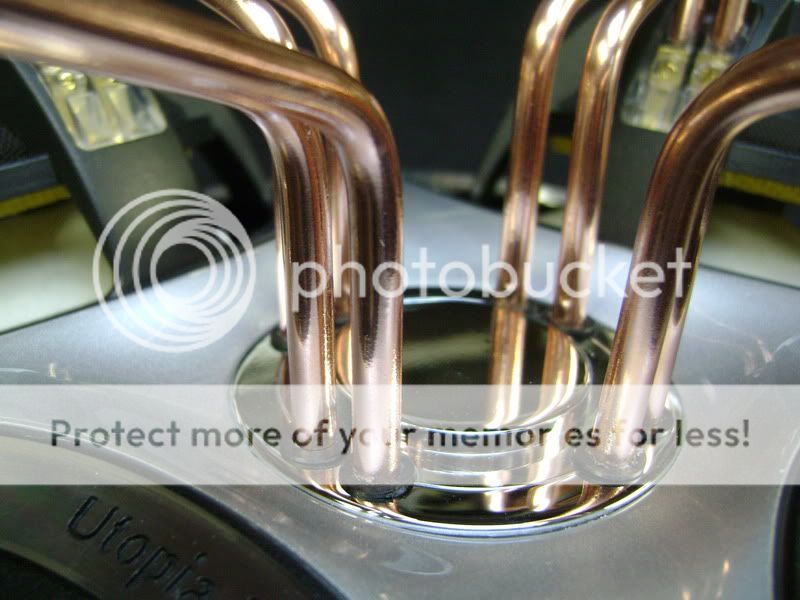
 The kopper connectors have been sanded and clearcoated
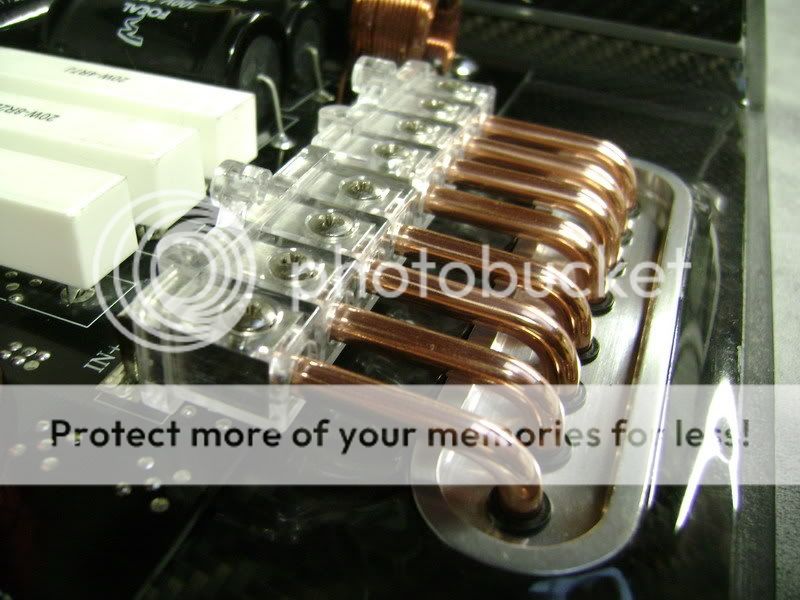
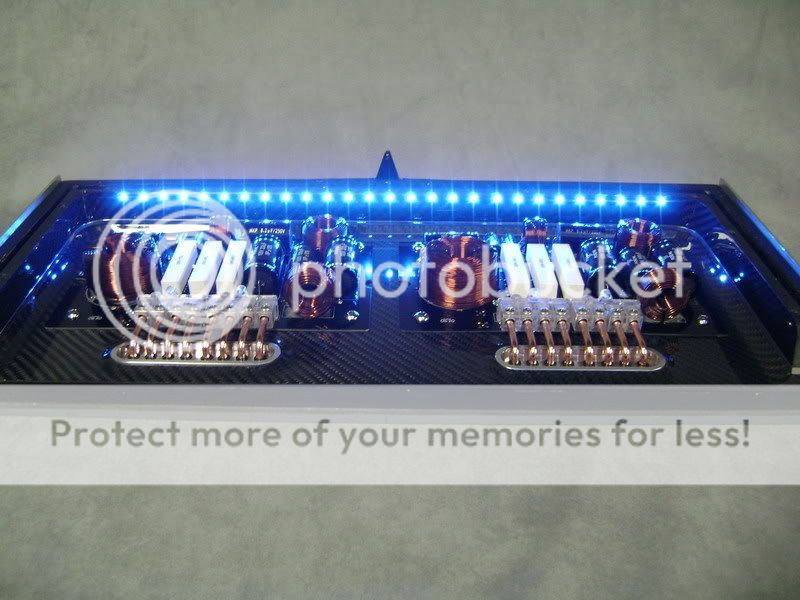

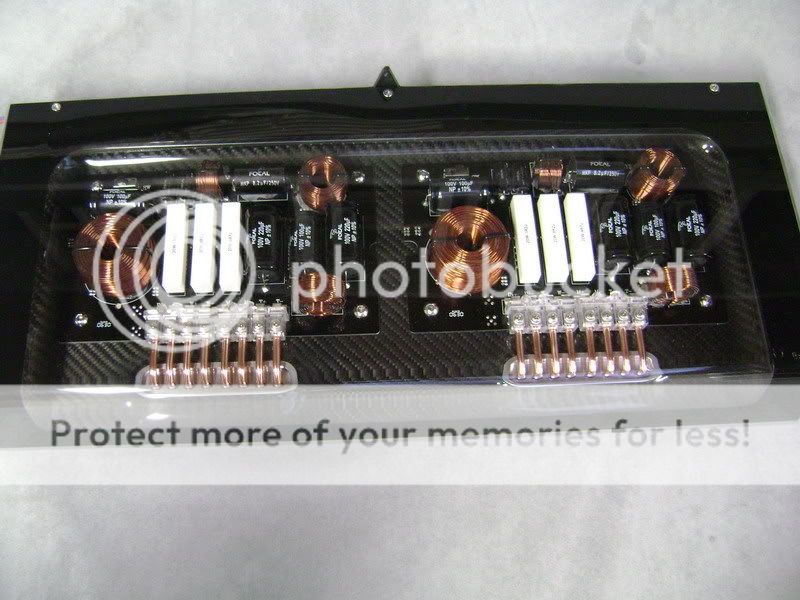
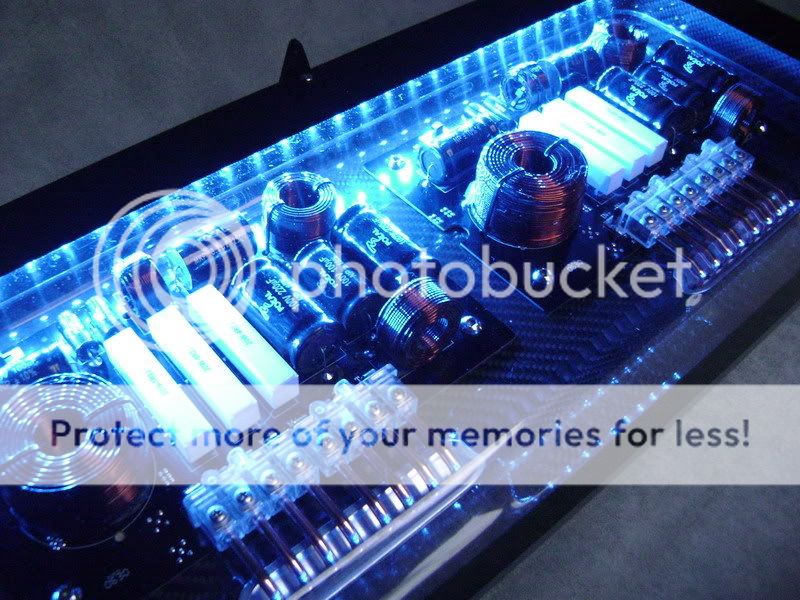
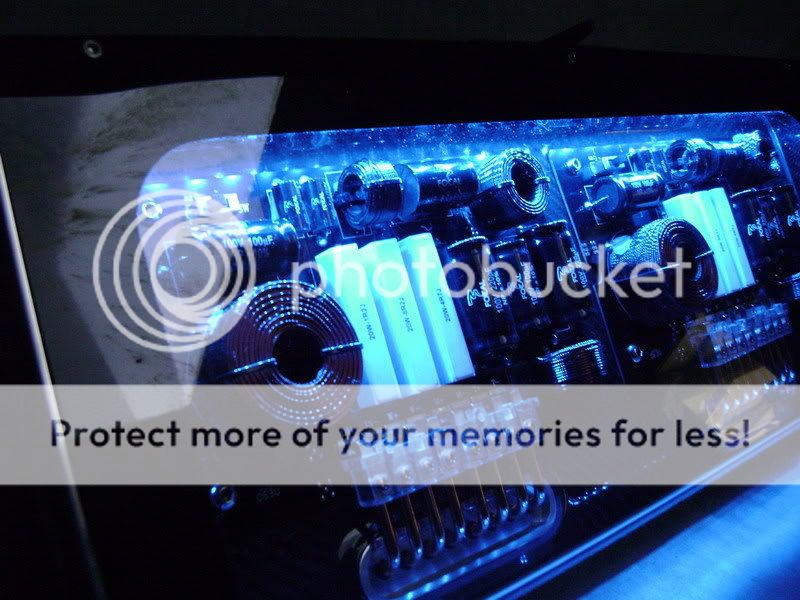
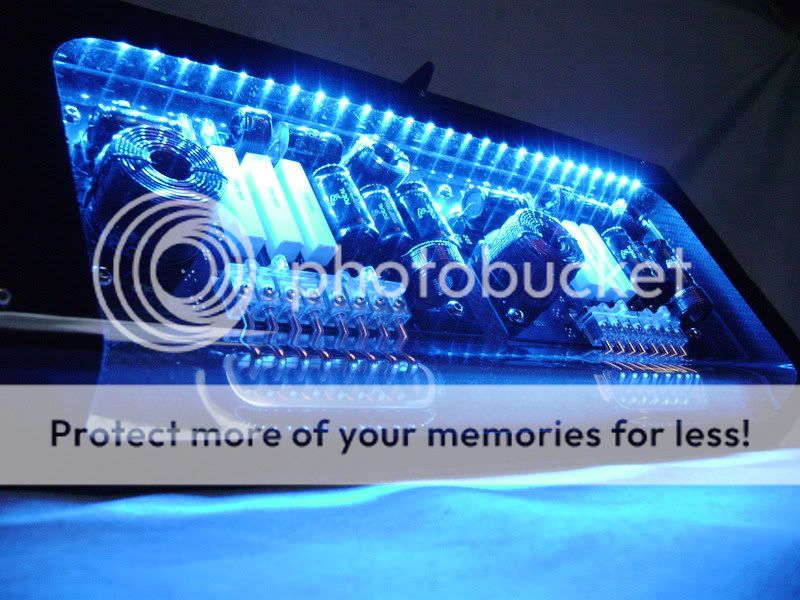
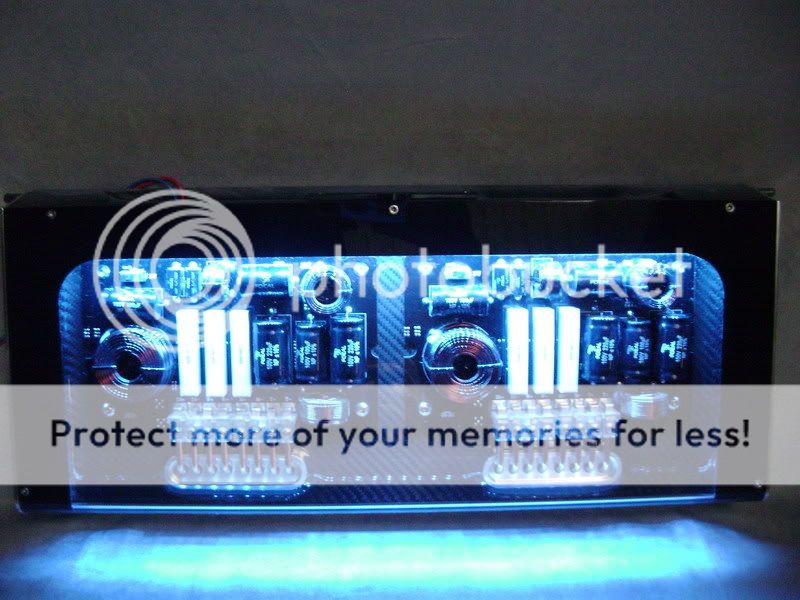
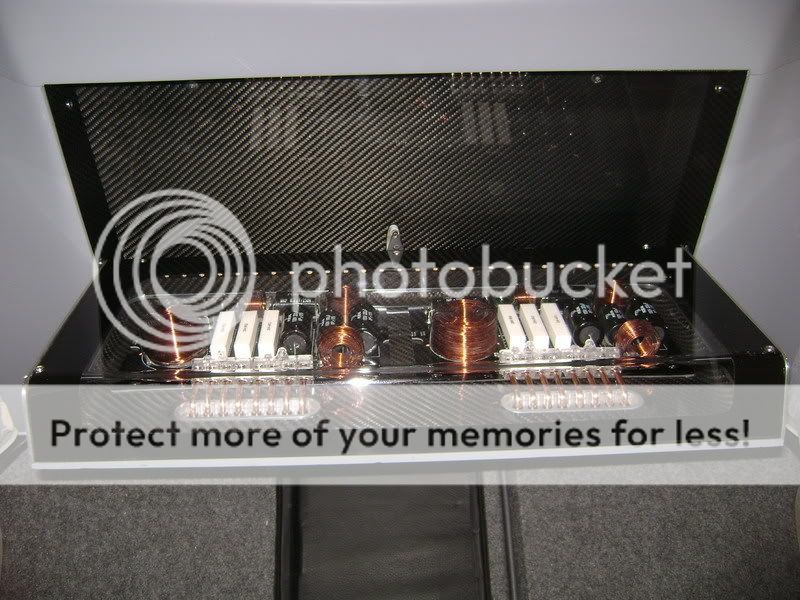
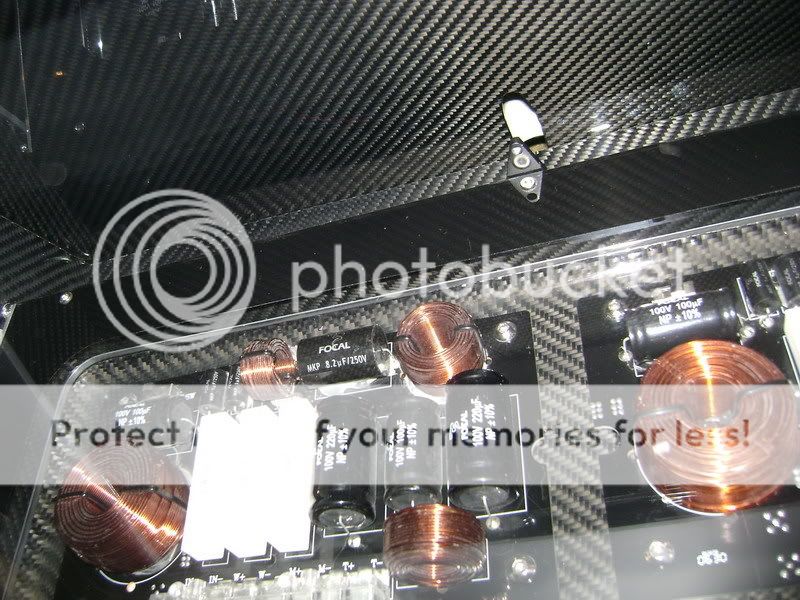
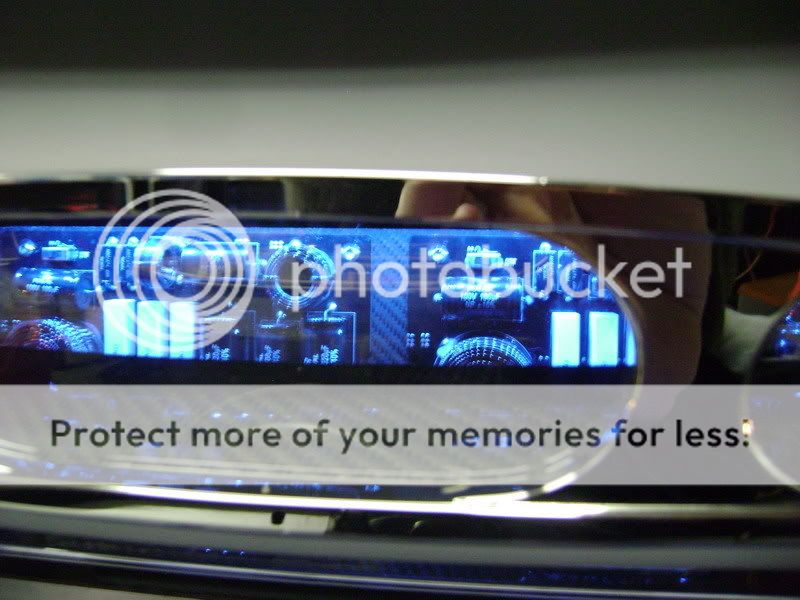
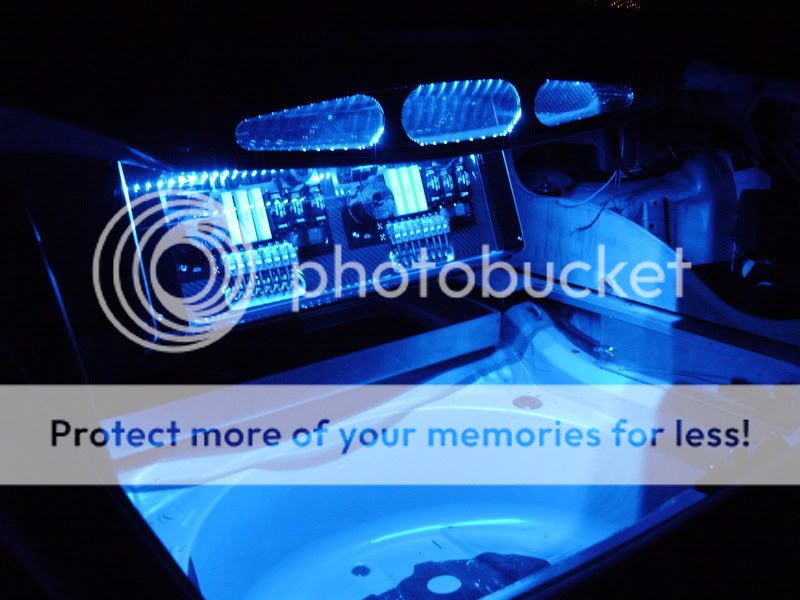
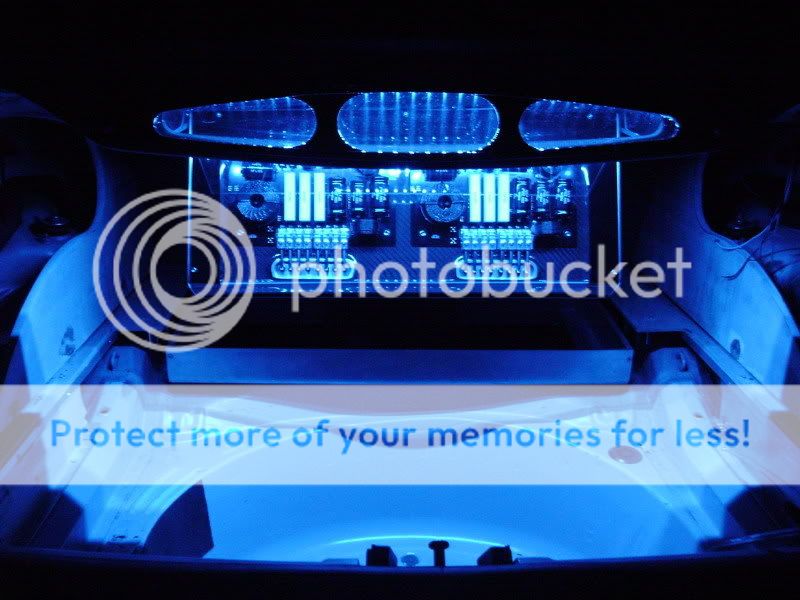
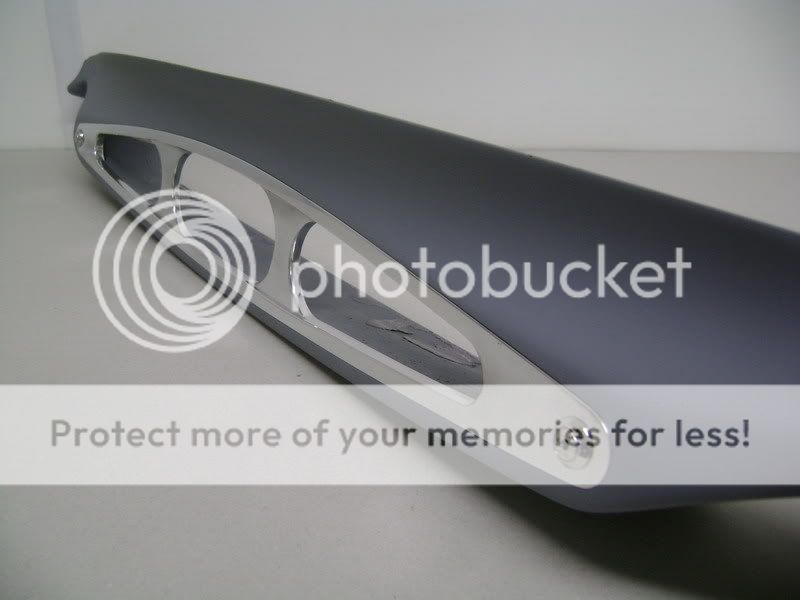
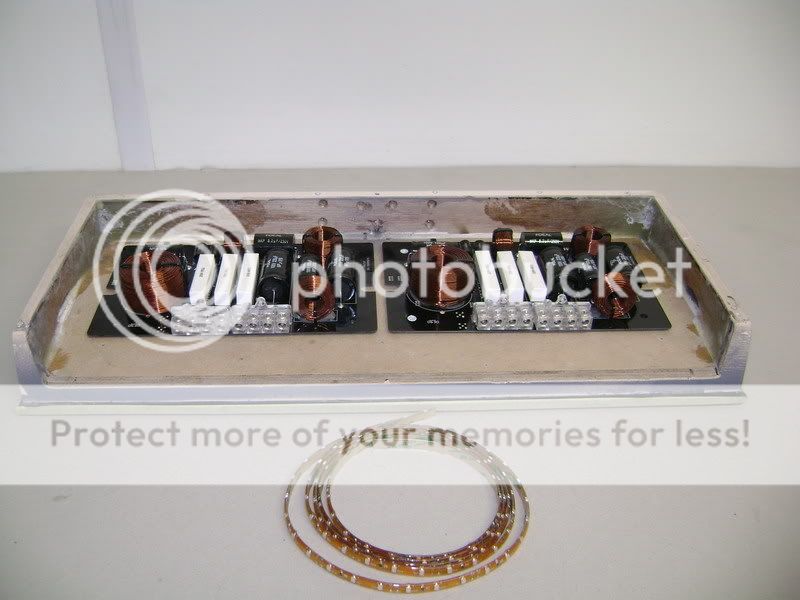
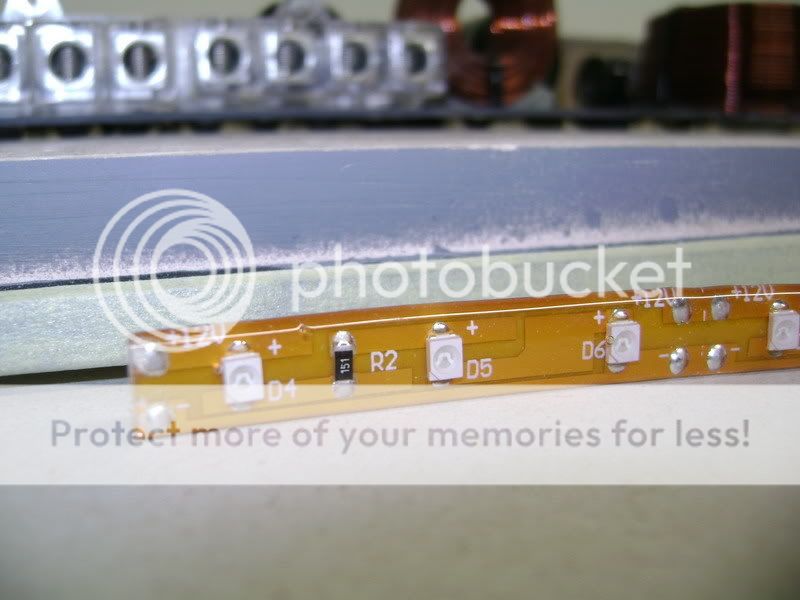
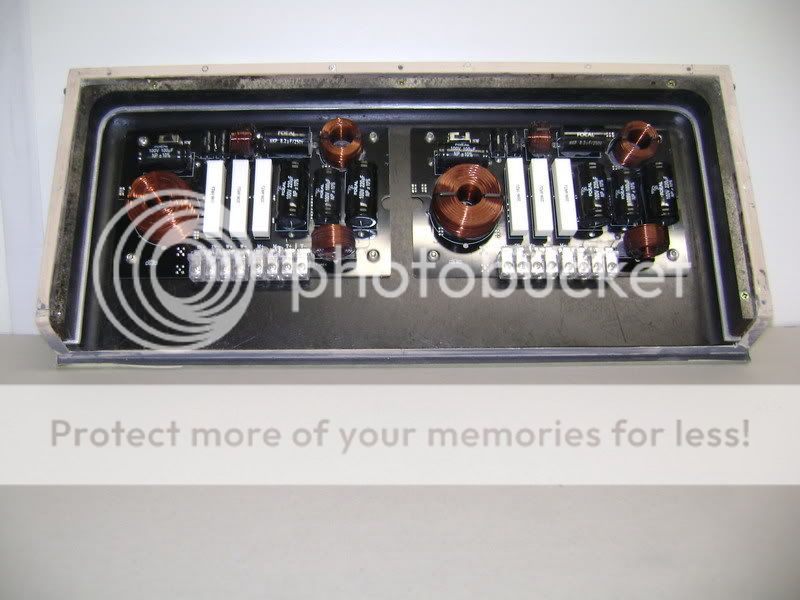
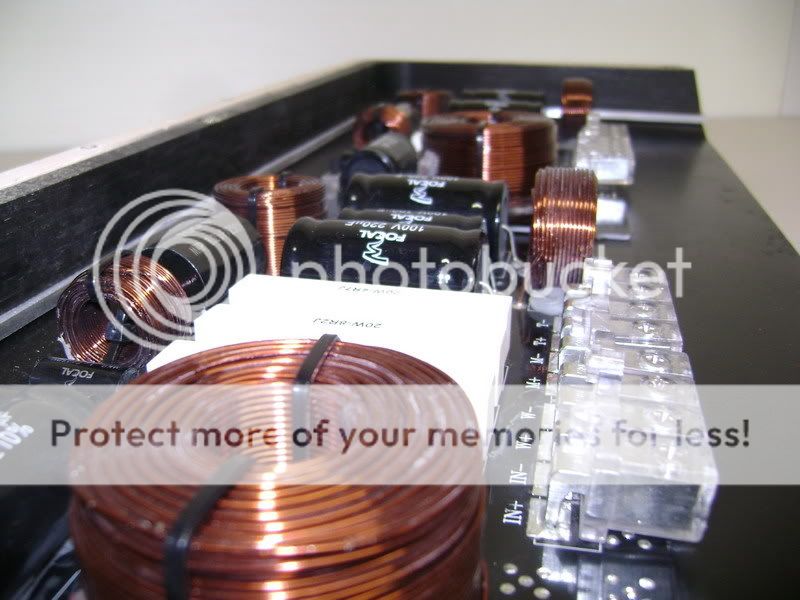
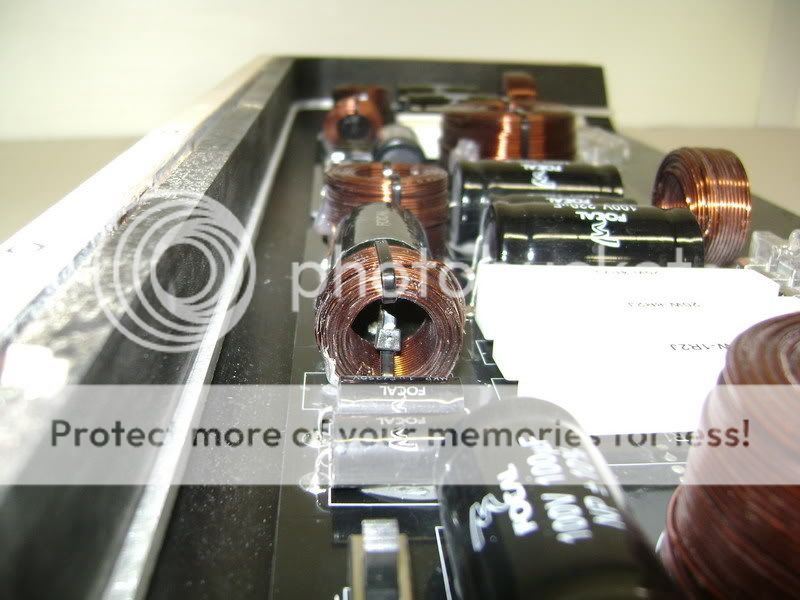
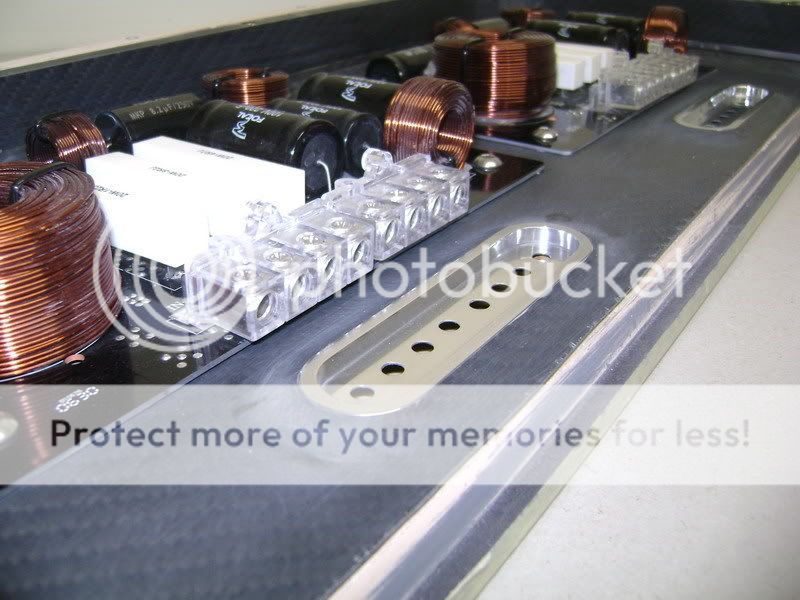
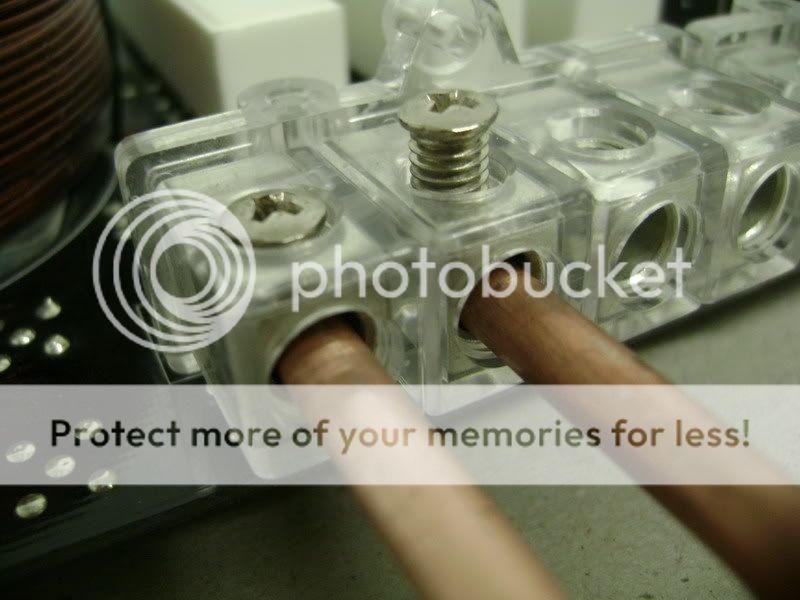
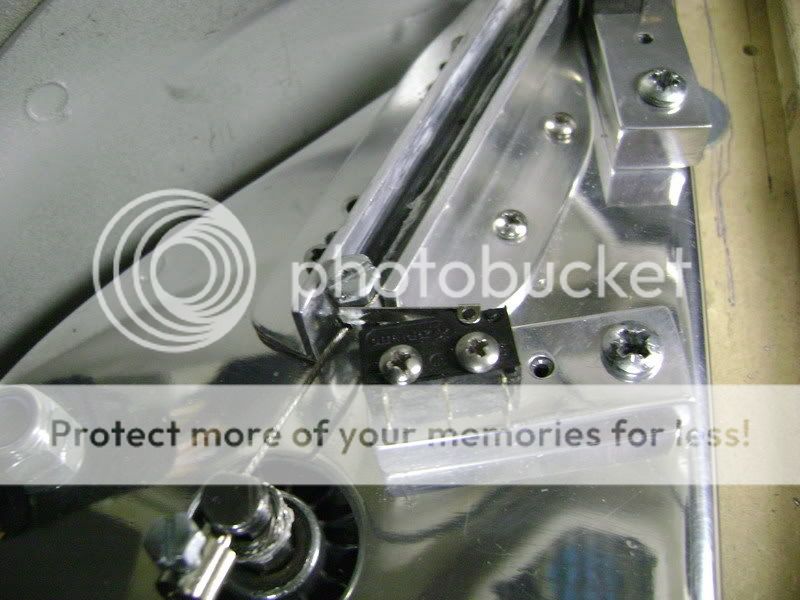
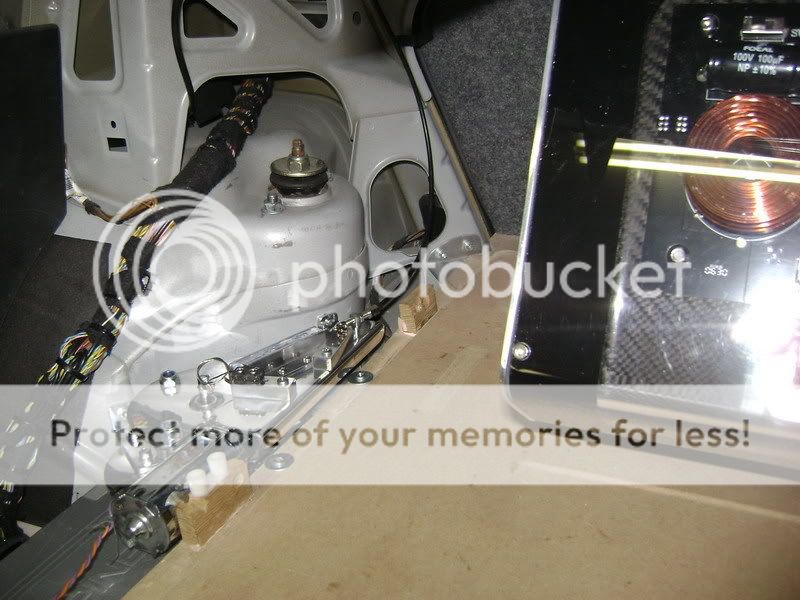
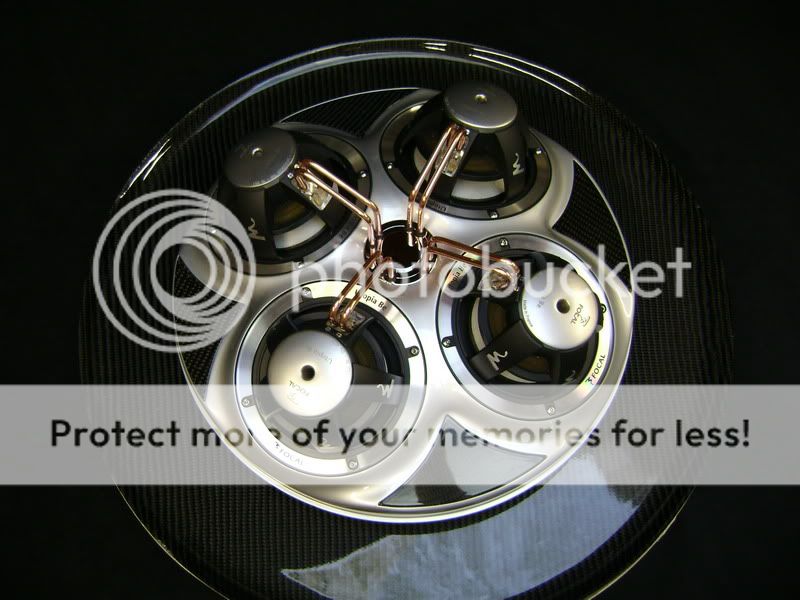
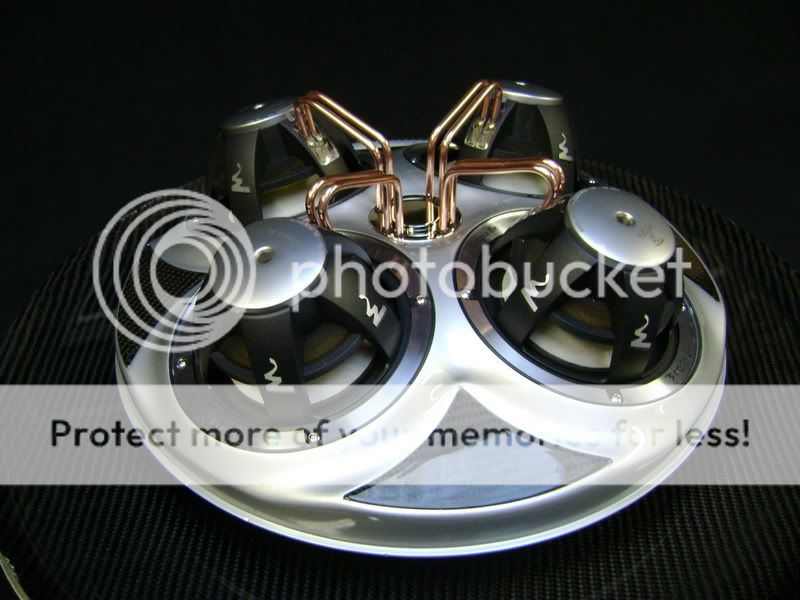
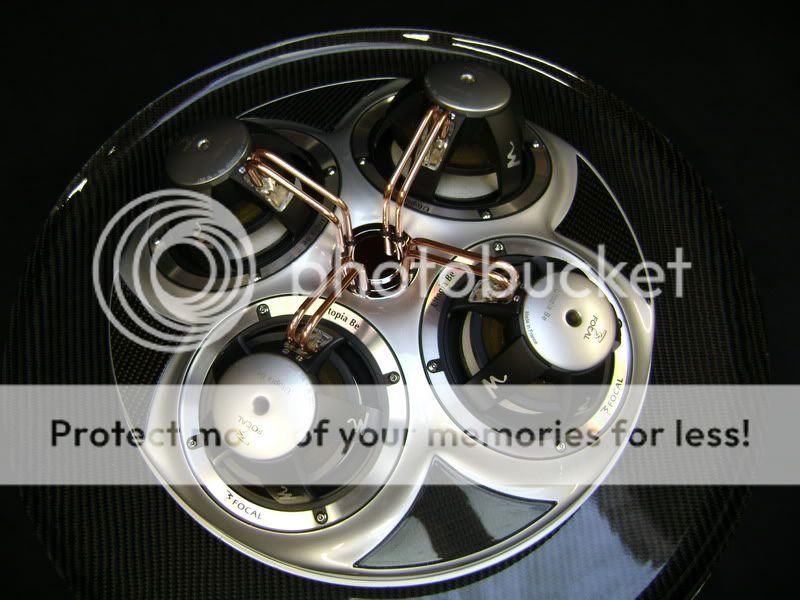
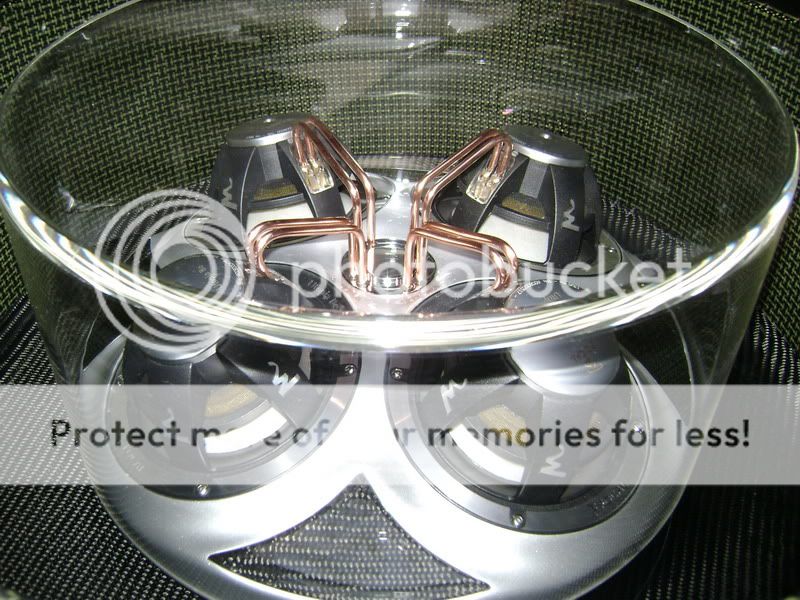
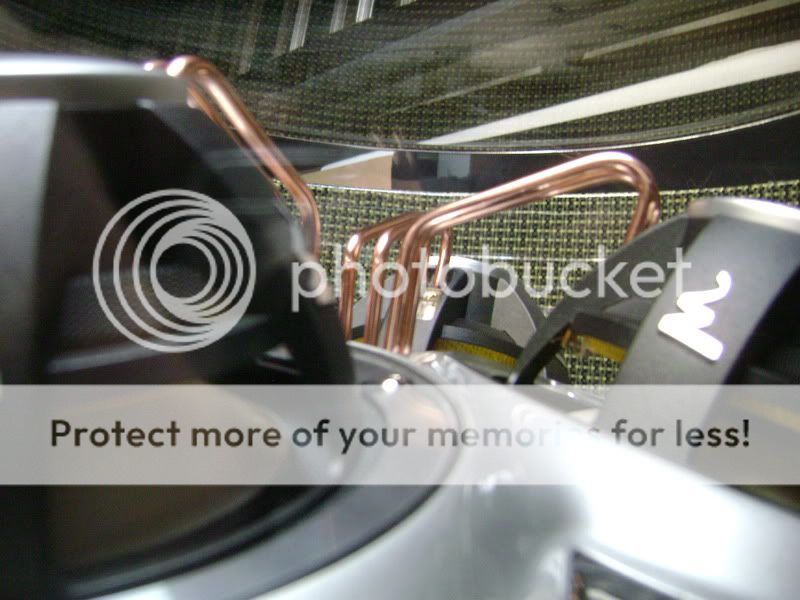
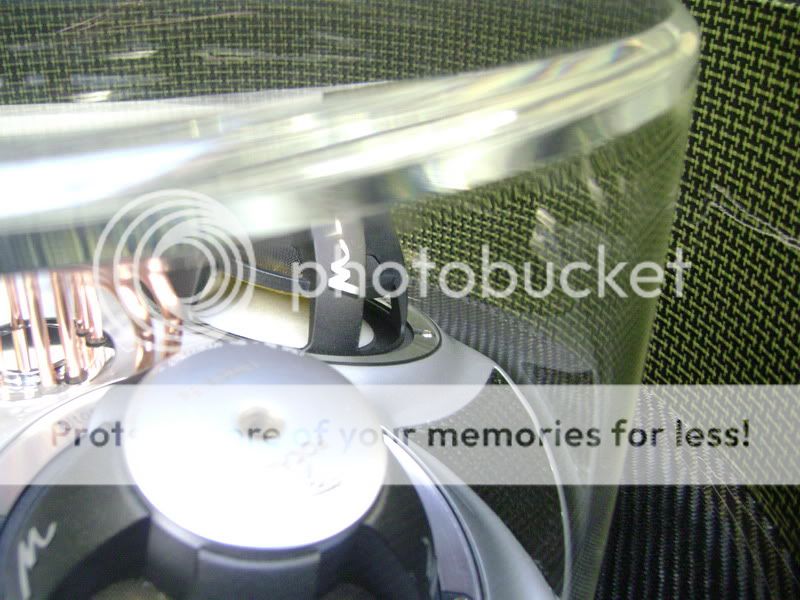
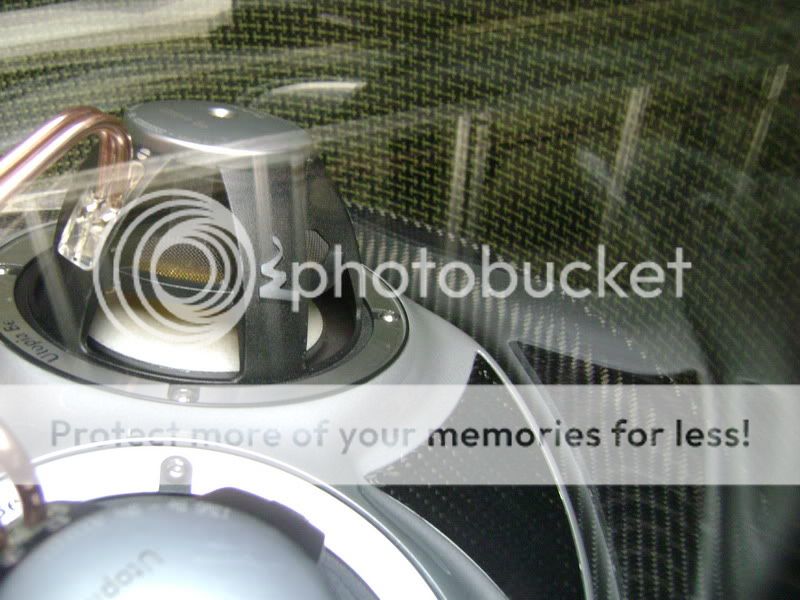
 here you can see how everything works
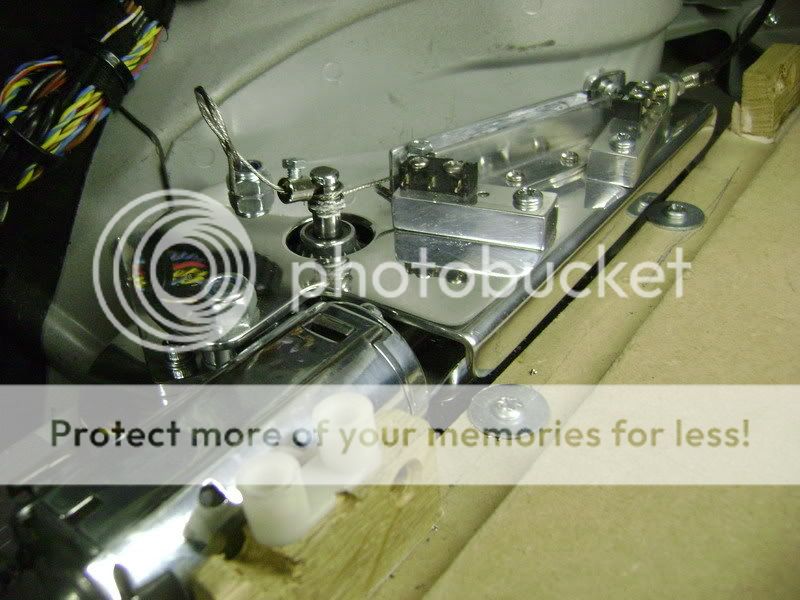
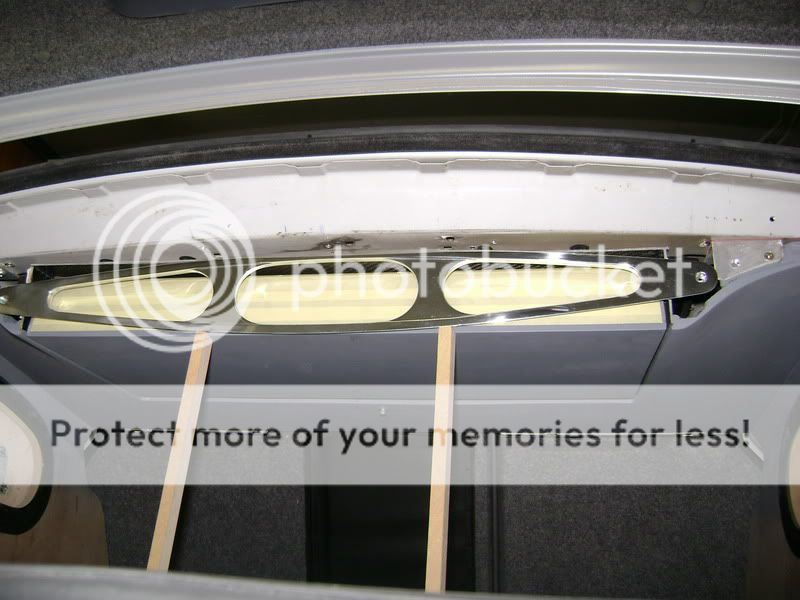
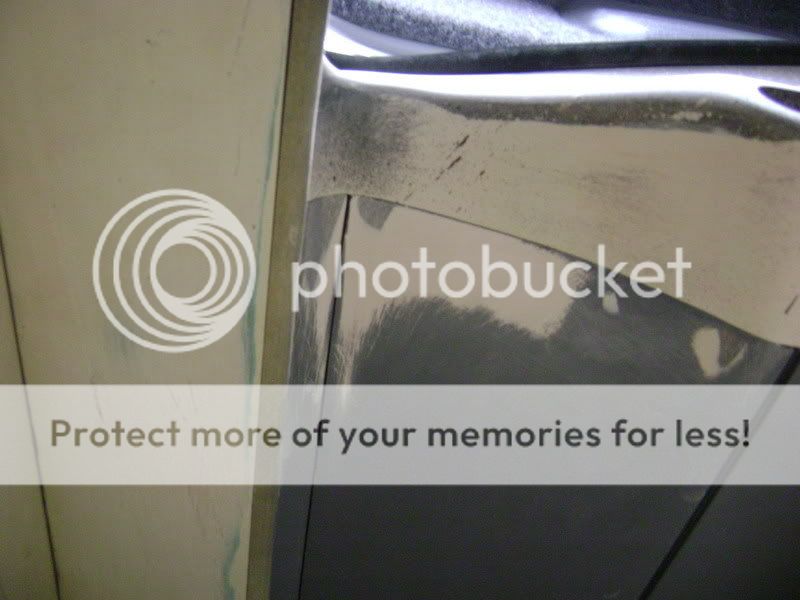
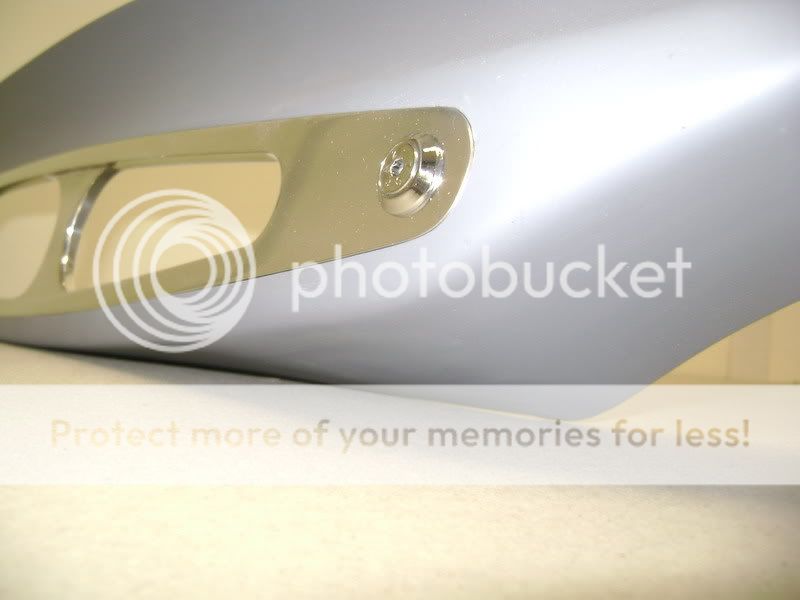
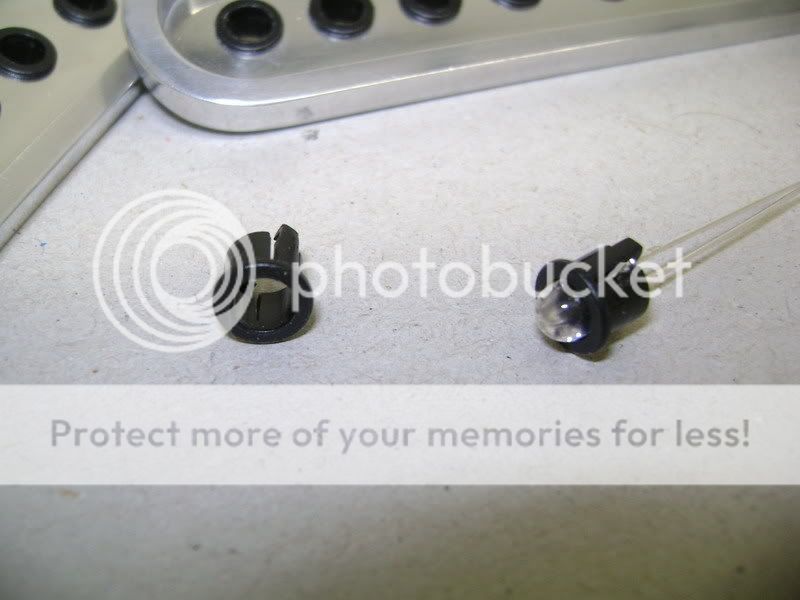
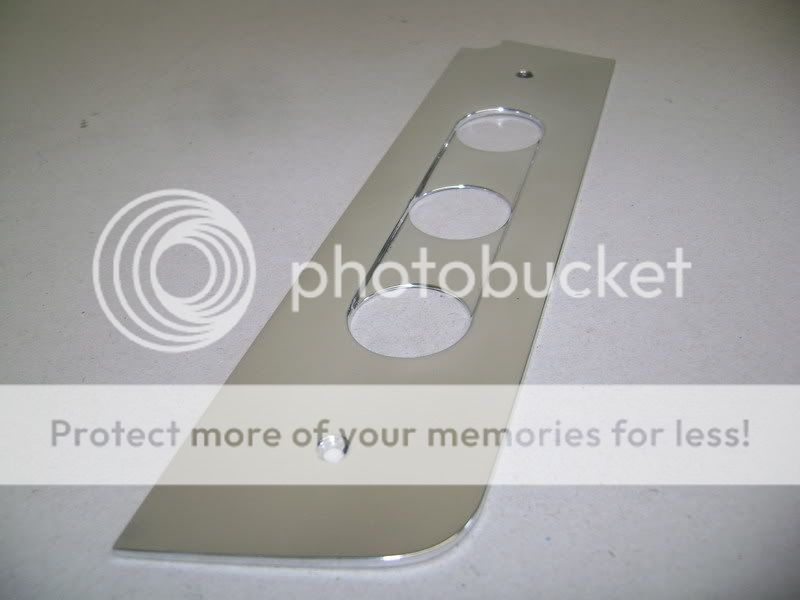
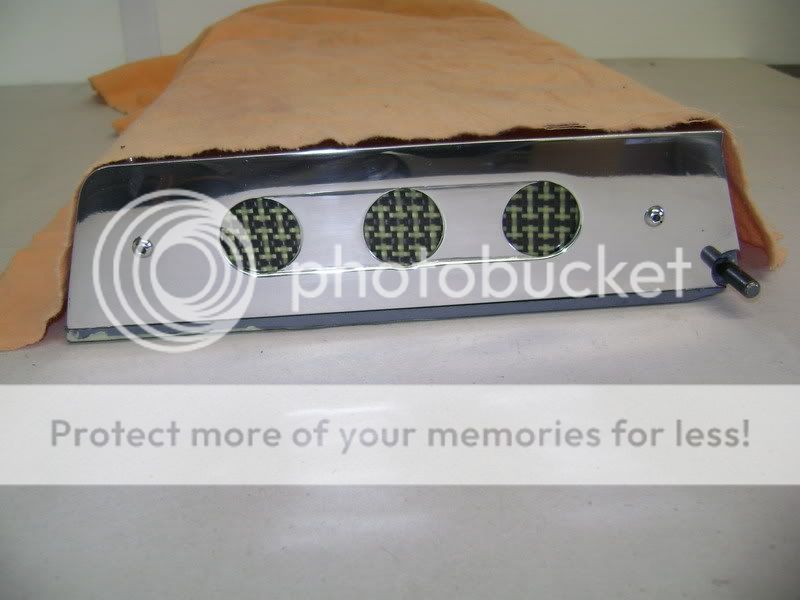
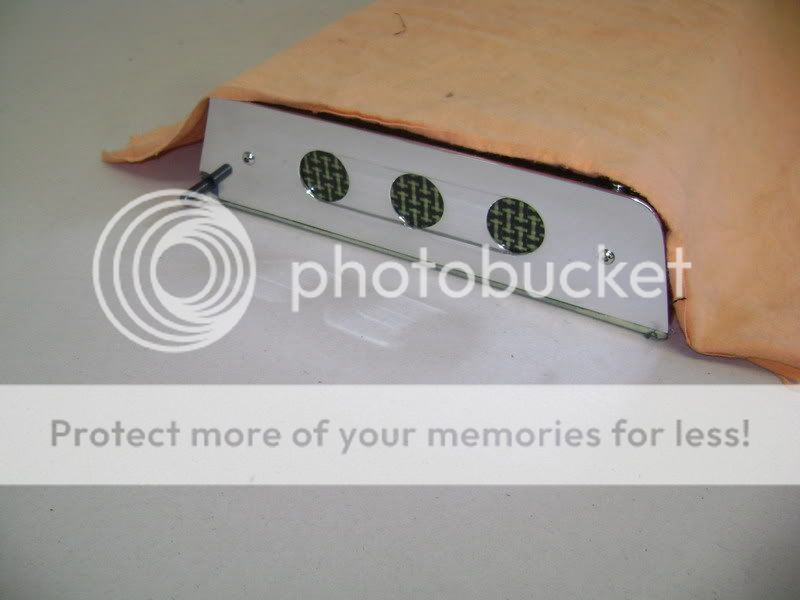
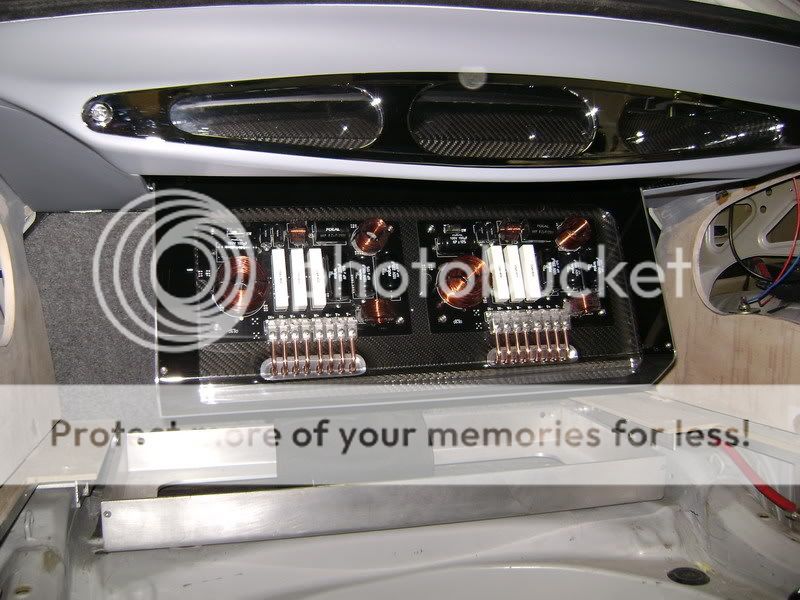
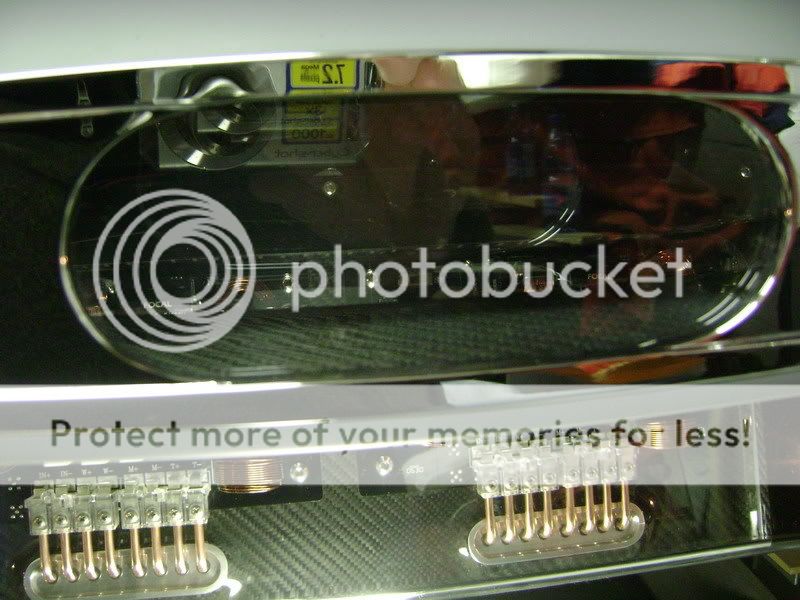
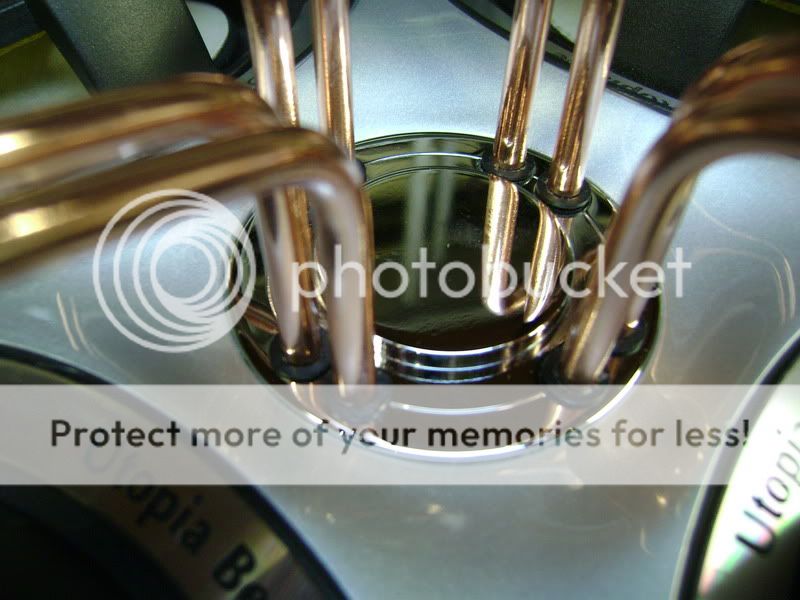
 The alu plate where the copper gets through got chromed. So keeping it clean, wont be an issue any more
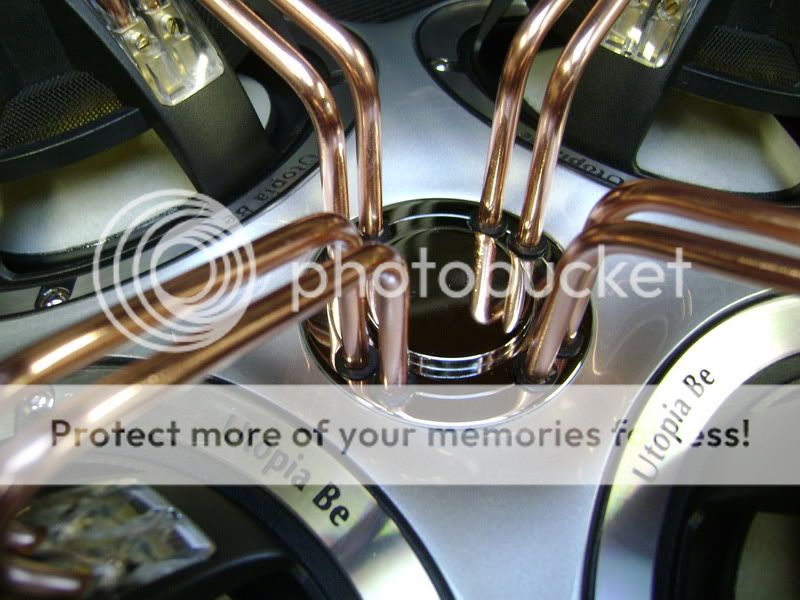
 Printable version


| You cannot post new topics in this forum You cannot reply to topics in this forum You cannot delete your posts in this forum You cannot edit your posts in this forum You cannot create polls in this forum You cannot vote in polls in this forum |

| Search the12volt.com |
Follow the12volt.com 
Wednesday, April 24, 2024 • Copyright © 1999-2024 the12volt.com, All Rights Reserved • Privacy Policy & Use of Cookies

Wednesday, April 24, 2024 • Copyright © 1999-2024 the12volt.com, All Rights Reserved • Privacy Policy & Use of Cookies
Disclaimer:
*All information on this site ( the12volt.com ) is provided "as is" without any warranty of any kind, either expressed or implied, including but not limited to fitness for a particular use. Any user assumes the entire risk as to the accuracy and use of this information. Please
verify all wire colors and diagrams before applying any information.
