I have gotten so much from this forum I figured the least I can do is post up my experience as I have seen many threads asking, but few answers about suede and vinyl. I used suede, vinyl will work as well, just easier to rip so you would need to be even more careful.
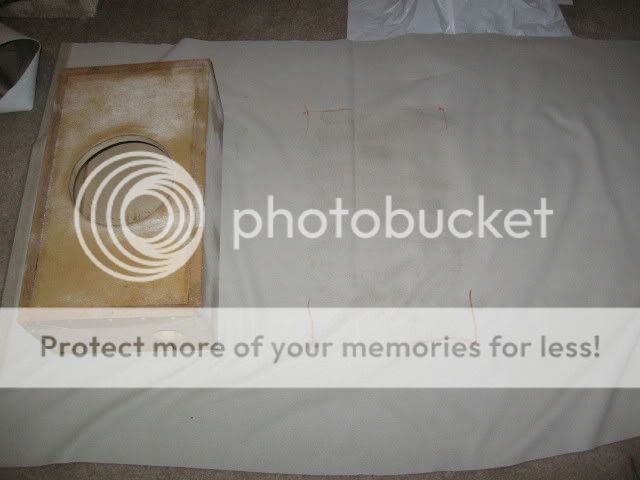
I have a Forester I drive daily and haul metal with to build my rockcrawler toy. I wanted to add a sub, but with a small box that would leave most of my trunk space usable. It is a simple rectangular MDF box. Don't mind the silicone...I used a jigsaw.

I got the basic idea for this technique in a post here on the forum, don't know who to give credit for it, but thanks.
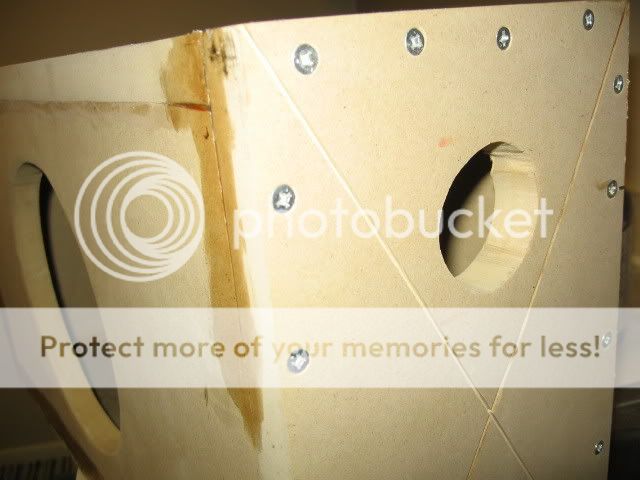
I would recommend using at least 3/4 inch material for the box as the grooves you need to cut will weaken the structural integrity of the box. 1/2 inch may not leave you enough meat left for larger subs.
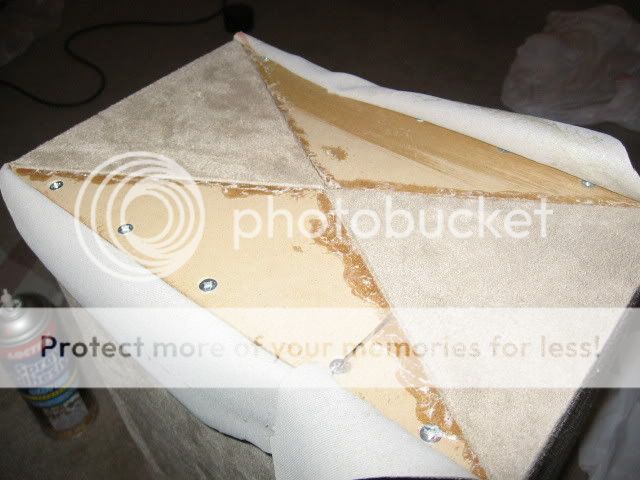
I used a grinder with a thin cutoff wheel to make the grooves, one on the back of the box length-wise, and an X pattern on each side. The grooves need to be at least 1/4 inch deep, I would suggest a bit more as deeper makes things a bit easier.

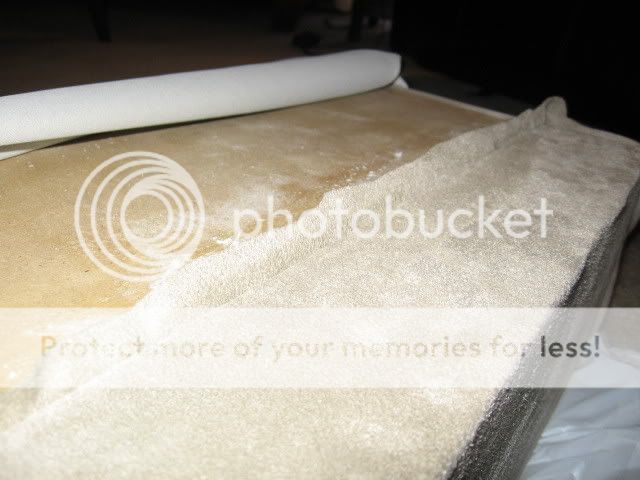
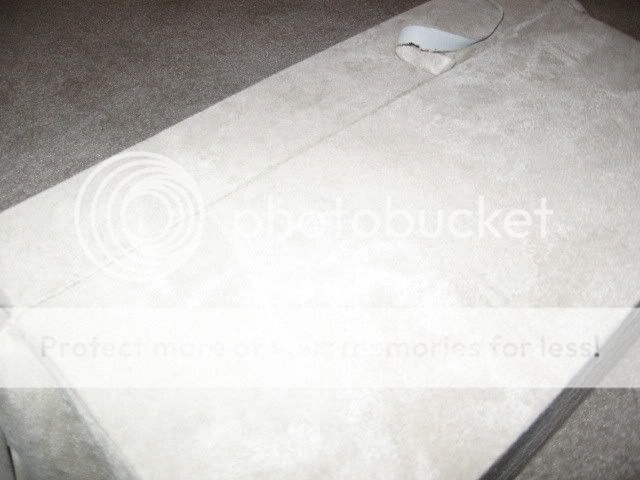
I started with the suede on the floor to cover the front of the box first. I used Heavy Duty Permanent Spray Adhesive by Loctite. It is supposed to be high temp resistant. I coated the front of the box and the area of suede then played twister on the suede to get it stretched while I set the front of the box down. After that it is matter of stretching it over the top and bottom. It starts to get tricky when you get to the back.

With the top and bottom glued down put the box face down. Start with the side closest to the groove. First trim the material so that it overhangs the groove by 1/2 to 3/4 inch. Apply adhesive to the box making sure you get some into the groove.
Trick: when working on the sides with grooves, DO NOT apply adhesive to the suede, only to the box. This will help you keep from getting adhesive onto the suede you already glued down and ruining the whole thing.
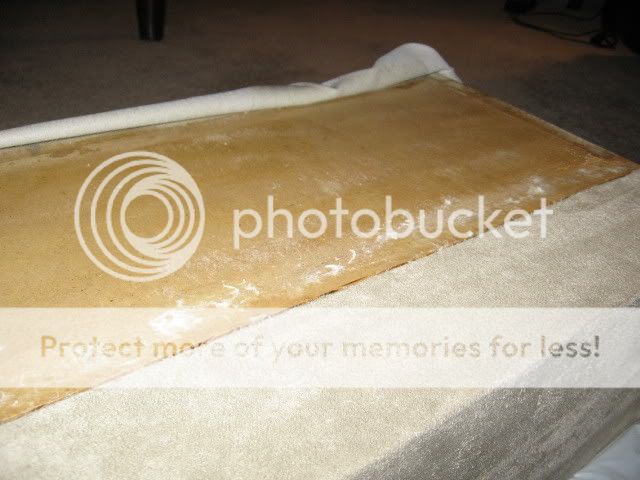
Now, using a thin screwdriver or putty knife, push the material down into the groove until you have everything nice and tight.
Now using a razor, carefully trim the excess material away from the joint. Take your screwdriver or putty knife and begin pushing the leftover material down into the groove. The material will compress until you have a clean seam.
Now repeat the procedure for the other side of the groove. This is where you need to be very careful not to let any glue onto the material that overlaps the groove as you are working.

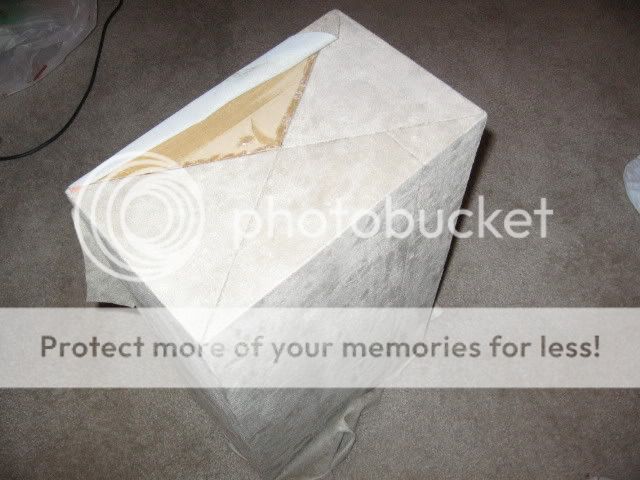
The sides are tricky. Cut the triangles so that they overhange the grooves and do opposite sides at a time.
Trick: when you cut the triangles, don't cut them back all the way to the corner of the box. Leave 1/4 inch or so. The extra material can be forced into the groove and you won't have any MDF showing through the corners.
The procedure is the same for working the grooves.
This finished product isn't perfect, but I am quite happy for my first sub box.
Here it is ready to install:


Good Luck!
Make sure you bolt that thing down.... how much will it weigh with the woofer in it?
You and a few of your close friends lift into the rear of your rig.
I think the suede looks killer. Nice work.
-------------
With the sub installed and the amp mounted to the back of the box, it has a bit of weight to it. Here it is in the car. It is held by industrial strength velcro on the bottom, and straps on each side to the factory steel tie-downs in the trunk.
It is a 9kv Elemental Designs sub with a 300W Memphis amp. I am surprised and very pleased with the sub...it hits MUCH harder than I expected.


I learned something new today! thanks for the post... work looks great!
-------------
...don't crush the weasel...
That was the whole point. I kept seeing the question asked over and over. It took me the better part of a week and three tries to get it to work properly. I ruined quite a bit of material, but I am happy with the outcome. Even better because it sounds fantastic in the car.
Well inside the car the box doesn't look as BIG as it did setting on the ground, and table.
Wondering...... it's a synthetic suede, is it not?
-------------
Yes it is "micro-suede." Same stuff they make cheap couches out of. Got it for about $8.00 a yard. Real suede started at about twice that and I couldn't find one that matched as close as this did. I believe real suede should work just the same, though, being a bit stiffer material, may require more work to get the seams in place in the groove.
The first cover I tried was vinyl. It was the kind with a light fuzzy backing material. Disaster. First I tried contact cement and it destroyed the vinyl, then I tried 3M Super 77 and it went on great, but by the time I started the back seam, the top had started to bubble. Looks like the vinyl separated from the backing and maybe some chemicals in the glue or material formed gas pockets? Not sure, but the lesson is I think, to use vinyl with no backing.
Jo-Ann Fabrics. I also have a Hancook Fabric near me that has a good selection, just didn't have the color I needed. Either of those or a place like that will have what you are looking for. Yes, you will likely be the only guy in there.
looks sweet, that really takes care of the exposed edges ans possible peeling of the corners, nice job. hancook fabrics is a great store, i did my custom seats in my f150 and i went there. i was the only guy there though, but the nice older woman that helped me was very understanding and supprisingly interested in my project, considering i had to use a sewing machine to make the new seats. she even wanted me to come back so she could see the finished product, and she was quite impressed. anyway good job.
-------------
Make it Euro'n!!!