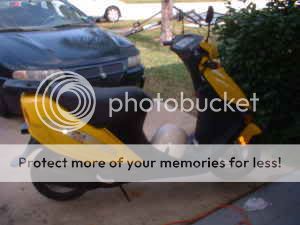
Well i ended up buying a used 2002 hyosung 50cc scooter to ride to work and such, it turned from a gas saving eco friendly way to get back and forth cost effectivly, being in my nature i decided to take all of the cool stuff i had laying around and see what i could come up with =D.
Here it is the day i picked it up.

you get the idea.
First thing i did was i had a small 3.5Liter air tank and a small compressor laying around, i cut out an oval in the front of the udner seat compartment to allow it to fit and stick out so i can tell everyone its a nos tank lol. its capable of 150psi and i have a pressure switch thats 125 on 145cutoff.
when the money is a little better im ordering a firetruck horn from airhornsoftexas.com they seem to be the only company i can find that carry the grover stuttertone horns which is exactly what the fire engines have. i already measured and it will fit, the horn is going to be mounted under the floor on the right side tucked from the under seat trunk and will come right up behind the front wheel well .perfect and stealthy.
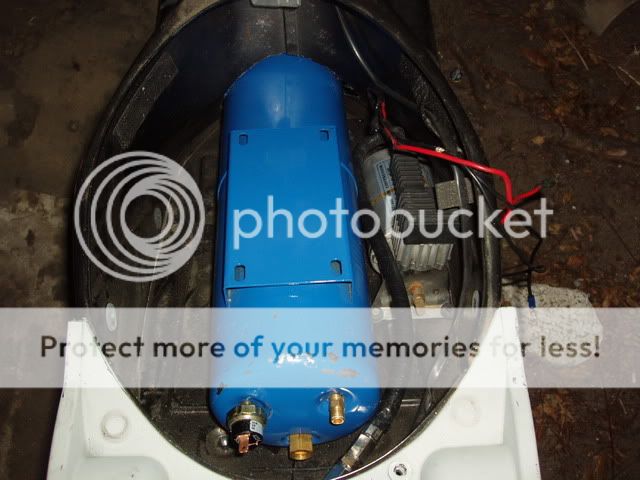
i removed the old clunky air box and made an aluminum bracket to hold the compressor under the seat with out smooshing anything.
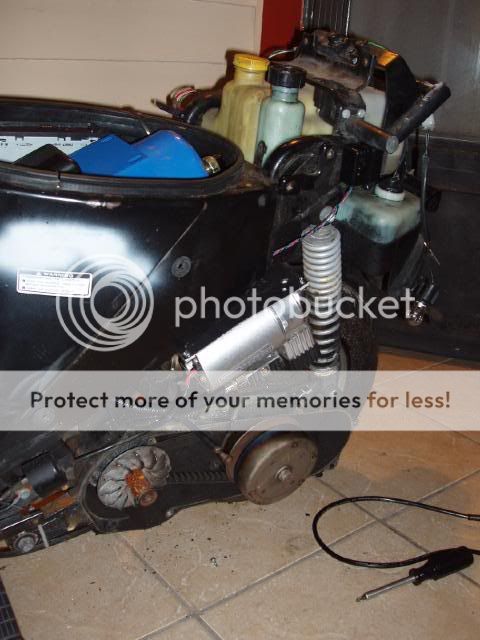
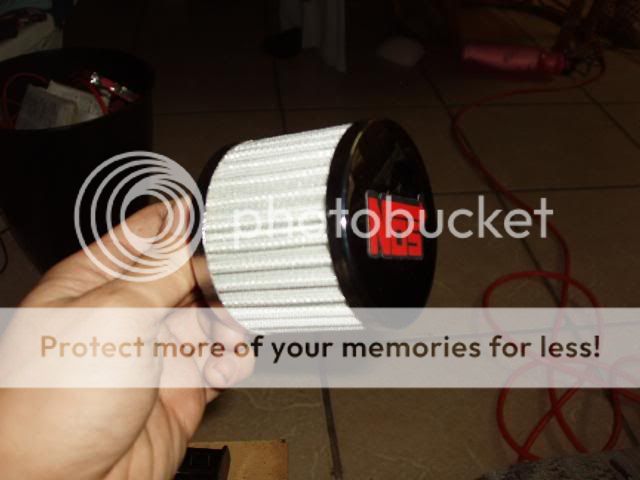
also since the old air box and filter were junkyand gross i trashed them and used a PCV filter and some radiator hose forced over the intake o make a better intake, comparing costs for a 35mm filter (39$) to making this for around 25 total you cant go wrong.


the compressor gets protected from the rain and hidden behind trhe side panel.
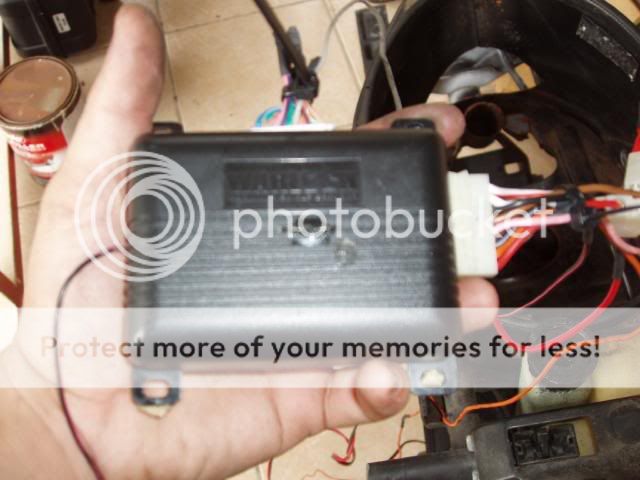
i upgraded to a better alarm in my truck so i took the old warlock alarm and used it for the scooter.
used the hood pin switch under the seat to protect my goodies.

the shock sensor is next to the trunk key hole.

i mounted the siren speaker under the floor where its still above the frame. (i moved the battery from up front to the trunk to save room and to upgrade the extreamly undersized factory wiring.
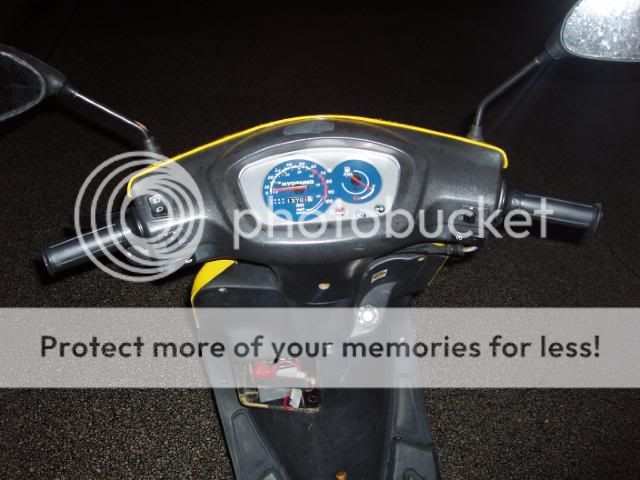
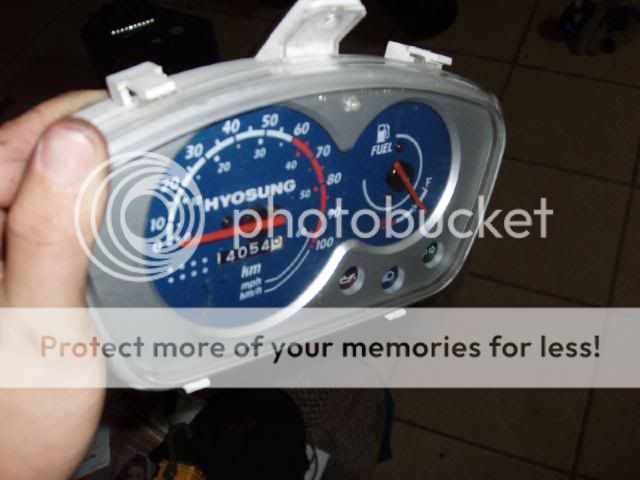
mounted the led in the gauges
heres the layout im going to use to hide everything under the seat
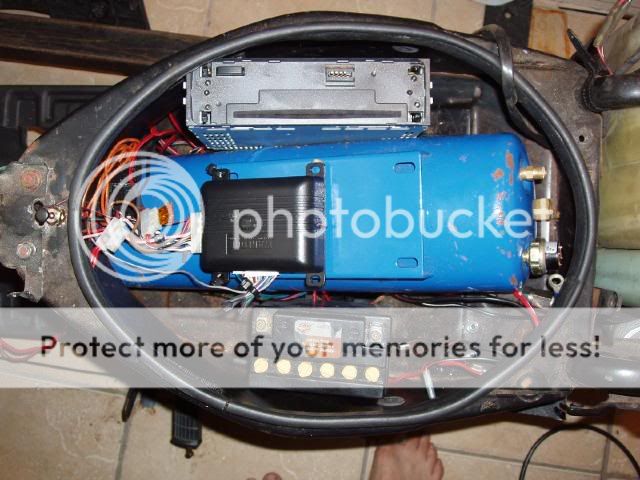
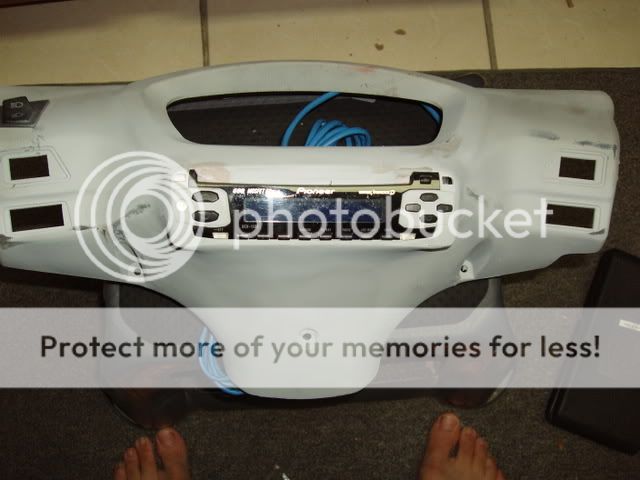
the radio brain has a detatchable face (its an older model pioneer deh-1500) it was a feeebie so i took the faceplate off, removed all the guys and pcb parts and molded it under my gauges. i sodered some cat 5 cable to the face plate contects and to the radio brain in the trunk to make sure it doesnt get wet or anything.
i used t shirt to get the shape i wanted and to soak up the fiberglass resin,
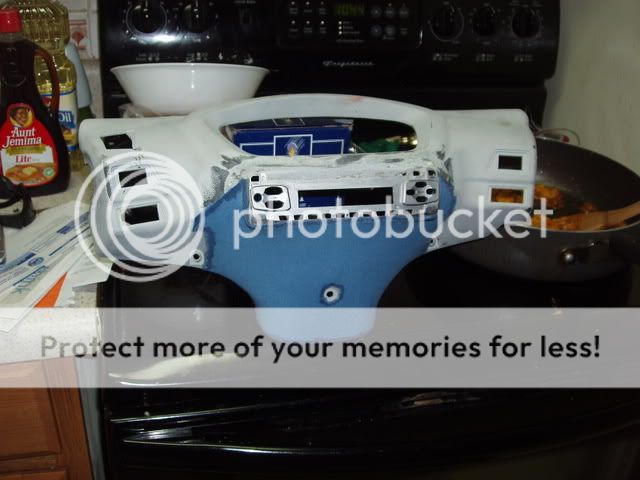
sanded and gave it a coat of 1k primer
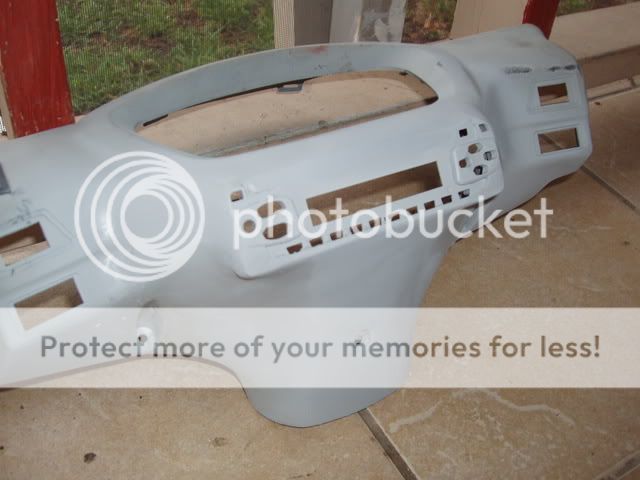
still needs a last sand before paint but you get the idea.
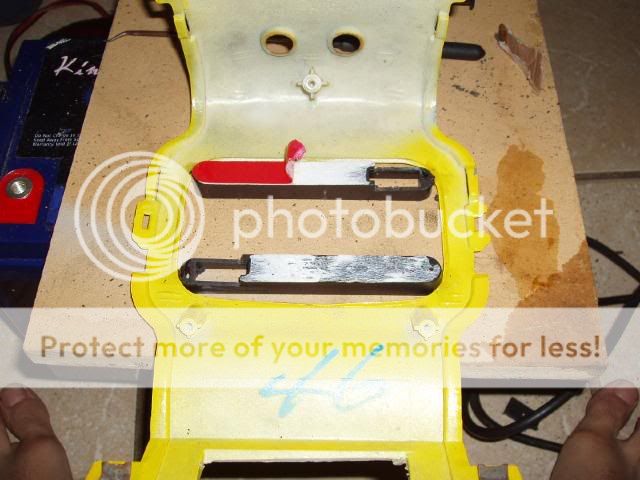
i used a police head light wig wag module from galls to make my high beam headlights alternate left and right,i took apart the giant red switch and sodered the wires together so i can use my own switch to trigger the lights on from up front with out a big dum red button. heres the video ignore the creepy grunting laugh lol

i started making some custom led brake lights, heres a vid of the leds them selves out of the casing.

im goign to set them up to stedy glow when driving and alternating in opposite directions when the brakes are hit.
glued the casing in position
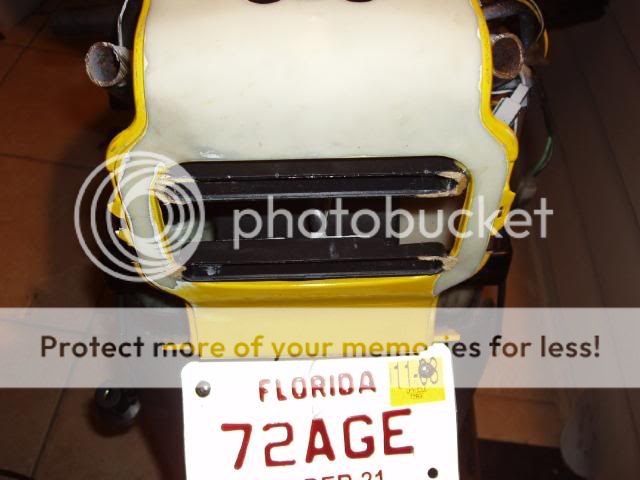
used a shirt to cover compoetly over the front of the lights i sprayed some tin foil with cooking spray and layed the panel upside down on it, and put a heavy container on the back of the light casing to hold them flat on the surface, then i brushed on some resin around the outside edges to mold them in solidly but to keep the original front opening the same shape to mount the clear covers back on with less work.


thats about all the progress i have done so far, this weekend hopefully i can make the molds to hold 2 6 1/2 woofers where the front battery compartment used to be and tweeter pods above the gauges.
ill post progress as i go.
quick question.... what happens if that radio goes bad? Are you just going to have to get another 1500 or do you have it so you will be able to reuse that faceplate with a different radio? Great build... cant wait to see the finished product!!!
-------------
Kenny
Owner / Technician
KKD Garage LLC
Albany, NY 12205
offroadzj wrote:
quick question.... what happens if that radio goes bad? Are you just going to have to get another 1500 or do you have it so you will be able to reuse that faceplate with a different radio? Great build... cant wait to see the finished product!!!
Nothing but the actual front piece of the faceplate is permanent, if it were ever to go bad i have a replacement that i got on eBay, because i lost one of the buttons when i was molding it in and had it apart. and all i would have to do is unscrew the 4 screws on the back and remove the electronics and re-solder the 8 wires to the new faceplate pcb.
How did you manage to get your toes into those pictures?

-------------