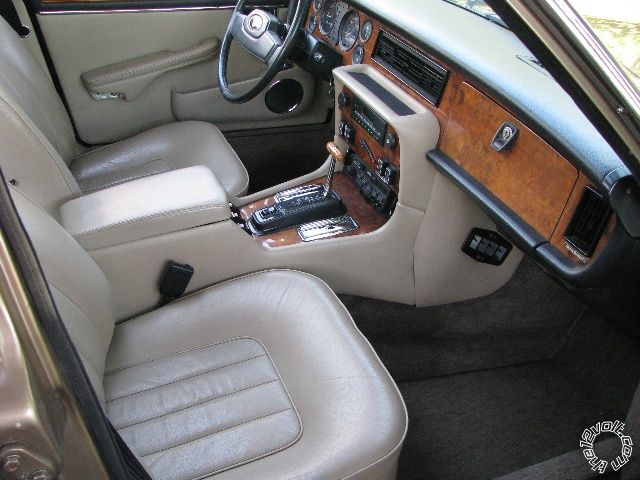
jaguar xj6 1988
Printed From: the12volt.com
Forum Name: Fiberglass, Fabrication, and Interiors
Forum Discription: Fiberglass Kick Panels, Subwoofer Enclosures, Plexiglas, Fabrics, Materials, Finishes, etc.
URL: https://www.the12volt.com/installbay/forum_posts.asp?tid=119500
Printed Date: January 29, 2026 at 11:58 AM
Topic: jaguar xj6 1988
Posted By: squires500
Subject: jaguar xj6 1988
Date Posted: January 20, 2010 at 7:19 PM
a close friend of mine has offered me the very alluring job of doing all interior work on his jaguar for free :) haha, anyway i decided to start doing it a few months ago and figured i may as well post pics and some details into how the work is going, and hopefully you all have some help full comments and hints.
so the plan was starting with the base model xj6 jag, a complete overhaul to a competition car, meaning new kit paint job some nifty additions like suicide doors and sunroofs, and the soon to be world famous completely new interior.
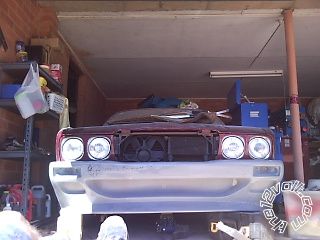
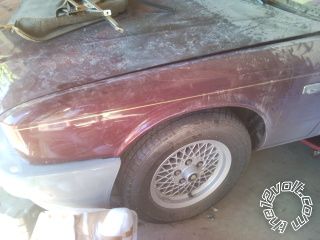
so to start ill upload some pictures of the exterior, unfortunately we have quite a small work area so the jag is covered in dust(the car fits in with about 2inchs either side). the gray parts are the new body kit which is just being fitted, unfortunately its not a very good kit, its completely uncut and has no real way of mounting it anywhere. so if anyone has an idea of how it could be mounted with minimal fab work that would be awesome.
Replies:
Posted By: squires500
Date Posted: January 20, 2010 at 7:49 PM
anyway the inside is what i'm more interested in so to start the rear doors where converted to suicides by a very reluctant fabricator, and now look awesome.
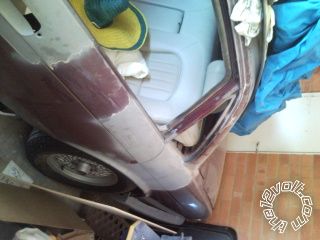
unfortunately thats the only photo i have atm so ill have to remember to take a better one next time.
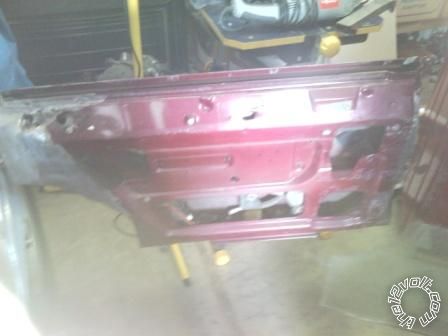
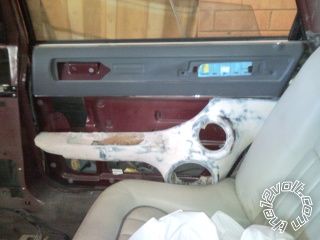
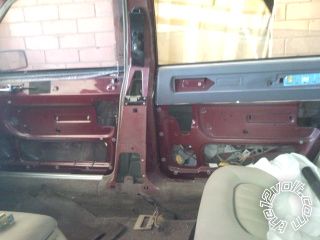
so to give you an idea the inside has been stripped minus the rear seat which isnt mounted properly here but is sitting there to give you an idea of its position,
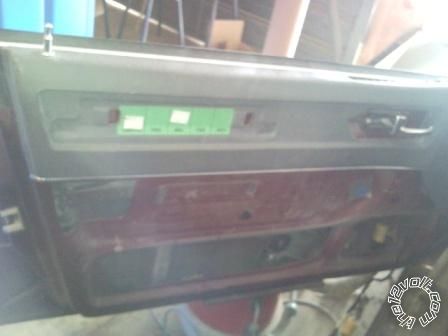
the original door cars of a jag have a wood-grain insert in them, one of the requests was to keep this piece as stock as possible, however the rear doors are now longer then before when open so a new piece needed to be fabricated.
first i took the original and stripped back the vinyl covering if done carefully this leaves most of the foam backing. then the painfully slow part i took a small drill bit (about 1mm) and went to work on every foam part of the piece, this was to allow the bog to grab hold in the holes and be less likely to brake.
i then made a copy of the back of the door where i wanted to extend the length of the part.
i glued this to the back of the original part and used a stretch fabric to cover it i then glassed this piece in. i was then able to bog and sand the entire piece to make it look as close to factory as possible.
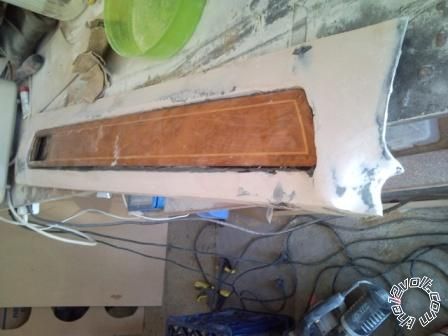
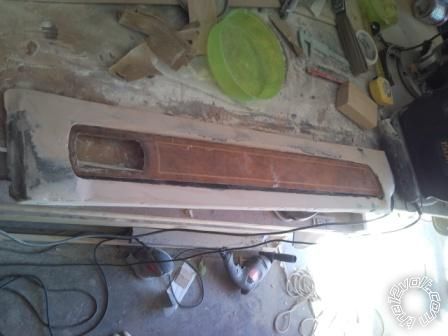
thats the part so far without the edges finished clearly.
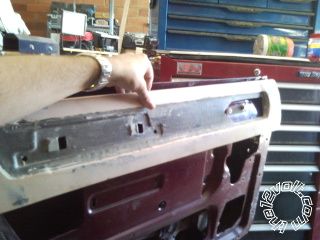
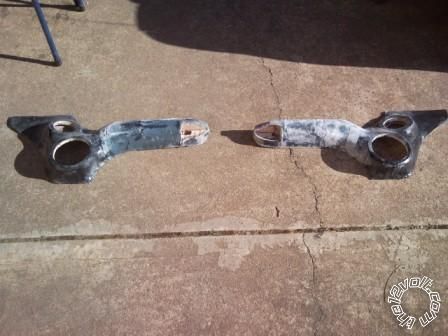
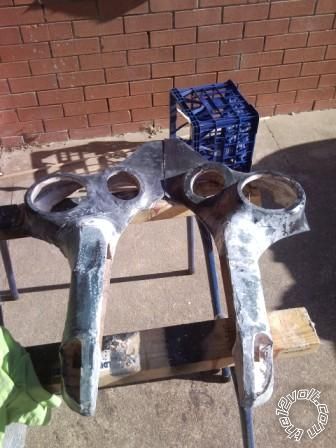
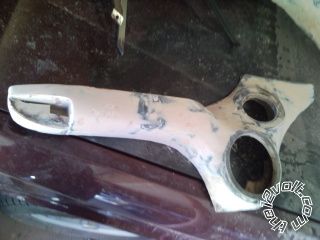
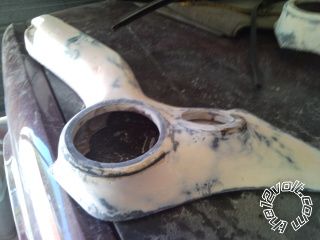
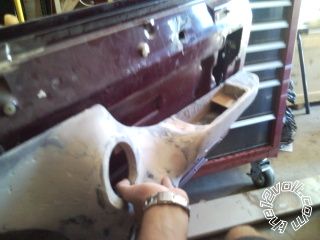
thats its position on the back door of the car. ill take pics of every stage when i do the next one. the next piece was a pod for speakers 6' 3.5' and a tweeter(which will go in the pillars), as well as the new window controls and a flood light. again i dont have pics of most of the inital stages but i will take them when i start working on the front doors.
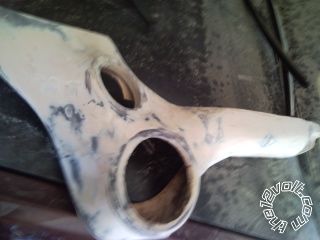
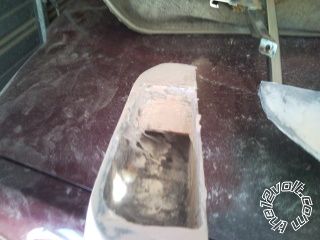
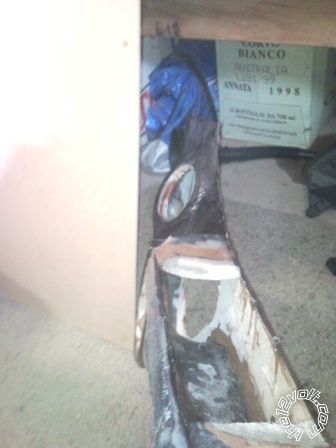
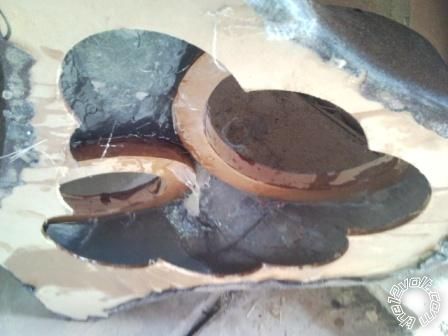
the inital shape was made by building an internal rib structure out of 3mm mdf, much like a skeleton. the part was then covered in stretch fabric, unfortunately i didnt use enough ribs in the arm rest and the fabric sagged so it will require more bog then i had intended on. after the stretch fabric was put on i coated it in 2 layers of resin, i then cut the back out of the piece u can see this in the last pic, i continued to glass the piece from the inside as much as possible. which is a bit messy on the inside in this pic but i cleaned it all up with a dremel in about 10sec. in the third pic u can see the hole for the woodgrain window controls and a handle which ill try show better later on, and the whole at the end has a puddle light which fits in with the curves.
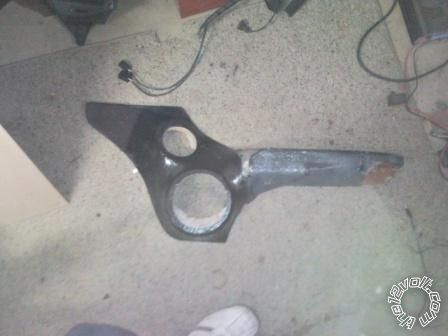
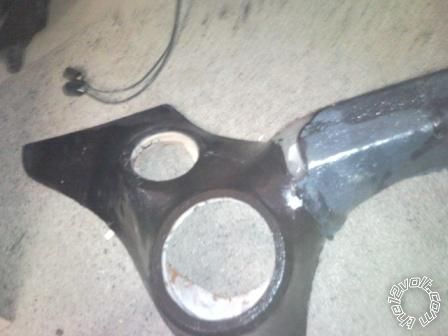
Posted By: squires500
Date Posted: January 20, 2010 at 8:04 PM
Posted By: squires500
Date Posted: January 25, 2010 at 5:55 AM
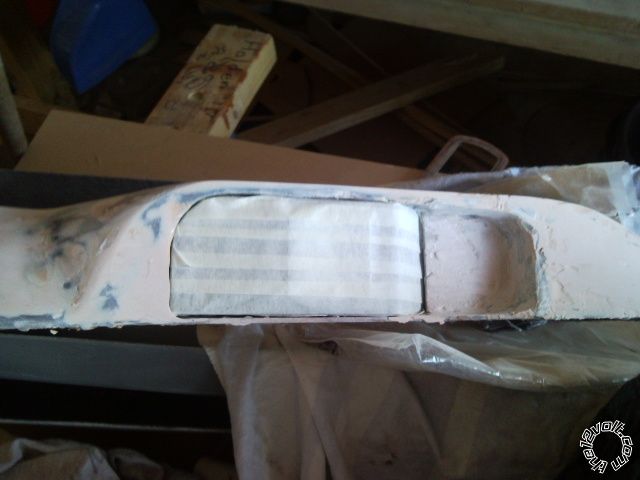
here is a photo with the window controls, they are all taped up to prevent scratching while im working unfortunately. down the sloped side is a padded vinyl cover and ill mimic the same on the base of my handle by building a vinyl insert. the vinyl that covers the whole pod will be fold over the edge and run under the base insert, the whole pod will be covered with a 6mm medium density foam. hope that all makes sense.
Posted By: oldspark
Date Posted: January 25, 2010 at 6:12 AM
Nice job. But if it's like older XJ6s with a LONG starter-motor power cable (battery to & across firewall to other side), make sure that that cable is secured & insulated well. I have seen three XJ6s burn to ground (pun intended) from starter-cable shorts.
Posted By: squires500
Date Posted: January 25, 2010 at 7:52 AM
i have no idea where the starter motor cable runs but i will definitely look into it now, I'm hoping the owner springs for an LS1 engine to put into it but i doubt he will and i assume it will continue with the same old Jaguar V6, which is shattering news, for all jaguars great looks they are in my opinion some of the worst made cars ever, at least anywhere with a semi harsh climate aka Australia.
thanks again for the heads up, id be very annoyed to say the least if it ever burnt.
Posted By: oldspark
Date Posted: January 25, 2010 at 7:12 PM
The cable should be easy to find - trace the heavy wire from battery +12V etc.
I think it used to loosen and wear thru the insulation along the firewall. Although better mounting is possible, I think many owners used to add insulation - ie, garden hose etc.
I remember driving an E-type and was impressed with its 6-cyl torque. I though it would have been a far cry from the V12 version, but in some ways I think I preferred it.
THE Jags are a lovely car to cruise in. Even the E-type handled well but had harsh suspension. (Except for its engine which was a bit more potent than my 1500cc OHVs, I preferred my Jap cars(s).)
But like most English cars, the are designed as if they never have to be repaired.
And I suspect they collaborated with Italians when it came to electrics.
Posted By: squires500
Date Posted: January 26, 2010 at 6:27 AM
they are great to drive when they are driving haha e-type jags are much nicer the old poverty xj6's, ill look for the cable tomorrow when i go do some more work. thanks
|


