For those with a Wrangler who don't mind losing the back seat, this idea or a variation of it may be for you.
1st we start with covering everything and anything we don't want resin splashed on. IT WILL IF YOU DON'T TAKE PRECAUTIONS.
Hefty 3 ply trashbags work wonders in the vehicle and out as you can cover your work table with them by taping down the edges...make your mess...then wrap it up and toss away. Recover for the next step and so on.
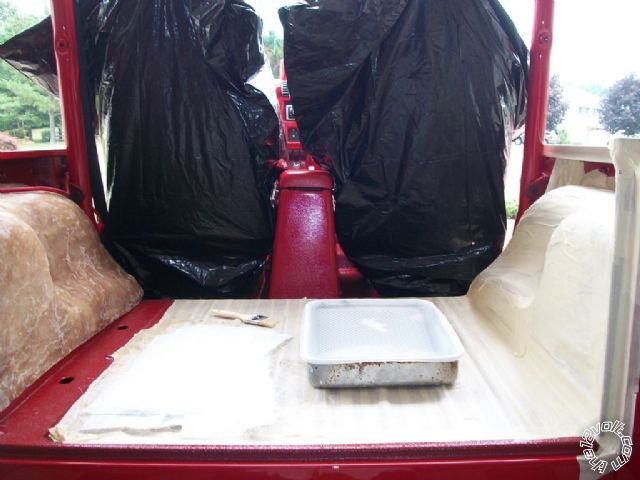
Here we taped the entire rear section of our TJ as we are going to cover this entire area with fiberglass.
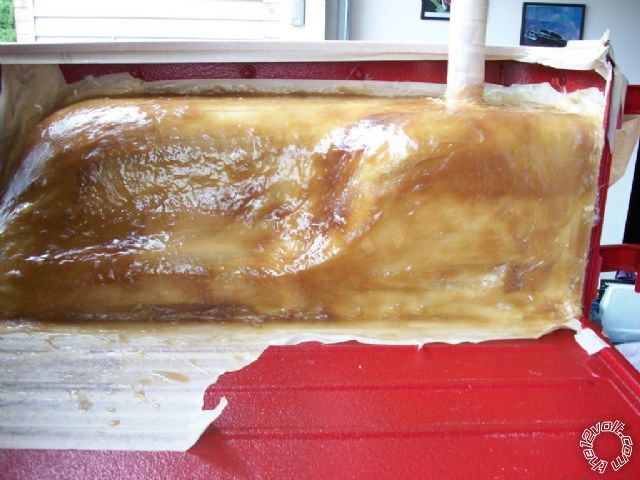
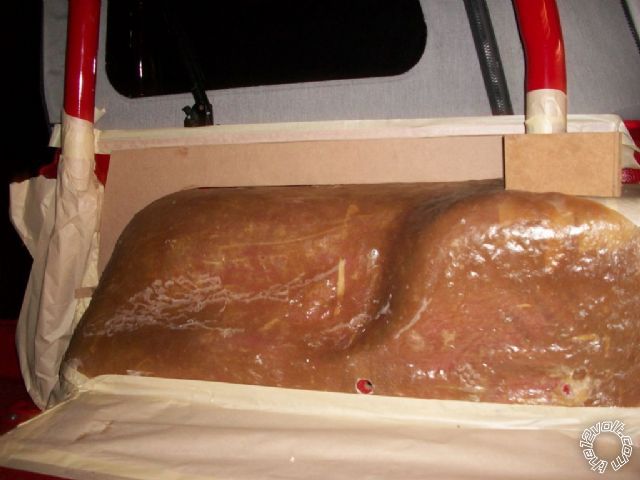
our initial layer on the driver's side completed. Below are both sides removed after curing.
another angle.

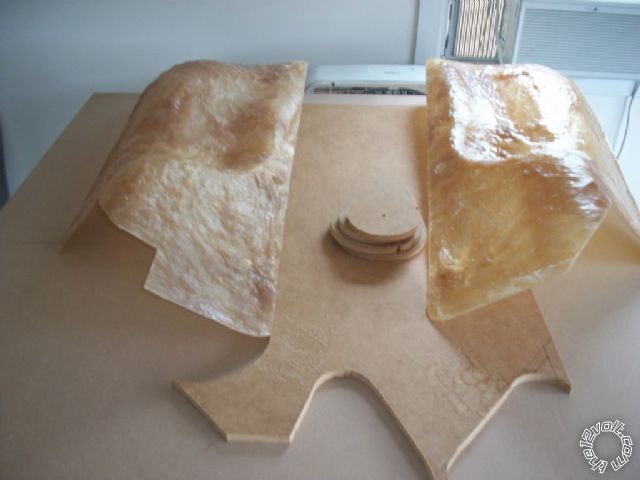
we mock up the borders. Now this step can be done before or after the initial layer. Most prefer making the borders first then lay on the fiberglass so its all attached when done. Problem we found with large areas is warpage causing our wood borders to buckle. So we opted to lay the glass first. Let it warp without the borders. Then run another glassing session with the borders. These borders are what gives your stretchy T-shirt material something to attach to and provide the transition to match the vehicle.
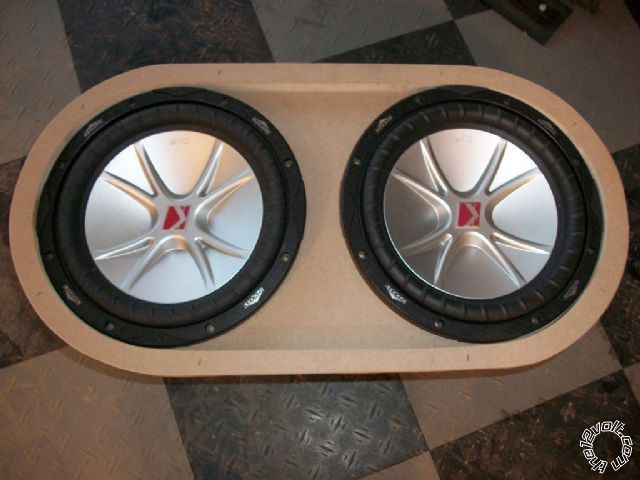
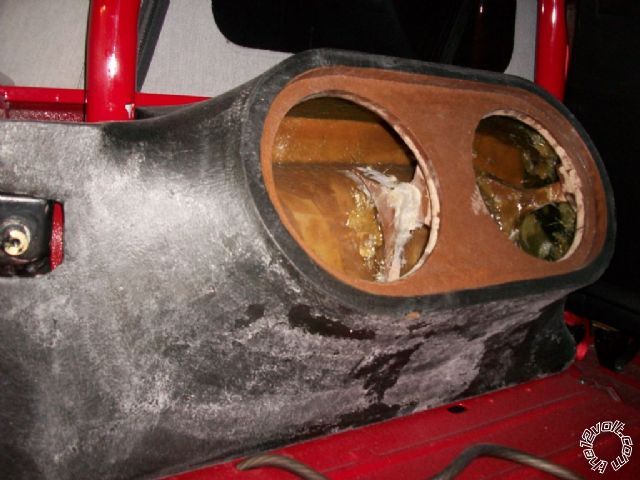
I've seen plenty of info on this site pertaining to woofer rings so i won't get into too much detail. Below we "coupled" 2 10 inch Kickers which we will do for both sides of the Jeep for a total of 4 10's.
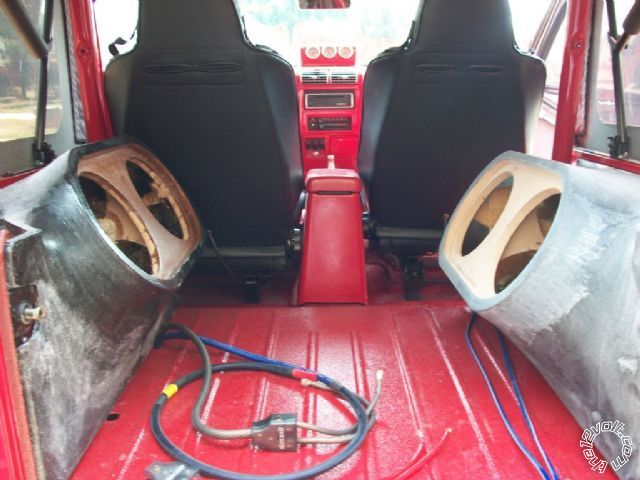
The "skeleton" is mocked up
Jo Ann Fabrics ROCKS! 3 square yards of cotton/poly/acrylic cost me 33 us dollars. It was enough to do this whole project. Fleece works great too but they didn't have any that day.
And for the guys...alot of cute girls work there. You WILL pique their curiosity!
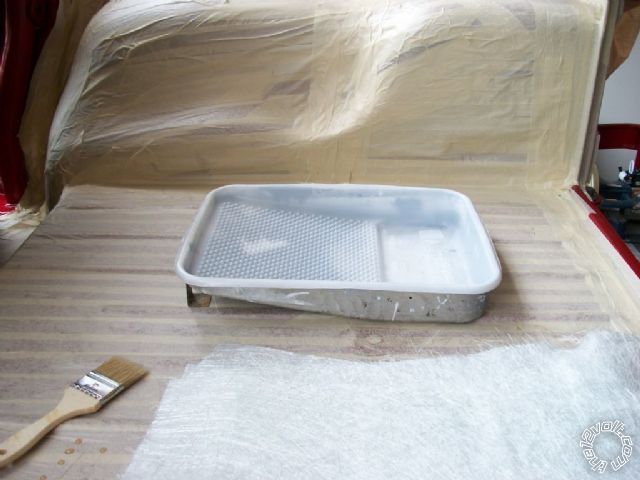
Below we have resin curing after a stretch and HOT MIX!
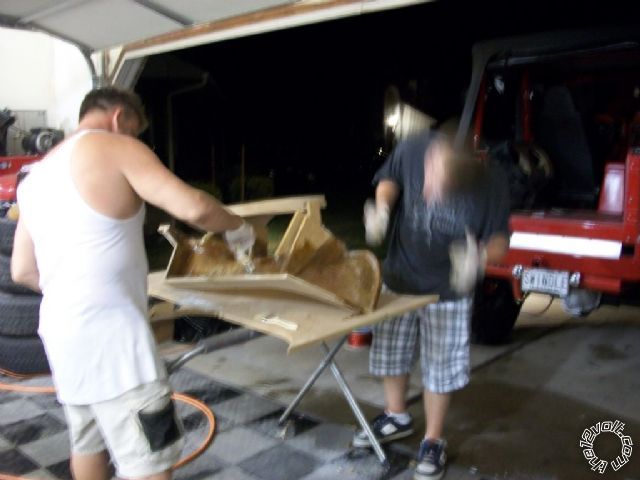
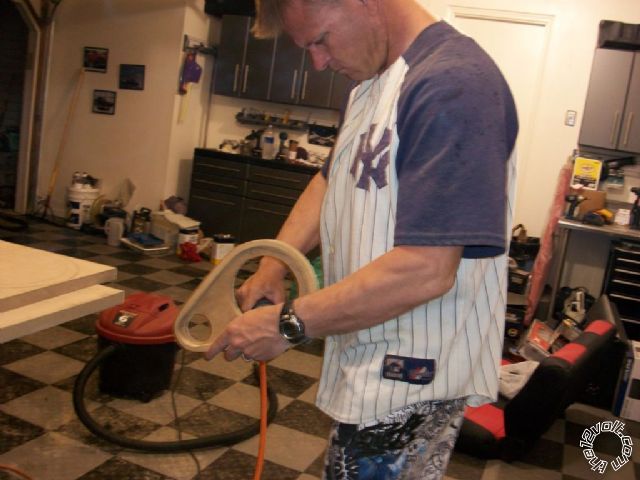
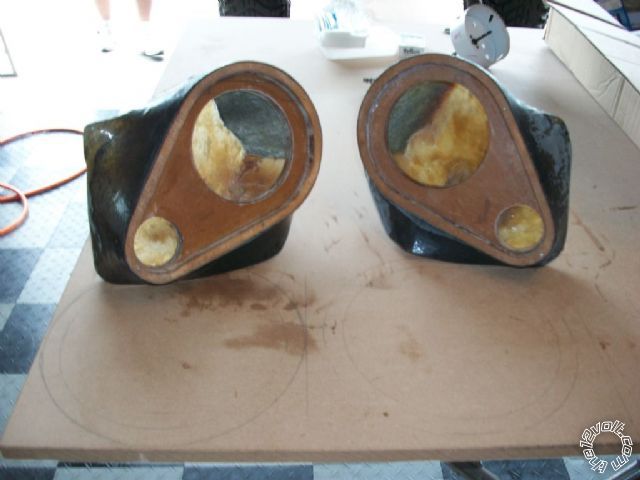
1 down 1 to go. Be careful when trimming the edges. We used very sharp razors.
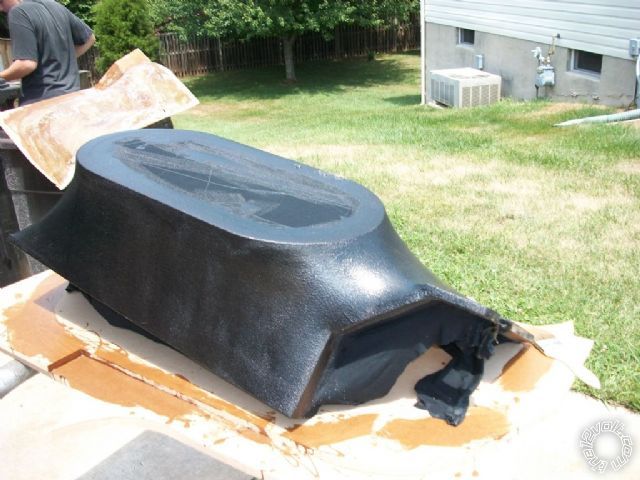
Both sides are ready for carpet. If we were to paint these, a bit more bodywork would be needed to get the enclosures perfect for painting. We were up against the clock and opted to carpet them.
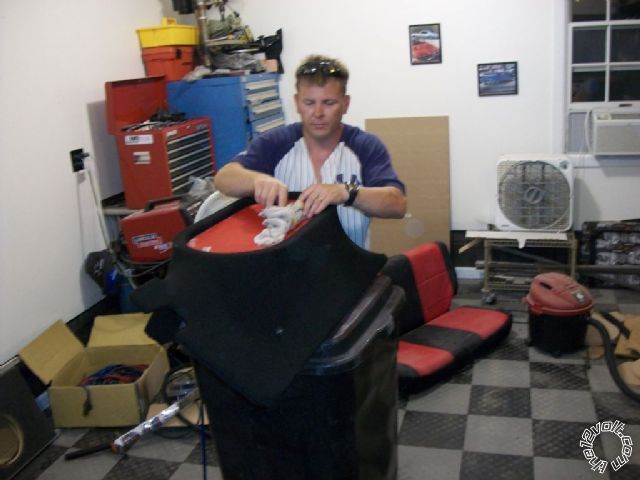
Below you see Tony B exhausted after 47 hours straight into this build. He was hell bent on getting our vehicle to the Pa Jeep show 2 days after this pic was taken. Goal was accomplished and he slept through most of the show.
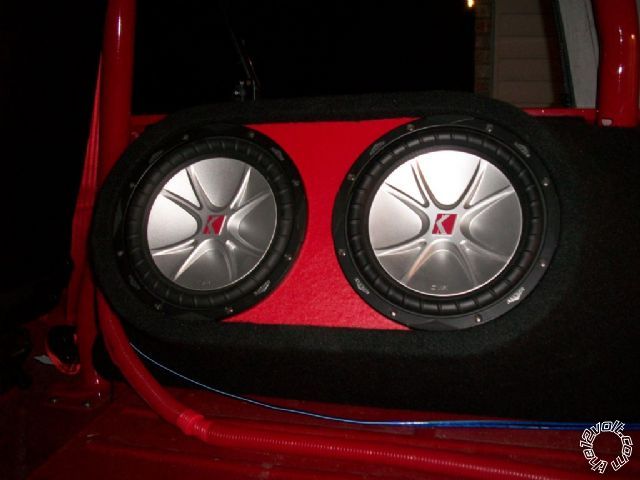
bolting the enclosures and adding the woofers.

Carpet and vinyl are a good combo when done in moderation.
Next post we will tackle the front speaker pods for our 1997 JEEP TJ
-------------
L x W x H / 1728 = ?
D x 3.14 = C
KICK PANELS:
Think of your skeleton....wrapped in your skin...this is the same concept.....build the skeleton (the rings, supports, base) . then wrap with skin (your fleece or T-shirt material) then paint with fiberglass resin. Let cure. repeat where necessary. Sand and smooth, cover or paint. Simple!
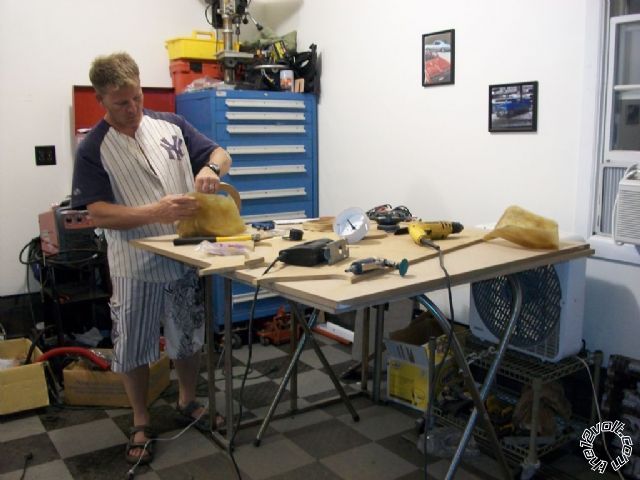
Tony B has 20 years of Car audio experience. He was pumping rides long before it was on MTV. Now he is a satcom engineer but keeps true to his roots and does this just as a hobby .Here he is determining the best angle for speaker placement in his TJ kick panels.
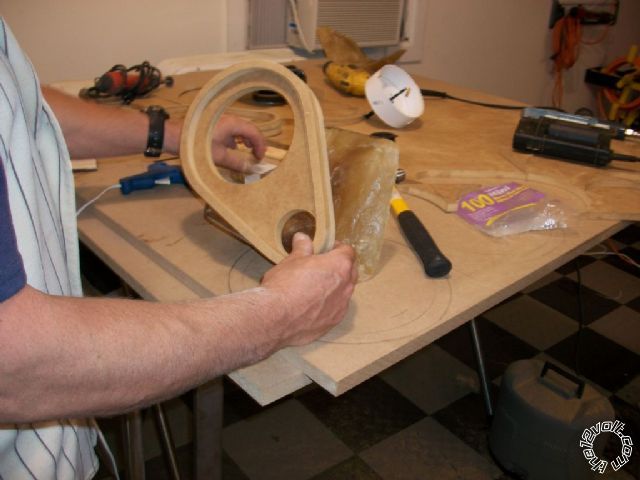
On occasion, the staples, brad nails, screws, whatever you are using to fasten the rings to the base, will poke through. No worries. Just use a dremel or angle grinder to take them down flush.
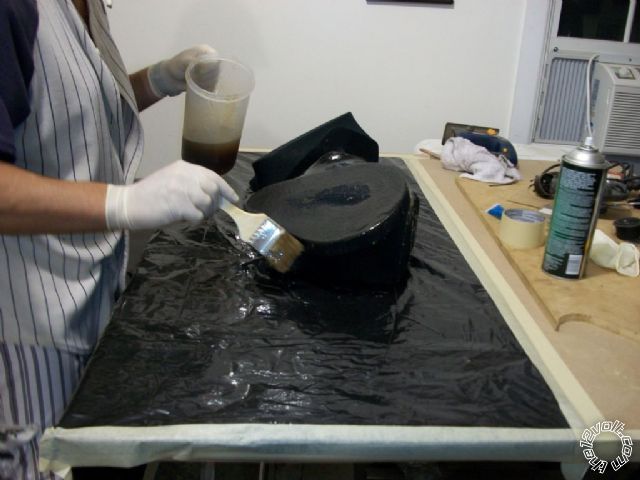
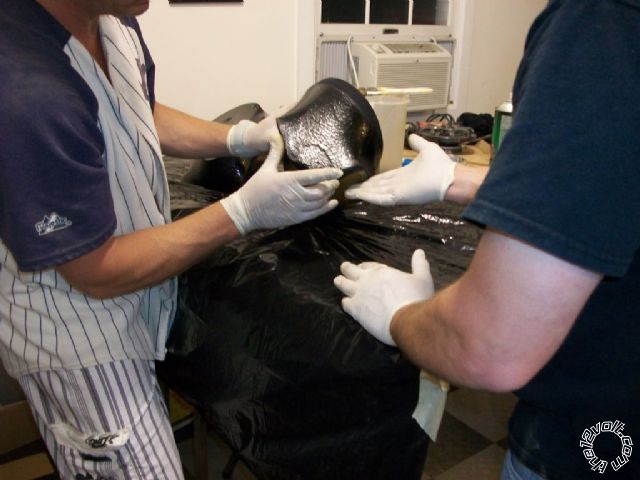
Below we see Tony B run a "Stretch and Hot Mix" over his kick panel skeletons. Just paint it on!! (gloves are a must)
Sometimes when doing complex shapes, staplers or other mechanical fastening tools just won't fit. Spray glue is your only alternative. Problem is, the resin will loosen the spray glue used to fasten the skin to the skeleton. We simply hold pressure on that area until the resin kicks off.....don't panic. it happens. just have a friend help hold the part VERY CAREFULLY if and when it does.
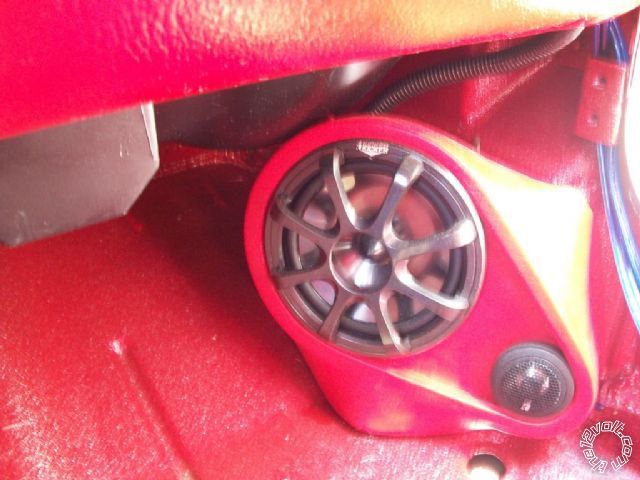
Complete set ready to cover. Below complete set covered with Red Marine vinyl from Jo Anne Fabrics and Kicker 6.5 seperates installed.

Installed on driver's side.

Installed on passenger side.
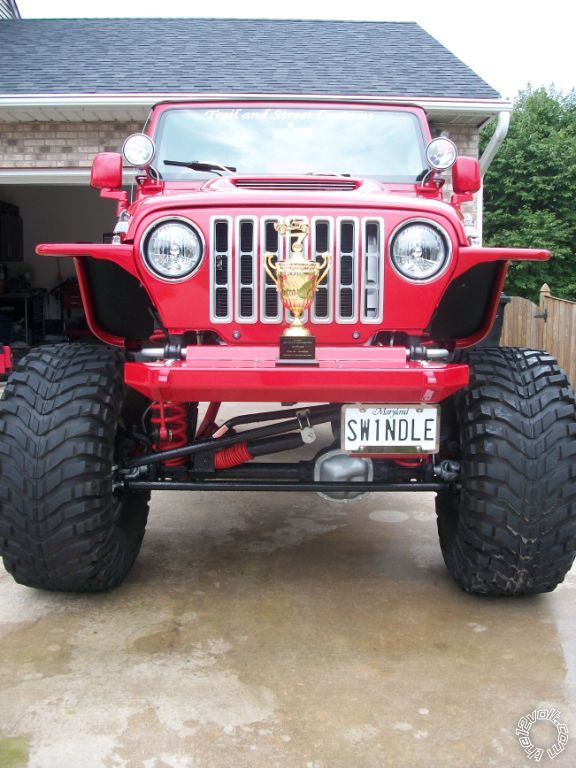
Entire TJ system completed in 84 hours start to finish!
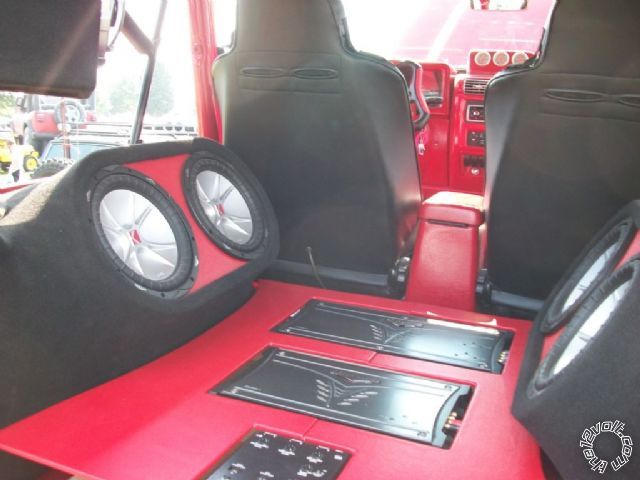
Another 1st place win for Tony B and his crew at Trailandstreecustoms.com
-------------
L x W x H / 1728 = ?
D x 3.14 = C