Ok, after reading all of the online tutorials and seeing tv shows where they used FG for projects and seeing this website I decided to try my hand at fiberglass. I wanted to start small and work my way up. So, i decided to make a tweeter pod. Nice and simple. Now im in the middle of a sub box (pics of it at bottom)
Here is what it looked like with out the pod. Just dangling out of the headliner. This had to change.
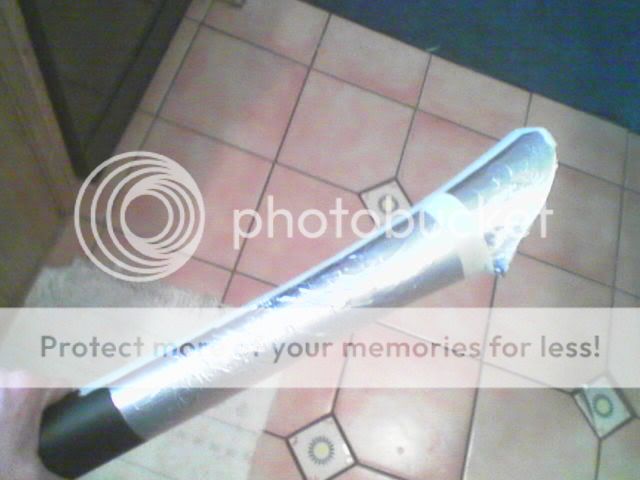
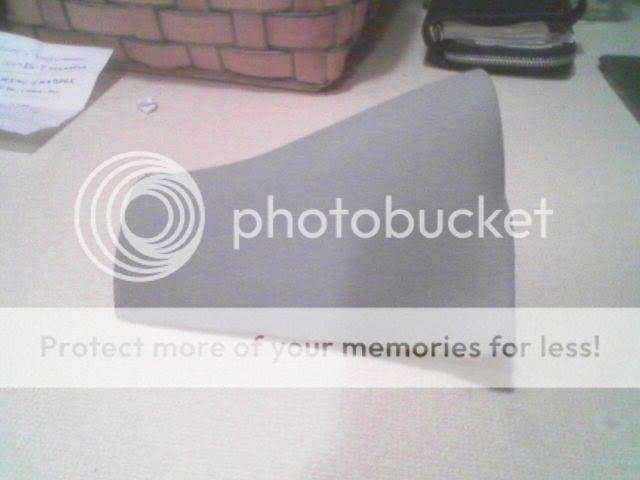
First I popped off the plastic thing on the pillar and covered it with tinfoil.
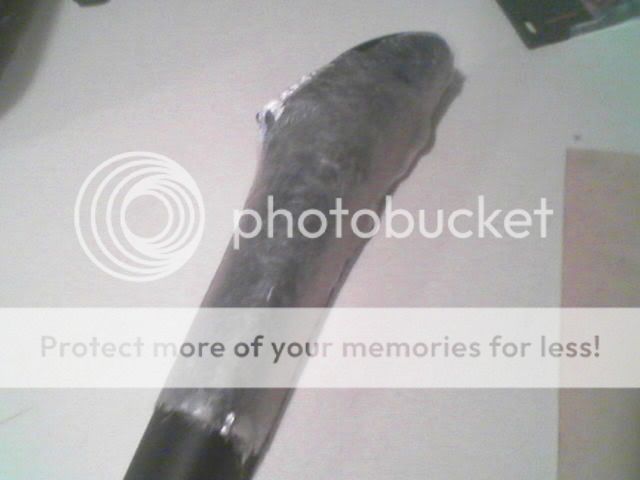
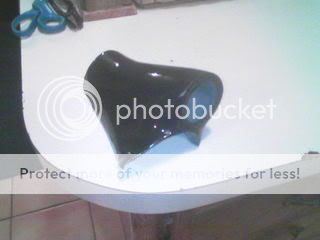
Here is what it looked like with 1 layer (2 in some parts) of fiberglass.
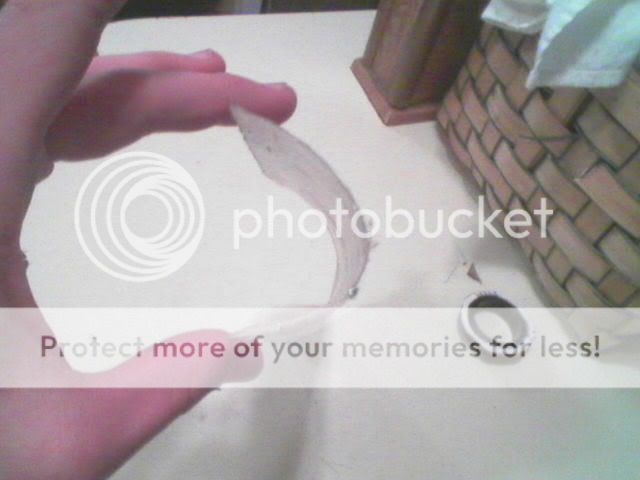
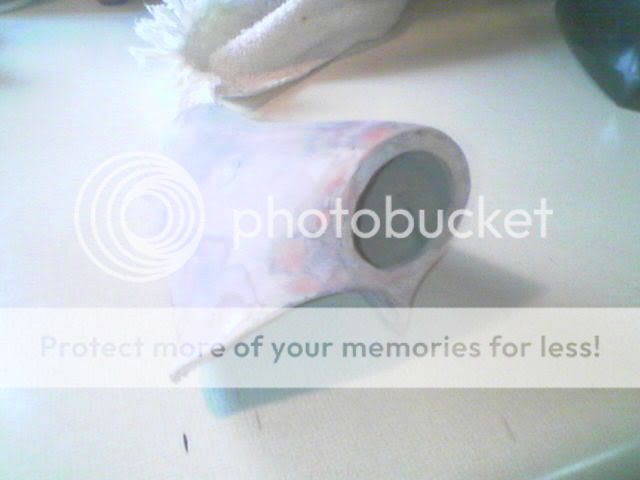
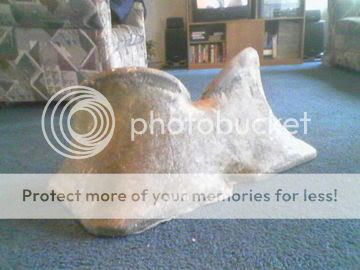
I popped it off and got this.
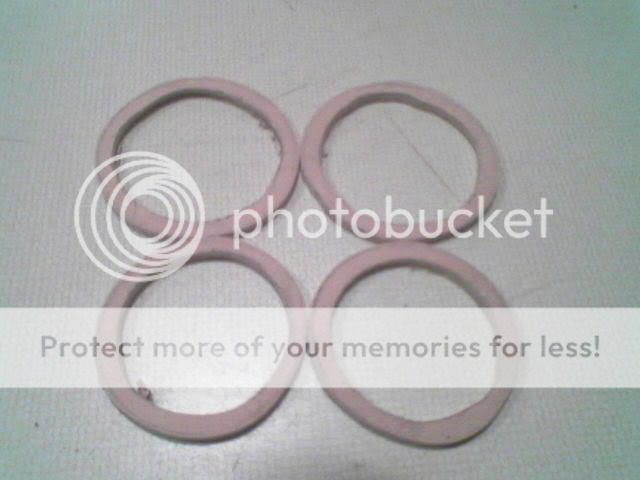
I already had my rings cut out so now i could mount them on the glass. I cut for because originally i was going to flush mount it, but then i remembered that its a tweeter and it didnt really matter.
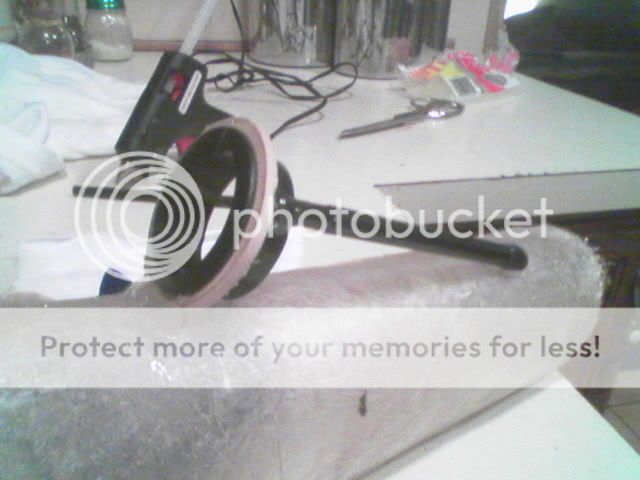
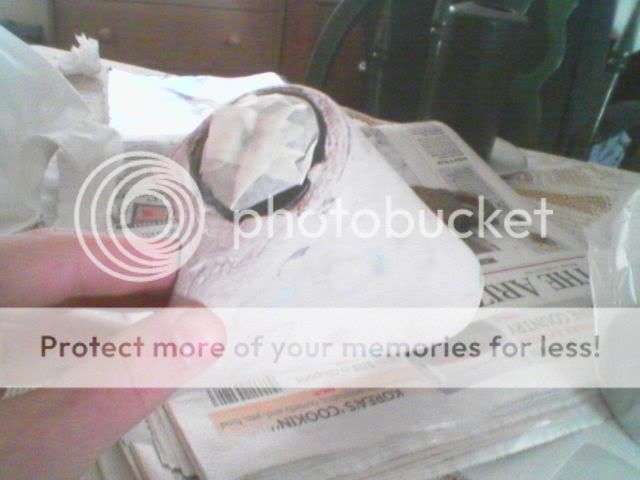
I braced the ring with a piece of a plastic pen and hot glued it to the fiberglass.
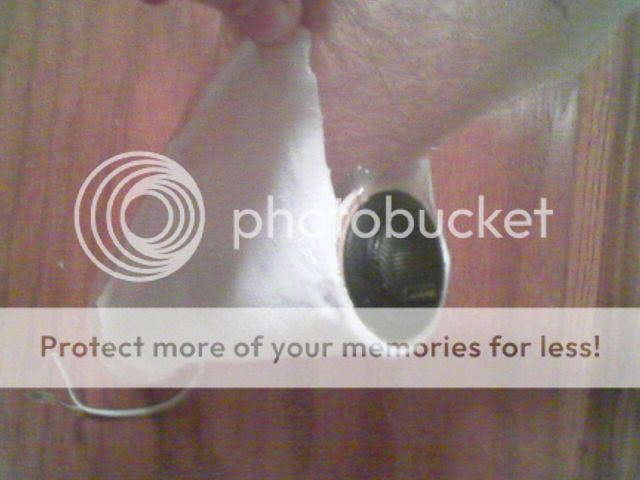
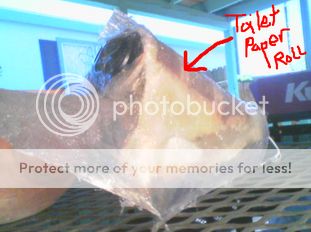
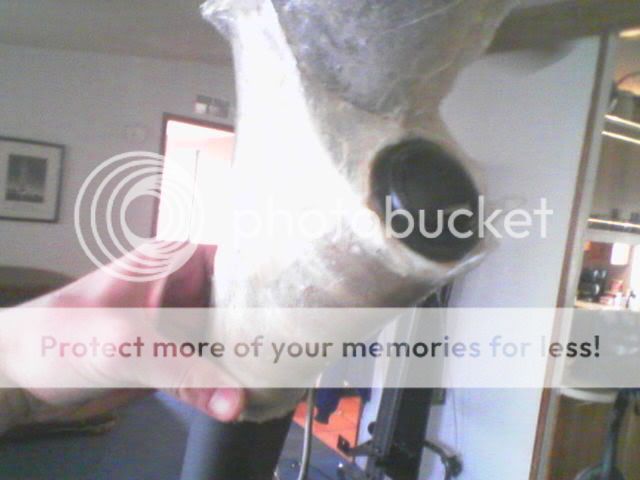
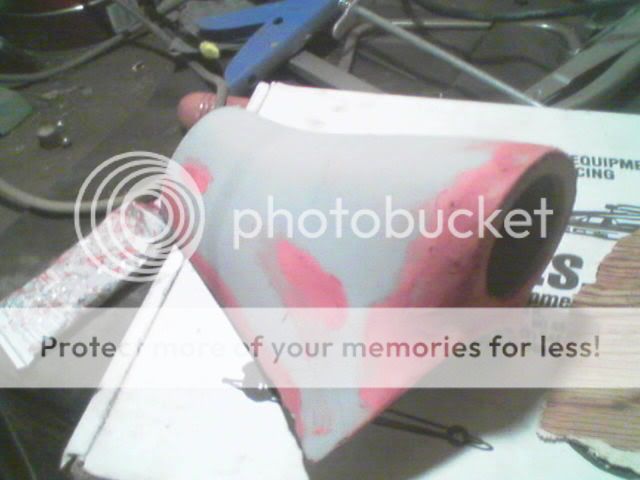
I actually used a toilet paper roll underneath the fleece to give it its shape.
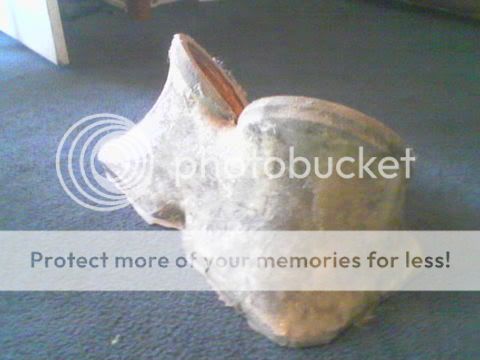
Then i put 1 layer of fiberglass over this (2 in some spots) and it finally has some shape.
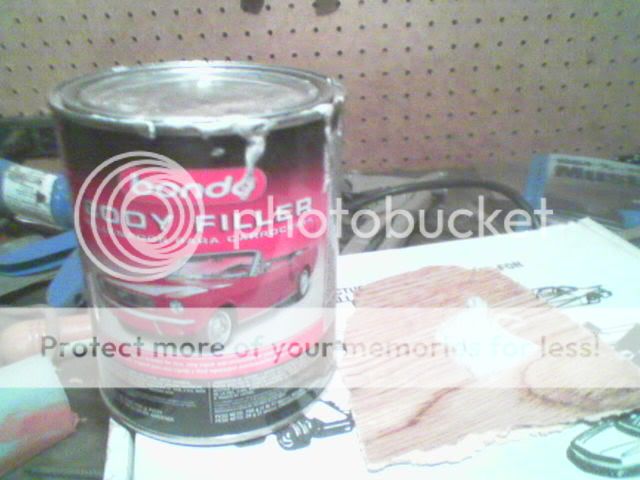
Then i got out my bondo and went to town.....
here it is with the first layer of bondo, a couple more layers would soon come.

Now it was time to get out the spot putty
Here it is with the putty
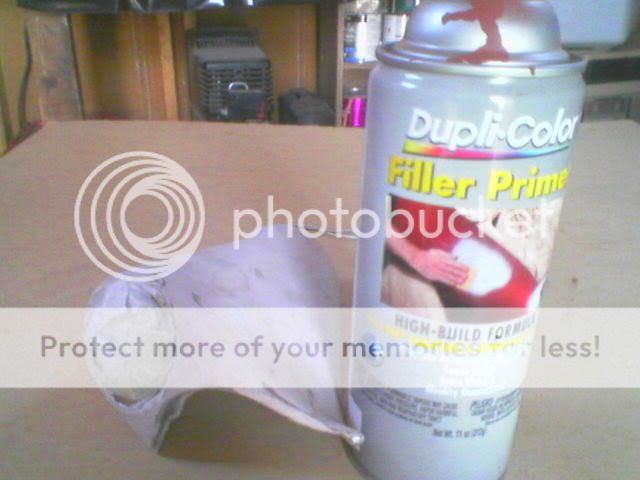
Then it was time for primer
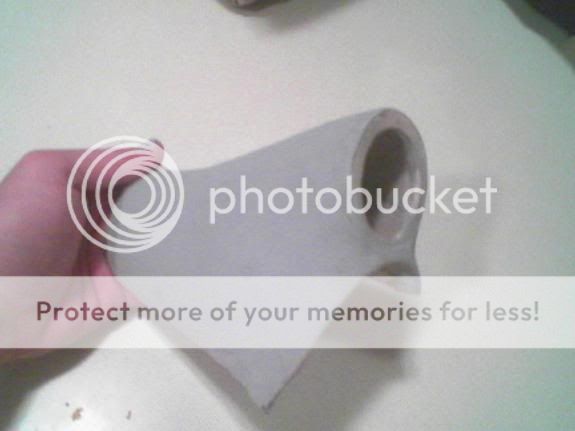
Here it is all primered up

put some black spray paint on it but ugh, orange peel! So I wet sanded it down and the laid some clear.


And thats it. Sorry about the poor picture quality. I dont have a digital camera, so i had to use my camera phone.
I would like to thank Dyson from this website for giving me so many painting tips and answering all my dumb questions!!
I am working my way up like i said and am about a little over half way done with a sub box, here it is.
That pod is pretty slick, good job

Thanks a lot Nismo78, i welcome comments, and tips (because i need them) and constructive criticism. Ive been trying to get through that sub box, but im so broke i keep running out of materials before i can finish and cant buy more until i get payed. I get payed every two weeks and because im 17 and work at mcdonalds, almost all of my check goes towards gas and insurance and other crap. When i first resined the fleece on that sub box, i ran out half way through it and had to wait a week and a half before i could buy some more...
just wondering, what's so special about using fleece? The amp rack seen here: https://www.the12volt.com/installbay/forum_posts.asp?tid=55159&PN=1
was done using just some stretchy material I found on the 1.00 rack at the walmart fabric section, with 3 or 4 coats of resin
Hey really good job Ponyman, I really like the idea of using the toilet paper roll. Very creative and innovative, way to use the old noggin. Looks nice and smooth. You got a pic of it installed yet?
-------------
Learning the trade one fiberglass creation at a time!
Well done man, just get that compounded and polished and we're nearly there!
Boot install is lookin great too, get some body filler on and smooth it up, will come out great!
If anyone else would like tips on painting also, feel free to give me a shout!
Post a picture of what the pods look like inside you car.
Paul
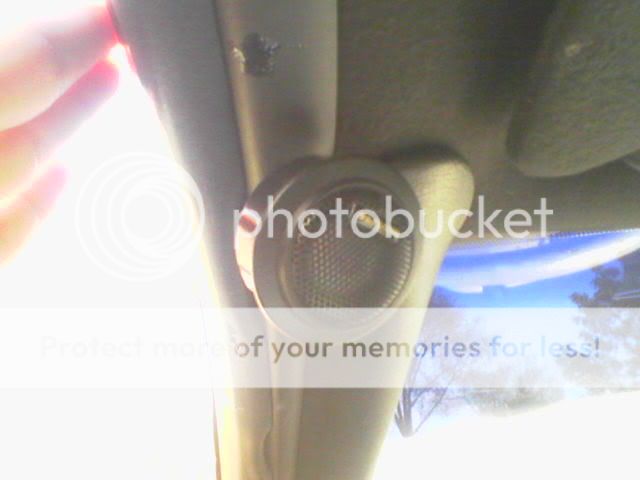
Just now got it installed in the car. It points the tweeter directly at your face so I think the sound is better.

Here it is in my hand

and here it is in the car.
The lighting is kinda weird so i tired to put a t-shirt over the window to block out the sun...
That second picture sucked. try again
looks clean very nice install
-------------
Madison Davis
Davis Kustomz'
1995 Ford F150 Ext CAB
Panasonic CQ-HR1003U
Pioneer 6.5s and 6x8's
(4) Memphis Audio POwer Reference 15" subs
(2) Memphis Audio MC-1500D
SPL reading TBD
ok maybe i've overlooked somthing but what i think about over and over is how would you mount the tweeter pod to the a pillar, or can you bond the 2 pieces for a smoothed look???? and also mounting custom fg boxes in the trunk or behind seat of a pickup?

how does it sound with the tweeters so high? Never seen that before. Really did a good job with tweeter pods.
Hey thats a really nice job you did there, I like the creative idea of using the toilet paper roll!
-------------
Im a fiberglass whore!!