Hey everyone I have done lots of work on my vehicle and I just wanted to update to you all. Here it goes in no particular order.
Here is my dash that I have been slaving away on.
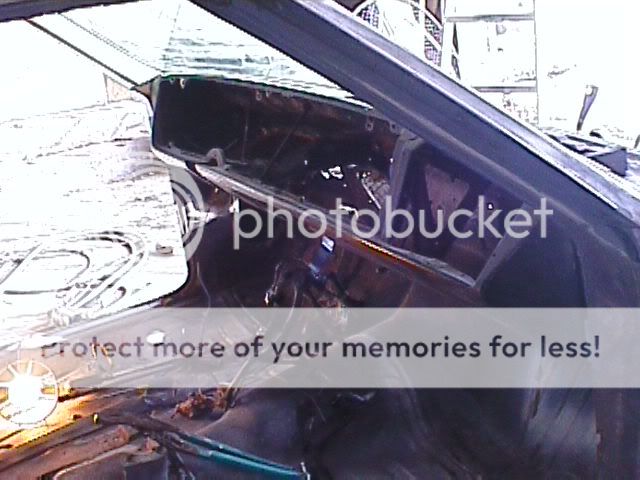
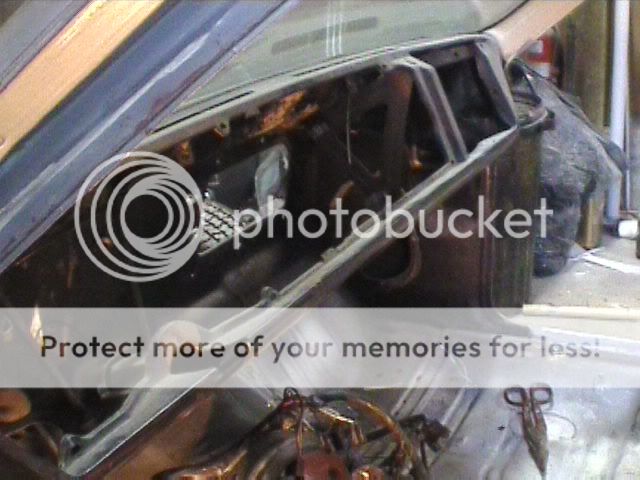
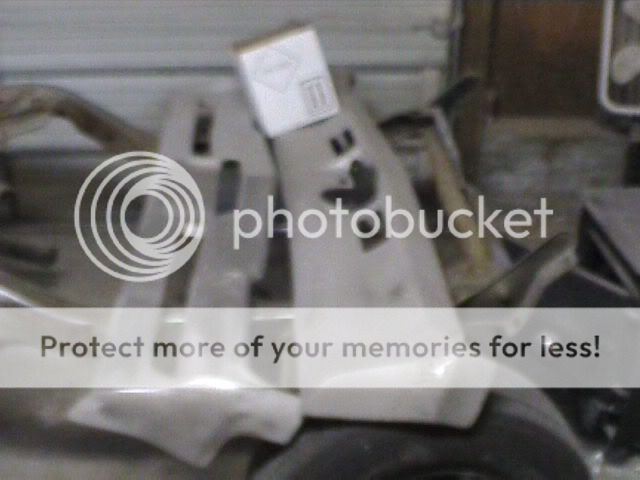
Here is what I had to work with, just an empty hole.
https://i30.photobucket.com/albums/c348/stumppy84/DVC00011.jpg
https://i30.photobucket.com/albums/c348/stumppy84/DVC00008.jpg
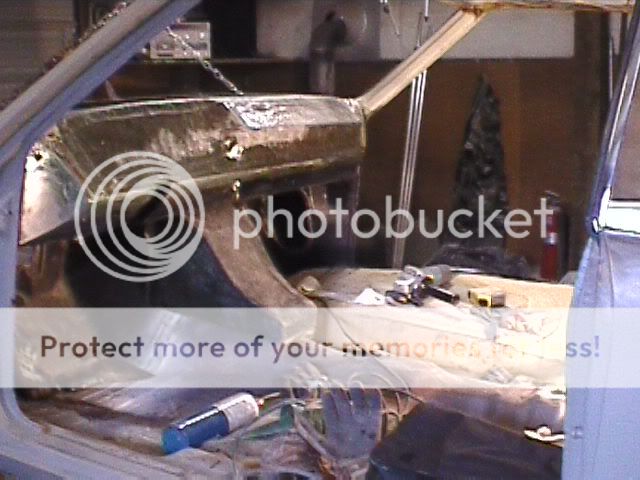
Here is the start of it you might wonder what the heck I am or was thinking (I wasnt too sure either). I built a frame with wood then upholstered it then slapped on layers upon layers of fiberglass.
https://i30.photobucket.com/albums/c348/stumppy84/DVC00040.jpg
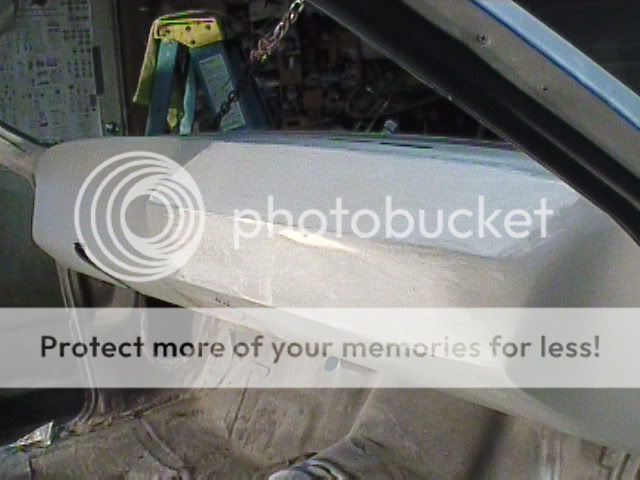
And then a little bit of filler and a whole lot of sanding, and it turned out great!
https://i30.photobucket.com/albums/c348/stumppy84/DVC00052.jpg
Here is the center console with a fresh layer of fiberglass
https://i30.photobucket.com/albums/c348/stumppy84/Centerconsole4.jpg
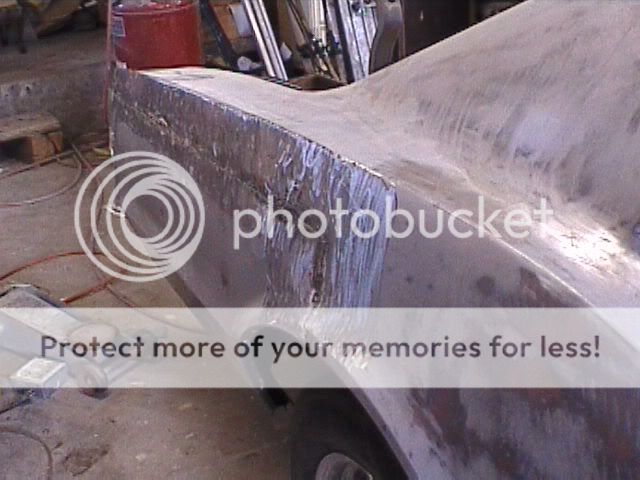
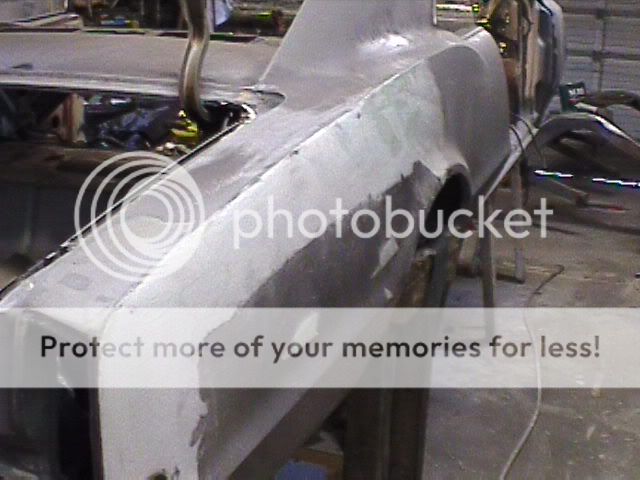
Here is the drivers side rear quarter panel with a skim coat of filler and a little bit of sanding left to do. This side had rusted out on the bottom, but I had welded a replacement for it.
https://i30.photobucket.com/albums/c348/stumppy84/DVC00014.jpg
And here it is after a lot of sanding and some primer.
https://i30.photobucket.com/albums/c348/stumppy84/DVC00049.jpg
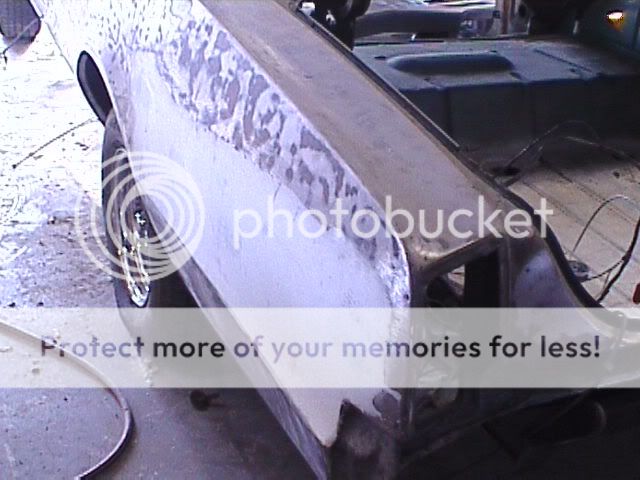
Now the rear passengers side quarter panel in its first stage, bare metal. This side was involved in an accident way before I owned it. But I welded on a new panel.
https://i30.photobucket.com/albums/c348/stumppy84/DVC00013.jpg
https://i30.photobucket.com/albums/c348/stumppy84/DVC00012.jpg
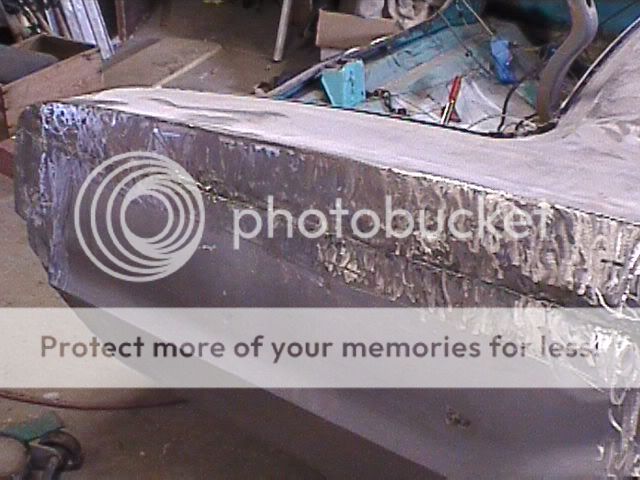
Then a lot of banging around with the hammer and dolly to make the panel straighter. Then a little bit of filler.
https://i30.photobucket.com/albums/c348/stumppy84/DVC00048.jpg
https://i30.photobucket.com/albums/c348/stumppy84/DVC00059.jpg
Here are the bumpers that I had sand blasted and I shaved the bolts, I havent even started on these yet! I believe that I will paint these the same as the car.
https://i30.photobucket.com/albums/c348/stumppy84/DVC00043.jpg
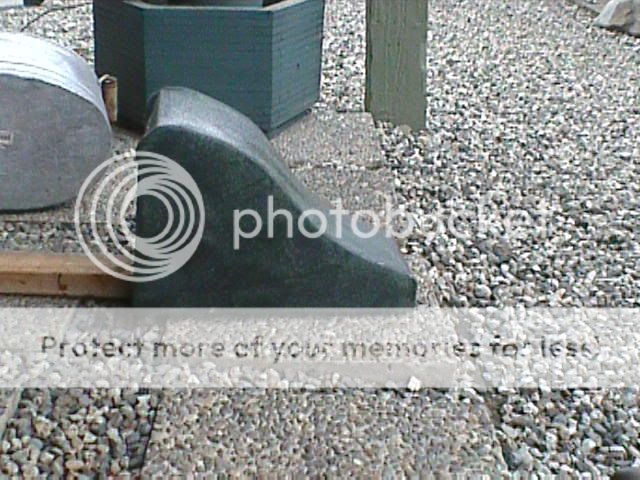
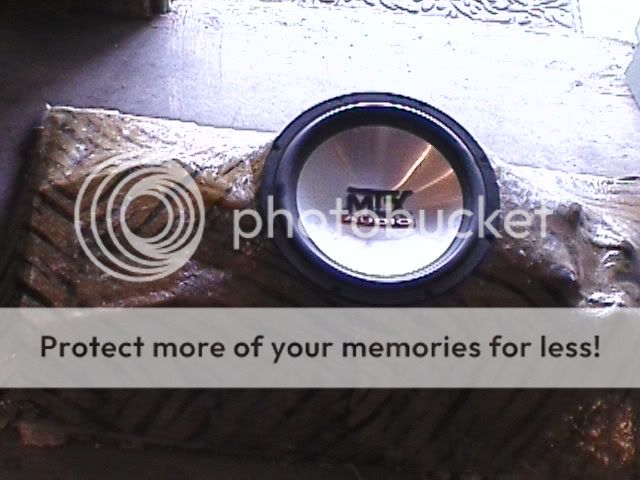
My sub that it only has a 3 layers of glass on it.
https://i30.photobucket.com/albums/c348/stumppy84/DVC00003.jpg
Well anyways this is what I have been working off and on, on.
-------------
Stumpy
Good job so far keep up the good work. The dash looks good. In the pic of the sub enclosure is that zooba's I see? is that the fleece you used to stretch over your rings or is that covered?
Yeah I used some tiger fleece, the only fleece that i could find and destroy.
-------------
Stumpy