Here are some pics of the work I did on my 2006 jetta.
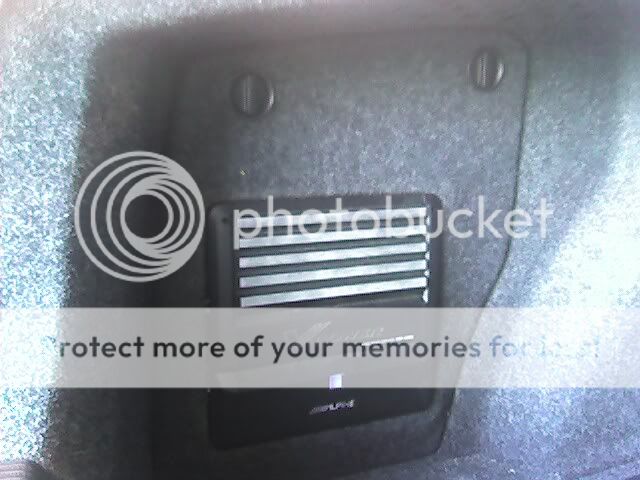



What do you guys think? If you want, I can post some pictures of the process.
I fixed you images. Next time, don't drag them to resize them and they will be fine. Pictures of the process are always wanted/welcome, so please post them.
-------------
 the12volt • Support the12volt.com
dude you're awesome, ill do a write up when I get home tonight.
That is a very nice clean basic install. good job!
Okay so here's the write up on the whole install.
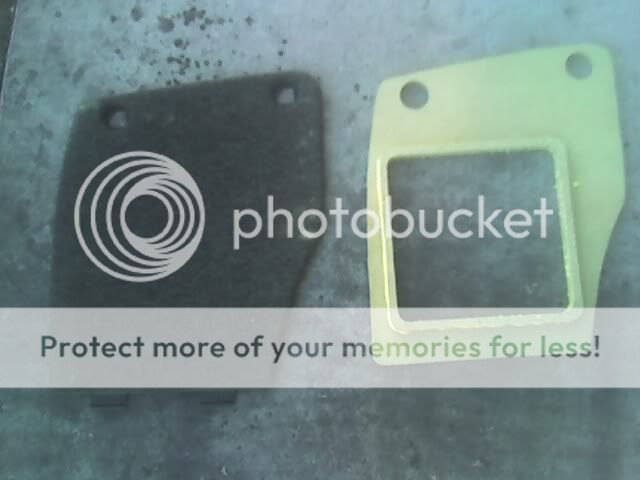
First I made a duplicate of the factory panel and cut out a hole for the amp to flush mount up into. Initially, the knobs on the factor panel that hold it in place were going to be used to hold the amp rack in place, thats why you see the holes.

I cut this board to the exact footprint of the amp and attached the two pieces of mdf that you see here to bring the amp away from the main rack a bit to allow wires to be run.


The amp rack then gets a generous amount of resin, strengthened up a bit and then carpeted and mounted. Next is the sub enclosure.
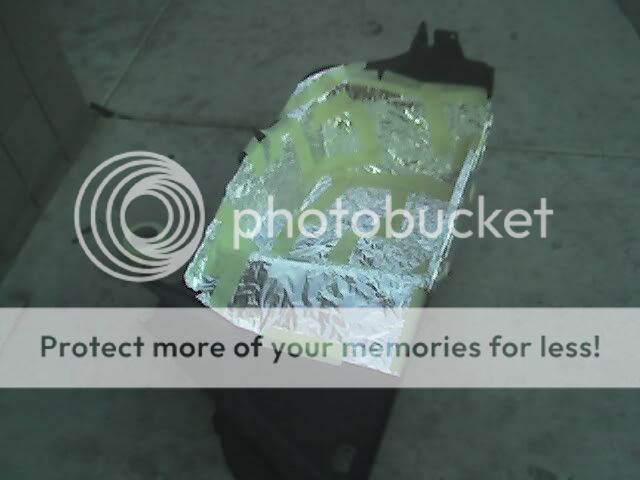
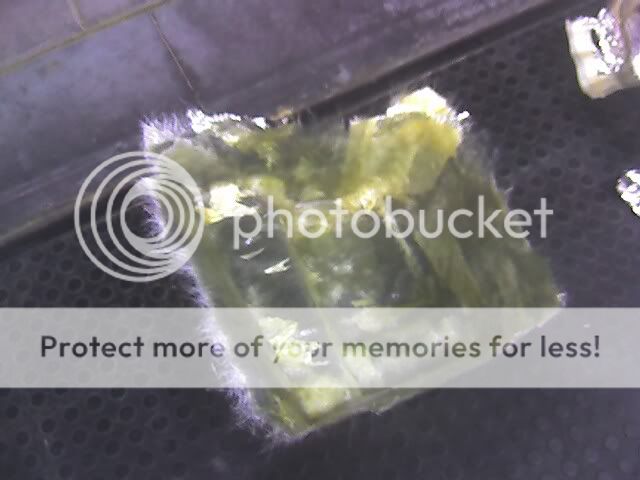
I started by removing the molded carpet from the right side of the trunk to make it easier to work with, Its pretty stiff so I wasnt worried about it loosing its form being out of the car. I lined it with tape and two layers of aluminum foil to prevent resin from getting on the factory panel. I laid only two layers of mat at first so that it would be easier to trim it to the shape I wanted. After it cured, I removed the mold from the carpet.
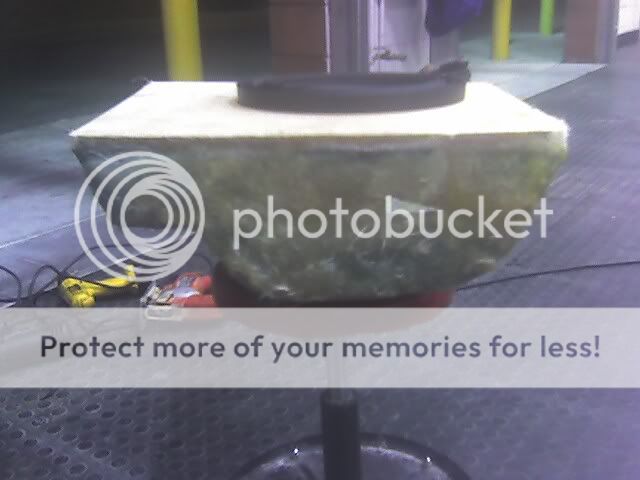
After strengthening the mold with about six or seven more layers of mat, I set it in the cavity to check for proper fit. Fit was good so I temporarily attached the board that I had cut to the contour of the cavity with hot glue. I then removed the enclosure from the cavity and laid mat and resing down to bond the two together. Once that cured, i went around the outside and filled in any cavities with kitty hair.

And sub enclosure completed, the only thing I would change, and will, is for the sub to be recessed and for the enclosure to have some curves to it to match what else I have done. This will come soon. Next is the foor channel. I installed Infinity Kappa 6.5 components in the front doors, kappa 5.25 components in the rear which was the hard part being that VW decided to change the color of the speaker wires as they passed through the door boot and before they got to the amp. Anyway, on with the 4 ch amp rack. I knew that mounting an amp upside down is not the best idea, but I had run out of room to mount amps and I figured if either one had to go on the underside of the rear deck, it should be the one that doesn't produce as much heat.


I cut a piece of 1/2 inch mdf to match the contours of the rear deck taking in to consideration where the carpet meets the metal. Built it up to house the amp the same way that the sub amp rack did and then fleeced and resined the hell right out of it. While that was curing, I lined the underside of the rear deck with two layers of aluminum foil and tape. In order to help the mat to stay up there while I coated it, I used small pieces of tape to secure un-resined pieces of mat to it and then resined over it. It left some spots unresined of course but it was okay. I glassed all the way up to the edge of the lip that the weather stripping covers so that it would look factory.

With the glass mold in place, I mounted the amp rack where it should be and used kitty hair to secure them together. Once that dried, I removed it and filled in all the gaps with bondo until it was a even and gradual joint between the two pieces.


And the final product.

By the way, thats my deck, Alpine Iva-w200, and...
this sound processor now resides behind the sub amp.
Im sorry this post was so long and that the pictures are so huge, I dont know how to resize them. I would really appreciate any comments, good or bad, just try not to be too hard on me, i worked really hard and am very proud of the results but if you see somethign I may have done a different way or a way I could have improved it please tell me. I have a customer who wants the same thing and is going to pay me lots and lots of money to do so so I would like to make it even better for them if I can.
Excellent work there John or is it Jon? I haven't figured that one out yet. This is your good ole buddy from work Mike (Installer in "training"). I recognize the install bay and the installation. See you on Sat at work.
-Mike AKA Dstang24
-------------
Team Edge Audio
Looks good, you used all the basics at its finest.
By the way, welcome to our world!
Thanks man. I like to keep things looking simple and blending nicely. I specialize in making custom jobs look like they came with the car. Plus this all needs to be able to be removed when my lease is up.
i wish more people would post their stuff...good job...i like the creativity...come on peeps...post your 'glass jobs...i want more ideas to draw from...
-------------
"it was a rhetorical question...what have i told you about thinking"
is that a best buy? if so is it a coustmer car? or yours? and if its a coustmer how the hell can you guys get away with coustom work?
Good eye! Yeah, everything except the 4 channel was done at Best Buy. A few installers at a few stores were allowed to do custom work, I was one of them. Its my car, I just went in off the clock to do it. They were very hesitant about it at first but I sent some guys I knew at corporate a dvd of some custom work I did on a Motorla demo car and they decided to let me.
somedays i wish we could do stuff like that but then others i dont. or managers got a lil wizy when i was making a small amprack for a car
nice write up
-------------
I shall never outrun my guardian angel - again.


 the12volt •


