bmw 540i fiberglass trunk
Printed From: the12volt.com
Forum Name: Fiberglass, Fabrication, and Interiors
Forum Discription: Fiberglass Kick Panels, Subwoofer Enclosures, Plexiglas, Fabrics, Materials, Finishes, etc.
URL: https://www.the12volt.com/installbay/forum_posts.asp?tid=94041
Printed Date: March 30, 2026 at 6:11 AM
Topic: bmw 540i fiberglass trunk
Posted By: blubalz
Subject: bmw 540i fiberglass trunk
Date Posted: May 18, 2007 at 2:44 PM
hello all, im new to this site and kind new to custom car audio. I work at a local audio/video place that does mostly home audio but a some car. Ive done a couple custom jobs with former employees but this is my first that i have designed and built completely by myself. the car is a 04 BMW 540i and i plan to go all out on this project. im taking pics as i go along but im sure ill miss some steps. but hope you guys enjoy. blank canvas 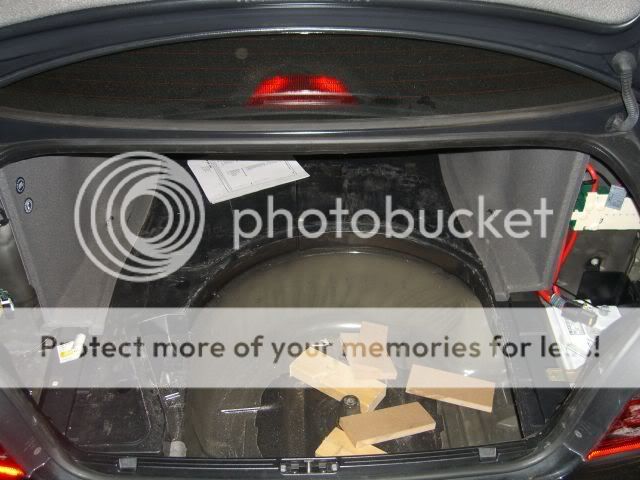
dynamated the wheel well. 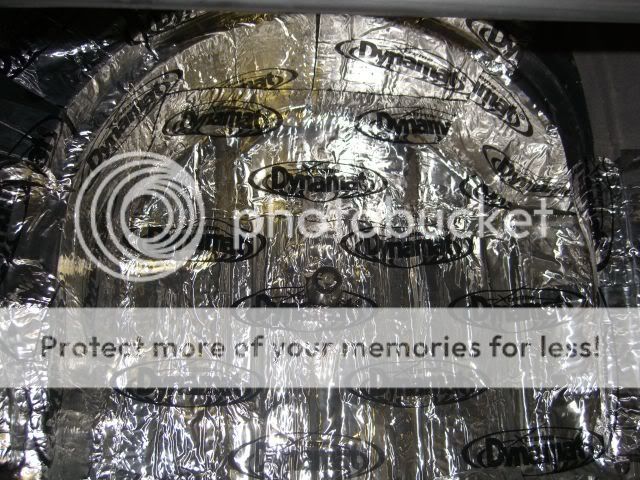
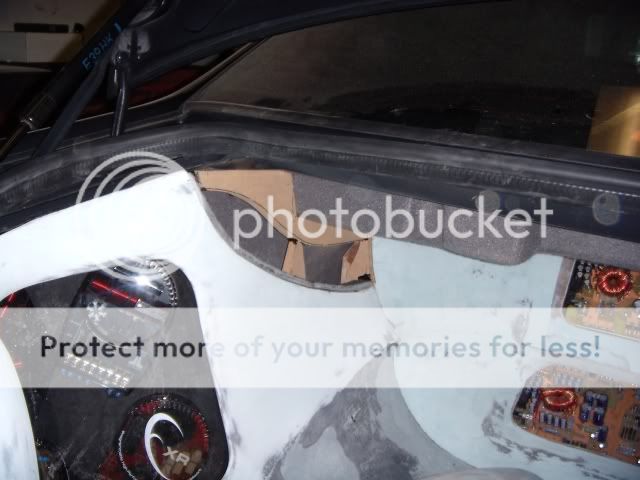
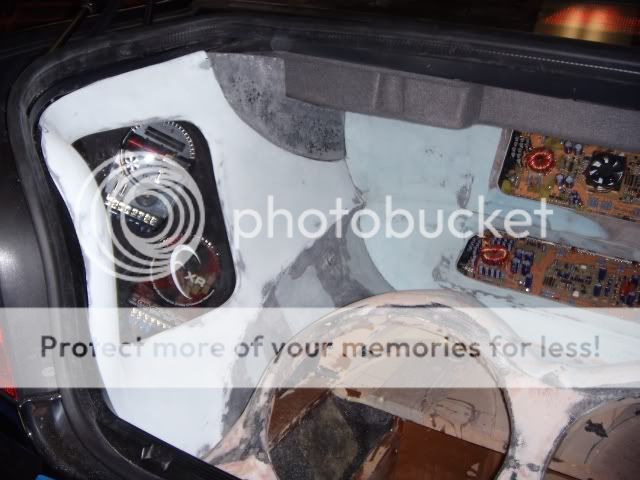
the customer had a custom system in his last car and decided that he wanted to use the same sub box. it was in a is300 so i ended up just cutting the top off the box and reusing just the top and making a new bottom. 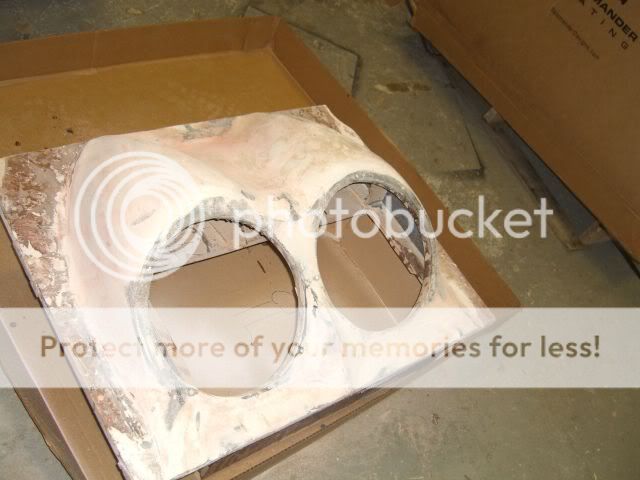
i know its not ver pretty but this is the bottom i ended up building for it. i couldnt nail it all the way around becaues of the way the top was built so i used bracket to help hold it together and then fiberglassed around the edge. i also had to make a cut out so the sub would clear the box and fiberglassed that up. 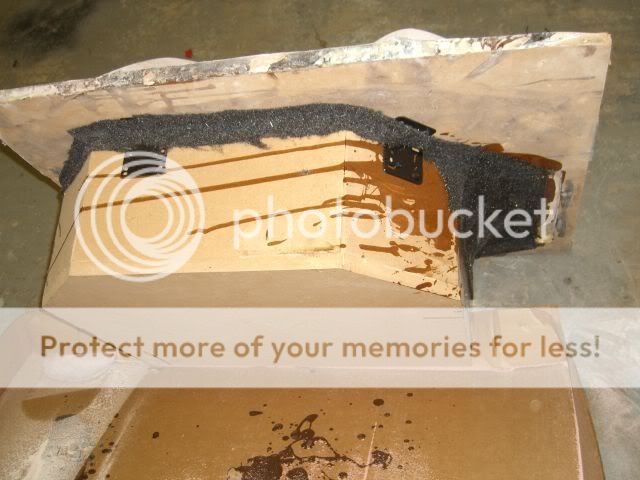
the rear speaker came with there own little pods from the factory so i decided to use them with the new jla xr5.25's 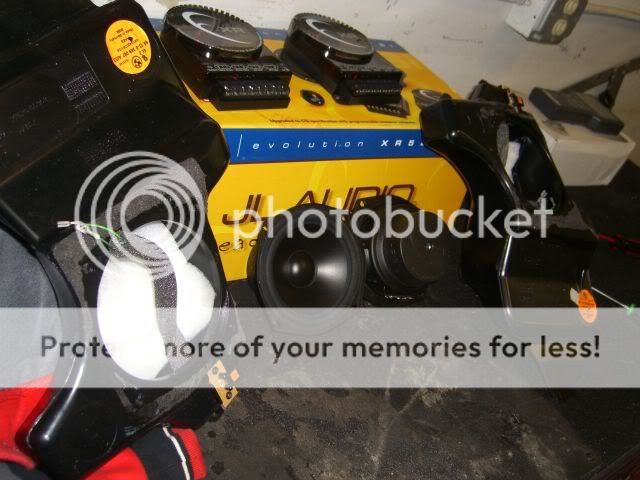
the magnet on the jl speaker were alot bigger then the OEM speaker so i had to cut a hole in the pods so the speaker could sit flush at the top. 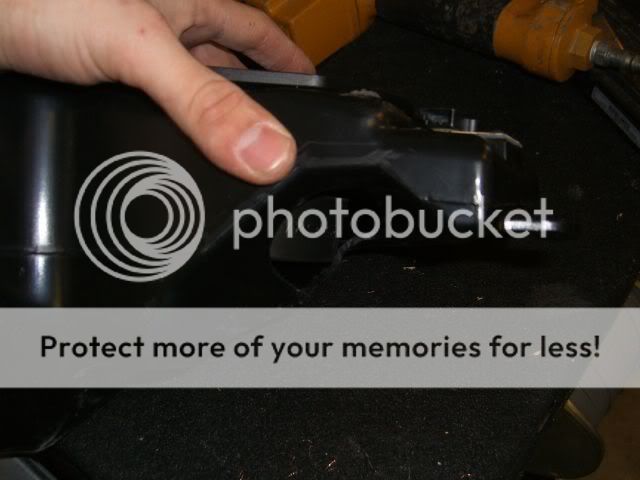
then i glassed them to reseal them. 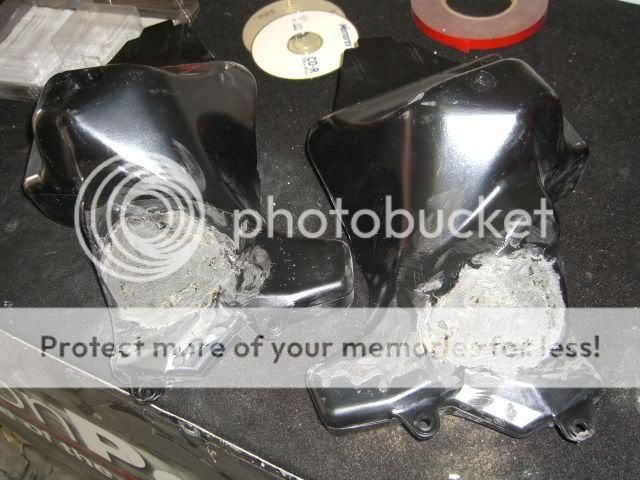
added a little dynamat and mounted the speakers in the pods 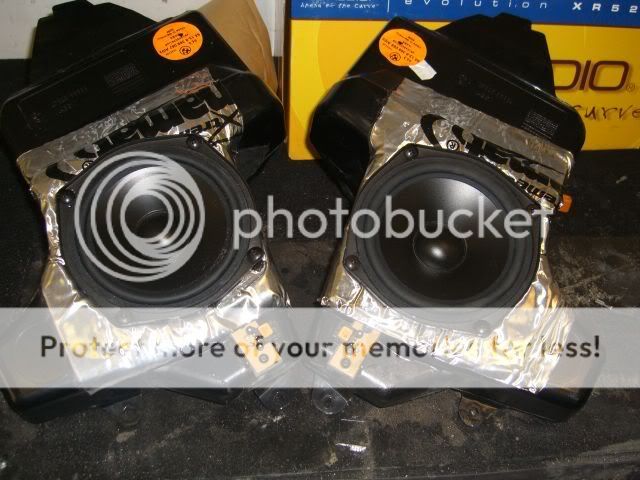
Replies:
Posted By: blubalz
Date Posted: May 18, 2007 at 3:05 PM
capacitor mock up location 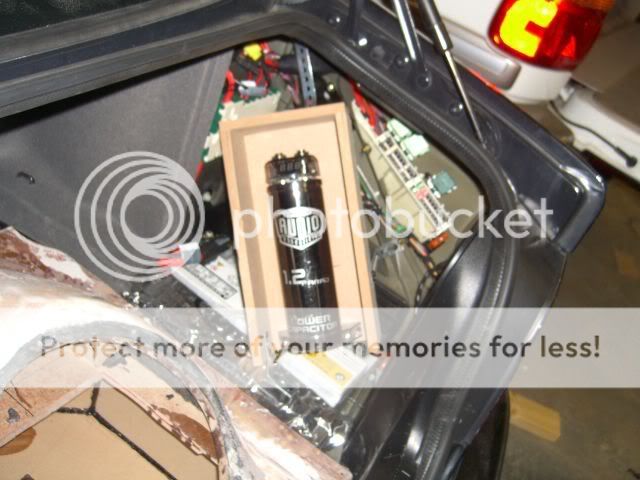
begining of the amp rack 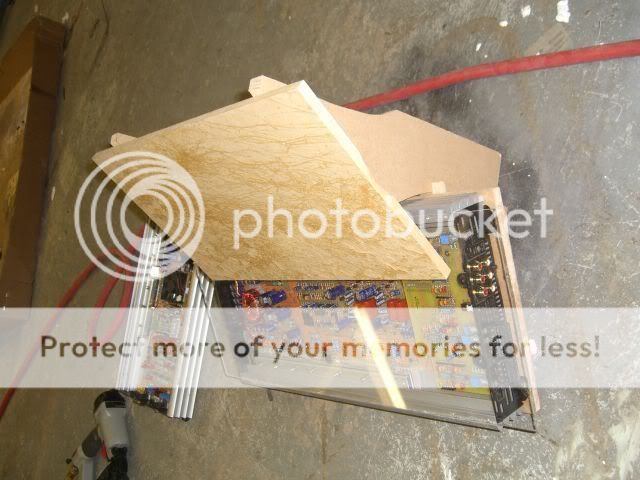
it holds 2 ppi amps (not sure the model #'s, but they have been taken apart to display all the goodies) 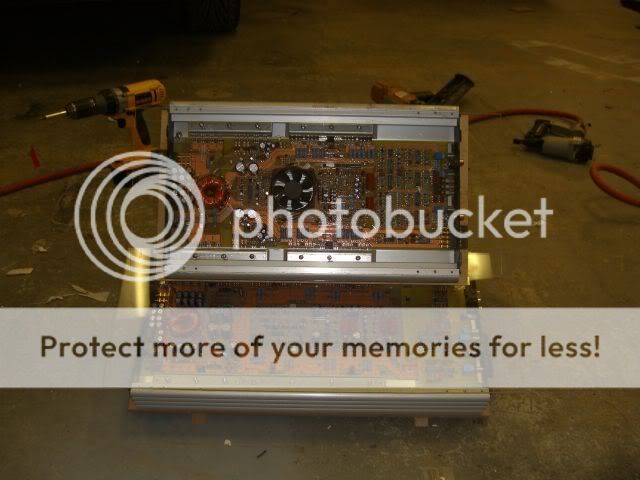
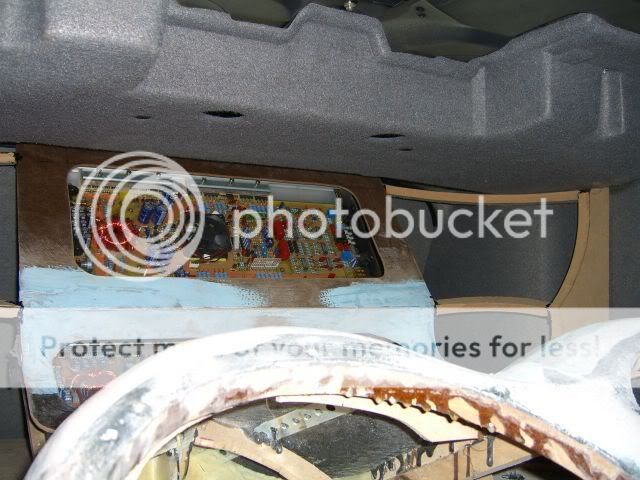
amps in there final location 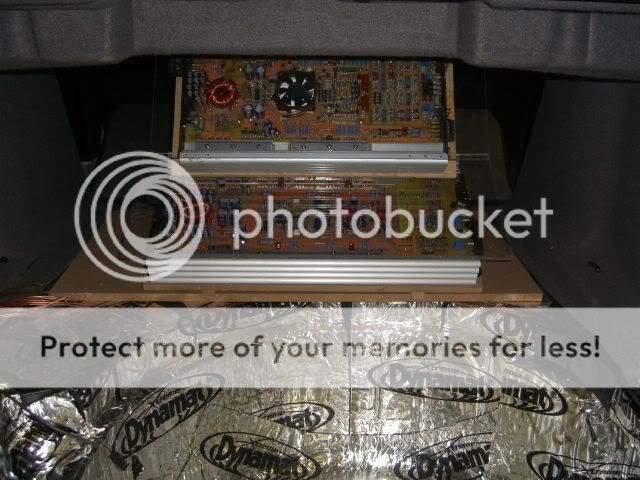
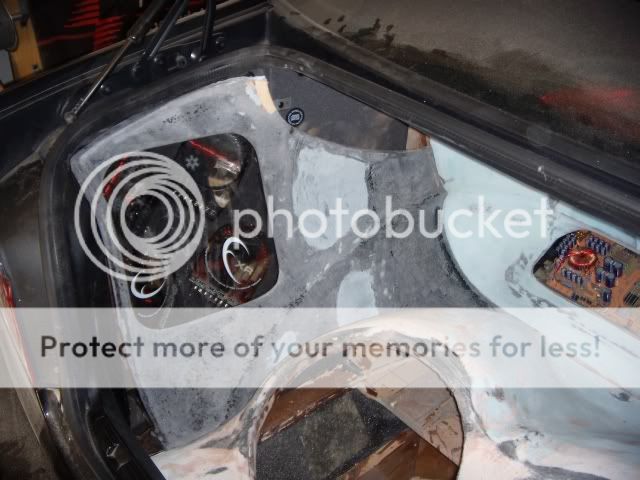
begining of the rear pannel, i used a little fiberglass to give it some shape 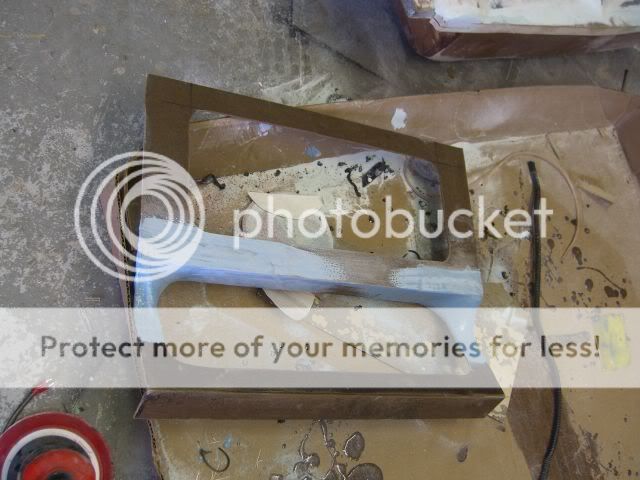
how it looks on the amps 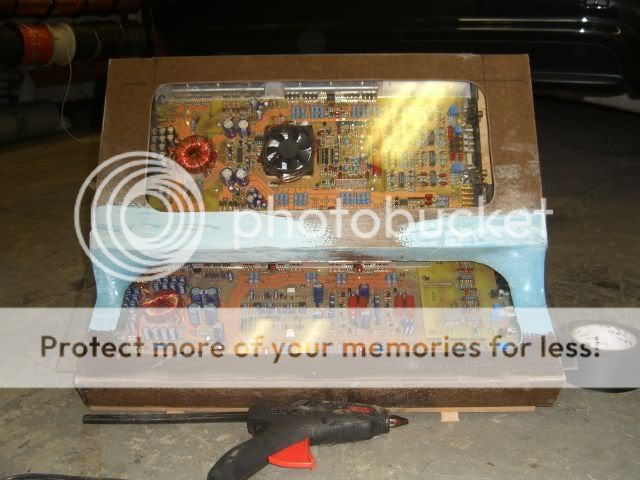
capacitor mount after suede 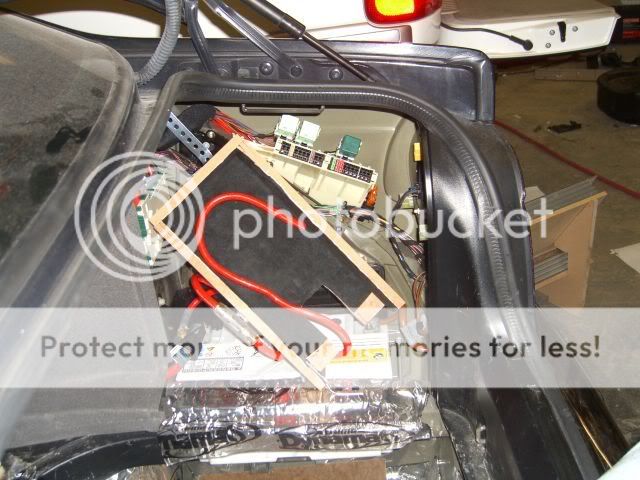
the front speakers finally came in they are JLA ZR525csi's 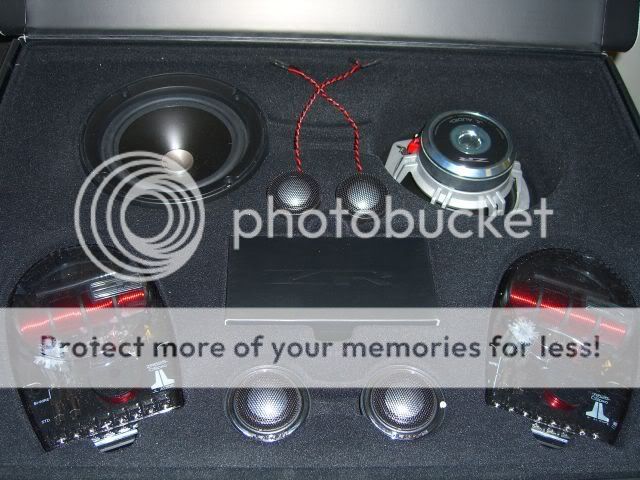
starting the rear pannel 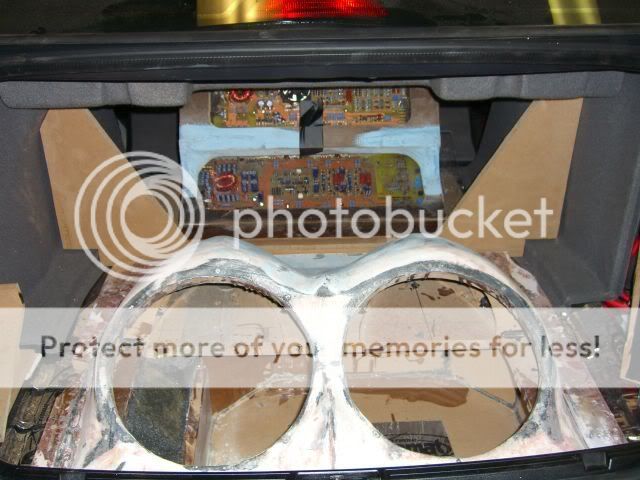
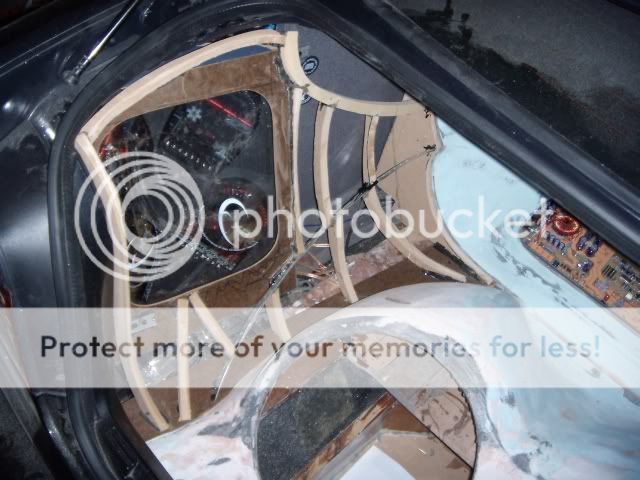
getting the shape for the rear pannel 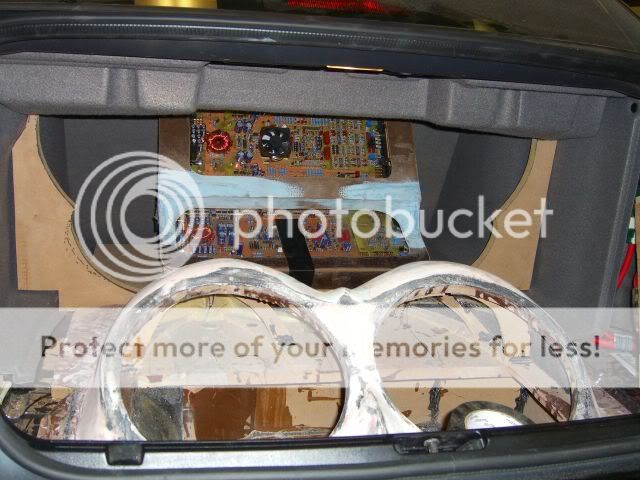
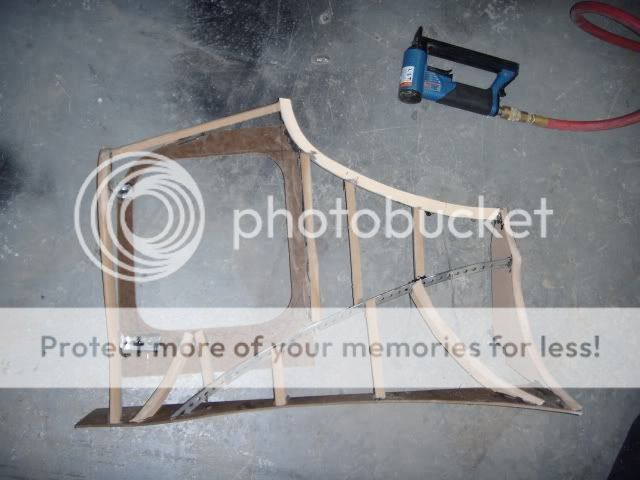
adding ribs to get the shape i want 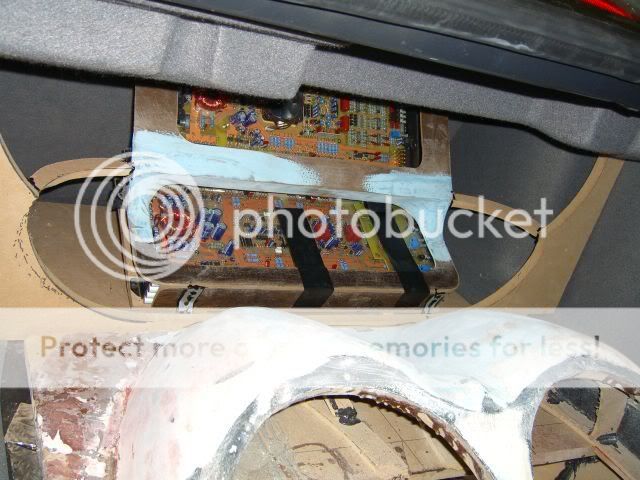
Posted By: blubalz
Date Posted: May 18, 2007 at 3:07 PM
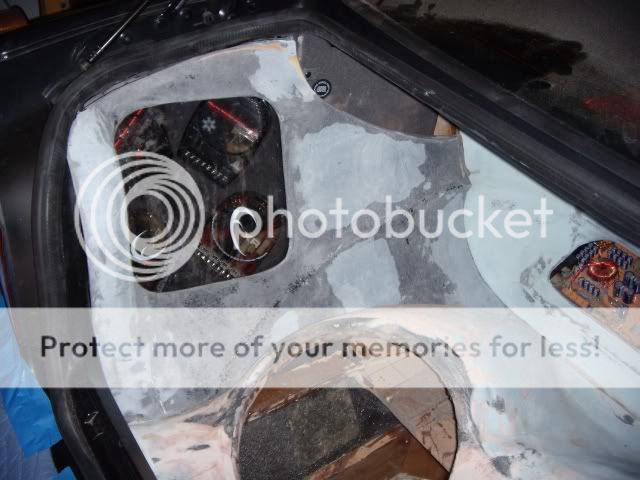
ready to lay some fiberglass resin on the rear pannel. 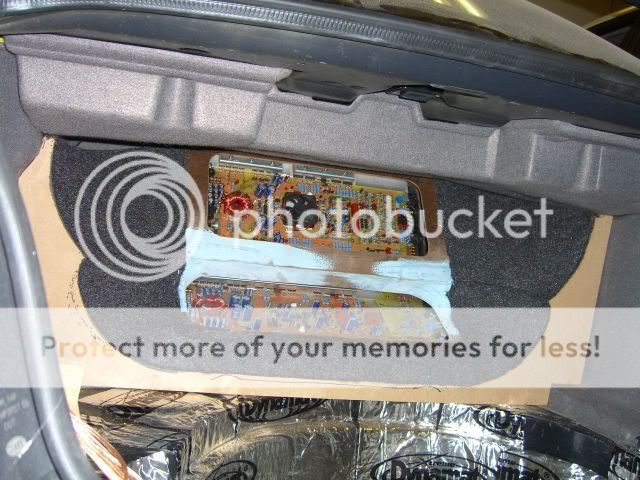
sanded it down and layer the first layer of bondo 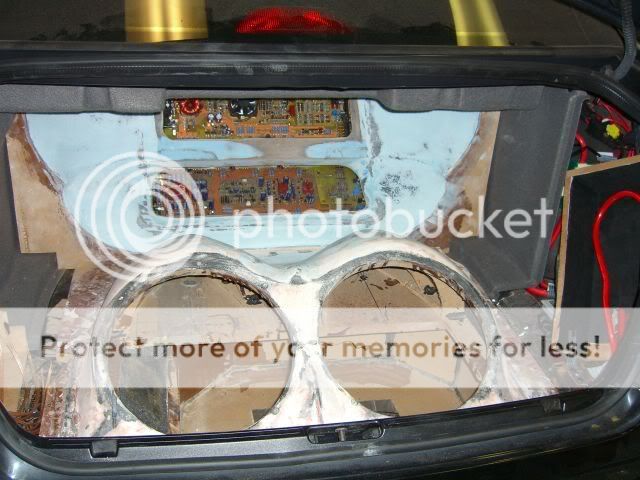
Posted By: splhz
Date Posted: May 18, 2007 at 4:23 PM
That's tight. The amp cover has a great shape.
-------------
If it's too loud your too old
Posted By: auex
Date Posted: May 18, 2007 at 11:00 PM
Very nice. Not big on the showing the amp's guts, but that is a personal choice.
Is the vehicle yours or a customers?
Make sure the cap has enough extra wire length to provide access to the battery without having to undo alot to get to it.
-------------
Certified Security Specialist
Always check info with a digital multimeter.
I promise to be good.
Tell Darwin I sent you.
I've been sick lately, sorry I won't be on much.
Posted By: blubalz
Date Posted: May 19, 2007 at 2:45 PM
auex]V wrote:
ry nice. Not big on the showing the amp's guts, but that is a personal choice.
Is the vehicle yours or a customers?
Make sure the cap has enough extra wire length to provide access to the battery without having to undo alot to get to it.
its a customers car, and im not sure what you mean, the power wire is already hooked to the batt. and the fuse holder is on the side of the capacitor box. i actually took the capacitor apart and extended the terminals using backstraps so the wire only needs to reach the bottom of the capacitor box. heres a pic if i dont make sence. 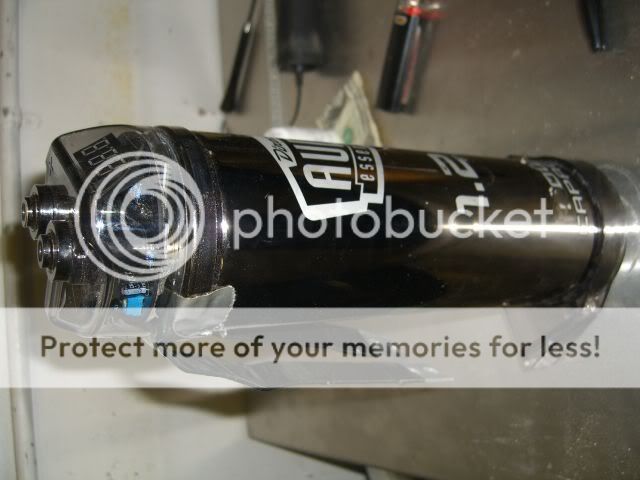
Posted By: rawcustumz
Date Posted: May 22, 2007 at 12:29 PM
Thats going to look awesome.
Is the whole thing going to be wrapped in seude?
Later
Bernie ------------- Bernie
MECP Certified
64 Impala Wagon
2007 Camry LE
Posted By: StealthEs
Date Posted: June 02, 2007 at 7:25 PM
Very nice, cant wait to see the finished pic's.
-------------
Cris
Posted By: truecustoms
Date Posted: June 05, 2007 at 7:37 PM
That looks great man, have you ever been over to fiberglassforums.com? Its a great site if you're in to glassing.
-------------
"One machine can do the work of fifty ordinary men, but no machine can do the work of one extraordinary man"
-Elbert Hubbard
Posted By: blubalz
Date Posted: June 06, 2007 at 4:23 PM
thanks everyone for the coments, the original plan was to wrap everything in black vinyl and have black suede accents in the windows. but i think the customer wants to have it painted now so as of now thats what im going with. but here are some updated pics. i toyed with a couple ideas for the crossover location and mount but this is what i ended up doing. 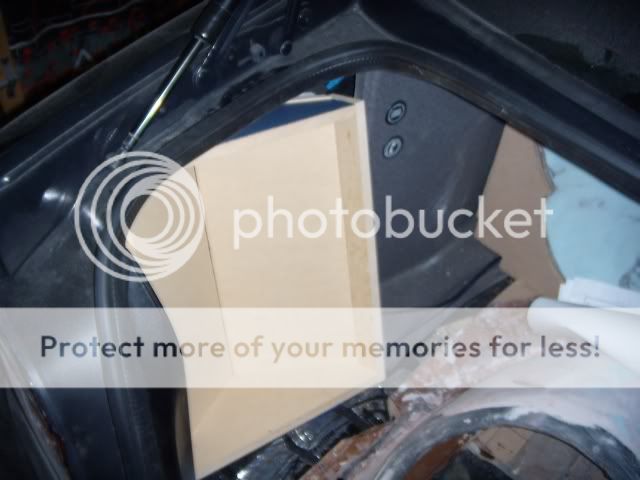
after suede plexi and mounting the crossovers. 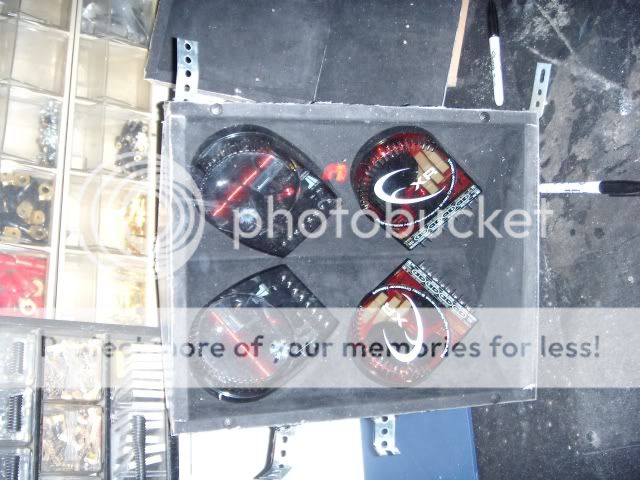
this is the begining of the side pannel. i made a cover for the crossover box and the other pieces are the main structre of the pannel and to get the shape and line i wanted. 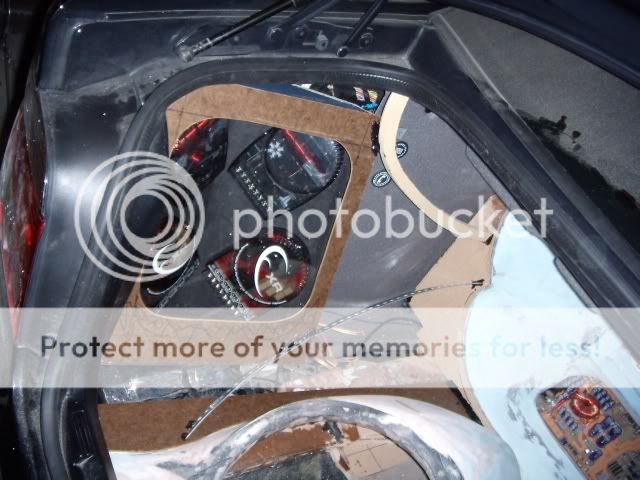
ready for some resin 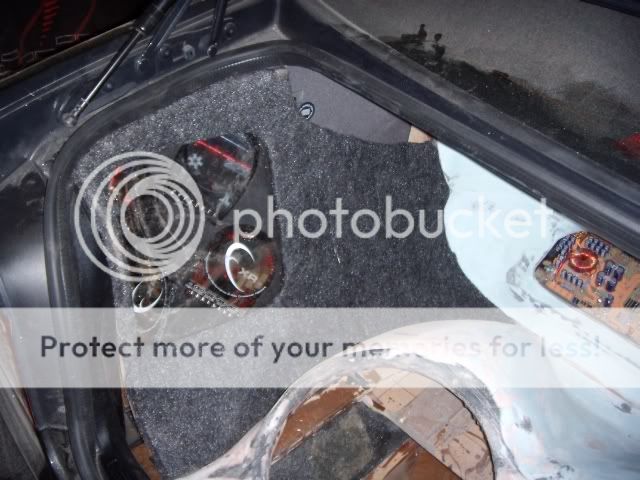
little insert for the top to fill in the whole i needed to have in order to make the pannel removable 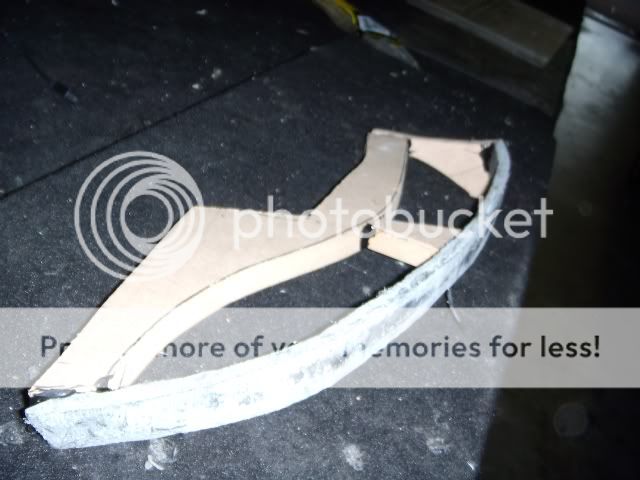
Posted By: fran82
Date Posted: June 20, 2007 at 9:33 PM
blubalz wrote:
.
Please don't leave that like it is. Not Safe. That backstrap is not even close to being able to carry the same current as a proper sized piece of wire. Also, a layer or 2 of electrical tape isn't enough protection from possible abrasion. Just look at how thick the jacket is on a piece of 4 gauge wire. Besides, electrical tape will eventually fail and leave exposed metal carrying enough current to weld itself or start a fire. I wouldn't want to be responsible for burning a BMW 540 to the ground.
|