My 1989 Mazda B2200 Stereo
Printed From: the12volt.com
Forum Name: Rides and Systems Gallery
Forum Discription: Show off your vehicles, systems, and installations.
URL: https://www.the12volt.com/installbay/forum_posts.asp?tid=118244
Printed Date: April 16, 2026 at 9:08 AM
Topic: My 1989 Mazda B2200 Stereo
Posted By: briankmizell
Subject: My 1989 Mazda B2200 Stereo
Date Posted: December 05, 2009 at 5:24 AM
I started the installation on August 17, 2009 Original post can be found here: https://www.mazdatruckin.com/vBulletin/customizing/4741-getting-started-my-stereo-dial-up-users-beware.html All post are copy & paste from www.mazdatruckin.com Title: Getting started on my stereo. (dial-up users beware!) I thought I would start a thread about my stereo install, as you guys already know I take quite a while to get things done. So as you probably already guessed this may take some time to complete. I will do my best to take pictures along the way of the install. Here are some pictures. 

Some things I have acquired over the last year. (by acquired I don't mean they were a five finger discount......lol) I did pay for them. 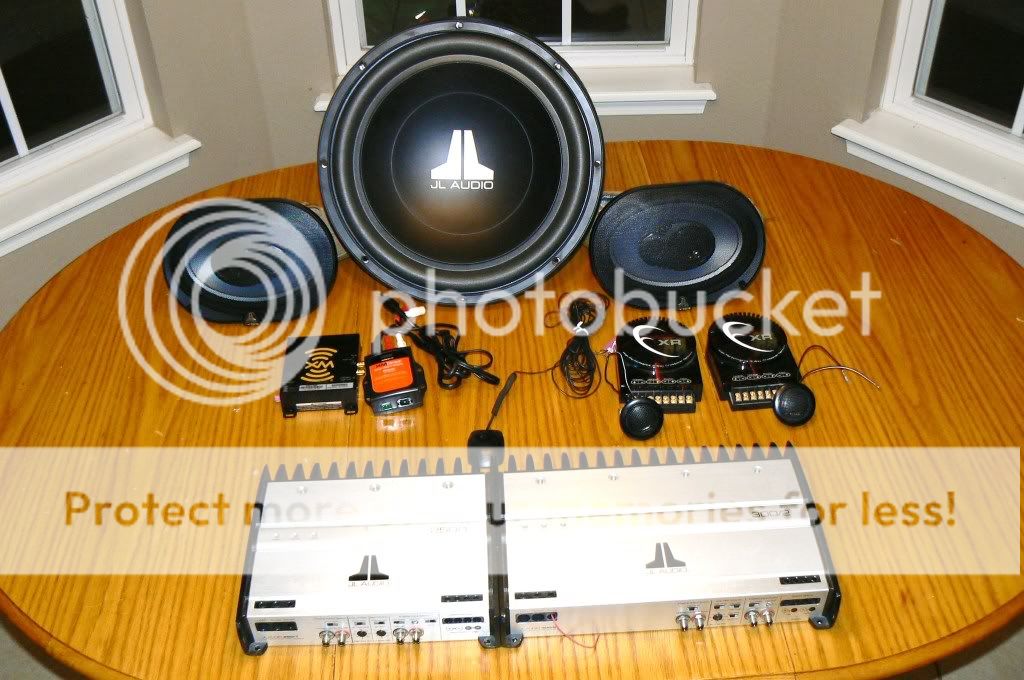
I can see that my kids attempted to clean the windows! 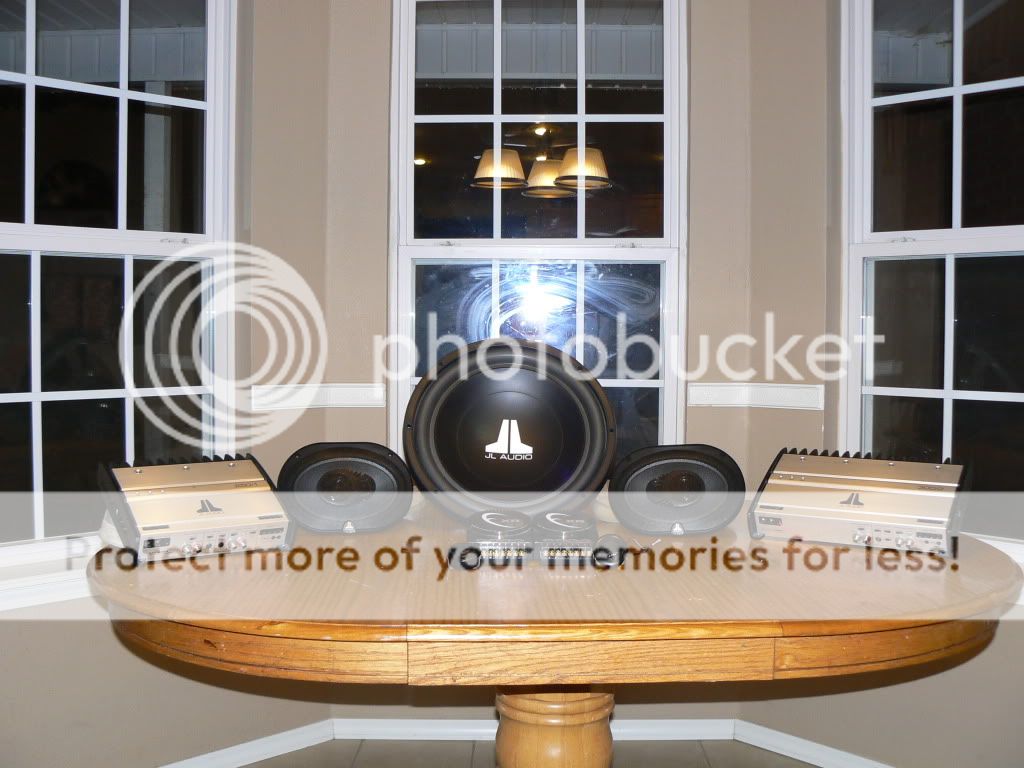
A lame rendering I done of the enclosure I am thinking of building. 
Specs for the enclosure 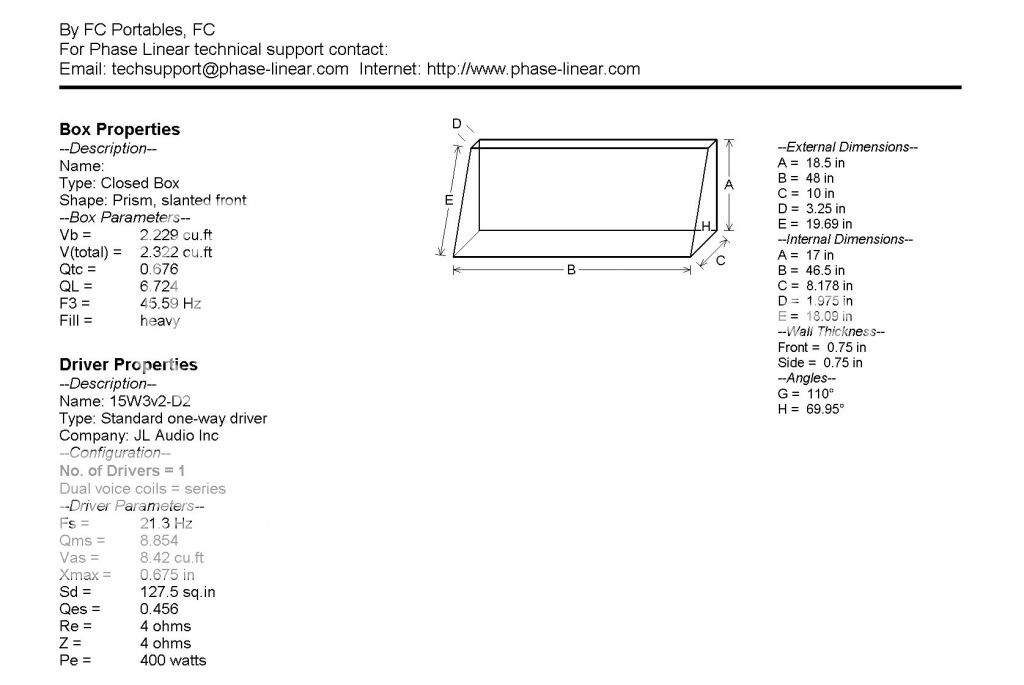
If any one is thinking of building their own enclosure, you should check out bassbox 6 pro it's a nifty little program. thats what I used to design the enclosure. I just had to ad the specs for the sub and a few other things. If you need the program PM me, I can hook you up. It will be free! -------------
Replies:
Posted By: briankmizell
Date Posted: December 05, 2009 at 5:29 AM
I forgot to mention the info about the truck. 1989 Mazda B2200 SE5 2.2L engine, Bored .020, deck milled .003, Pacesetter header, Holley 5200 carb from a 1980 Pinto (AKA Weber DFEV 32/36), MSD Blaster coil, 8mm plug wires, 2 1/2" straigh pipe exhaust to Raptor peformance muffler. Estimated HP 110 -------------
Posted By: briankmizell
Date Posted: December 05, 2009 at 5:34 AM
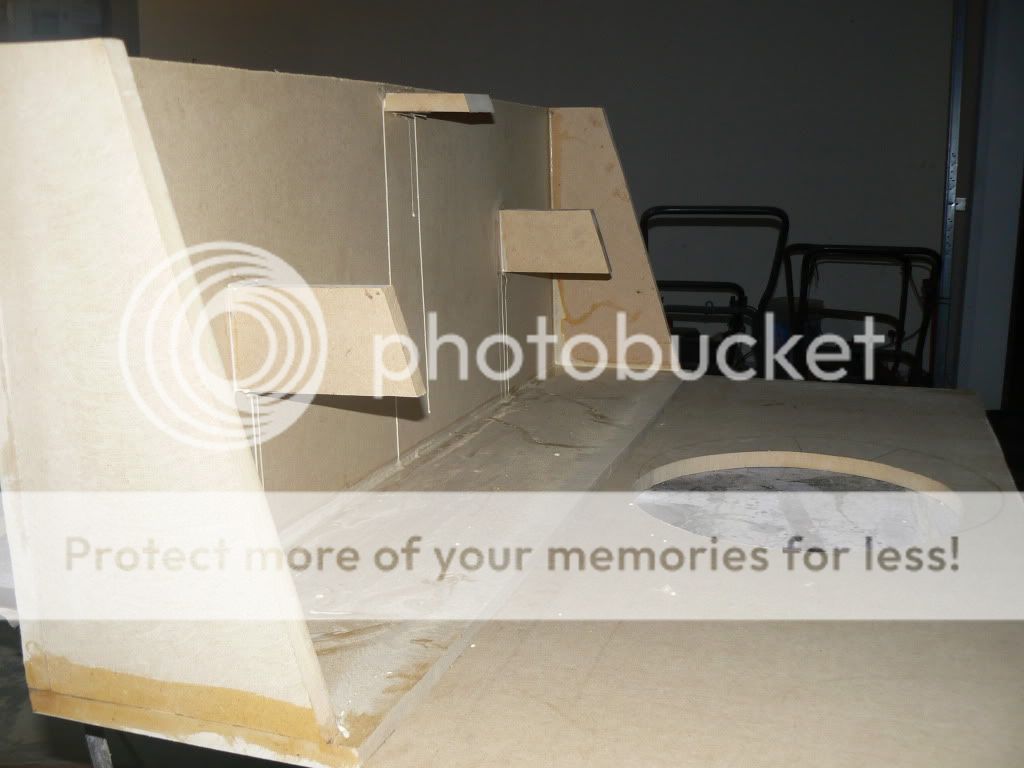
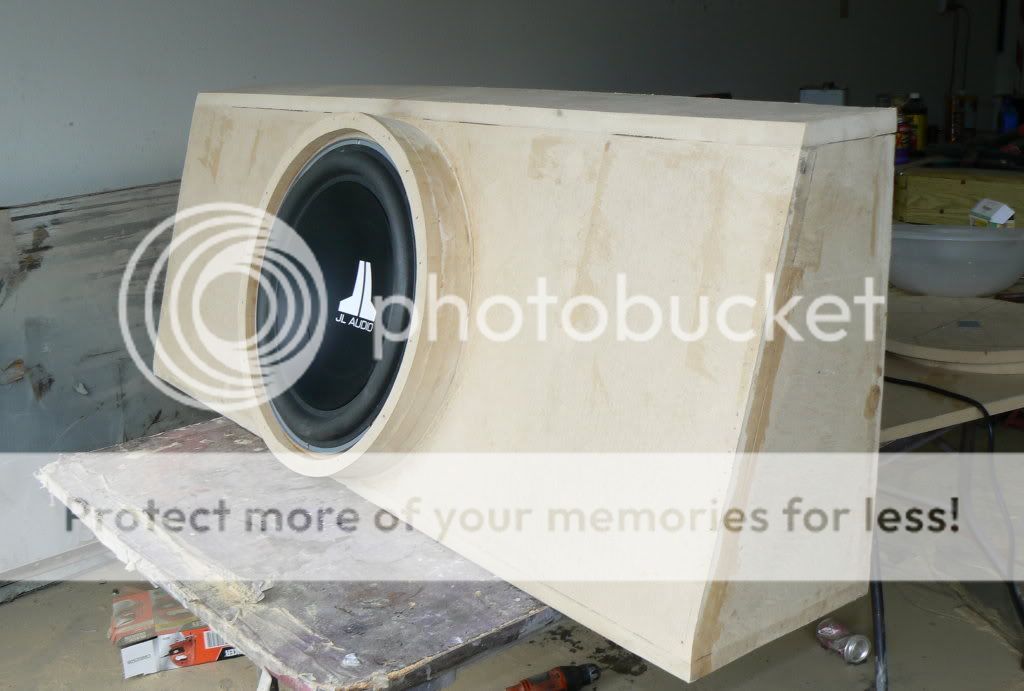
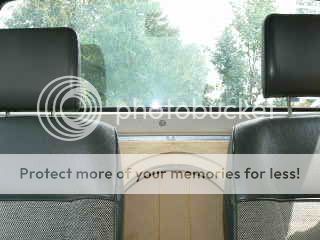
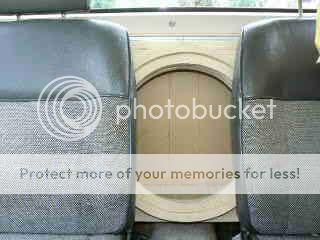
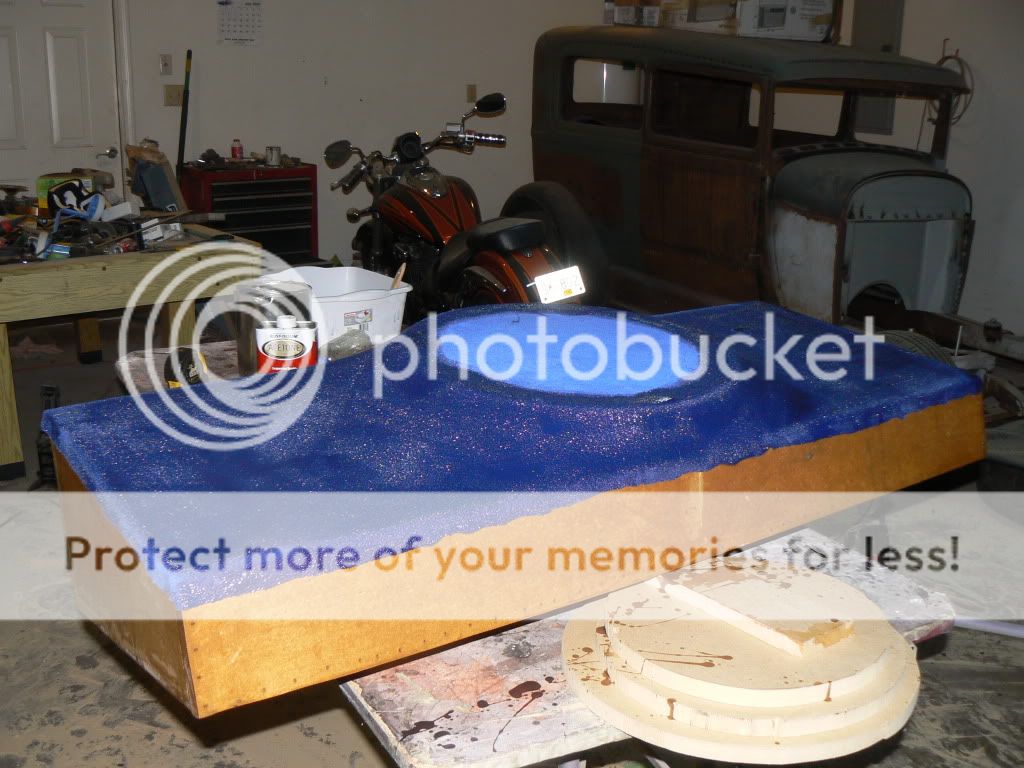
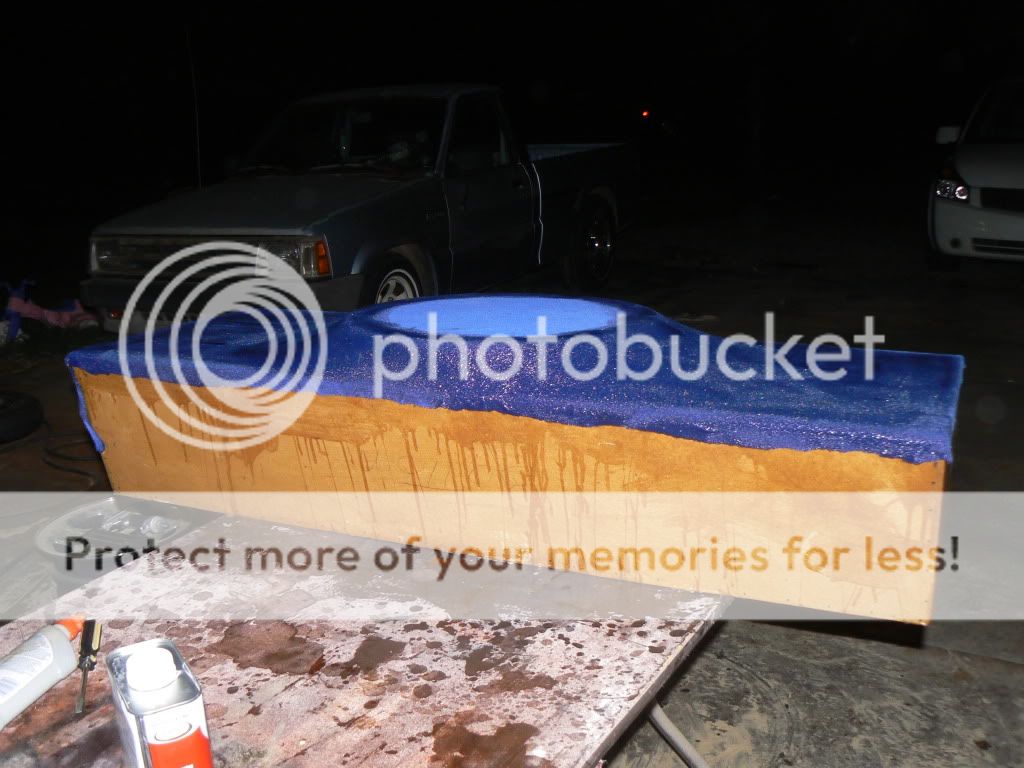
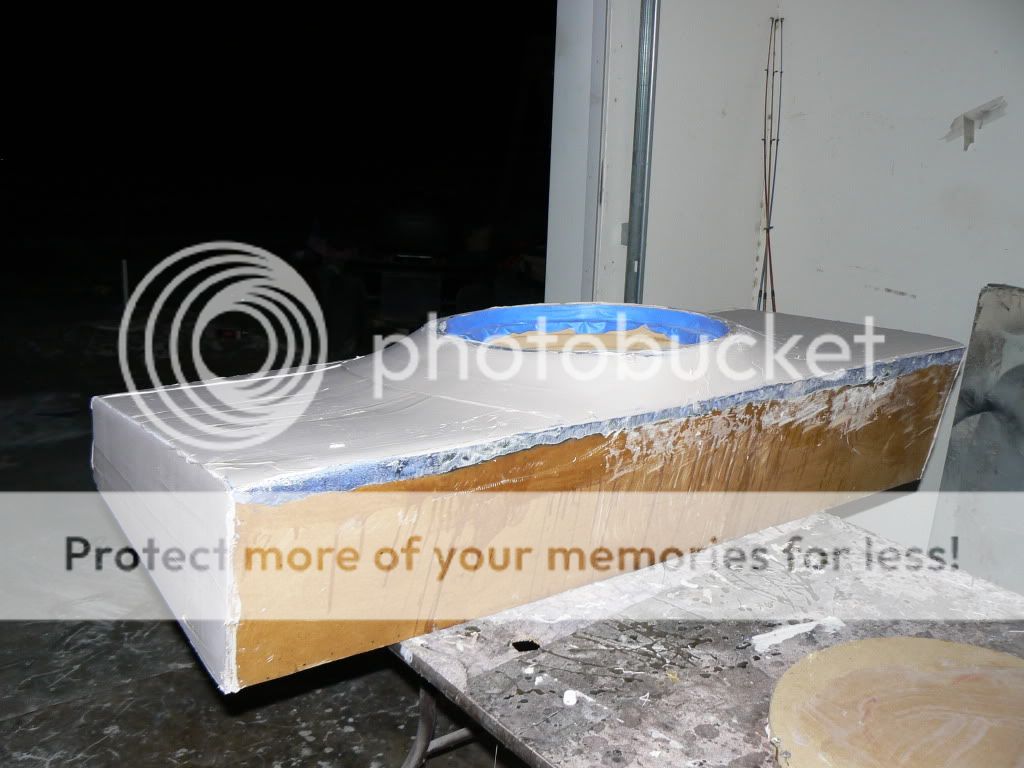
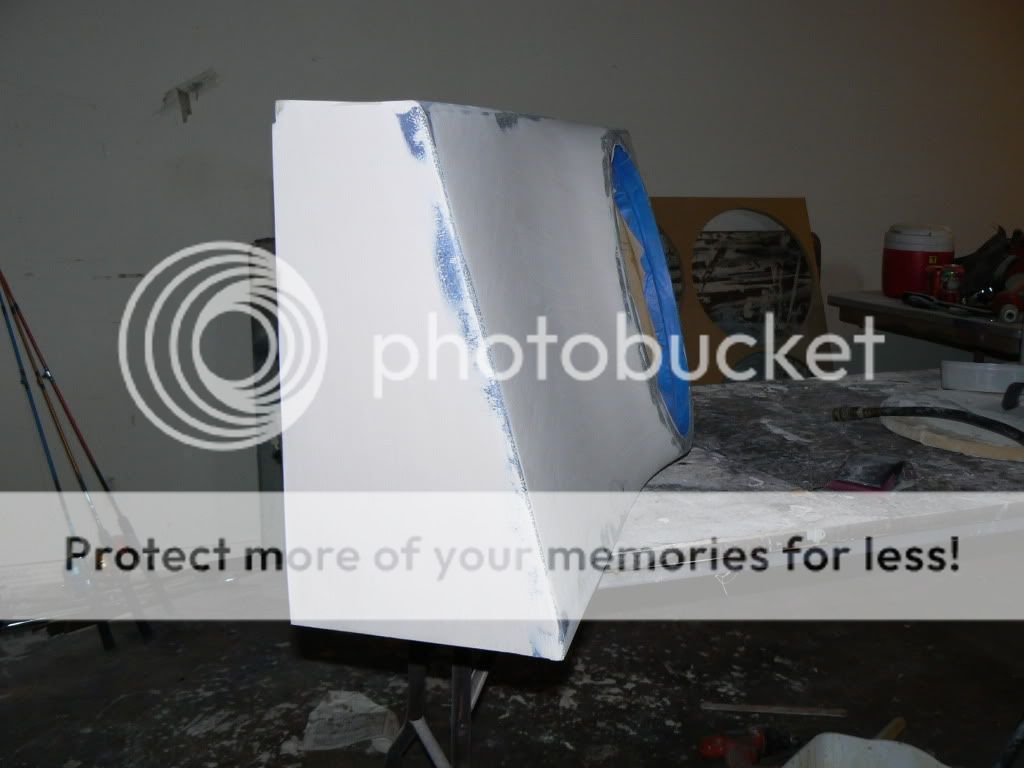
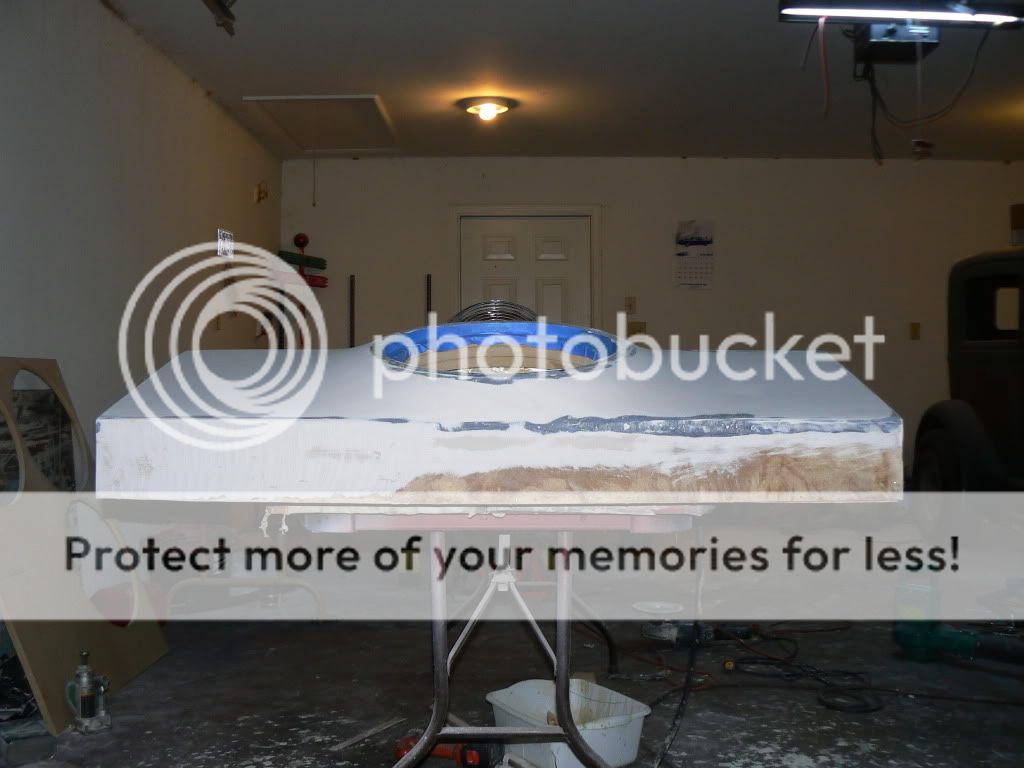
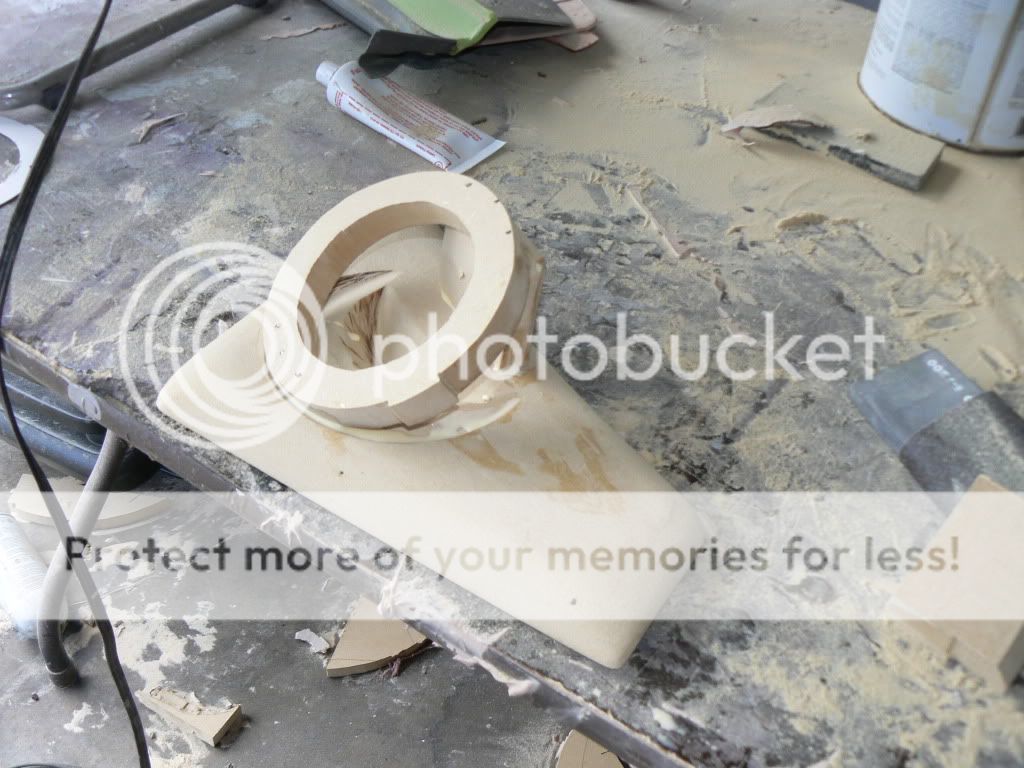
Title: 15" Sub enclosure for std cab B2200 OK here are some pictures of the enclosure construction and a problem or two I have run into. 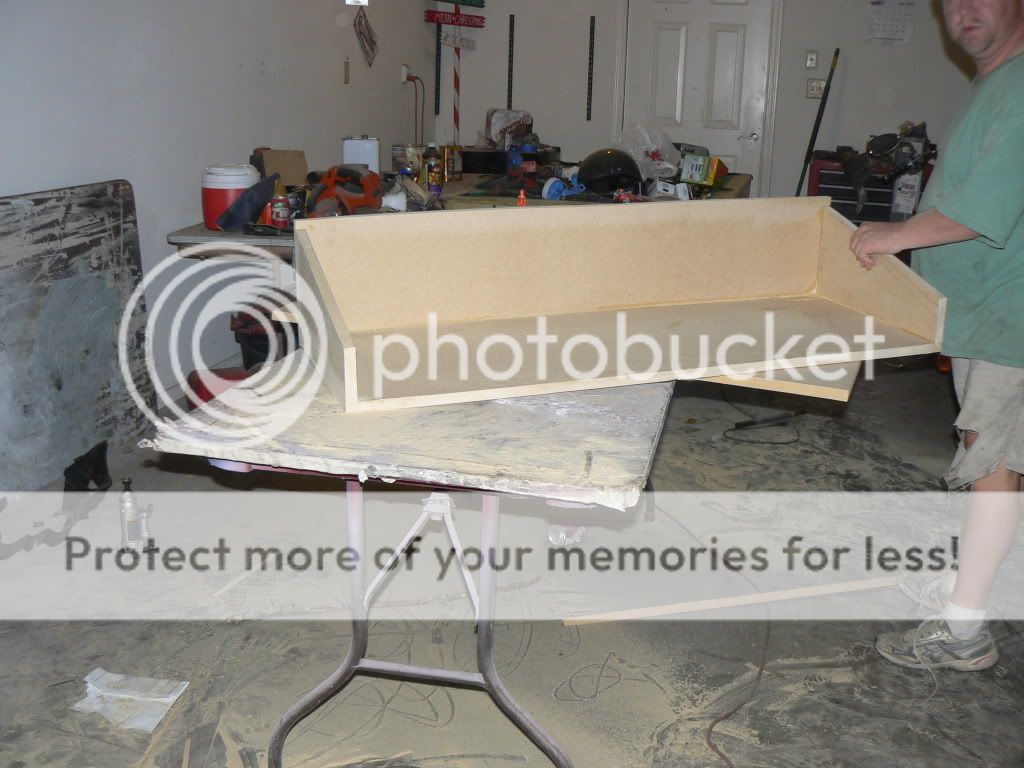
Here is my fat butt working on it, (I just hate getting my picture taken) 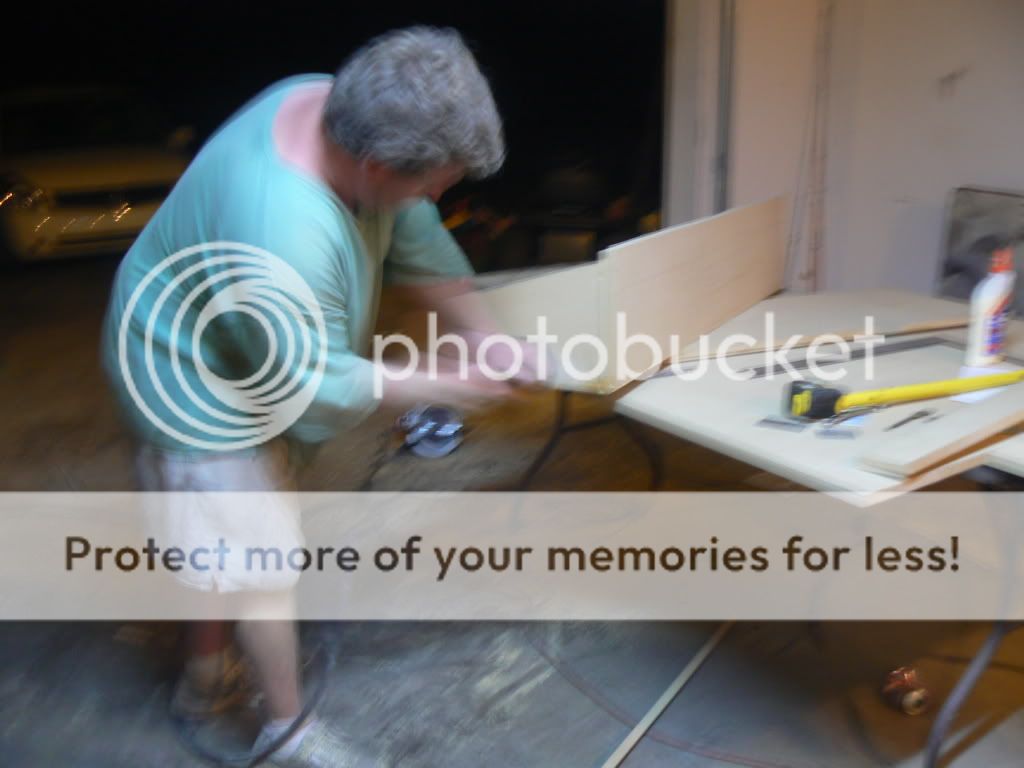
The wife is going to shoot me, I got dust all over her pretty motorcyle I just painted about 2 moths or so ago. ( that was alot of work taping those stripes off) that was alot of work taping those stripes off) 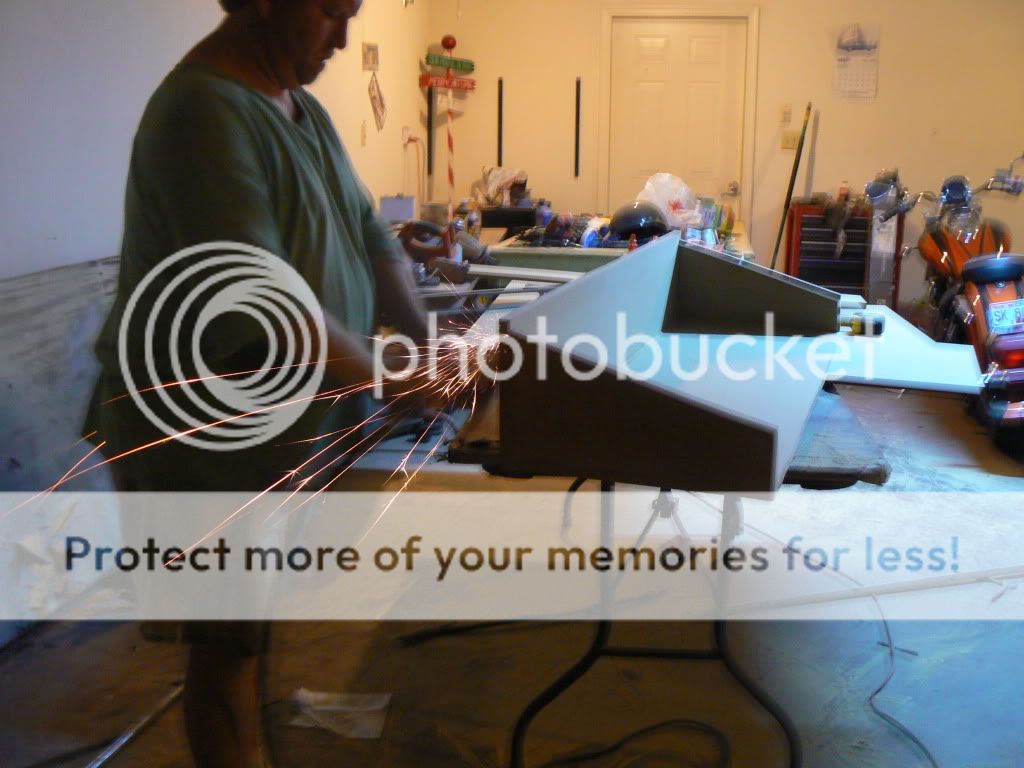
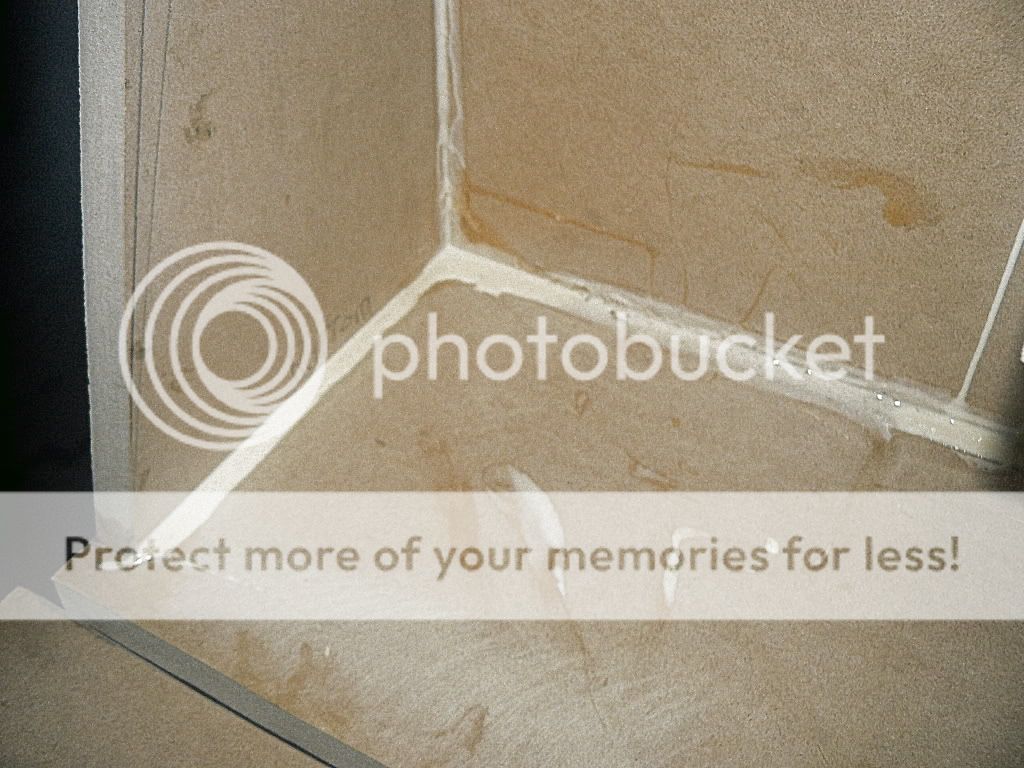
Construction grade carpenters glue to make sure it doesn't rattle apart. Oh and by the way if you do this I suggest taking sand paper or a grinder and remove the shiny coating on areas that will be glued together. This will let the wood glue penetrate into the wood and bond the pieces together far better than it would if you didn't remove the shiny (actually semi-shiny coating) 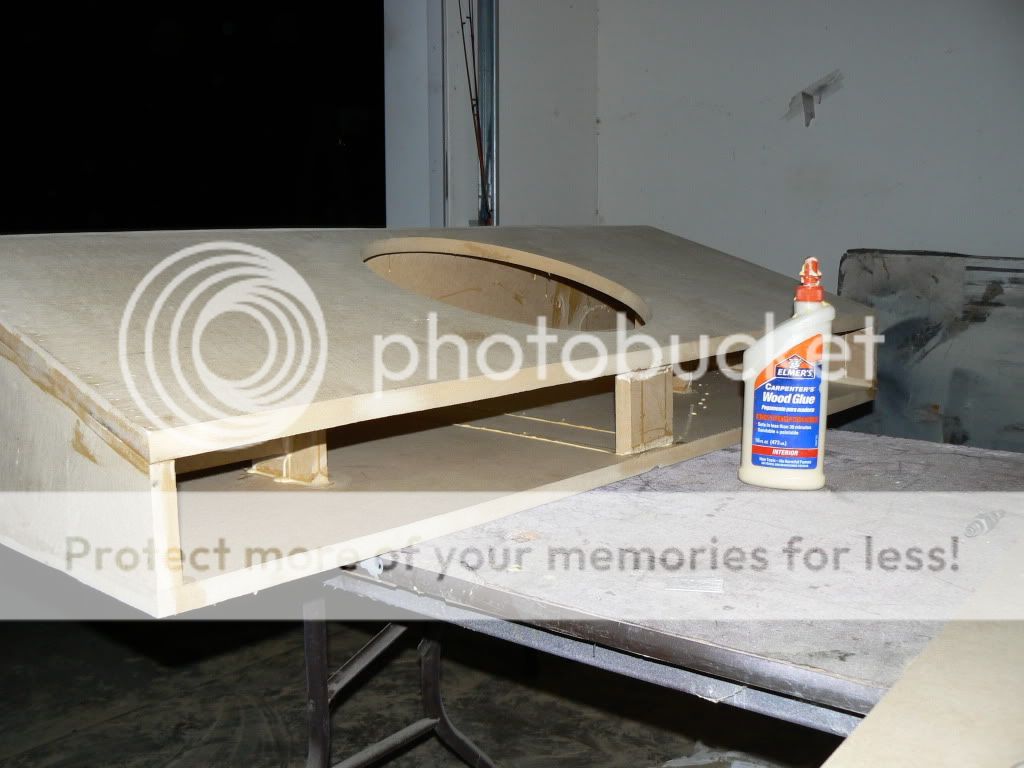
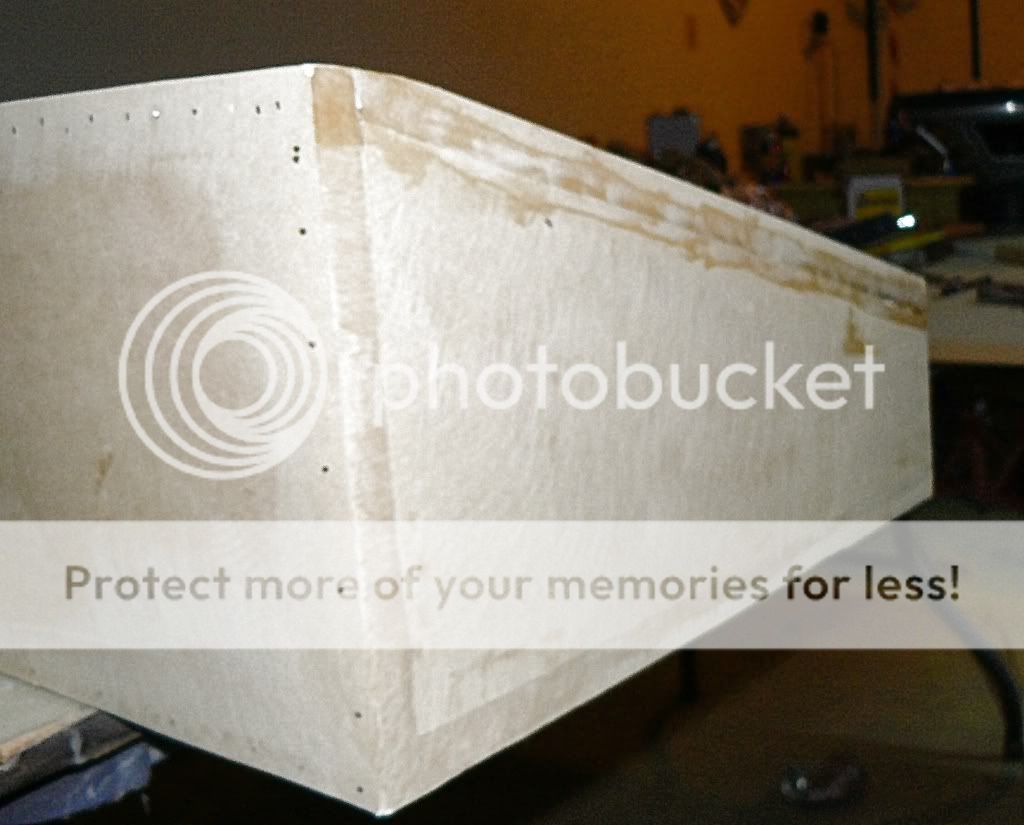
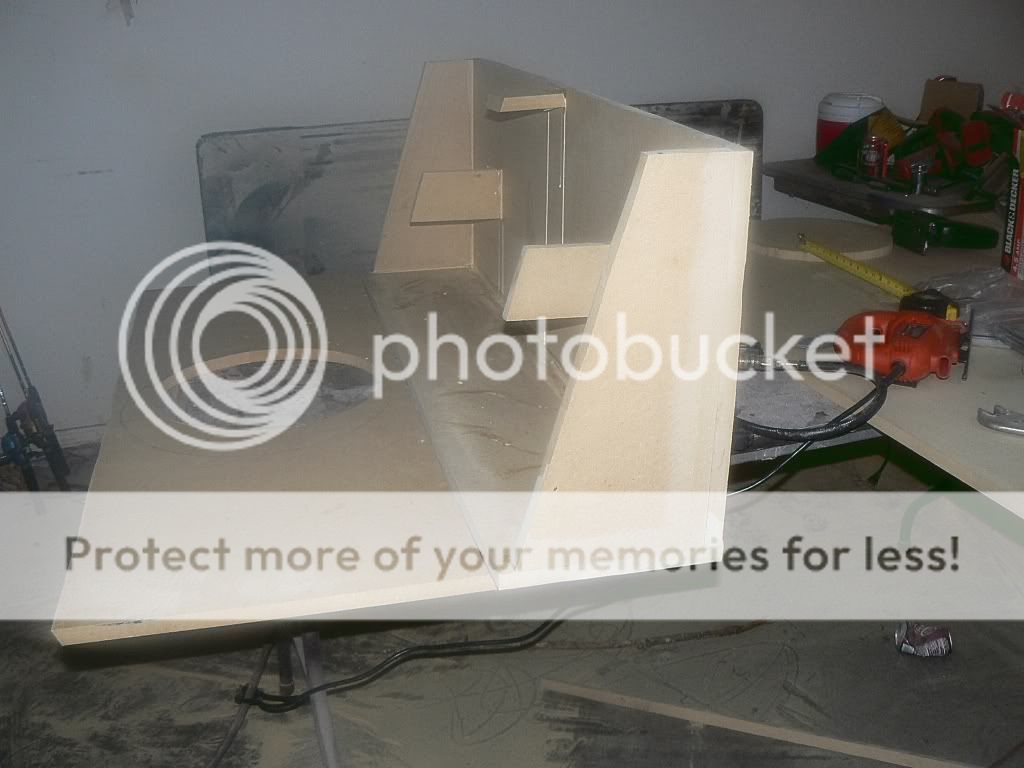
Sides ground down smooth so the boards meet together nicely. Just when I was thinking, I am almost done; but there is one small problem. 
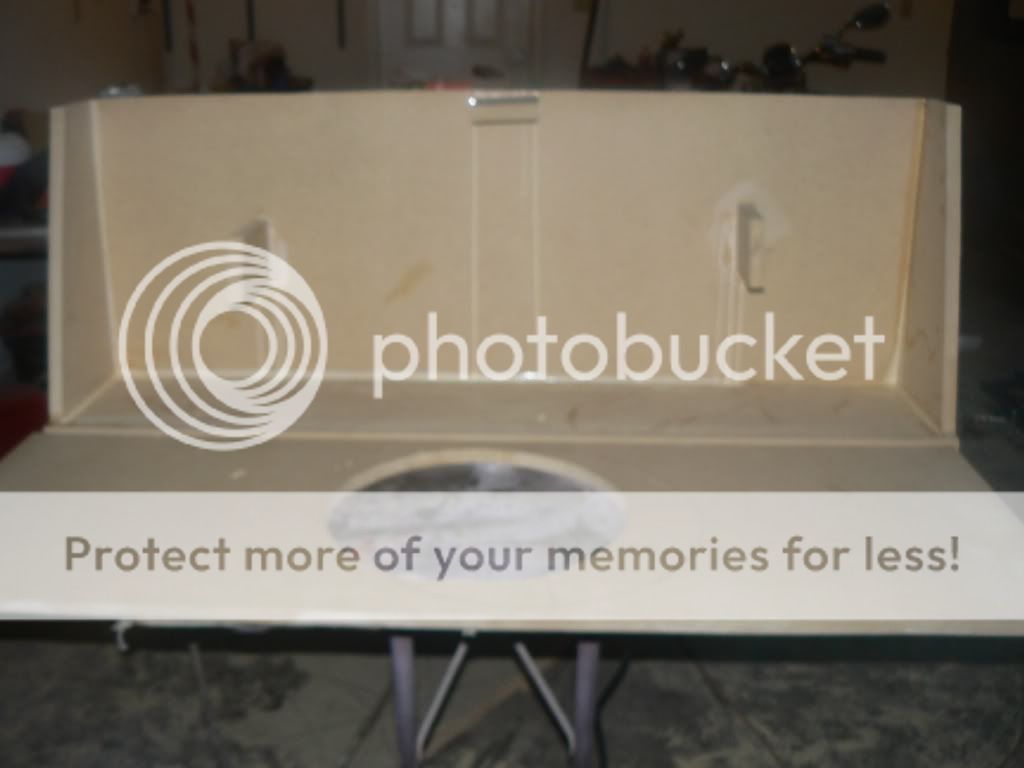
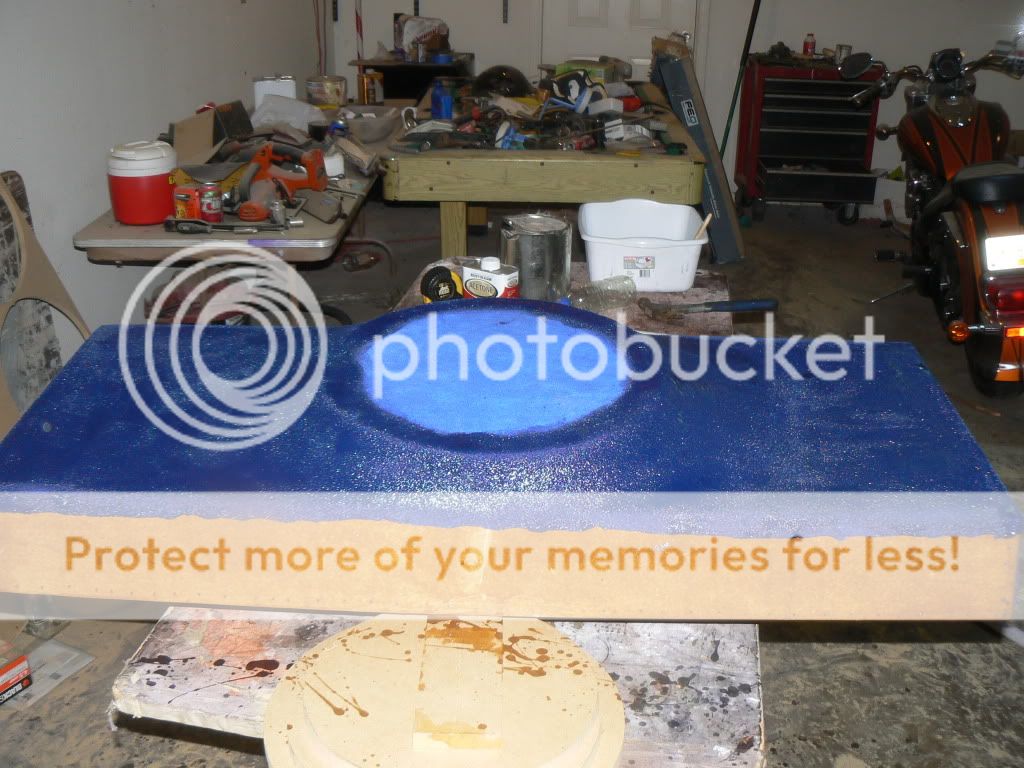
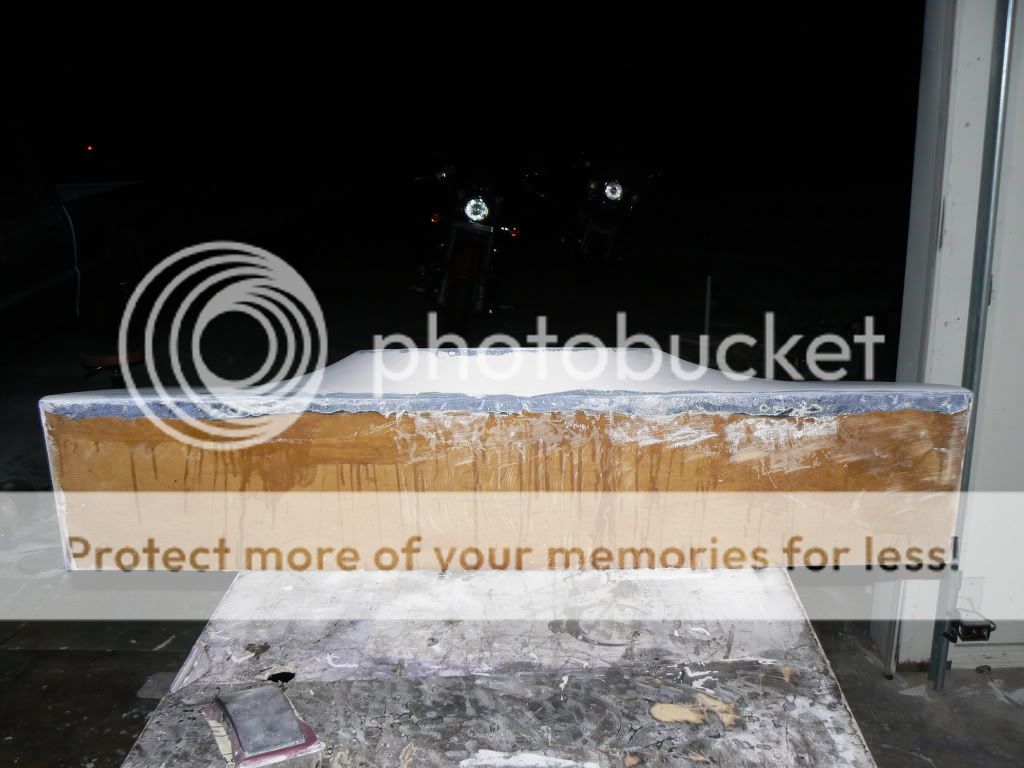
When I built the enclosure with Bassbox 6 pro I thought my Sub had a mounting dept of 7". Well it turned out that it was 8 1/4" mounting depth. So I had to make some spacers to get the sub woofer mounted to the box. Below is the semi finished project. 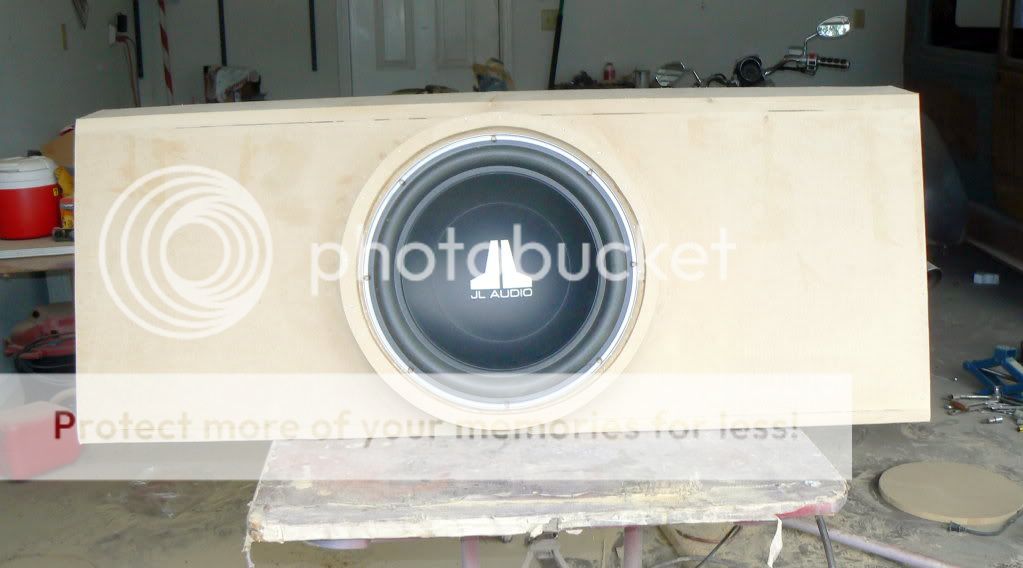
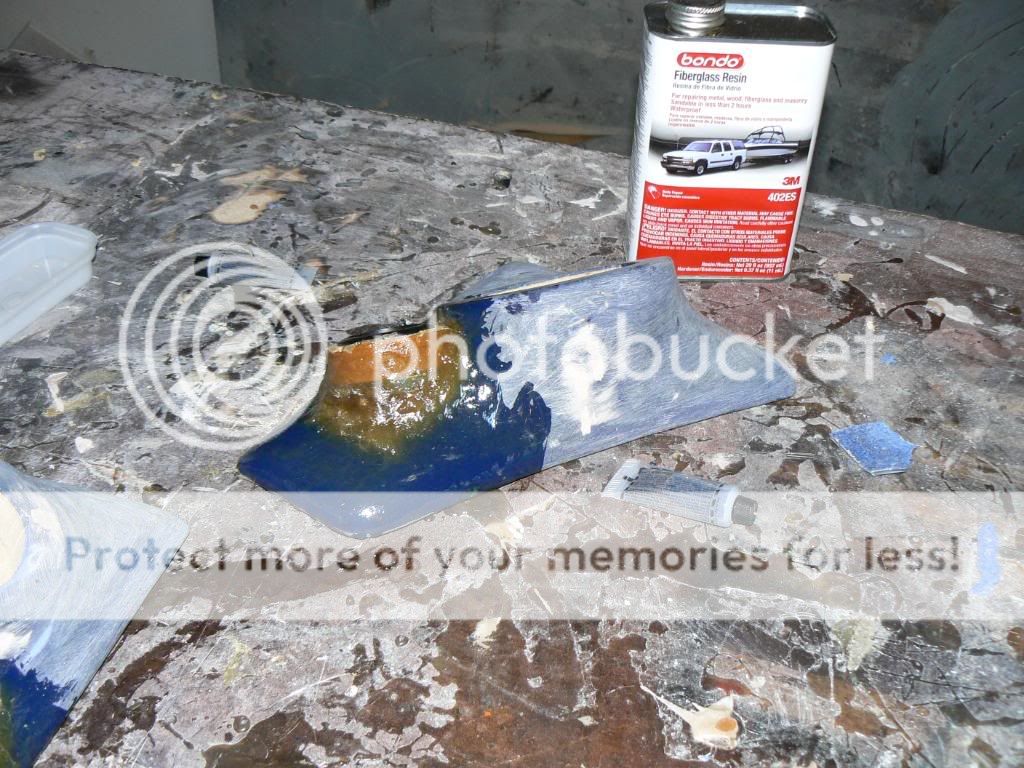
Next I will remove the subwoofer and cut holes for my wiring hardware and the handle to carry this beast. After that I am going to stretch some fleece over the front of the enclosure nice and tight and staple it down. I am going to mix up some fiberglass resin and brush it over the fleece. When it sets up I will take a grinder to that and rough it up so that I can fill the imperfections with body filler. I haven't yet decided if I am going to paint it or put a thin padding over it and cover it with leather. More pictures to come as project continues. -------------
Posted By: briankmizell
Date Posted: December 05, 2009 at 5:39 AM
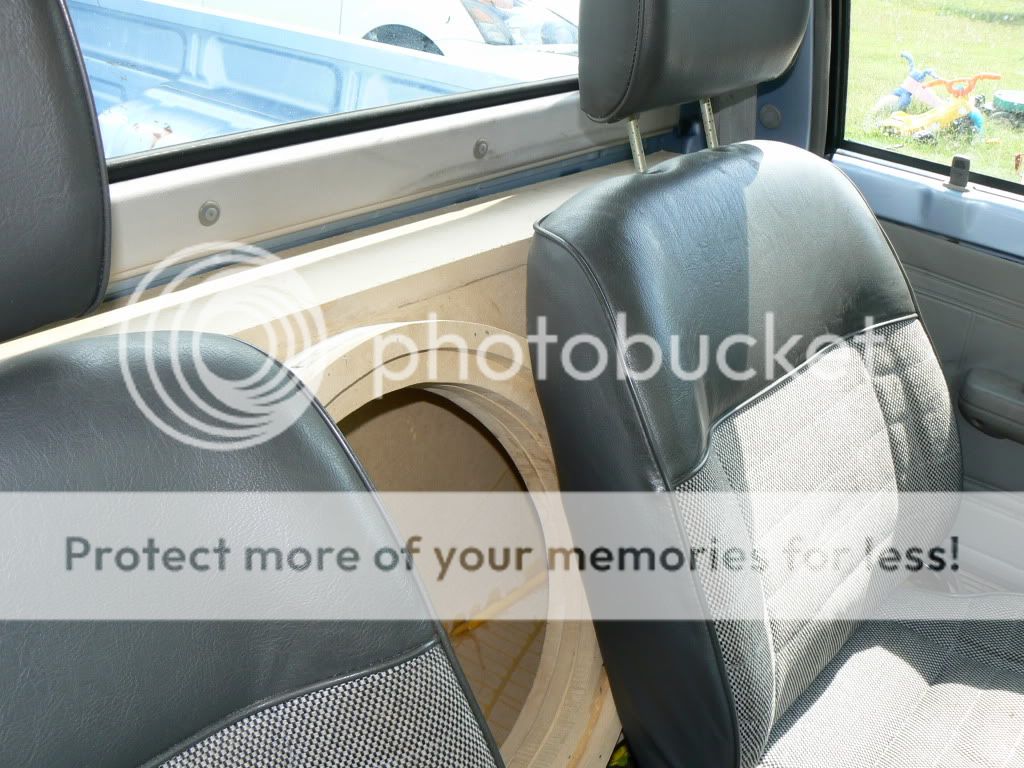
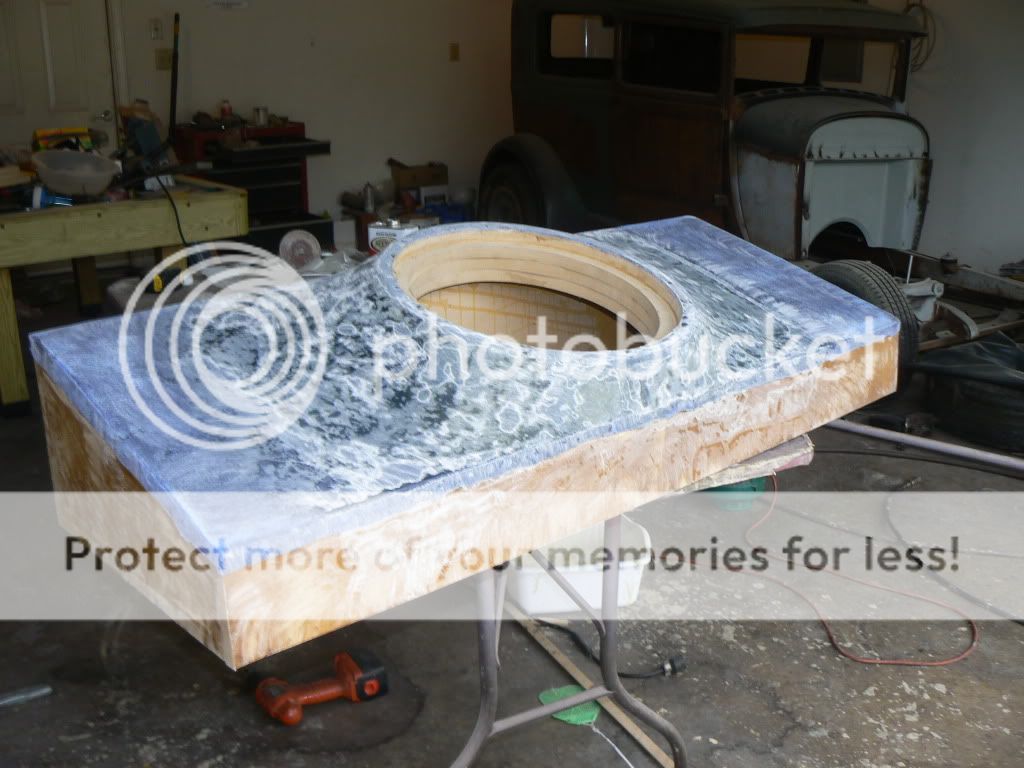
Here are some pictures of the enclosure in the truck before I fleeced it. 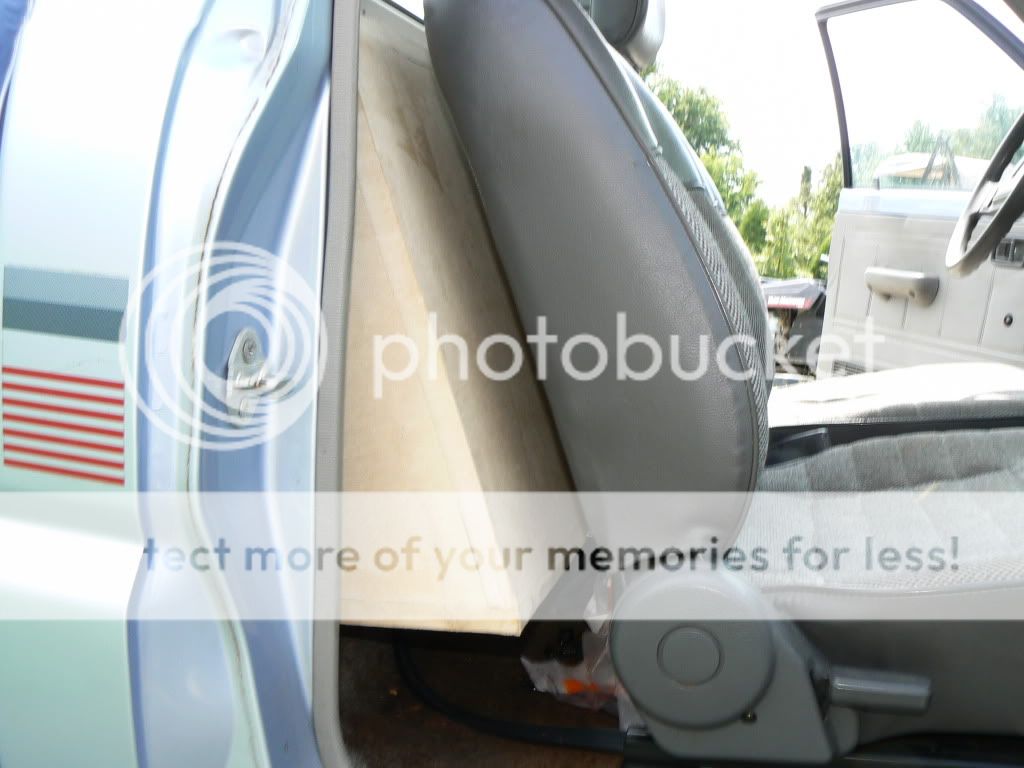
With the fleece 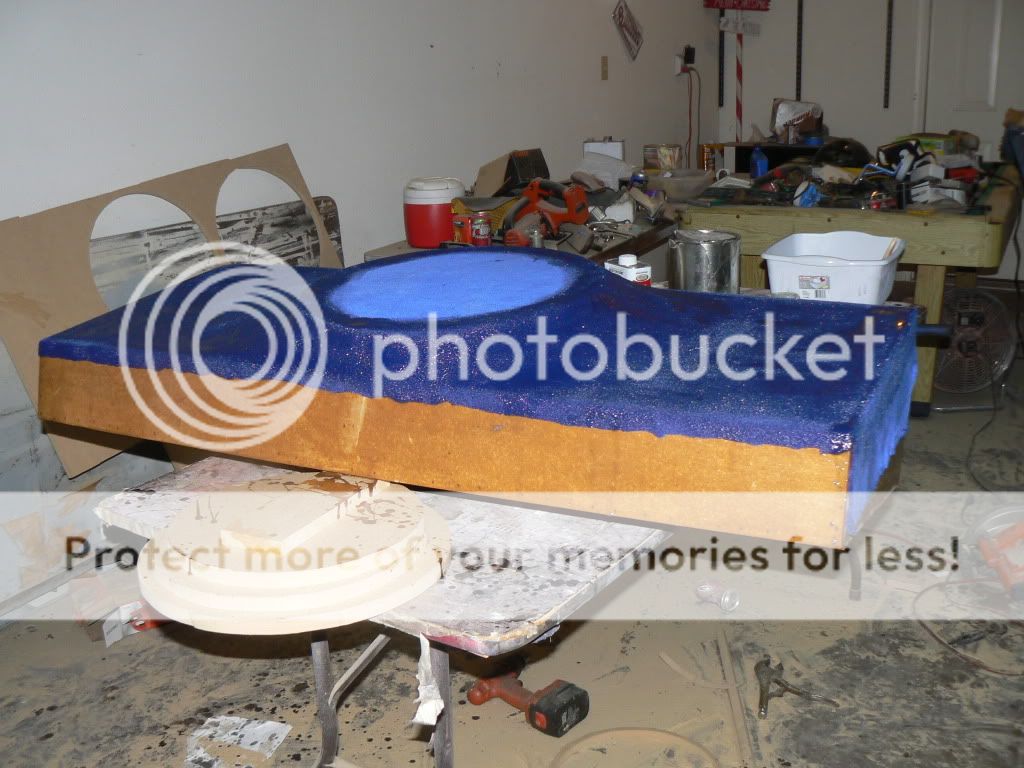
Now comes the grinding and body filler. -------------
Posted By: briankmizell
Date Posted: December 05, 2009 at 5:41 AM
I put almost 1/2 gallon of body filler on it this afternoon. I ran out of body filler, I will have to go and get more in the am. Here are some pictures before the body filler 
-------------
Posted By: briankmizell
Date Posted: December 05, 2009 at 5:43 AM
Here are few pictures with the body filler applied 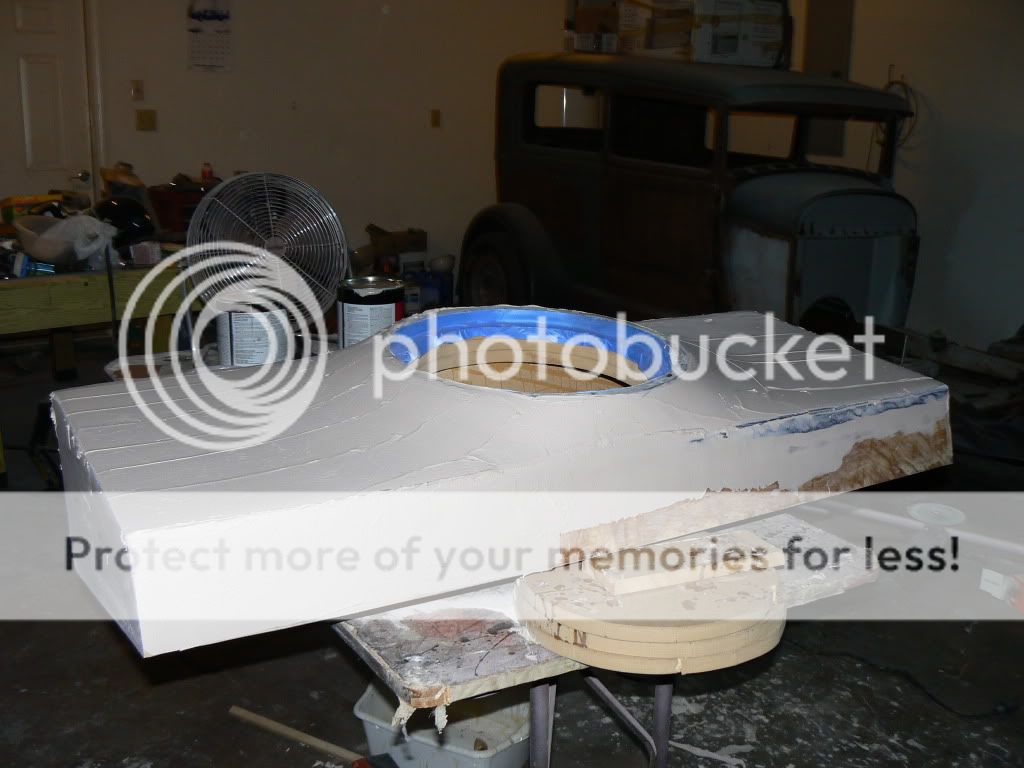

-------------
Posted By: briankmizell
Date Posted: December 05, 2009 at 5:44 AM
Thanks munkekiller, as for the ride in the corner believe it or not I have had that thing for 10 years now. I bought it in 1998, to make a long story short the wife wanted to go to Disney land in may of 99, then the next year we went to destin Florida. Then I wanted to go to Colorado. Well when I was in Colorado I picked up a big *** rock and blew a disc out in my back. I toughed it out for almost a year. I kept on working and it **** near severed a nerve in my spine. So I had a surgery (never been the same since then) I lost my job that I made $17 and hour at back in 2000. I have been on disability since 2003 and don't make near the money I did, plus I don't work near as fast and cant work that long. So that project is a long term one. here are a few more pictures of the body filler sanded. I still need to put some on the top and then it will be ready for painting. I really want to cover it in leather but it will be cheaper to paint it. 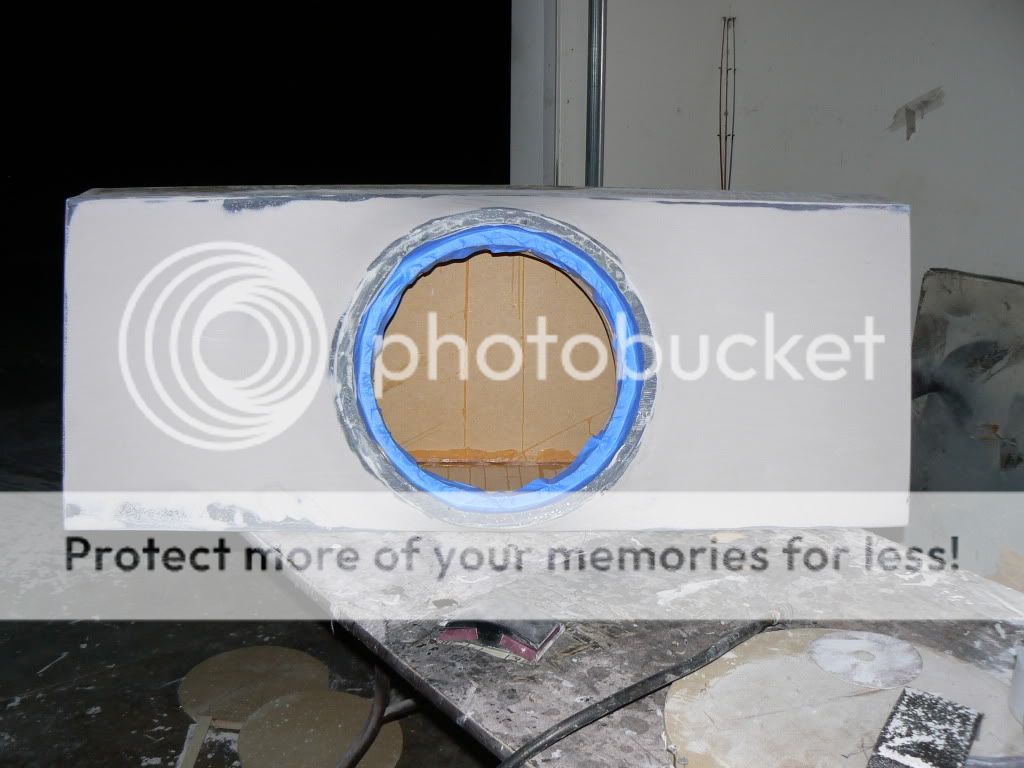
-------------
Posted By: briankmizell
Date Posted: December 05, 2009 at 5:45 AM
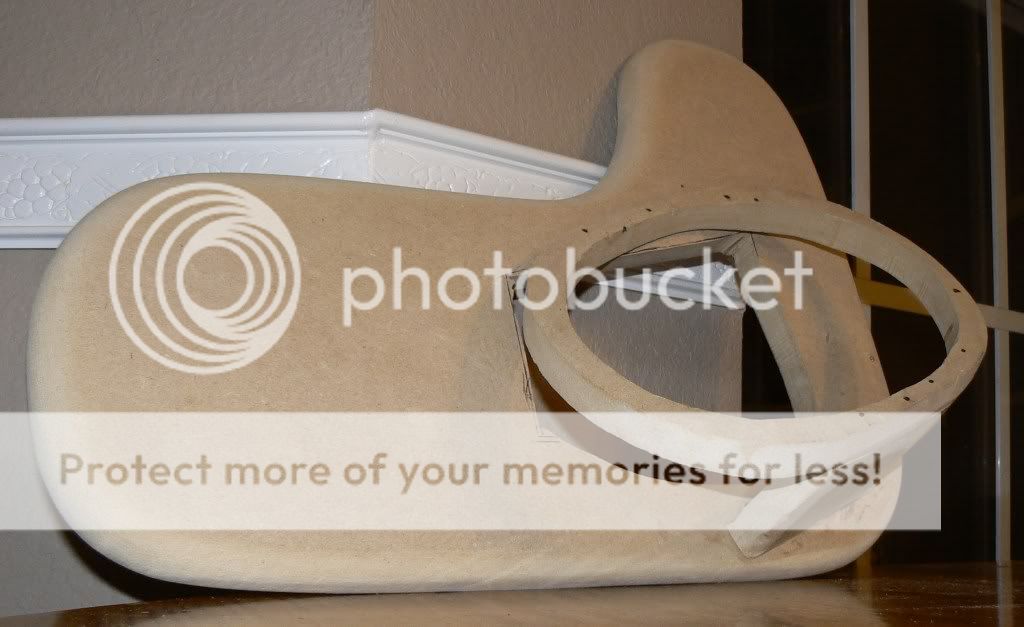
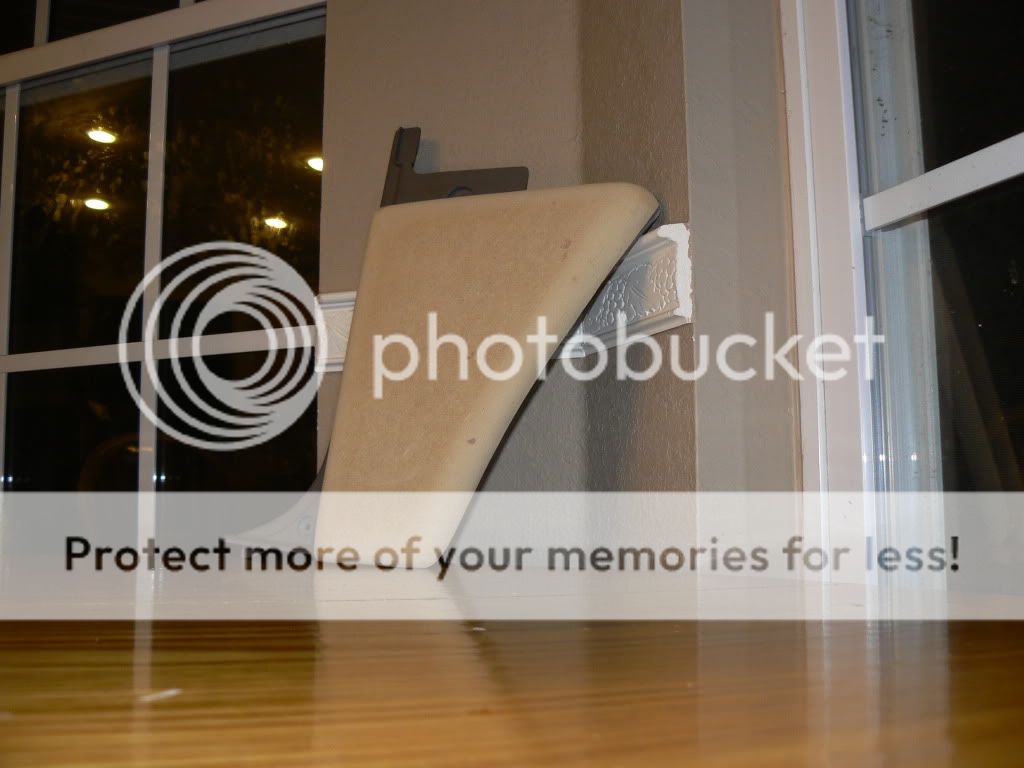
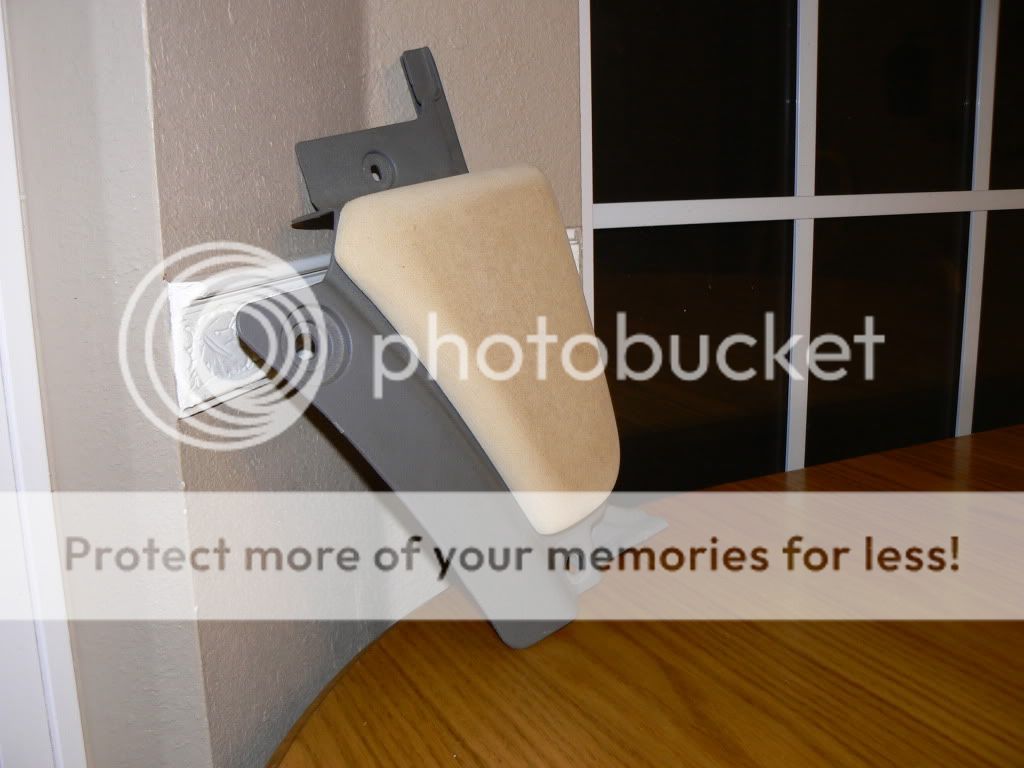
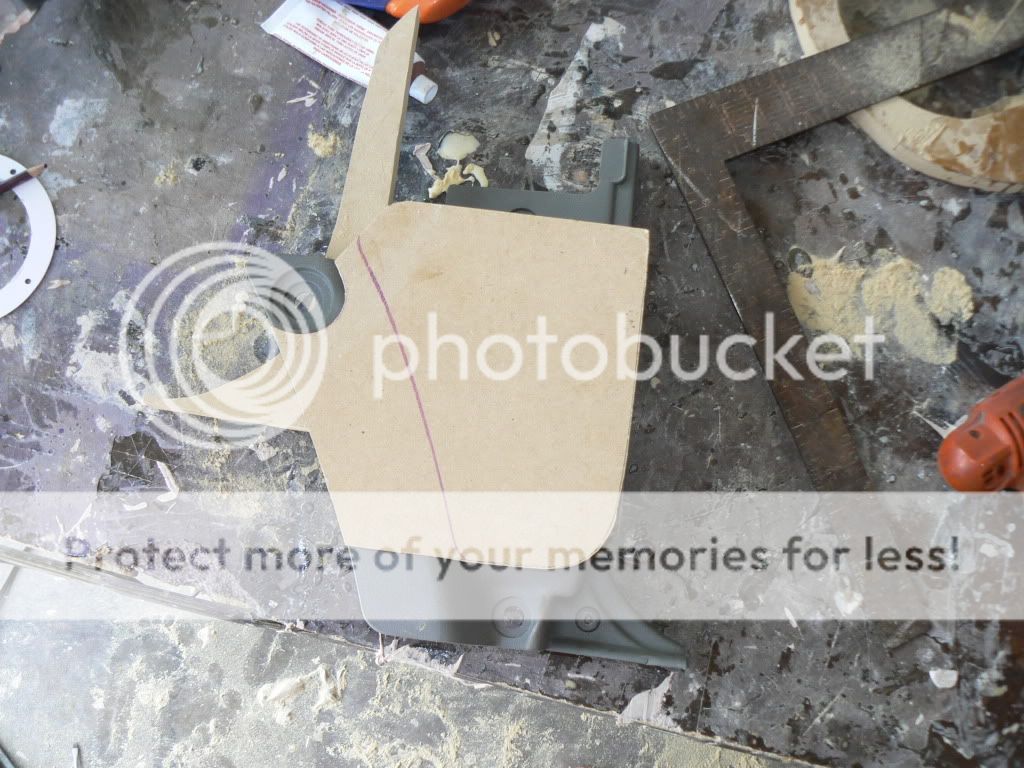
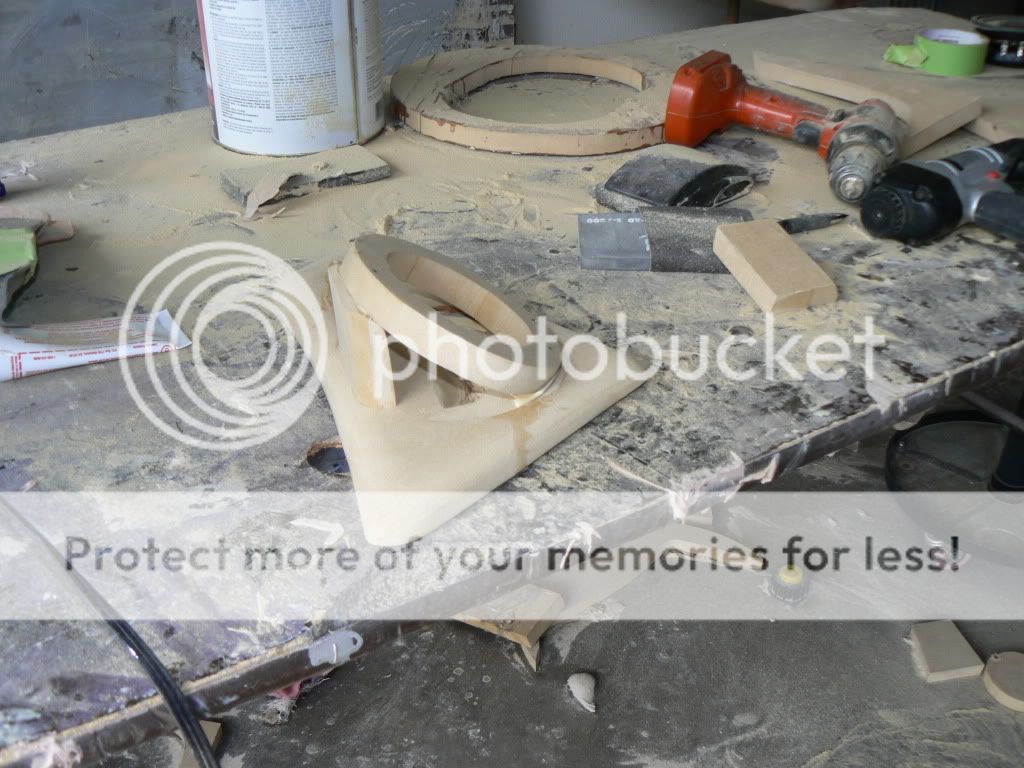
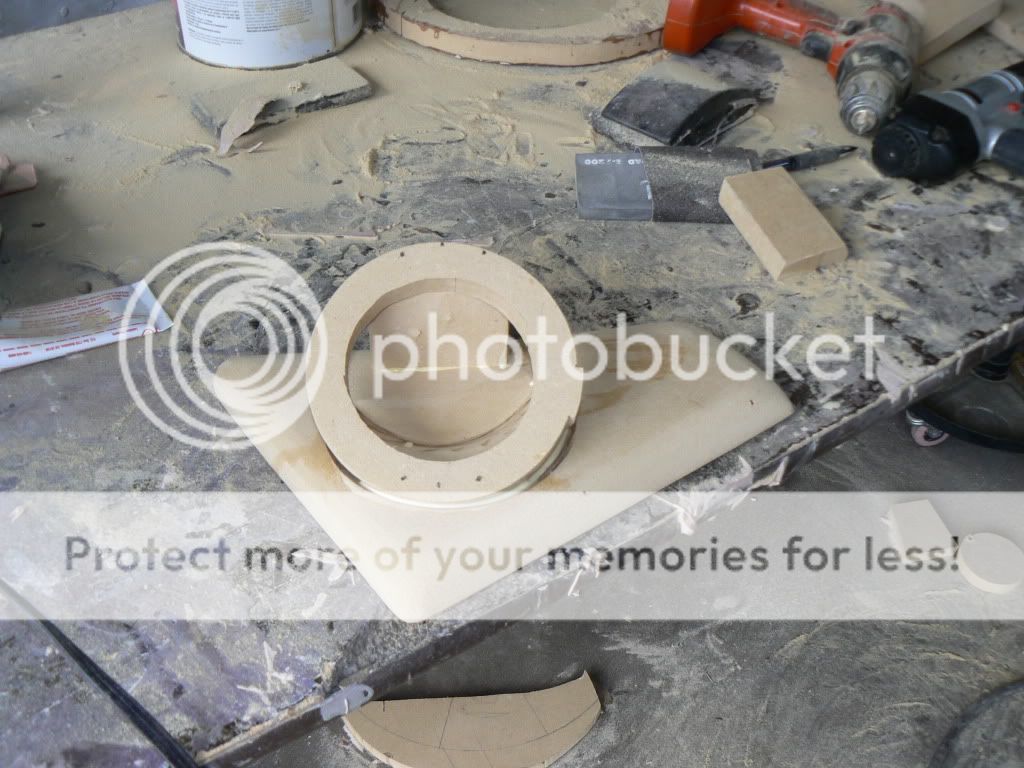
Title: Speaker pods for doors I got a little more work done on it today. Here are some pictures of a few hours worth of work. Hole cut for speaker 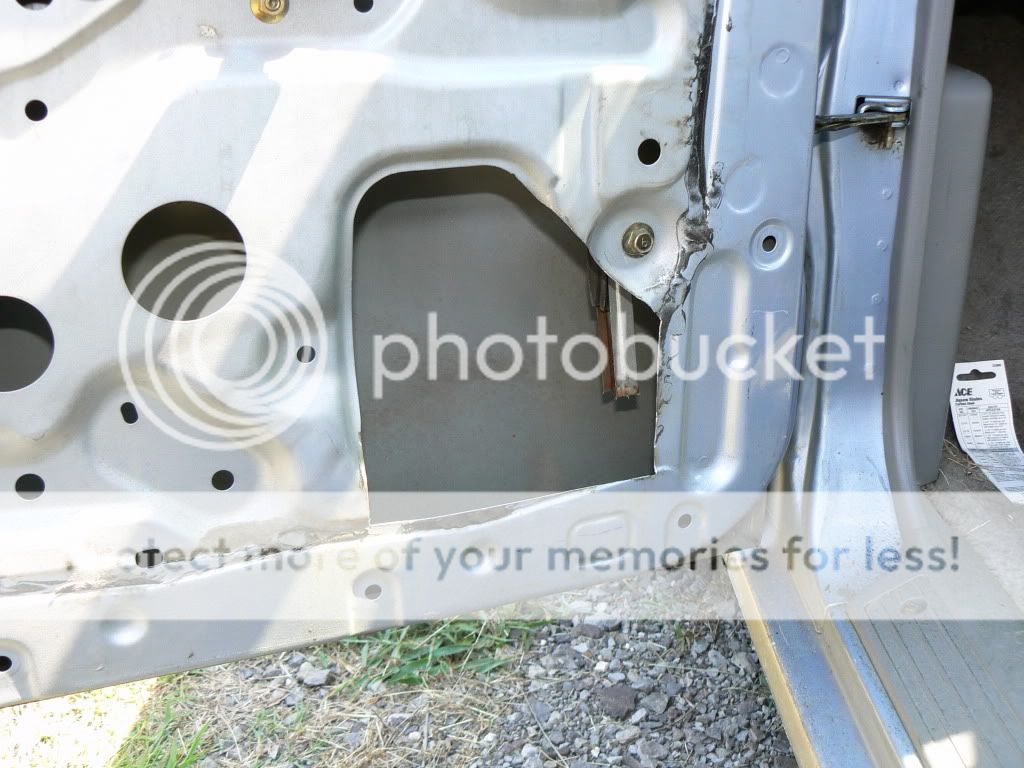
Piece I removed from the door. 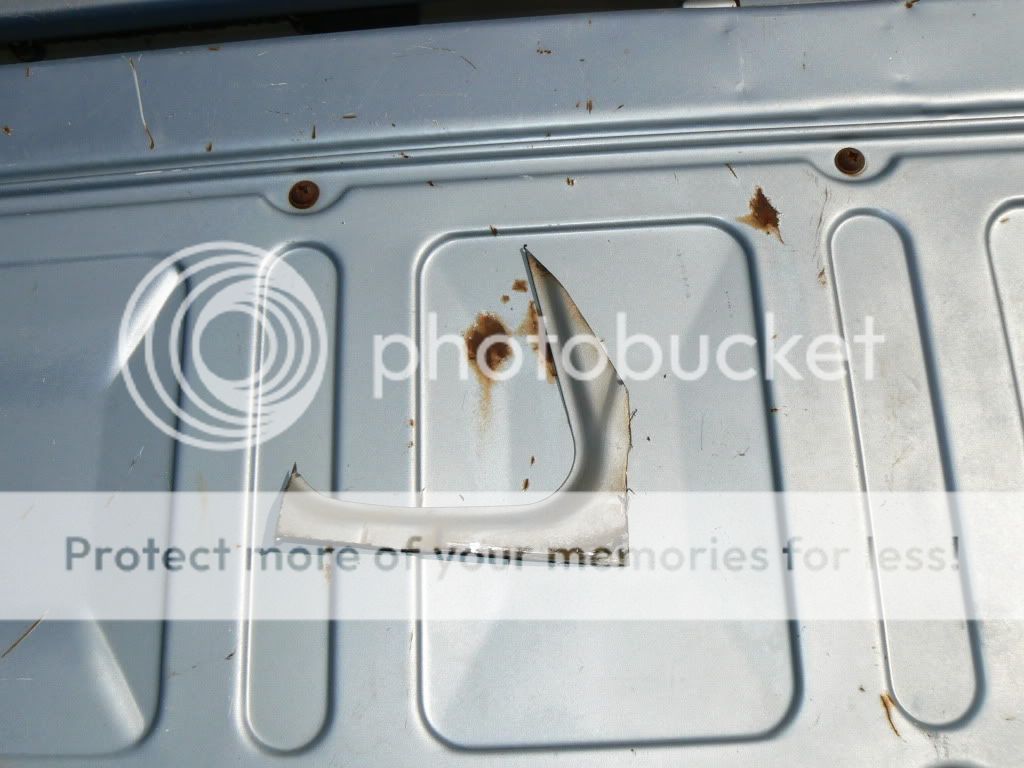
Door panel cut. 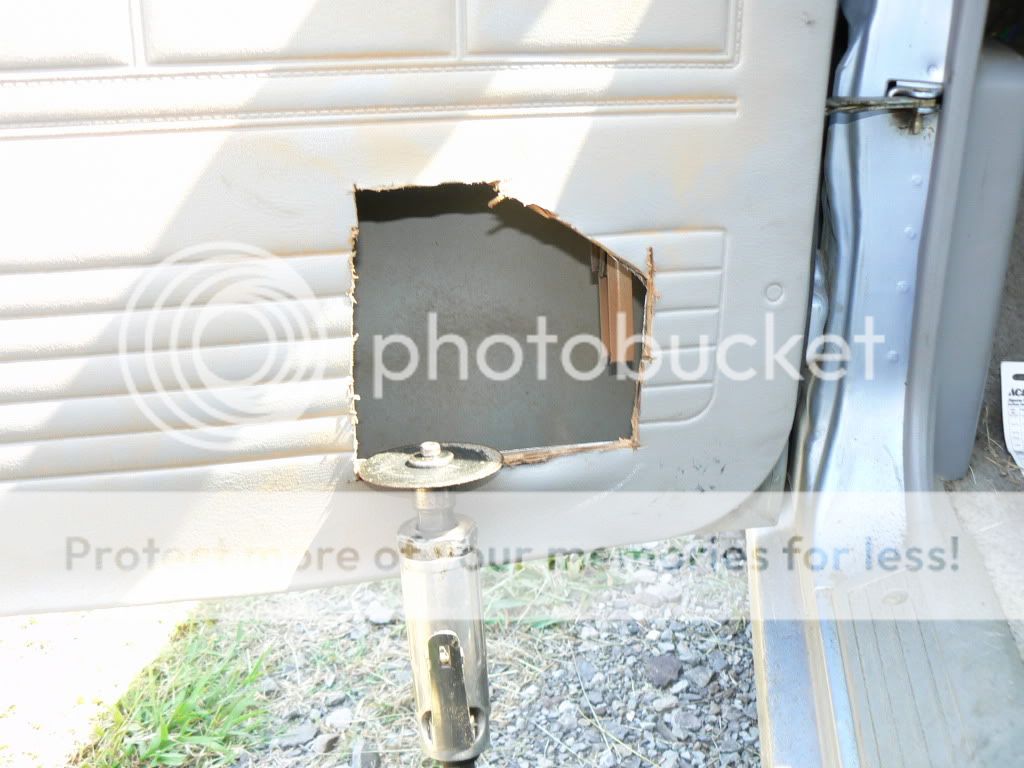
Trial fit of base panel, 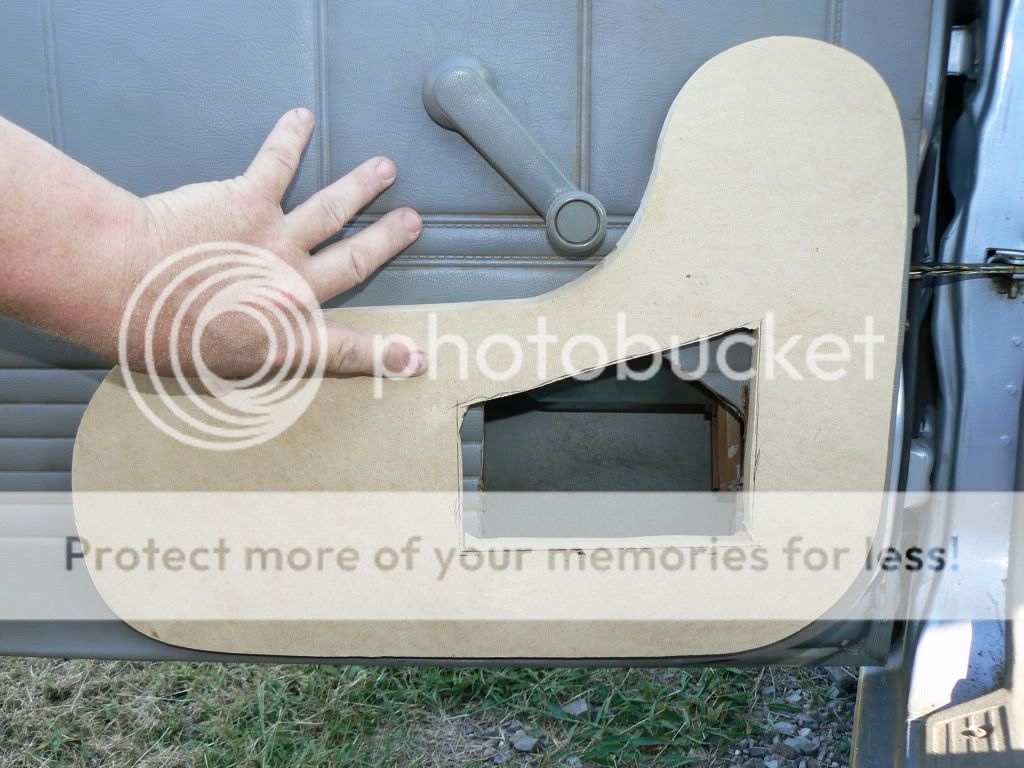
Skeleton is put together and ready for fleece and resin. 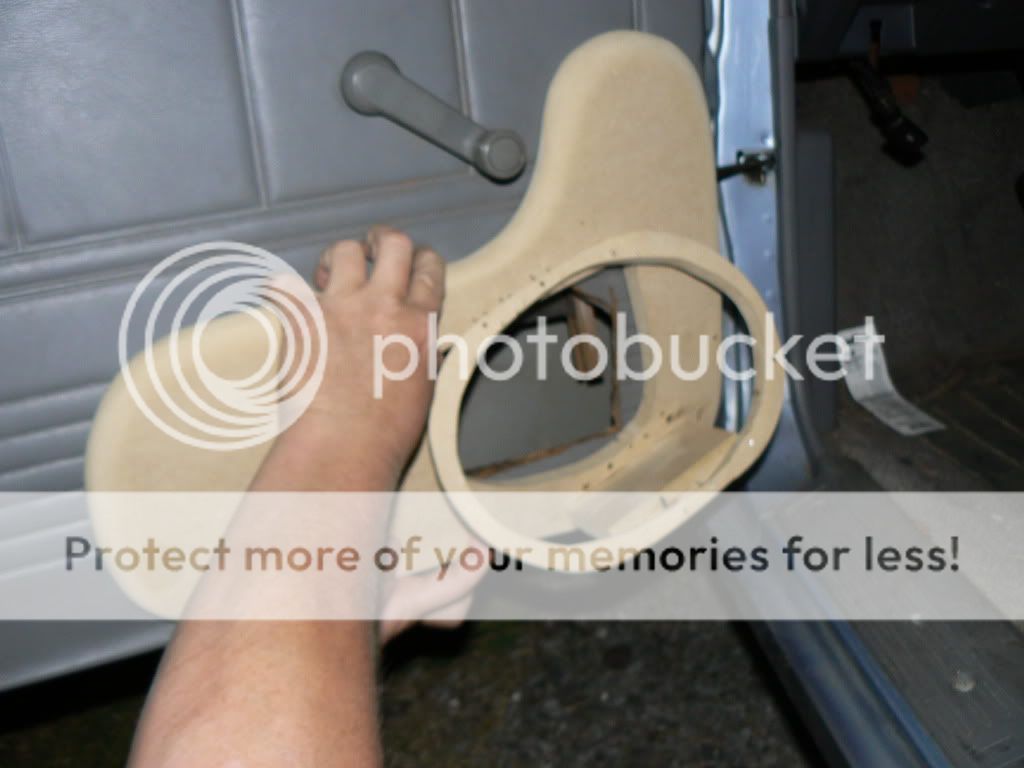
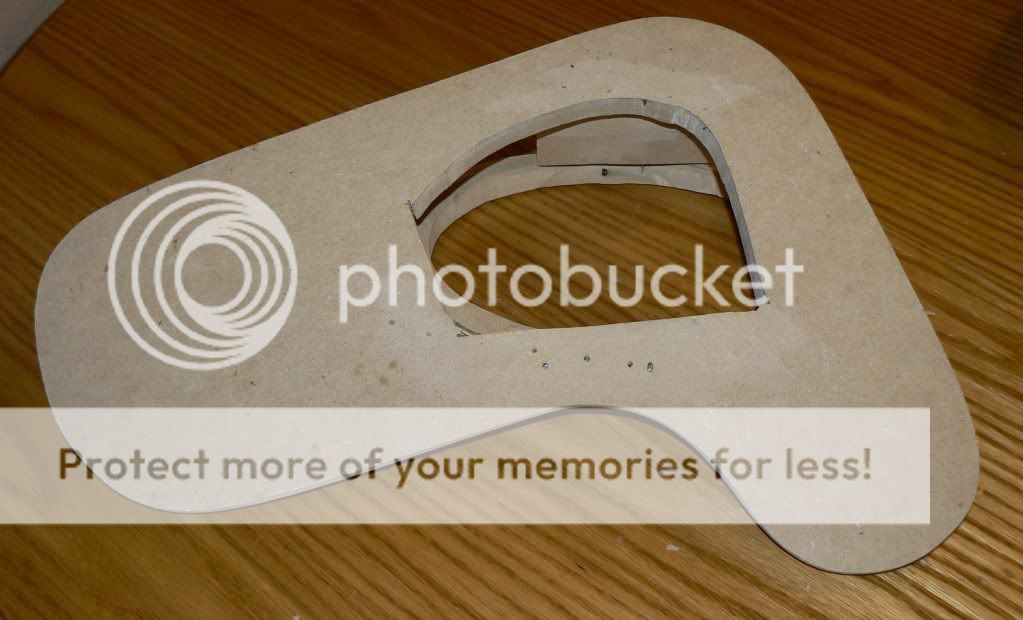
Picturing how its going to look. 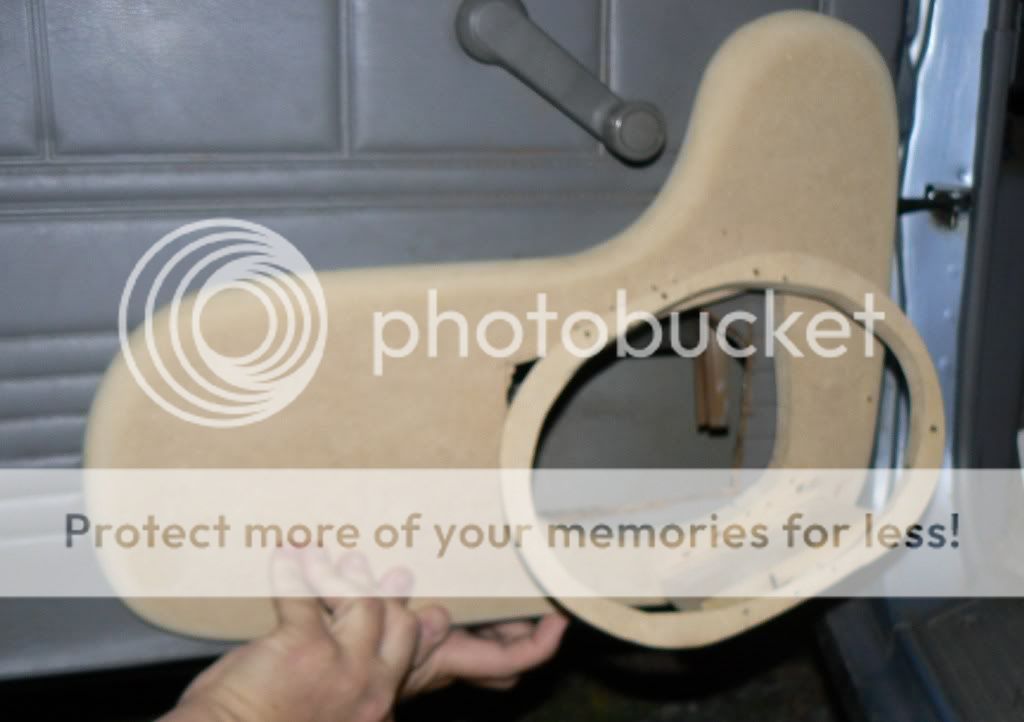
-------------
Posted By: briankmizell
Date Posted: December 05, 2009 at 5:47 AM
This is all I got done, I have to wait till my 4" JL audio get here so I can make sure the rest of what I build for it fits right. Also I am not sure I like the way one side is bigger than the other. I did the big side first and screwed it to the kick panel. Then when I did the other side I noticed they were different, and the MDF part has to be smaller for it to fit flush on the kick panel. I will most likely have to get a new drivers side kick panel and start over because of the screw holes that will show if I put a smaller piece of MDF like the passenger side has. If any one has a drivers side kick panel let me know how much you want for it. I will pay with paypal. 
Drivers side 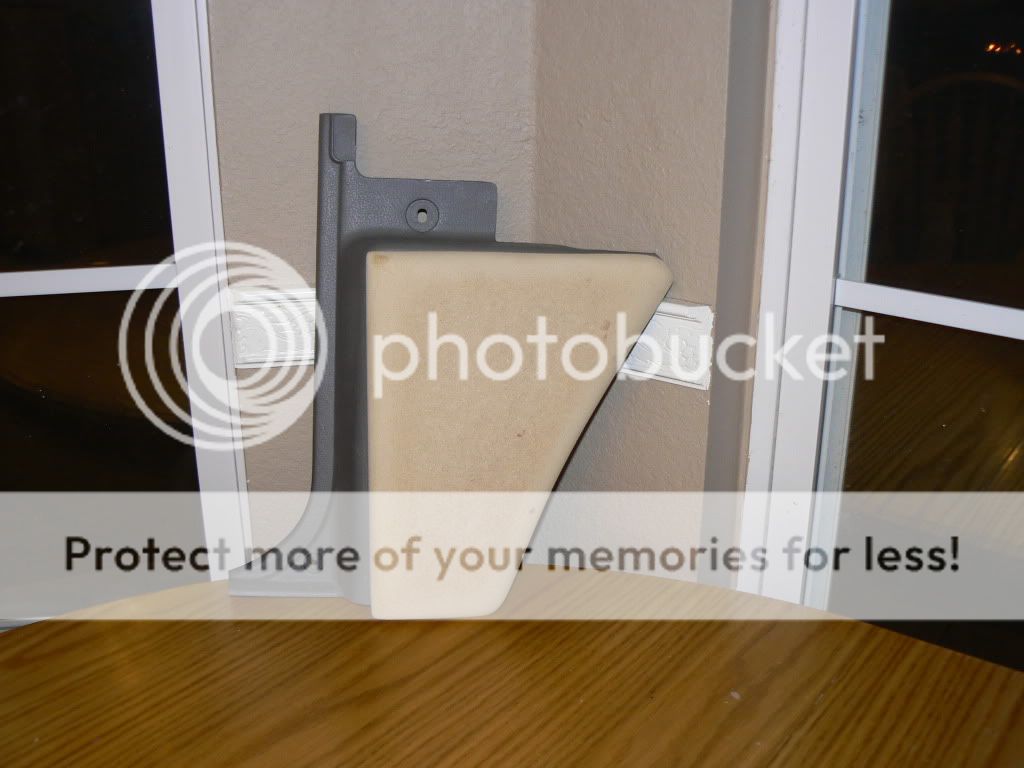
Passenger side 
-------------
Posted By: briankmizell
Date Posted: December 05, 2009 at 5:49 AM
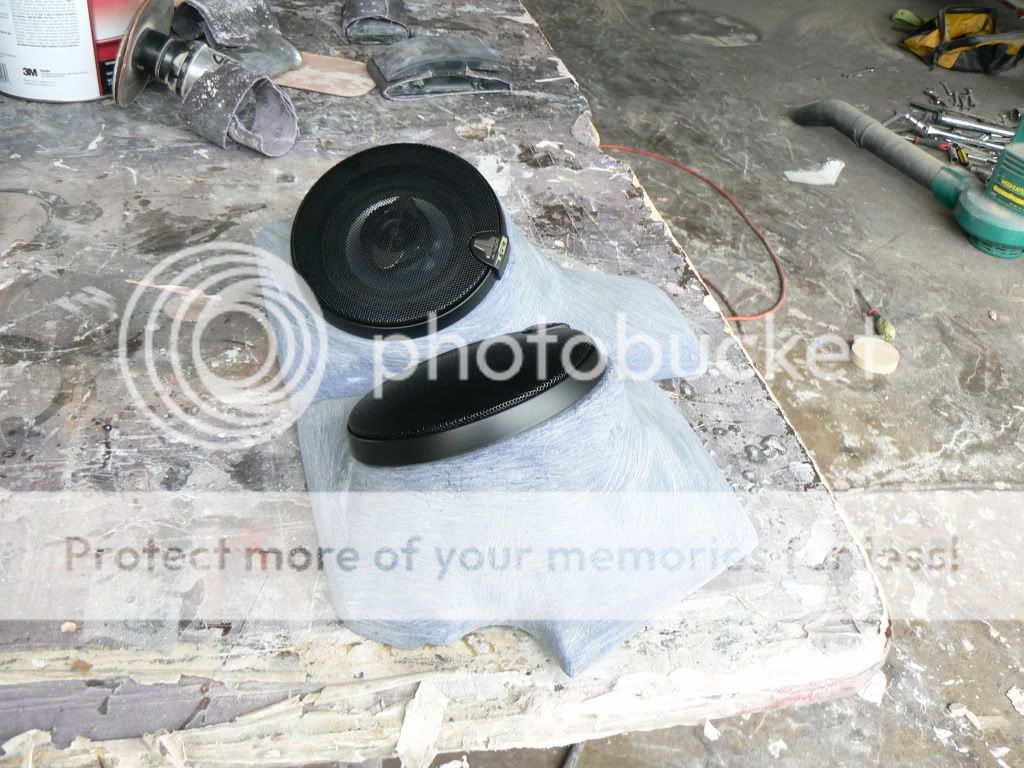
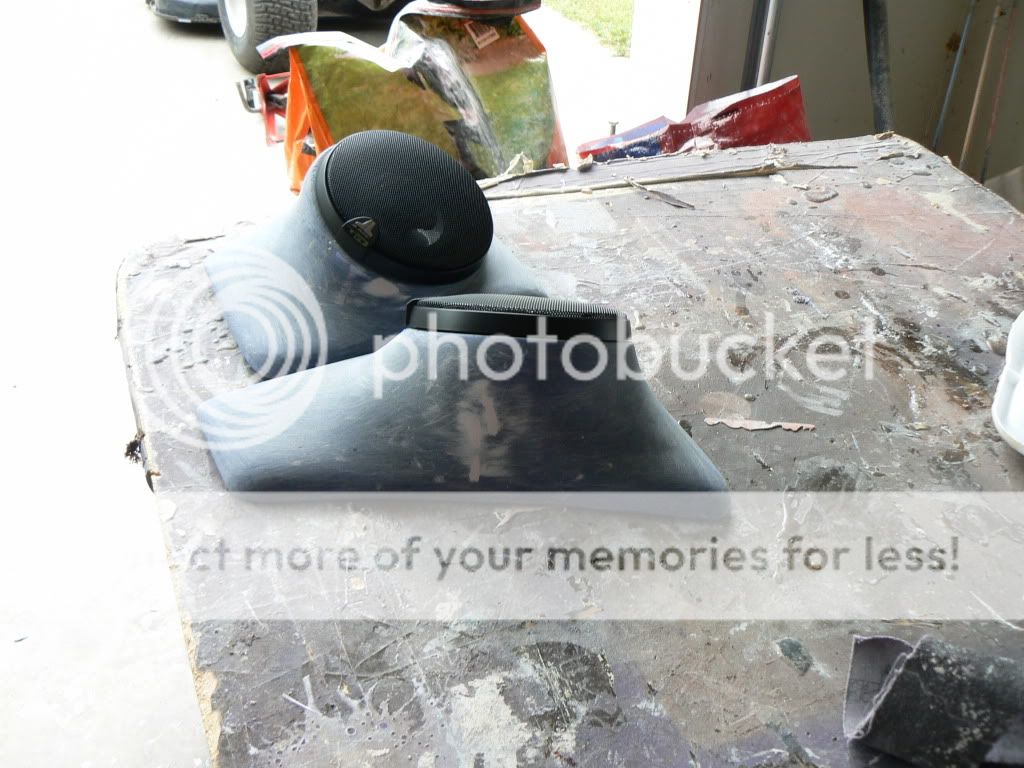
Here are some pictures of the door pods for the 6x9. My 4" should be here later today, then I can get to finishing the kick panels. 
-------------
Posted By: briankmizell
Date Posted: December 05, 2009 at 5:51 AM
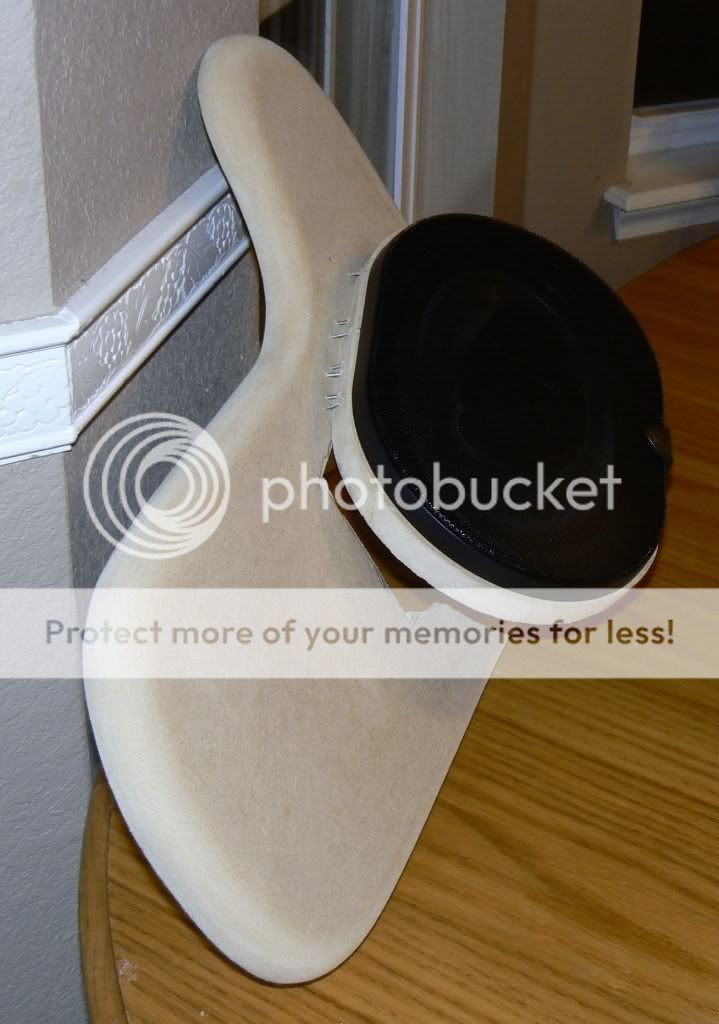
Title: JL Audio TR400-cxi Kick panels Got my speakers today at around 10 AM. I've been working on the kick panels off and on all day. I got finished putting resin on them about 11 PM Here are some pictures. 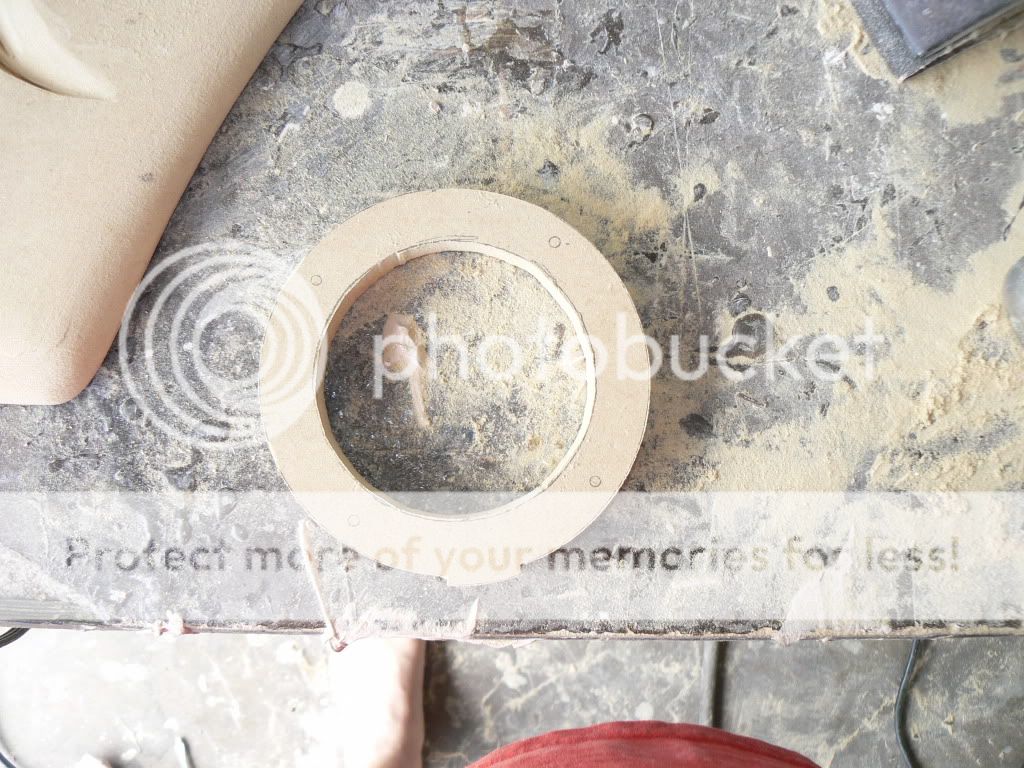


-------------
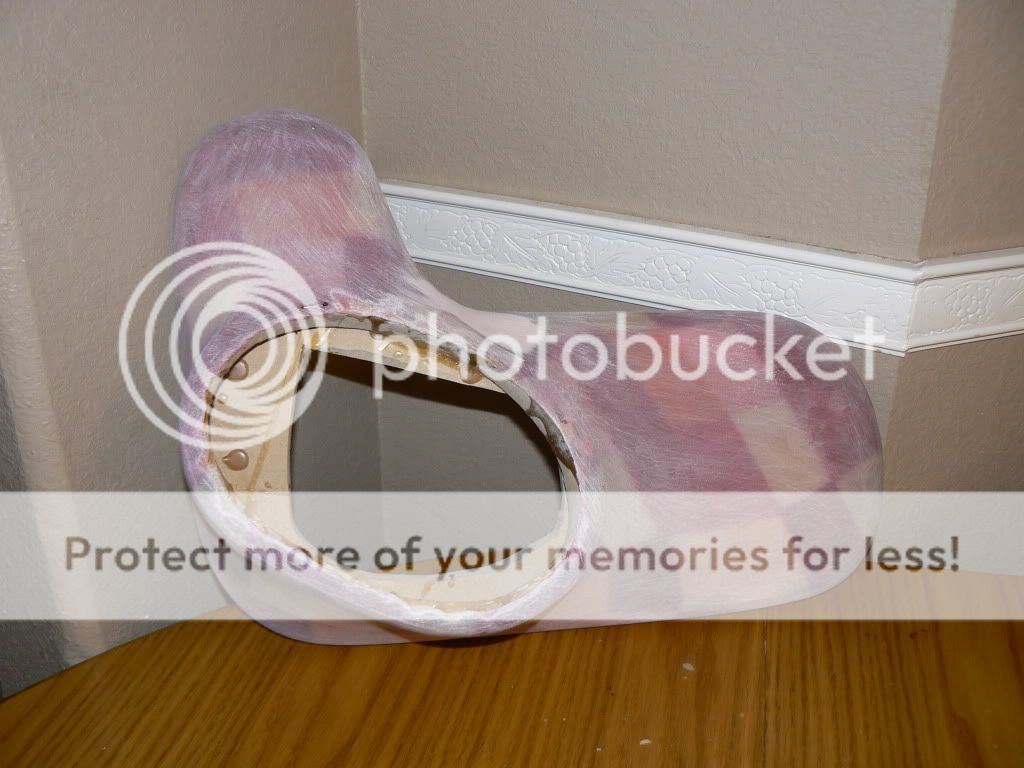
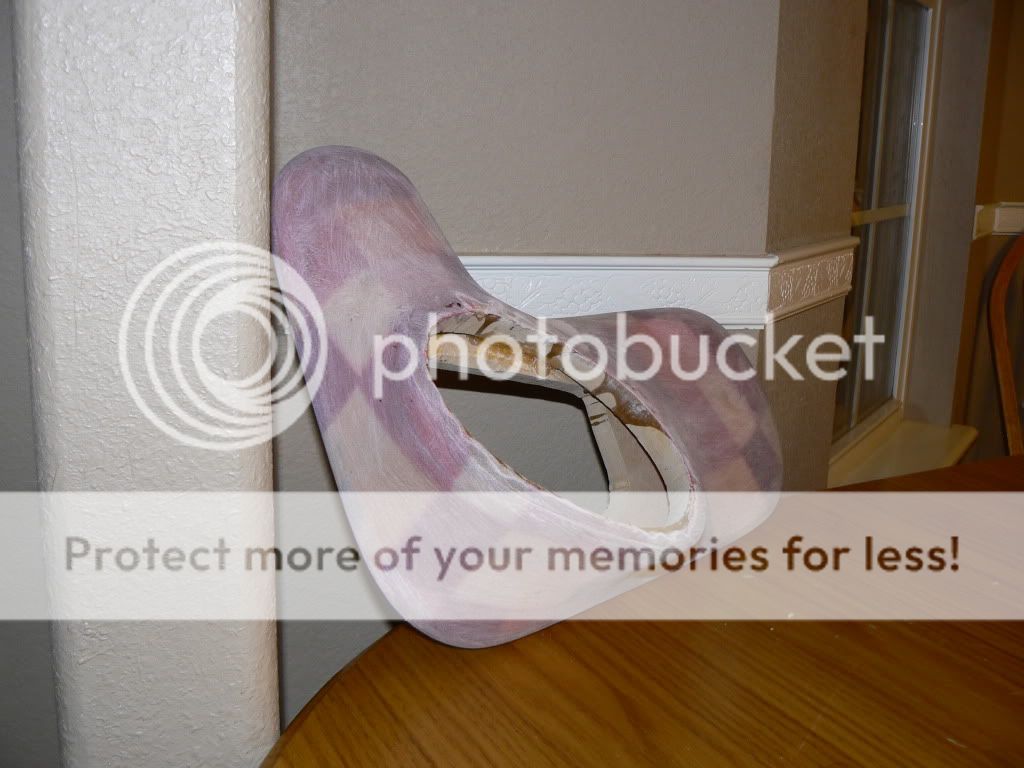
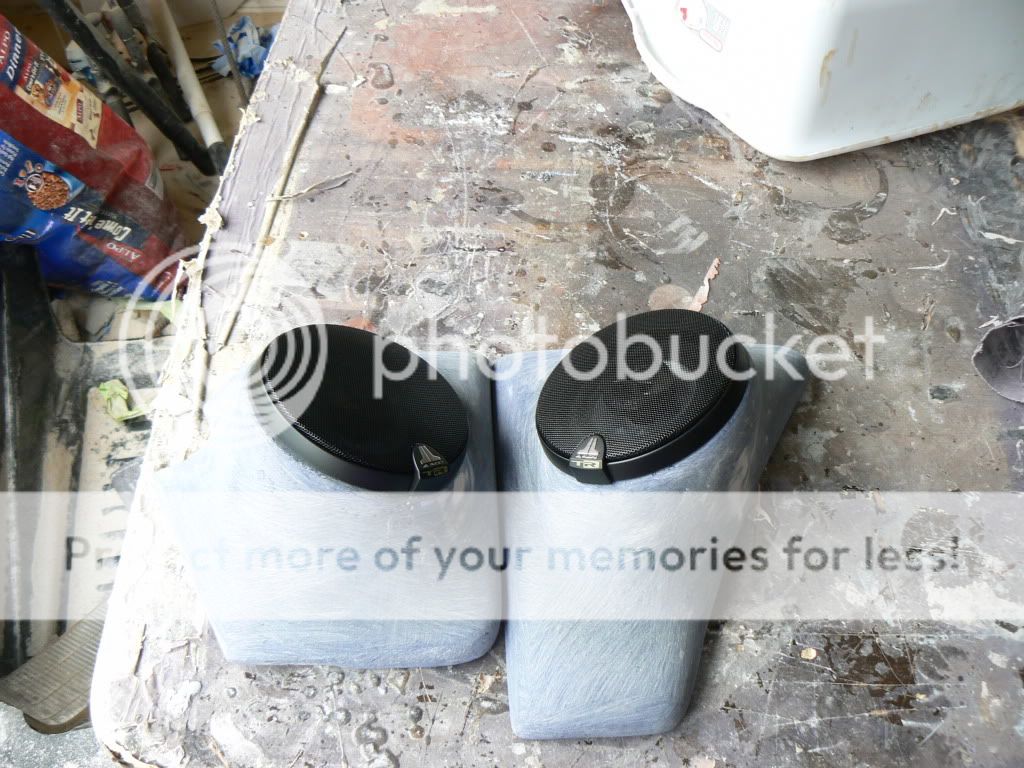
Posted By: briankmizell
Date Posted: December 05, 2009 at 5:53 AM
Title: Kick panels ready for covering. I got the kick panels Sanded today, (sanding fiber glass is is pain in the gl-***) Here are a few more pictures. I am guessing that next I will remove the seats and the carpet get the carpet cleaned, or possibly buy a new one preferably dark gray or granite gray. While the carpet and seats are out I will address removing the hump in the back of the cab so that the sub enclosure will fit better. After thats taken care of I will start running wires for the stereo install. 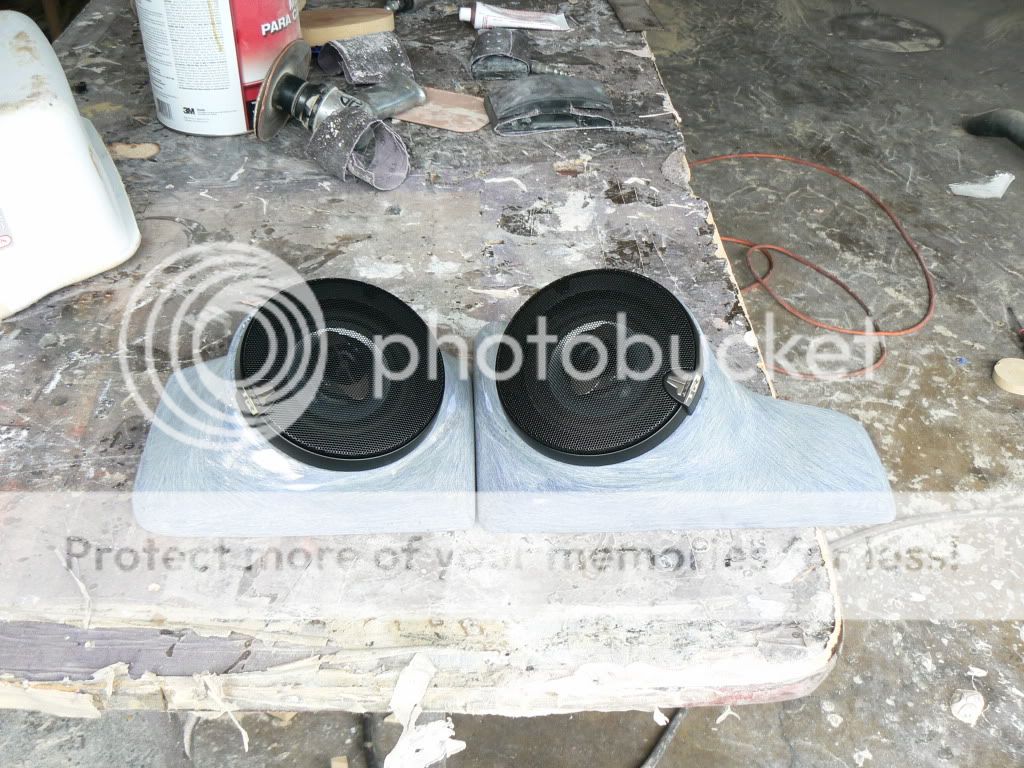
-------------
Posted By: briankmizell
Date Posted: December 05, 2009 at 5:55 AM
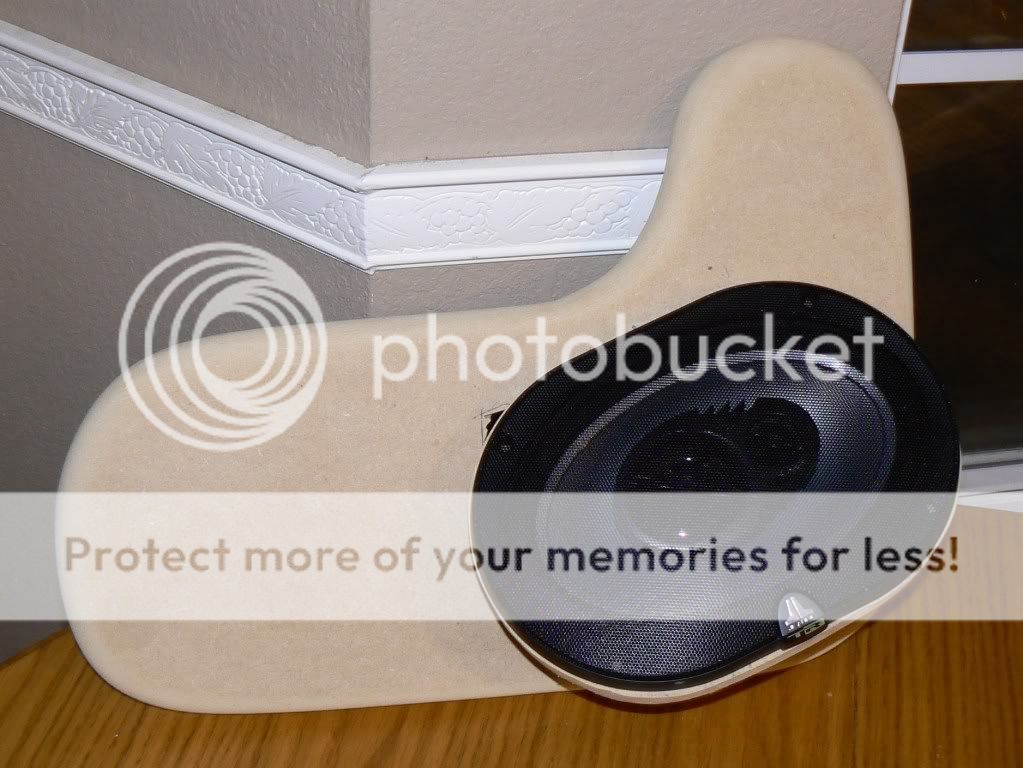
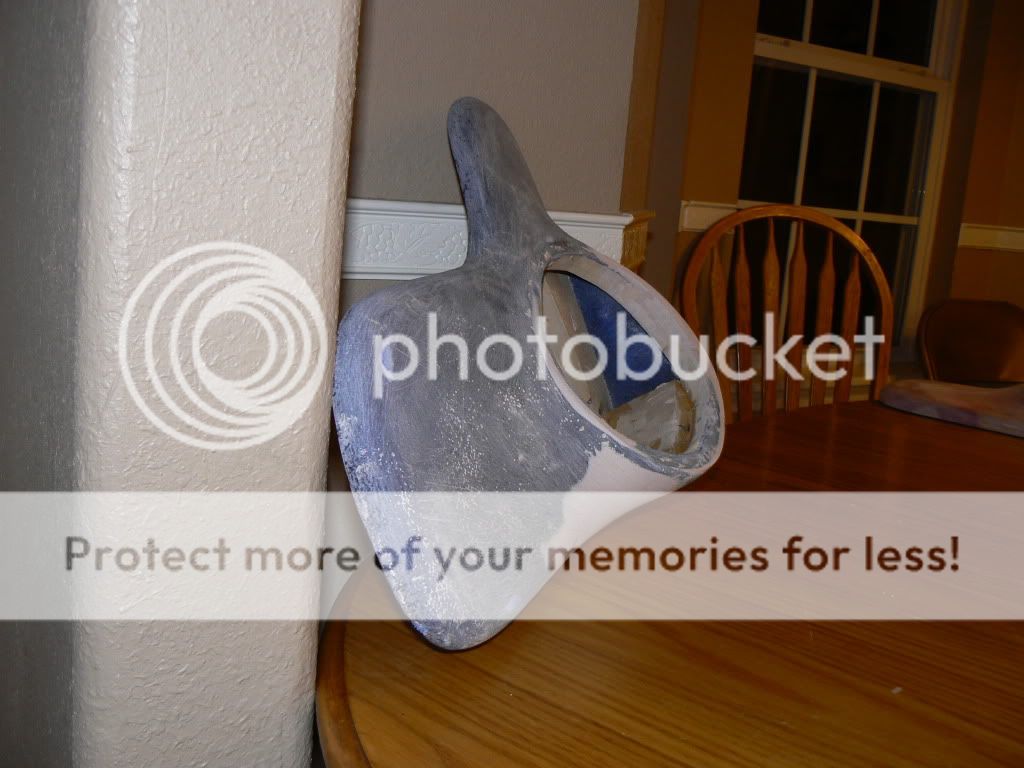
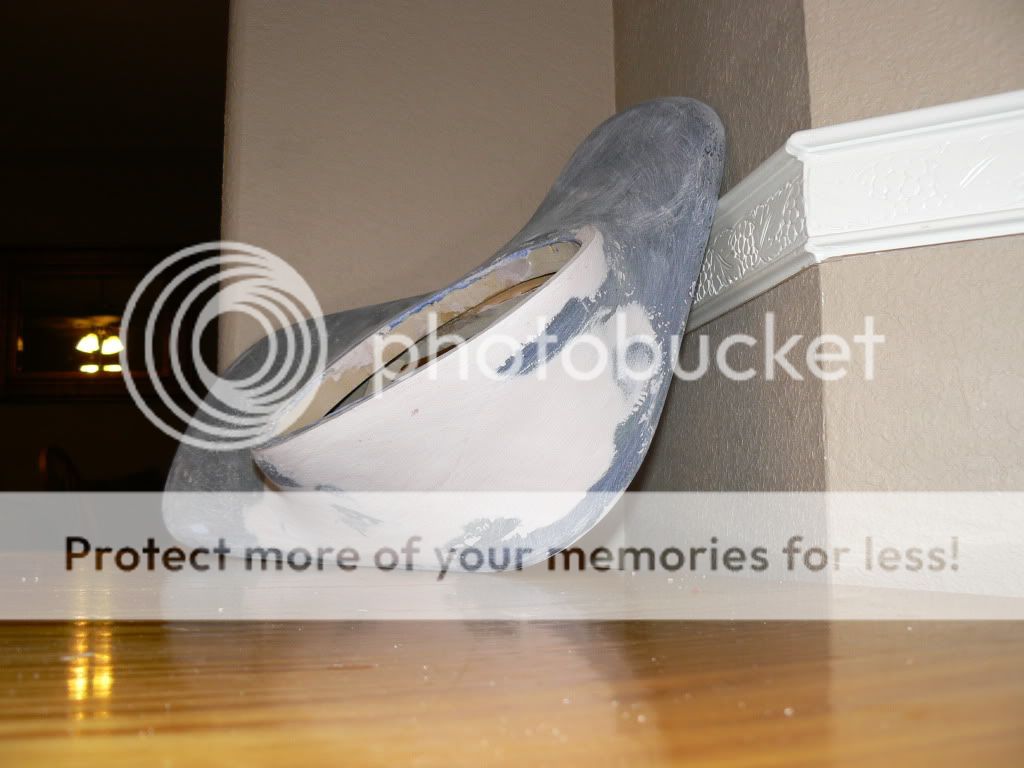
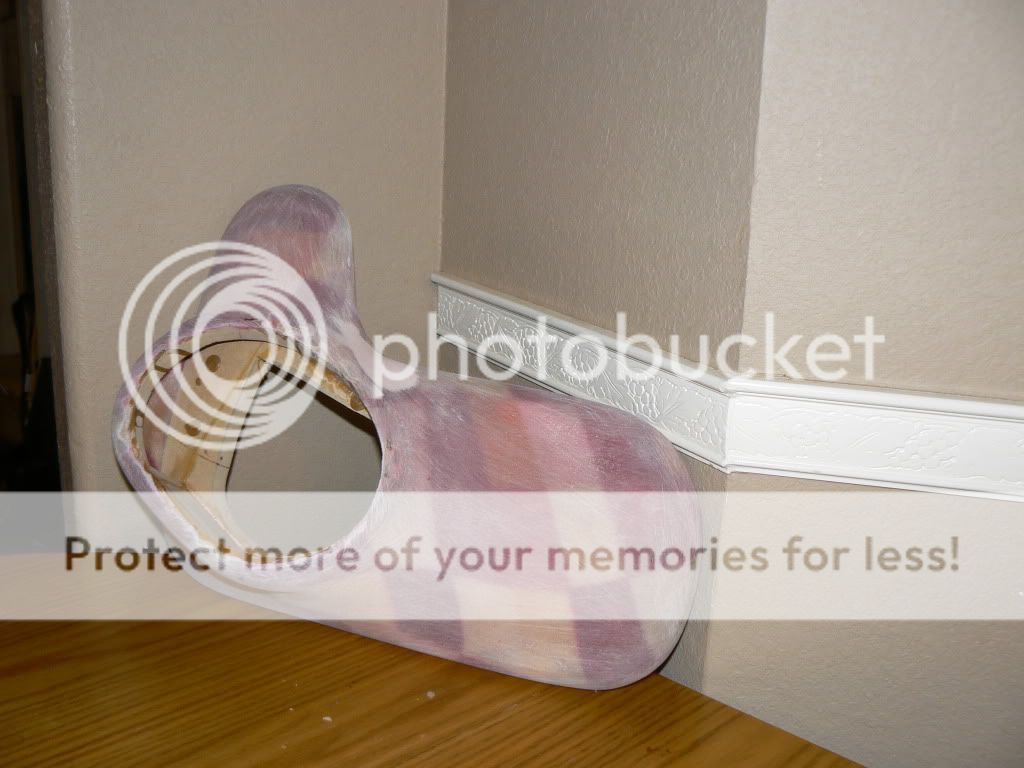
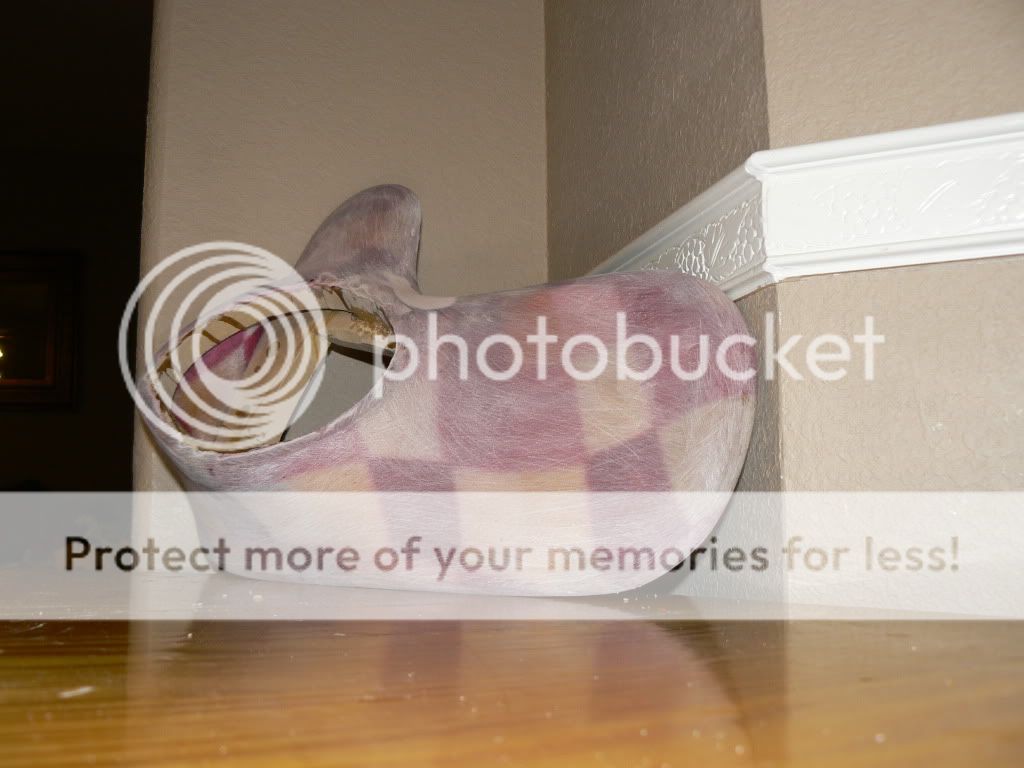
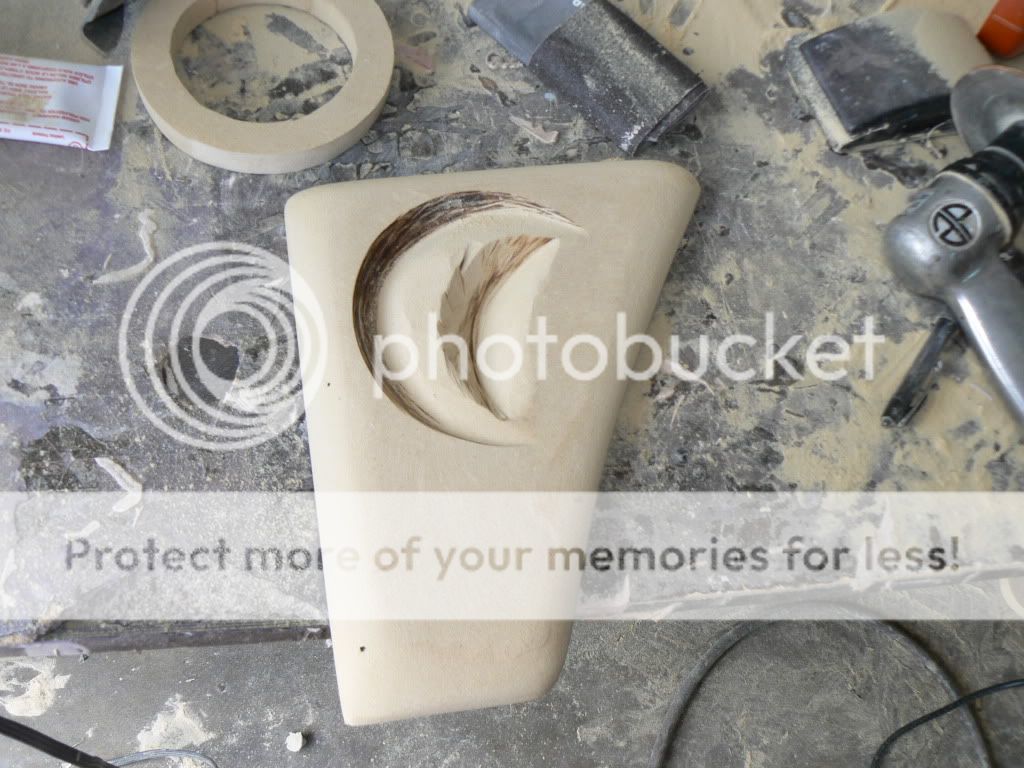
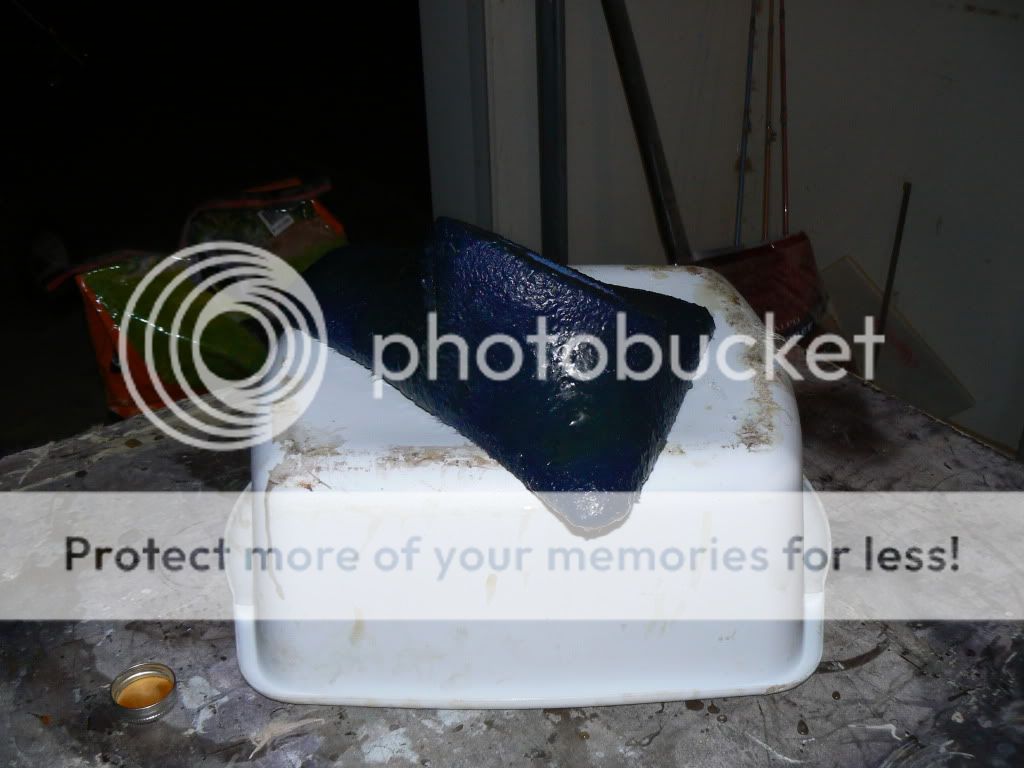
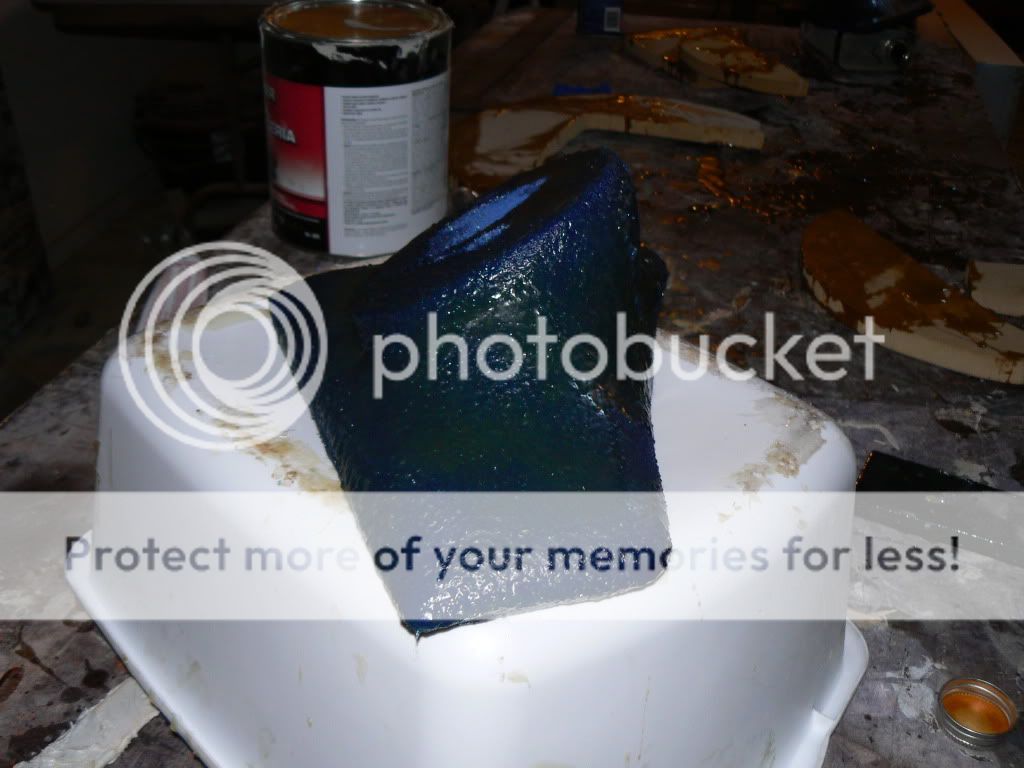
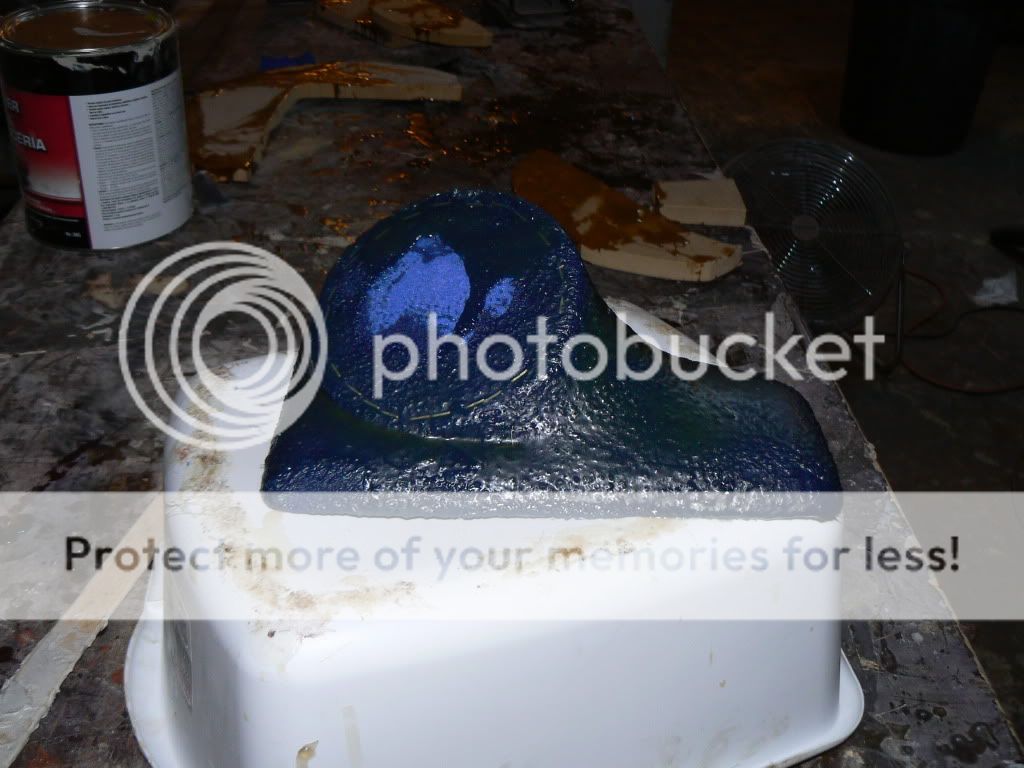
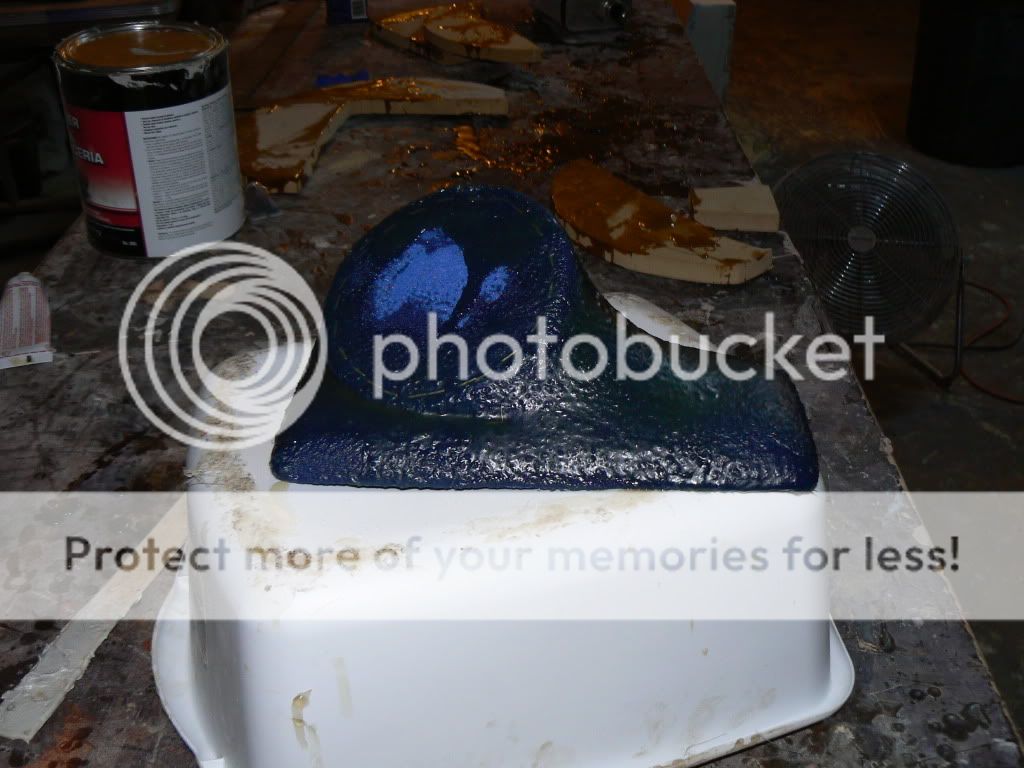
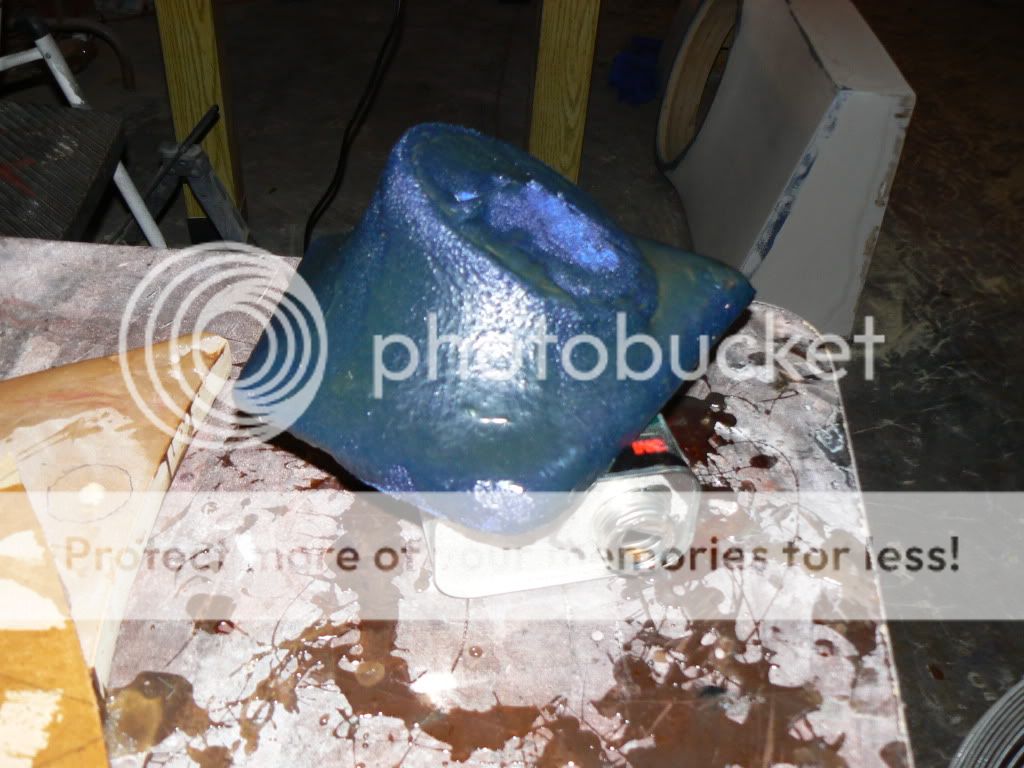
Title: Modified kick panels I was in the middle of making a post last night, and my 3 year old shut the computer down. So I'll take another stab at it today. I made some changes to the kick panels, it seems that JL Audio has changed their opinion on the placement of tweeters. Ten years ago when I bought the 1" tweeters JL said that you could place the tweeter as far as 18" away from the midrange driver. But now JL says that you cant place the tweeter more than 4" away from the midrange. So I cut a hole in the kick panel and made a ring for the tweeter and fiberglassed it in. Here are a few pictures of the modified kick panels. 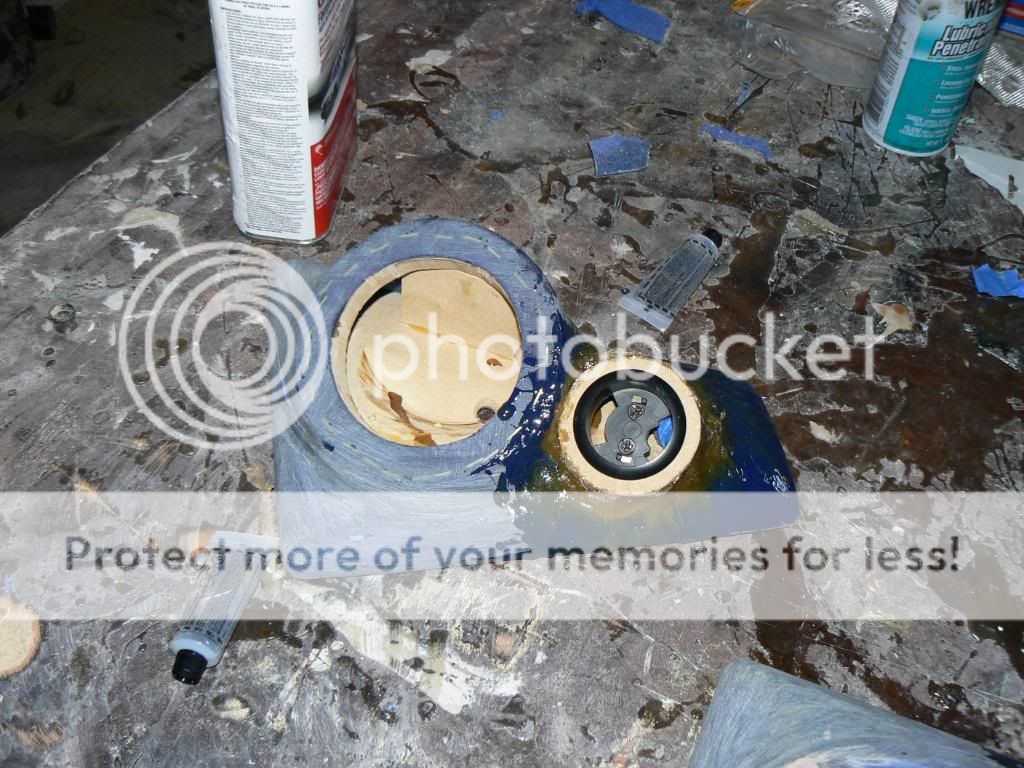


-------------
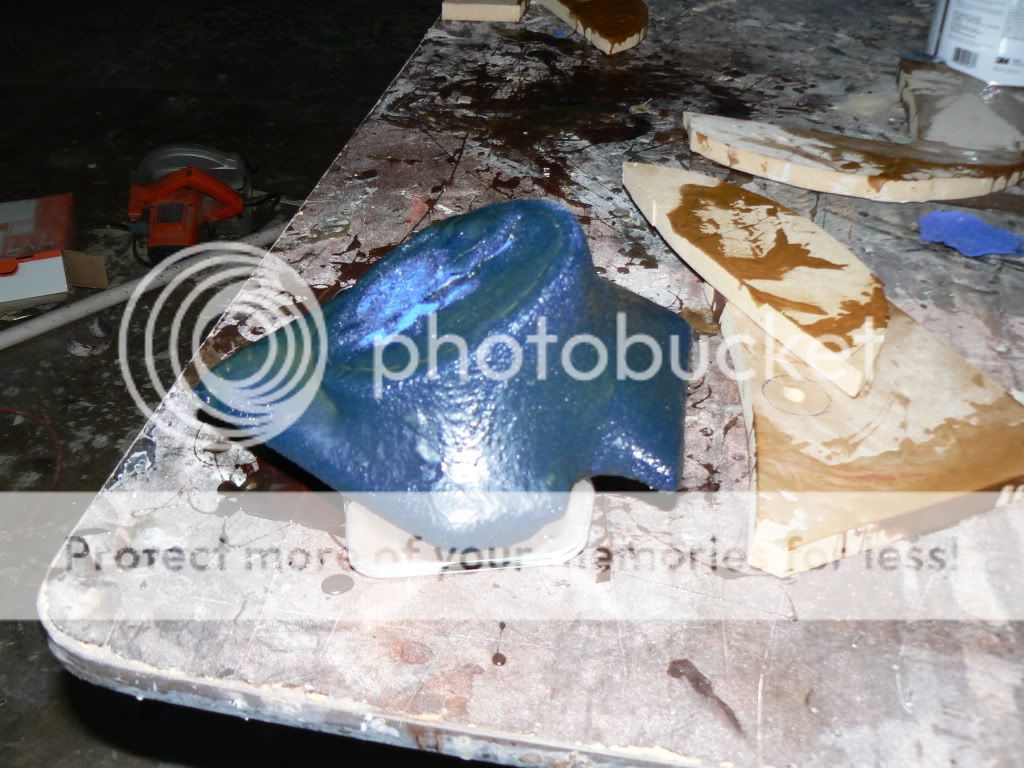
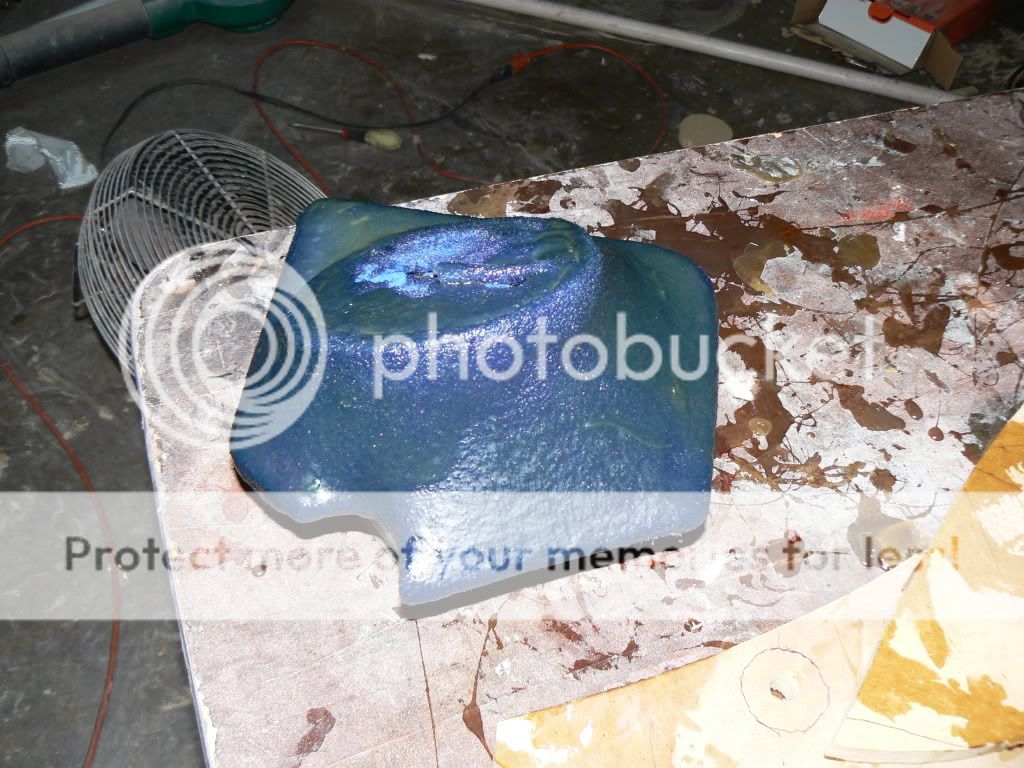
Posted By: briankmizell
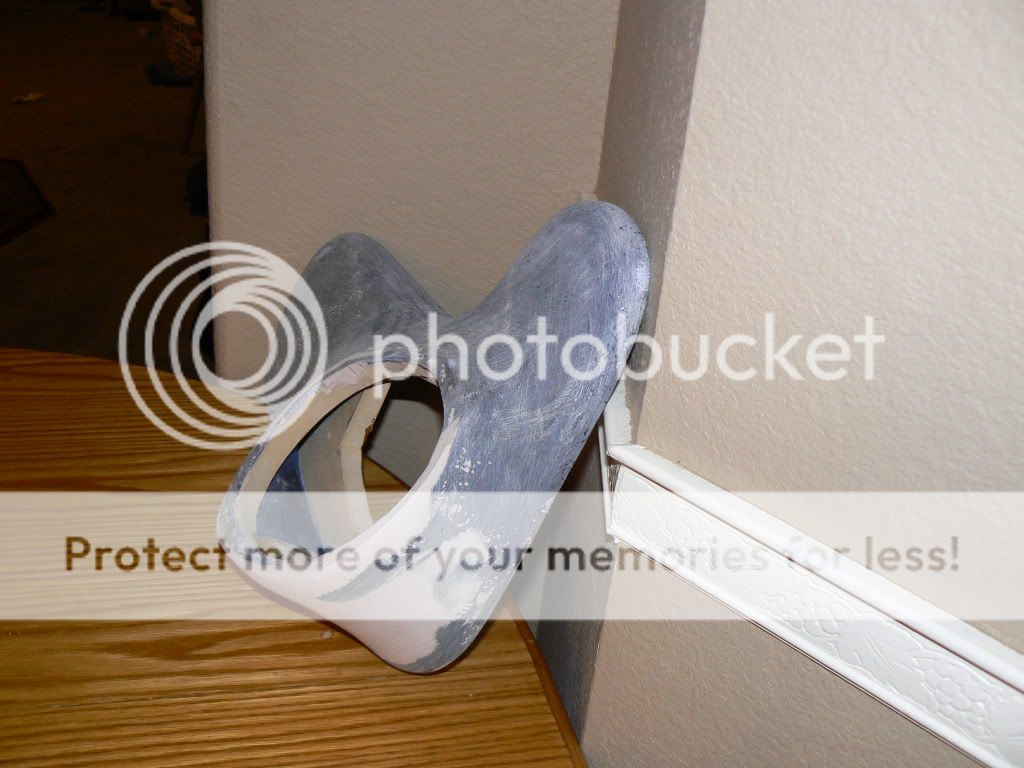
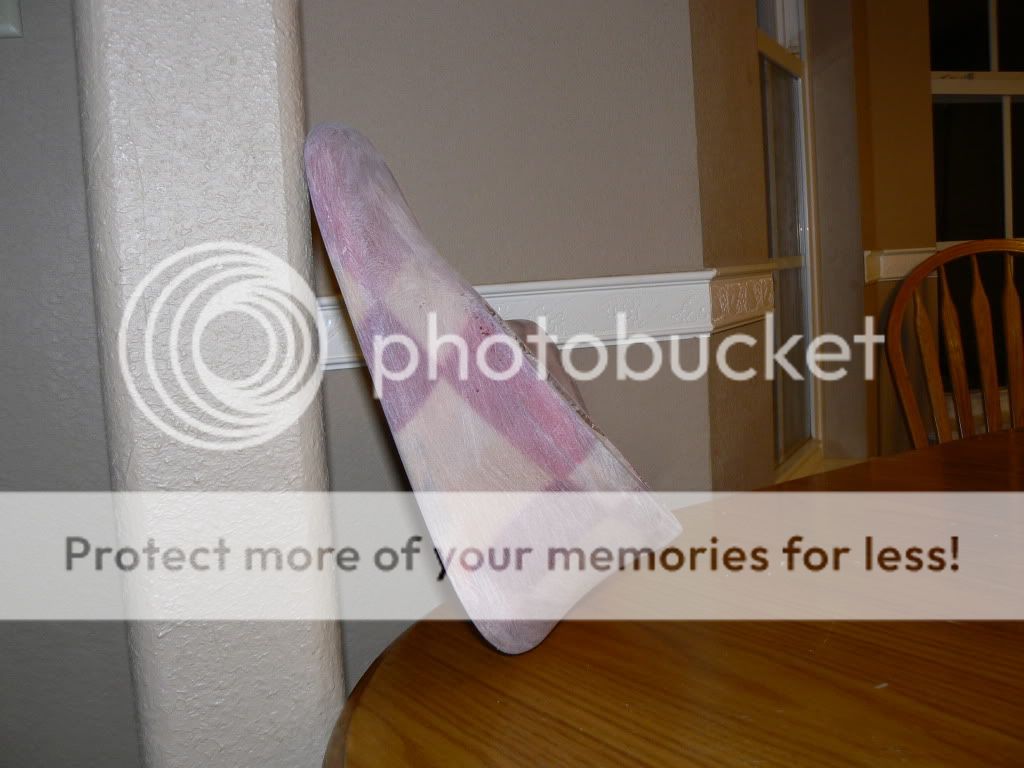
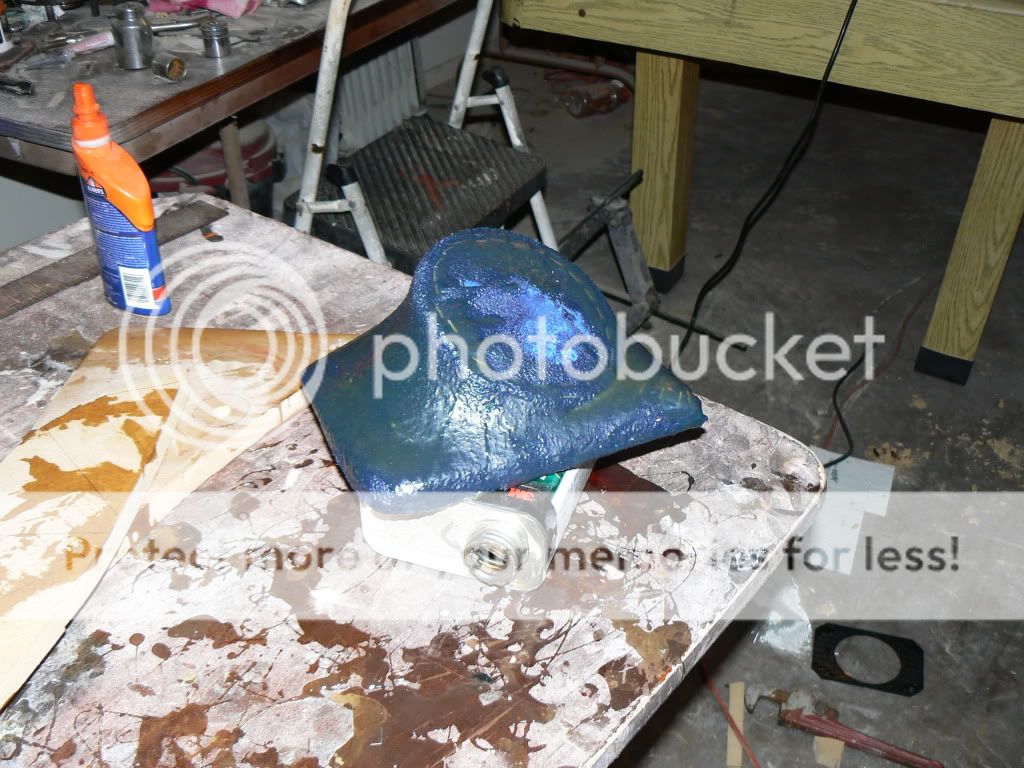
Date Posted: December 05, 2009 at 5:56 AM
More pictures 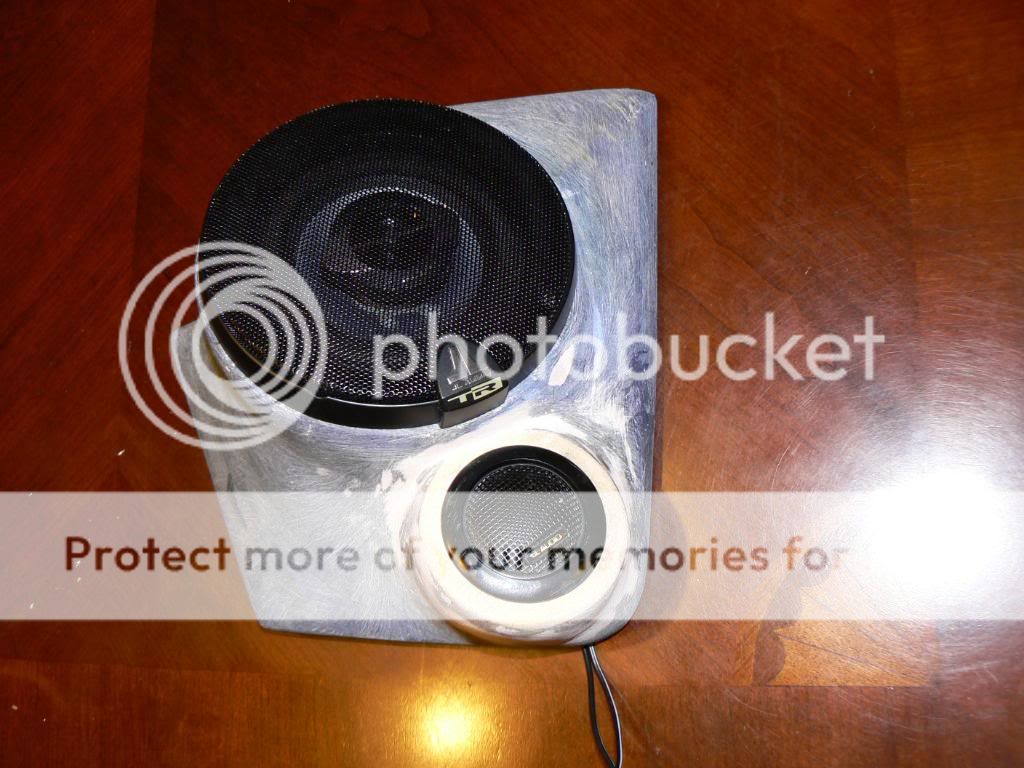
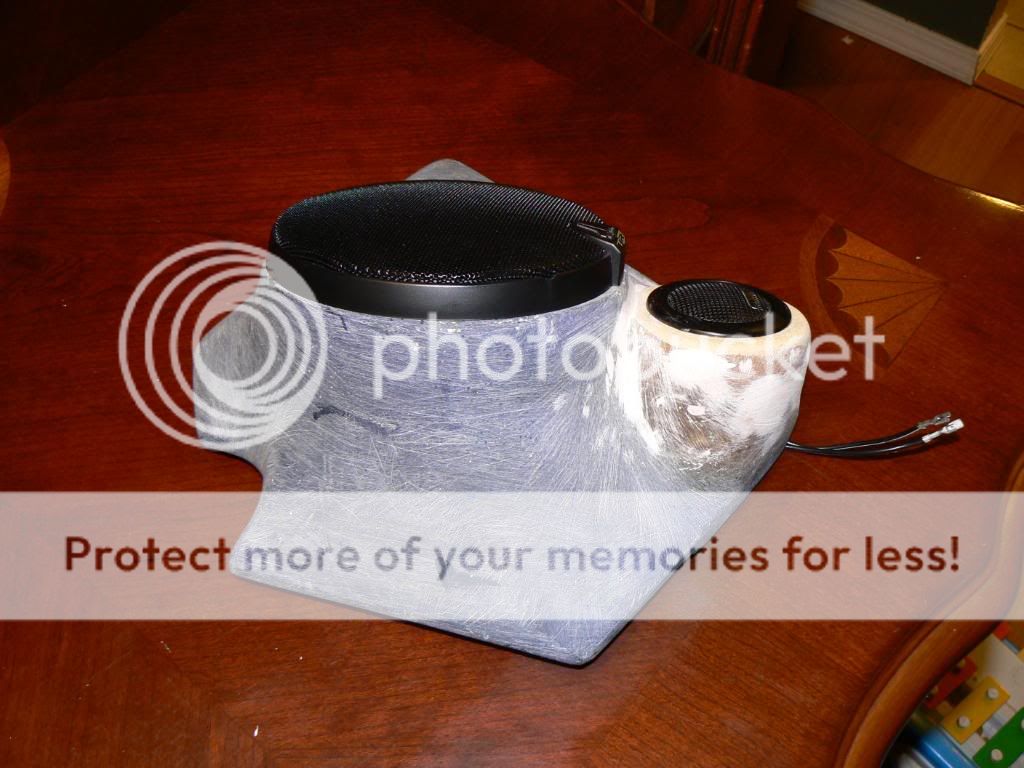
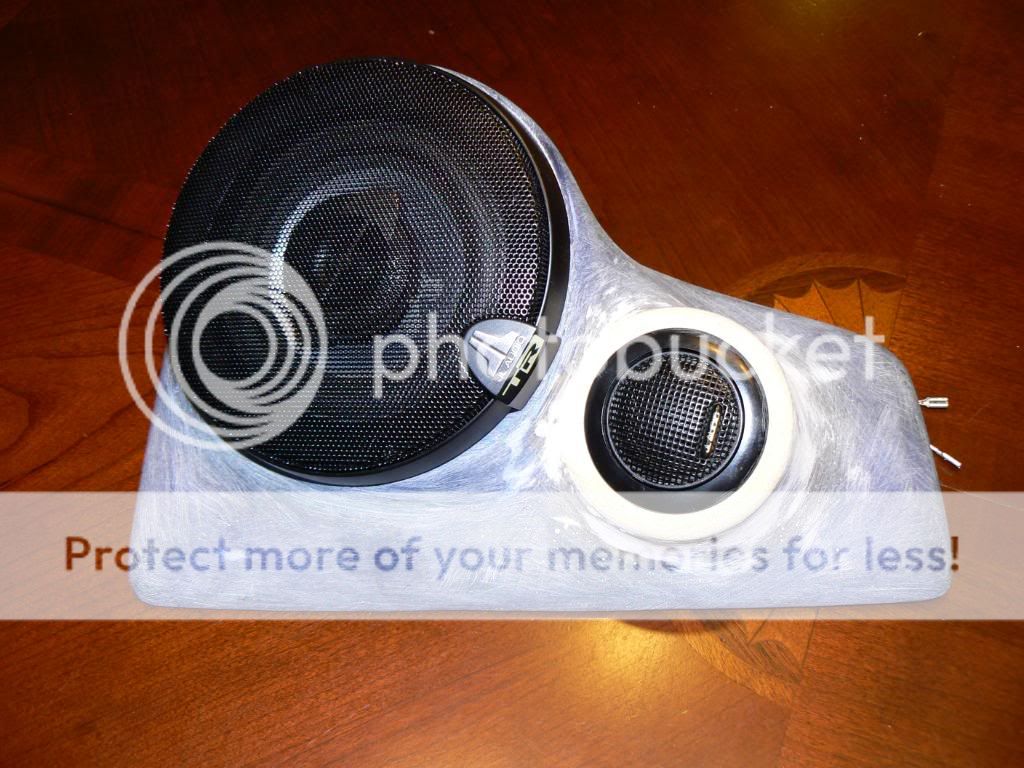

I am feeling a bit intimidated about stretching material around these babies without getting wrinkles in them. I hope it all works out. -------------
Posted By: briankmizell
Date Posted: December 05, 2009 at 5:59 AM
Title: Wiring etc, These are some pictures of what I have been doing to the truck for the last four days or so. Dyed the carpet, The color is much better in person that the picture shows. 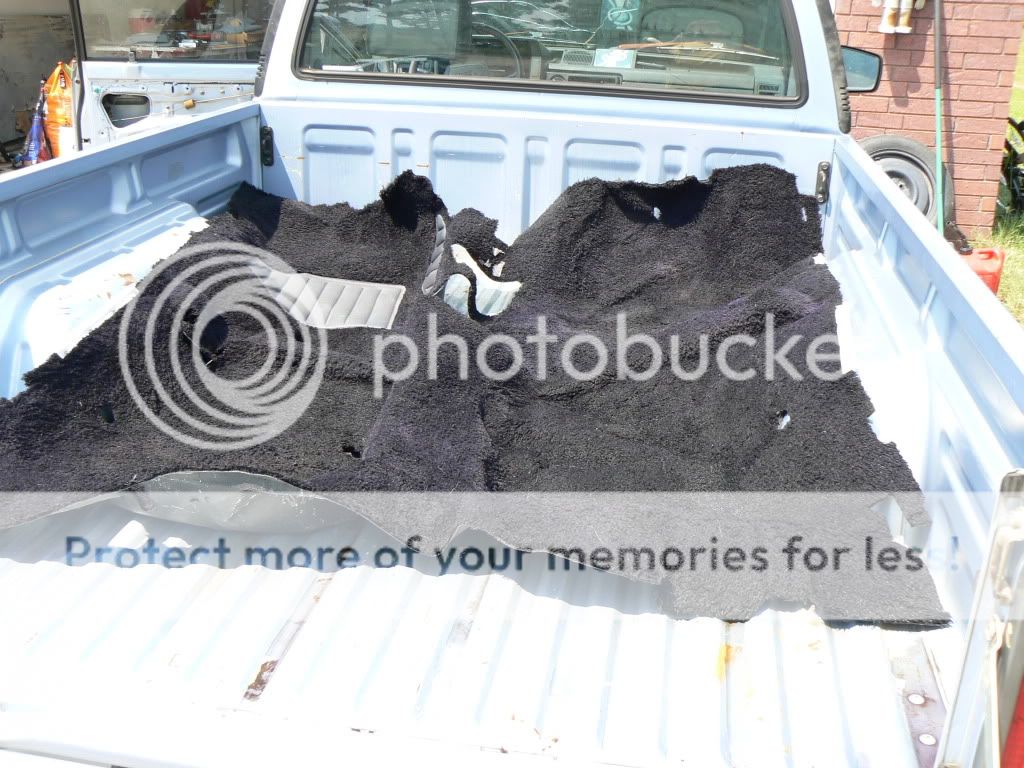

Power cable I need to buy some connectors so I can hook it up to the battery. Here is one idea I had for a connector. 2/0 ELEC-BAT Terminal 
I figure I can hook my amp power cable in one end and all the other power cables for the truck in the other end. Pictures of power cable. 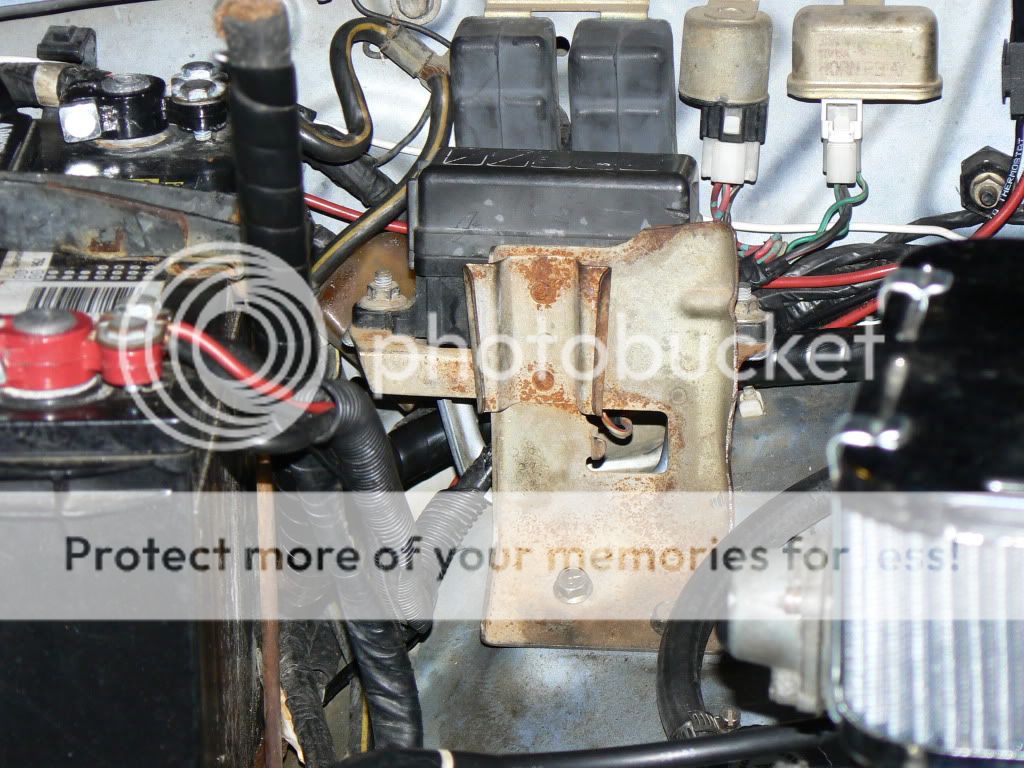
I need to buy a fuse holder and place here. (not sure wat size fuze I will need maybe 150 amp) 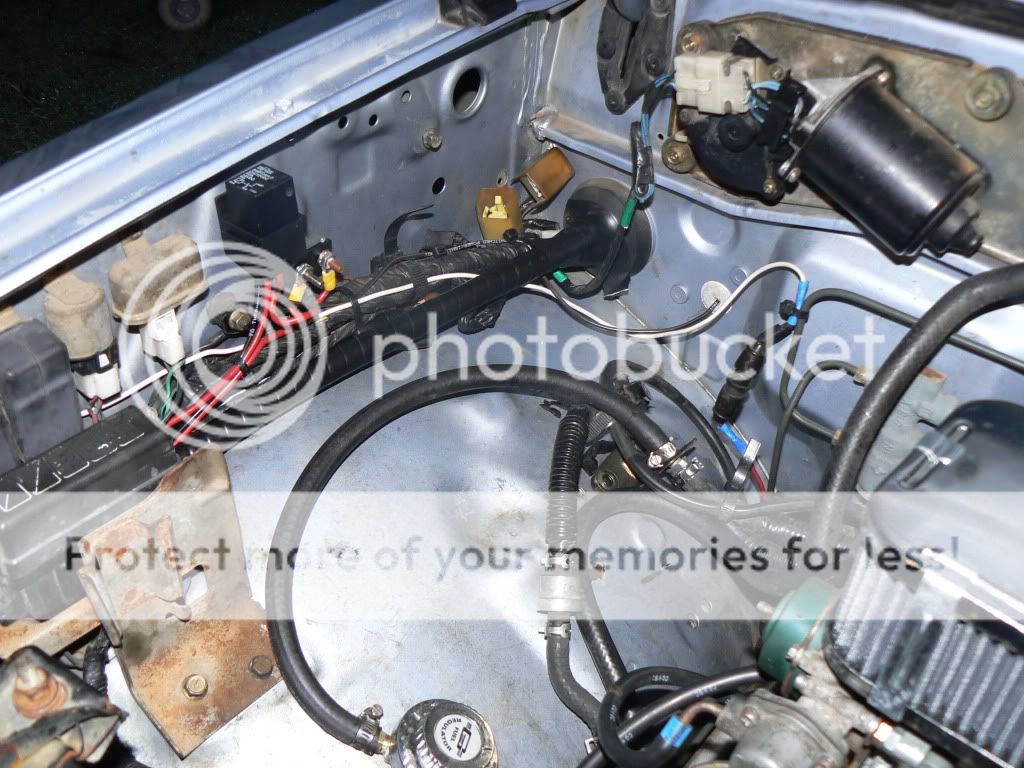
I really didn't want to run the power cable here (picture below) But I had no other choice. I may have to find a way to shield the power cable to keep any unwanted noise from entering the x-over. 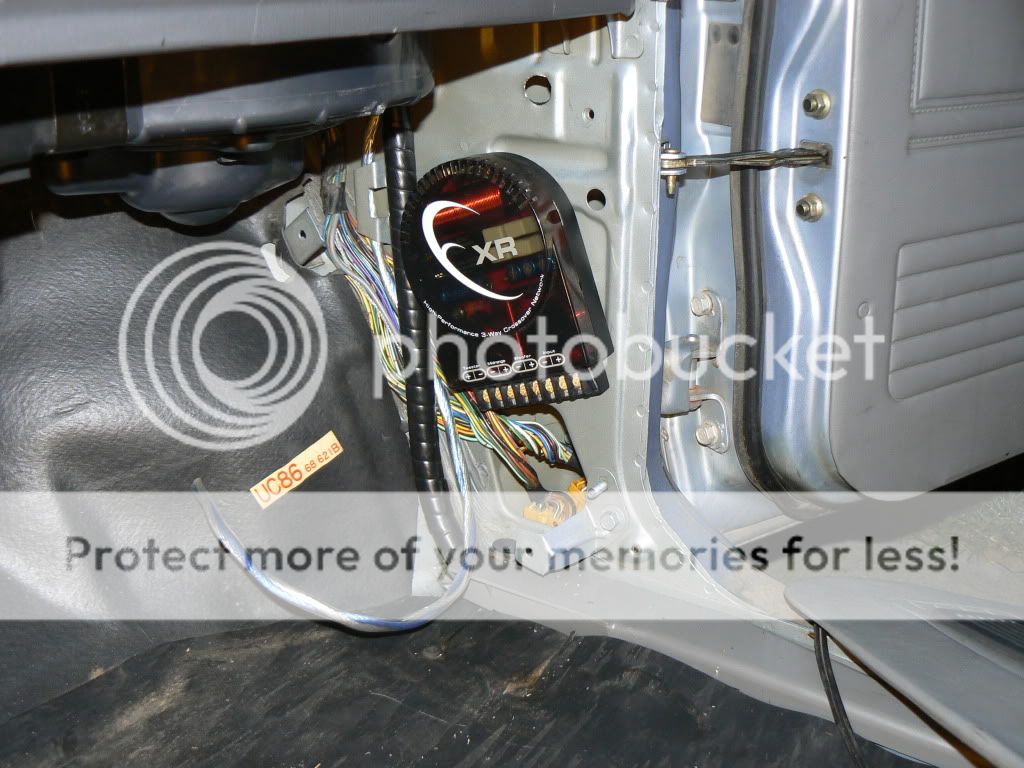
Power cable in rear of cab. 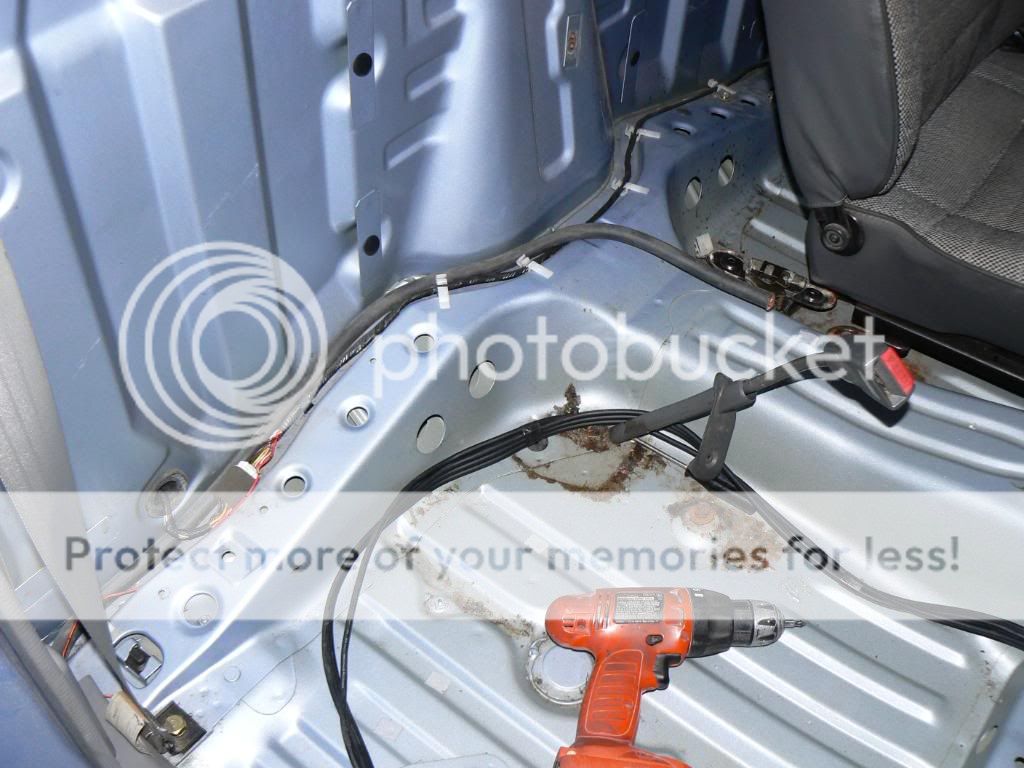
-------------
Posted By: briankmizell
Date Posted: December 05, 2009 at 6:01 AM
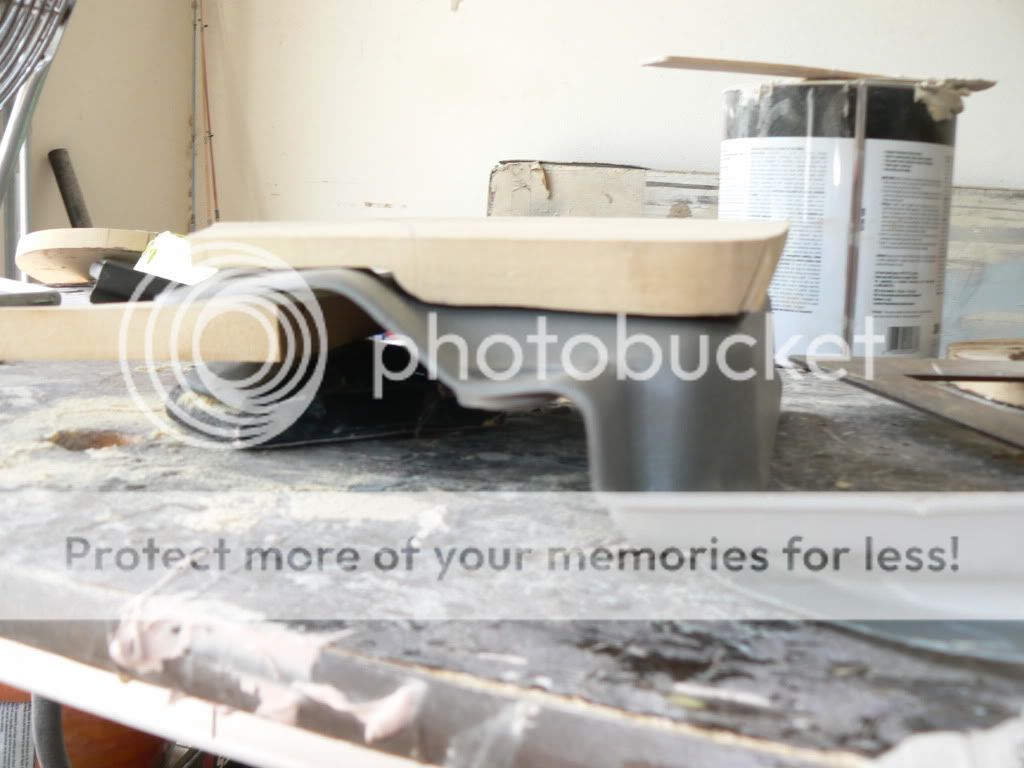
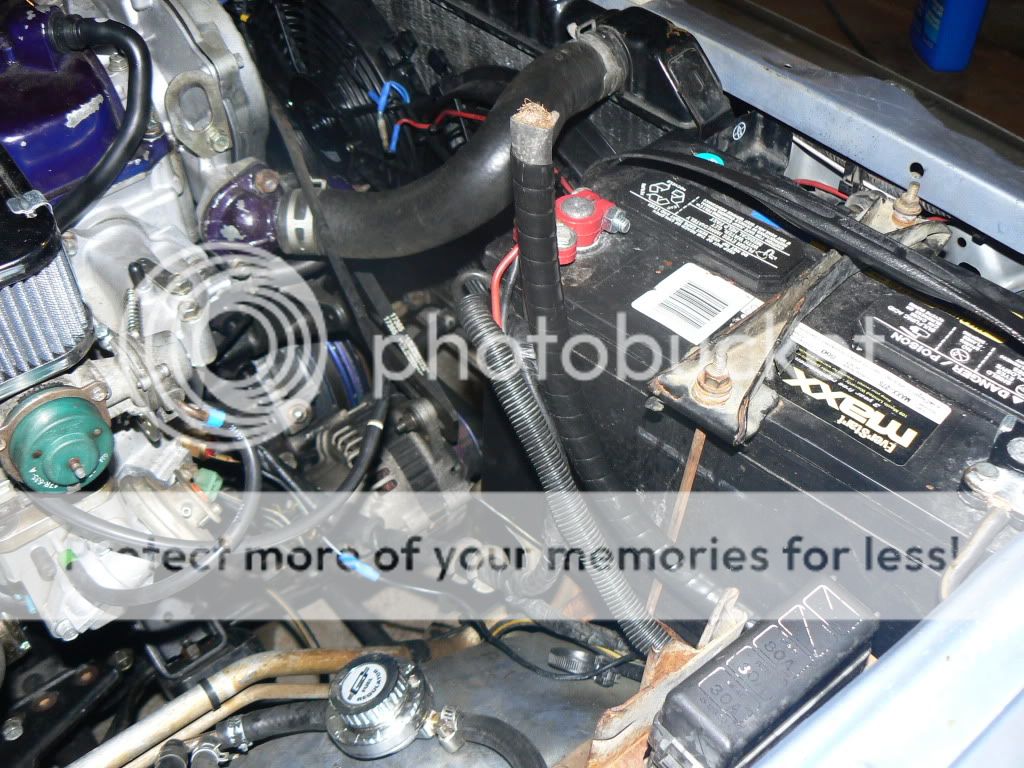
XR653 X-over mounted in kick panel area. 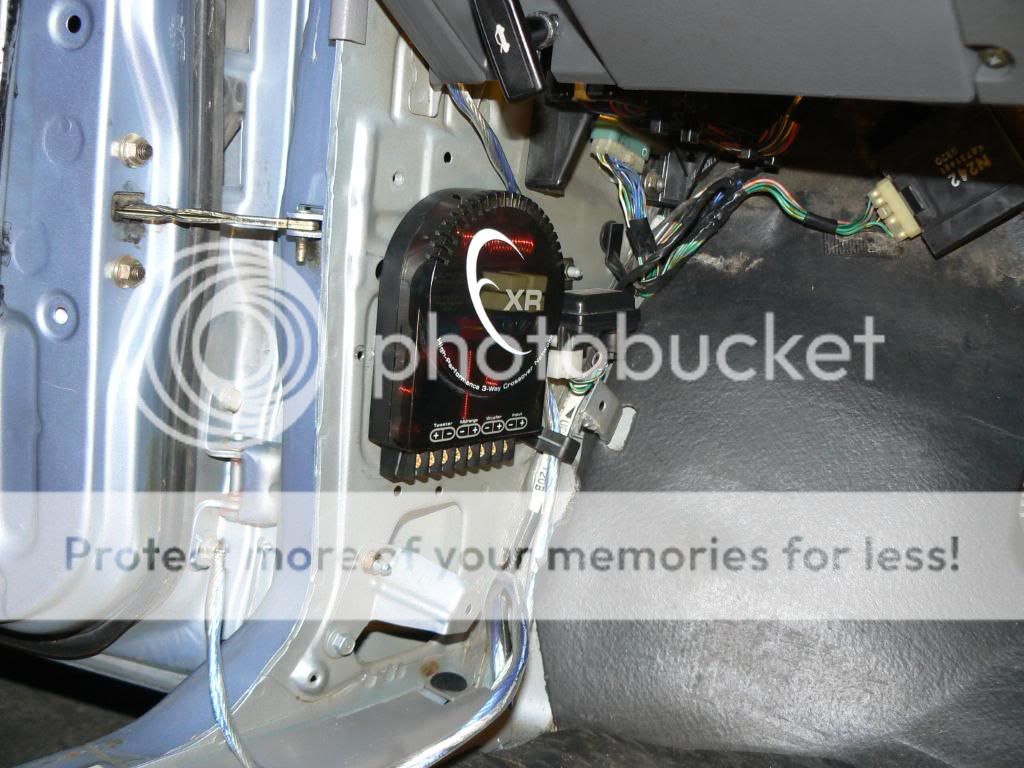
I had to relocate something that I think was for the cruise control, its now located to the left ofthe brake pedal on the firewall. 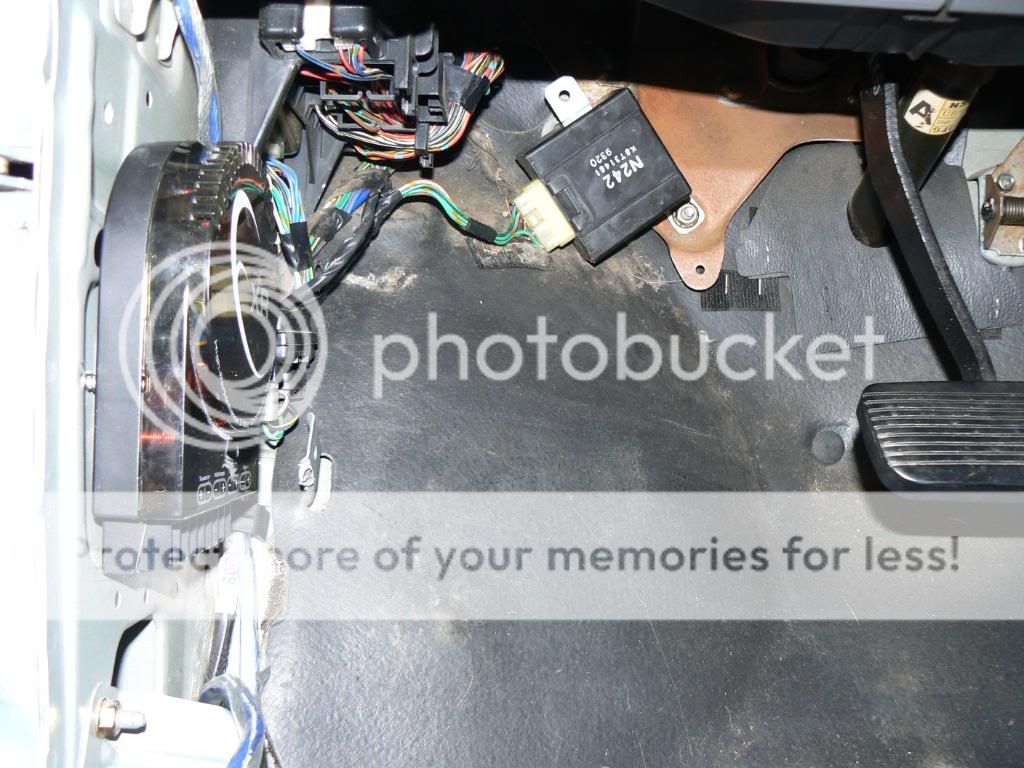
Monster Cable THX RCA's 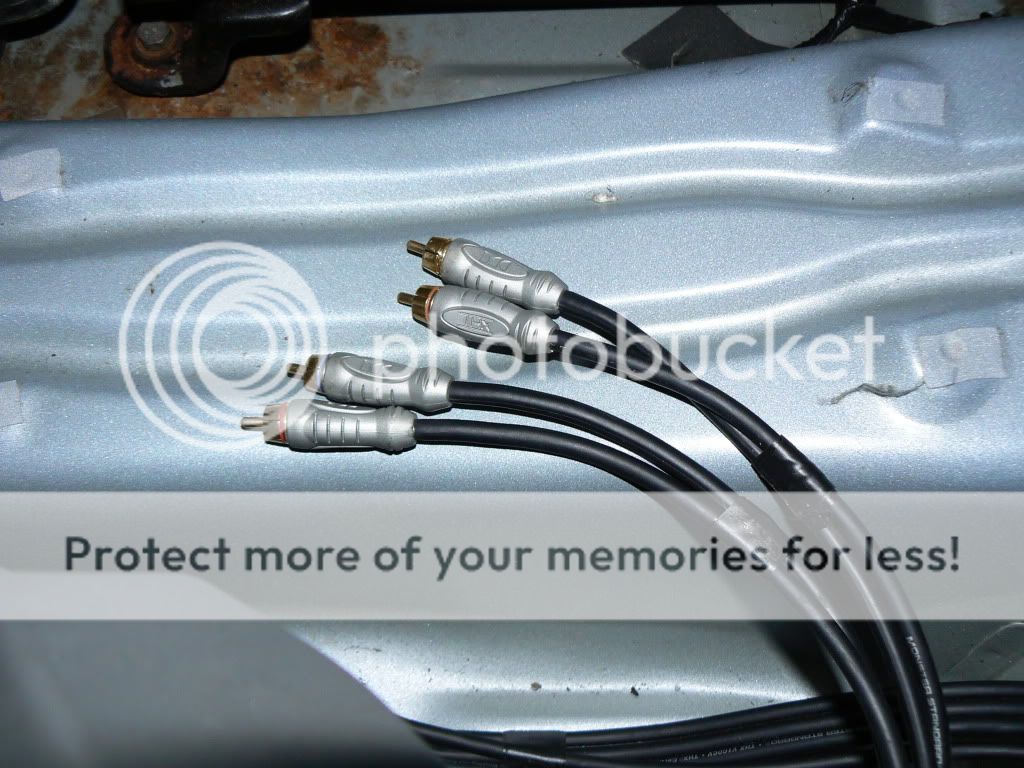
-------------
Posted By: briankmizell
Date Posted: December 05, 2009 at 6:06 AM
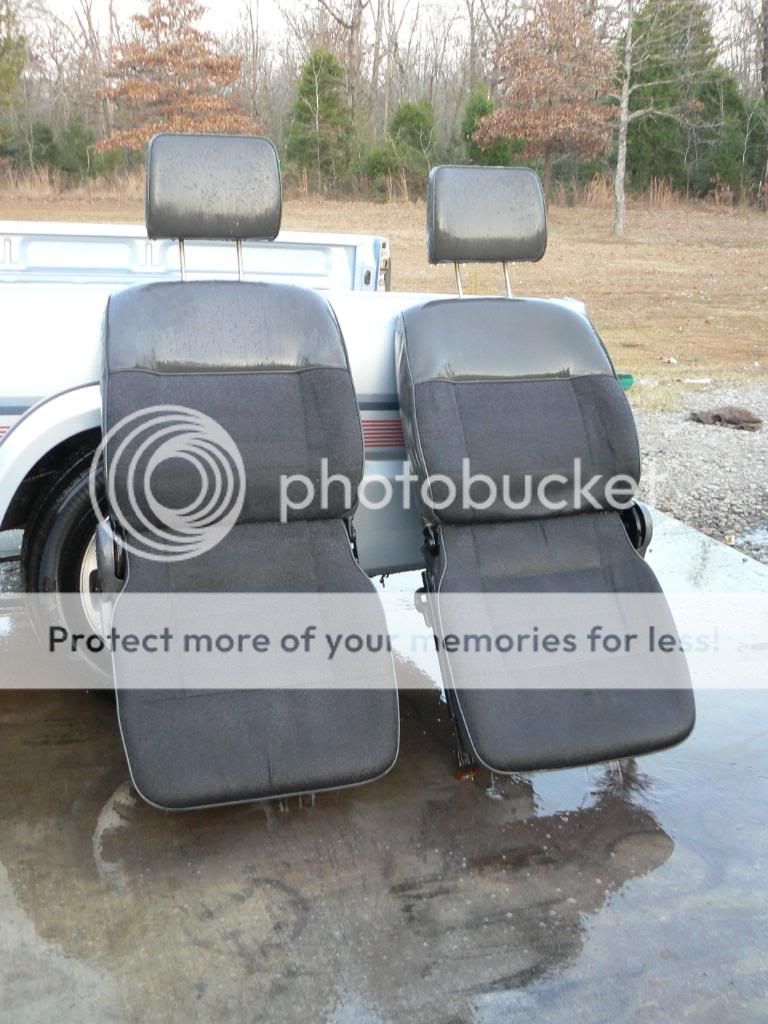
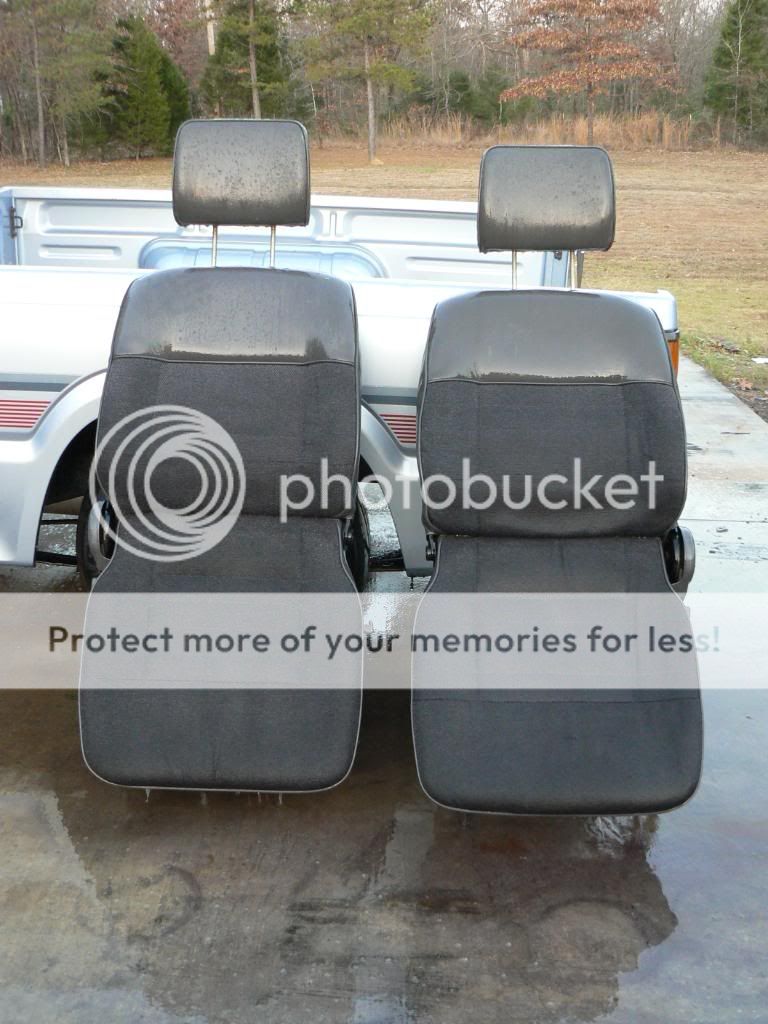
Update I got the back of the cab finished, and my seats dyed black to match the carpet. The seats didn't turn out as dark as I had hoped for but they look much better than before. 
More progress on the stereo install: 


Below, you can see where I removed the hump from the back of the cab, the carpet doesn't cover the floor there. The sub enclosure will hide this. 
The black cable between the seats is the power cable. It will be shortened, I will put a power distribution block there and run 4 gauge power cable back under the carpet over to the amps. -------------
Posted By: pcana11
Date Posted: December 06, 2009 at 8:37 PM
that looks very nice, i hope that when im your age im able to do all of that
-------------
Posted By: briankmizell
Date Posted: December 06, 2009 at 9:52 PM
pcana11 wrote:
that looks very nice, i hope that when im your age im able to do all of that
Thanks, I got interested in car audio when I was 18, I've been into it and cars every since then. If you have the desire to do it, just research where you can learn things and teach your self the best you can, many things come from trial and error, and many things come from just reading books, watching videos, or going to car shows and talking to like minded people. If you get the Speed Channel watch Unique Whips, you can learn a lot from that show, they show bits and peices of how (Reme the installer) does some of his work.
Posted By: Krisps16
Date Posted: December 07, 2009 at 7:25 PM
Nice work buddy
Posted By: vtec_this
Date Posted: December 07, 2009 at 7:41 PM
Everything looks great, very nice job so far.
Posted By: pcana11
Date Posted: December 07, 2009 at 8:31 PM
yea, im 18 and i love it. ive been trying out the fiberglass. its relatively easy. im in a construction class in college so ive been at it for a few years. been building regular mdf boxes since i was 15 tho. i need to make some kicks for my truck
-------------
Posted By: incognyto
Date Posted: January 24, 2010 at 3:08 PM
OH MAN I can not wait to hear a JL 15w3!! definatly a very nice setup!! should be nice sq and be quite loud. 250/1 ?? not quite enough no?? :)
Posted By: briankmizell
Date Posted: January 24, 2010 at 3:15 PM
I kinda got a feeling I will need a 500/1, but I will wait till I get it hooked up to see if I need to upgrade.
Posted By: dereileak
Date Posted: February 04, 2010 at 1:07 PM
I want to see the finished product, that will sound amazing I bet!!
-------------
Viper 5902 - Ordered
Kicker Dual CVX 15's - Installed
Kicker ZX 1500.1 Amp - Installed
Posted By: briankmizell
Date Posted: February 04, 2010 at 3:23 PM
I have gotten sidetracked, I am converting my truck to EFI right now. Once that is done I will get back ontrack and finish the install. I will be sure to post more pictures as I progress through the installation. Then I will do the body work and paint it.
Posted By: briankmizell
Date Posted: February 04, 2010 at 3:32 PM
When its all done I will post a video so everyone can see what it will sound like. I think it will sound pretty good, but we will see when its done.
Posted By: briankmizell
Date Posted: February 04, 2010 at 3:38 PM
I guess I cant post a link for some reason so here are some pictures of the truck. I thought I had pictures of my 89 posted but I couldn't find them on here. So here are a few Pic's. This is what it looked like when I first got it. Oh, be sure and vote on the poll for this thread. 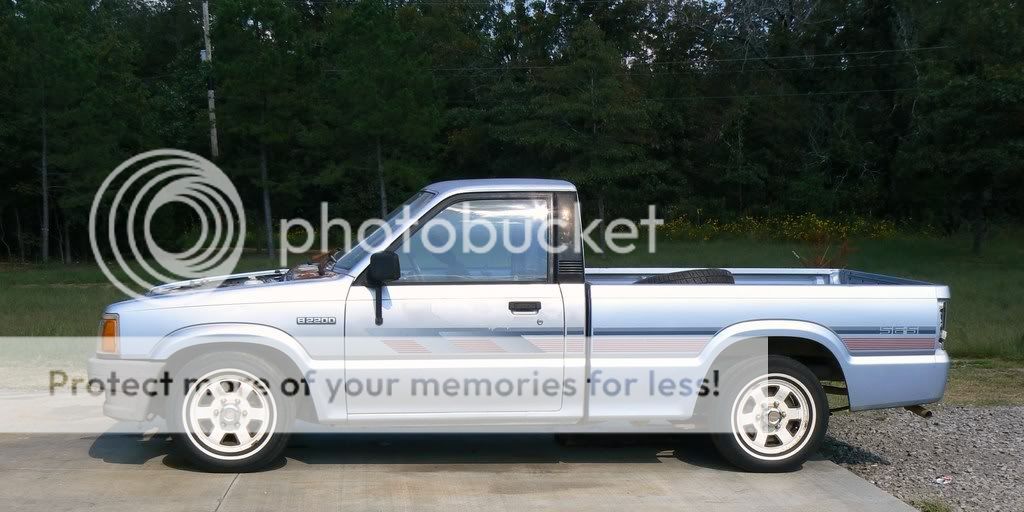
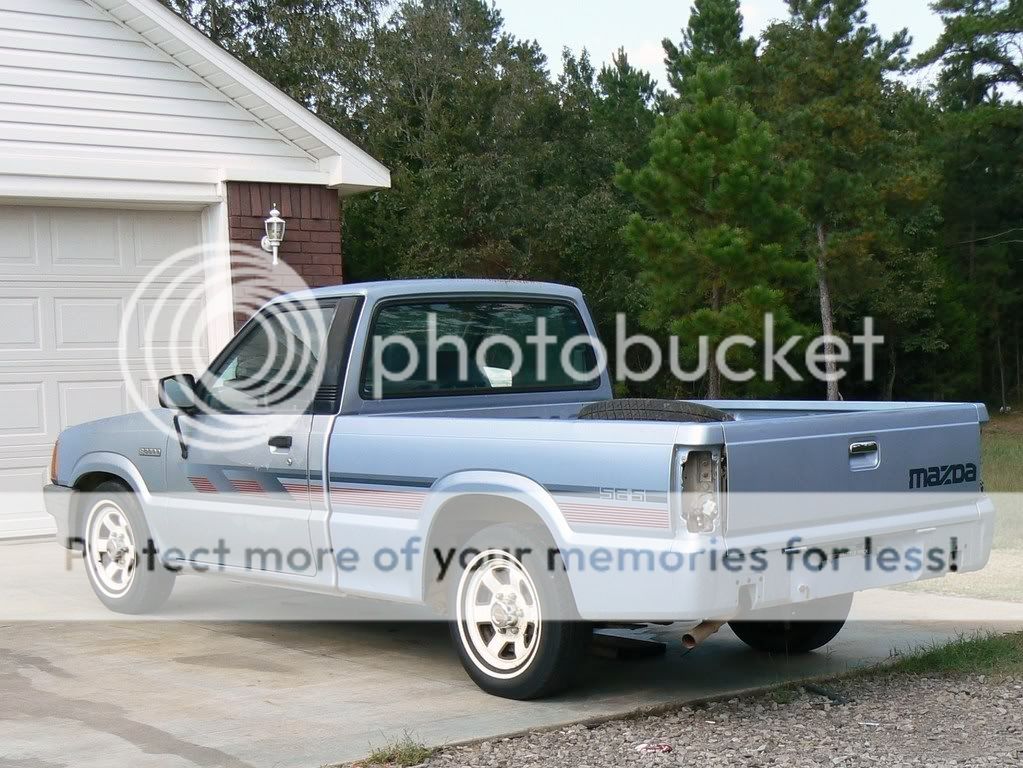
Here it is lowered, & with Isuzu Rodeo wheels 16x7 with 225/60/16 tires. 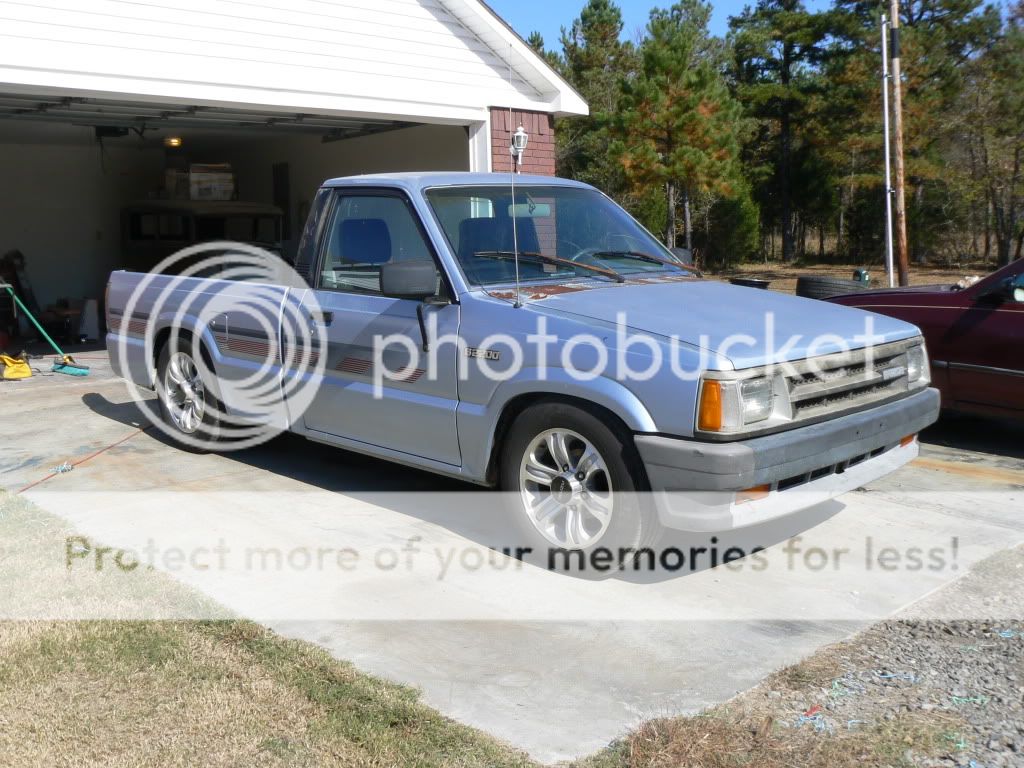

|