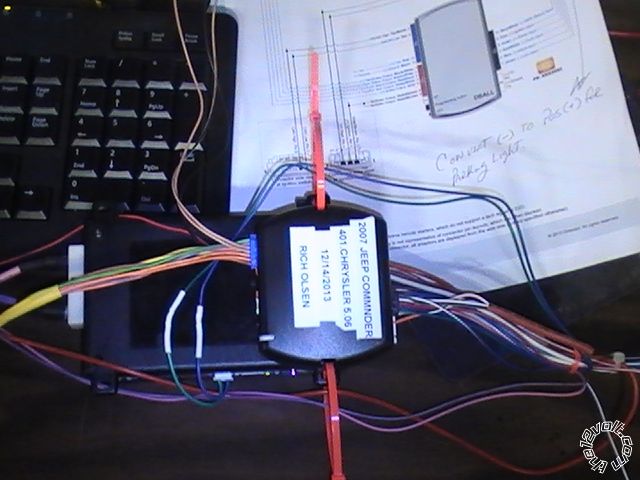
Installed a Clifford 20.7x Remote Start,(same as a Viper 5501), with a DB-ALL in W2W mode. Bench prep, DB-ALL flashed with 401 Chrysler v5.06, Type 4 Install Guide.
The DB-ALL programed on the first try and also handled the TACH signal W2W. The Lock/Unlock, and Rear Window pop were also handled by the DB-ALL.
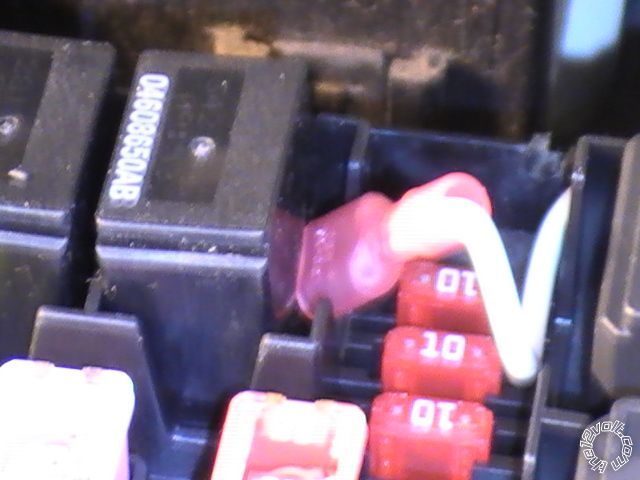
The install guide shows the Starter and Ignition outputs connections. Also needed, BUT NOT on the install guide, are the 12 volt inputs for the starter and ignition. The (H3/5, and H3/8)wires need to be connected to a 12 volt source.
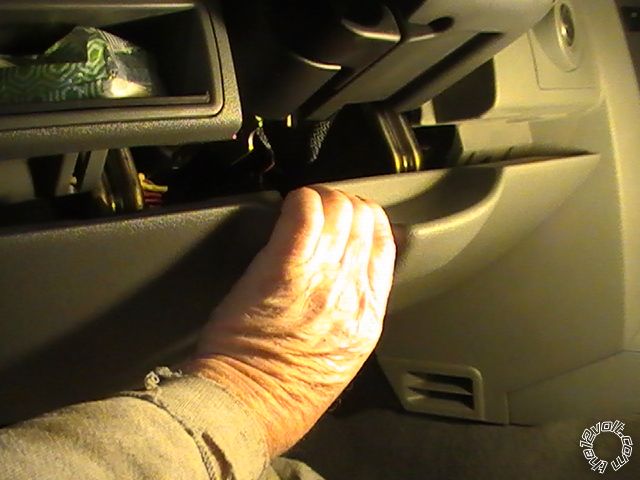
Lower panel is removed by pulling down and then popping the panel off the hinges on each side. A sharp hit with the palm of the hand will do it.
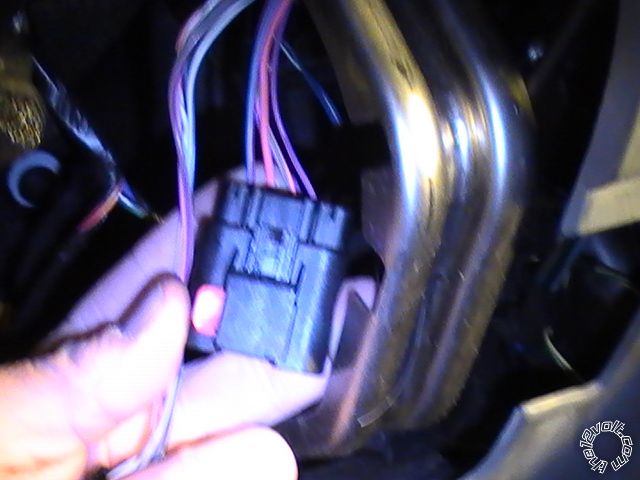
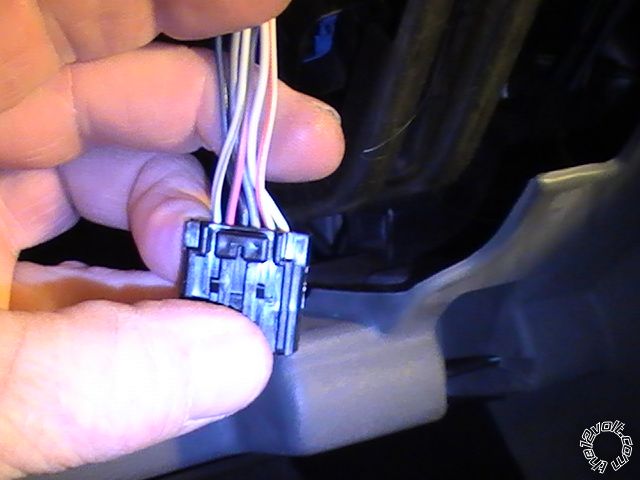
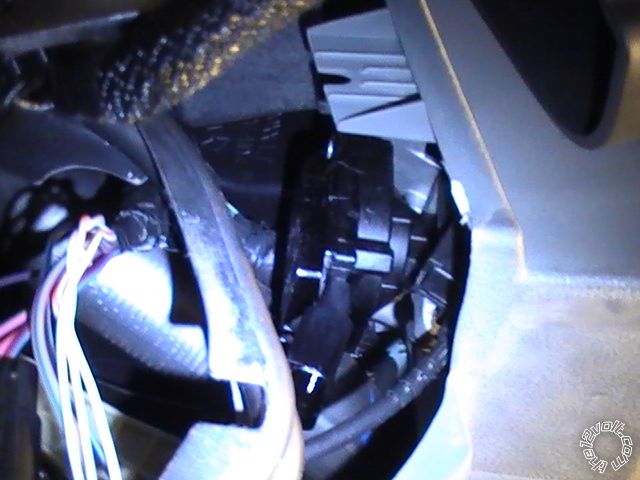
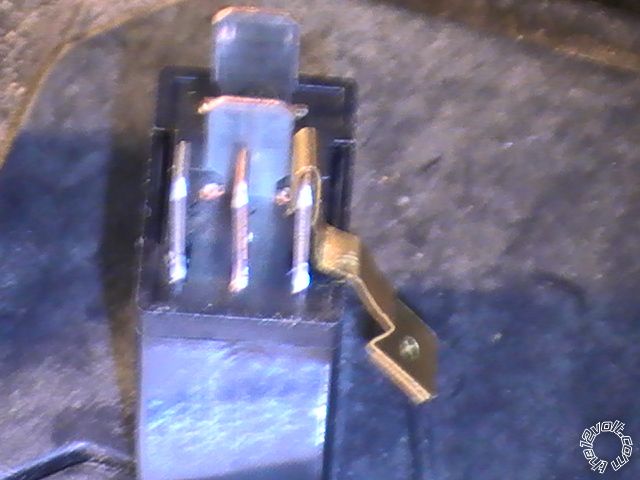
The two ignition connectors are up under the dash and were in a tight location. The wires do not come down the steering column to work on. They go up from the ignition switch so it leaves very little room to work on. The larger connector has a RED locking tab that needs to be slid to one side in order to remove while the smaller one has a tab that needs to be depressed for removal. If you have big hands, Good Luck. In a tight location
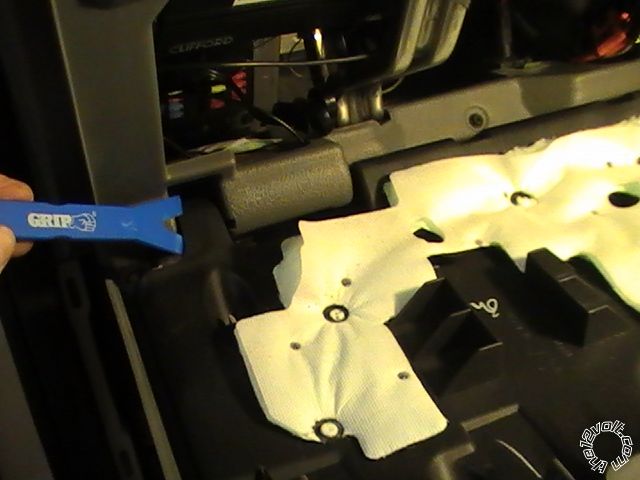
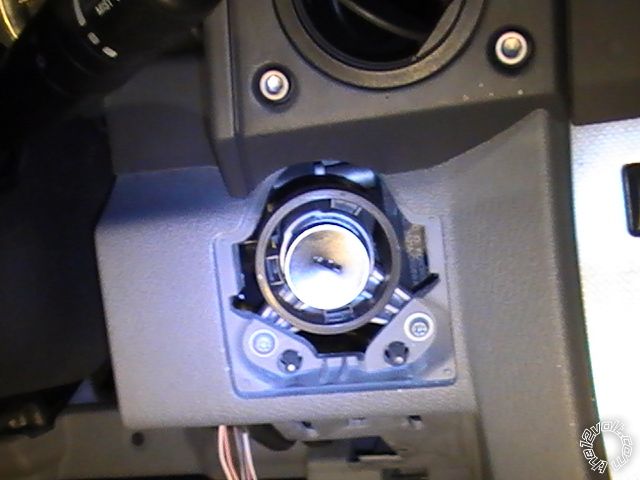
View of the ignition switch from underneath and removing the key cylinder cover provides little help.
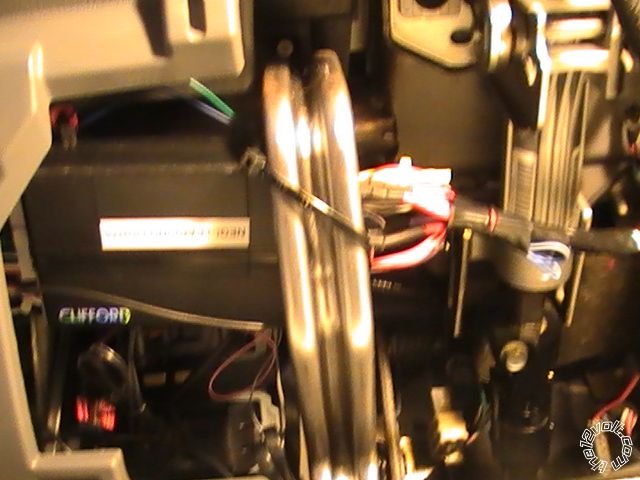
Very nice grommet above the gas pedal for running wires out to the engine compartment. Wires out were Hood Pin, Parking Lights, 12 Volts at the battery, and Horn. Horn and Parking Lights were both NEG(-) at the IPM right behind the battery. Both relays were connected the same way on Pin 1 using a blade adapter.

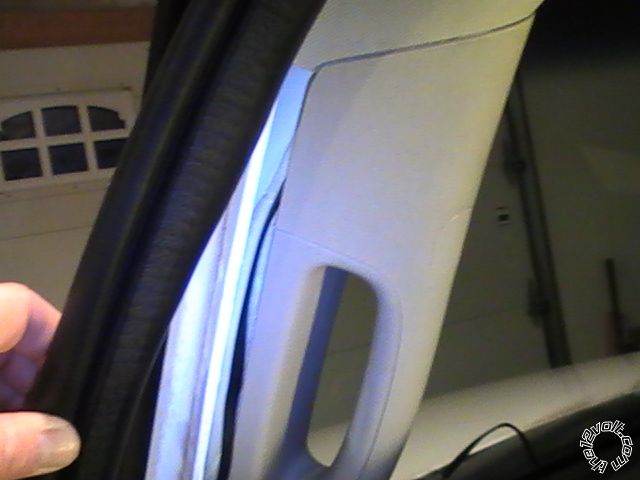
Antenna routing behind the A pillar. A tight fit at the top, so you will need to remove the bolt covers to loosen the bolts. The clips for those are on the left and right side of those small cap. Forgot to take a photo of that.
All put away. Took about 6 hours for this install, including the prep time.
-------------
When all else fails, Read the Instructions
Support the12volt.com Make a Donation