


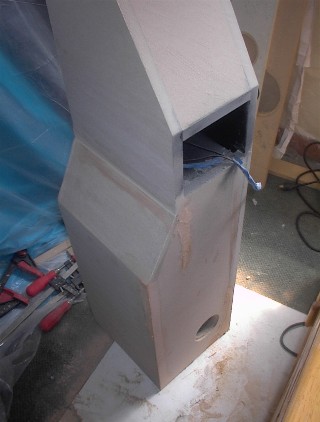
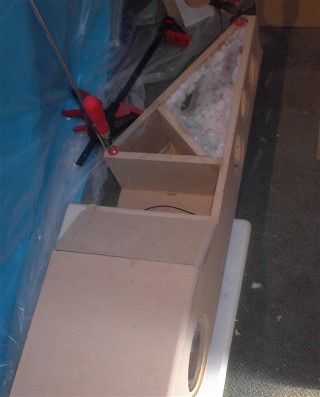
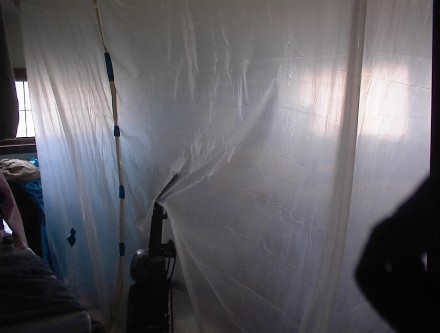
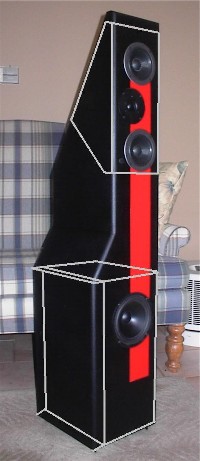
HT speakers finished w/ pics


Posted: May 06, 2006 at 5:19 AM / IP Logged


Posted: May 06, 2006 at 7:54 AM / IP Logged
Posted: May 06, 2006 at 8:20 AM / IP Logged

Posted: May 06, 2006 at 9:06 AM / IP Logged
 Seriously, man! Those look incredible! Beautiful work! GREAT driver choices as well! With components like those they have to sound good as well! Enjoy those, I know the effort involved in designing, building and setting up big systems like that!
AWESOME job!
GO, BAKERSFIELD CONDORS! (Sorry, we are tied with Fresno 3 games each in the Kelley Cup, and we BEAT 'em last night on their OWN ice... something no other team has done all season! I'm a little excited!)
Seriously, man! Those look incredible! Beautiful work! GREAT driver choices as well! With components like those they have to sound good as well! Enjoy those, I know the effort involved in designing, building and setting up big systems like that!
AWESOME job!
GO, BAKERSFIELD CONDORS! (Sorry, we are tied with Fresno 3 games each in the Kelley Cup, and we BEAT 'em last night on their OWN ice... something no other team has done all season! I'm a little excited!)
Posted: May 06, 2006 at 11:02 AM / IP Logged
Posted: May 06, 2006 at 12:37 PM / IP Logged

Posted: May 06, 2006 at 1:06 PM / IP Logged
Posted: May 06, 2006 at 3:53 PM / IP Logged
Posted: May 06, 2006 at 4:58 PM / IP Logged

Posted: May 11, 2006 at 11:30 PM / IP Logged
 Printable version
| You cannot post new topics in this forum You cannot reply to topics in this forum You cannot delete your posts in this forum You cannot edit your posts in this forum You cannot create polls in this forum You cannot vote in polls in this forum |

| Search the12volt.com |
Follow the12volt.com 
Wednesday, May 15, 2024 • Copyright © 1999-2024 the12volt.com, All Rights Reserved • Privacy Policy & Use of Cookies

Wednesday, May 15, 2024 • Copyright © 1999-2024 the12volt.com, All Rights Reserved • Privacy Policy & Use of Cookies
Disclaimer:
*All information on this site ( the12volt.com ) is provided "as is" without any warranty of any kind, either expressed or implied, including but not limited to fitness for a particular use. Any user assumes the entire risk as to the accuracy and use of this information. Please
verify all wire colors and diagrams before applying any information.
