I ordered everything from USComposites. Specifically for the wax i got Meguiars Mirror Glaze No.8 11oz. It works but since fiberglass heats up, i think i would have gotten the TR 104 High Temp mold release wax that they have...but again im very happy with the Meguiars Mirror glaze no.8. Note: these are NOT the same as car waxes, do not use them on your cars finish; they wont have the protection as regular car wax.
If the local hardware store fiberglass resin(most likely bondo brand) works for everyone, then great. Its just that the hardware store has this wax in it when it cures, the stuff from USComposites comes without wax. Also its easier to work with when laying the glass down; its a little thinner so it flows more. I got the Standard 435 Layup Resin. The pieces feel a lot more rigid when made with the 435 resin.
I got the Polygel 40 rubber that, if you have a stiff mother mold like i made, will work really well. I would recommend when applying this rubber to wait till it starts to thicken up before applying it..it creates less run off that you will have to catch with the brush and reapply back on....unless you are rich and want to let it just run off and spend more money on RTV rubber! lol.
I applied a few coats at different points of the piece because of the different curves it has.
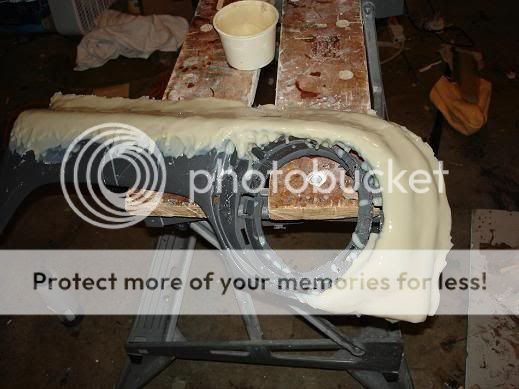
I re-made the mother mold(the piece that holds the rubber in the correct position) because when i tried to test-fit the copied fiberglass piece, it was out of alignment. so i tried to fit my original door piece into the mold and i saw that the first mother mold that i made (shown right now above) bent around the "C" part where it wraps around on the left side. This time i made a MDF support and fiberglassed that to the new mother mold so it cant shrink or whatever it did. I should have pictures up soon but for now, this is the making of the new mother mold; this needs to be trimmed:

Update 9/18/08:
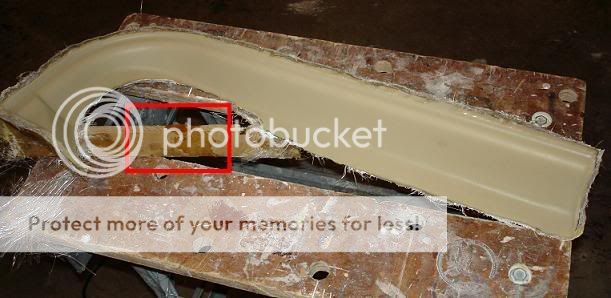
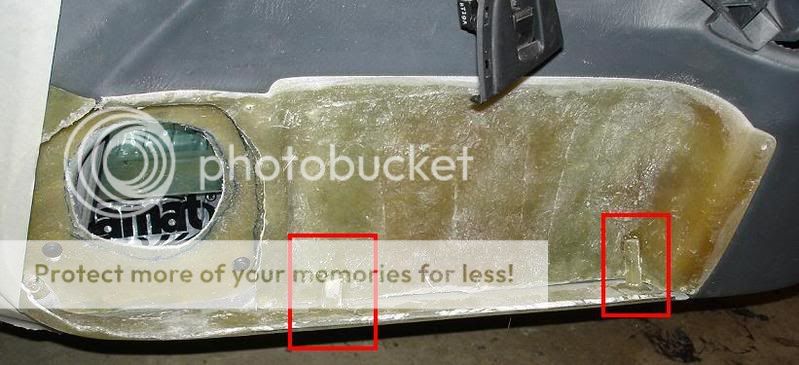
Well I tried to fit the original piece back into the mold after it cured and it didnt fit exactly right again!!...except for that it was only a little out of alignment this time. So what i did was break the "bar" support, put the original piece in the mold, put epoxy inside the broken bar joint and then pulled/twisted the 2 pieces(the parts on each end of the break) until all parts aligned perfectly with the original. I can tell you this is where you will want the "60 second" epoxy if this happens to you. I could not sit there for 15 minutes holding that perfectly in place. The epoxied part of the joint is shown in the red box:
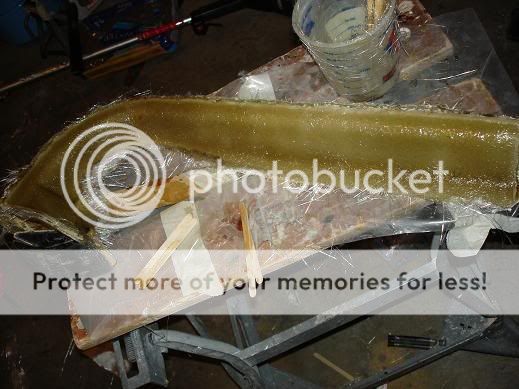
I am writing this as the following picture cures. I see no air bubbles so I expect this to turn out nearly perfect:
Update 9/19/08:
Tonight I took the mold piece out of the mold and i couldnt be happier with how it turned out. I put it up to the door to see how it fit(in this picture it still needs to be fine-trimmed) and it fit perfectly:
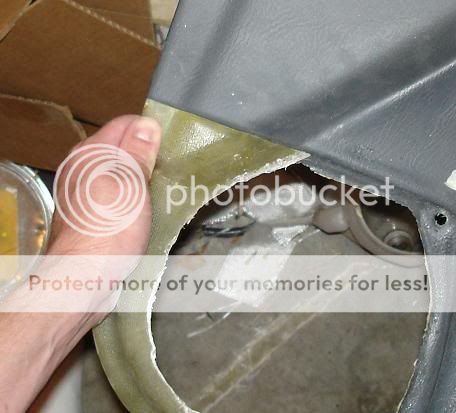
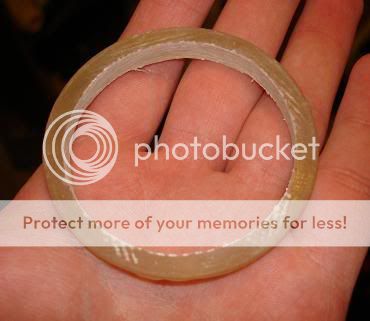
Next I needed to make a "ring" that will be the piece that screws into the door (where the factory screws screwed into the door to hold the factory speaker part). These two pictures show 1. the door taped up and 2. the door with fiberglass curing:
Update 9/20/08:
This weekend i started off getting all the basic parts ready to be bonded together.
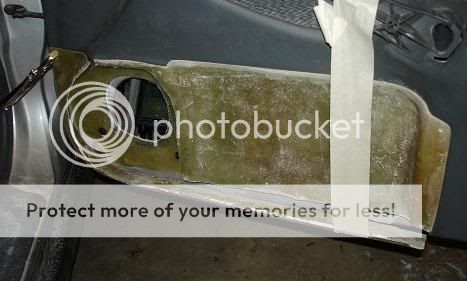
Here is the ring that goes ove the speaker hole in the door right when its taken off of the tape and when its trimmed and screwed to the door. I marked what direction is up on the piece so i wont have to guess and try to fit it:
Last night I started on glassing the "base" of the project on the door. This morning I pulled it off the door and started to shape it:
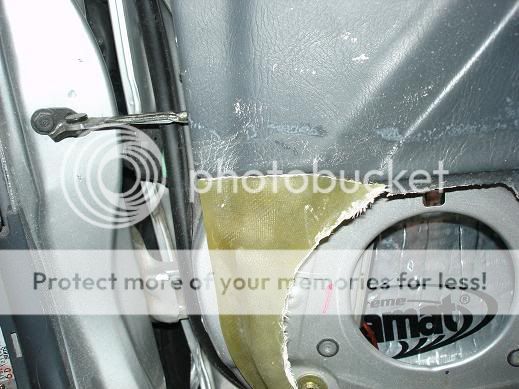
To finish shaping the piece, i needed to clean my door off so i could see the lines of the door perfectly. I can tell you it was a BI##H to do. I had to use GoofOff2 because the Goo Gone and others contain petroleum based solvents that may harm the vinyl....I sure figured that out on my center console when I fiber glassed the hole where the cup holders are; the gray piece is faded where i used goo gone. With this stuff(its water based) you may have to use it a few times but it will come off. Got it at Home Depot:
Here is the background part with a rough cut laid on the door:
This is the part I am working on which is fitting the right side of the piece perfectly to the door panel. where it turns from the right side "bar" around to the top of the piece is a little difficult to get exactly right:
Here is a rough look of waht it will look like when some of the pieces are joined. Still needs to be trimmed but its a look...i gues all i have to imagine is the outer rim of a factory door panel though lol:


 Topic Closed)


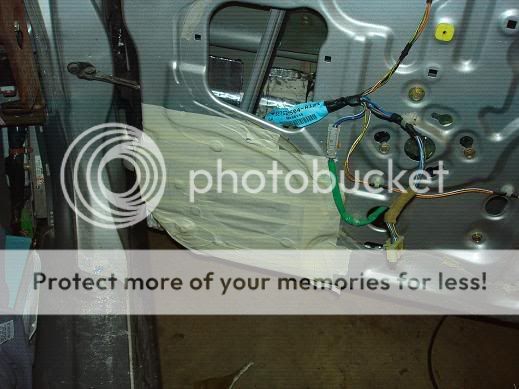
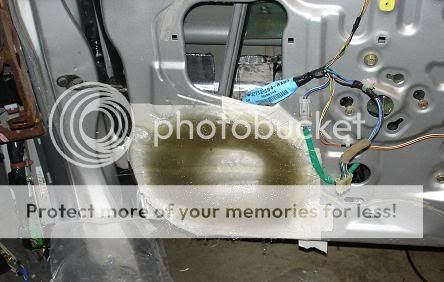
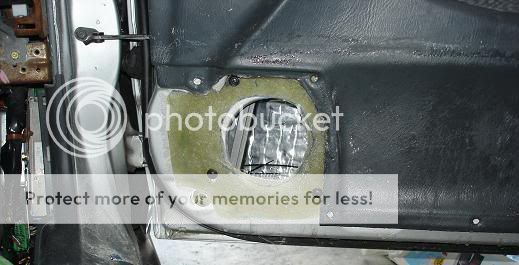
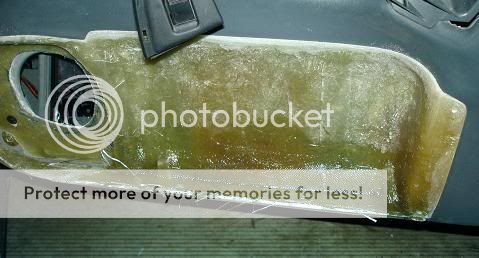
 The way I am doing this is that i made the base for it by coating the door panel in mold release wax and fiberglassing straight on it; it released very nicely from the door...it didnt stick at all when pulling it off. I used many coats of mold wax though. next i made a mold out of fiberglass and urethane rubber. THis mold is the outside part of the factory speaker pod/door-pocket so when i make my door piece, it will have the factory "trim" on the outer edge of the piece so it mixes in well with the existing door. This is the door waxed and masked off:
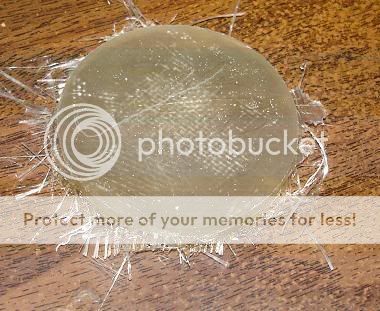
 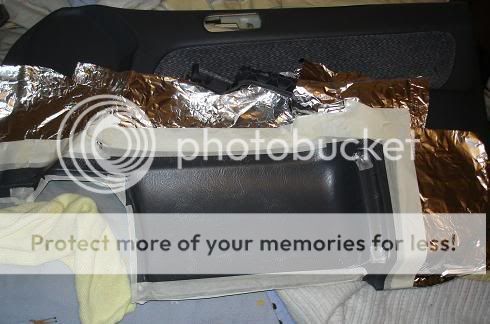 Now here is how I made the mold so i can make a copy of the outer edge of the door panel piece. First coated the piece in mold release wax and brushed on Poly40 Urethane rubber. I wish it would have been thicker because i had to keep brushing back on the runoff rubber. After i worked with it in one small batch, i let it sit for a while so it woulds tart to thicken up:
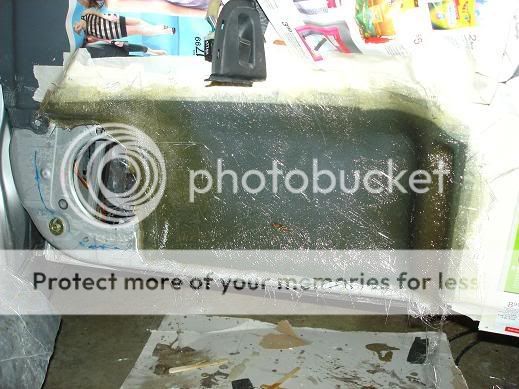
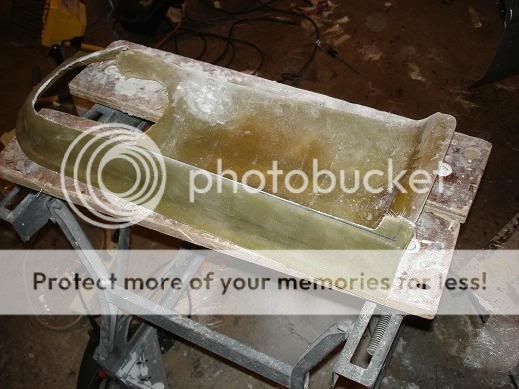
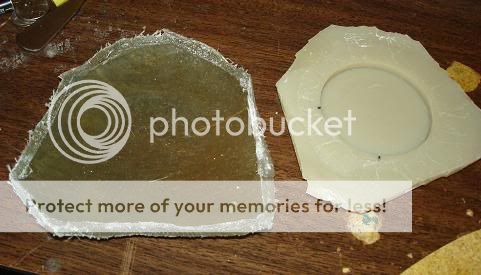
 This is jumping ahead a little but this is the rubber trimmed and i am about to make the "mother mold" which is the backing for the floppy rubber:
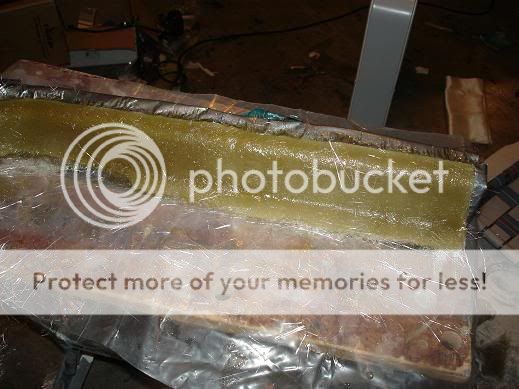
 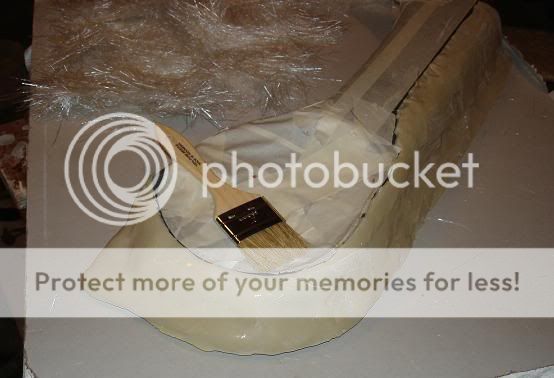 I wish i would have taken more pictures but here is the jump ahead to the fiberglass piece being trimmed; both the fiberglass and rubber is sitting next to eachother:
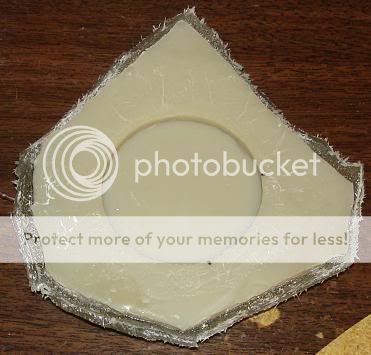
 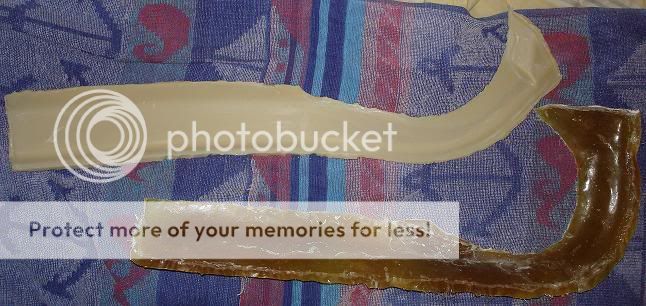 ....and this is the mold and rubber together:
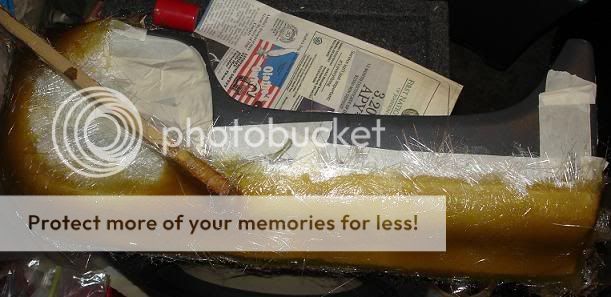
 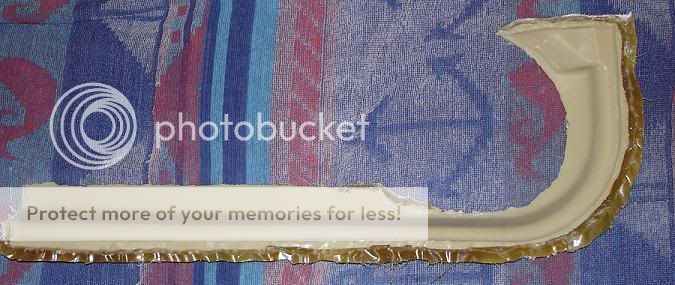 Tonight I fiberglassed the inside of that. Again, i applied mold release wax to the rubber and then fiberglassed it; its curing right now as i type this:
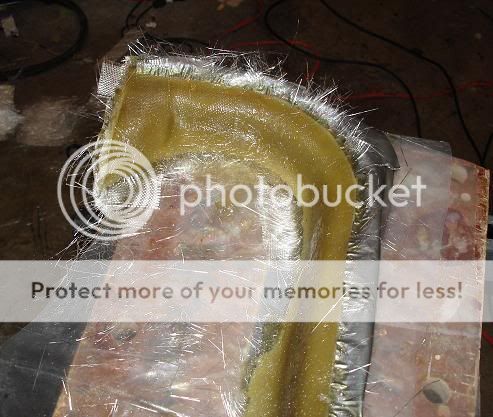
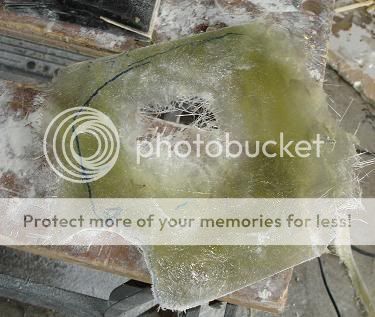
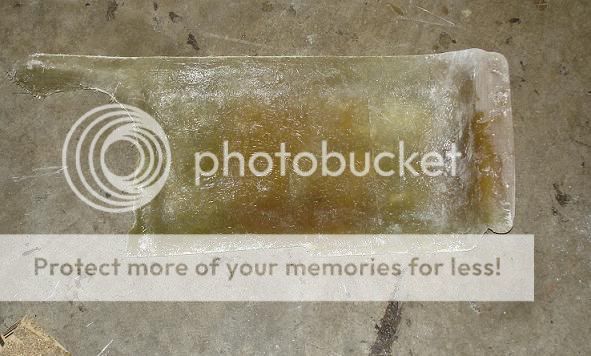
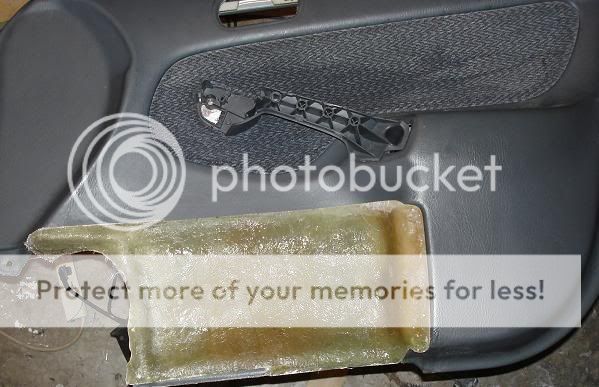
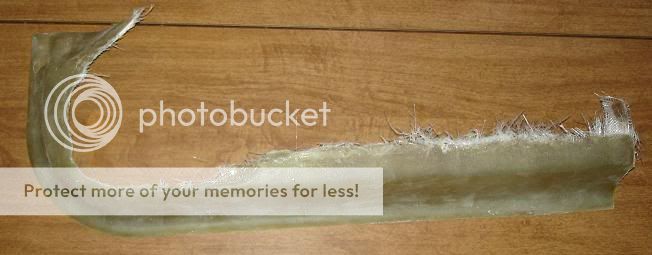
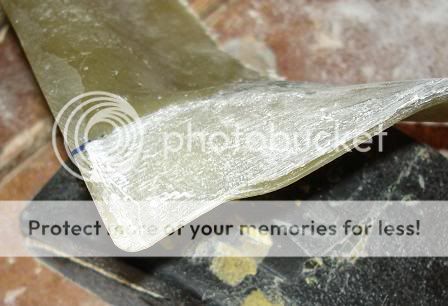
 Here is the piece pulled from the mold. Other than having to trim everything, its a near perfect copy of the original's outer edge...i say near because there are a few spots that have a pin hole or 2 but thats fixed with bodyfiller when im finishing the piece up:
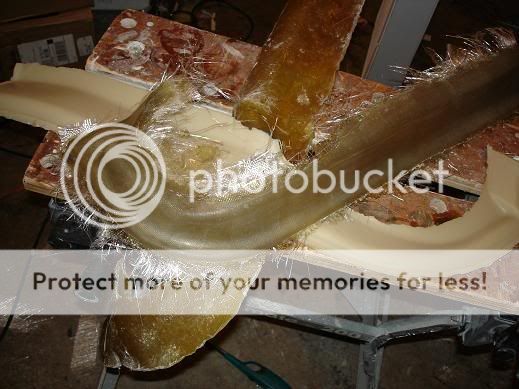


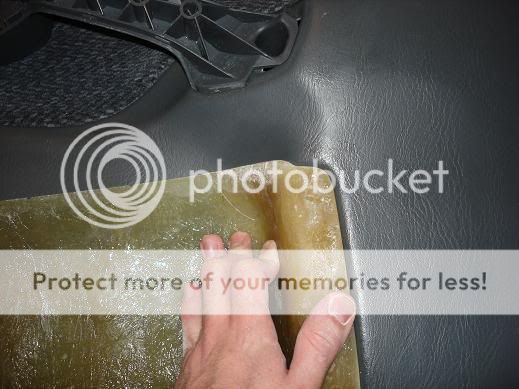
 Here i trimmed the top part to match the factory door piece where it is flat and wraps around the side:
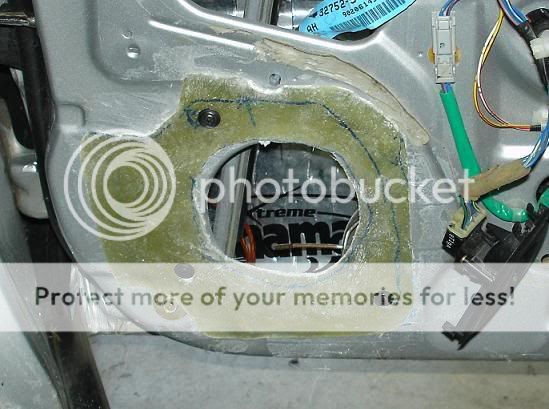
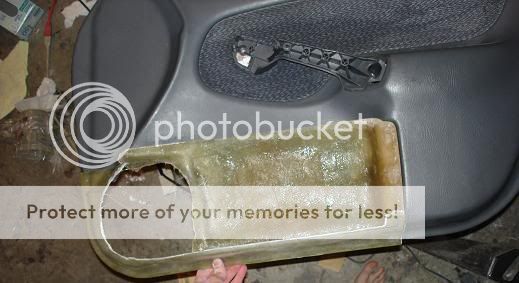
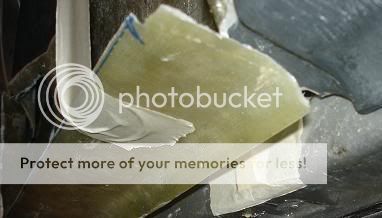
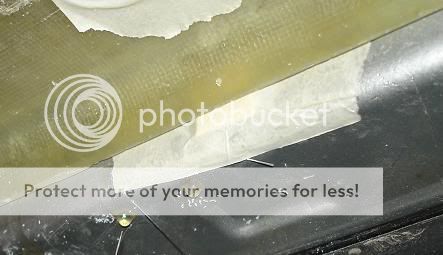
 Here is where you see the piece fit against the door:
 Update 10/04/08:
Last time i left off making sure the main outer edge piece that will be visible was aligned properly. Now it is time to start putting the pieces together.
This may be a 2 person job but i rigged up a set of 2 extra hands(cheap $1 vicegrip knock off and tape around the door attached to the fiberglass) that you can see below. I used a small piece of a wooden stick for cushion between the fiberglass and the grips:
Update 10/04/08:
Last time i left off making sure the main outer edge piece that will be visible was aligned properly. Now it is time to start putting the pieces together.
This may be a 2 person job but i rigged up a set of 2 extra hands(cheap $1 vicegrip knock off and tape around the door attached to the fiberglass) that you can see below. I used a small piece of a wooden stick for cushion between the fiberglass and the grips:
 Even though people wont really look at this very easily or too much, i still wanted to align the piece as well as i could. I wrapped a piece of tape around itself enough times to make a thick flat piece. I made it the same thickness as the space between the door panel and the metal of the door. I did this so i can get the exact same spacing without having to look; all i had to do was press the piece against the tape and knew it was the correct spacing:
 Now since i was able to align everything (i also had to trim the thickness of the fiberglass piece in some spots to make it fit around some curves/bumps in the factory door panel) its time to start putting the pieces together.
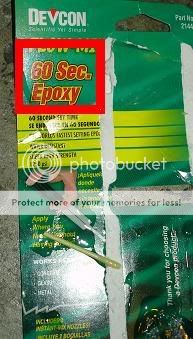
I wanted to make a "tack" hold (like a tack weld i think its called) so i could have it strong enough to stay and then later i would come back and reinforce it with fiberglass resin and mat. For this I used 60 second epoxy. i didnt want to sit there all night holding it. Dont expect to get 60 seconds of working time, this epoxy i had set within 15 seconds:
Now since i was able to align everything (i also had to trim the thickness of the fiberglass piece in some spots to make it fit around some curves/bumps in the factory door panel) its time to start putting the pieces together.
I wanted to make a "tack" hold (like a tack weld i think its called) so i could have it strong enough to stay and then later i would come back and reinforce it with fiberglass resin and mat. For this I used 60 second epoxy. i didnt want to sit there all night holding it. Dont expect to get 60 seconds of working time, this epoxy i had set within 15 seconds:
 I used a piece of scrap fiberglass from trimming some pieces to join the 2 pieces together until I go back and fiberglass the 2 pieces together. I first epoxied it to the base part against the door, let it harden and then pressed the molded edge part against it and epoxied it together.
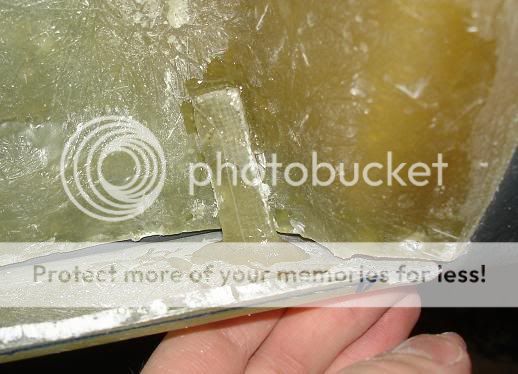 These are the two points at which i epoxied 2 pieces of scrap fiberglass to hold it in place for now
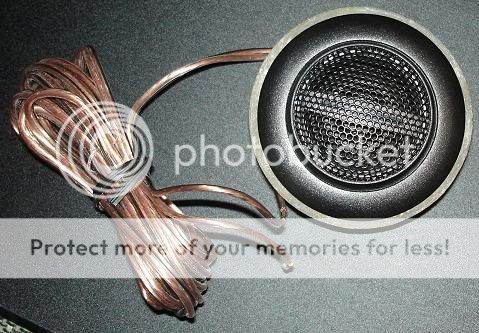
 Here is the ring I made for the tweeter. I am not sure if I am going to remake this or not. Im contemplating this because idk if there should be the "lip" that is barely out farther than the tweeter's rim or if it should go on like this:
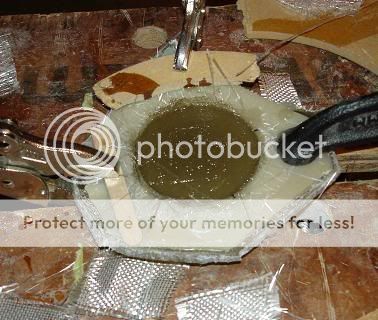
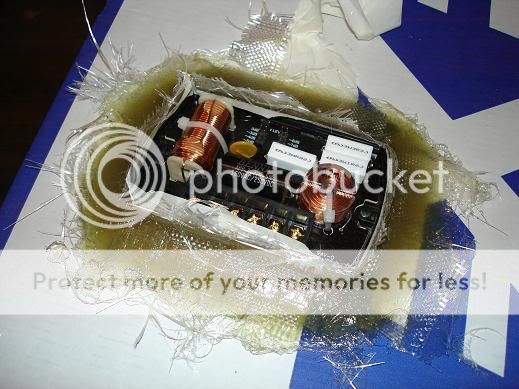
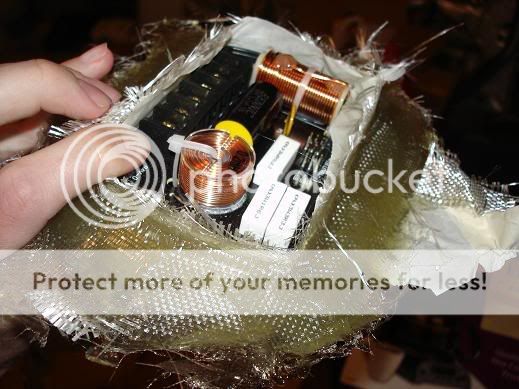
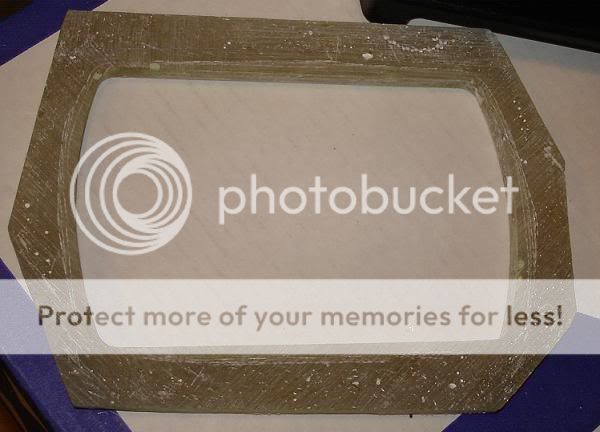
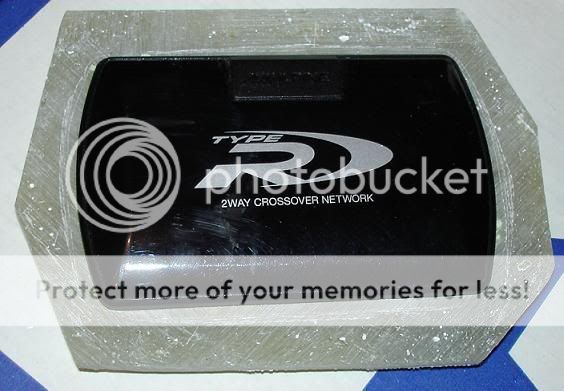
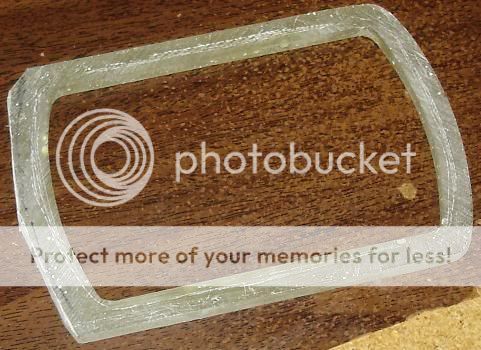
 Its been a while. I am waiting for more resin/glass to come in the mail. WHile I have a little resin left, I decided to make the mounting ring for the crossover. The way I did this was, pop off the top of the crossover, wrap a small piece of masking tape around the edge of the crossover so it will be smooth around the perimeter, then used the wide masking tape to cover the rest of the crossover so no resin will get on the electrical components inside the crossover. These pictures are with the tape taken off of the top of the crossover.
After this hardens all the way, I will pop the crossover out and then start sanding it all. This looks like a mess and its hard to explain exactly what im doing but future pics will show what im doing.
Its been a while. I am waiting for more resin/glass to come in the mail. WHile I have a little resin left, I decided to make the mounting ring for the crossover. The way I did this was, pop off the top of the crossover, wrap a small piece of masking tape around the edge of the crossover so it will be smooth around the perimeter, then used the wide masking tape to cover the rest of the crossover so no resin will get on the electrical components inside the crossover. These pictures are with the tape taken off of the top of the crossover.
After this hardens all the way, I will pop the crossover out and then start sanding it all. This looks like a mess and its hard to explain exactly what im doing but future pics will show what im doing.
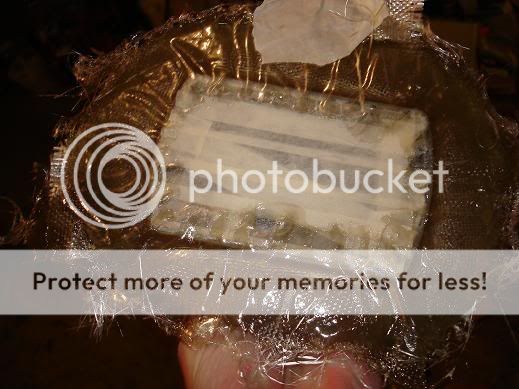
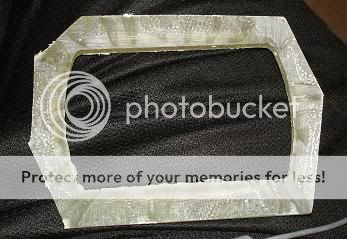
 Bottom....which after sanded smooth will actually be the "top"
 This is the piece starting to be shaped and sanded down
 The crossover has a few surface scratches on it :-( but, i guess that might happen anyways through normal wear and tear when it will b open on display...cant really notice them in regular light but with the camera's flash you can.
 Here is the crossover piece half done:
 Modified by imadigitalgod at 10:00 PM 10/24/2008
 Printable version


