


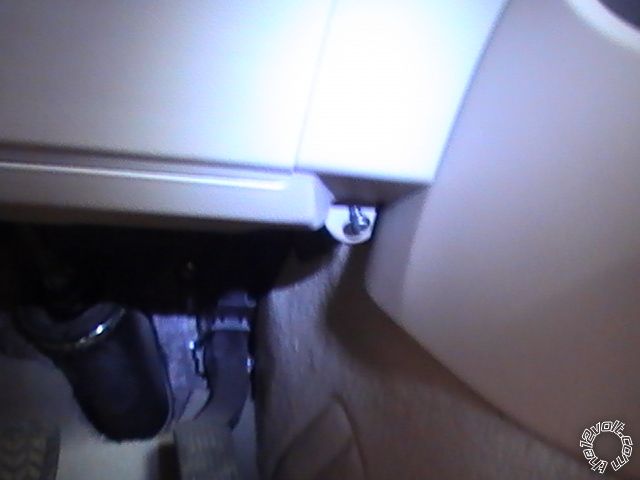
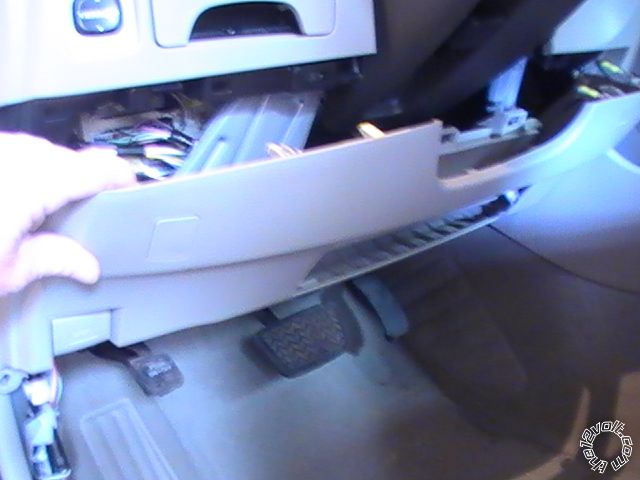
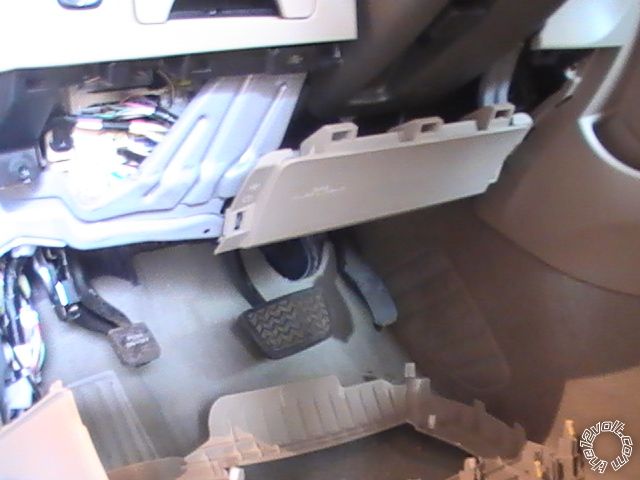
 Remove drivers sill cover, then drivers kick panel.
Lower dash panel has a 10mm bolt on left side and a Phillips screw on right side, then pull panel off. Held on with clips.
Remove drivers sill cover, then drivers kick panel.
Lower dash panel has a 10mm bolt on left side and a Phillips screw on right side, then pull panel off. Held on with clips.
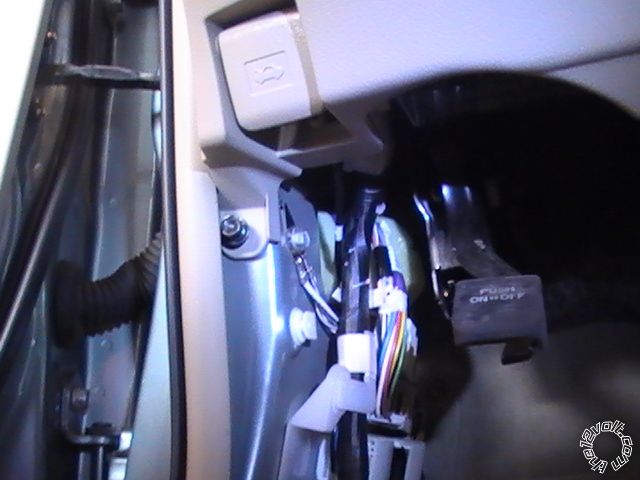
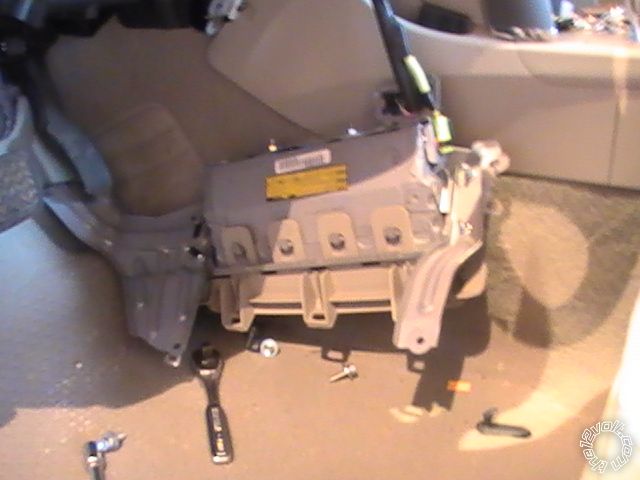
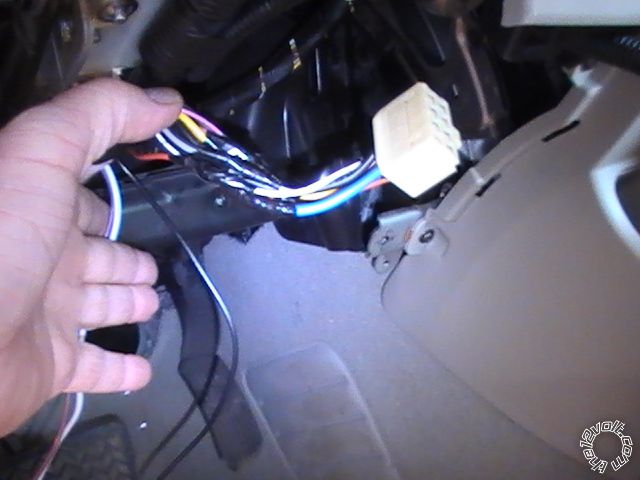
 Knee Air Bag on metal bracket held on with 4, 10mm bolts.
I just unbolted it and set it aside. CAREFULLY. I did NOT unplug it.
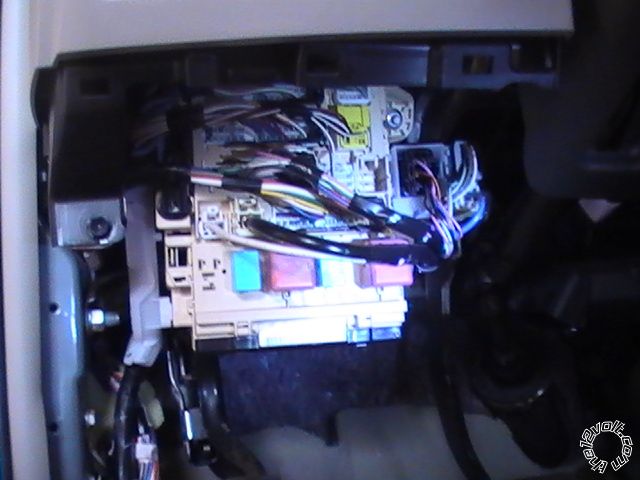
OBD connector is in this bracket for the TACH, HS CAN High&HS CAN Low.
Knee Air Bag on metal bracket held on with 4, 10mm bolts.
I just unbolted it and set it aside. CAREFULLY. I did NOT unplug it.
OBD connector is in this bracket for the TACH, HS CAN High&HS CAN Low.
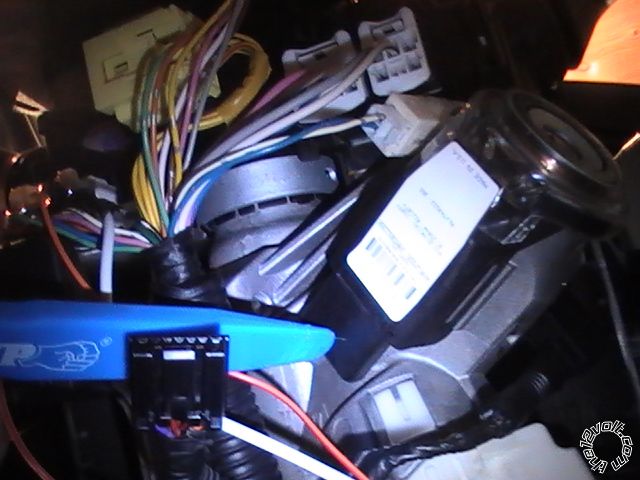
 Large Black wire near bottom of wiring panel is the 12 volt Constant.
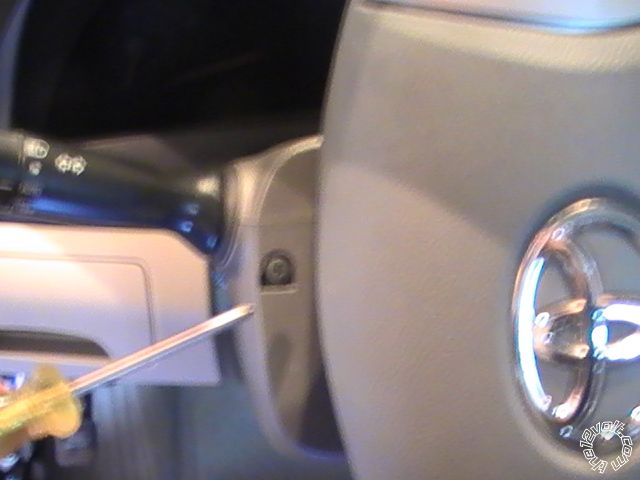
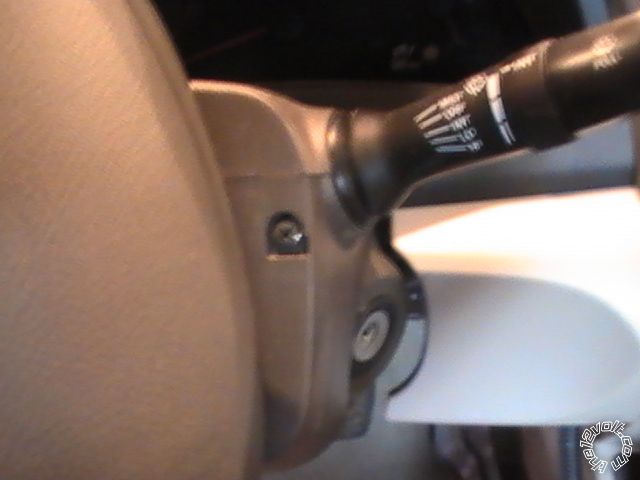
 Two Phillips screws on left and right side of steering wheel need to be removed to take lower steering wheel cover.
Will give access to Parking light & Autolight, TX/RX, and Ignition Connectors.
Two Phillips screws on left and right side of steering wheel need to be removed to take lower steering wheel cover.
Will give access to Parking light & Autolight, TX/RX, and Ignition Connectors.
 Parking Light and Autolight connector.
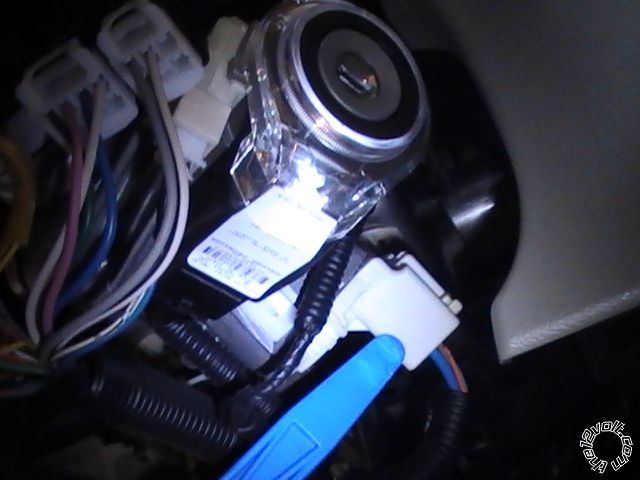
 Ignition Harness. The Starter 2, Ignition 2, & Accessory wires are small gauge wires. Start 1 and Ignition 1 are Heavy Gauge.
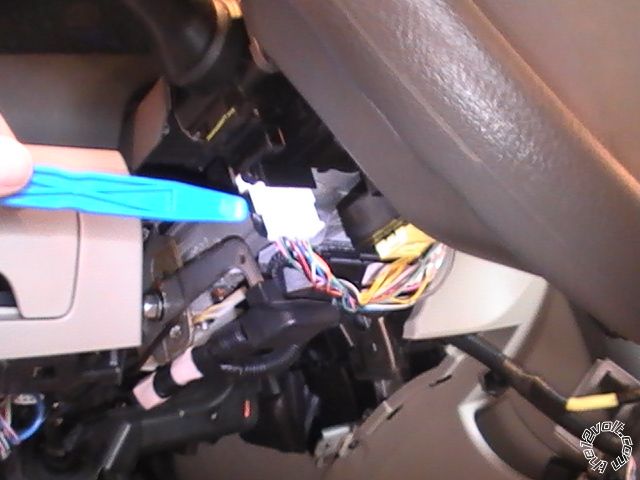
 TX & RX Connector. Connector is on pry tool and pry tool is pointing to where it plugs into.
 The Tach, HS Can High and HS Can Low wires are located in the OBD Connector. Sorry. No Photo.


 Directed / XpressKit does this quite often. You have to pay close attention to the fine print and asterisks on the Features Chart page of the Install Guide.
 Printable version


| You cannot post new topics in this forum You cannot reply to topics in this forum You cannot delete your posts in this forum You cannot edit your posts in this forum You cannot create polls in this forum You cannot vote in polls in this forum |

| Search the12volt.com |
Follow the12volt.com 
Saturday, May 16, 2026 • Copyright © 1999-2026 the12volt.com, All Rights Reserved • Privacy Policy & Use of Cookies

Saturday, May 16, 2026 • Copyright © 1999-2026 the12volt.com, All Rights Reserved • Privacy Policy & Use of Cookies
Disclaimer:
*All information on this site ( the12volt.com ) is provided "as is" without any warranty of any kind, either expressed or implied, including but not limited to fitness for a particular use. Any user assumes the entire risk as to the accuracy and use of this information. Please
verify all wire colors and diagrams before applying any information.
