the12volt.com spacer
icon

radio in dash project pictures


Post ReplyPost New Topic
< Prev Topic Next Topic >
silentblackhat 
Copper - Posts: 138
Copper spacespace
Joined: January 14, 2005
Location: New Brunswick, Austria
Posted: July 18, 2008 at 12:31 AM / IP Logged  
Hey guys, I am well into restarting the fiberglass custom dash piece for my Uniden 520XL Pro CB radio. I know CB radios may not interest most people but, the project of fabricating a dash piece is what im really after showing.
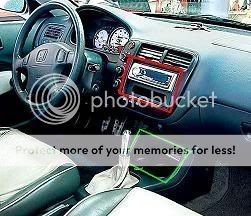
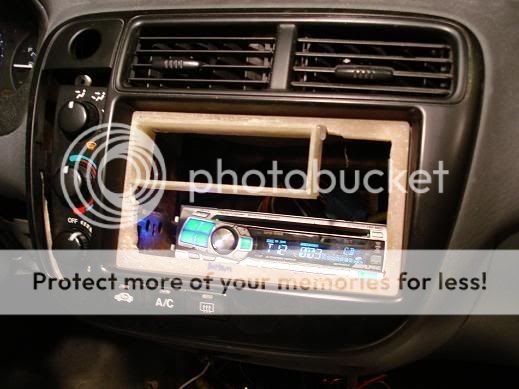
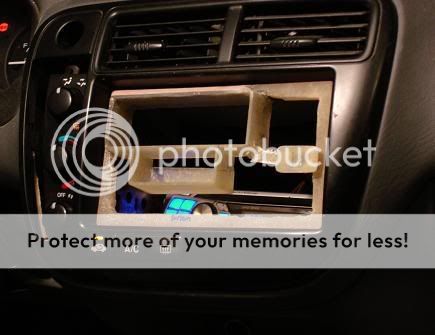
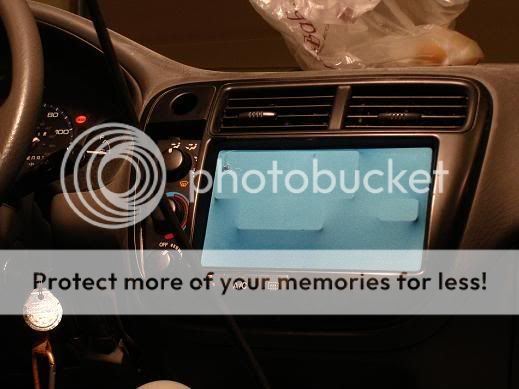
This is what my dash looks like, its not my exact car but its the same model. The red box is where the Cb radio is going to go and the green box is where the cd player is going to be moved to:
radio in dash project pictures -- posted image.
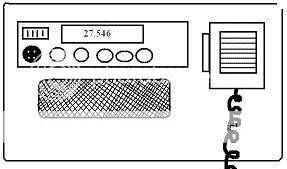
This is a very rough sketch of what the 'vision' is
radio in dash project pictures -- posted image.
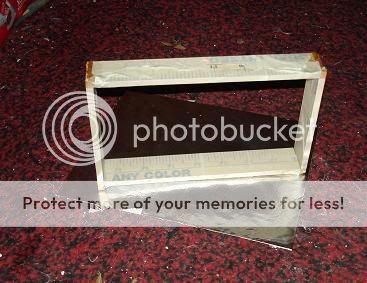
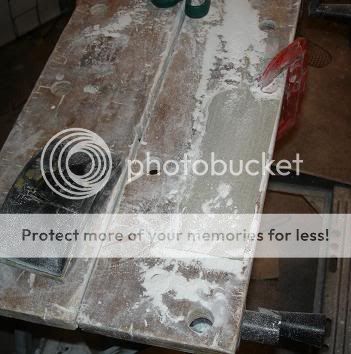
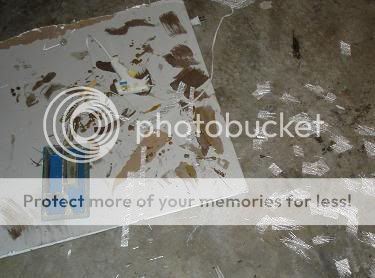
This is a "mold" that i made from the outer perimeter of the existing cd player dash kit so i can make a fiberglass rectangle copy of it.
radio in dash project pictures -- posted image.
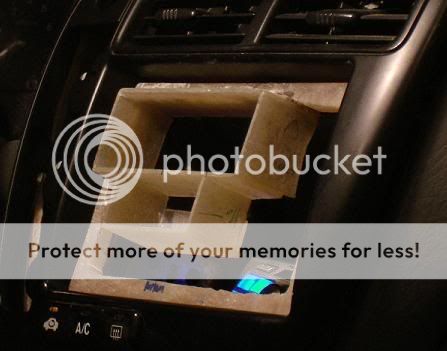
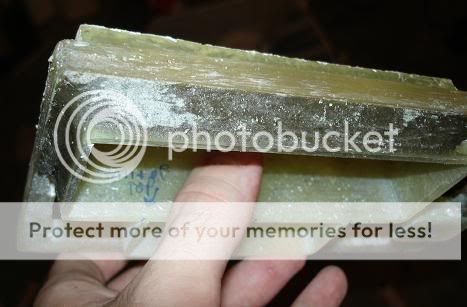
Now, this is where it is different...before I used wood for this part but after sanding it down, the wood was very thin and weak. Here I am sanding a small slab of fiberglass to the exact thickness I need. This is MUCH MUCH stronger than the thin weak MDF wood. I am using this to make the surround part of the CB mount as well as the port that the CBs speaker will fire out of.
radio in dash project pictures -- posted image.
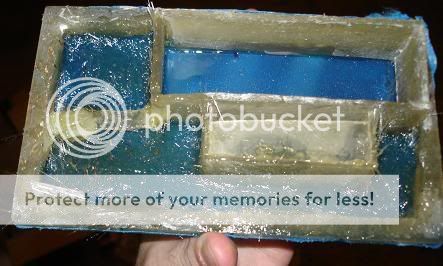
Here is the 'box' within that fiberglass ring. I first used hot glue to hold it in place and then I used the "Plastic Welder" epoxy from walmart to hold it to the fiberglass frame for good
radio in dash project pictures -- posted image.
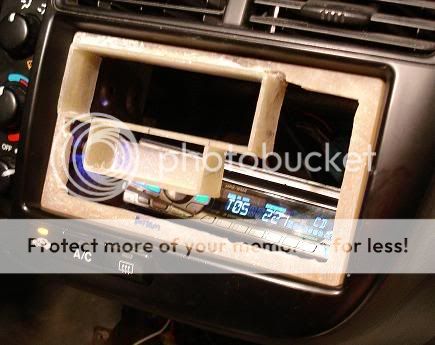
This next change(no picture yet) will be to bring the speaker port up closer to the CB. There wont really be any break between the bottom on the CB radio hole and the speaker port. There will be a divider but the way it will look when its done, it will look like part of the CB mounting hole.
Here are 2 looks at the sound port that I am adding to this. the backing on the back of the little box was to give it strength while i was sanding the edges to round them off:
radio in dash project pictures -- posted image.
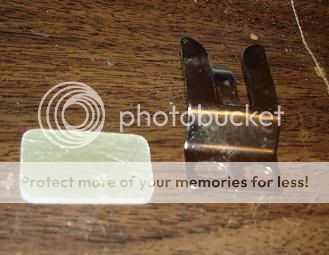
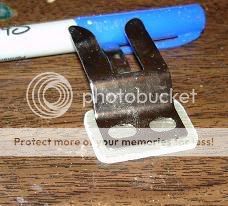
Here is the piece that the mic clip will screw on to:
radio in dash project pictures -- posted image.
When I wrap the piece in cloth, there are parts of the piece that will not have any support. Just so there is no problems, I filled these areas with first - fiberglass reinforced auto body filler and then on top of that I smoothed it out with regular Auto bodyfiller. The rest of the piece will be able to be reinforced with fiberglass and resin later on.
Fiberglass body filler:
radio in dash project pictures -- posted image.
Regular body filler on top of fiberglass body filler:
radio in dash project pictures -- posted image.
Next, the Microphone mount was put on:
radio in dash project pictures -- posted image.
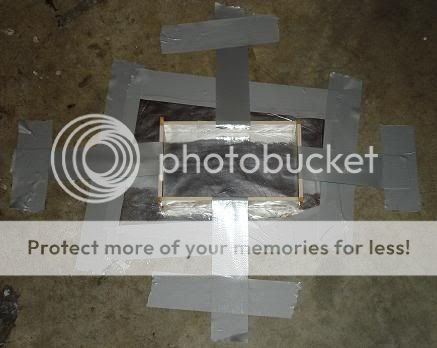
Next, its time to wrap the piece in cloth and put resin on that to harden the cloth to make a 'shell'
This is the piece wrapped in polyester cloth. I used this because 1. its the same type of material the resin is made of and 2 its thin and stretchy; i need it to be thin so i can keep the details such as the delicate curves coming off of the edges of the boxes and mic mount. It is hard to see exactly how it curves because the cloth is stretched tightly so not as much light bounces off of it; its sort of see through up close.
radio in dash project pictures -- posted image.
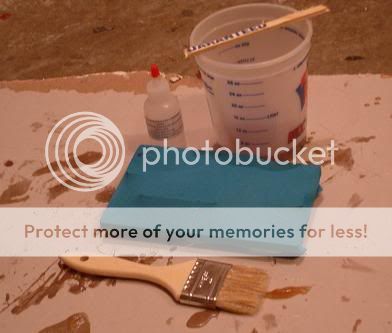
Here is the setup: the resin in the mixing cup, small bottle of MEKP which is the resin's hardener, cheap brush from Walmart(im going to get a 36 pack box for $10, this single one cost 90cents so with the bulk box ill save) and a broken off part of a cheap yard stick to mix the resin/hardener. Whats not shown in here is gloes, ALWAYS wear gloves when going this. Resin is VERY hard to get off ur hands, but most importantly its not the most healthy stuff either to get on you.
radio in dash project pictures -- posted image.
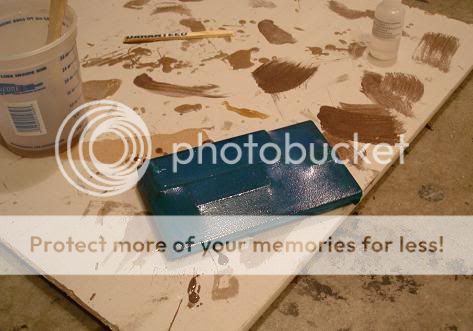
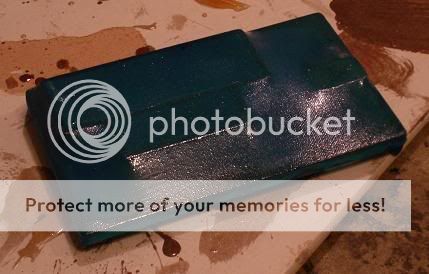
These two pictures are what it looks like after its resined. I am letting this sit for a while to harden. It will take a while longer since the parts that are hardening are very thin. the MEKP makes the resin heat up to sure so since theres very little material to trap the heat in.
radio in dash project pictures -- posted image.
Next after it hardens, its time to reinforce the back side with fiberglass and more resin. After that, I smooth the face with sand paper, use body filler to fill in the rough and low spots and sand that smooth.
Melted Fabric 
Silver - Posts: 509
Silver spacespace
Joined: October 24, 2003
Location: California, United States
Posted: July 18, 2008 at 1:33 PM / IP Logged  
Nice, keep the photos coming. Your project is looking good.
I have not failed. I've just found 10,000 ways that won't work.
When you do not know what you are doing and what you are doing is the best -- that is inspiration.
silentblackhat 
Copper - Posts: 138
Copper spacespace
Joined: January 14, 2005
Location: New Brunswick, Austria
Posted: July 18, 2008 at 8:47 PM / IP Logged  
Alright I just got done reinforcing the back of the piece with fiberglass mat and resin. This will give the piece its strength. The resined and hardened cloth was just to give a shell which gives the piece its shape but the fiberglass on the back is what makes it strong
This picture is of the piece turned over and some pre-cut fiberglass mat. If you use fiberglass like I got from UsComposites which comes in a sheet, always pre-cut pieces. It will make the process a WHOLE lot easier and faster
radio in dash project pictures -- posted image.
This is a picture of the back of the piece after its been glassed. It is still liquidy but at this point it wont run. Here it didnt glass all over the mic clip support pad on the back because im going to remove that "bar" that runs across. I will wait till all the glass is hardened to remove it so i wont warp the piece's shape
radio in dash project pictures -- posted image.
ritopkid06 
Member - Posts: 29
Member spacespace
Joined: August 25, 2006
Location: United States
Posted: July 18, 2008 at 11:53 PM / IP Logged  
How do you get the fiberglass to make those perfect rectangles?
silentblackhat 
Copper - Posts: 138
Copper spacespace
Joined: January 14, 2005
Location: New Brunswick, Austria
Posted: July 19, 2008 at 12:52 AM / IP Logged  
ritopkid06 wrote:
How do you get the fiberglass to make those perfect rectangles?
The big one, since I am wrapping the whole piece in vinyl, i wrapped my CB radio in the vinyl, laid the fiberglass pieces around the CB radio and then used epoxy to hold the sides together. I wrapped the CB in vinyl before I did this so it will have the perfect spacing needed for when the vinyl is covering the piece. if i didnt, i wouldn't be able to fit the CB in the mounting hole when its wrapped in vinyl.
I did one side ata time. They look perfect because i sanded the edges...when i was putting it together, the only 'perfect' piece while putting it together was the last side i put on. all the other sides were too long so i could shave/sand them down after the box was made to make it look nice.
then smaller box, i just wrapped a sanding block in masking tape, laid the fiberglass pieces around that and then sanded the sides till they were flush with the box shape.
All of those box shapes were made from that single sanded flat piece/slab of fiberglass.
bellsracer 
Silver - Posts: 703
Silver spacespace
Joined: January 14, 2006
Location: United States
Posted: July 21, 2008 at 2:19 AM / IP Logged  

douzo yoroshiku (good job) I feel... inspired to get started on another project >.<

Keep up the good work

Ganbatte ne!

Never send your ducks to eagle school.
The difference between ordinary and extraordinary is that little extra.
The 3Ls of life: Learn from the Past, Live for the Present, Look to the Future.
Melted Fabric 
Silver - Posts: 509
Silver spacespace
Joined: October 24, 2003
Location: California, United States
Posted: August 04, 2008 at 3:19 PM / IP Logged  
Now i am inspired to continue learning Japanese
Sugoi tomodachi!
I have not failed. I've just found 10,000 ways that won't work.
When you do not know what you are doing and what you are doing is the best -- that is inspiration.
silentblackhat 
Copper - Posts: 138
Copper spacespace
Joined: January 14, 2005
Location: New Brunswick, Austria
Posted: August 04, 2008 at 5:28 PM / IP Logged  
Thanks, I should be getting this piece back from the upholstery shop tomorrow. I just dont have the spray gun for the quality adhesive. I tried brushing it on on another project but it came with sub-par quality...spraying the adhesive is the way to go

Sorry, you can NOT post a reply.
This topic is closed.

  Printable version Printable version Post ReplyPost New Topic
You cannot post new topics in this forum
You cannot reply to topics in this forum
You cannot delete your posts in this forum
You cannot edit your posts in this forum
You cannot create polls in this forum
You cannot vote in polls in this forum

  •  
Search the12volt.com
Follow the12volt.com Follow the12volt.com on Facebook
Thursday, April 25, 2024 • Copyright © 1999-2024 the12volt.com, All Rights Reserved Privacy Policy & Use of Cookies
Disclaimer: *All information on this site ( the12volt.com ) is provided "as is" without any warranty of any kind, either expressed or implied, including but not limited to fitness for a particular use. Any user assumes the entire risk as to the accuracy and use of this information. Please verify all wire colors and diagrams before applying any information.

Secured by Sectigo
the12volt.com spacer
Support the12volt.com
Top
the12volt.com spacer