the12volt.com spacer
icon

rebuild the door panels carbon fiber


Post ReplyPost New Topic
< Prev Topic Next Topic >
robolop 
Copper - Posts: 157
Copper spacespace
Joined: October 26, 2008
Posted: October 26, 2008 at 1:59 PM / IP Logged  

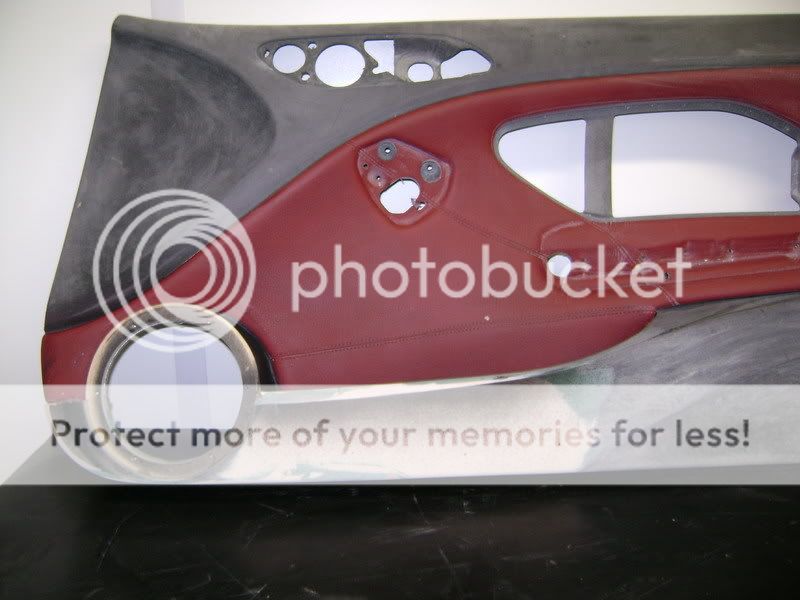
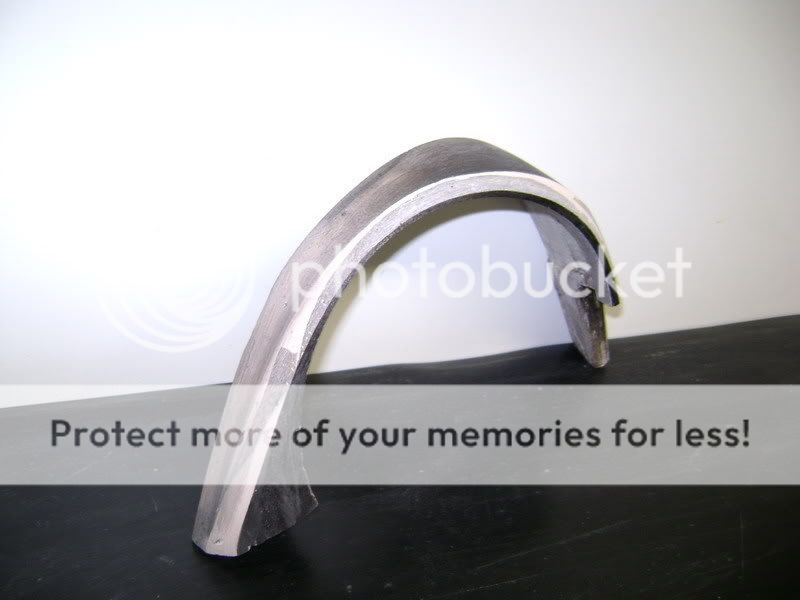
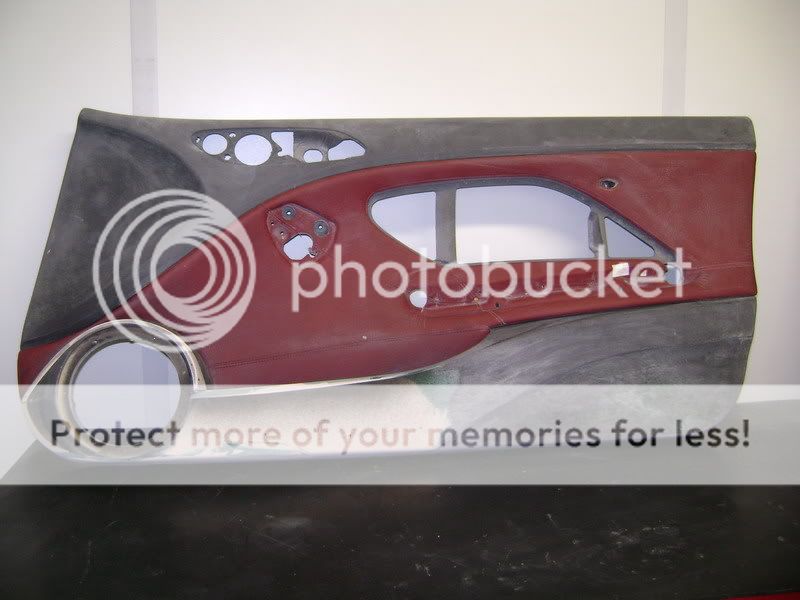
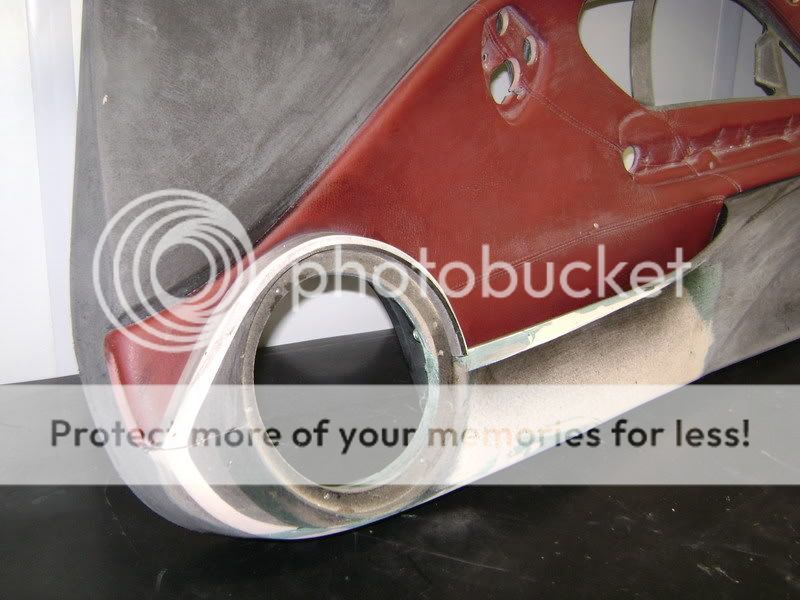
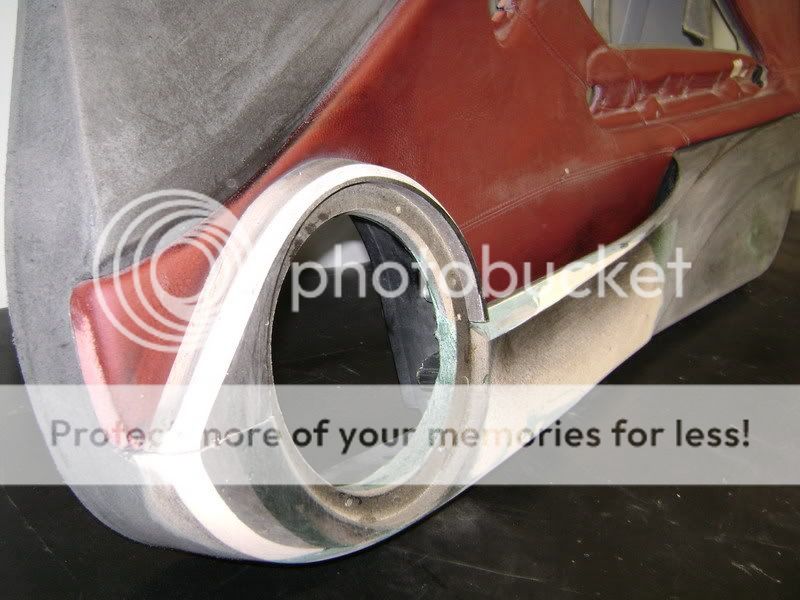
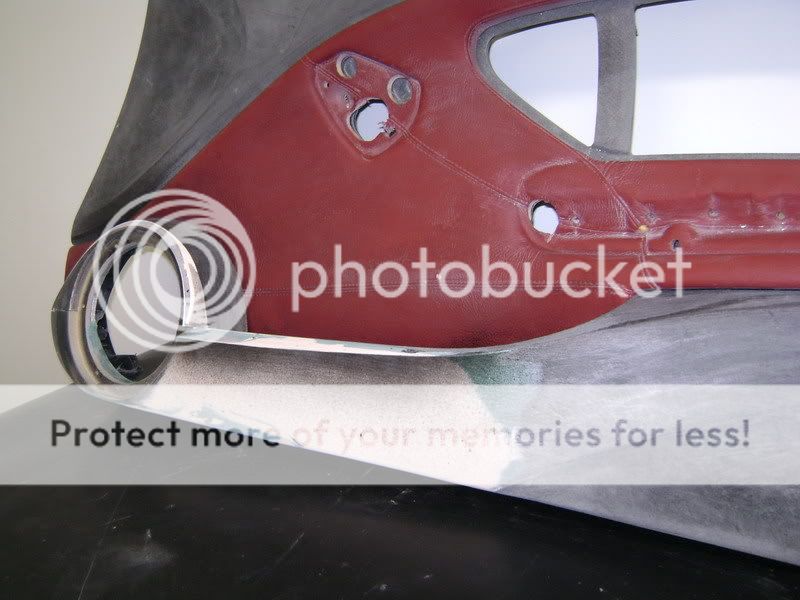
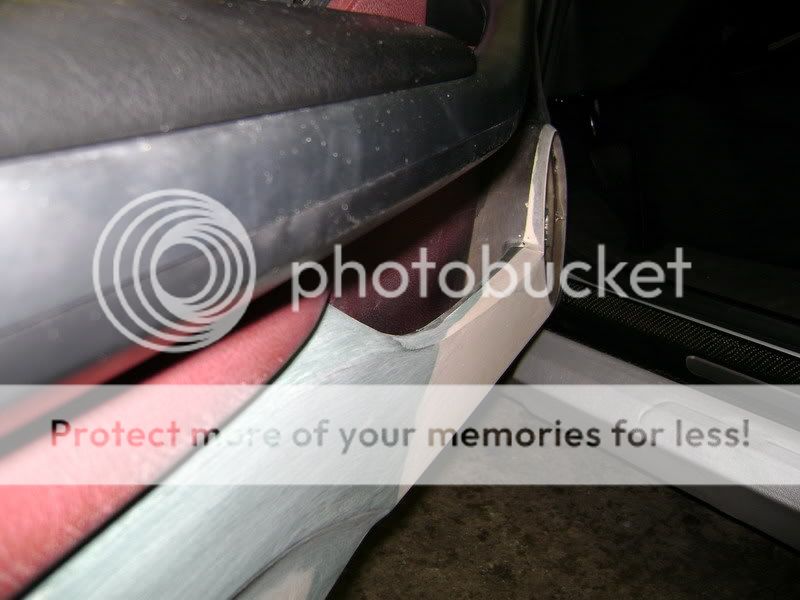
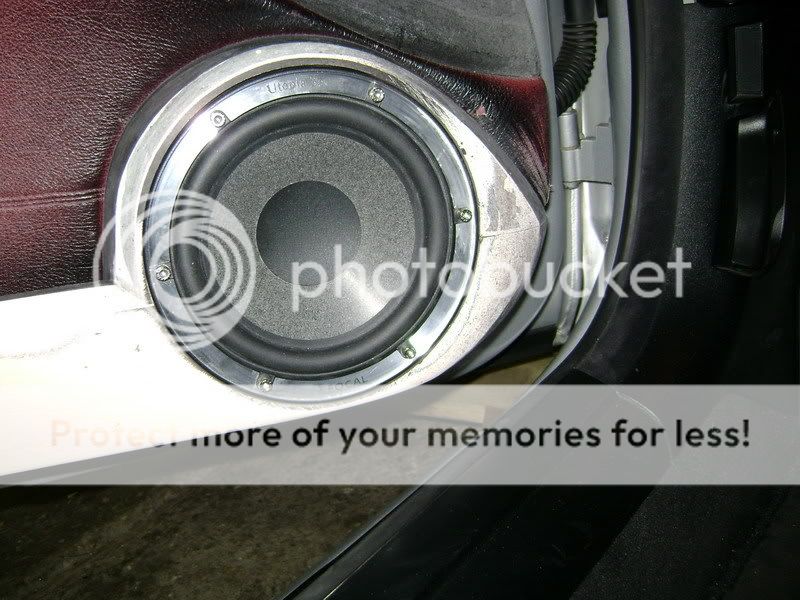
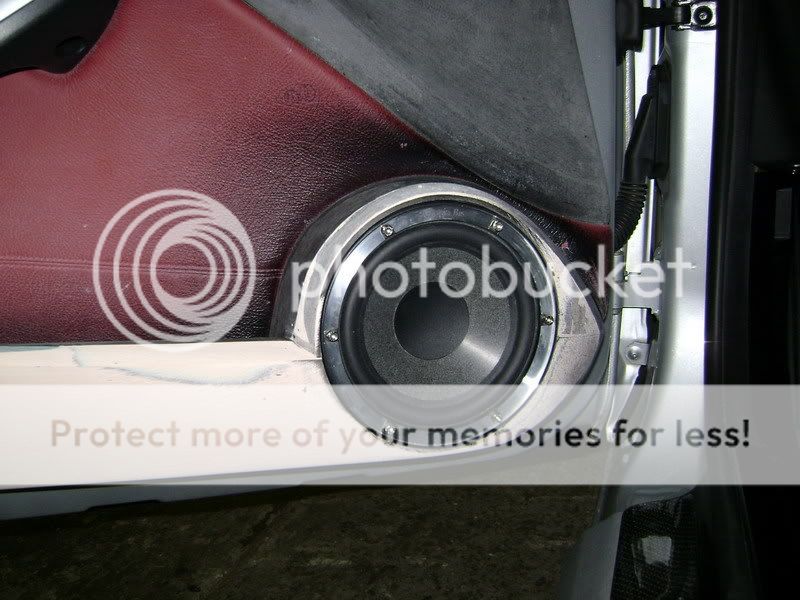
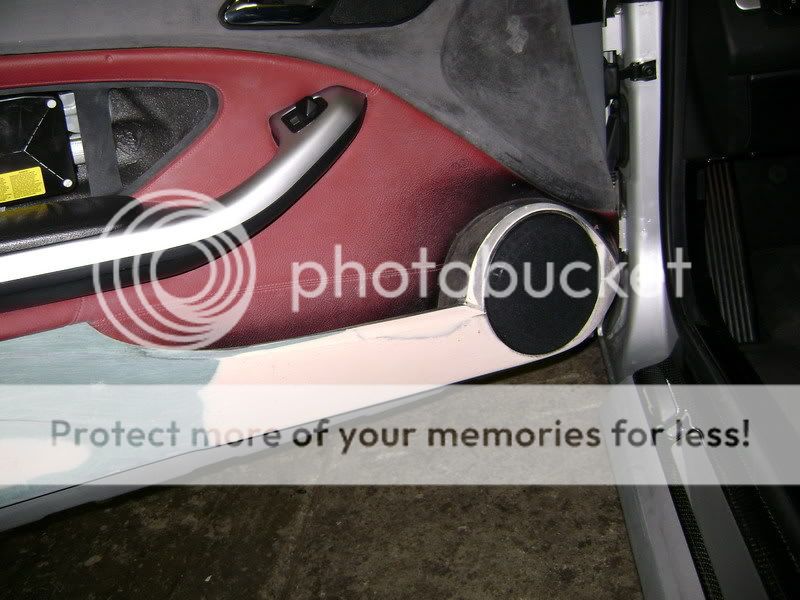
Worked on the ring where the speaker goes in, more smooth now.

Step by step, till it workes out to something he likes;

rebuild the door panels carbon fiber -- posted image.

rebuild the door panels carbon fiber -- posted image.

rebuild the door panels carbon fiber -- posted image.
On picture, maybe it doesn't look so good, but IRL it looks fine. The forms i made also come back in the original panel. So it's more styled this way.

rebuild the door panels carbon fiber -- posted image.

rebuild the door panels carbon fiber -- posted image.

rebuild the door panels carbon fiber -- posted image.

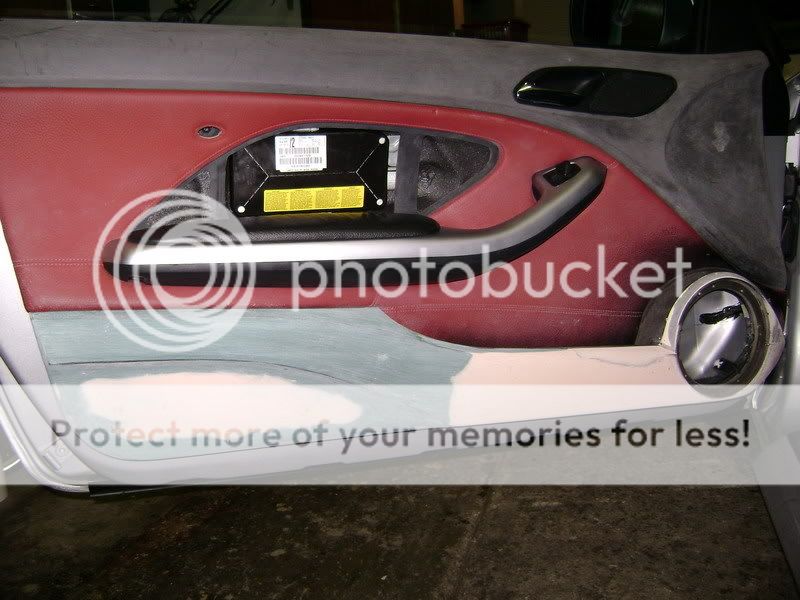
Here a couple of pics of the original doorpanel, to compare more easy.

rebuild the door panels carbon fiber -- posted image.

rebuild the door panels carbon fiber -- posted image.

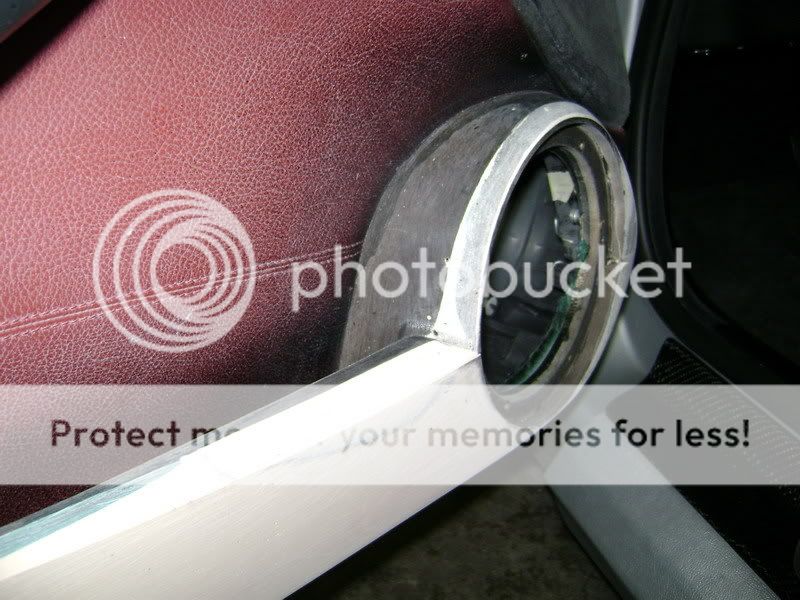
And this is what it's going to be. The door, on the speaker, gained 2cm more to the inside of the car. This is what I had to do to get the speaker in there in a good way.

rebuild the door panels carbon fiber -- posted image.

rebuild the door panels carbon fiber -- posted image.

rebuild the door panels carbon fiber -- posted image.

rebuild the door panels carbon fiber -- posted image.

The seperate polyester cap, that goes over the speaker, will come in silver, like the trim.

This will contrast with the rest.

rebuild the door panels carbon fiber -- posted image.

rebuild the door panels carbon fiber -- posted image.

Picture with the grill.

rebuild the door panels carbon fiber -- posted image.

If I look at this all, I think it doesn't contrast to much with the lines, shape of the original panel.

Has to be rubbed and finished some more.

On the backside of the panel, maybe there will come a little light, that shines when the door is opened. Partially to fill up the big piece.

schizophrenic 
Member - Posts: 18
Member spacespace
Joined: September 19, 2008
Location: California, United States
Posted: October 27, 2008 at 8:50 AM / IP Logged  
A plexi insert with some graphpics would look nice. That will ad some contrast and fill large area.
ckeeler 
Gold - Posts: 1,461
Gold spacespace
Joined: June 20, 2008
Location: New Mexico, United States
Posted: October 29, 2008 at 11:22 AM / IP Logged  
i dont understand the title on this thread. where is any carbon fiber in these door panels? what am i missing? sorry if its a stupid question.
robolop 
Copper - Posts: 157
Copper spacespace
Joined: October 26, 2008
Posted: October 29, 2008 at 2:40 PM / IP Logged  

In the meanwhile I made a whole into the doors platework, behind the speaker.

You can see the windowglider. Just nog touching the speaker.
[IMG]https://i82.photobucket.com/albums/j272/robola/DSC02489_resize.jpg[/IMG]

Made some more parts, to fill up the other wholes.

[IMG]https://i82.photobucket.com/albums/j272/robola/DSC02484_resize.jpg[/IMG]

[IMG]https://i82.photobucket.com/albums/j272/robola/DSC02487_resize.jpg[/IMG]

On the background, there's a alu plate of 4mm thick. Very hard and strong.

In the middle you can see 2 Carbonkevlar parts. I made em as thin als possible .
On the foreground you see 4 little rings I made, to screw the doorpanel extra tight.

If you look to the second on the right, there's a little rubber he pasted on. On the place where he screwed it. This to prevent resonance.

[IMG]https://i82.photobucket.com/albums/j272/robola/DSC02503_resize.jpg[/IMG]

[IMG]https://i82.photobucket.com/albums/j272/robola/DSC02504_resize.jpg[/IMG]

On the picture you see a little pole picking out. That's MEGA IMPORTANT.

Behind the speaker, there'll be another screw, so we can attach it even more in the middle.
[IMG]https://i82.photobucket.com/albums/j272/robola/DSC02505_resize.jpg[/IMG]

Everything mounted:

[IMG]https://i82.photobucket.com/albums/j272/robola/DSC02490_resize.jpg[/IMG]

[IMG]https://i82.photobucket.com/albums/j272/robola/DSC02500_resize.jpg[/IMG]

[IMG]https://i82.photobucket.com/albums/j272/robola/DSC02506_resize.jpg[/IMG]

[IMG]https://i82.photobucket.com/albums/j272/robola/DSC02513_resize.jpg[/IMG]

This won't be the end of the door. I has to make some tiny wholes airtight, but that won't go untill the has all the material to fill up the sound.
All I makes, will be filled up with this material. What exactly I going to use, he's not sure. we'ill keep u informed.

As you can see, I putting a lot of work into all this. And more work is coming up so the sound won't be lost...

I think this is a type of work, that is underestimated be many people. But the work will pay of in the end, that's what we are sure of...


Sorry, you can NOT post a reply.
This topic is closed.

  Printable version Printable version Post ReplyPost New Topic
You cannot post new topics in this forum
You cannot reply to topics in this forum
You cannot delete your posts in this forum
You cannot edit your posts in this forum
You cannot create polls in this forum
You cannot vote in polls in this forum

  •  
Search the12volt.com
Follow the12volt.com Follow the12volt.com on Facebook
Thursday, March 28, 2024 • Copyright © 1999-2024 the12volt.com, All Rights Reserved Privacy Policy & Use of Cookies
Disclaimer: *All information on this site ( the12volt.com ) is provided "as is" without any warranty of any kind, either expressed or implied, including but not limited to fitness for a particular use. Any user assumes the entire risk as to the accuracy and use of this information. Please verify all wire colors and diagrams before applying any information.

Secured by Sectigo
the12volt.com spacer
Support the12volt.com
Top
the12volt.com spacer