the12volt.com spacer
icon

Focal Beryllium BMW


Post ReplyPost New Topic
< Prev Topic Next Topic >
robolop 
Copper - Posts: 157
Copper spacespace
Joined: October 26, 2008
Posted: August 21, 2009 at 1:35 PM / IP Logged Link to Post Post Reply Quote robolop

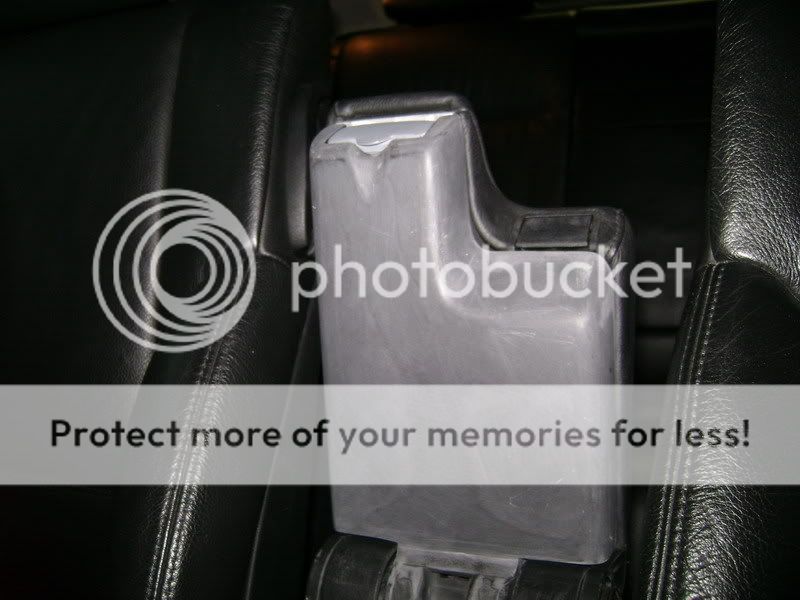
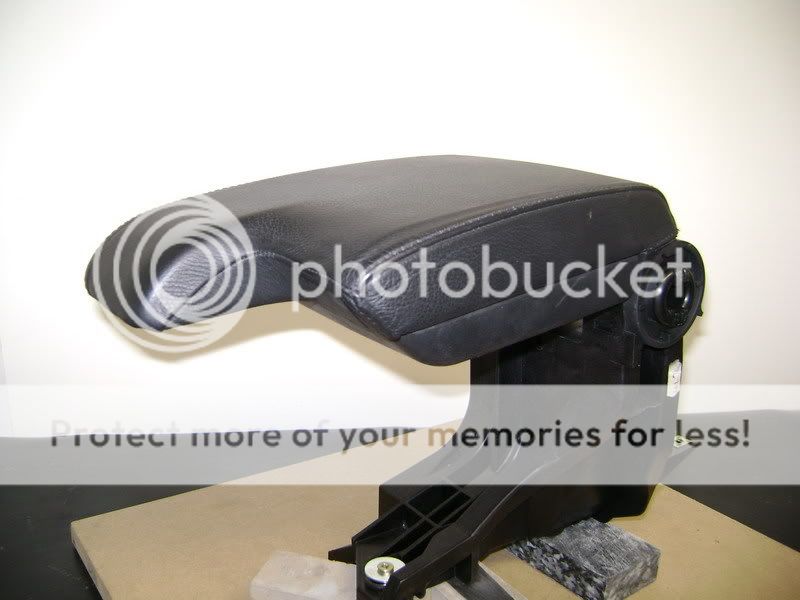
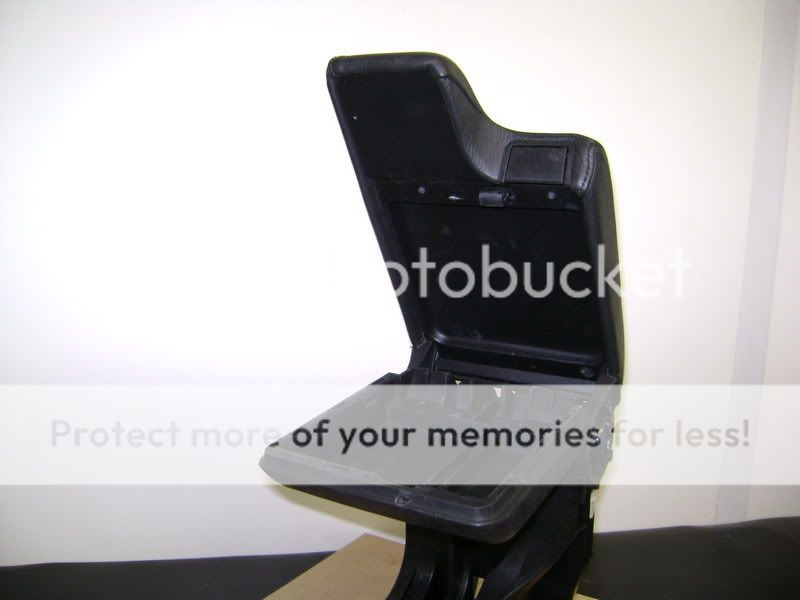
got the armrest between the seats and screwed it onto a wooden plate.

So it look originally

Focal Beryllium BMW - Page 3 -- posted image.

Focal Beryllium BMW - Page 3 -- posted image.

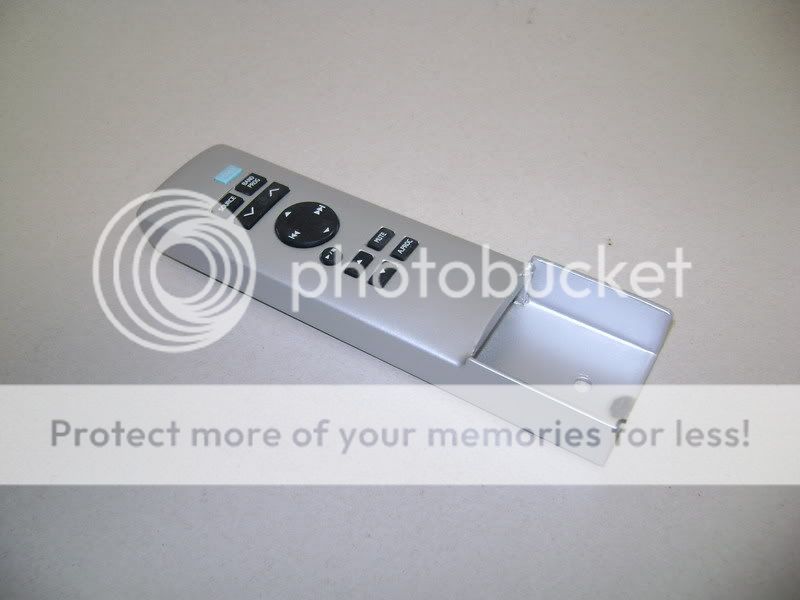
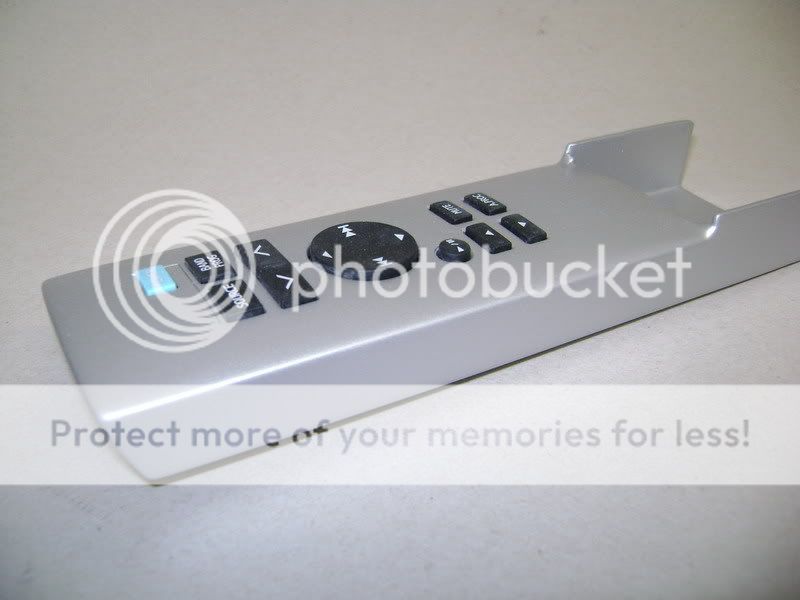
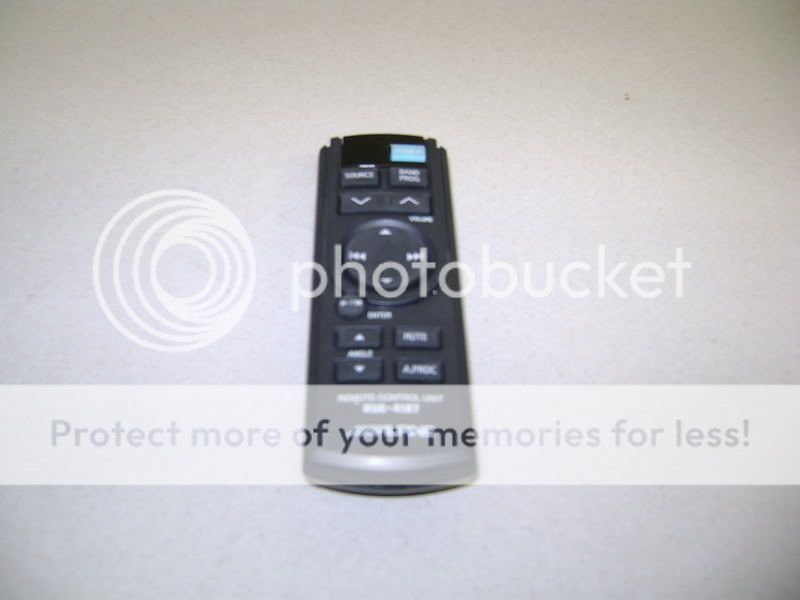
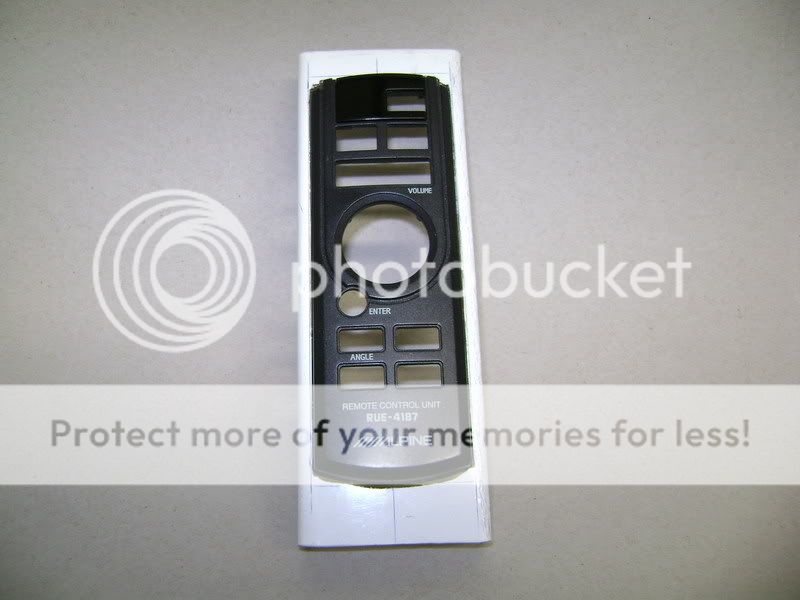
This is the original remote controle that came with the radio.

Focal Beryllium BMW - Page 3 -- posted image.

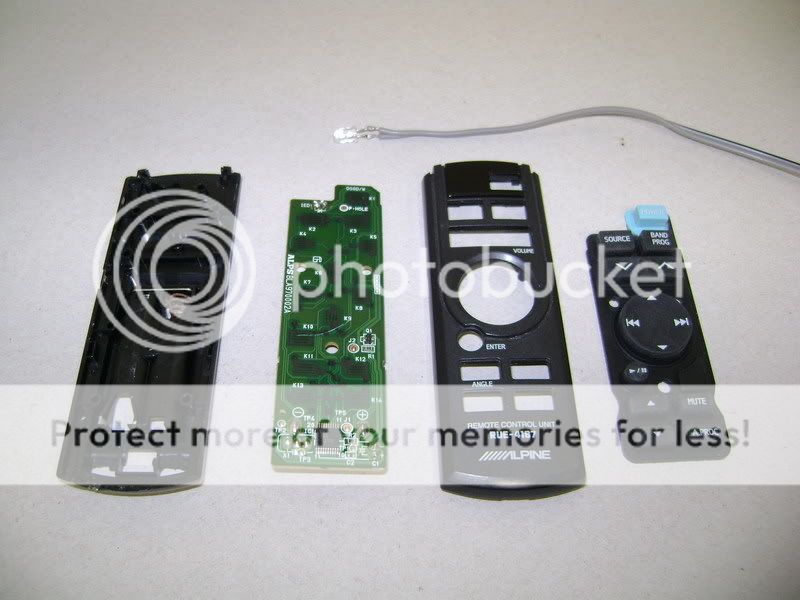
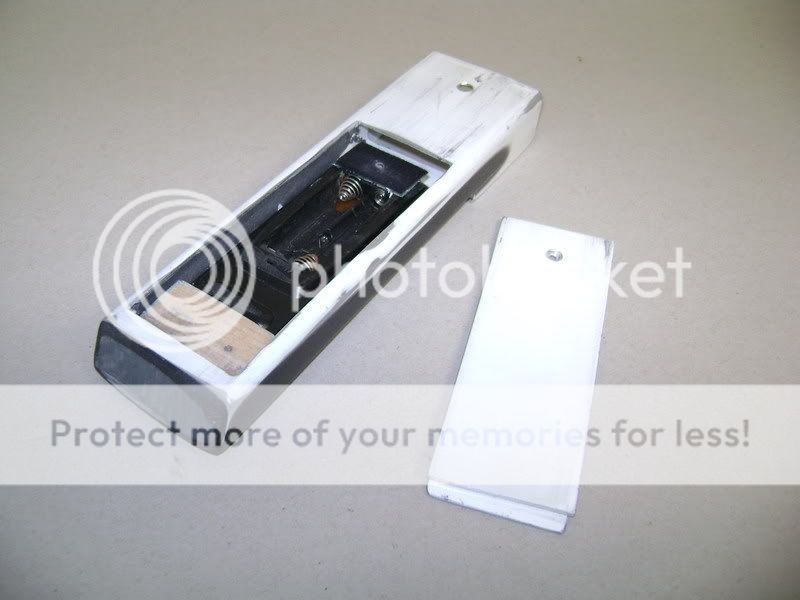
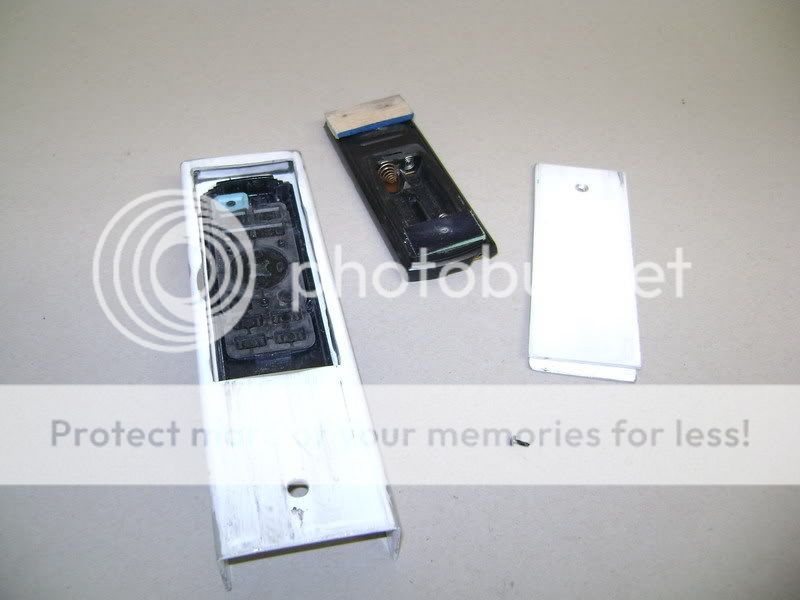
Took it apart. First thing I did is take the eye (aiming to the radio) out of the remotecontrol (out of the printplate), and I will place it under the seat.

problem solved.

Focal Beryllium BMW - Page 3 -- posted image.

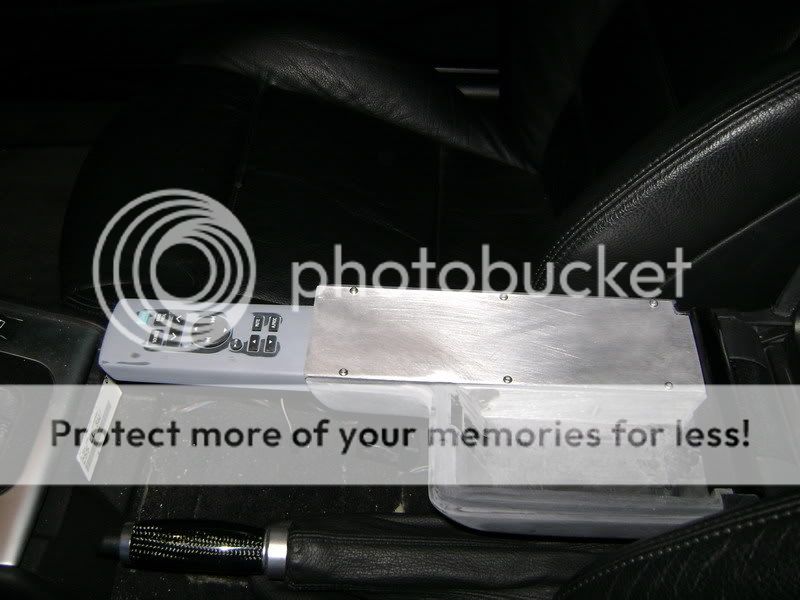
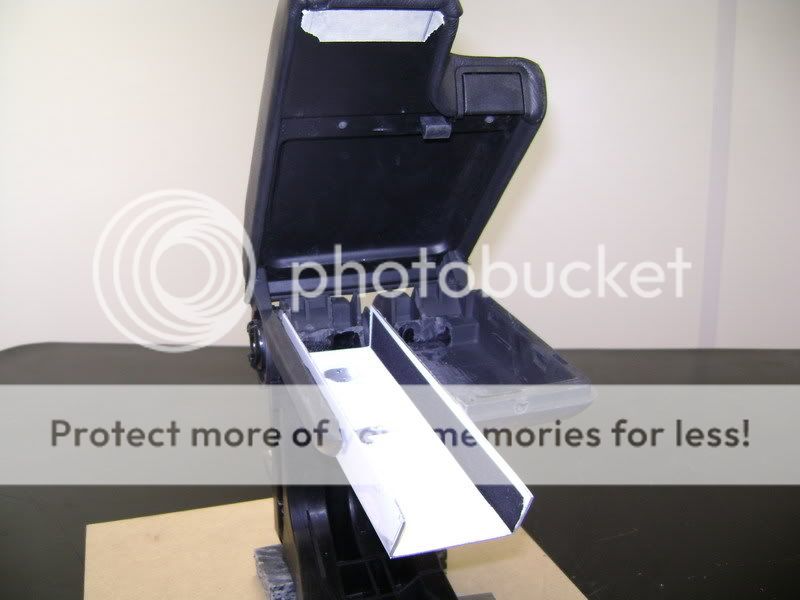
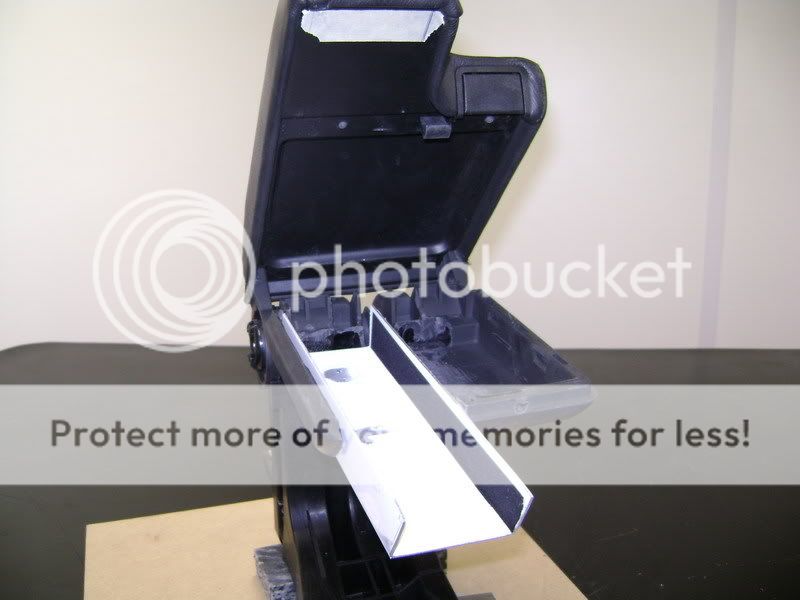
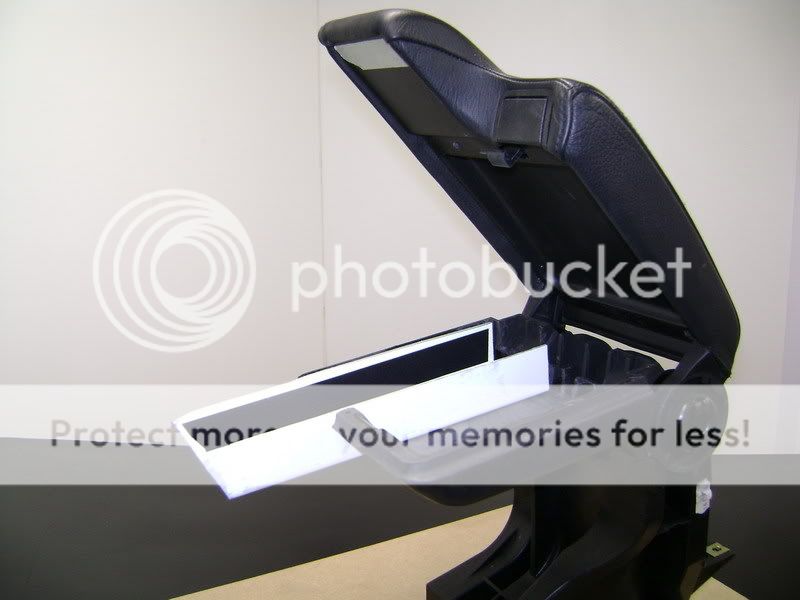
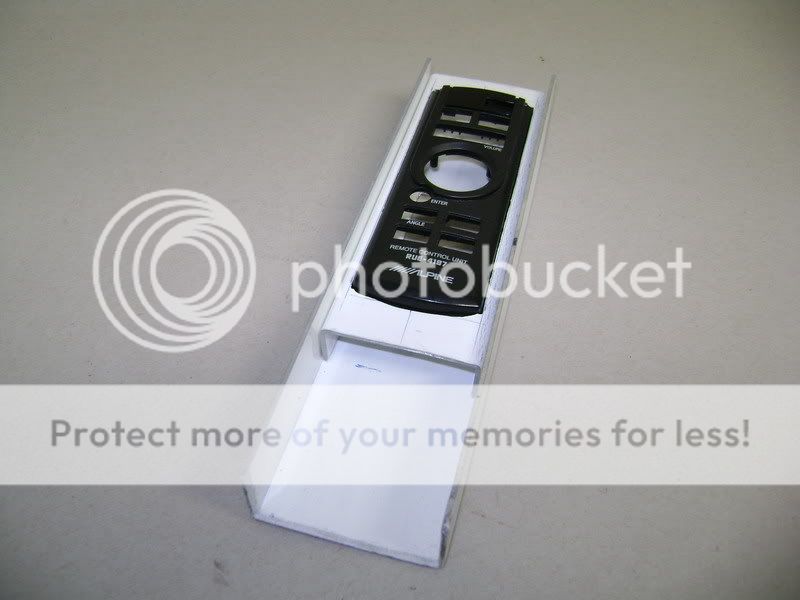
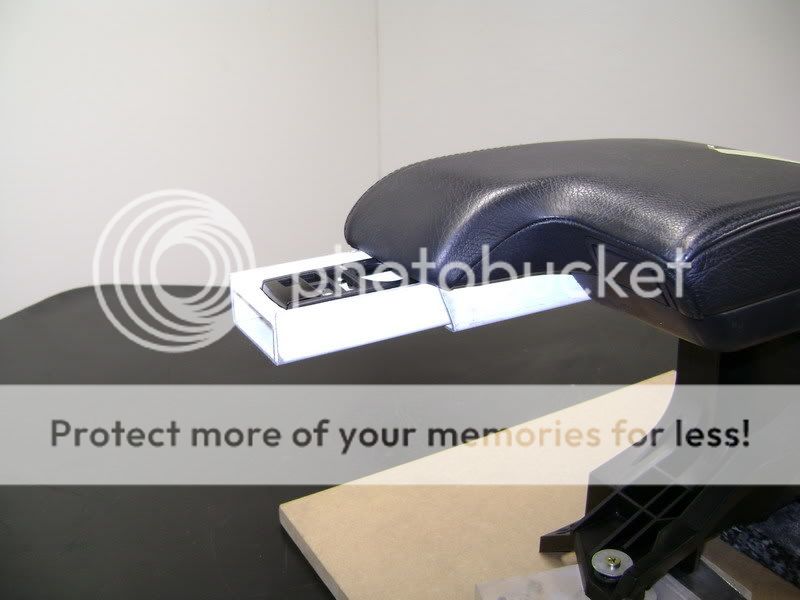
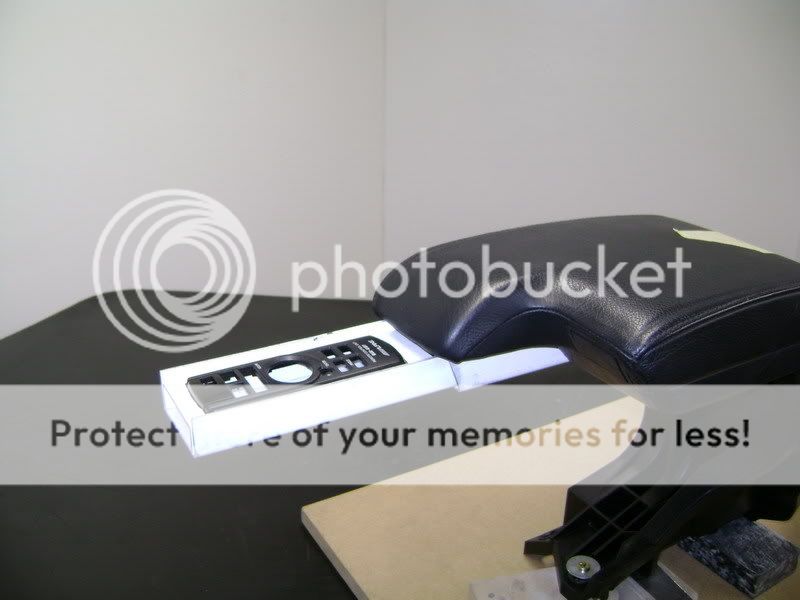
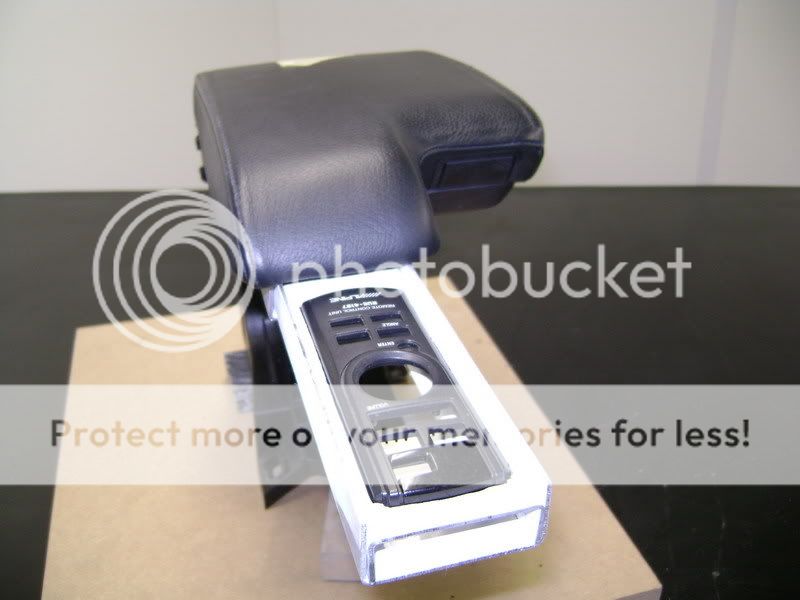
the meaning is the remote will glide out of the armrest.

This is the -so called- glider where it will run into

Focal Beryllium BMW - Page 3 -- posted image.

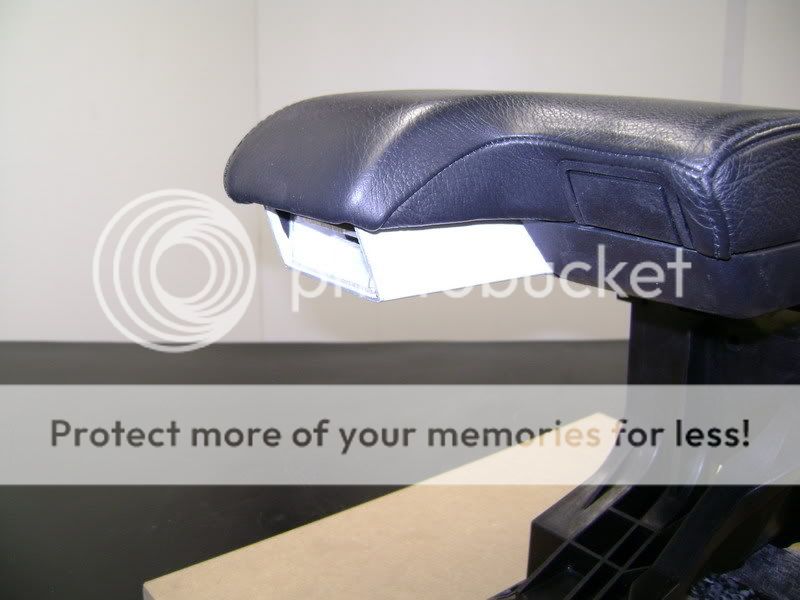
you can see, I did a disc-job into the armrest

Where the thing stopped, it'll get the same shape as the upperside.

Focal Beryllium BMW - Page 3 -- posted image.

Focal Beryllium BMW - Page 3 -- posted image.

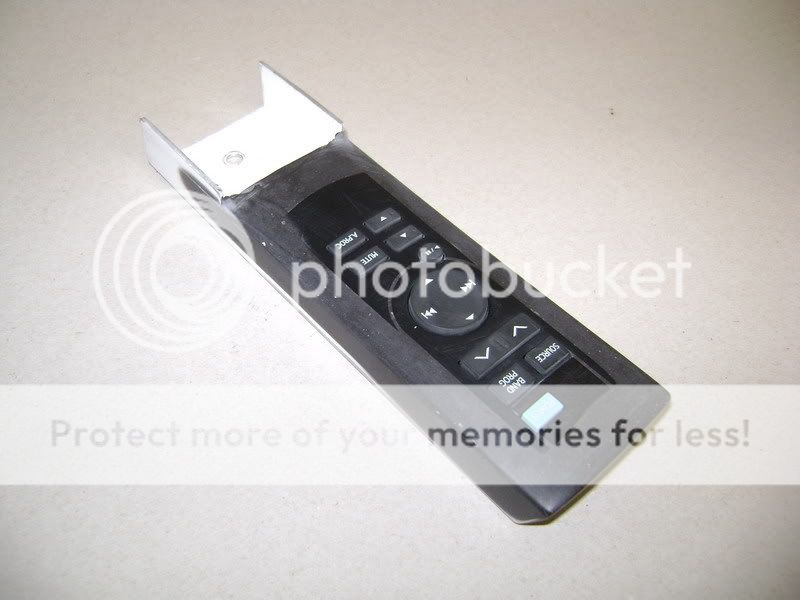
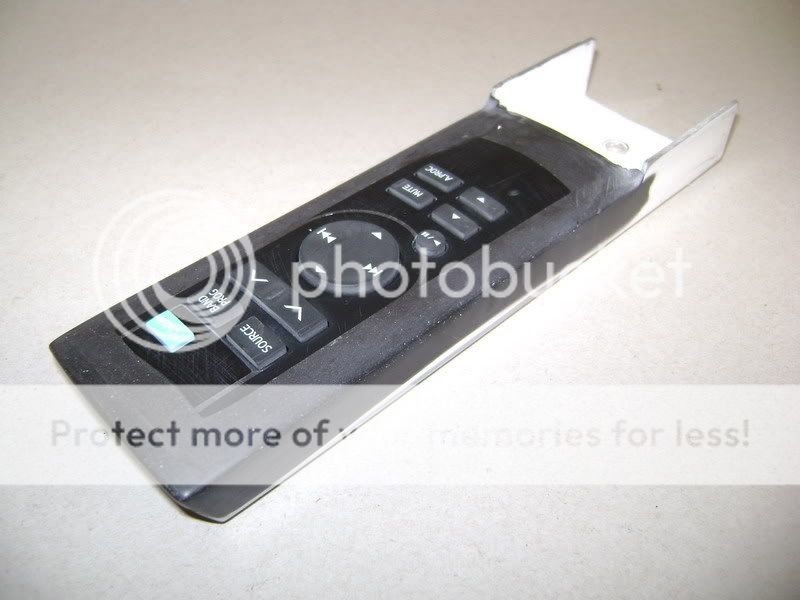
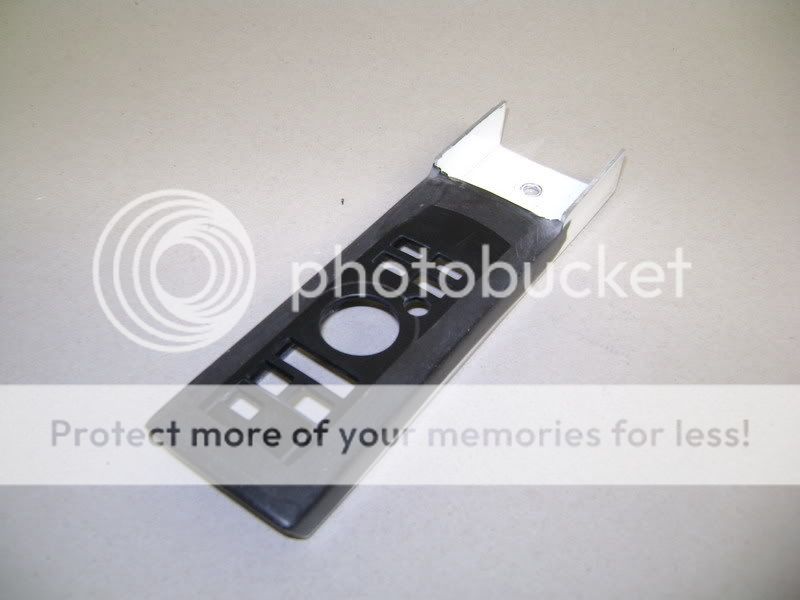
You also can see I bended some white alu plate.

I took this specially so be stick-vilt, where the piece is getting into, sticks good.
The upper plate of the remote controle will become 1 with the alu.
Focal Beryllium BMW - Page 3 -- posted image.
Better look on everything
Focal Beryllium BMW - Page 3 -- posted image.
This is how it will appear
Focal Beryllium BMW - Page 3 -- posted image.
There will be a lot of work to it, but we think it all pay of...
IF IT WORKS

remote control.

Focal Beryllium BMW - Page 3 -- posted image.

Focal Beryllium BMW - Page 3 -- posted image.

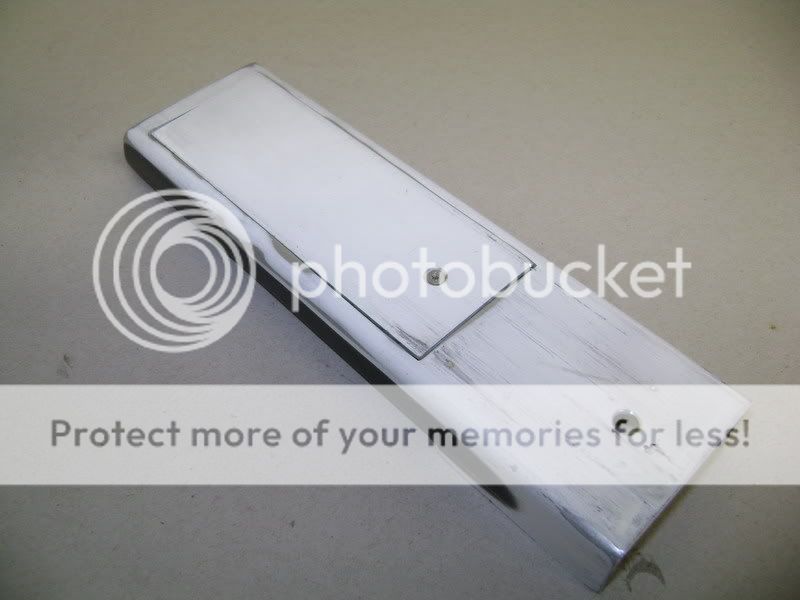
In the alu piece where I made this, I made an extra plate on the bottomside, fastened with one tiny screw.

like this, I can always get into the inside, and he can changes the batterie from time to time.
Focal Beryllium BMW - Page 3 -- posted image.

robolop 
Copper - Posts: 157
Copper spacespace
Joined: October 26, 2008
Posted: August 21, 2009 at 1:37 PM / IP Logged Link to Post Post Reply Quote robolop

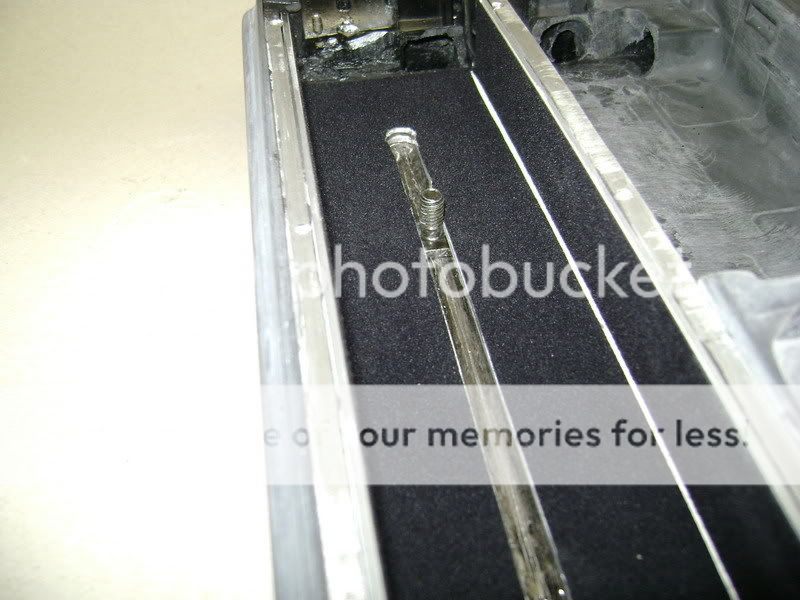
Here you can see where the remote control will slide into. As you can see, I put some selfclitting vilt on the sides, and the bottom.

Did this to make sure it all glides nicely...
Focal Beryllium BMW - Page 3 -- posted image.
You see the slot in the middle.
backside, tightened with that screw.
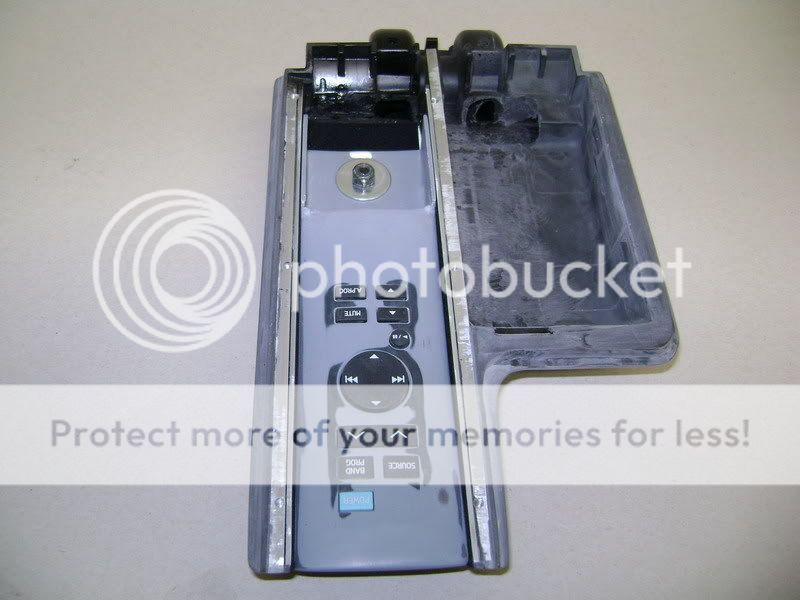
Focal Beryllium BMW - Page 3 -- posted image.
This alu plate lays on top, and is tightened with little screws. If there would be a problem, it's not hard to get into it all.
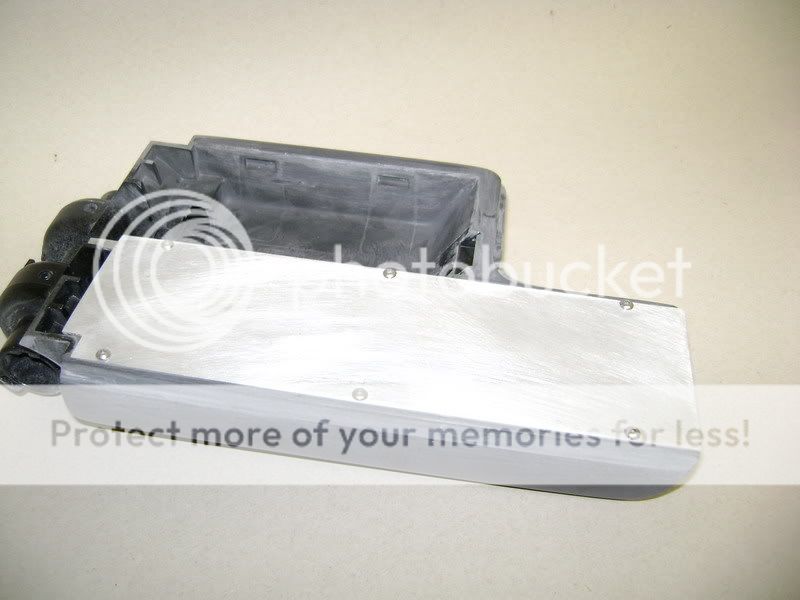
Focal Beryllium BMW - Page 3 -- posted image.
On the bottomside, you see I made something simple where he can get into with the finger, to glide it all out.
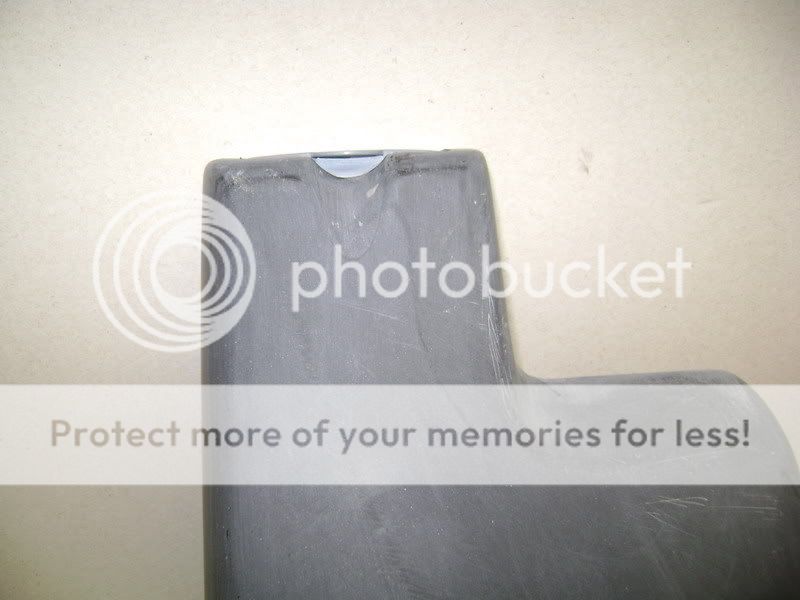
Focal Beryllium BMW - Page 3 -- posted image.
The thing in the car.
Focal Beryllium BMW - Page 3 -- posted image.
It'll be super easy to control the radio. Nothin' will feel stodgy while riding the car.
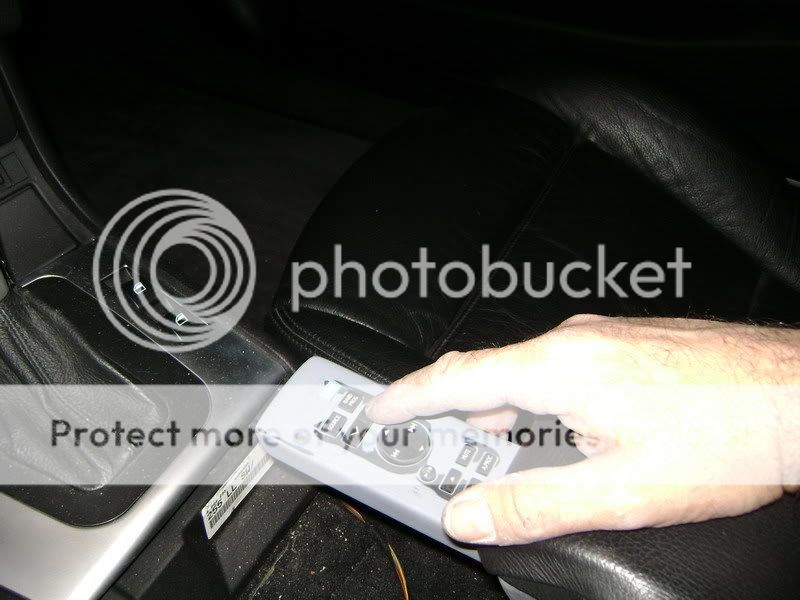
Focal Beryllium BMW - Page 3 -- posted image.

All of this has to go in primer.

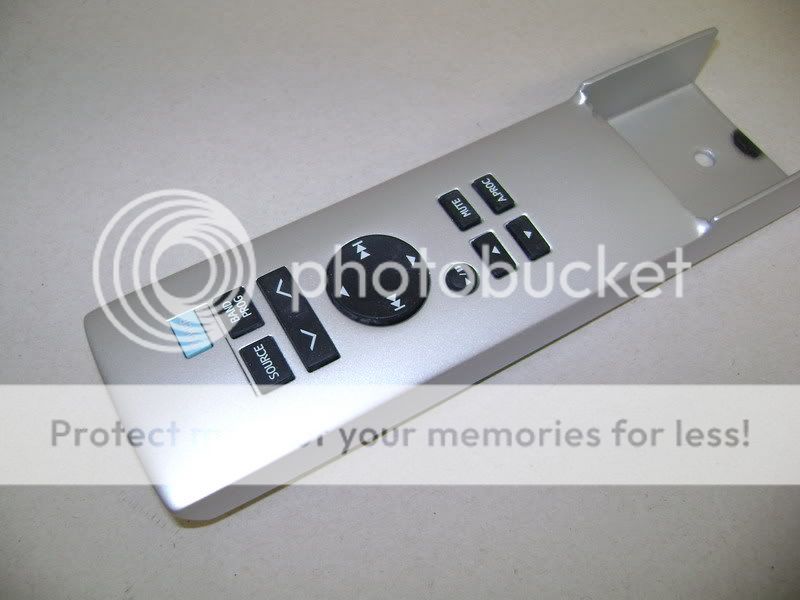
After that the console is going in satin-black, like he original was. the remote will be sprayed in the same silver as the rest (trims, ...)

The remote got it's color.

It also got a nice contract with the Alpine buttons.
Focal Beryllium BMW - Page 3 -- posted image.

Focal Beryllium BMW - Page 3 -- posted image.

Focal Beryllium BMW - Page 3 -- posted image.

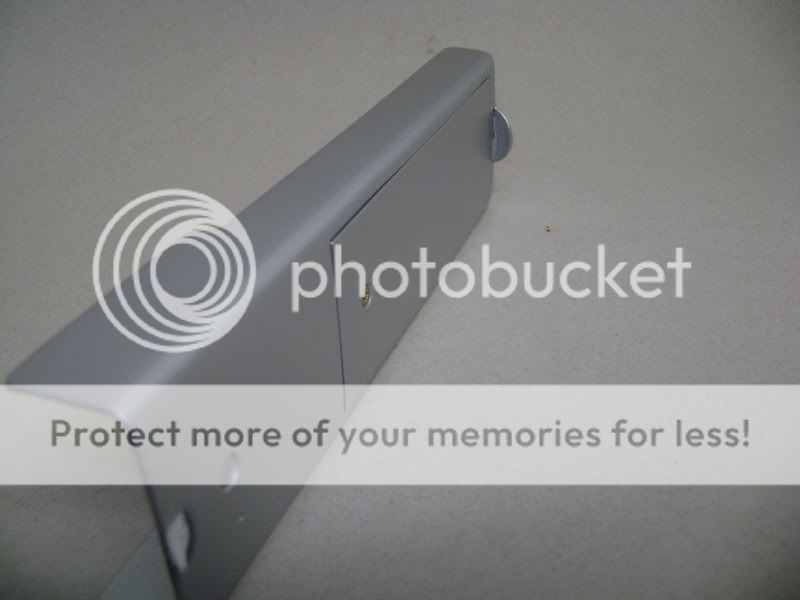
One thing to do still, is to paint the little screw (where it's tightened with) in silver.
Focal Beryllium BMW - Page 3 -- posted image.

This would be the innerview of the armrest.

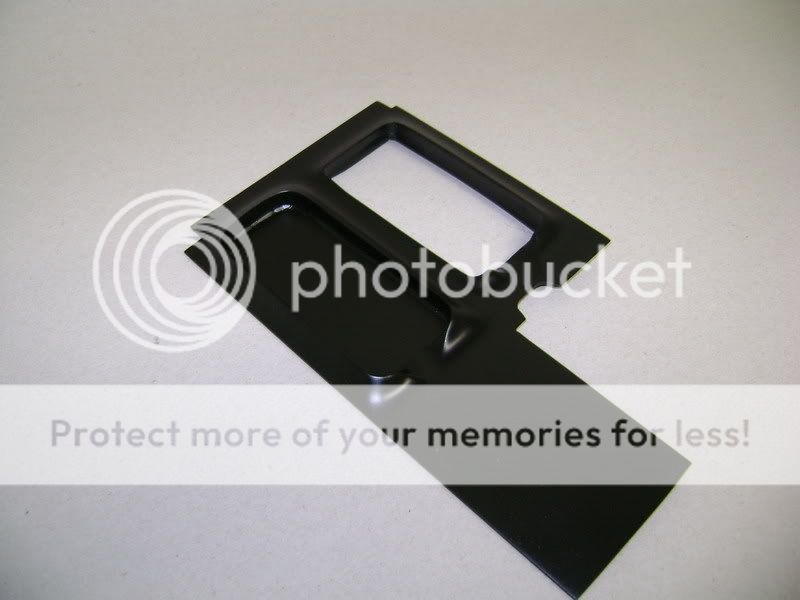
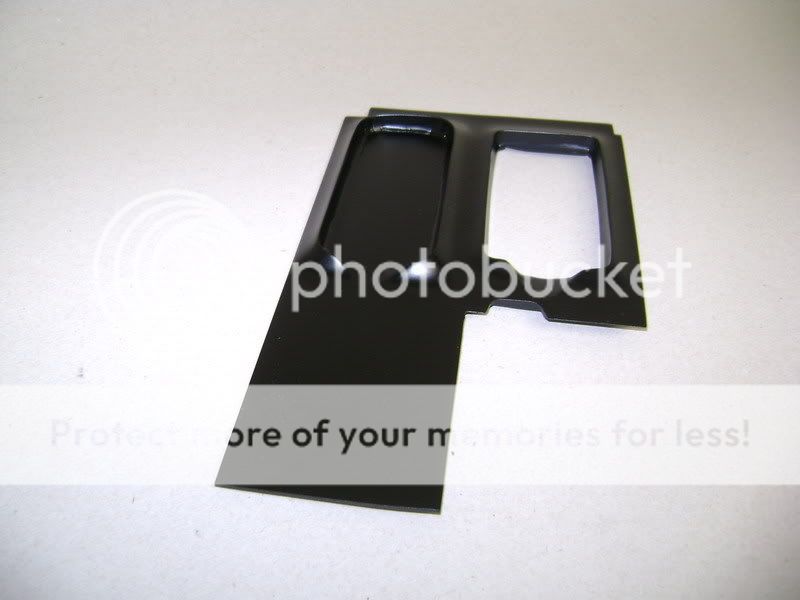
This will be the new coverplate that'll come above the remote control.

I made little heights. (do not understimate the time that goes into this, it's a ****ed up job)
Focal Beryllium BMW - Page 3 -- posted image.

Focal Beryllium BMW - Page 3 -- posted image.

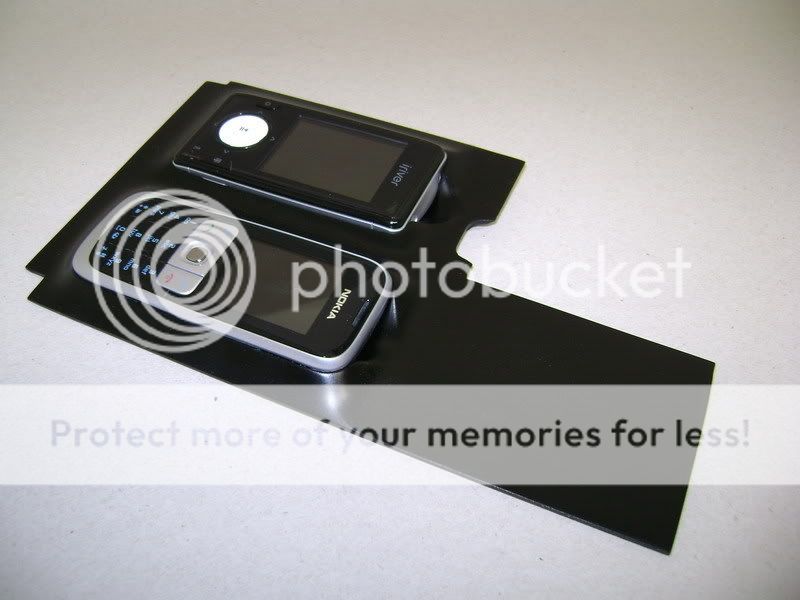
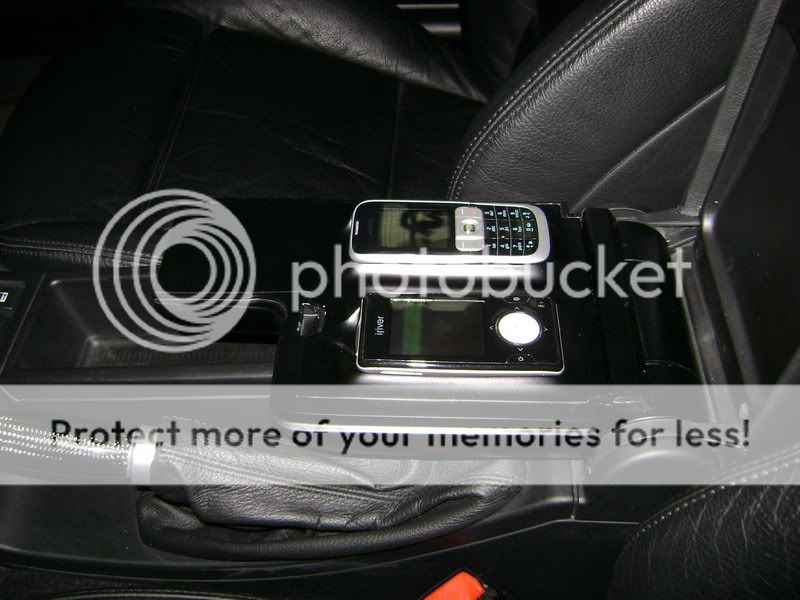
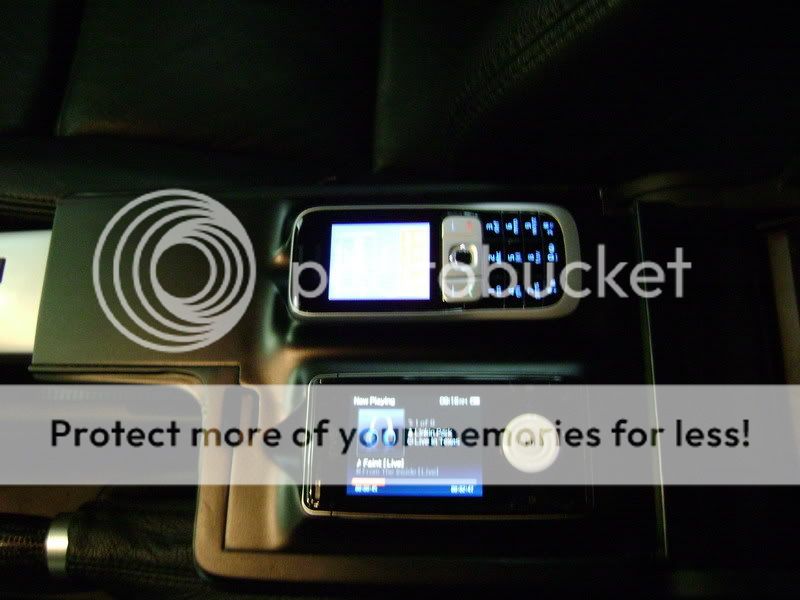
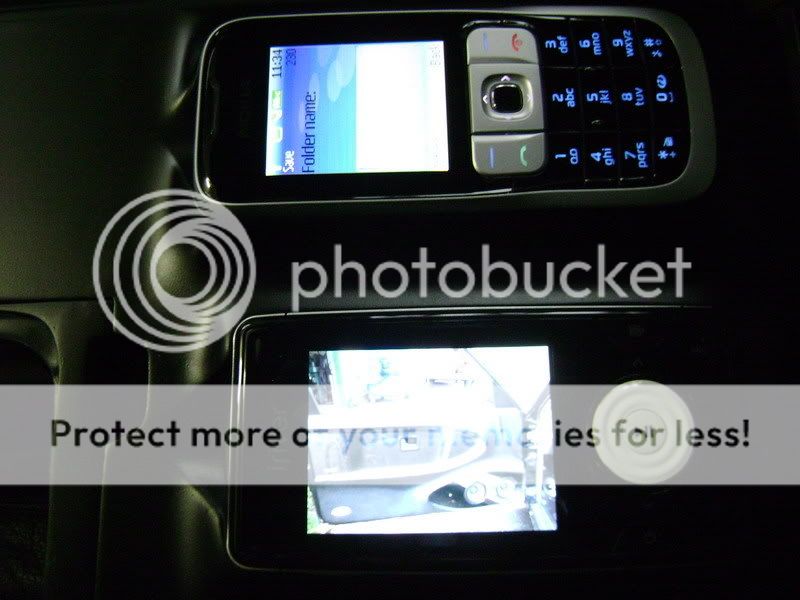
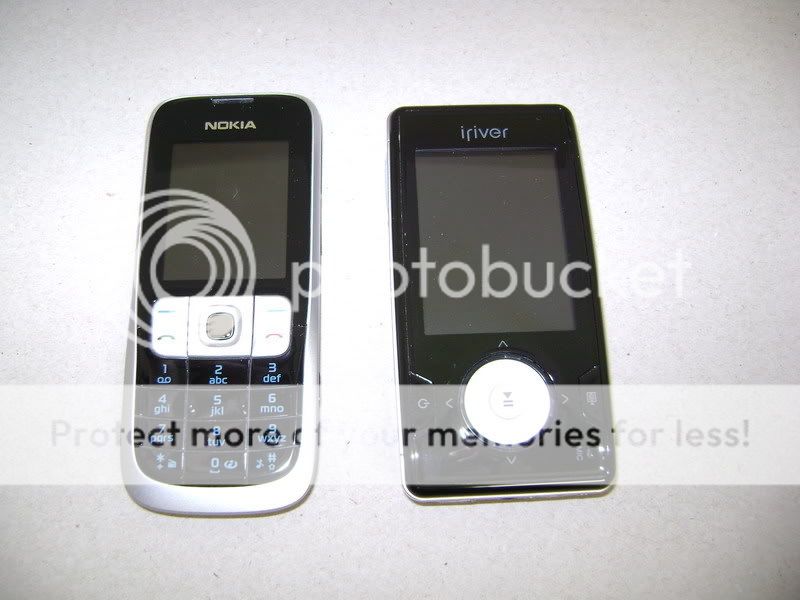
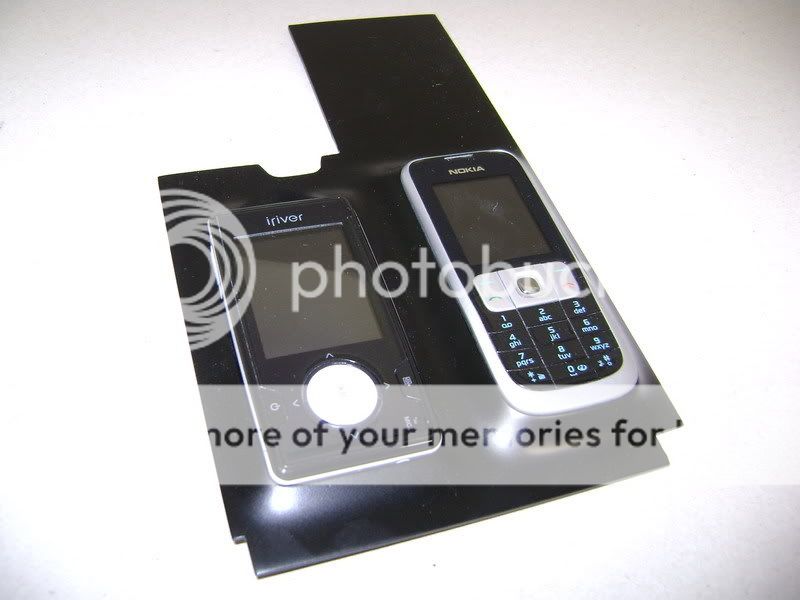
On the left,you can see the Nokia mobile phone. Took this one for takin' pictures.

On the right, you see a IRIVER MP4 player.I can attach this on the radio, and watch movies en pictures on it.
I normally doesn't buy this stuff, but it will look pretty cool...
Gotta help belgium economy.
Focal Beryllium BMW - Page 3 -- posted image.
They'll be worked in on the alu plate like this
Focal Beryllium BMW - Page 3 -- posted image.

Focal Beryllium BMW - Page 3 -- posted image.

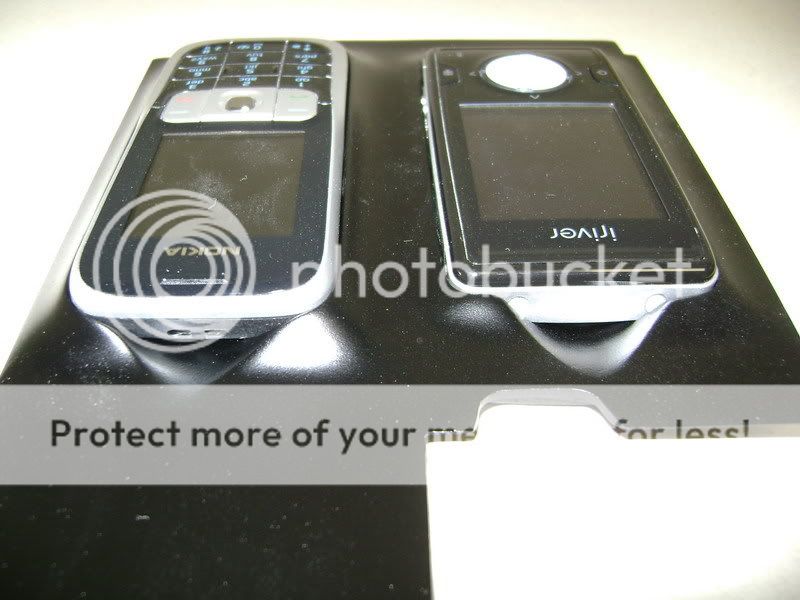
On the front of these toys, I made a little ditch, so you can get the things with your finger

Don't mind the dust.
Focal Beryllium BMW - Page 3 -- posted image.

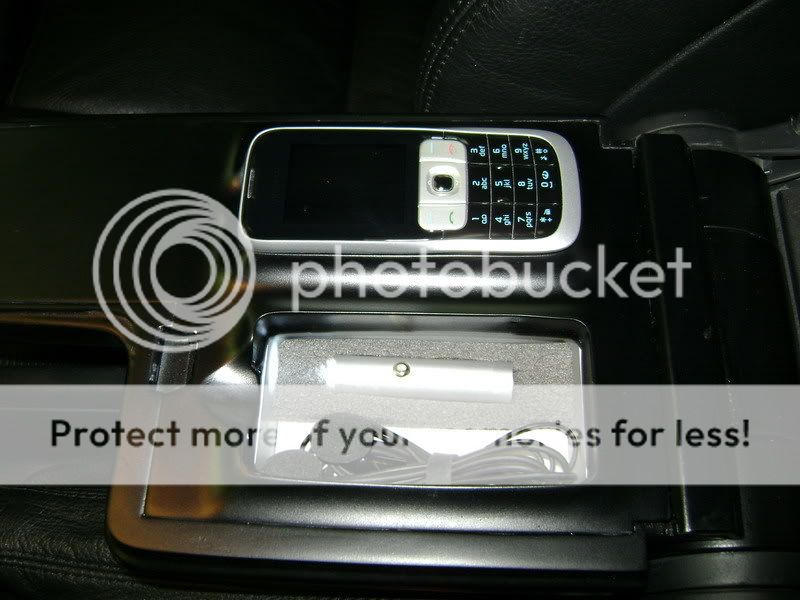
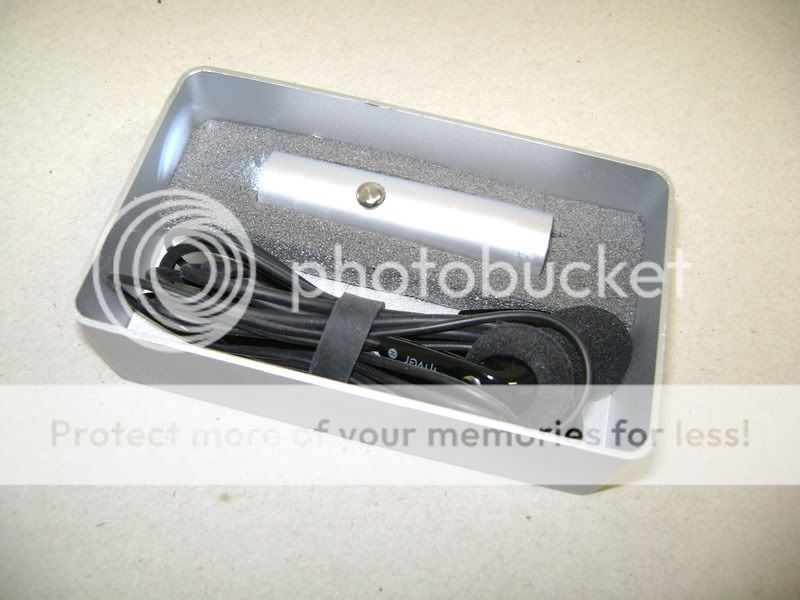
this silver box will be under the mp4 player.
Focal Beryllium BMW - Page 3 -- posted image.

here the ears will be, and a lamp. So this also gets a good space and doesn't lay beneath my feet or something.

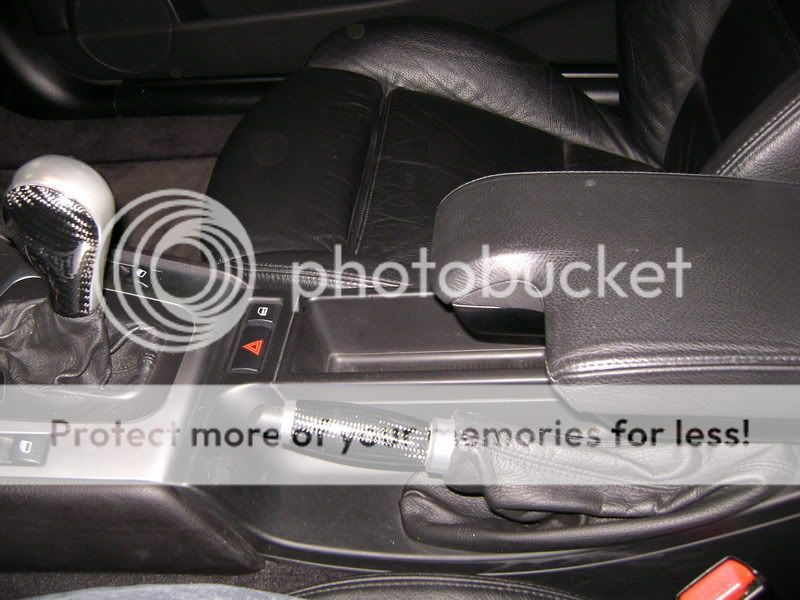
The amrest almost finished, and put back in the beemer.

If you see it like this, nothing special...That's the beauty of it.
Focal Beryllium BMW - Page 3 -- posted image.

On the bottom the little grey lip to pull out the remote control.

Focal Beryllium BMW - Page 3 -- posted image.

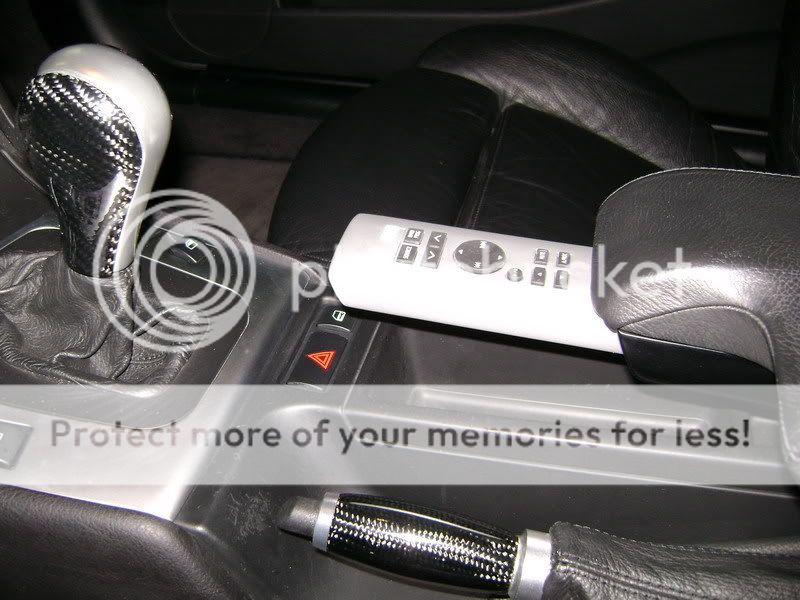
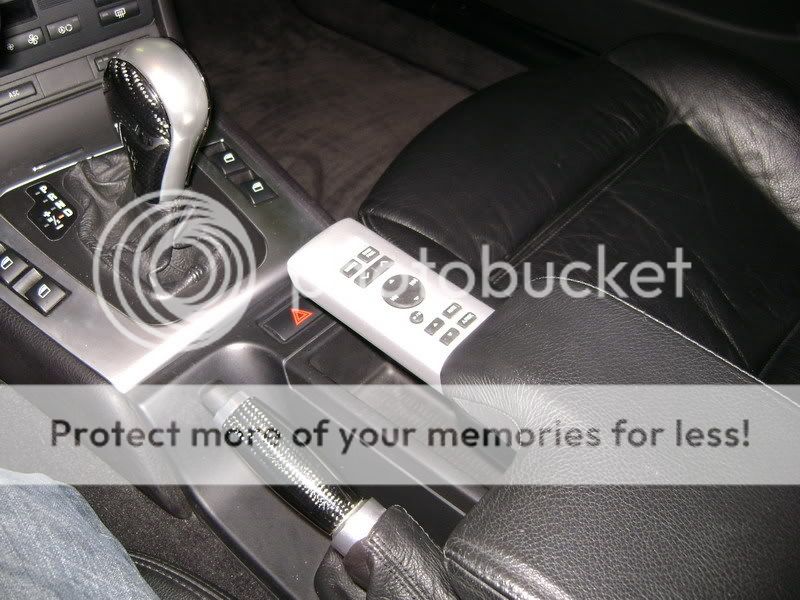
This is how it looks like when the remote is out. Easy to control now.

The gear is set to D, so can't go further the back.
You can see there's enought place between both things.
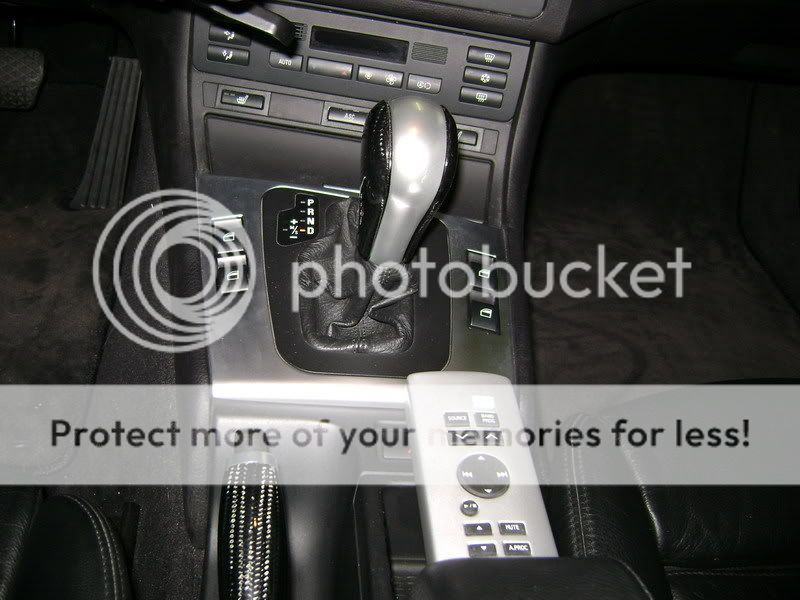
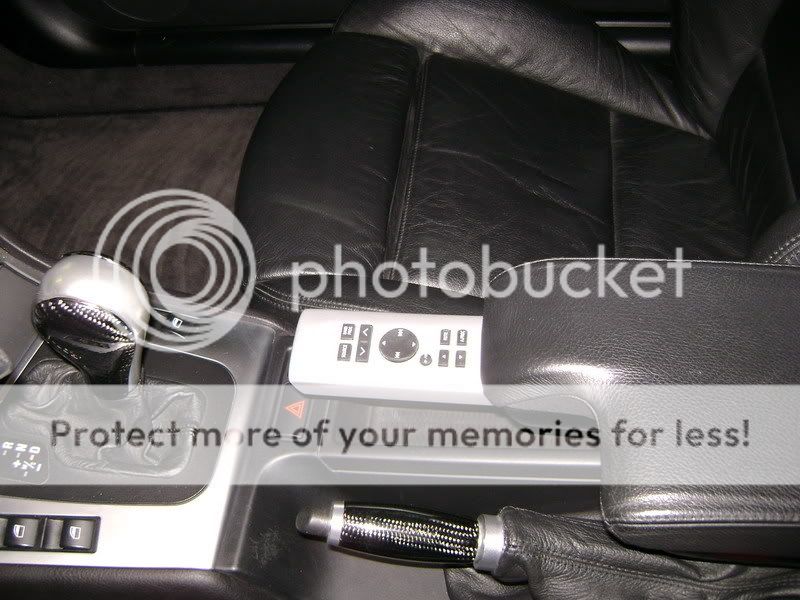
Focal Beryllium BMW - Page 3 -- posted image.

Focal Beryllium BMW - Page 3 -- posted image.

Focal Beryllium BMW - Page 3 -- posted image.

Focal Beryllium BMW - Page 3 -- posted image.

robolop 
Copper - Posts: 157
Copper spacespace
Joined: October 26, 2008
Posted: August 21, 2009 at 1:38 PM / IP Logged Link to Post Post Reply Quote robolop

Pic with the armrest open.

Focal Beryllium BMW - Page 3 -- posted image.

Focal Beryllium BMW - Page 3 -- posted image.

The silver box, under the mp4

Focal Beryllium BMW - Page 3 -- posted image.

some other pics

Focal Beryllium BMW - Page 3 -- posted image.

Focal Beryllium BMW - Page 3 -- posted image.

Focal Beryllium BMW - Page 3 -- posted image.

So the armrest is finished and looks good to us.

robolop 
Copper - Posts: 157
Copper spacespace
Joined: October 26, 2008
Posted: August 21, 2009 at 1:39 PM / IP Logged Link to Post Post Reply Quote robolop

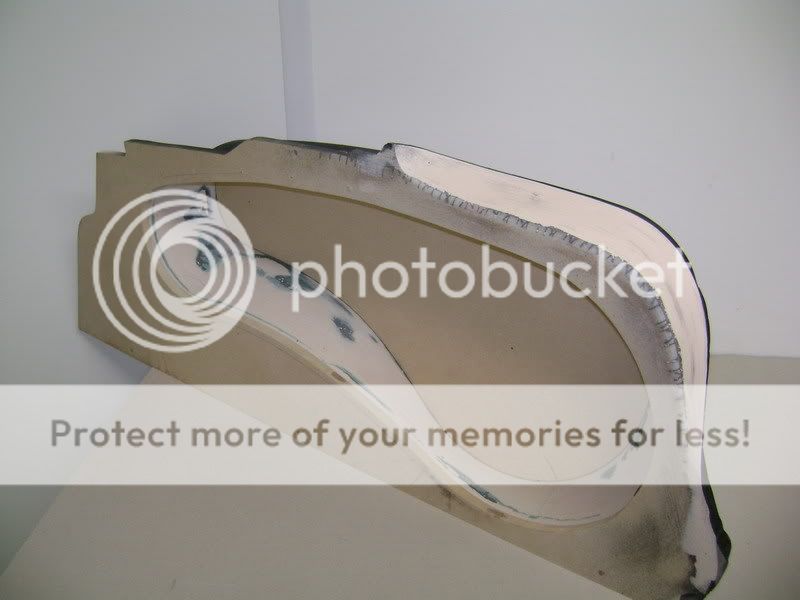
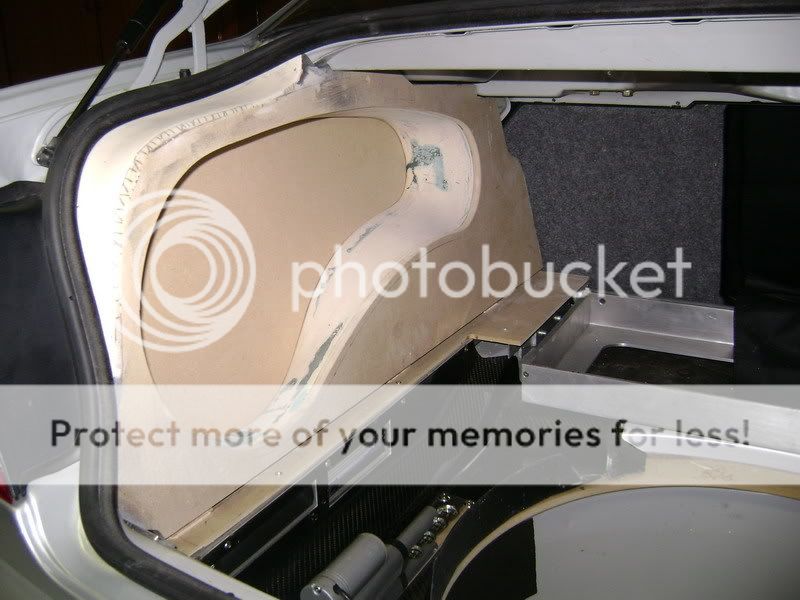
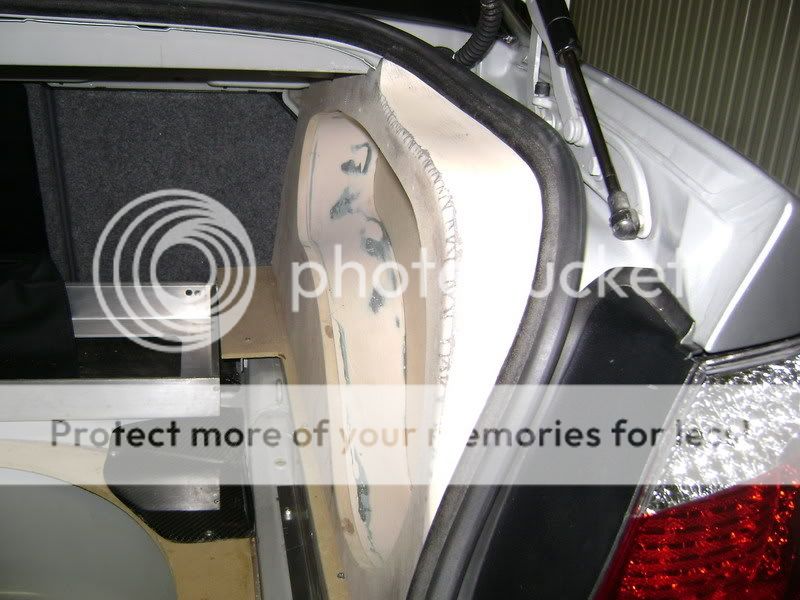
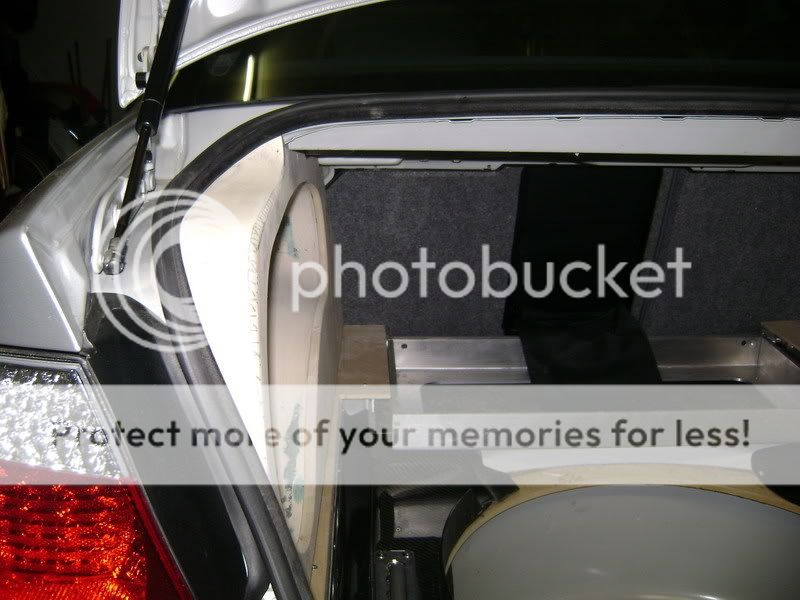
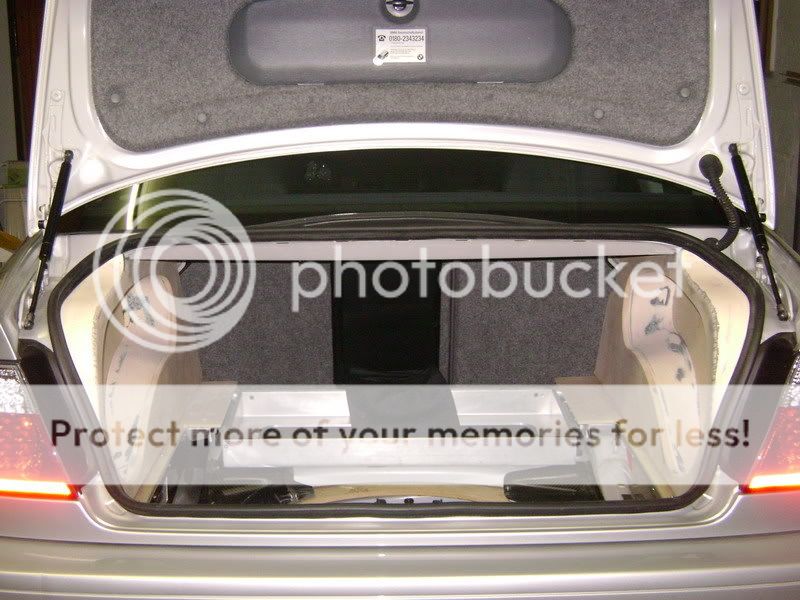
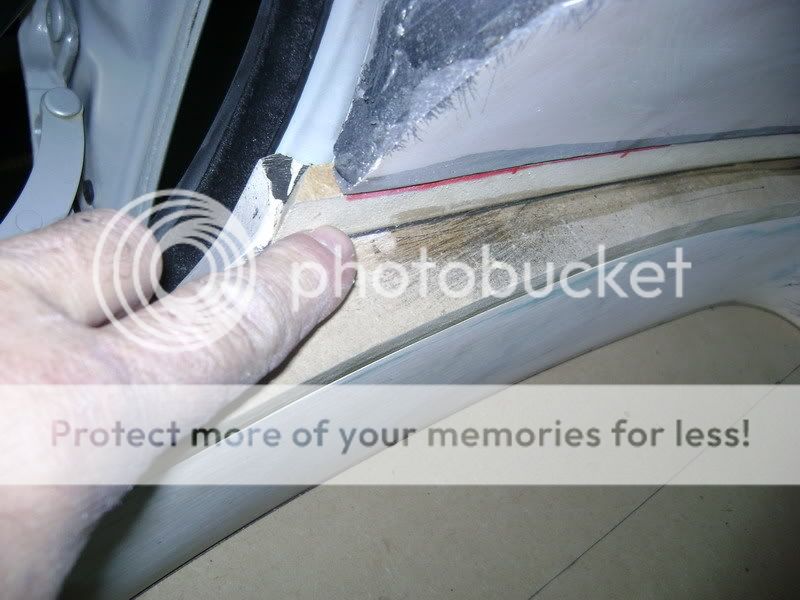
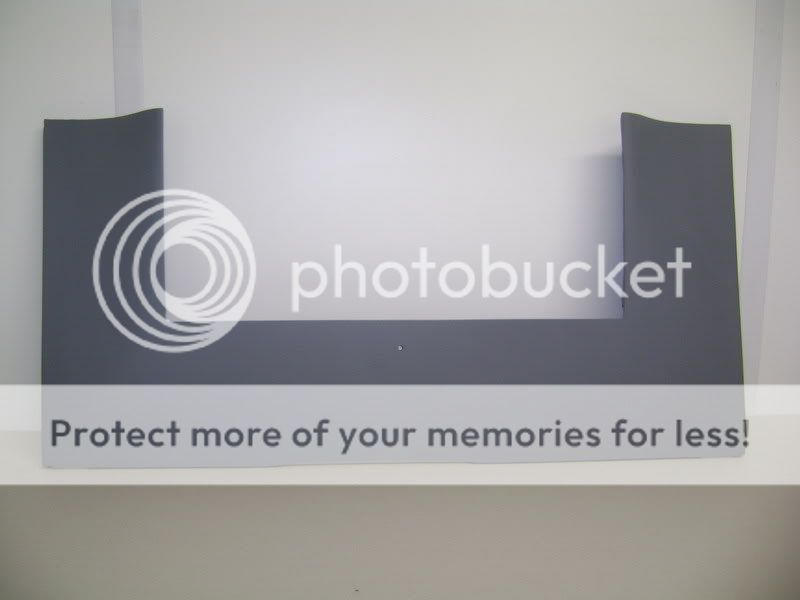
The sides of the MDF had to fit the rubber of the trunk nicely.

Focal Beryllium BMW - Page 3 -- posted image.

After I made the MDF boards, i was afraid that it wouldn't look nice and that they would oversize.

Here is the result, and at least I am satisfied with it.......

Focal Beryllium BMW - Page 3 -- posted image.

Focal Beryllium BMW - Page 3 -- posted image.

Focal Beryllium BMW - Page 3 -- posted image.

Focal Beryllium BMW - Page 3 -- posted image.

robolop 
Copper - Posts: 157
Copper spacespace
Joined: October 26, 2008
Posted: August 21, 2009 at 1:41 PM / IP Logged Link to Post Post Reply Quote robolop

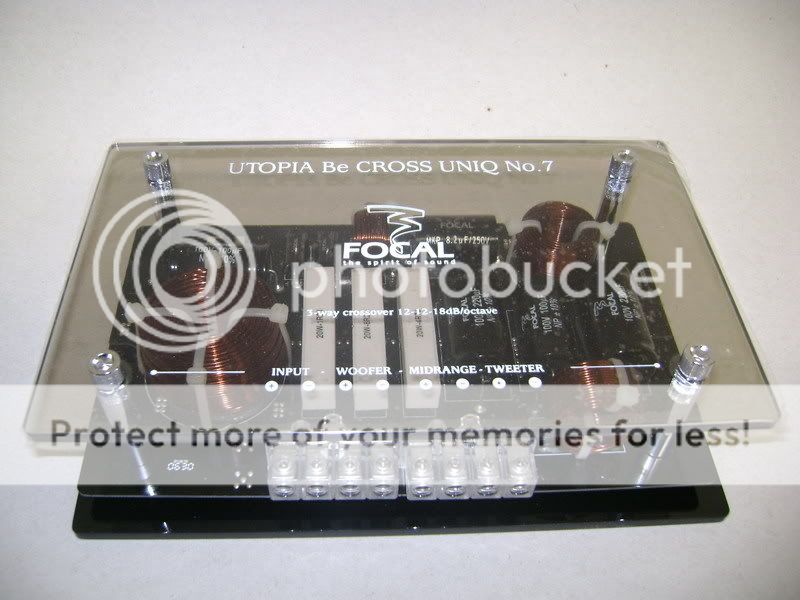
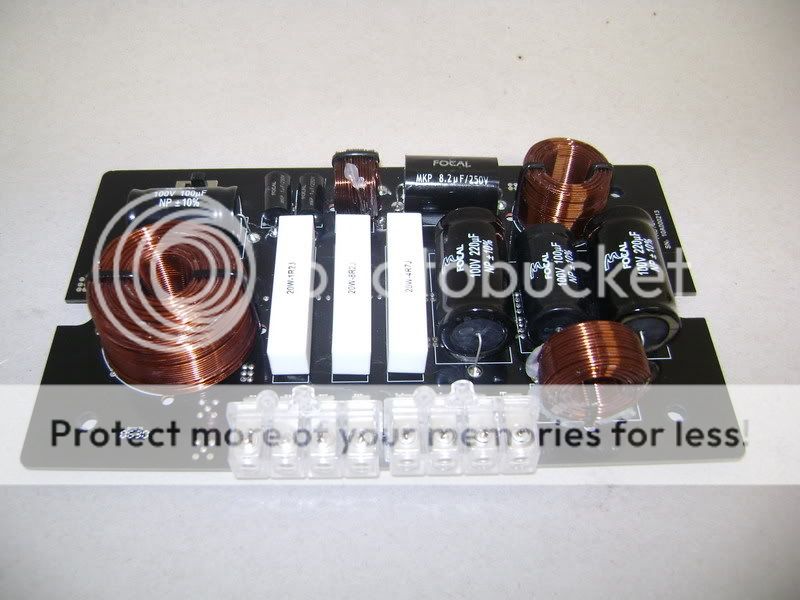
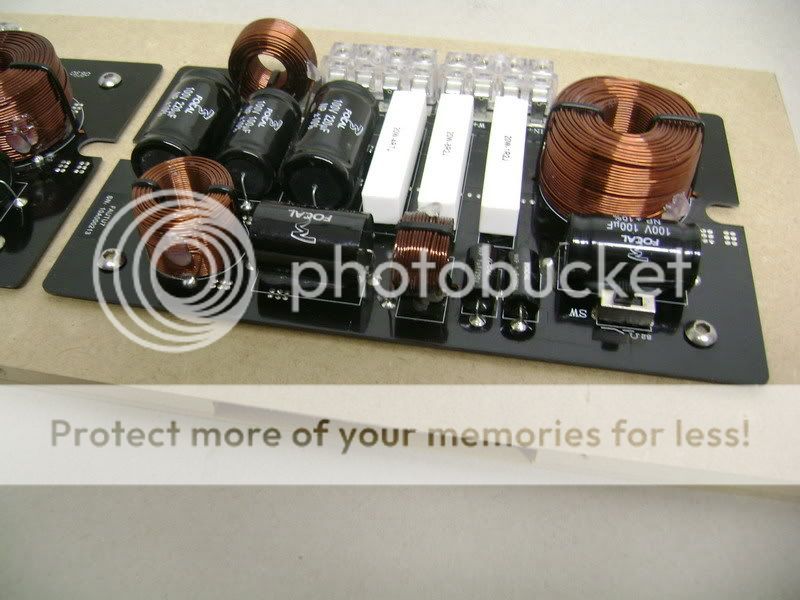
I have been thinking things over. I forgot that i still have a set of realy ugly Focal crossover.

Focal Beryllium BMW - Page 3 -- posted image.
At first i wanted to integrate them in an MDF board, but that's not flashy enough.
Now i'm going to integrate then completely so that i can let them come out automaticly. At least i'm going to try...
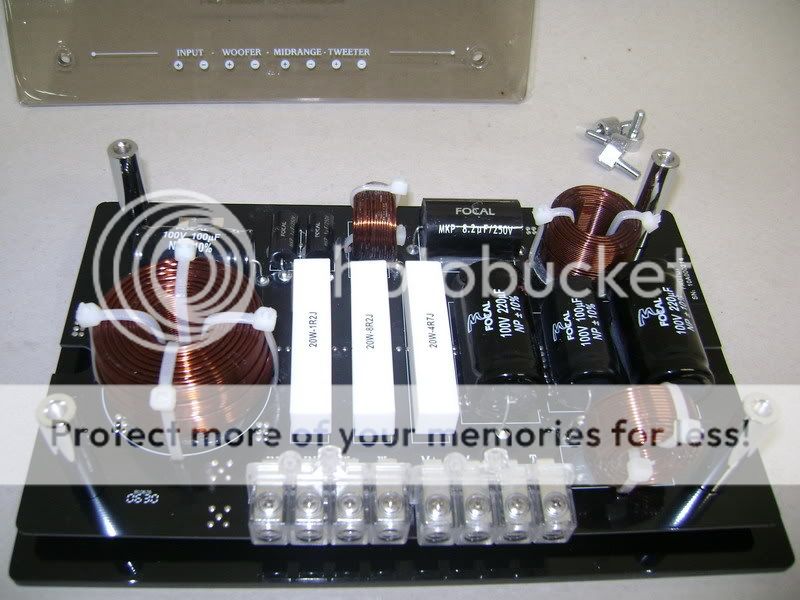
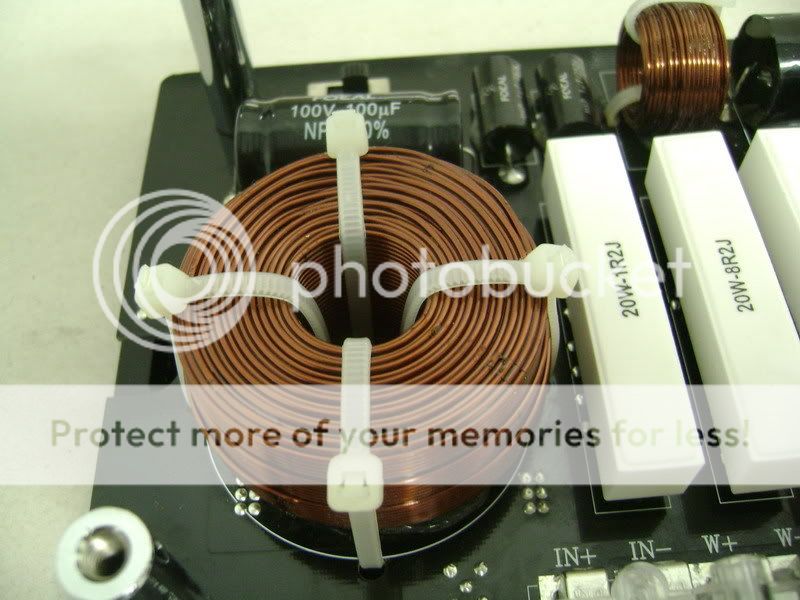
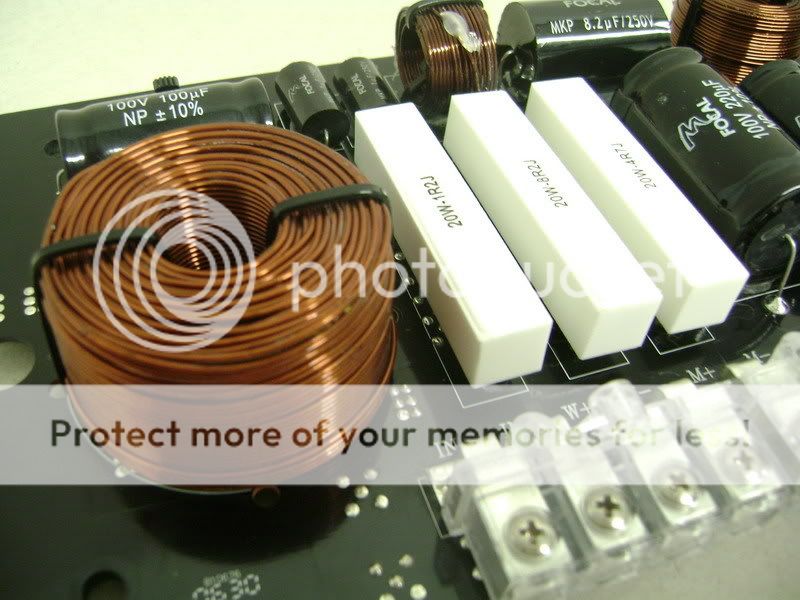
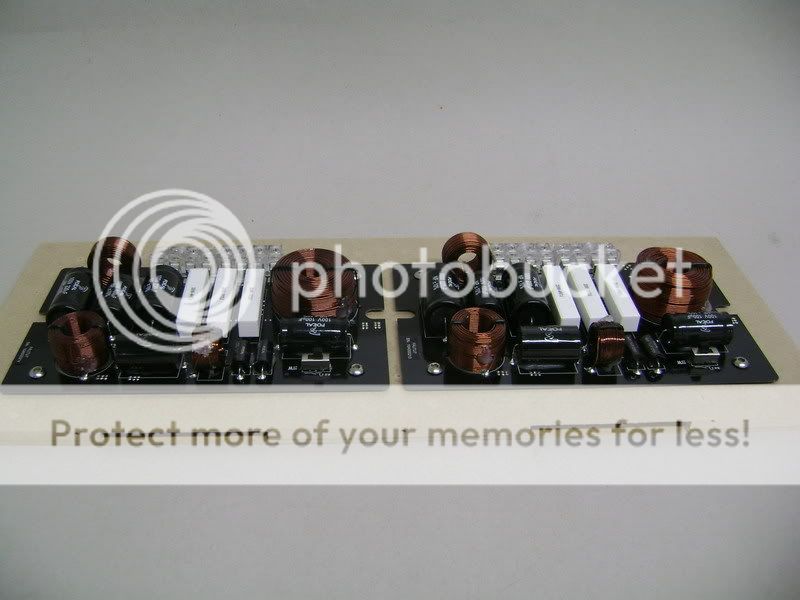
These are the filters i was talking about.
The white plastic strips will be replaced by black strips.

Focal Beryllium BMW - Page 3 -- posted image.

Focal Beryllium BMW - Page 3 -- posted image.

I can say that this looks much better.

Focal Beryllium BMW - Page 3 -- posted image.

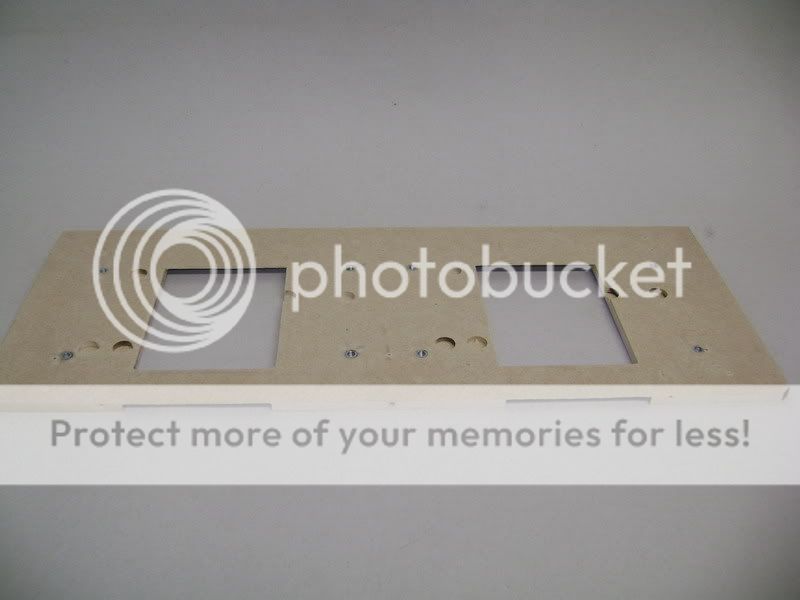
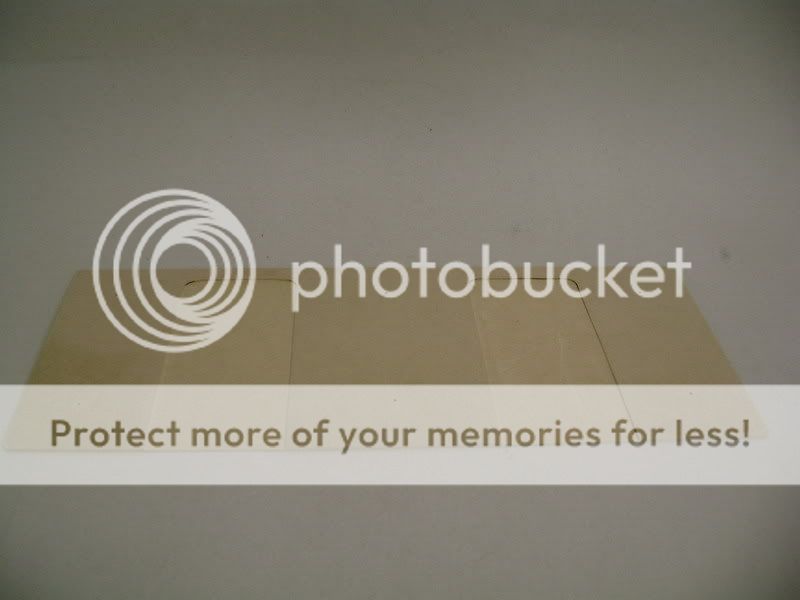
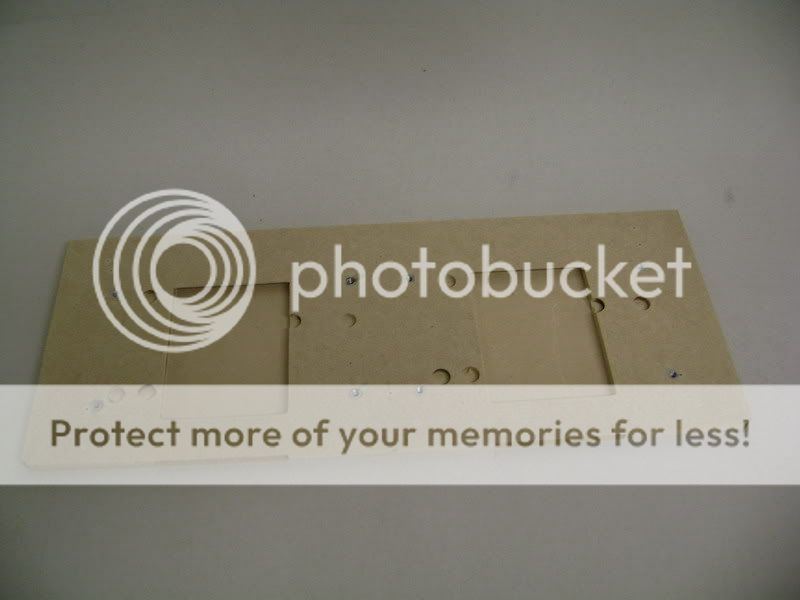
The plexy boards were the filters used to be mounted on are now removed.

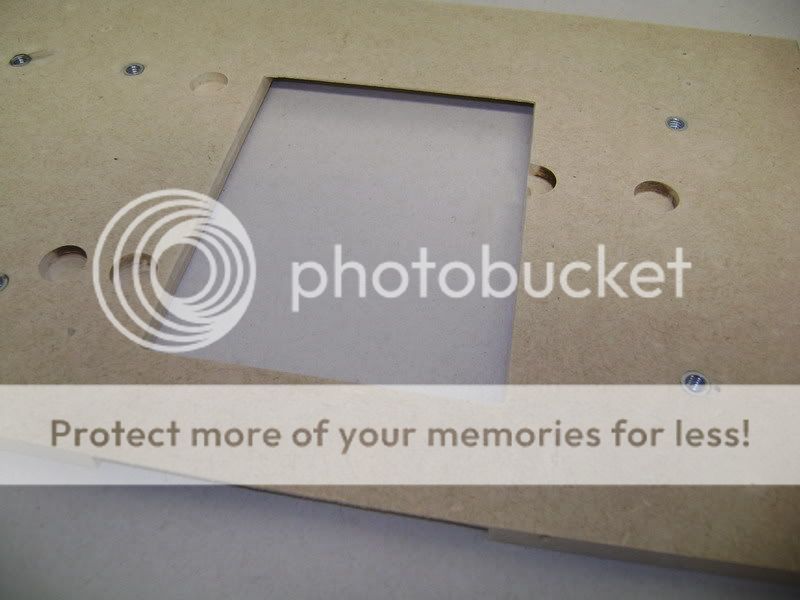
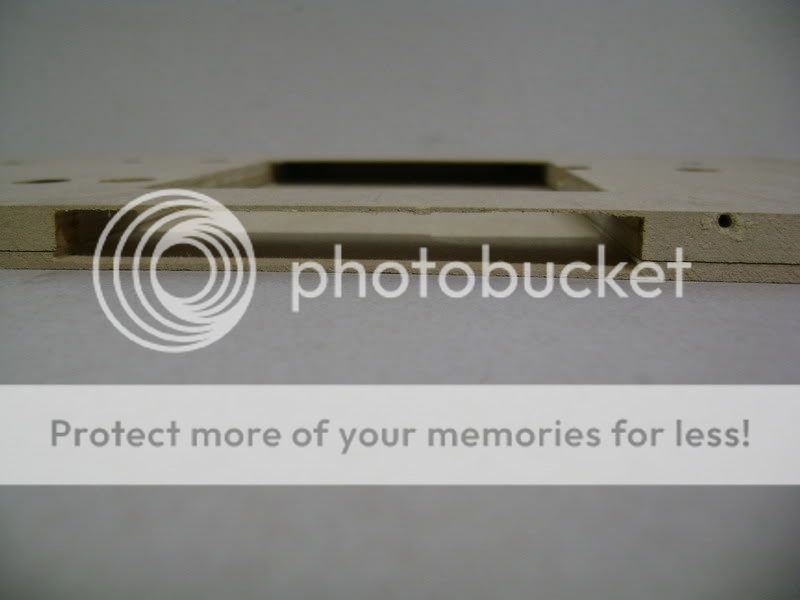
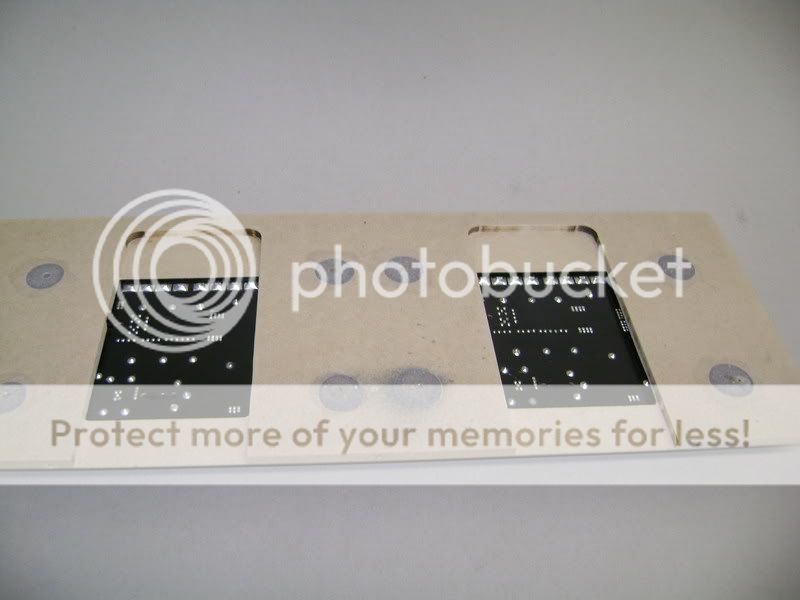
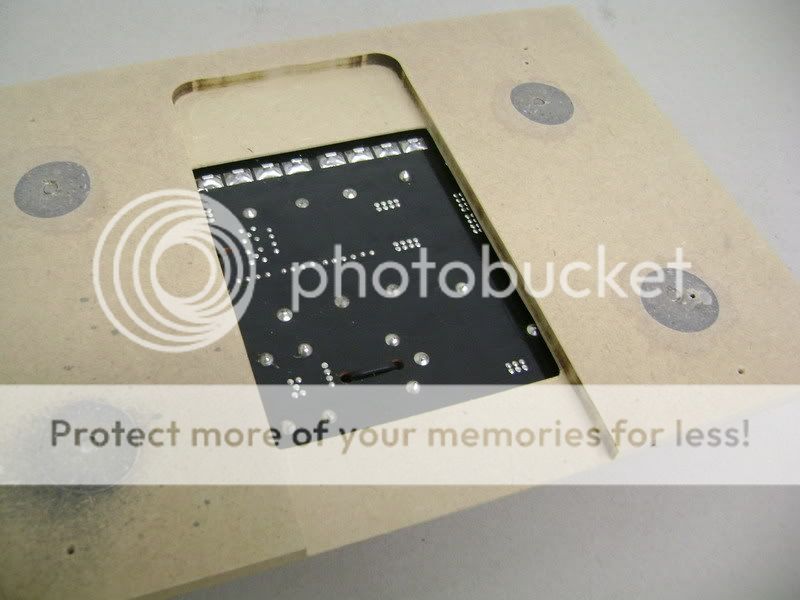
I've replaced them with an MDF board wich got an "uppermill treatement'

Focal Beryllium BMW - Page 3 -- posted image.

Focal Beryllium BMW - Page 3 -- posted image.

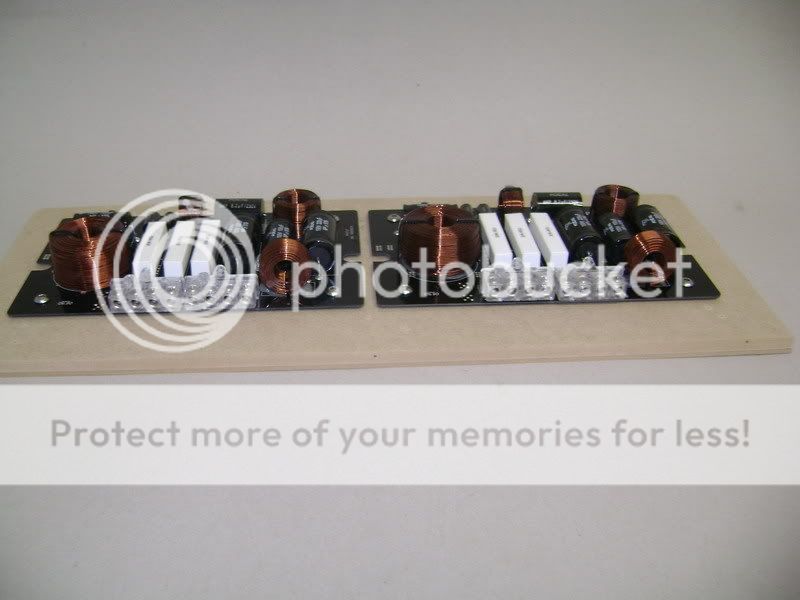
This board will be mounted on top of the other one

Focal Beryllium BMW - Page 3 -- posted image.

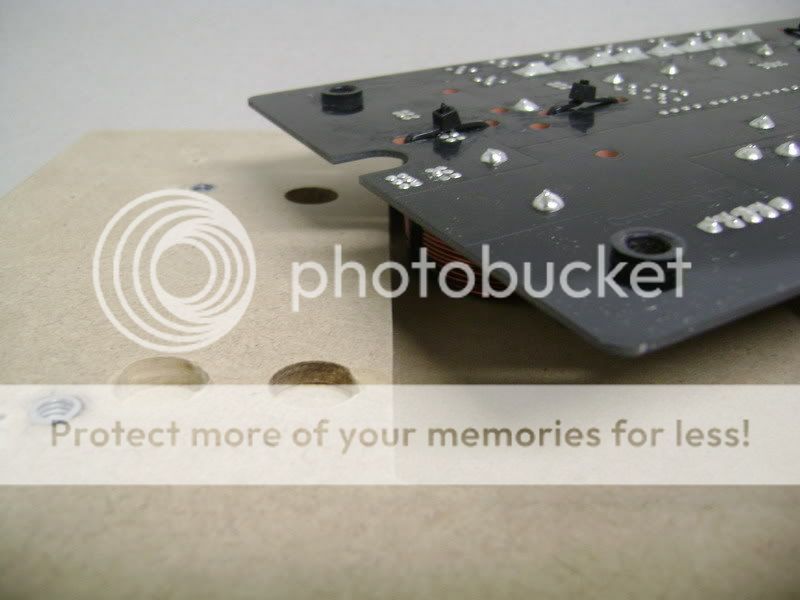
Here you can see them on top of eachother

Focal Beryllium BMW - Page 3 -- posted image.

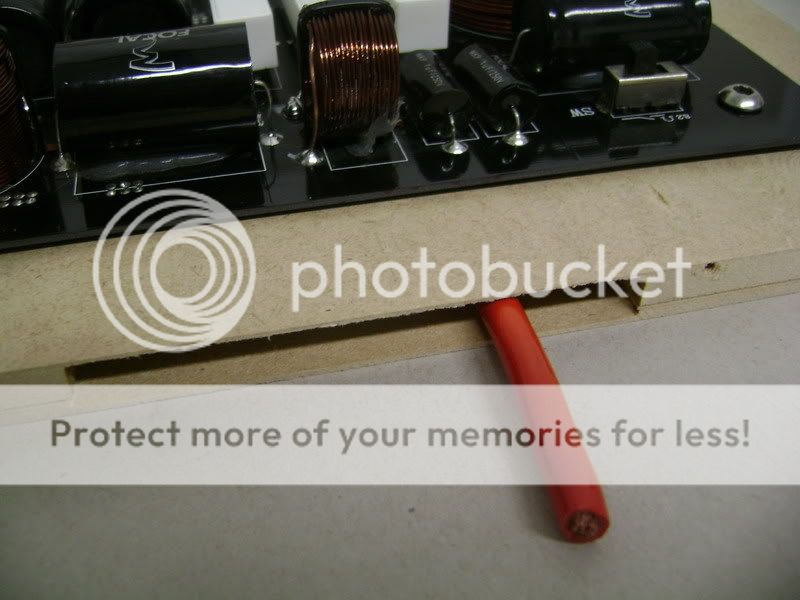
I made this because i didn't want the speakercables to be visible.

Focal Beryllium BMW - Page 3 -- posted image.

So the cables are guided from one side to another inbetween the 2 boards.

Focal Beryllium BMW - Page 3 -- posted image.

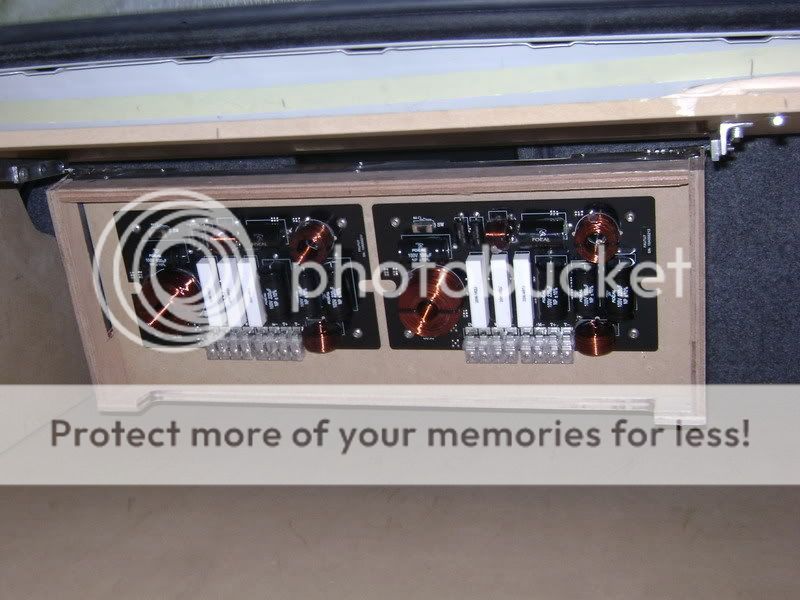
Filters mounted...

Focal Beryllium BMW - Page 3 -- posted image.

Focal Beryllium BMW - Page 3 -- posted image.

Focal Beryllium BMW - Page 3 -- posted image.

Focal Beryllium BMW - Page 3 -- posted image.

Here you can see that i have enough space between the board for the wires.

Focal Beryllium BMW - Page 3 -- posted image.

Focal Beryllium BMW - Page 3 -- posted image.

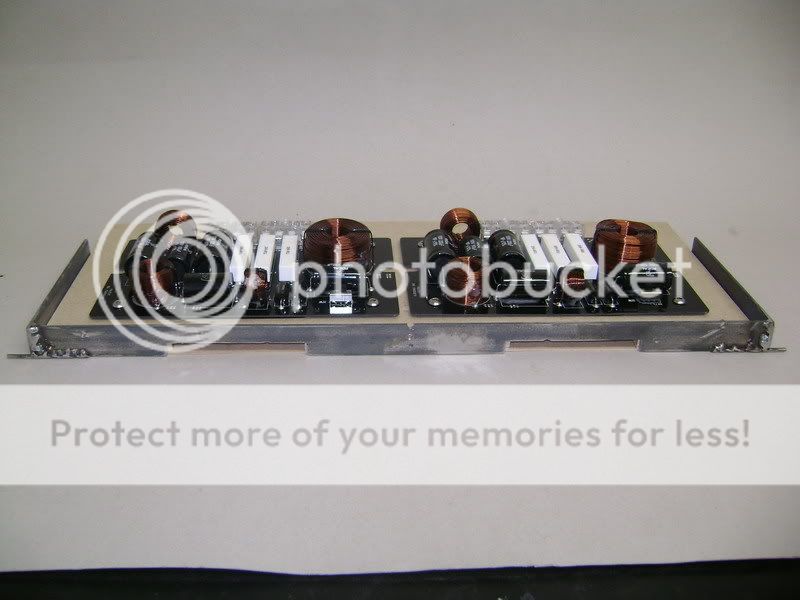
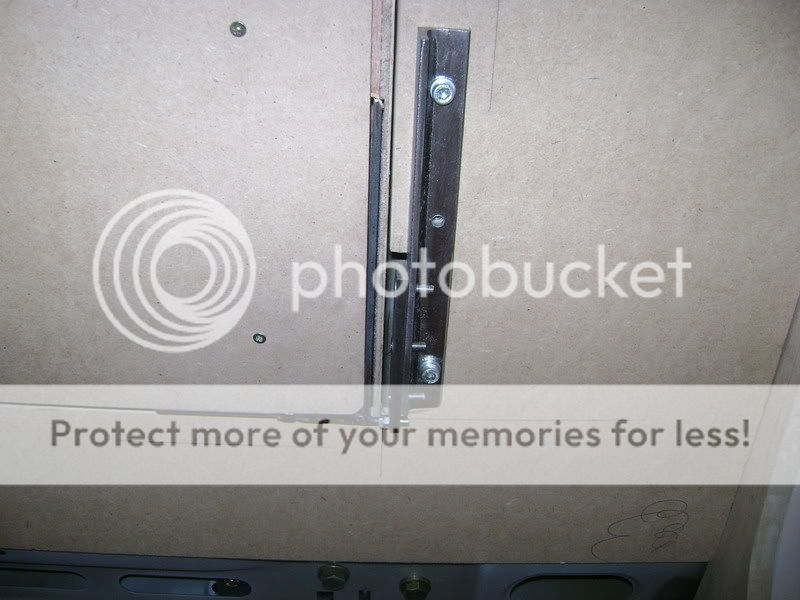
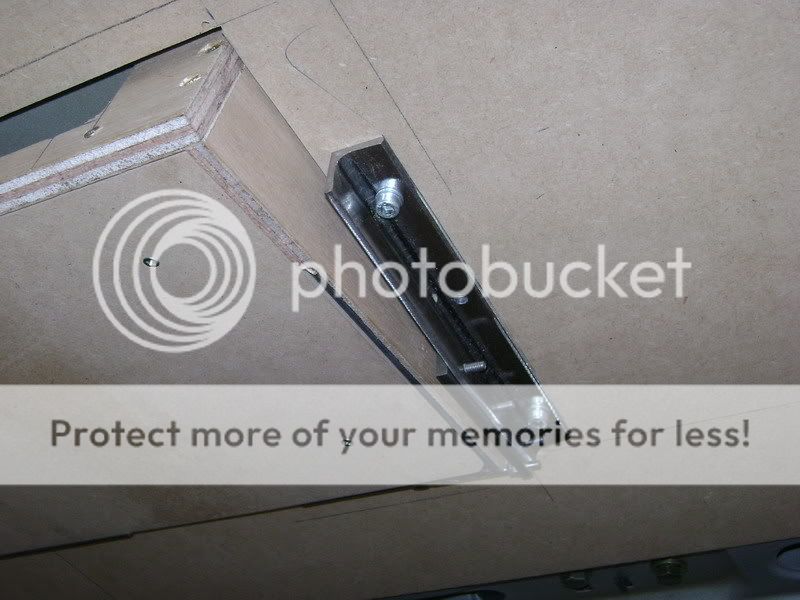
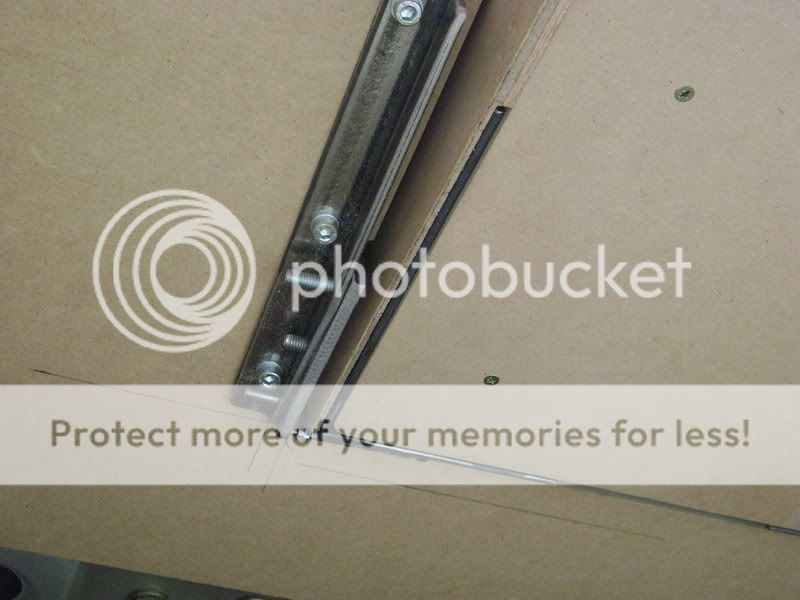
Than the time came to make a hinge. after thinking it over i came up with this.

Focal Beryllium BMW - Page 3 -- posted image.

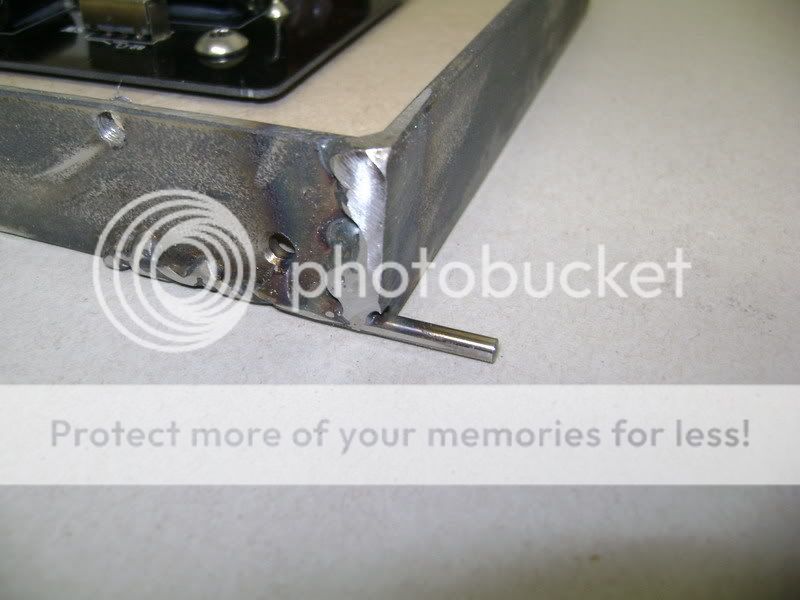
I took a flat piece of iron, and welded a twist bit on the left and right side.

As simple as that.

Focal Beryllium BMW - Page 3 -- posted image.

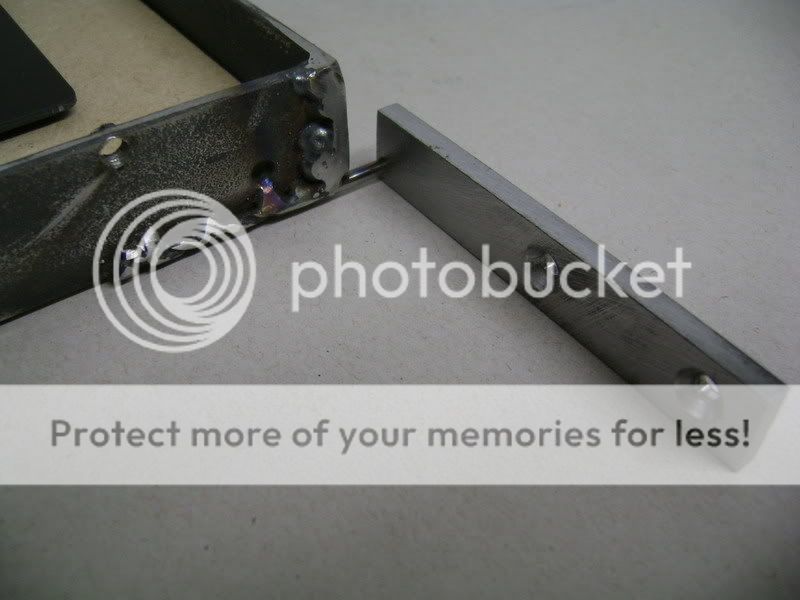
Then i made 2 other pieces which fit in.

Focal Beryllium BMW - Page 3 -- posted image.

By mounting this on the ends, i will keep the margin as small as possible

robolop 
Copper - Posts: 157
Copper spacespace
Joined: October 26, 2008
Posted: August 21, 2009 at 1:42 PM / IP Logged Link to Post Post Reply Quote robolop

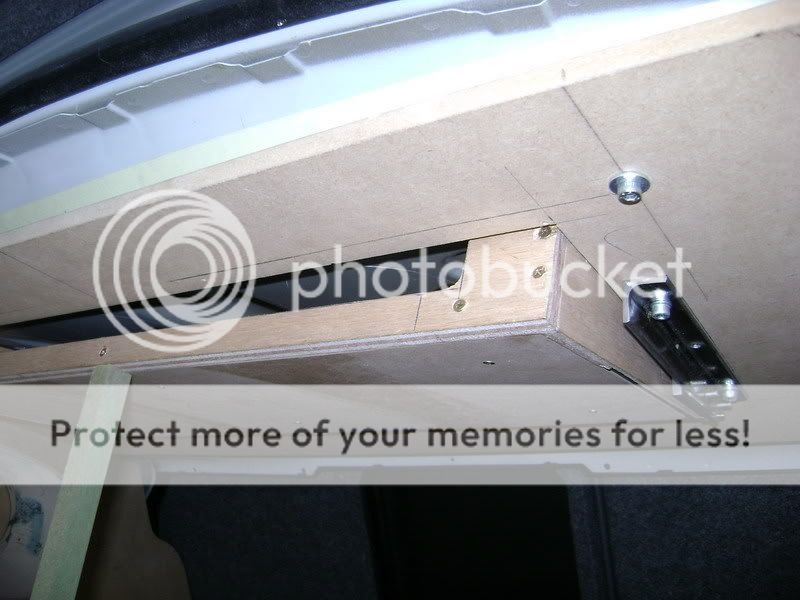
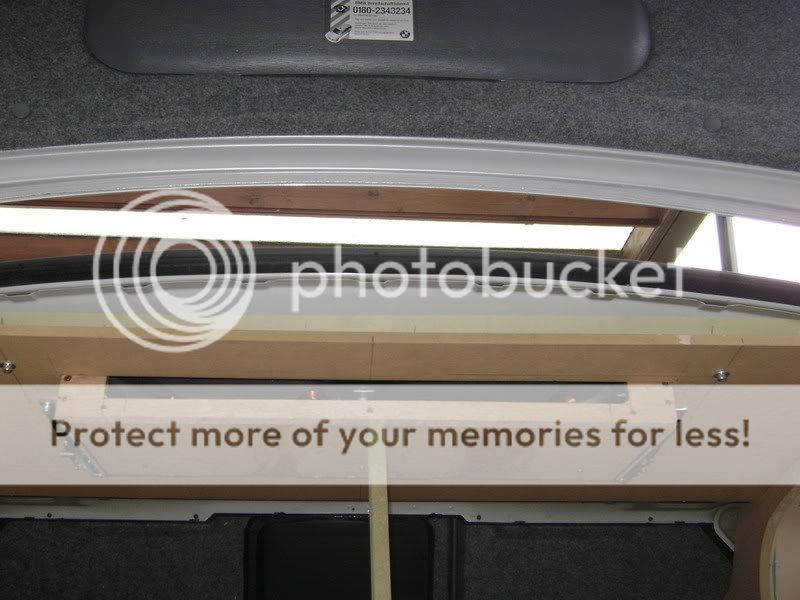
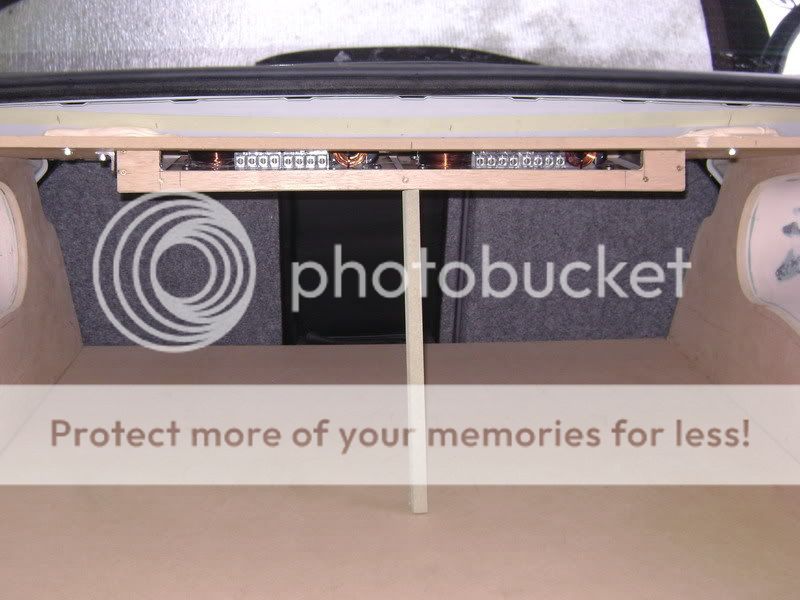
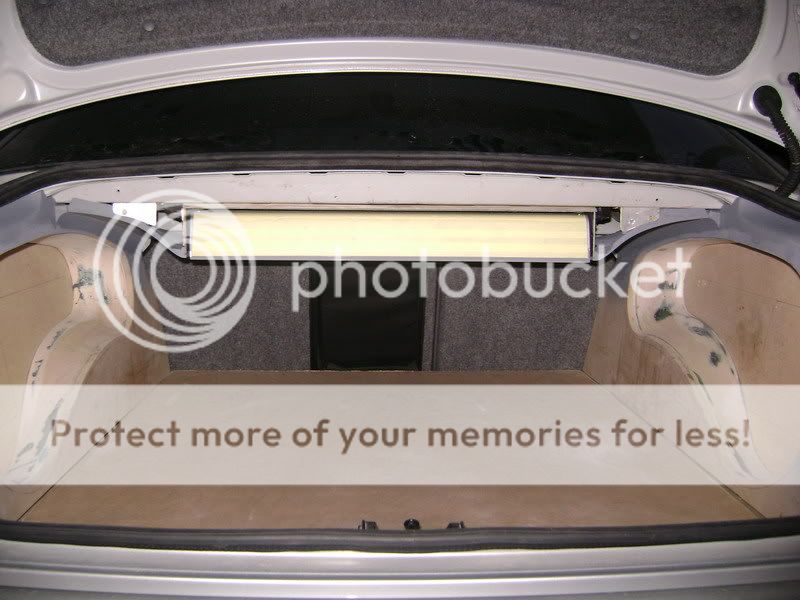
Here you can see how i'm going to mount the crossover tray underneath the back shelf.

I started by mounting a MDF board, afterwards i've cut a hole so that the tray fits.
On that board i'm going to mount the hiinges.
Focal Beryllium BMW - Page 3 -- posted image.

Focal Beryllium BMW - Page 3 -- posted image.

Focal Beryllium BMW - Page 3 -- posted image.

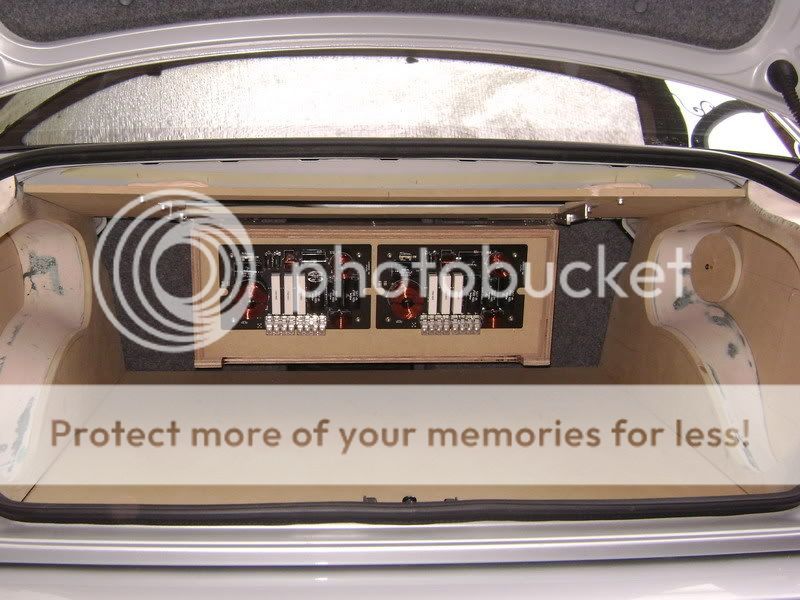
Here you can see a part of the tray where the crossovers will be mounted in.

Focal Beryllium BMW - Page 3 -- posted image.

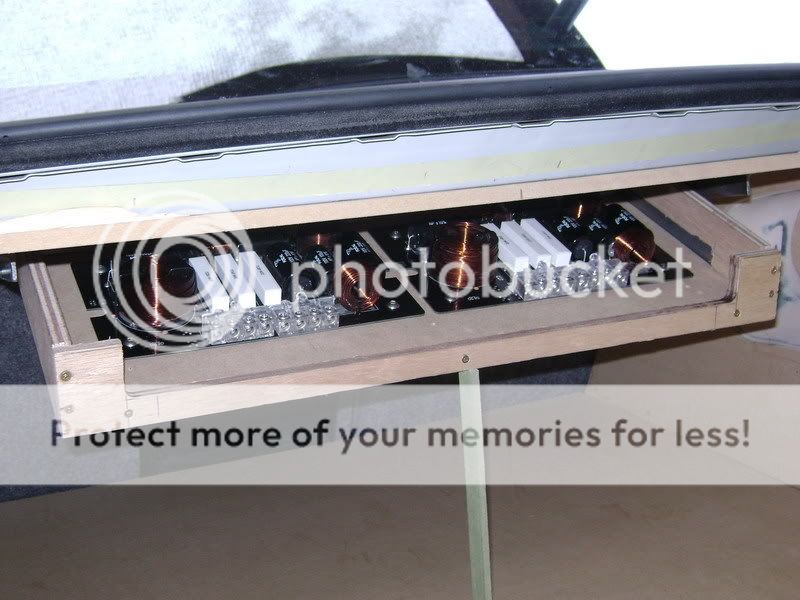
On this picture you can see the tray while it is closing. The hightec stick you can see will be made out of carbon.

Focal Beryllium BMW - Page 3 -- posted image.

Focal Beryllium BMW - Page 3 -- posted image.

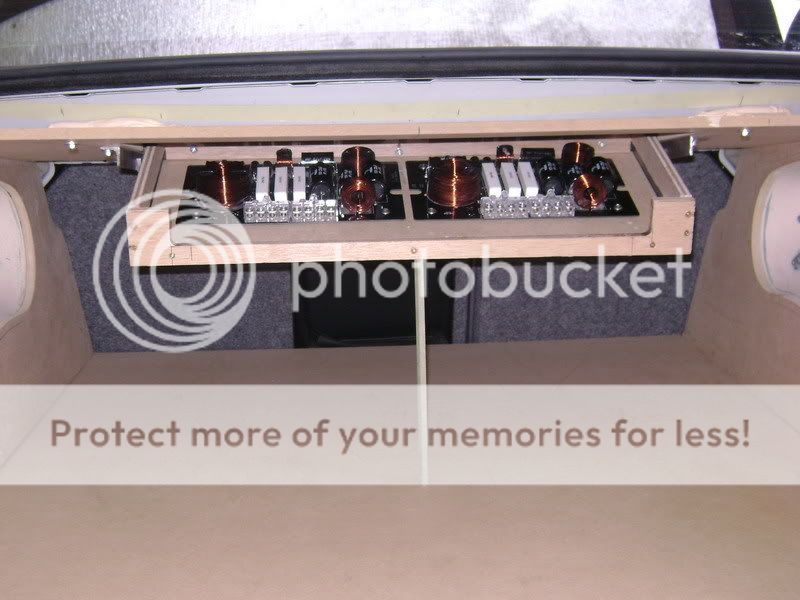
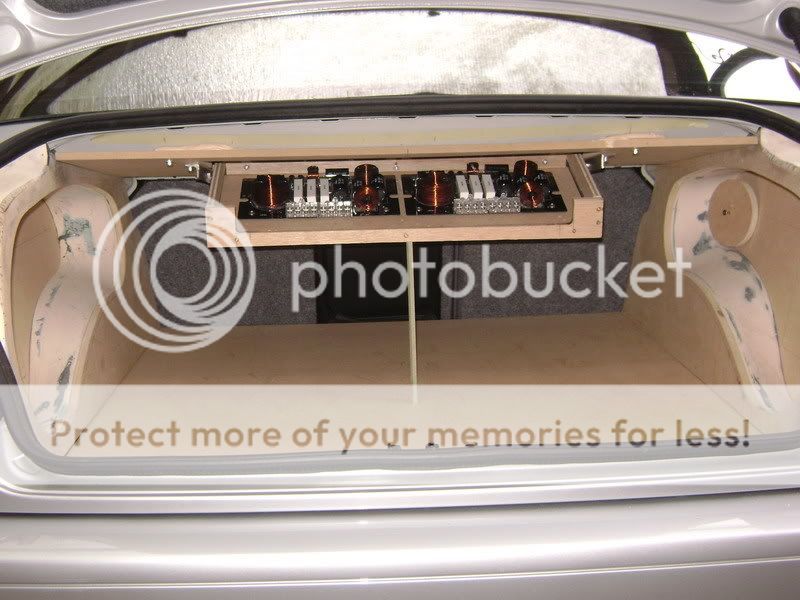
This is what it lookes like when it is fully opened.

Focal Beryllium BMW - Page 3 -- posted image.

Focal Beryllium BMW - Page 3 -- posted image.

Here i show you how far i'm going to allow it to open.

Focal Beryllium BMW - Page 3 -- posted image.

Focal Beryllium BMW - Page 3 -- posted image.

Focal Beryllium BMW - Page 3 -- posted image.

robolop 
Copper - Posts: 157
Copper spacespace
Joined: October 26, 2008
Posted: August 21, 2009 at 1:44 PM / IP Logged Link to Post Post Reply Quote robolop

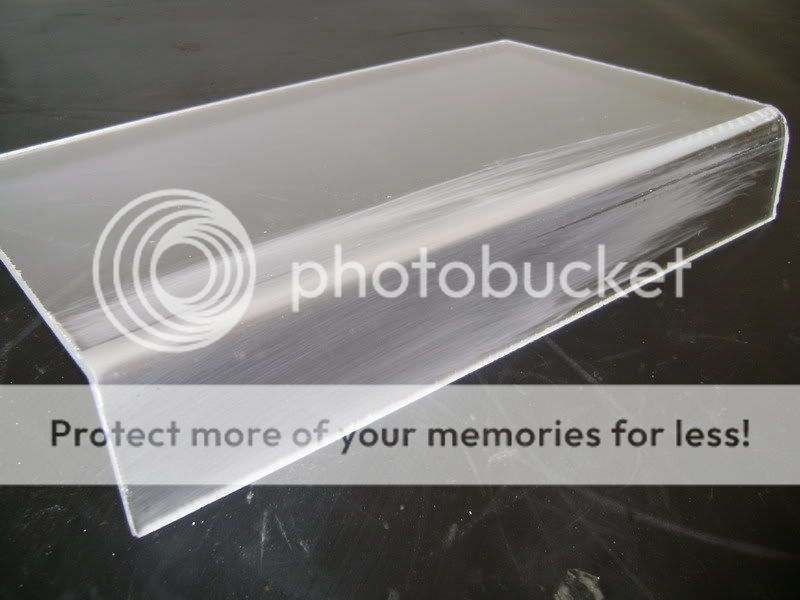
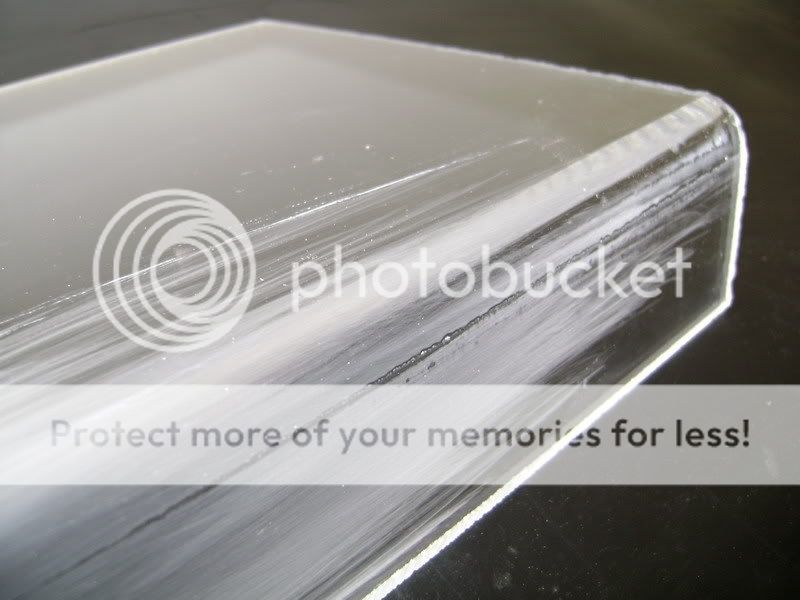
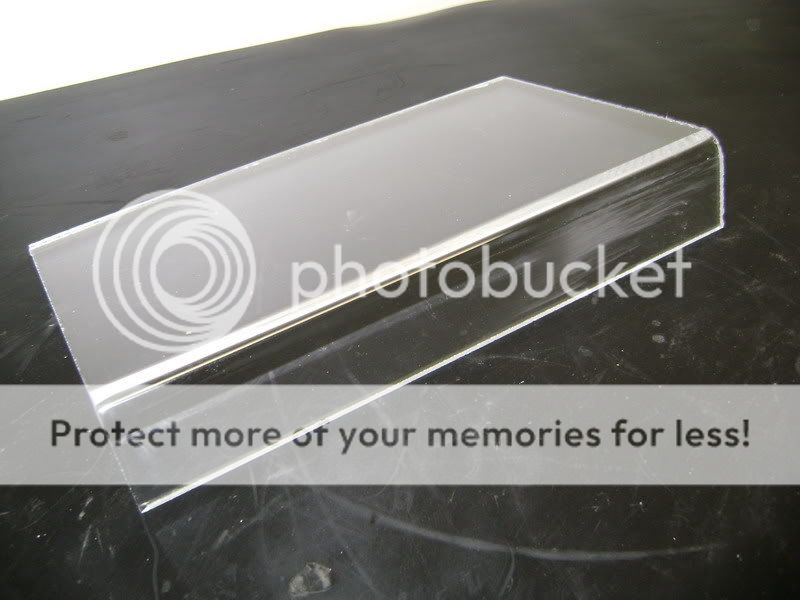
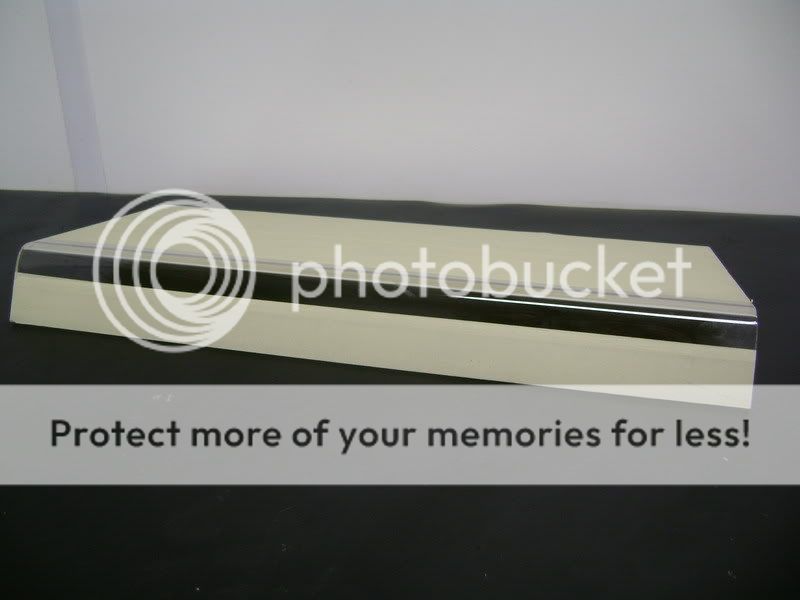
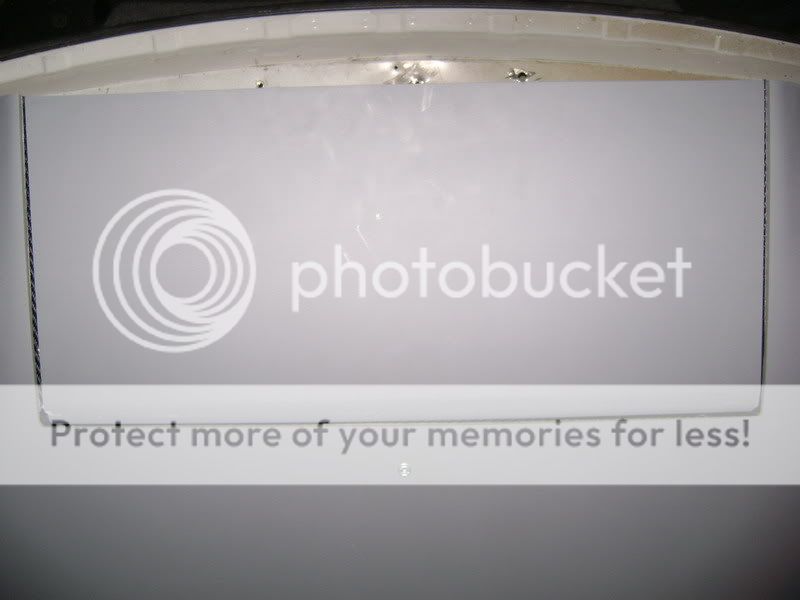
I'm going to cover the crossovercase with a piece of plexy. I usually allway try to use real glass, but because i want this one to bend a bit, i'm forced to use plexy.

I first intended to just order a "ready-made" piece, but instead i'm going to try to bend it myself.
the plexy has a 5mm gauche.
The first test came out pretty good.
I've clamped and than heated it with a hot air paint remover.
This is the result.

Focal Beryllium BMW - Page 3 -- posted image.

I noticed that by heating it, it get's rough.

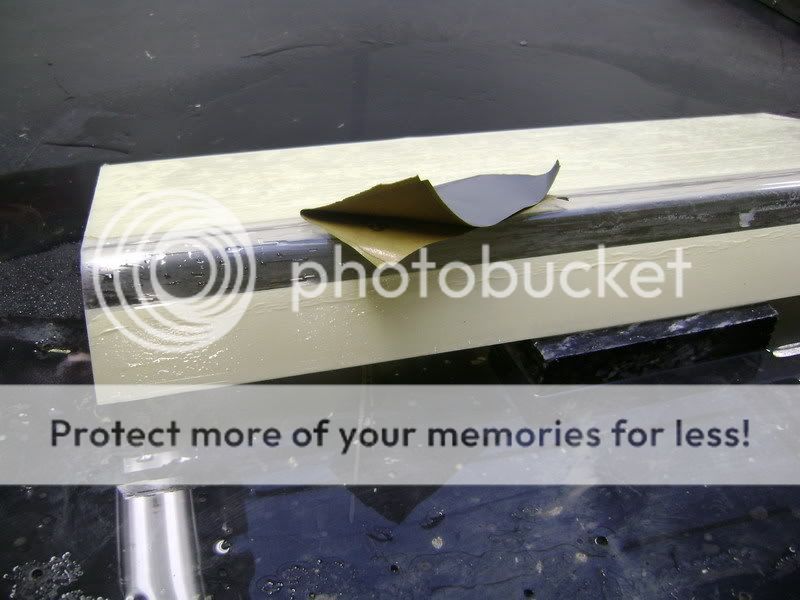
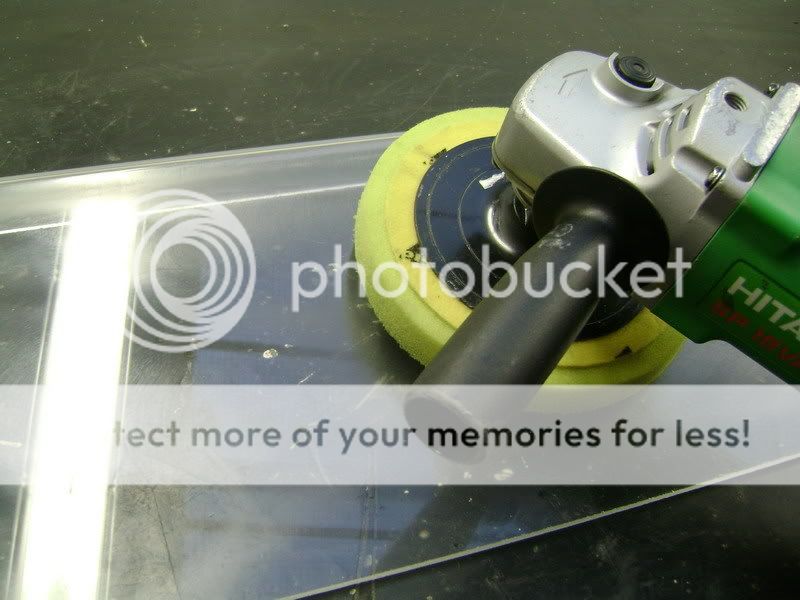
so i had to sand the irregularity. First with a wet nr 800 sandpaper, then with a nr 1200, to end with a nr 2000. Afterwards i polished the entire piece.
Focal Beryllium BMW - Page 3 -- posted image.

The ends of the plexy piece were pretty deformed, but i was able to fix this.

Focal Beryllium BMW - Page 3 -- posted image.

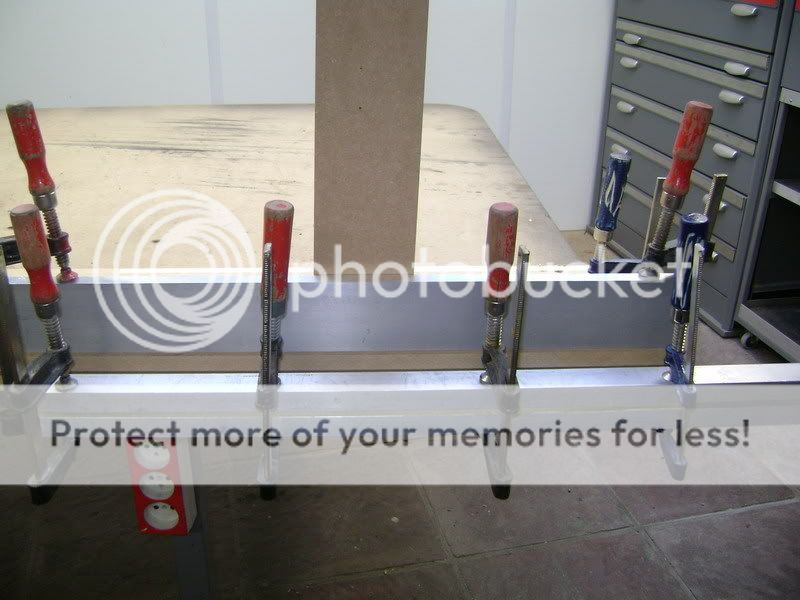
Then it was time to start on the big piece op plexy wich had to cover the entire crossover case.

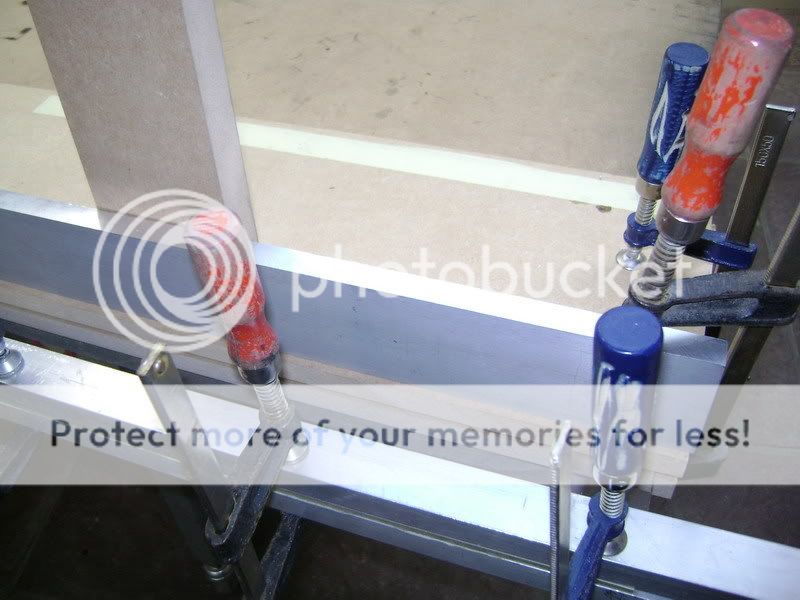
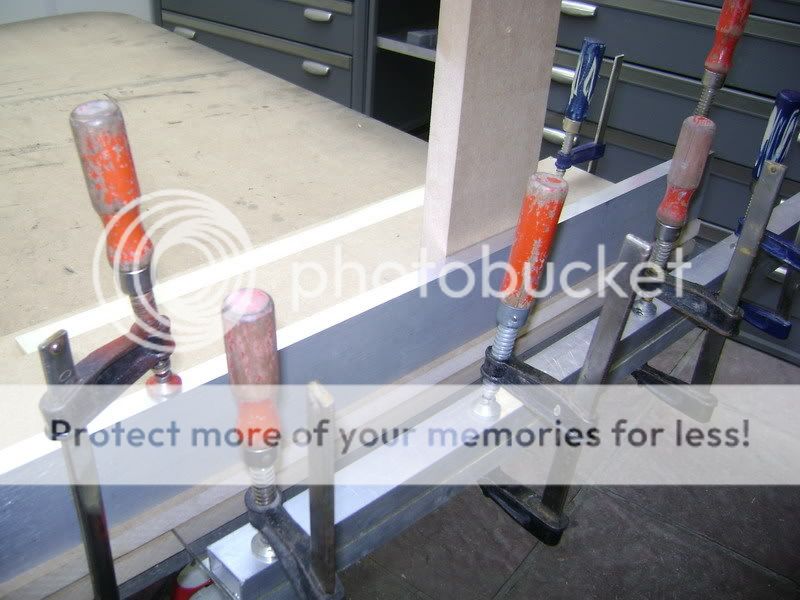
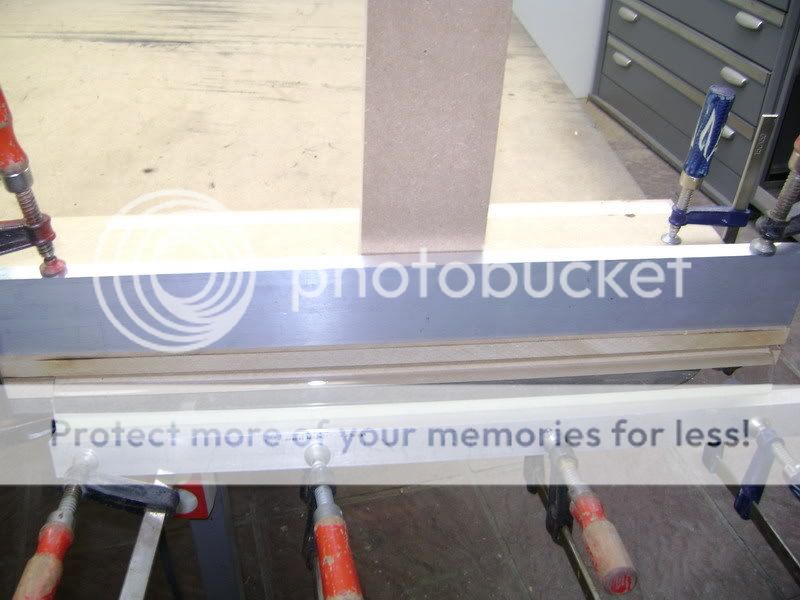
This i had to clamp on as much points as possible, bucause i was affraid that it would easely deform because of the heat.

Focal Beryllium BMW - Page 3 -- posted image.

Focal Beryllium BMW - Page 3 -- posted image.

Focal Beryllium BMW - Page 3 -- posted image.

than i heated it nicely so that it would easely bent.

Focal Beryllium BMW - Page 3 -- posted image.

Focal Beryllium BMW - Page 3 -- posted image.

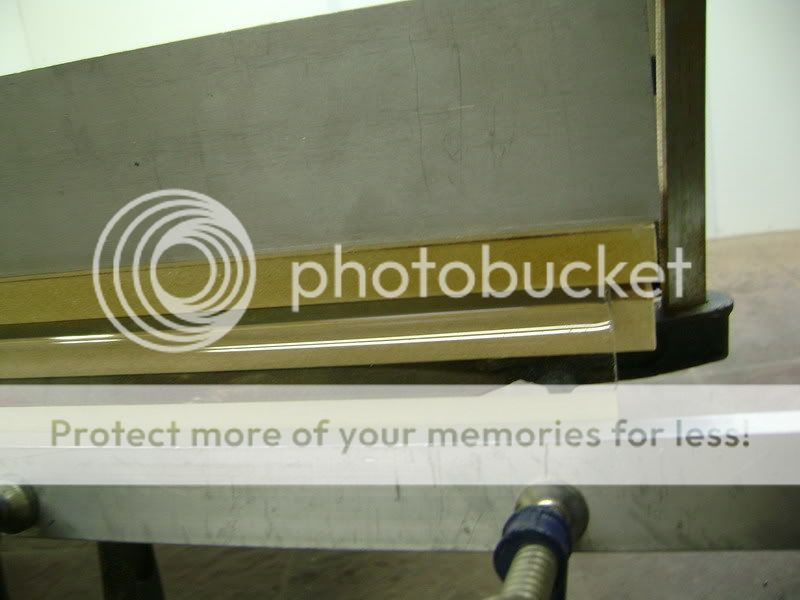
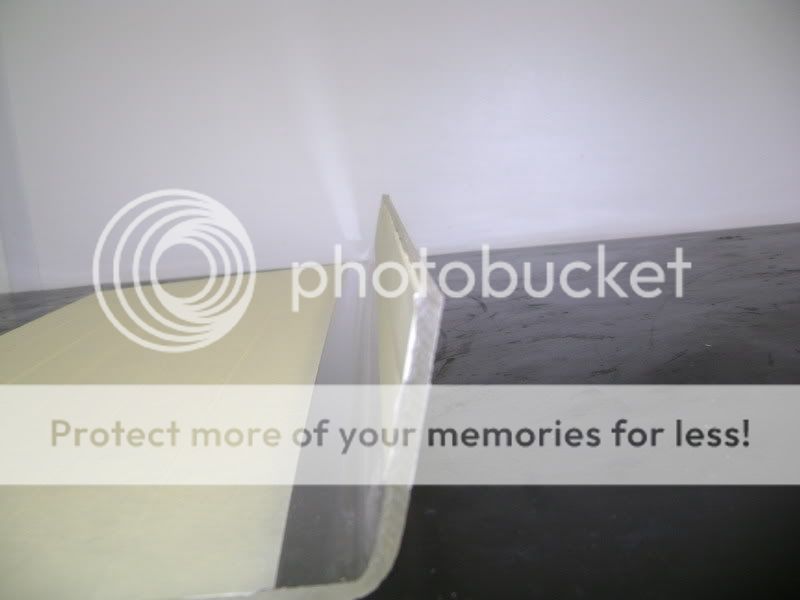
If you don't fixate it firmly, everything will deform for sure. Here you can see that my piece is pretty straight.
Focal Beryllium BMW - Page 3 -- posted image.

Focal Beryllium BMW - Page 3 -- posted image.

Then i started sanding. I started with a nr 1200 to end with a nr 2000.

Focal Beryllium BMW - Page 3 -- posted image.

Focal Beryllium BMW - Page 3 -- posted image.

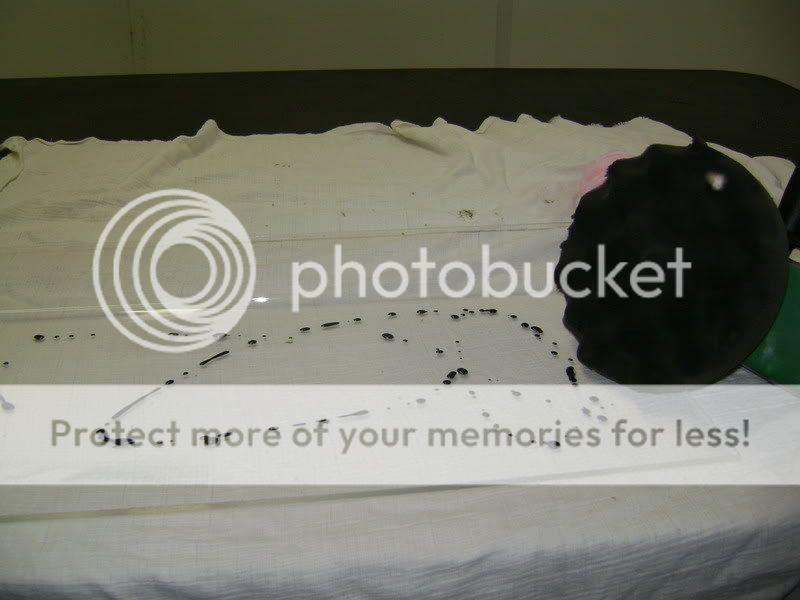
Afterward i started polishing.

Focal Beryllium BMW - Page 3 -- posted image.

Focal Beryllium BMW - Page 3 -- posted image.

My plexy cover looks great, and has only cost me 7 euro.

robolop 
Copper - Posts: 157
Copper spacespace
Joined: October 26, 2008
Posted: August 21, 2009 at 1:45 PM / IP Logged Link to Post Post Reply Quote robolop

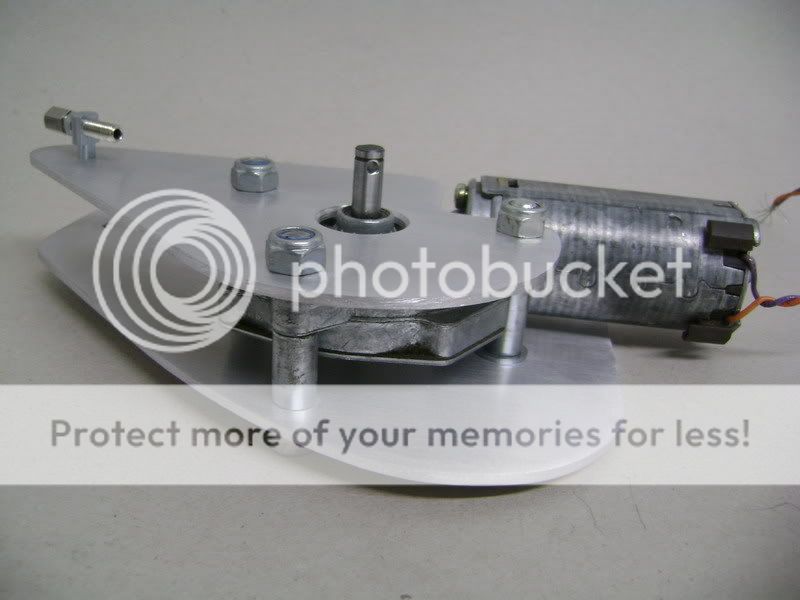
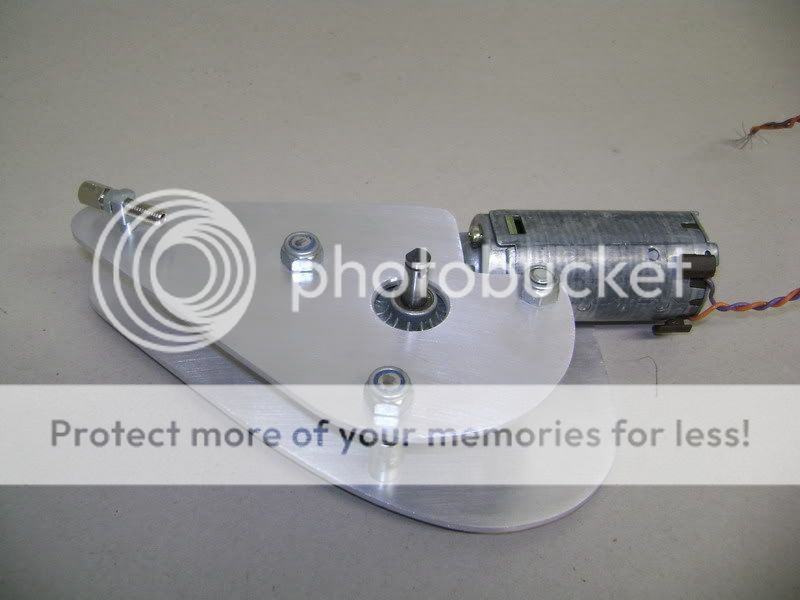
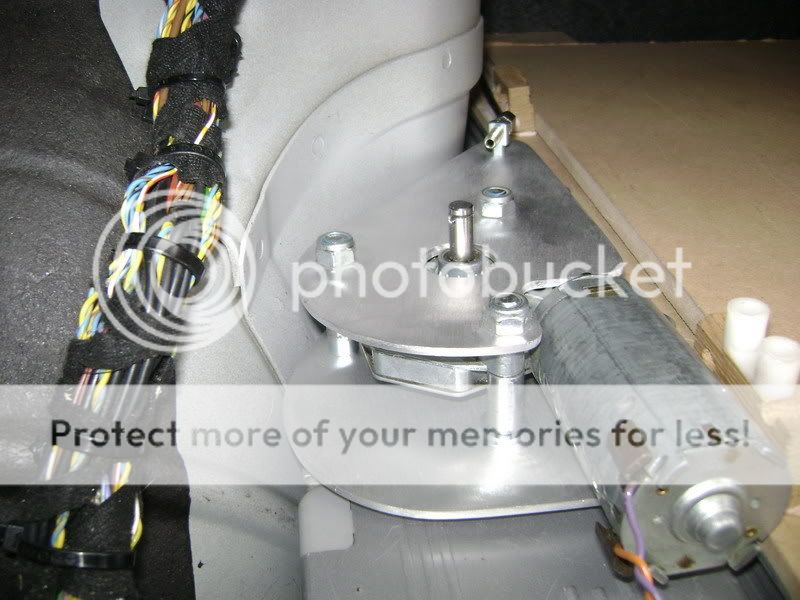
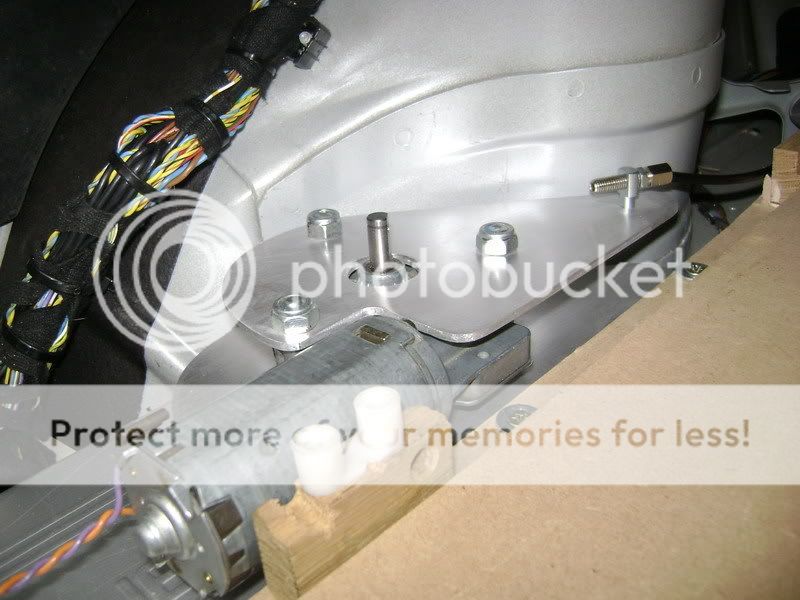
I wasn't satisfied about the result i became by using the springs, so i've decided to use a motor instead.

Focal Beryllium BMW - Page 3 -- posted image.

Focal Beryllium BMW - Page 3 -- posted image.

Focal Beryllium BMW - Page 3 -- posted image.

Focal Beryllium BMW - Page 3 -- posted image.

The frame to mount the cross over tray also needed some extra attention to make it stronger.

Now, finally, everthing works as planned.
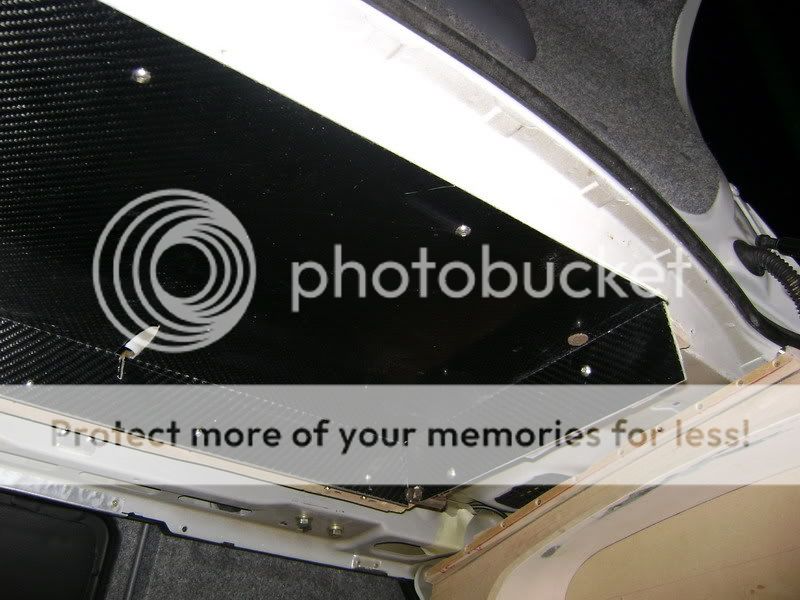
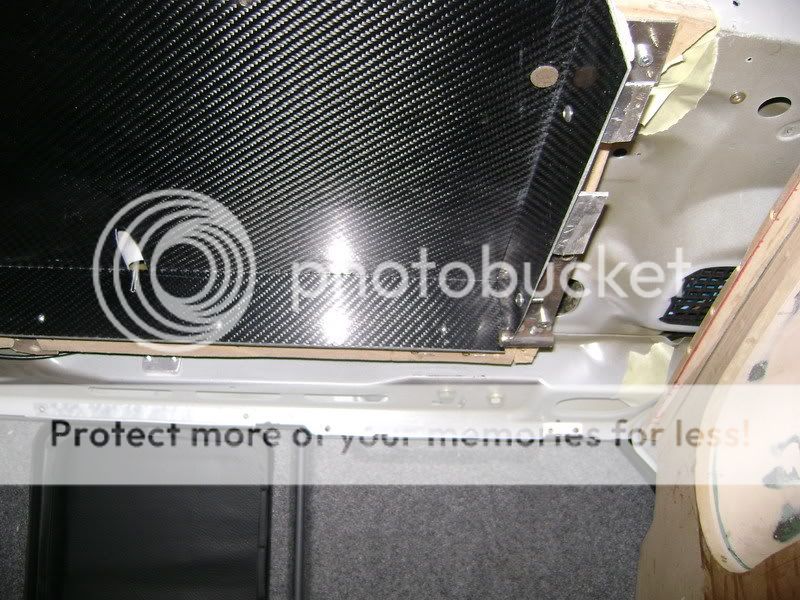
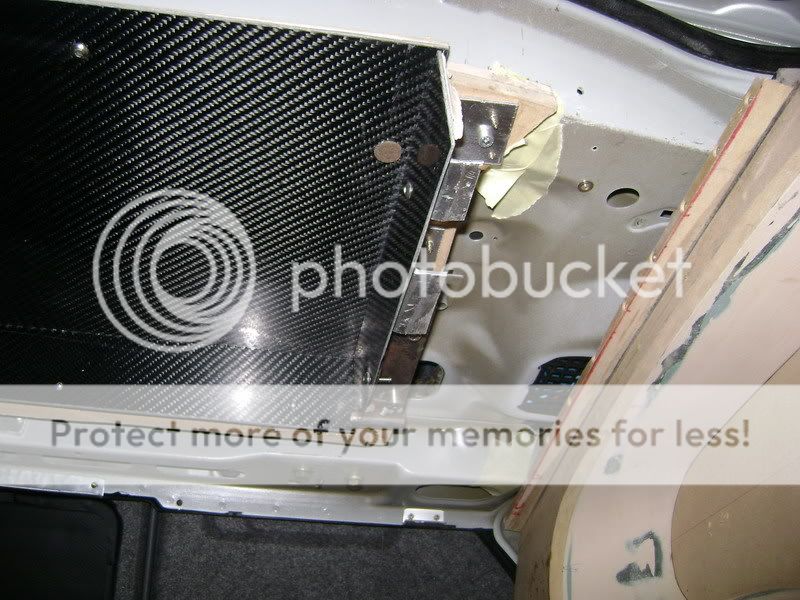
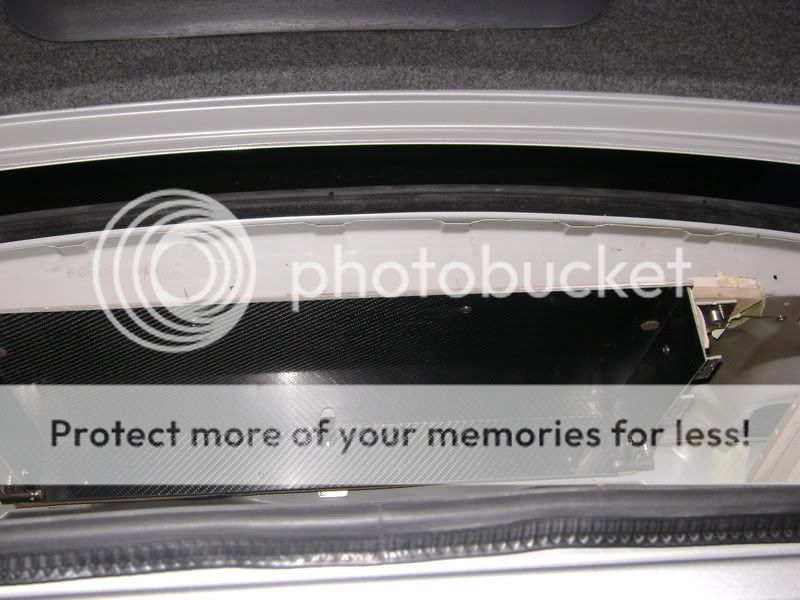
So now it is time to complete the next step: make the covers for all this...

As you can see, i've made a decent hinge.

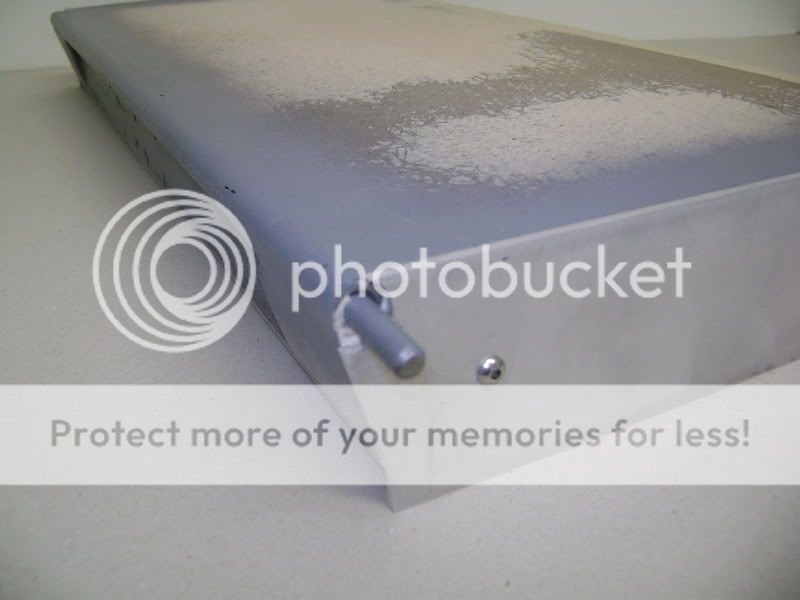
The alloy plates that were supposed to mount on the sides of the tray ended up with the trash.
The ones you see on this pictures still need to be polished

Focal Beryllium BMW - Page 3 -- posted image.

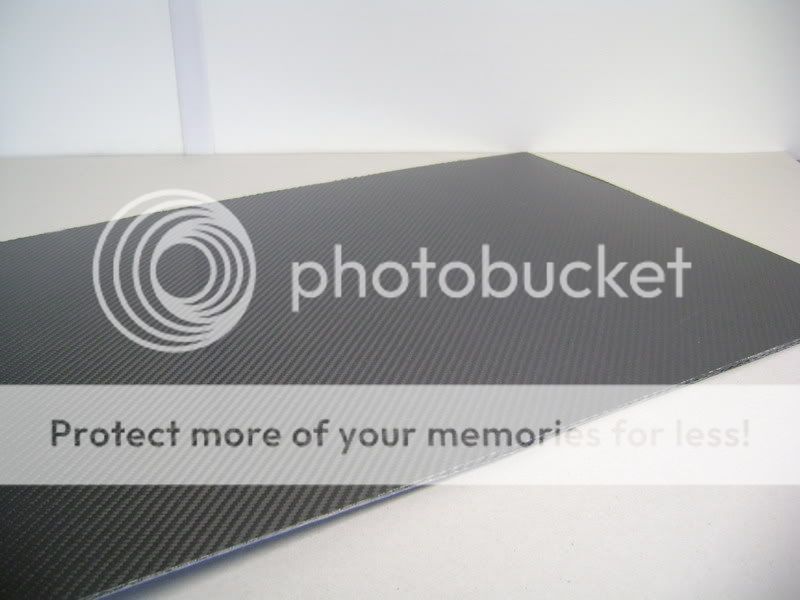
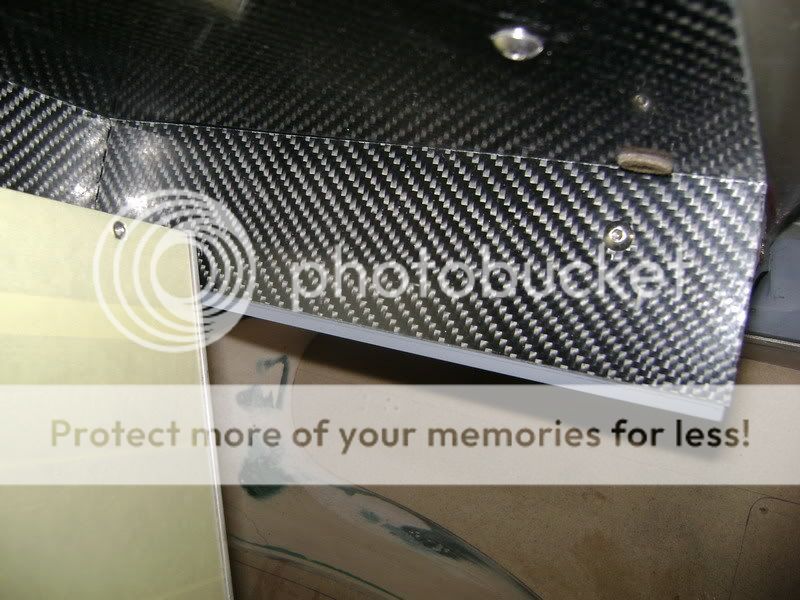
Than i used a big piece of glass to create a large piece of carbon. Clearly it still needs some layers of varnish.

Focal Beryllium BMW - Page 3 -- posted image.

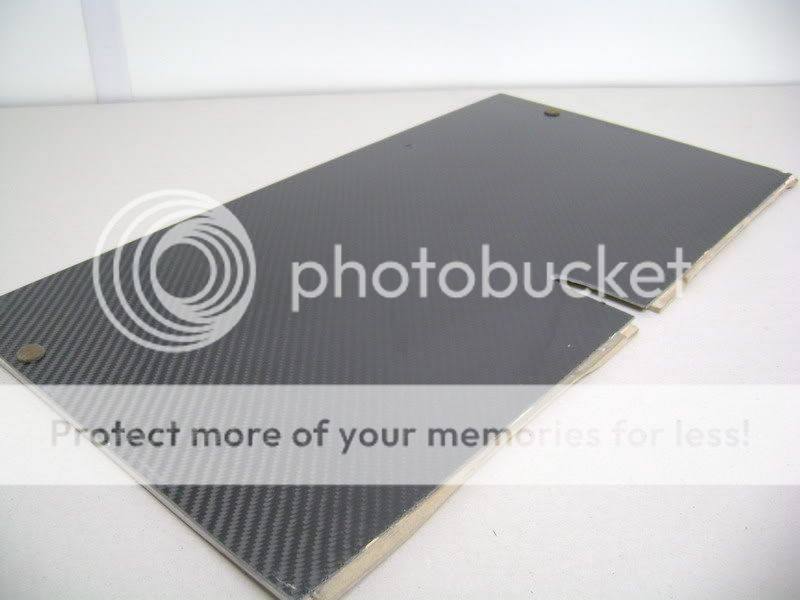
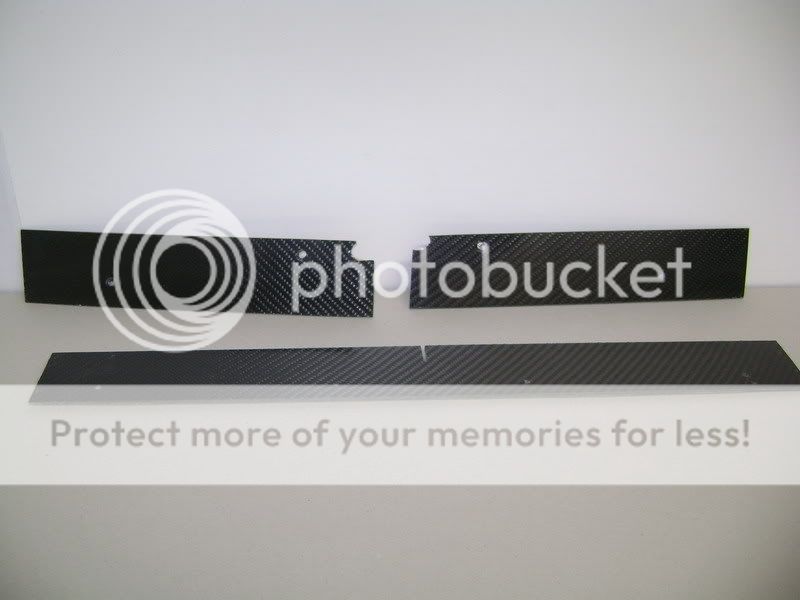
These have been cut into several pieces.

These parts will be mounted on the inside of the tray (visible when opened)

Focal Beryllium BMW - Page 3 -- posted image.

Focal Beryllium BMW - Page 3 -- posted image.

Focal Beryllium BMW - Page 3 -- posted image.

Focal Beryllium BMW - Page 3 -- posted image.

Focal Beryllium BMW - Page 3 -- posted image.

Focal Beryllium BMW - Page 3 -- posted image.

Focal Beryllium BMW - Page 3 -- posted image.

Afterward i made a cover for the bottom of the trunk.

A hell of a job.

Focal Beryllium BMW - Page 3 -- posted image.

The beautifull curves a not visible on the picture.

Focal Beryllium BMW - Page 3 -- posted image.

This piece is mounted using 5 screws, still 3 visible (for now...)

Focal Beryllium BMW - Page 3 -- posted image.

Focal Beryllium BMW - Page 3 -- posted image.

Focal Beryllium BMW - Page 3 -- posted image.

This is the front view, for this i still have a cool trick up my sleeve, but more details lateron.

Focal Beryllium BMW - Page 3 -- posted image.

Here it shows that my side pieces are too long, but i did that on purpose.

It als shows that the bottom needs some filling so that everything become nice and smooth.
Focal Beryllium BMW - Page 3 -- posted image.

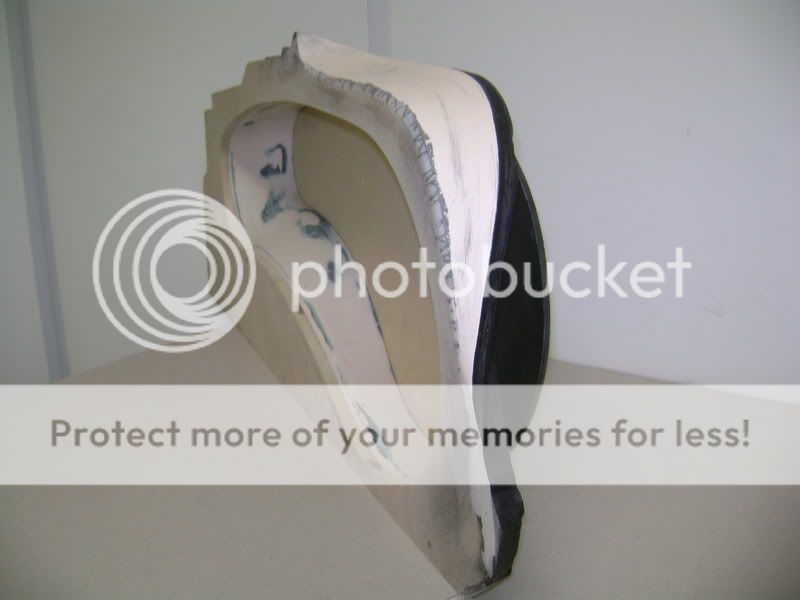
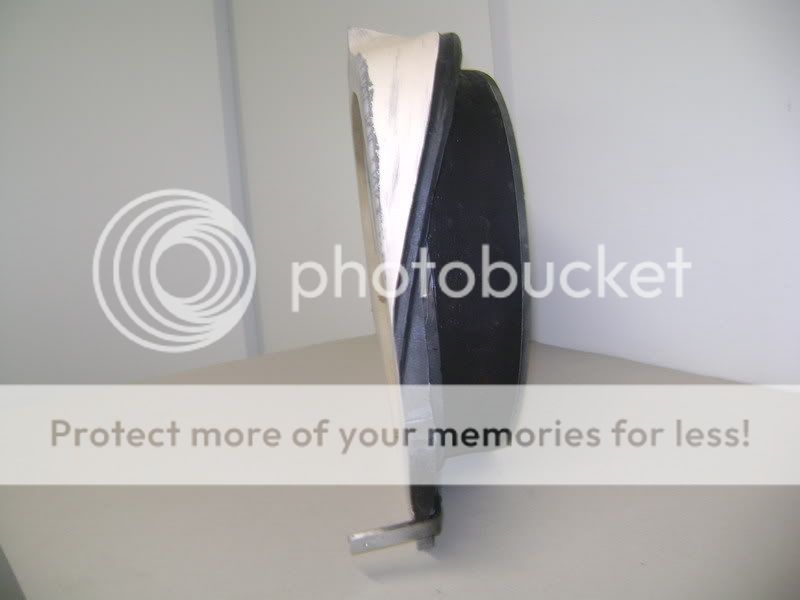
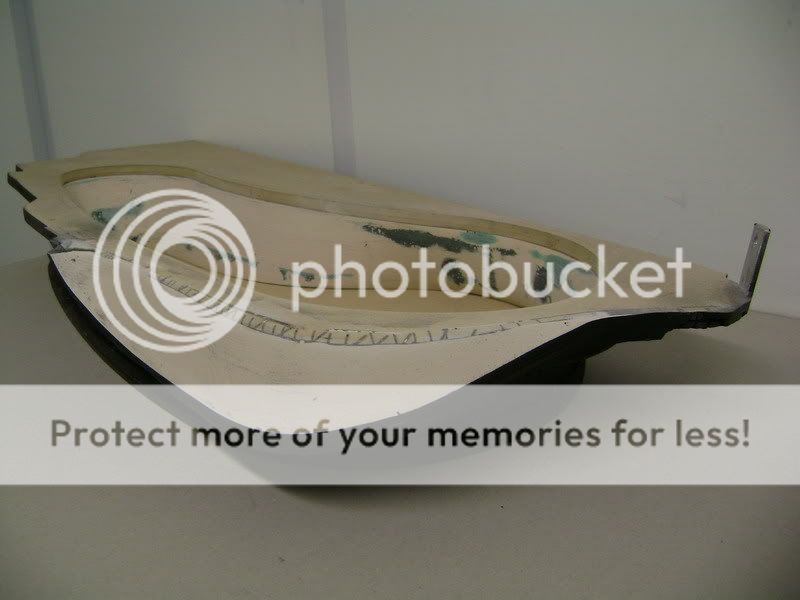
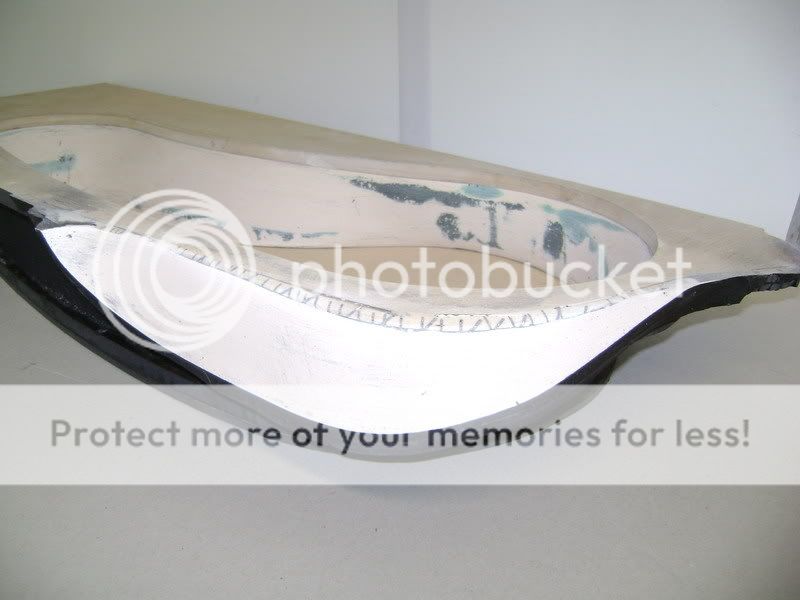
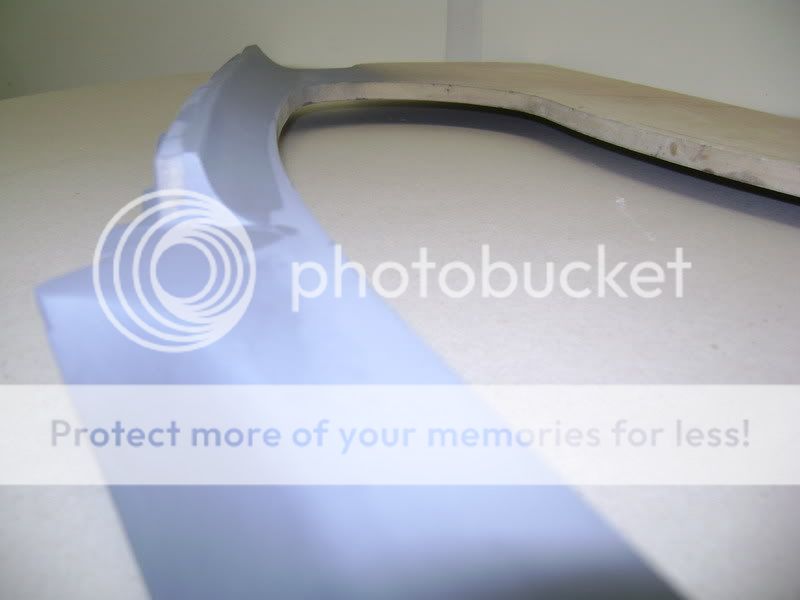
On this pic i show you were i've stopped with the curver. the staight mdf piece will eventually become round. i really hate straight lines!

Focal Beryllium BMW - Page 3 -- posted image.

robolop 
Copper - Posts: 157
Copper spacespace
Joined: October 26, 2008
Posted: August 21, 2009 at 1:46 PM / IP Logged Link to Post Post Reply Quote robolop

These 2 holes will be used to guide the speakerwires. I've made them big enough so that it doesn't create friction when the entire things moves up and down.

Focal Beryllium BMW - Page 3 -- posted image.

In the meanwhile i've reinforced the suspension of the cross over tray and spray painted it black

Focal Beryllium BMW - Page 3 -- posted image.

Focal Beryllium BMW - Page 3 -- posted image.

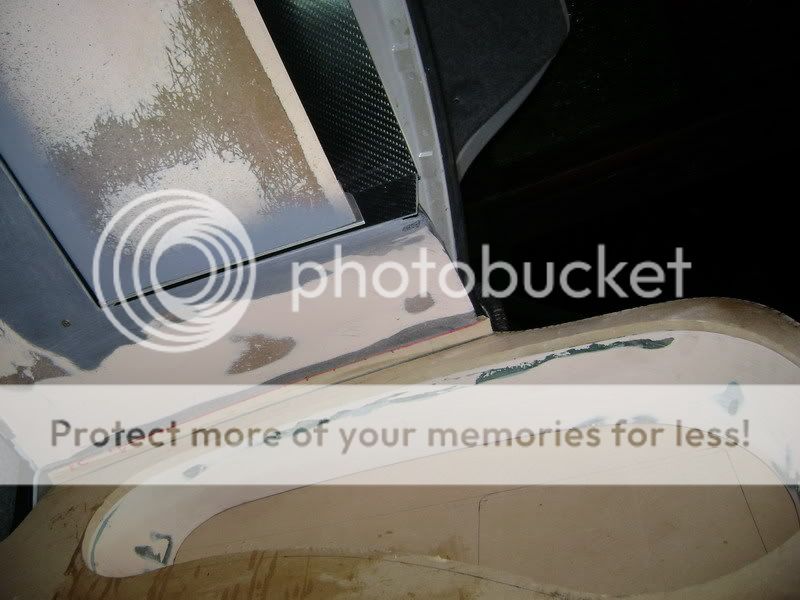
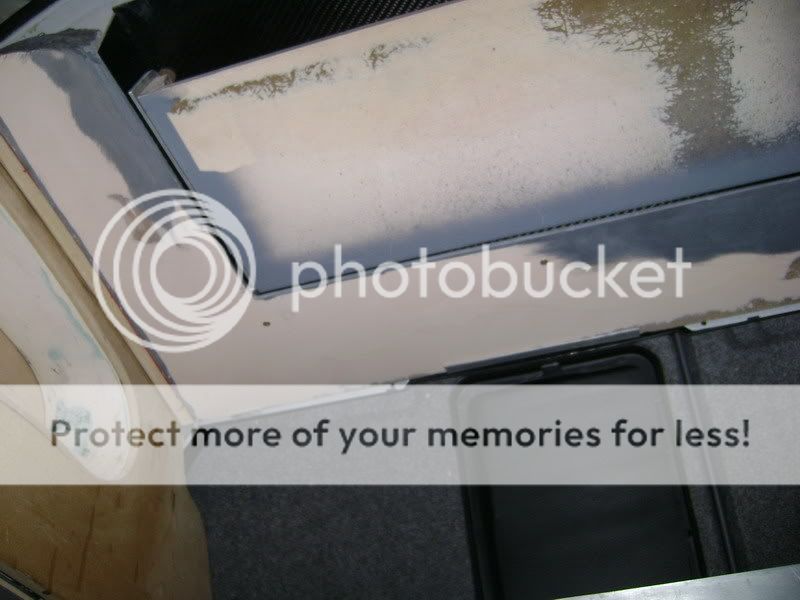
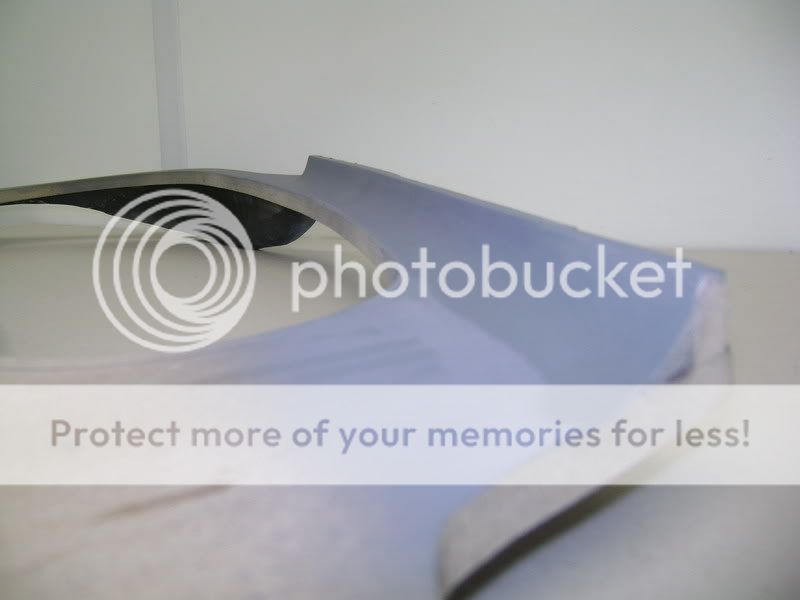
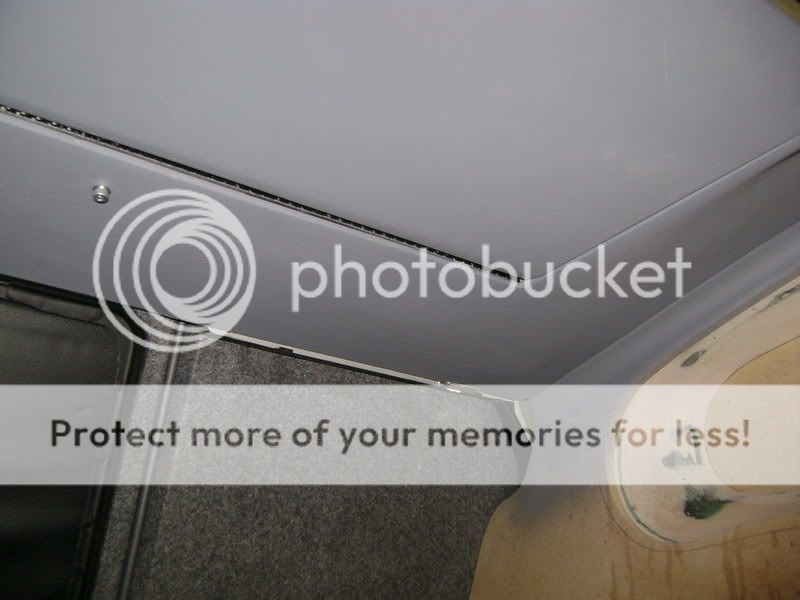
I've also modified the tray itself. As you can see, the alloy and plexi parts are no longer going all the way down.

Focal Beryllium BMW - Page 3 -- posted image.

Focal Beryllium BMW - Page 3 -- posted image.

I've also modified the curver here and there.

Focal Beryllium BMW - Page 3 -- posted image.

Focal Beryllium BMW - Page 3 -- posted image.

Focal Beryllium BMW - Page 3 -- posted image.

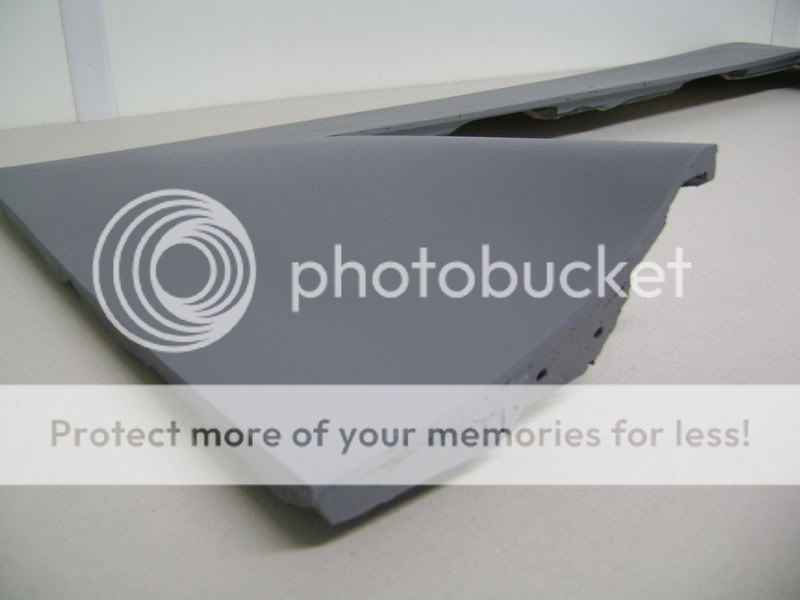
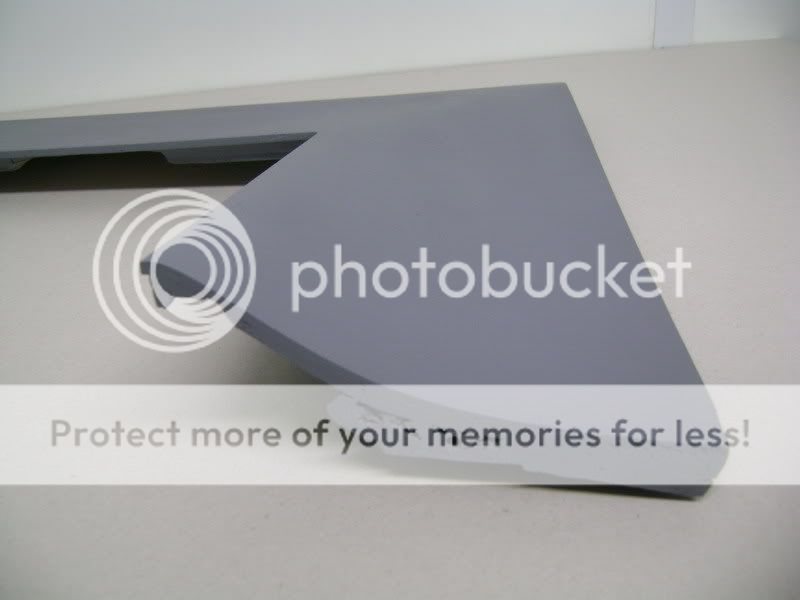
I created some nice curves on the side pannels so that they nicely fit te curver.

Focal Beryllium BMW - Page 3 -- posted image.

Focal Beryllium BMW - Page 3 -- posted image.

Focal Beryllium BMW - Page 3 -- posted image.

Focal Beryllium BMW - Page 3 -- posted image.

Focal Beryllium BMW - Page 3 -- posted image.

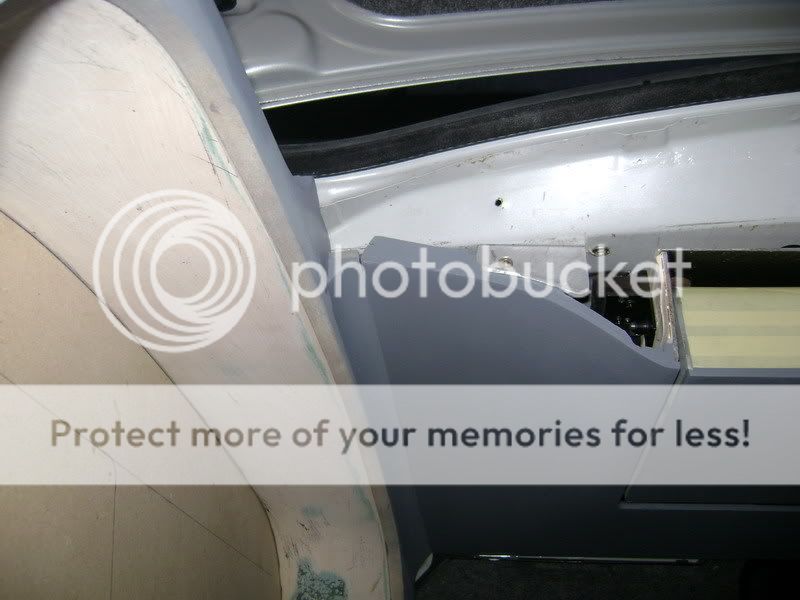
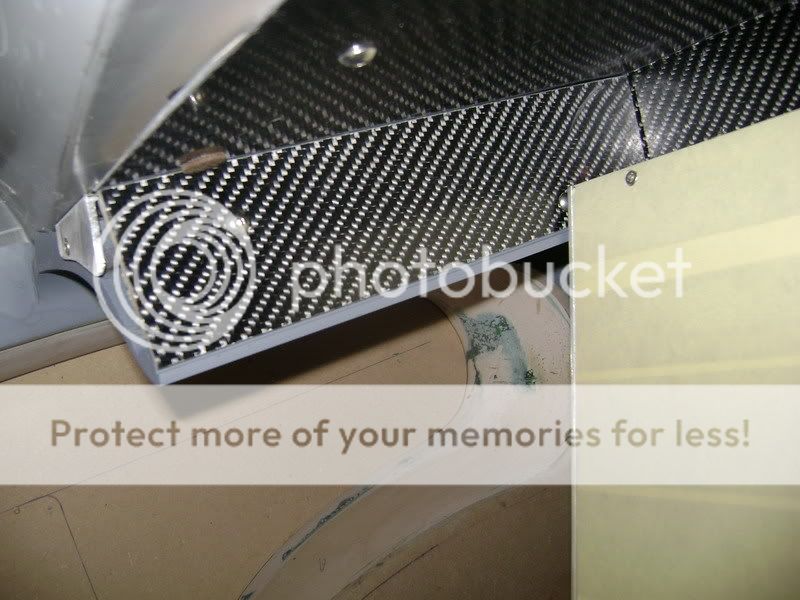
I've mounted a alloy bracket left and right xich will be used to hold the curver.

Focal Beryllium BMW - Page 3 -- posted image.

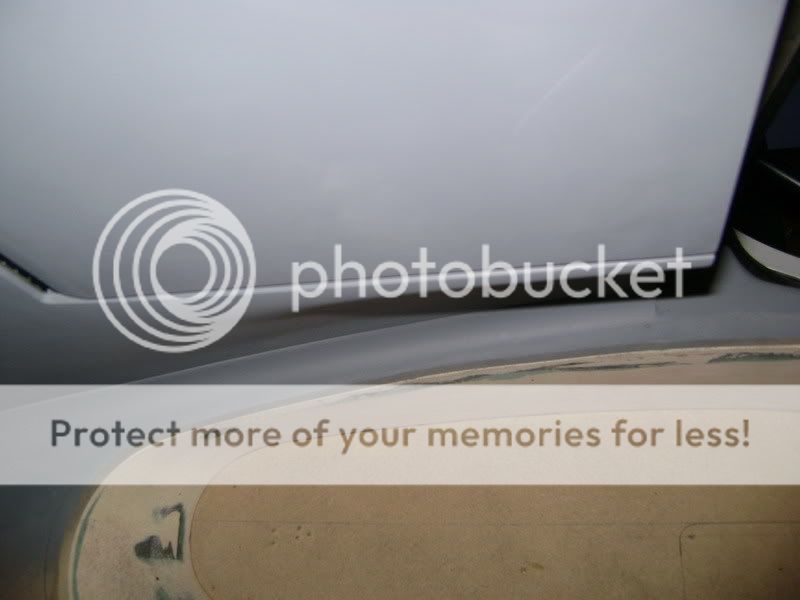
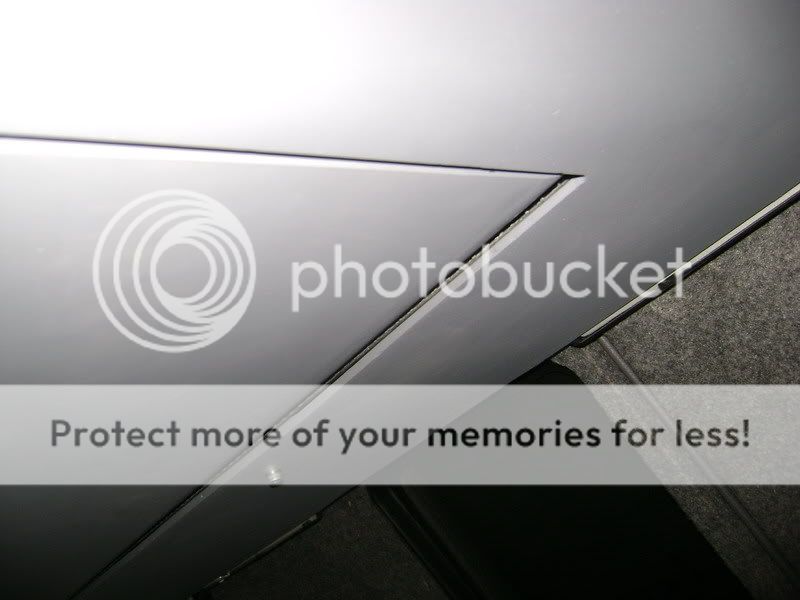
This is the minimum margin.

Focal Beryllium BMW - Page 3 -- posted image.

Focal Beryllium BMW - Page 3 -- posted image.

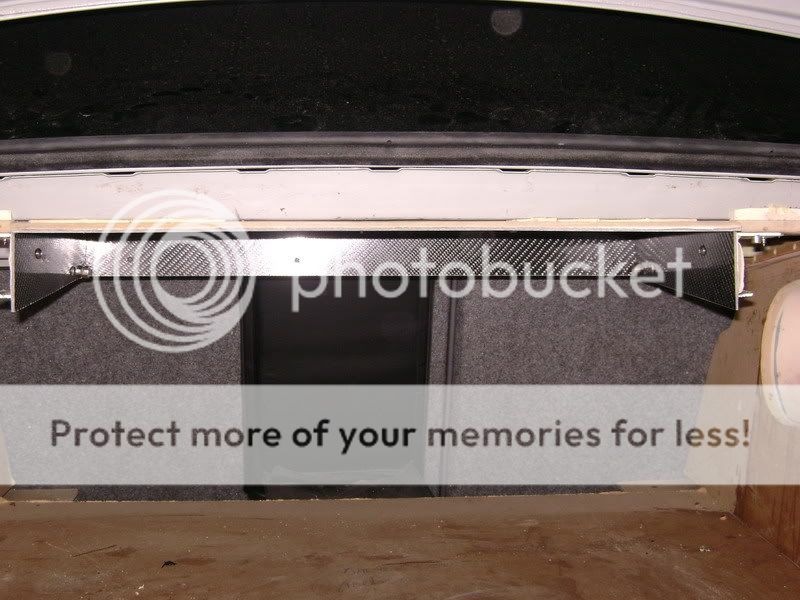
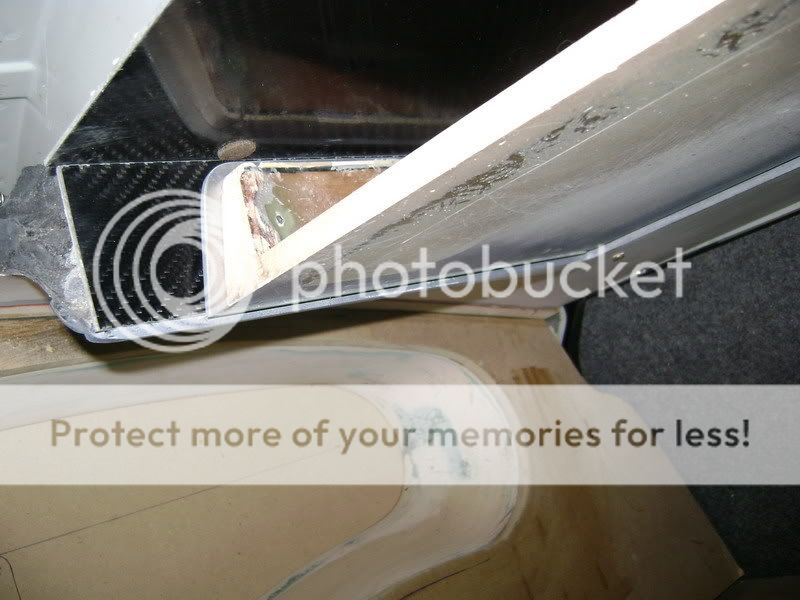
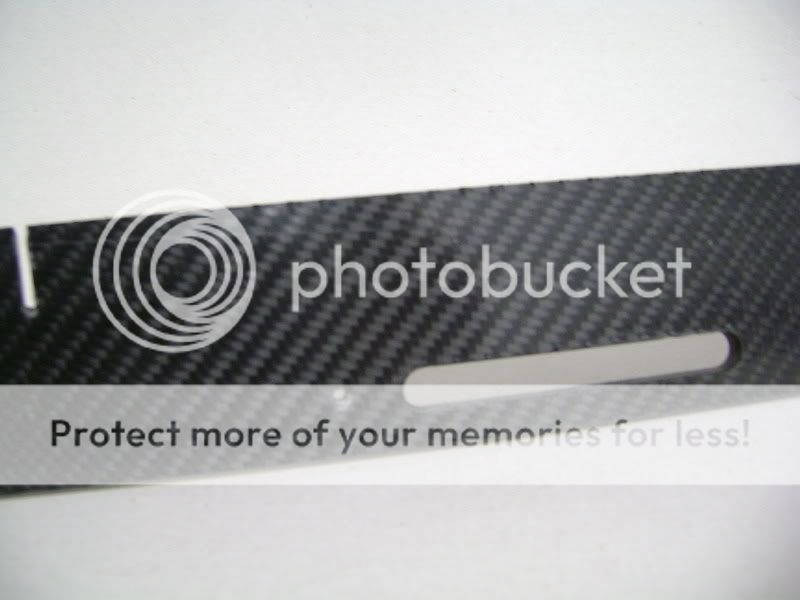
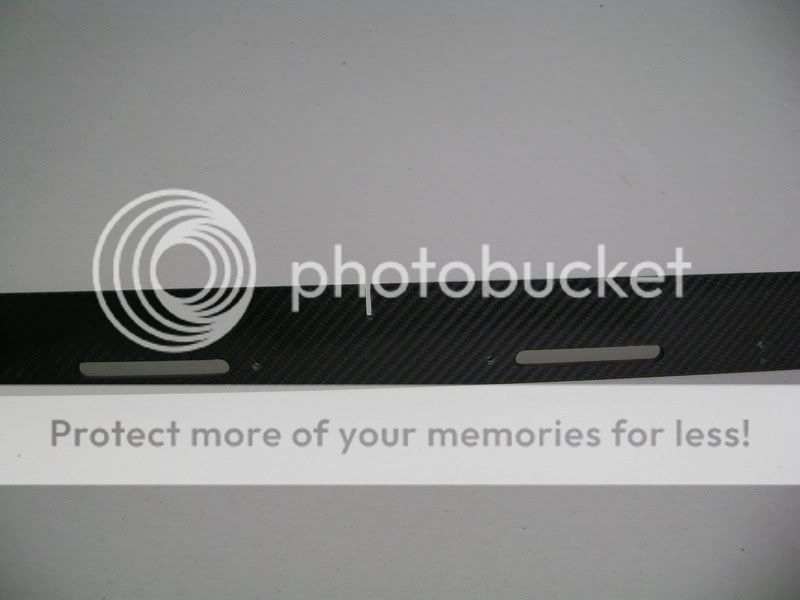
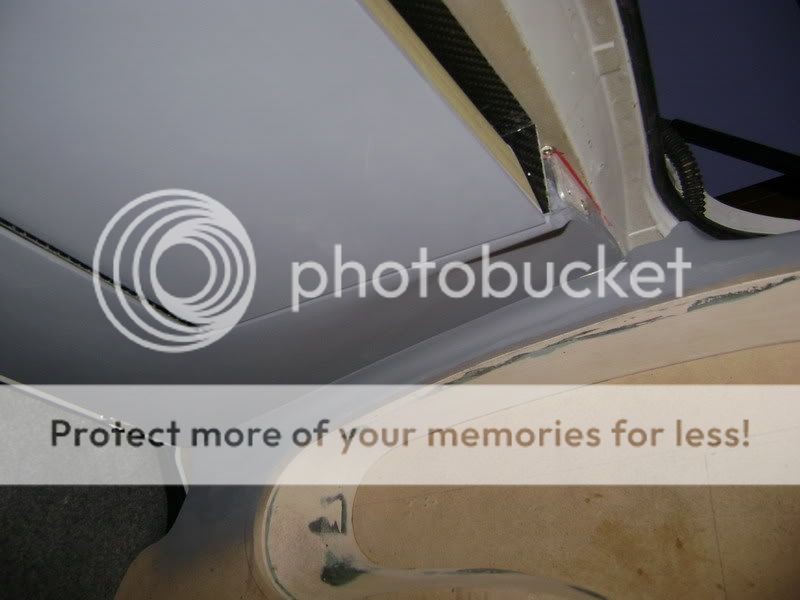
When opened, you see the small carbon border. I thing this is the nicest look.

Focal Beryllium BMW - Page 3 -- posted image.

Focal Beryllium BMW - Page 3 -- posted image.

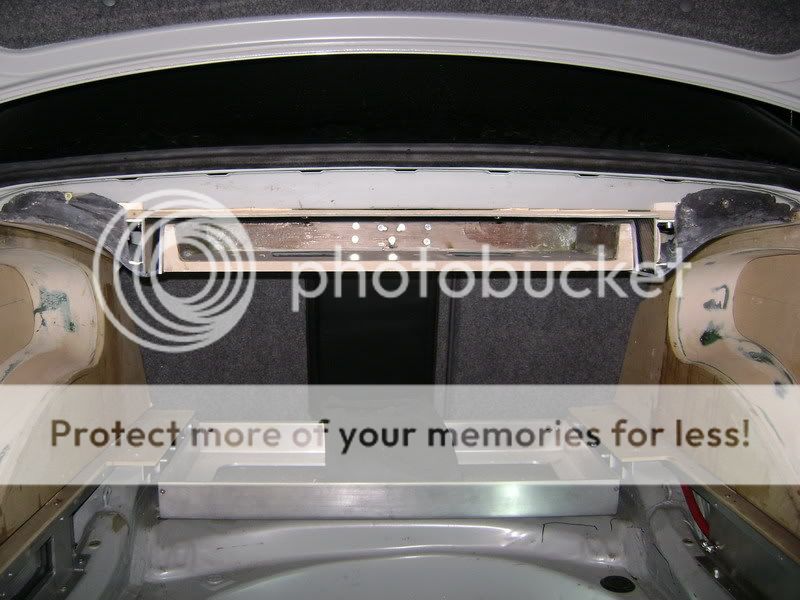
Overall picture

Focal Beryllium BMW - Page 3 -- posted image.

The front piece of this set up will be mounted seperately. This will be a huge task!

robolop 
Copper - Posts: 157
Copper spacespace
Joined: October 26, 2008
Posted: August 21, 2009 at 1:49 PM / IP Logged Link to Post Post Reply Quote robolop

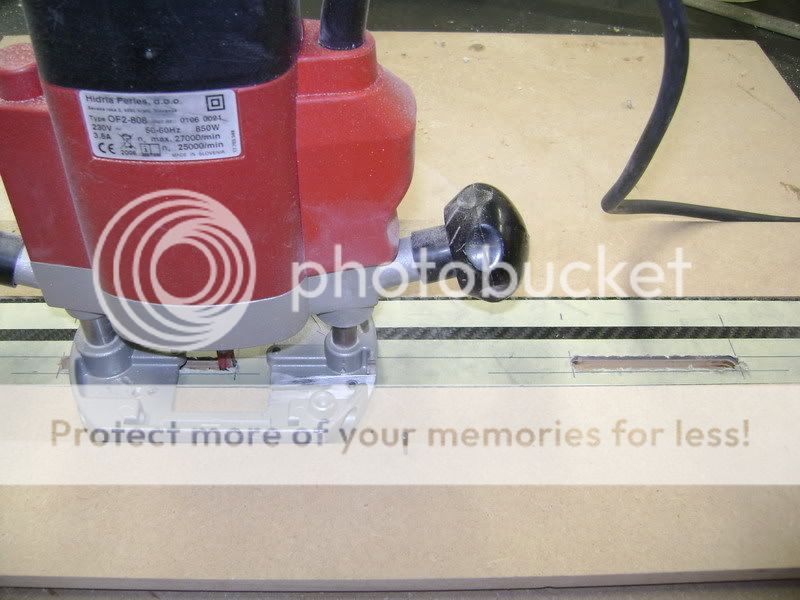
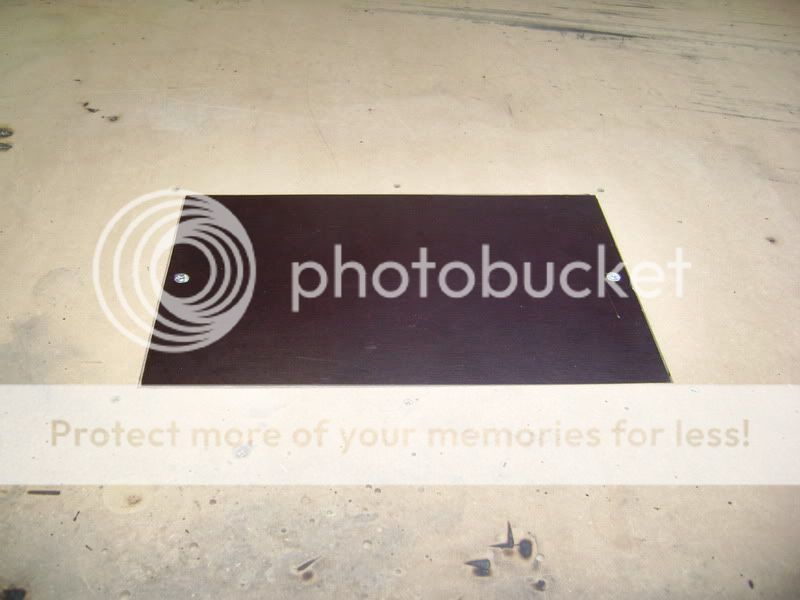
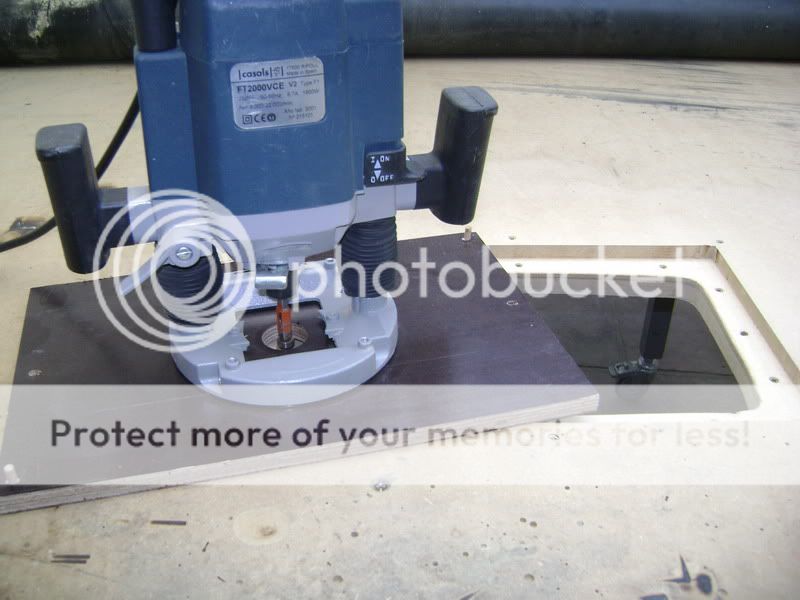
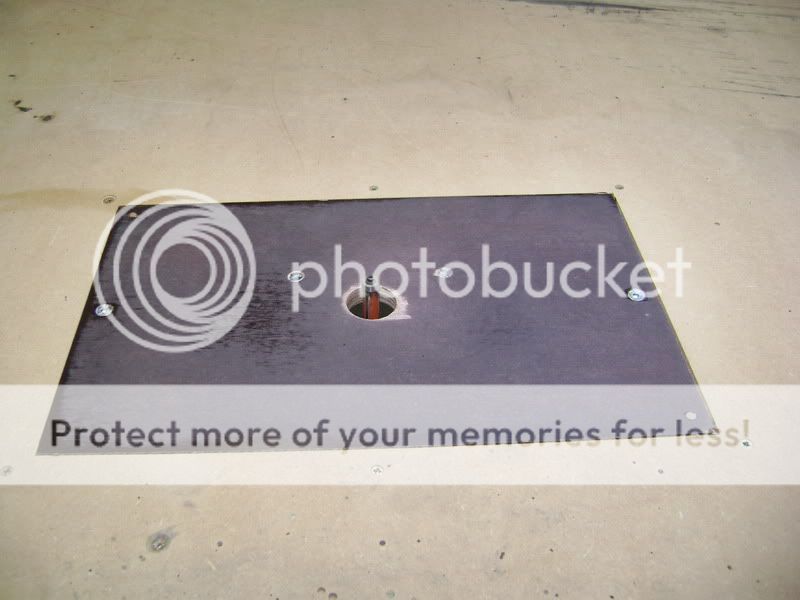
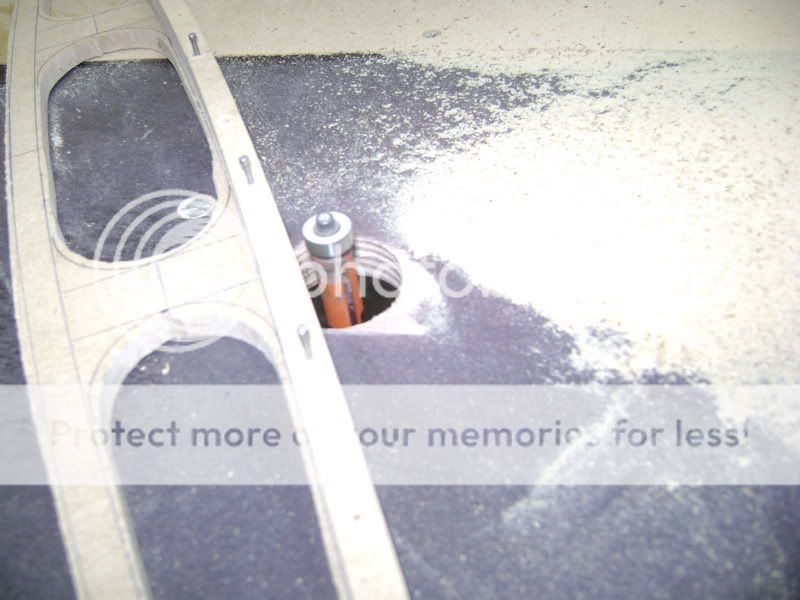
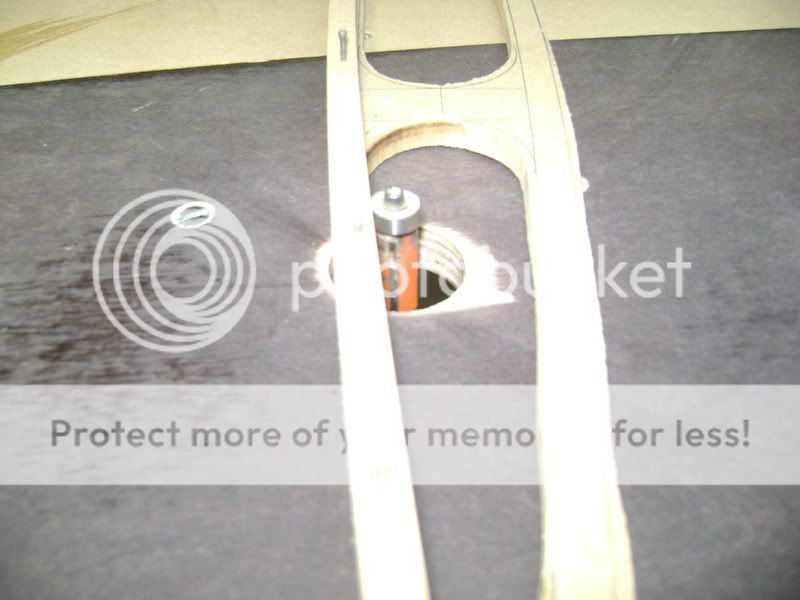
Because i had to mill some parts, i've integrated my uppermill in wy workbench.

Focal Beryllium BMW - Page 3 -- posted image.
Once this was done, i was ready to start. The alu part on this picture will be mounted on the frontside of the crossovertray.
First is made a dummy out of cardboard. This was necesary to have a preview of the actual result.
Focal Beryllium BMW - Page 3 -- posted image.

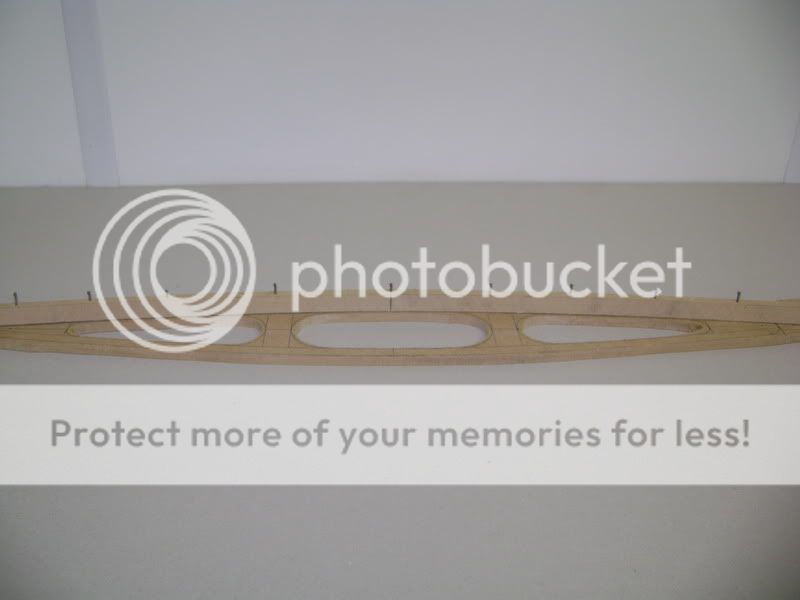
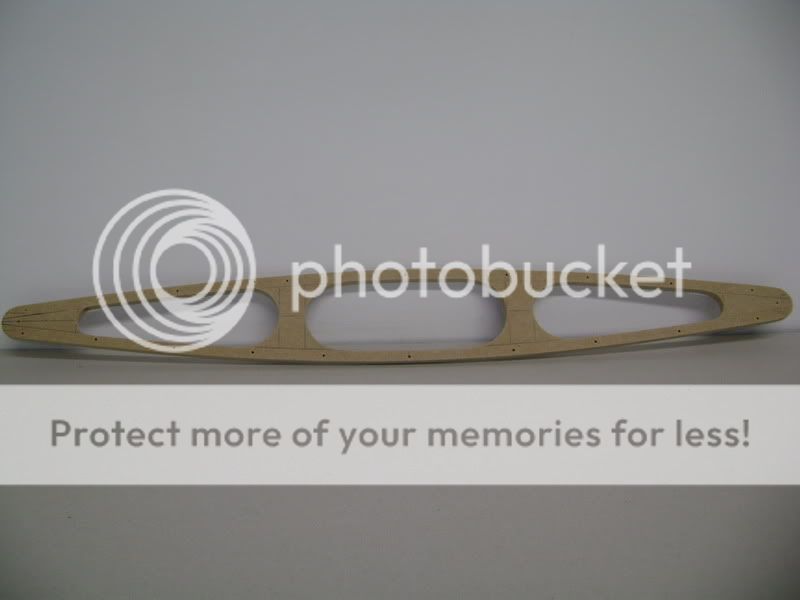
Afterwards i made a drawing on a 8mm MDF board

Focal Beryllium BMW - Page 3 -- posted image.

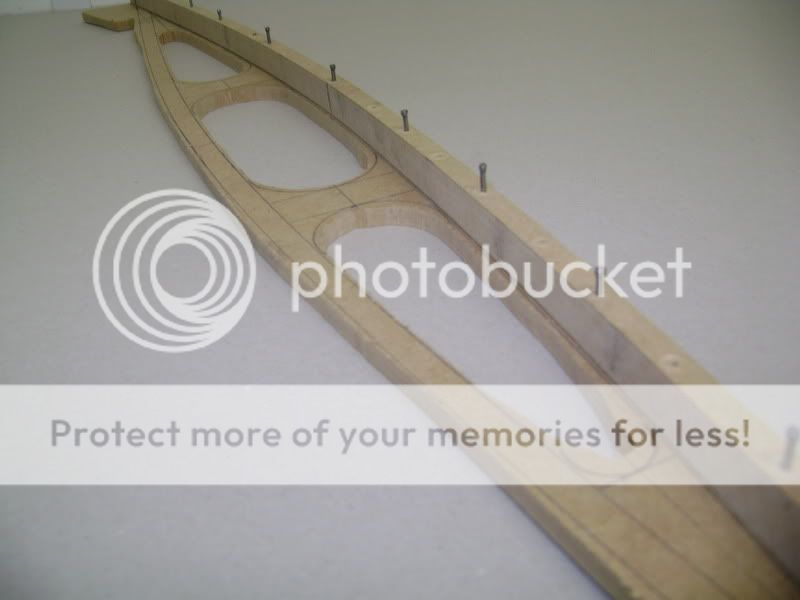
Afterwards i used an electrical saw to cut everything out.

Then i mounted a smal piece of wood on top of it, so that it was easy to work with my copymill

Focal Beryllium BMW - Page 3 -- posted image.

Focal Beryllium BMW - Page 3 -- posted image.

Focal Beryllium BMW - Page 3 -- posted image.

Focal Beryllium BMW - Page 3 -- posted image.

The 8 curves have been sanded by hand.

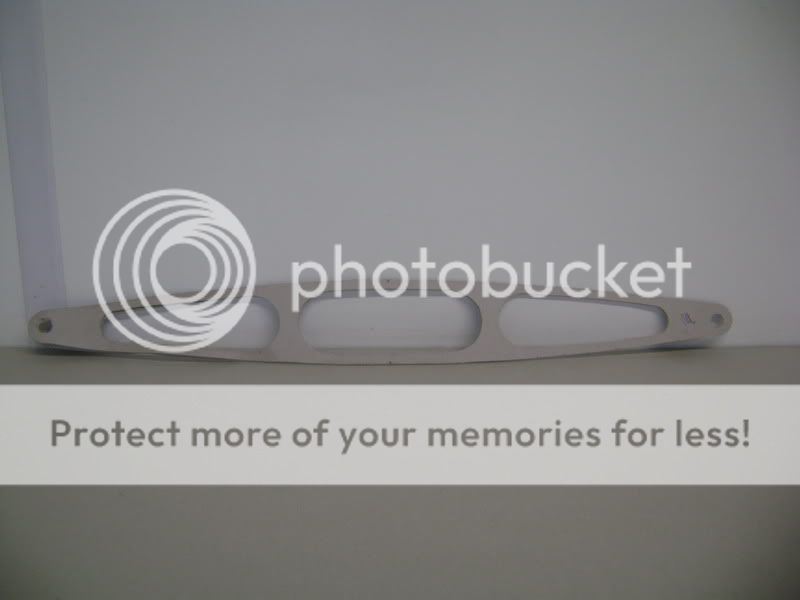
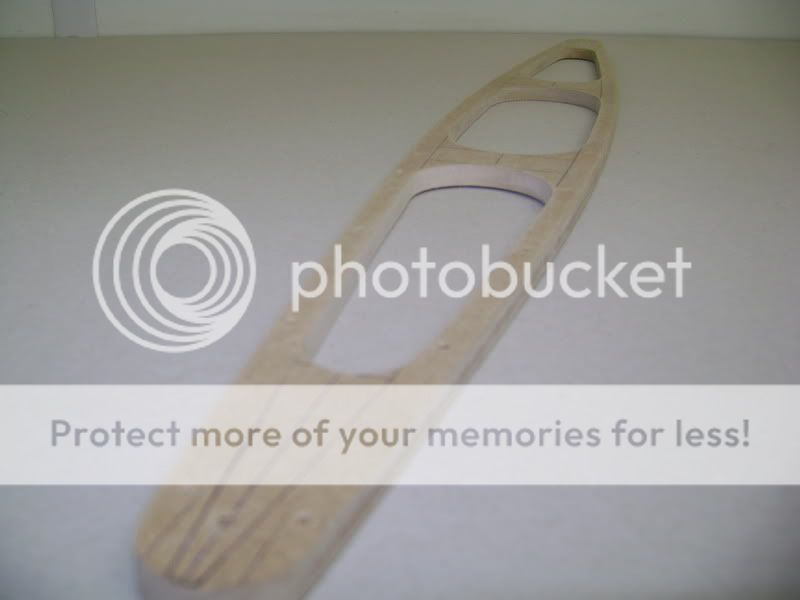
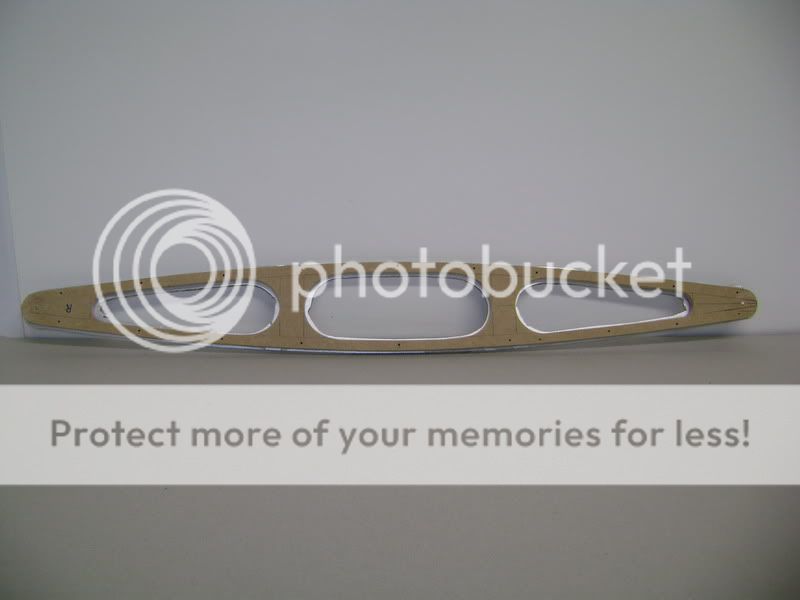
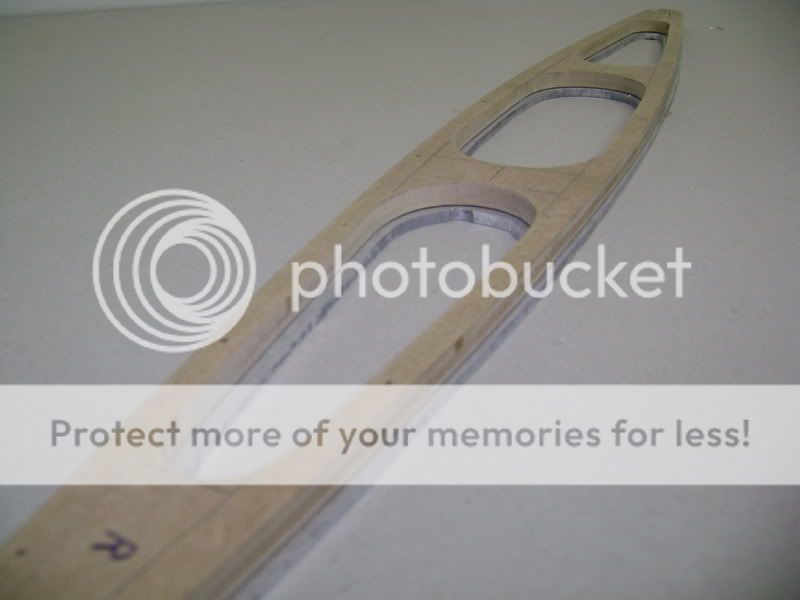
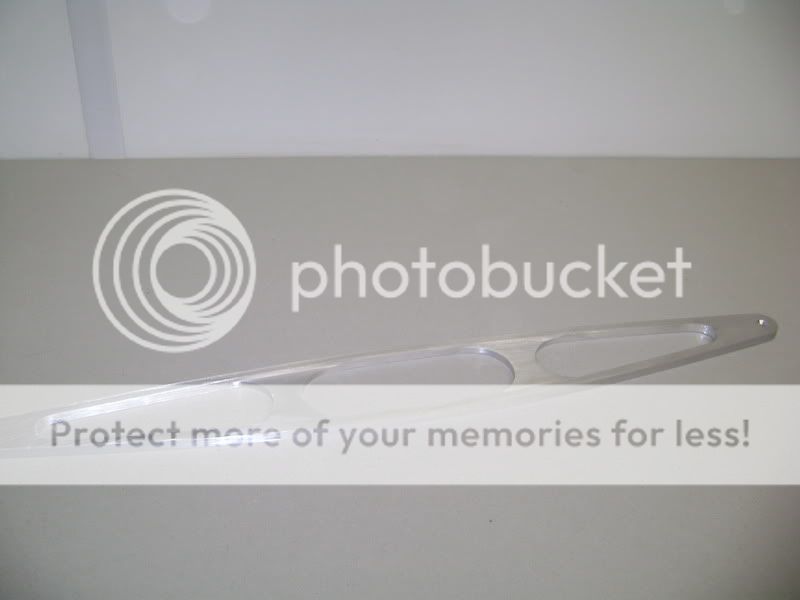
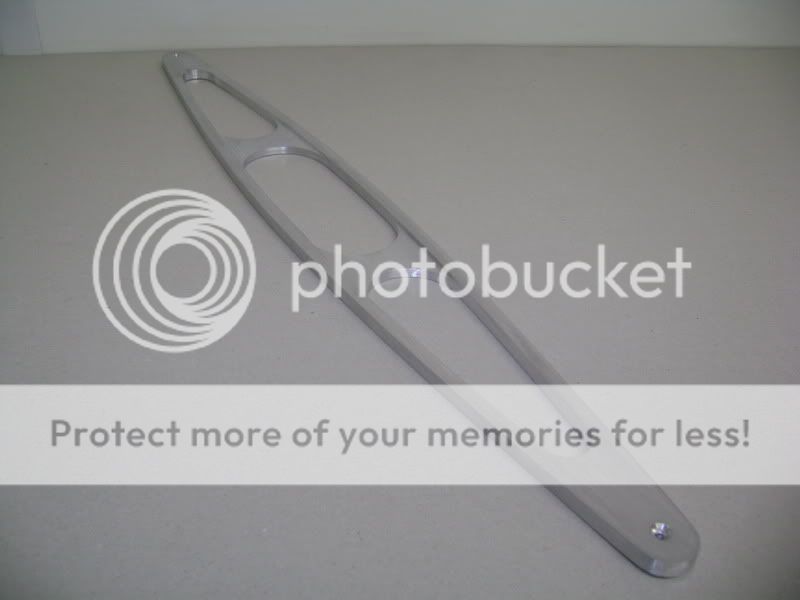
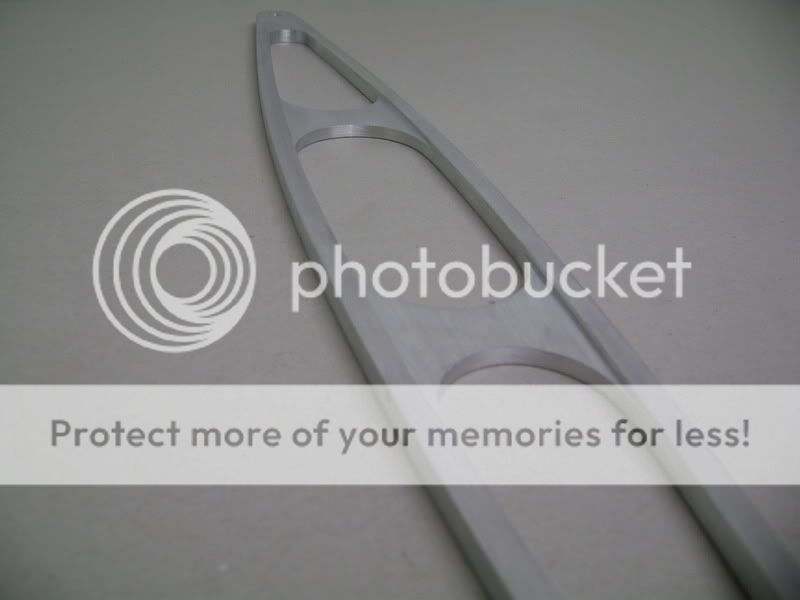
This is the model that will get milled out of aluminium

Focal Beryllium BMW - Page 3 -- posted image.

Focal Beryllium BMW - Page 3 -- posted image.

Here you can see that i've glued a 5mm alloy piece to the MDF board.

Focal Beryllium BMW - Page 3 -- posted image.

Focal Beryllium BMW - Page 3 -- posted image.

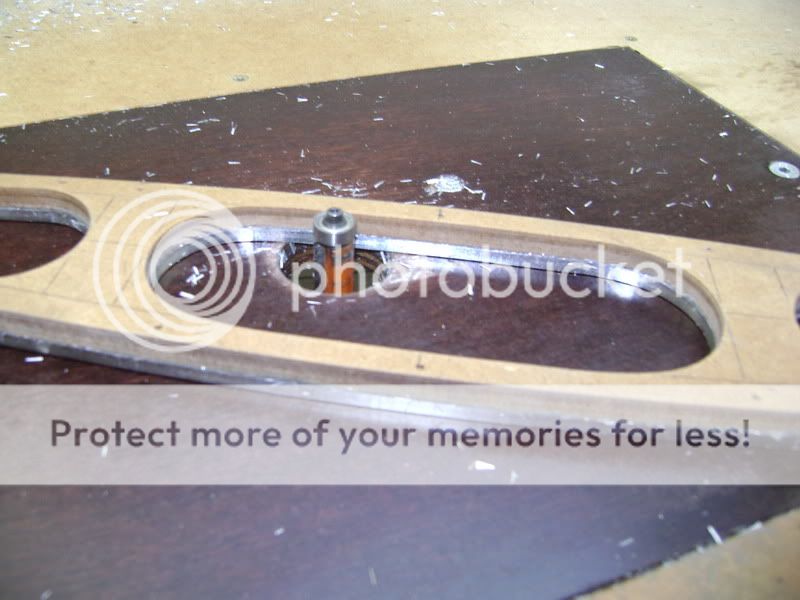
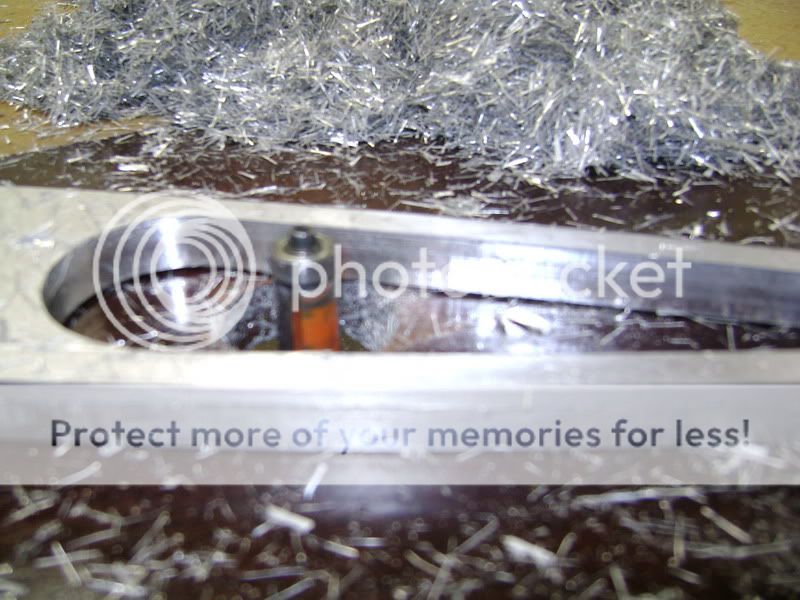
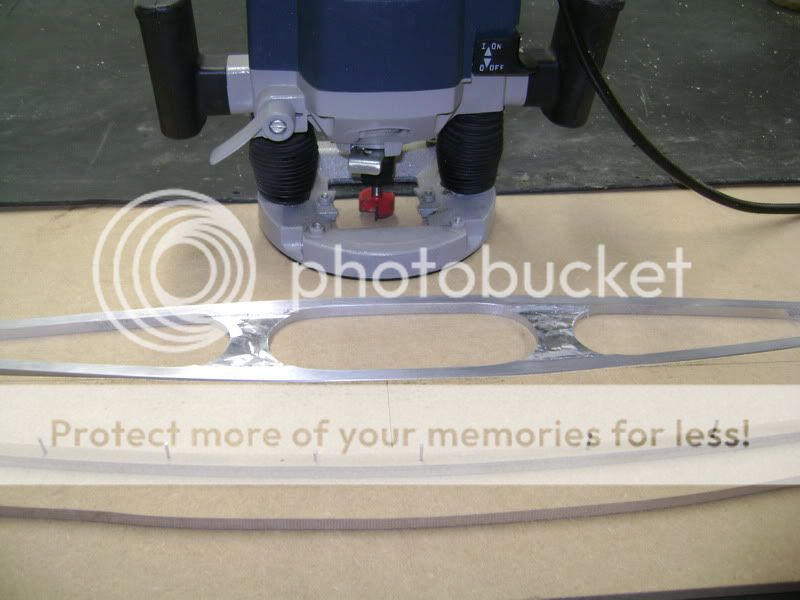
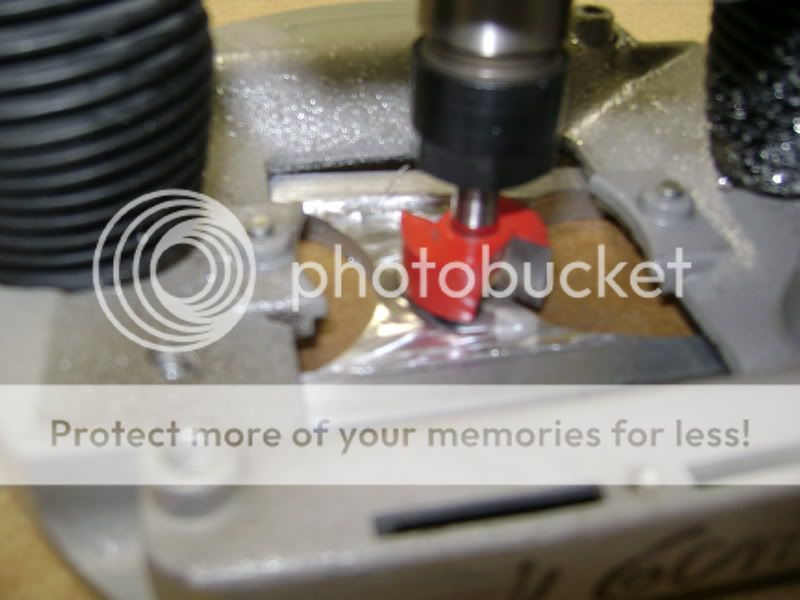
Afterwards i've used the copymill again to mill everything nice and easy...

Focal Beryllium BMW - Page 3 -- posted image.

Once everything was ready i found it rather *****. I didn't like the result because it was too thin.

So i took another 8mm aluminium piece en started all over again.
As you can see, i've used the original 4mm part as a mould for the new 8mm part.

Focal Beryllium BMW - Page 3 -- posted image.

Focal Beryllium BMW - Page 3 -- posted image.

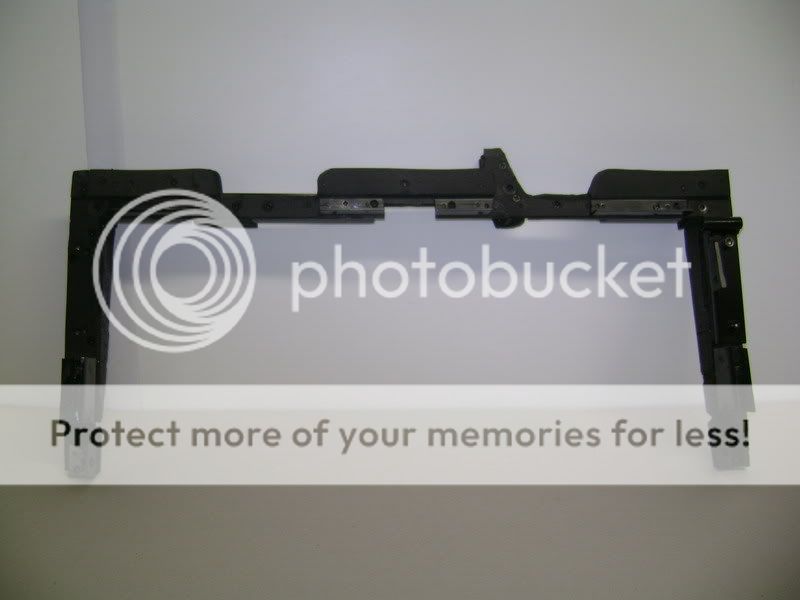
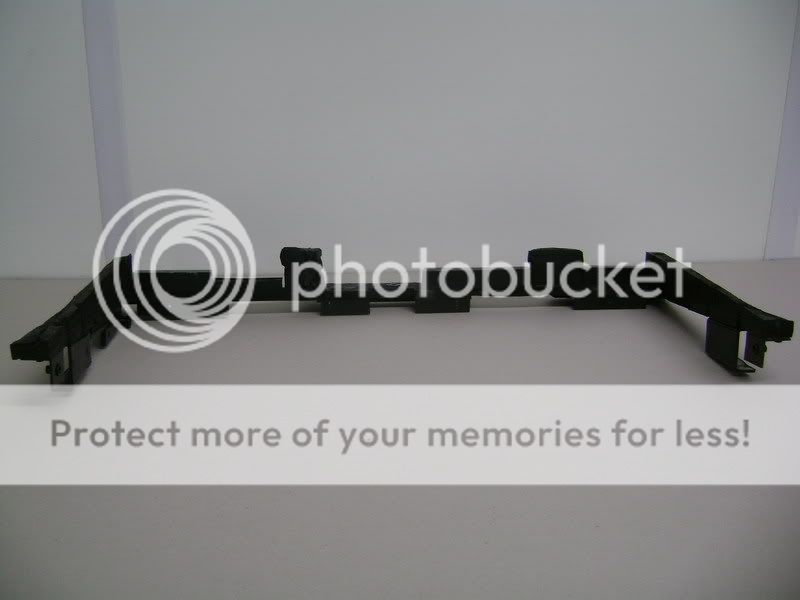
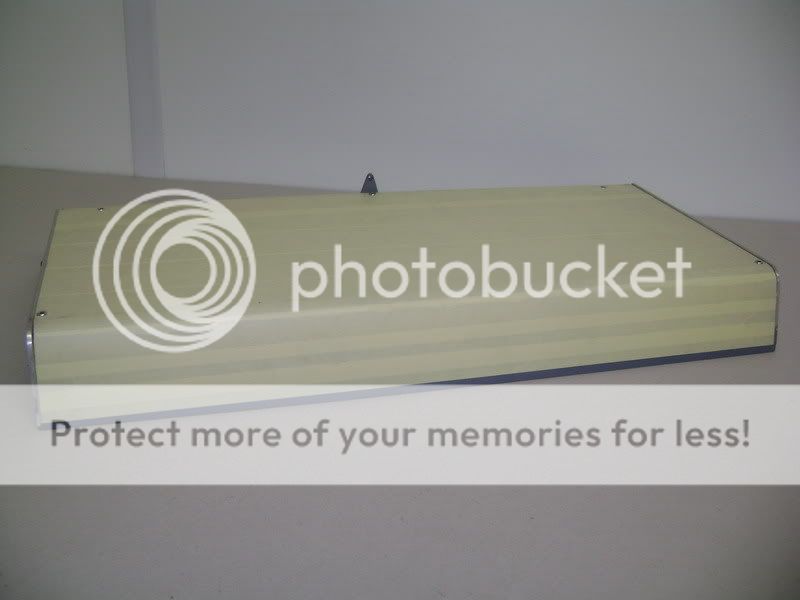
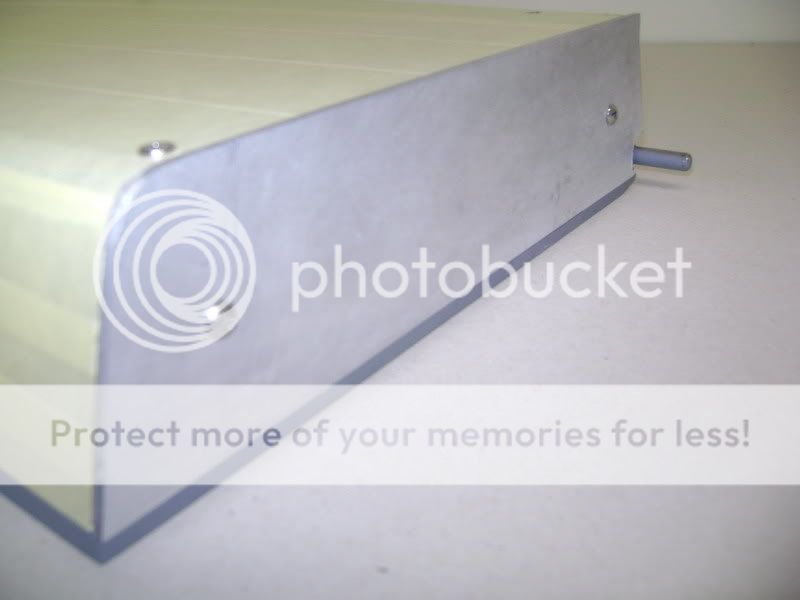
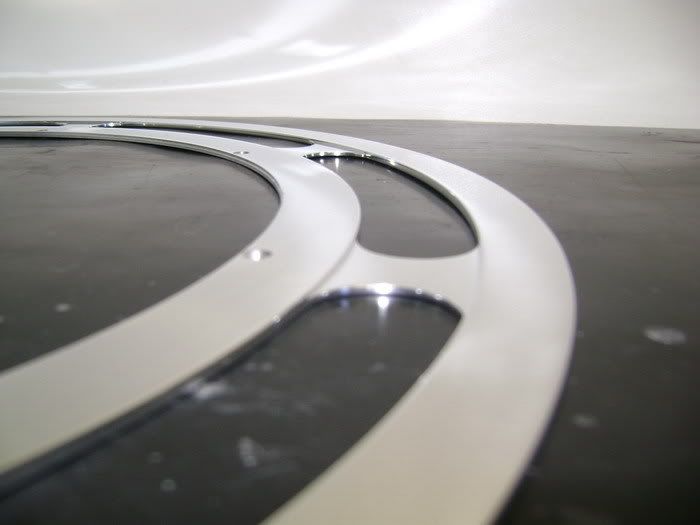
To obtain the same design as the grill on the subbox, i had to work magic.

Remember this??? The difference between the holes.

Focal Beryllium BMW - Page 3 -- posted image.

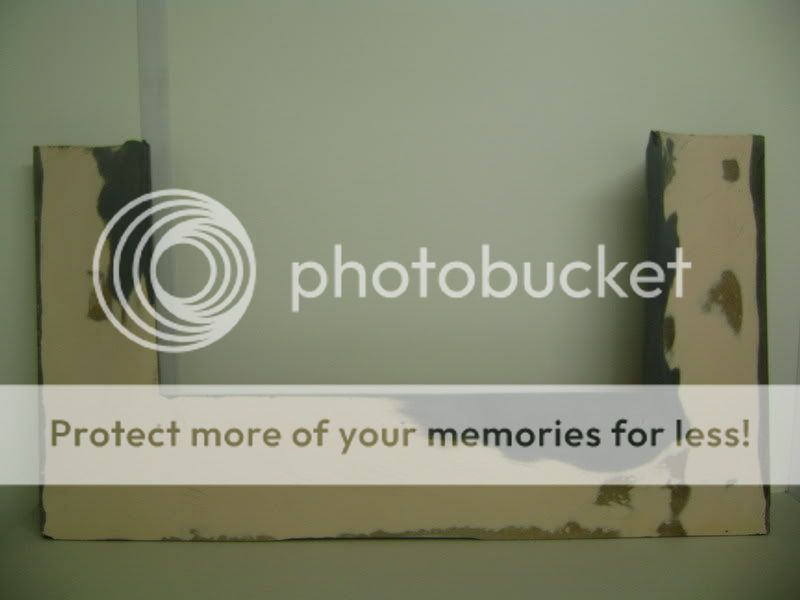
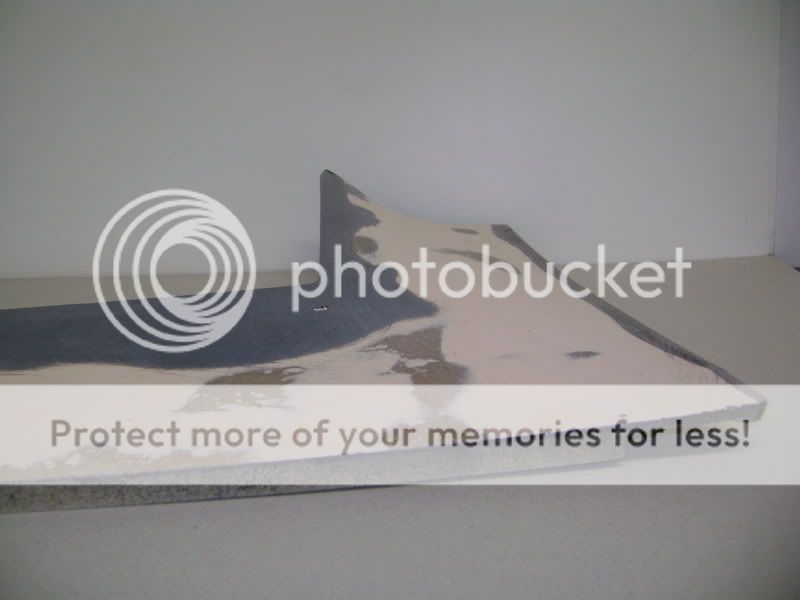
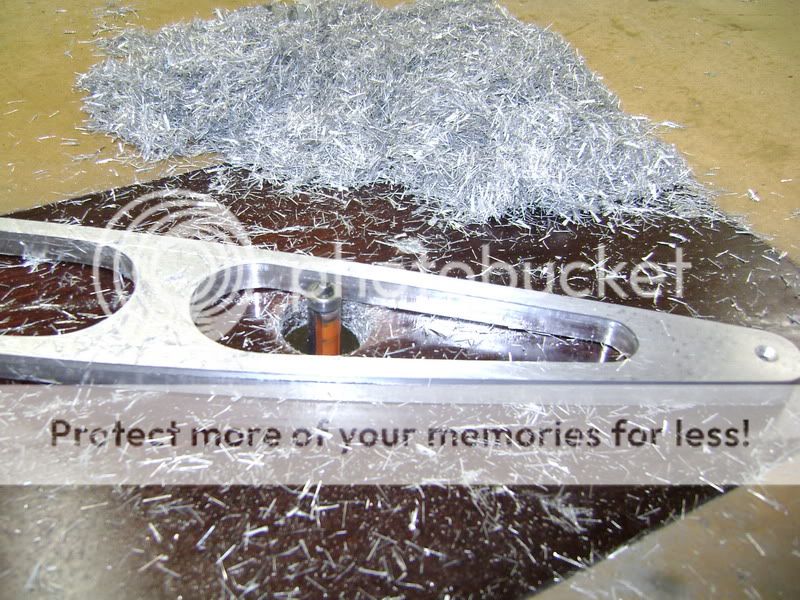
First i made a board with a thickness of 8mm so that myuppermill couldn't flip over.

Focal Beryllium BMW - Page 3 -- posted image.

Then i've milled out the 2 parts. Here i've milled 3 mm deep.

Focal Beryllium BMW - Page 3 -- posted image.

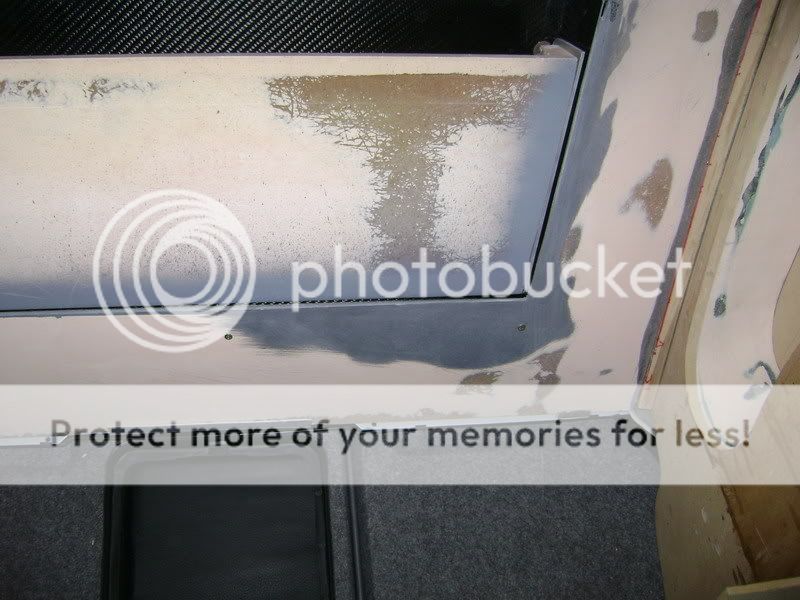
Now this piece had the same look as the grill.

Focal Beryllium BMW - Page 3 -- posted image.

Focal Beryllium BMW - Page 3 -- posted image.

Focal Beryllium BMW - Page 3 -- posted image.

It took me about 8 hours to make this part.

Now it needs some more hours to sand and pollish it.
That's what they call: making an alloy piece..

Page of 17

  Printable version Printable version Post ReplyPost New Topic
You cannot post new topics in this forum
You cannot reply to topics in this forum
You cannot delete your posts in this forum
You cannot edit your posts in this forum
You cannot create polls in this forum
You cannot vote in polls in this forum

  •  
Search the12volt.com
Follow the12volt.com Follow the12volt.com on Facebook
Thursday, December 5, 2024 • Copyright © 1999-2024 the12volt.com, All Rights Reserved Privacy Policy & Use of Cookies
Disclaimer: *All information on this site ( the12volt.com ) is provided "as is" without any warranty of any kind, either expressed or implied, including but not limited to fitness for a particular use. Any user assumes the entire risk as to the accuracy and use of this information. Please verify all wire colors and diagrams before applying any information.
Secured by Sectigo
the12volt.com spacer
Support the12volt.com
Top
the12volt.com spacer