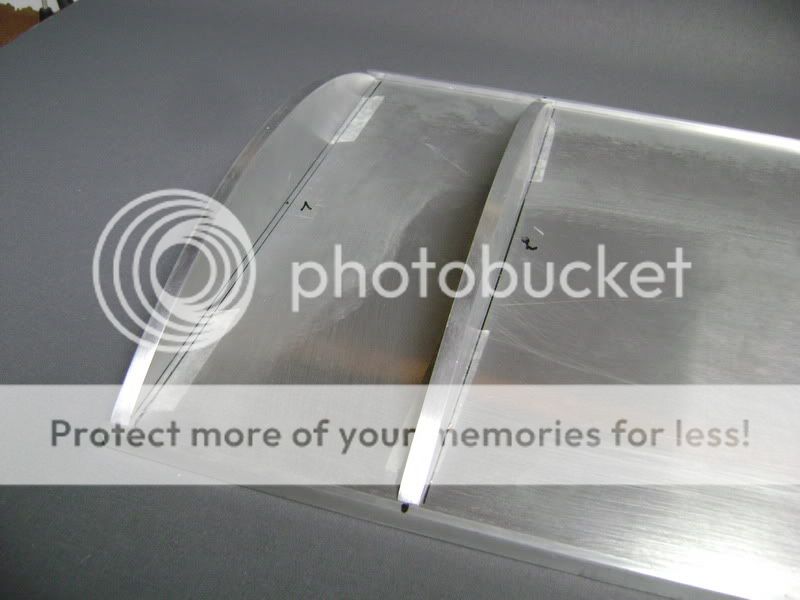
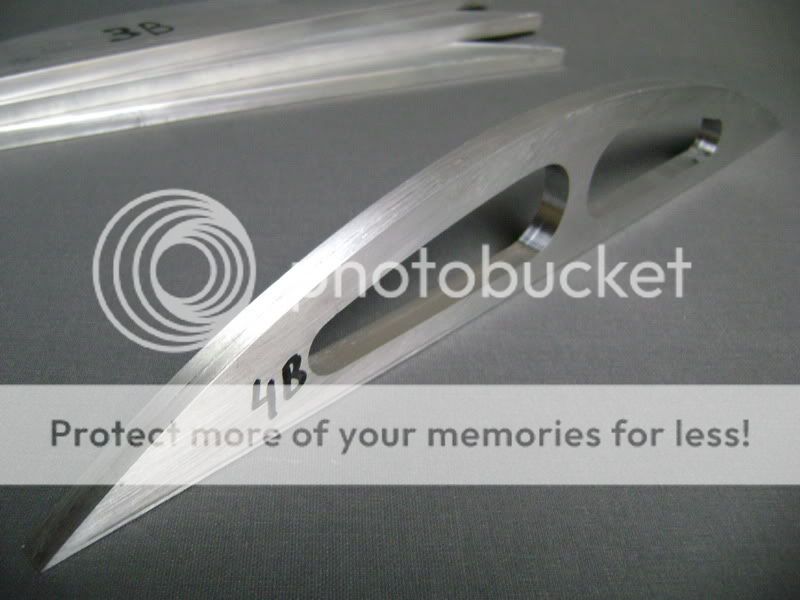
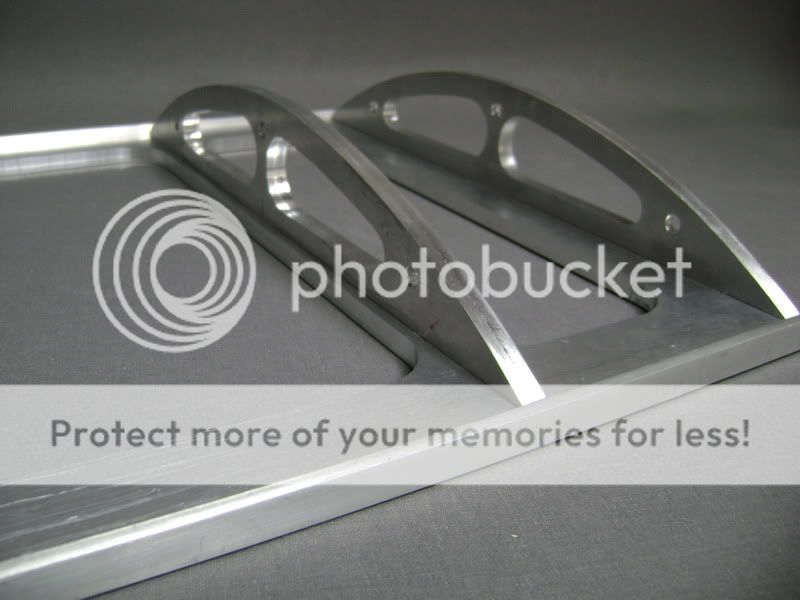
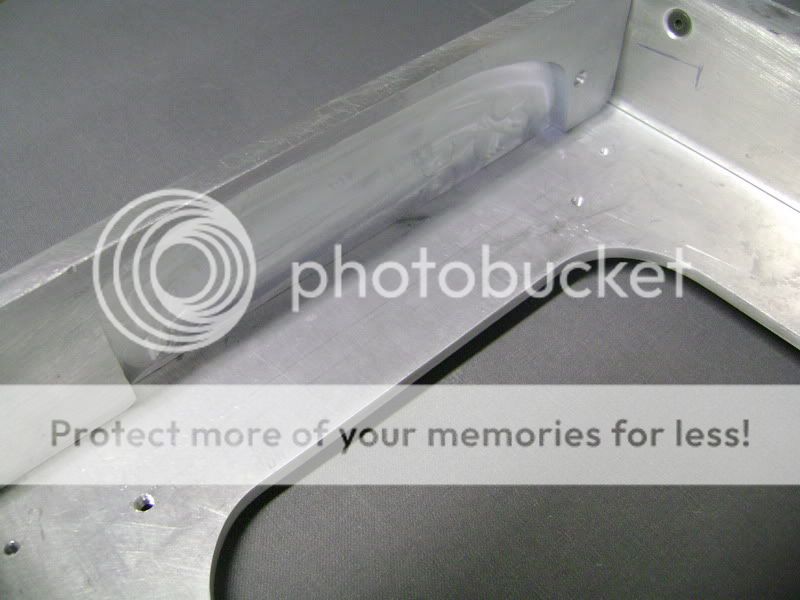
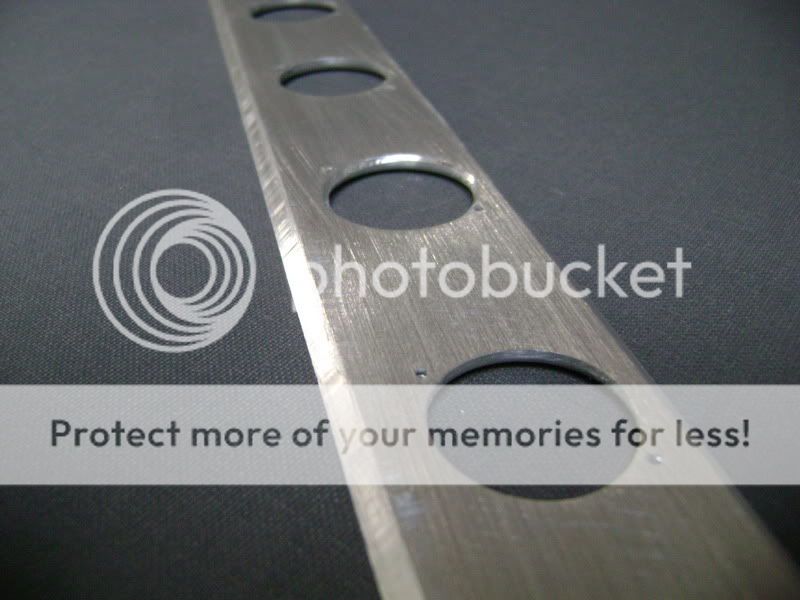
I made 4 aluminum supports of 8mm thick.
These have the same rounding as the plexi.
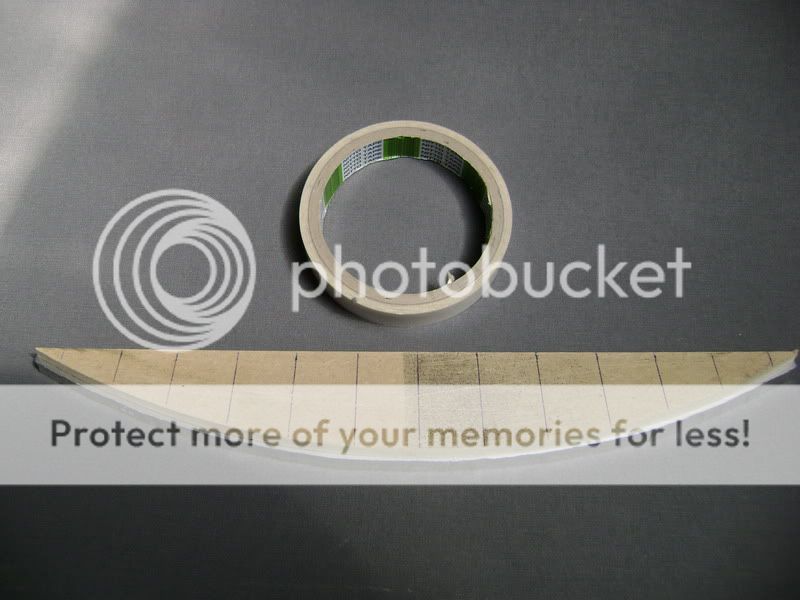
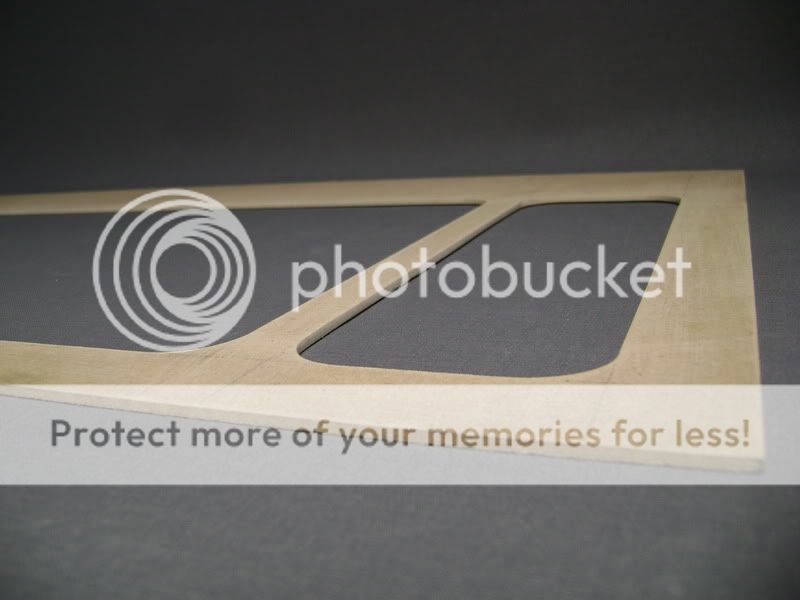
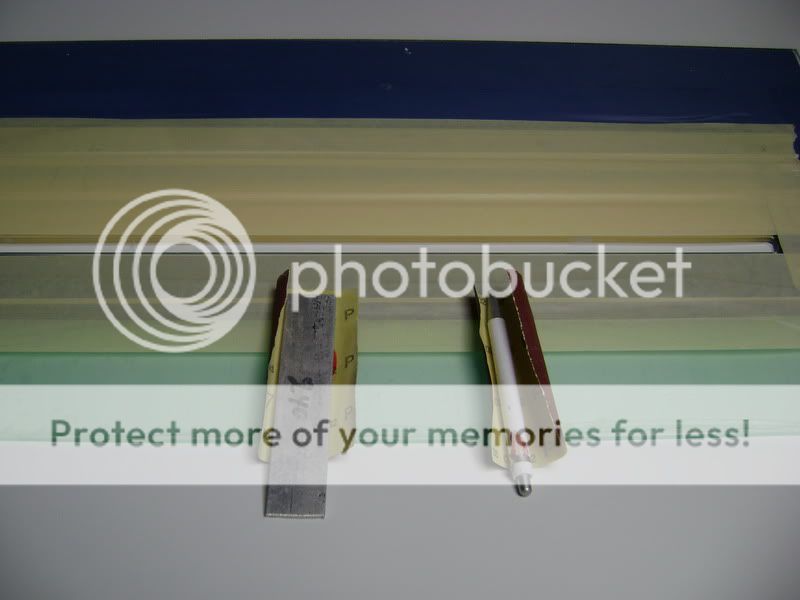
First, I made a mold out of mdf. After that, I drawed out the aluminum piece, and sawed it out.
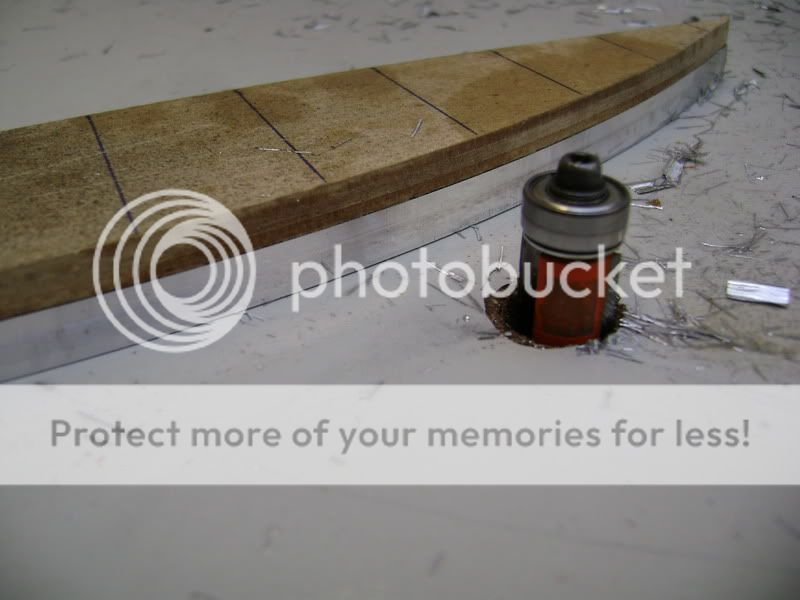
after that, with double sided tape, I sticked it all together.

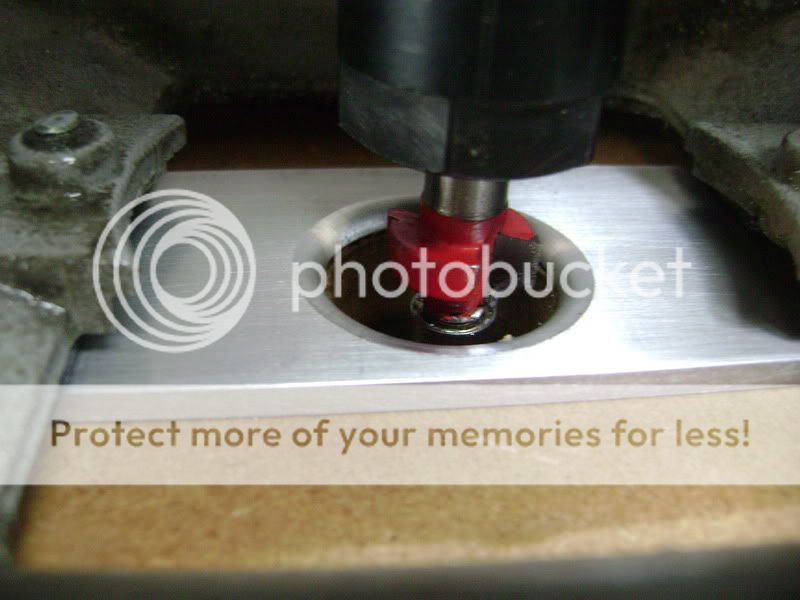
Once this was done, I held it all to the copy-mill
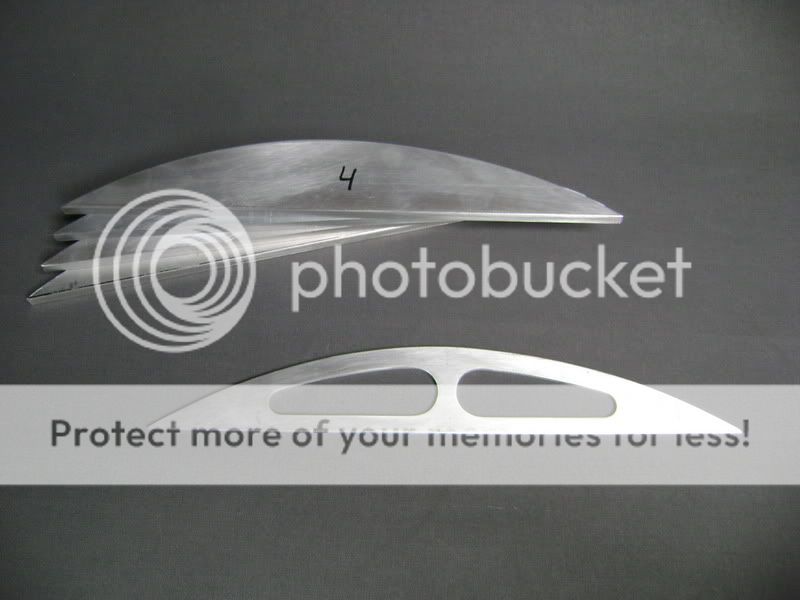
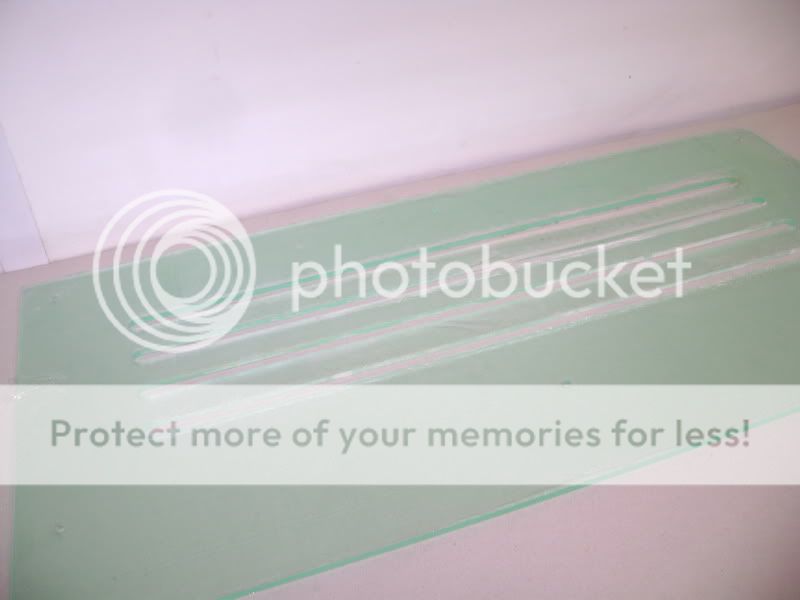
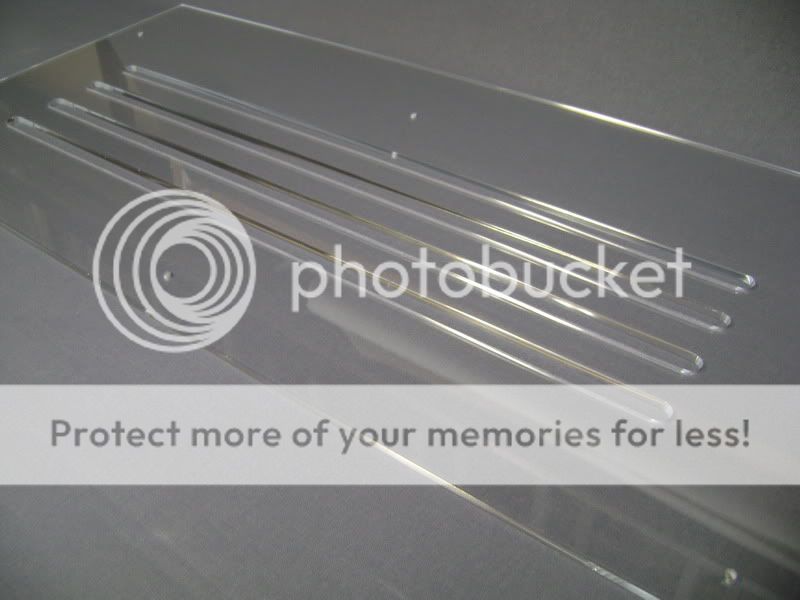
Here a picture of how it will look.

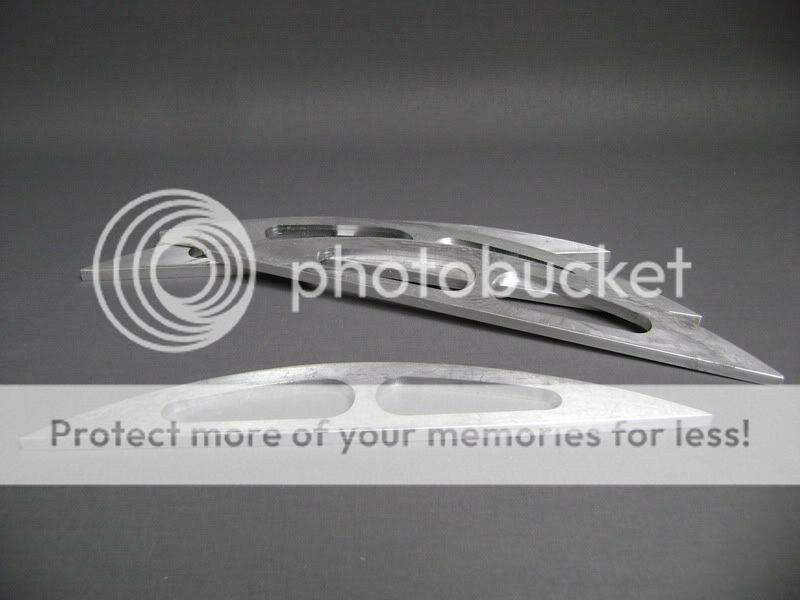
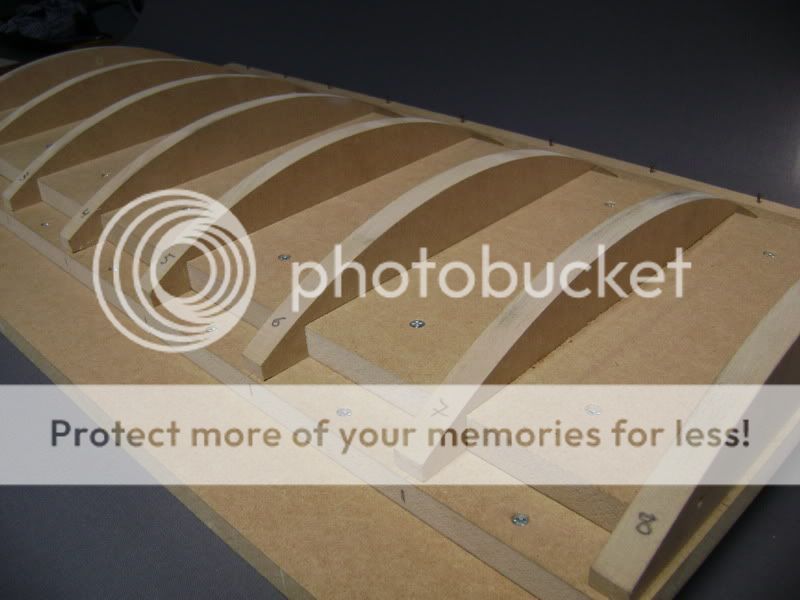
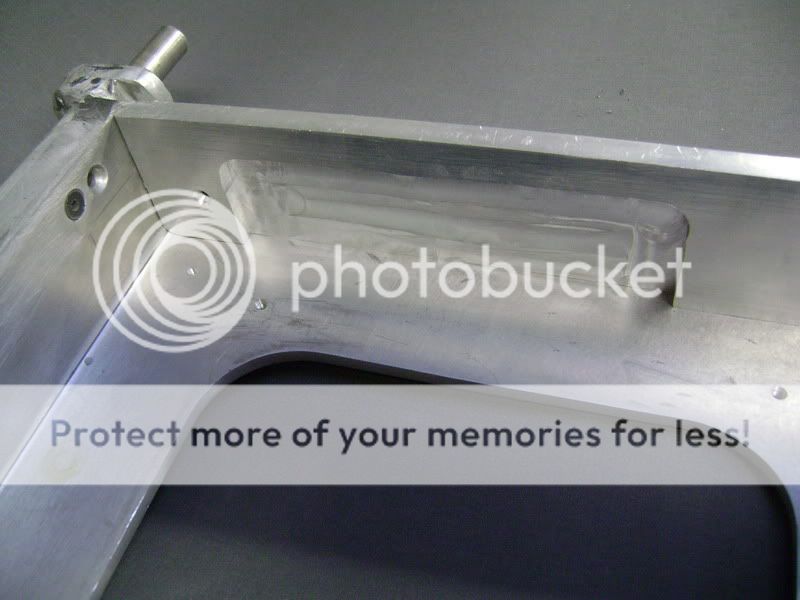
The next step was to modify the supports, cause it looks a bit simple like this.
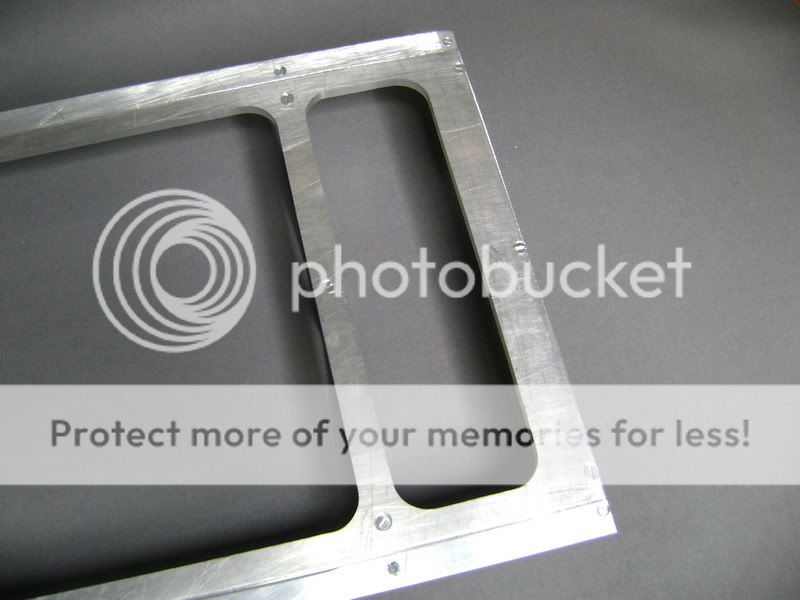
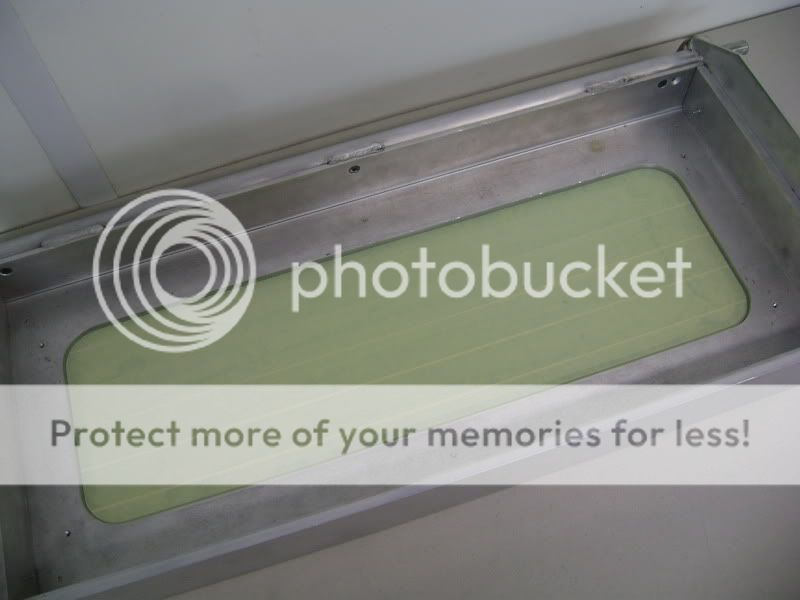
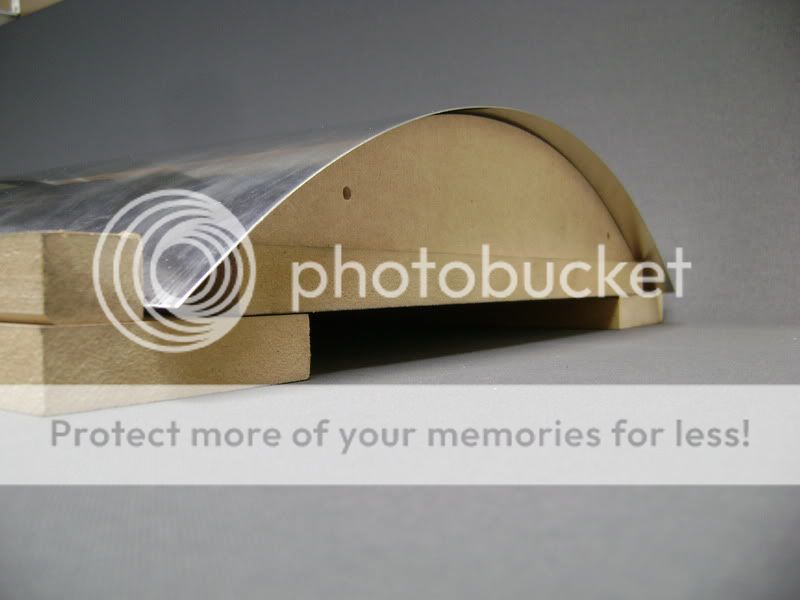
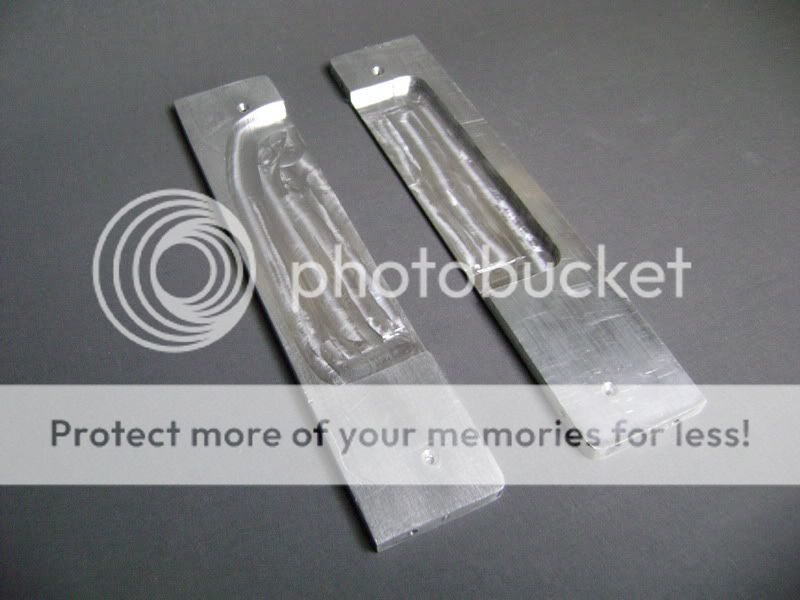
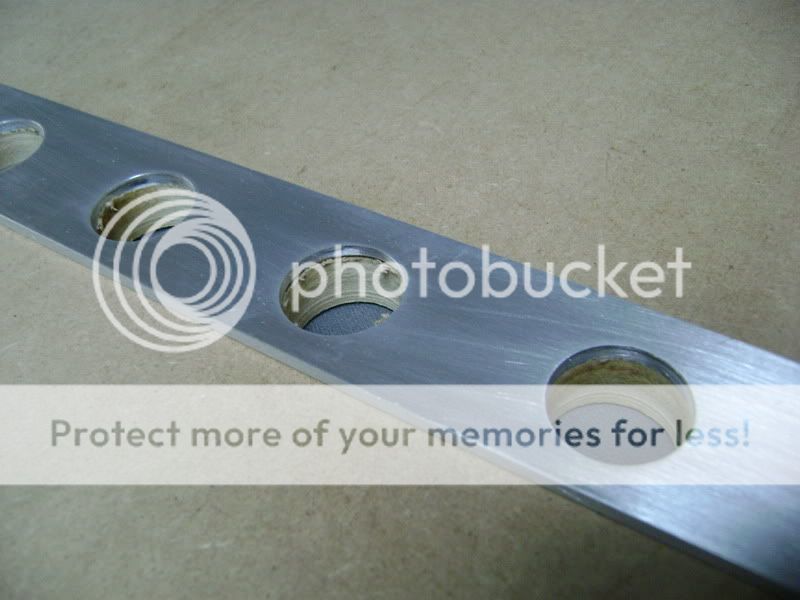
The lower plate is the model I made.
Its only 4mm thick.
In the piece I needed, I got rid off the aluminum, and sticked it all together again, and then got the mill back in there.

Looks way cooler according to me.


The other 3 will suffer the same cause.
The pattern looks good, but the support still doenst look the way I wanted too
So I guess Im going to modify this some more.
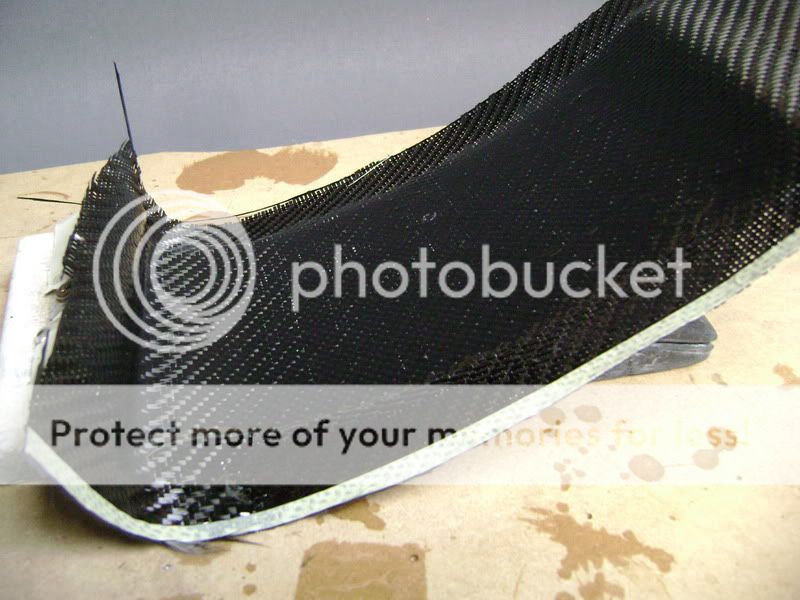
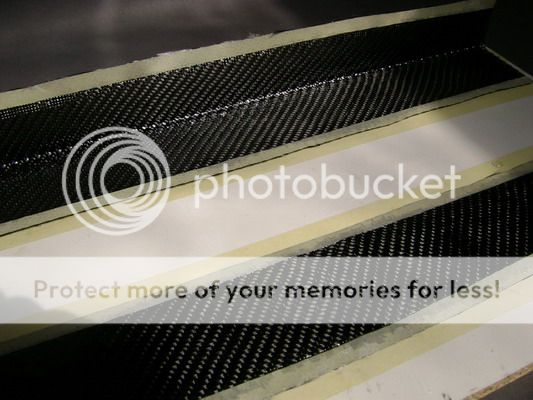
Too some issues I didn't get the chance to do much on the ICE.
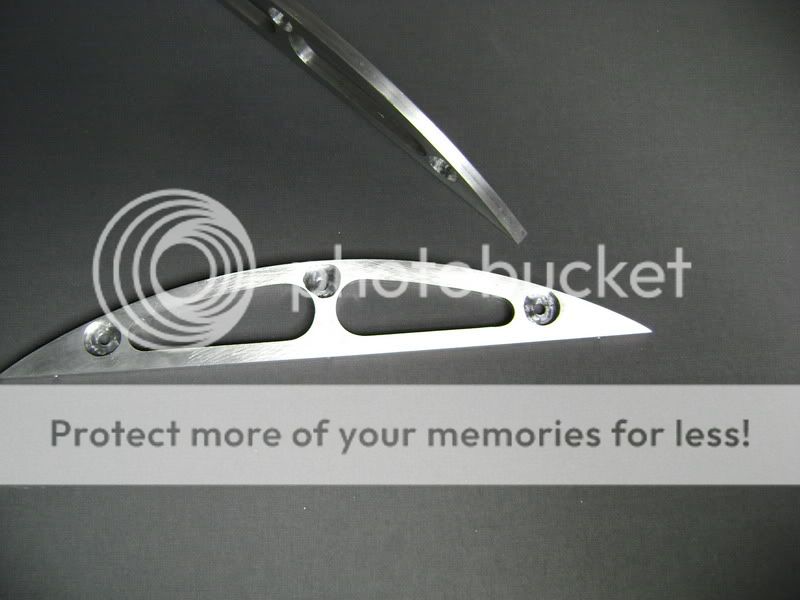
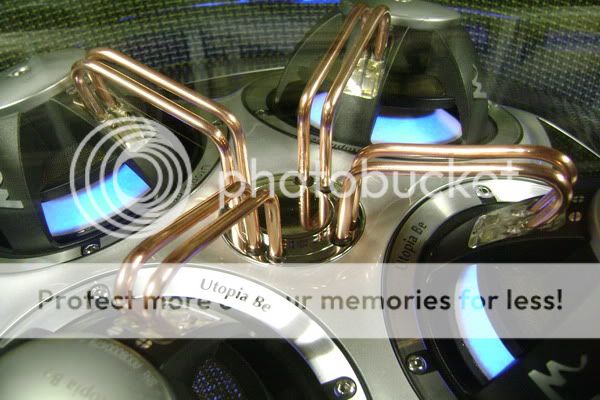
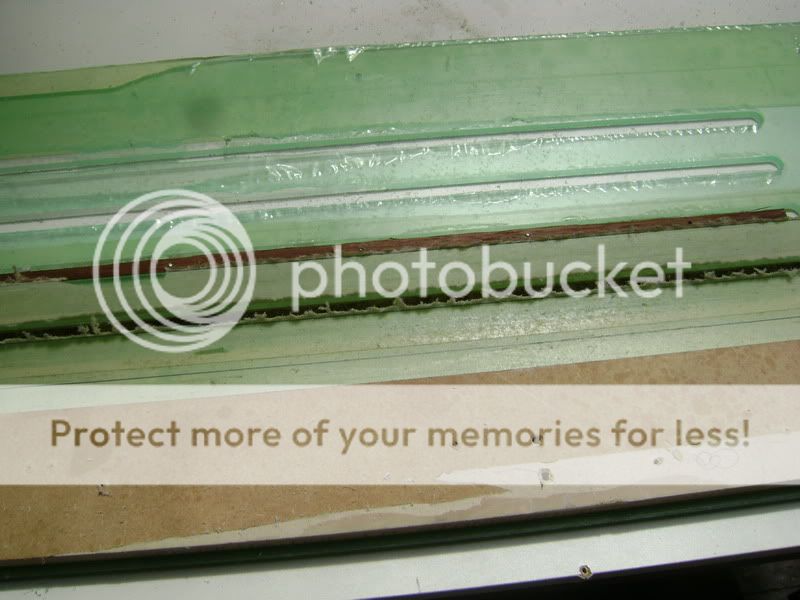
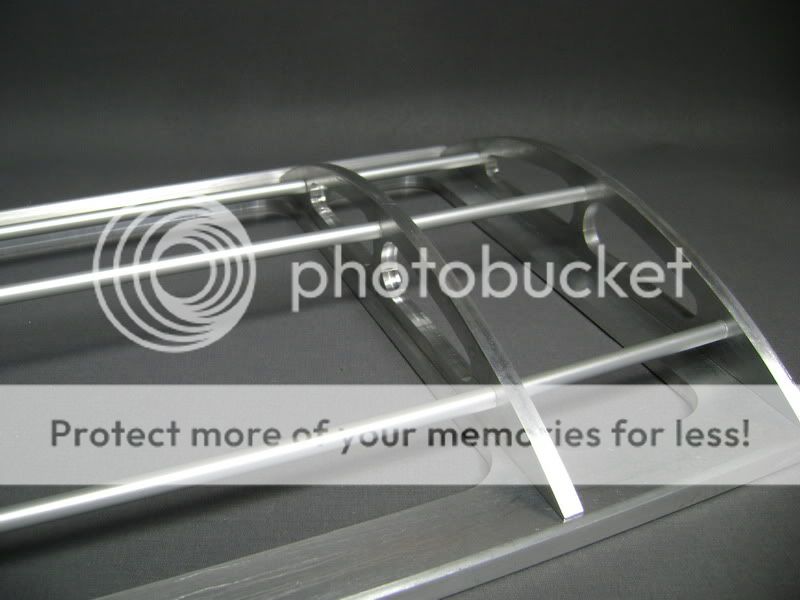
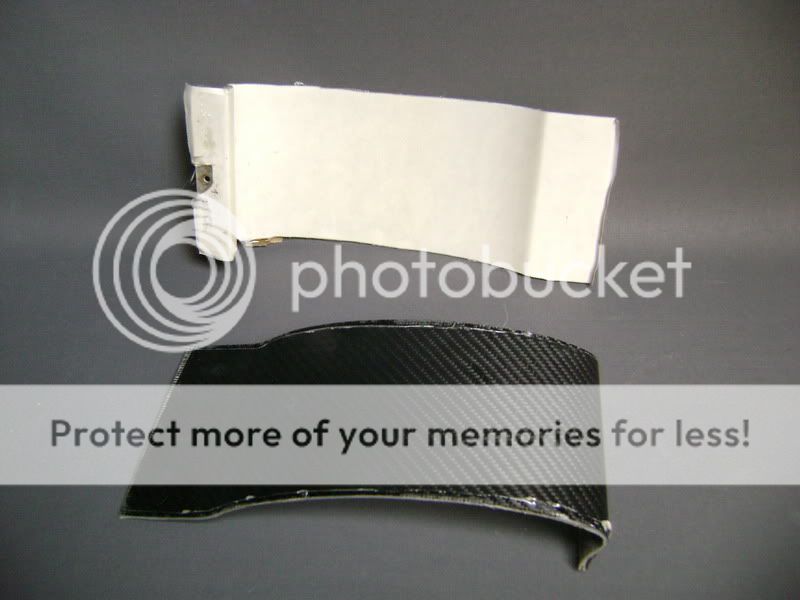
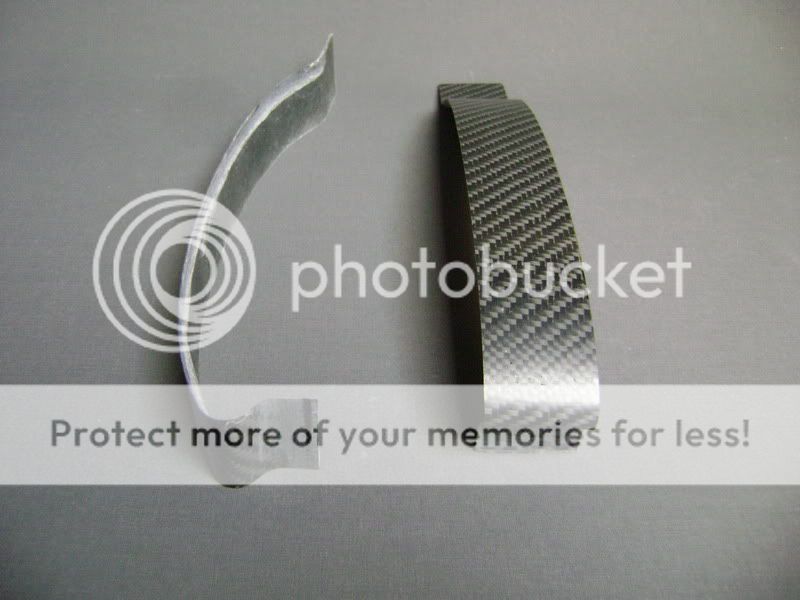
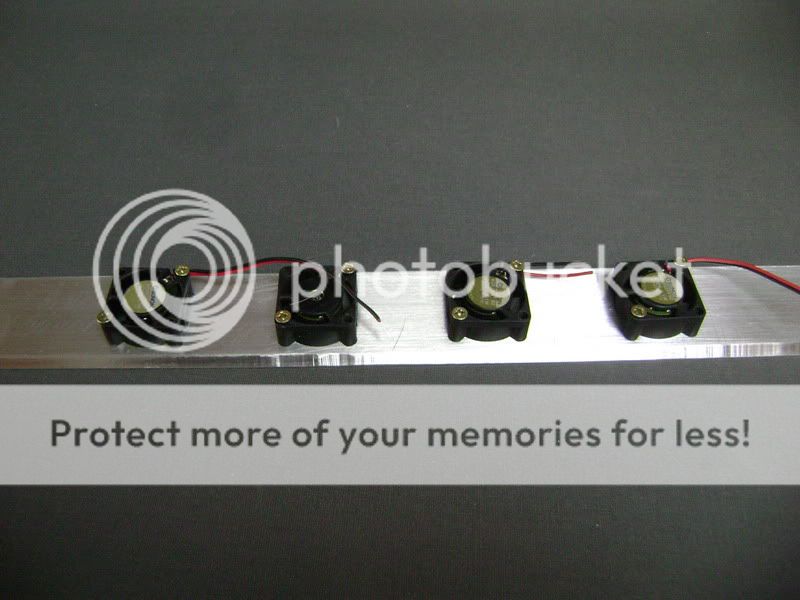
But now , a 'little' update.The 4 toggles where the plexi will lay on to are finished

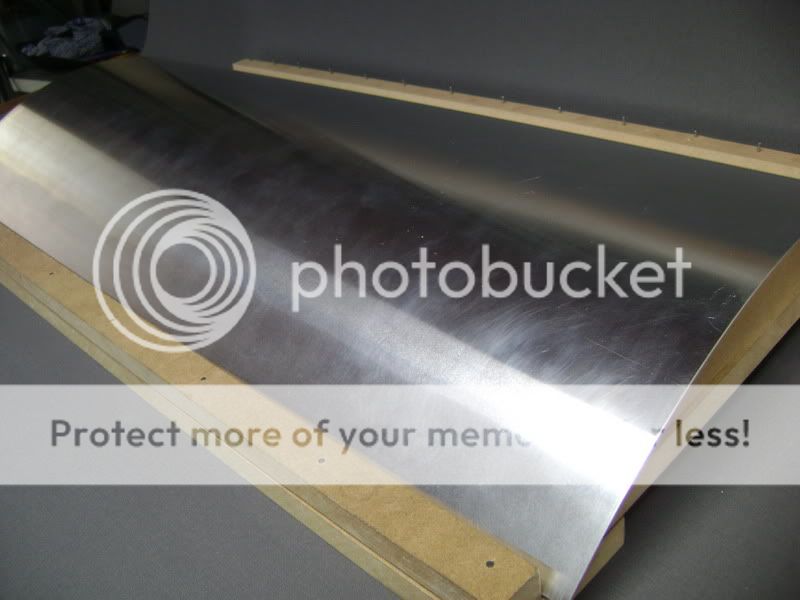
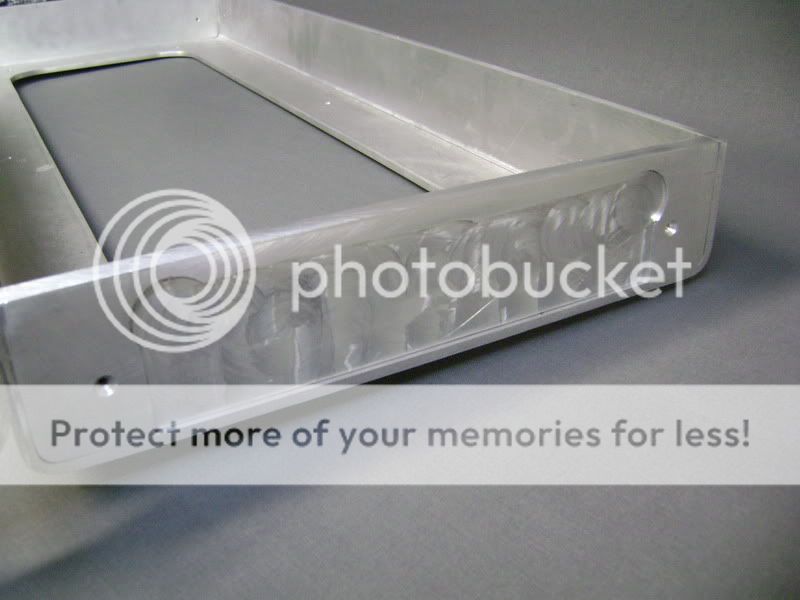
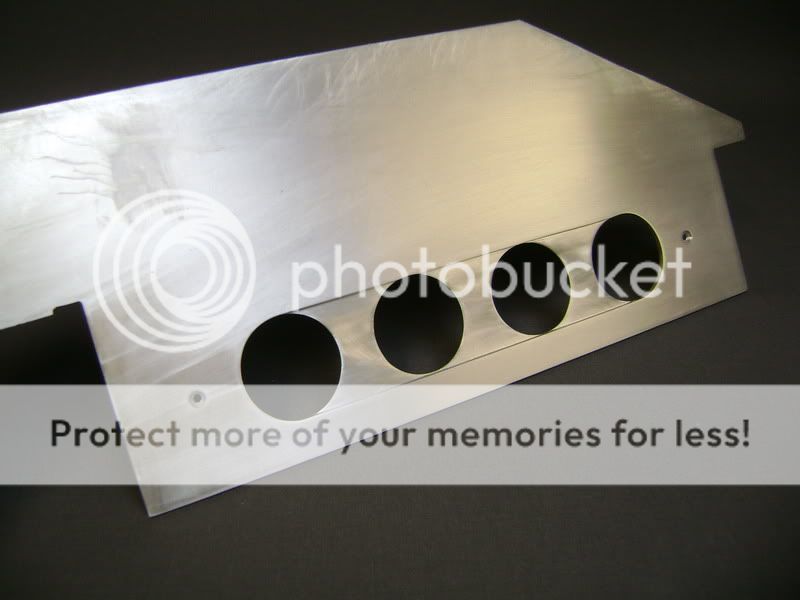
The alu-plate of 8mm where the toggles will get onto.

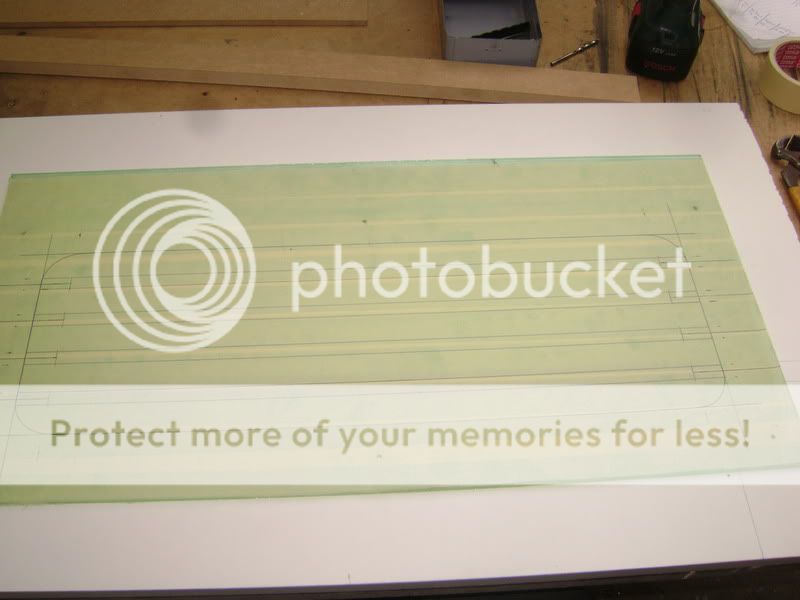
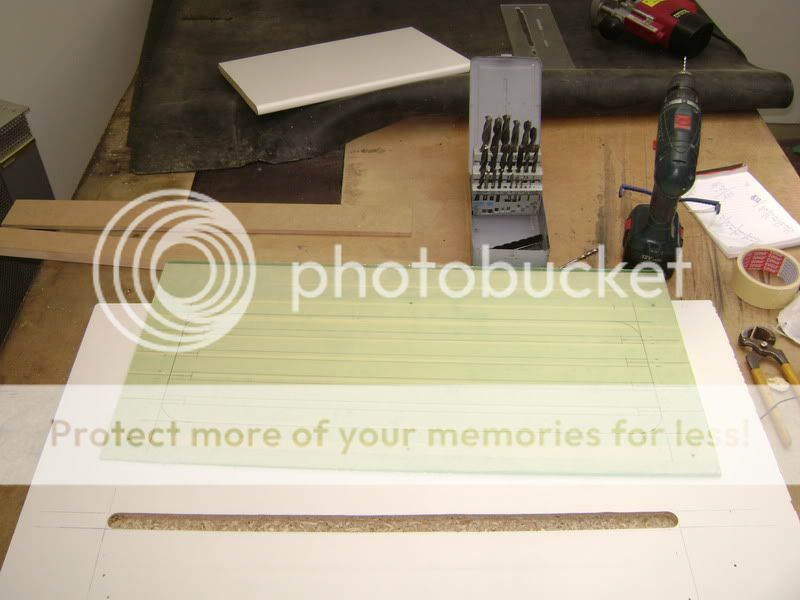
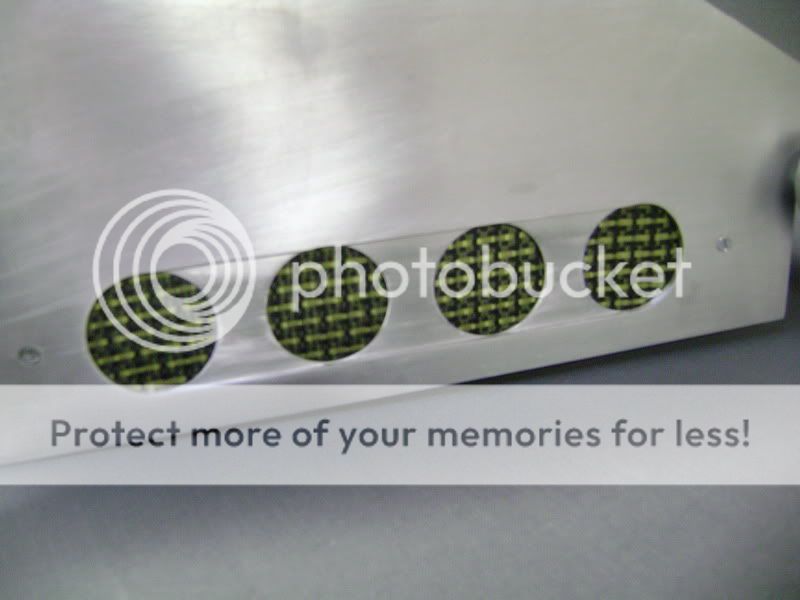
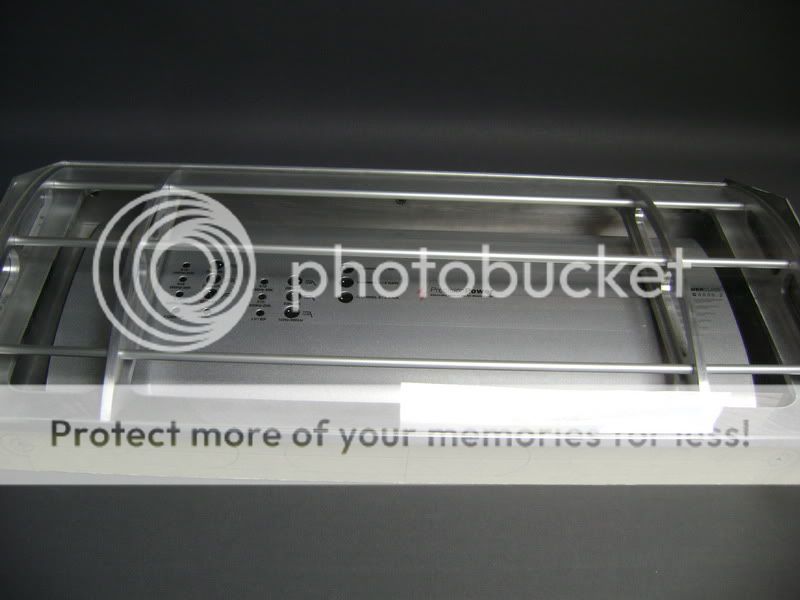
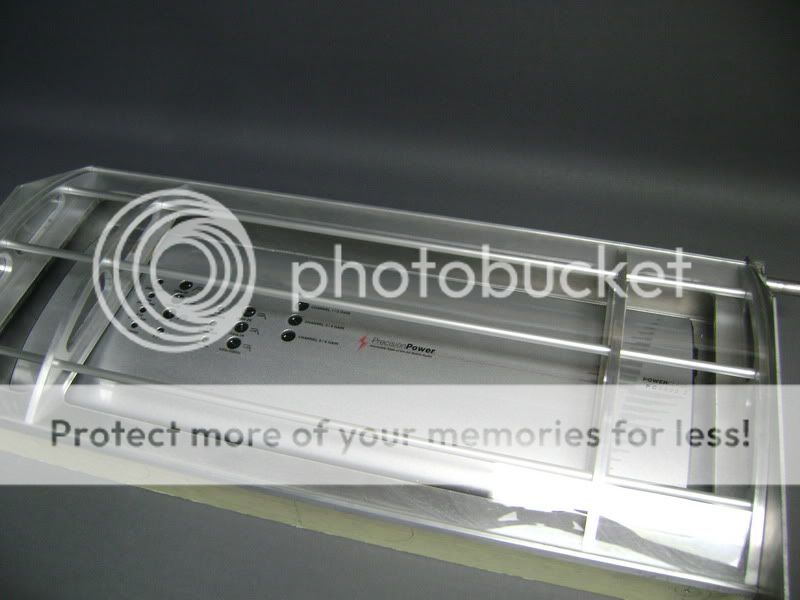
Offcourse, some holes were needed here, otherwise you wouldn't be able to see the amplifier.This is the mold I made of 4mm thick MDF wood.
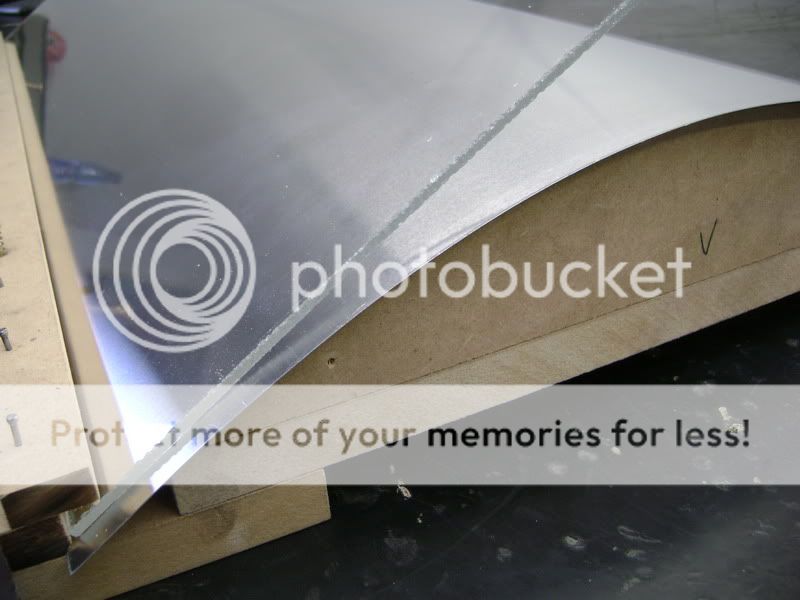
Layed this on the aluminum and drawed it out

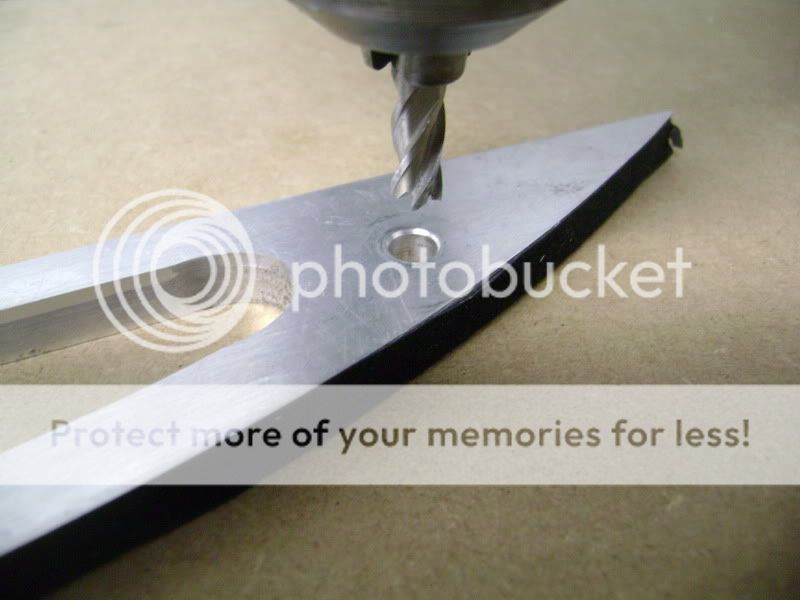
Then, I drilled some holes, and sawed it all out with the electric jigsaw

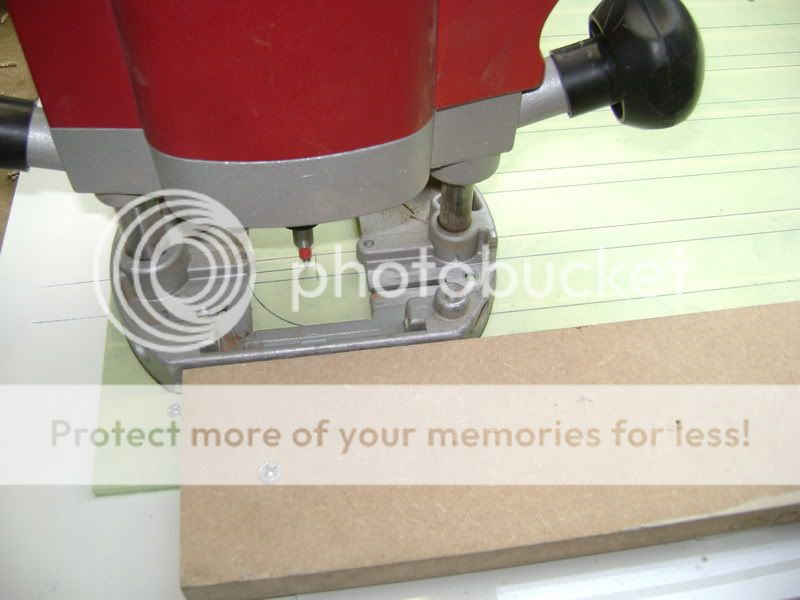
Pasted the MDF mold on to it.


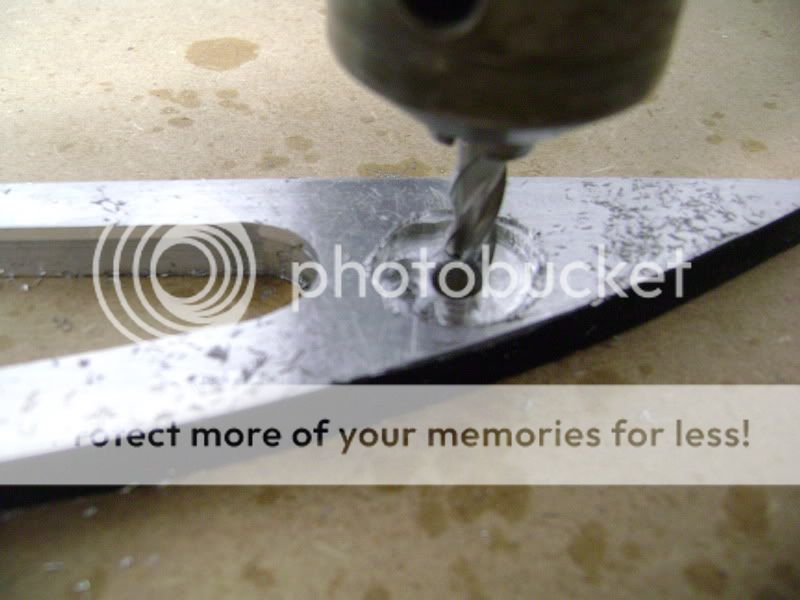
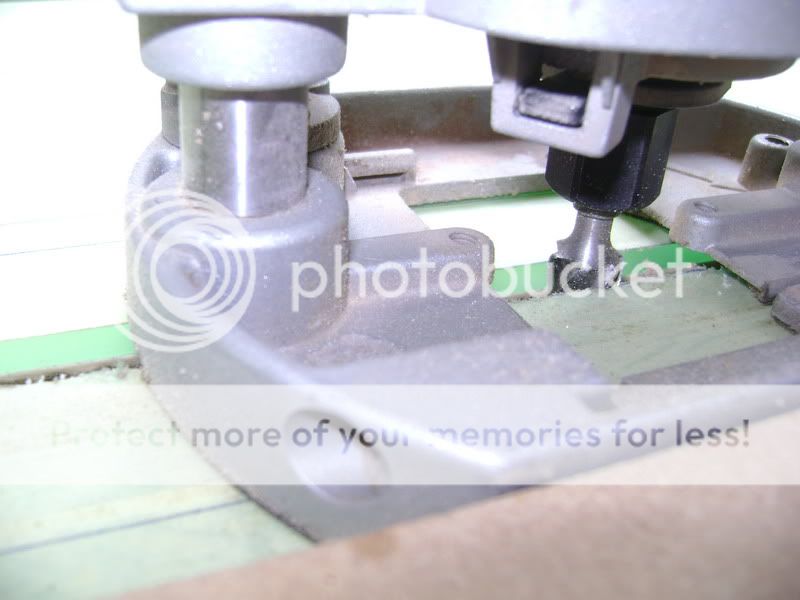
Then I mounted my upper-mill once again under the table to do some dangerous stuff :)


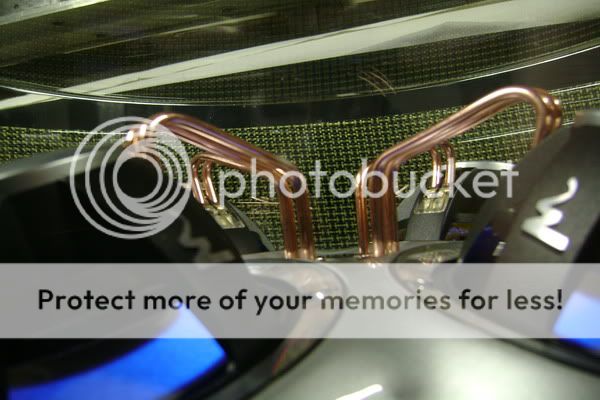
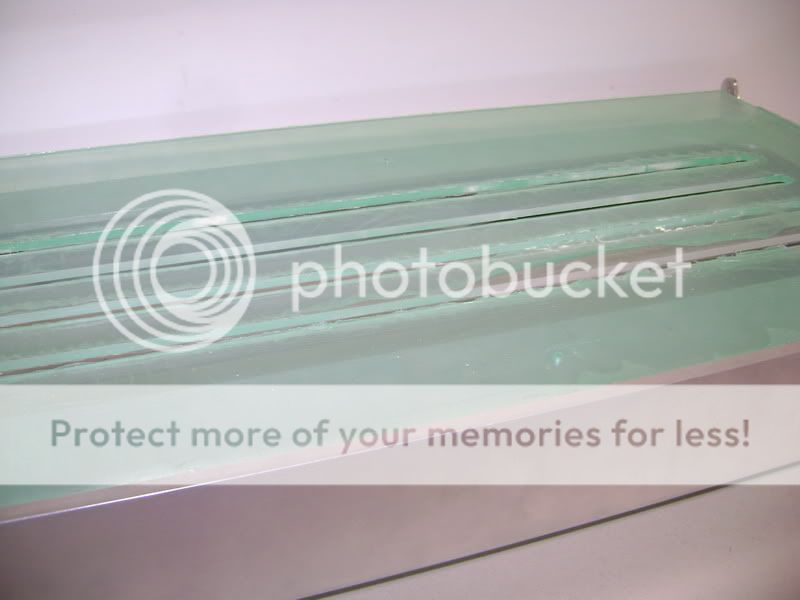
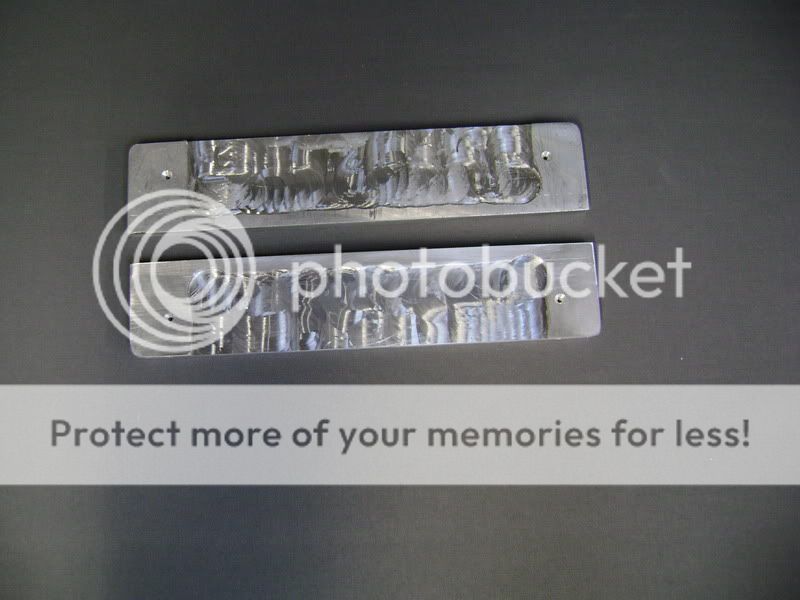
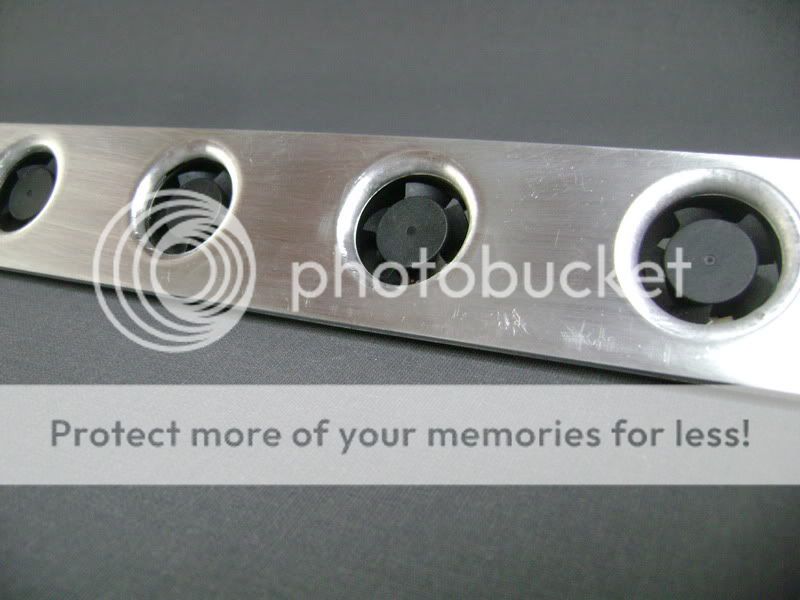
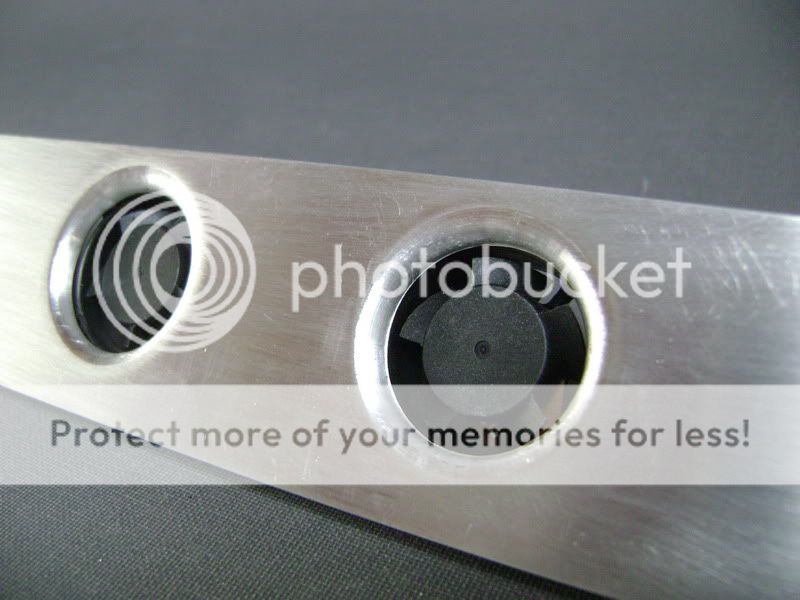
Here the result


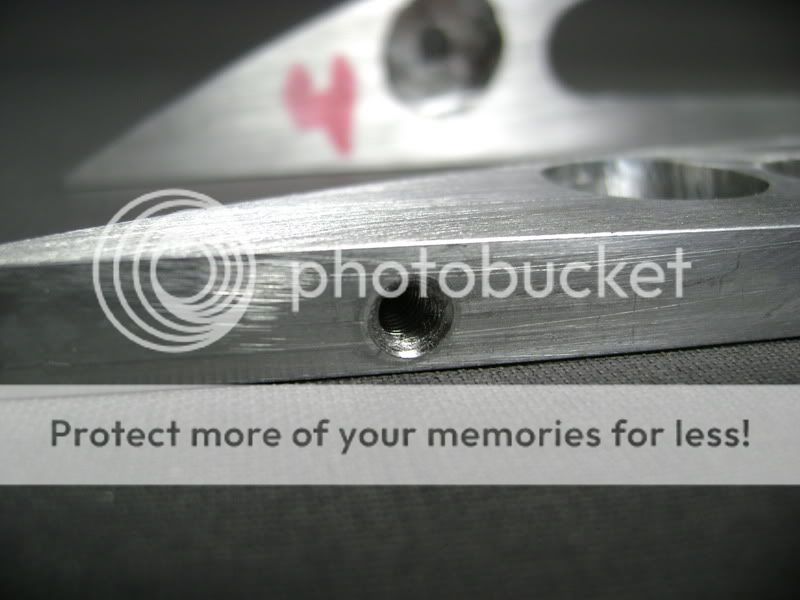
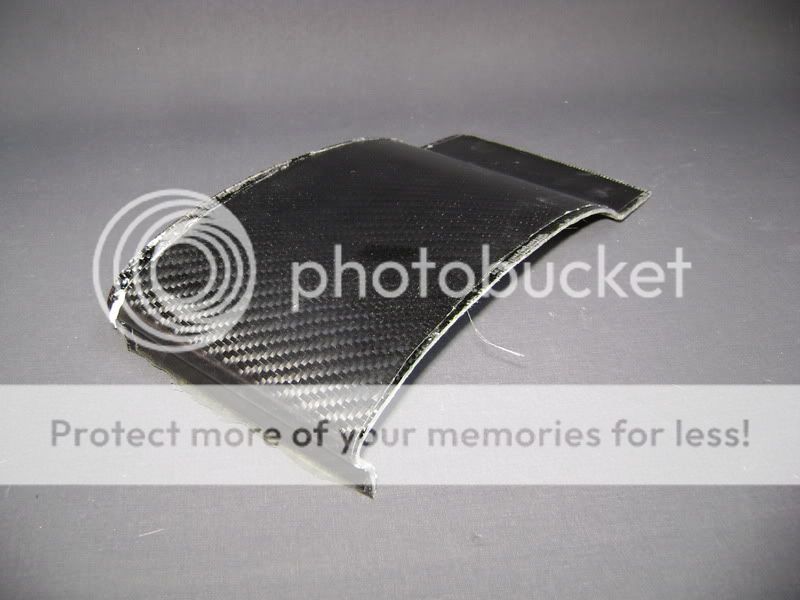
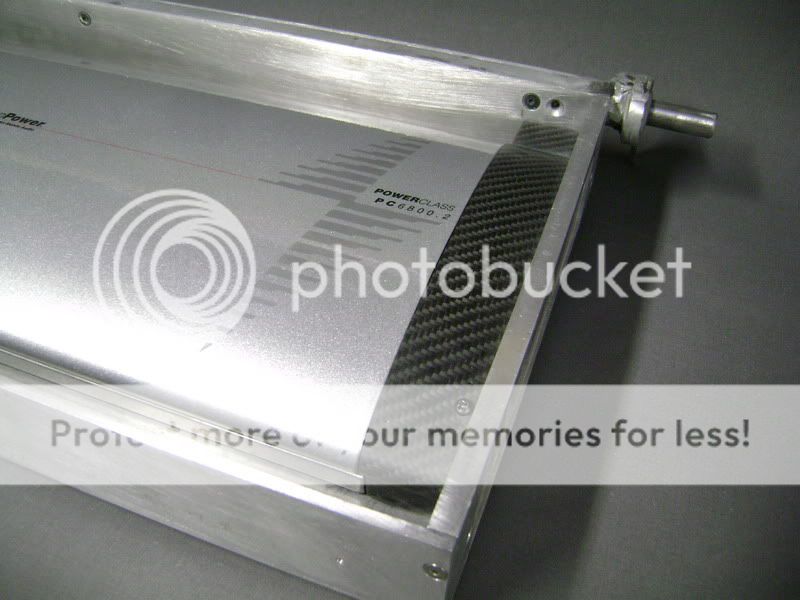
Then I 'modified' the outer toggles.
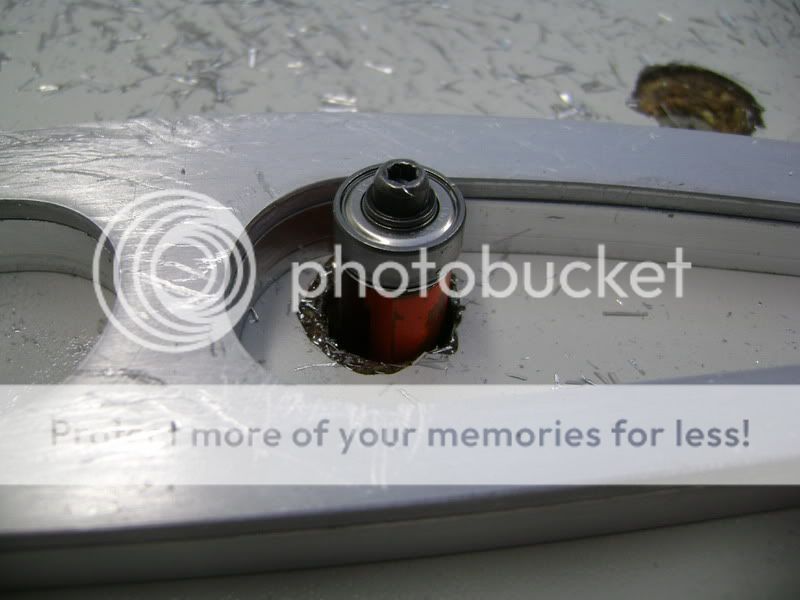
Because a M6 bar with screw-thread will get into this one, I had to drill the hole much bigger, so the nut is sunk into it all.
Made it big enough so it would be possible to get a 10 on there as well

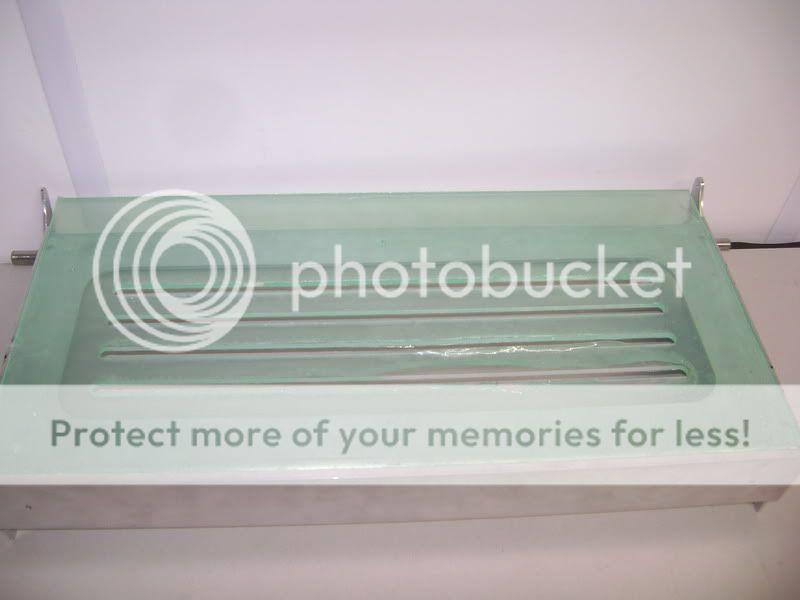
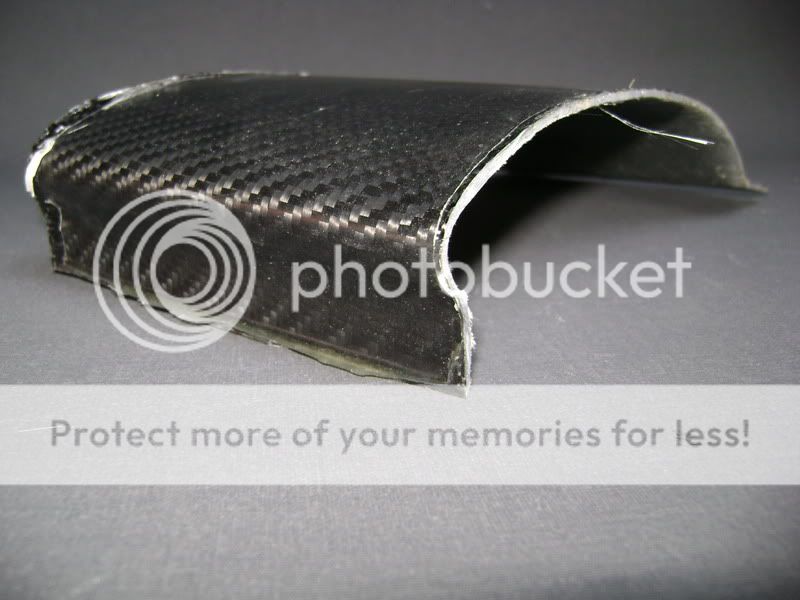
In all toggles I tapped a screw-thread of M5, to fasten them at the bottom
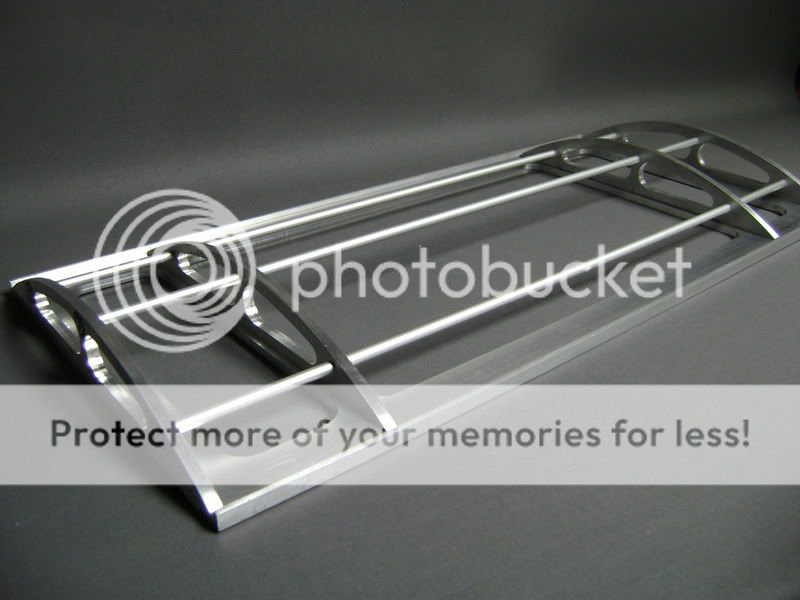
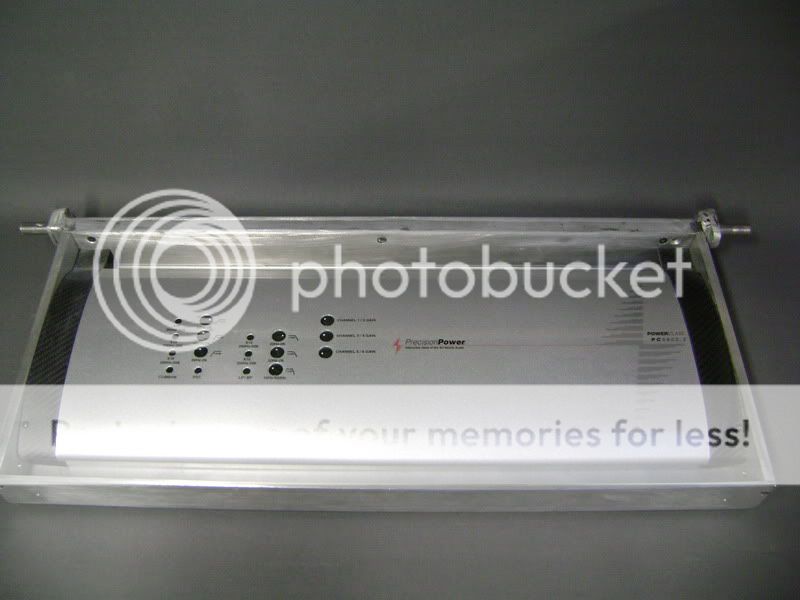
Once I had all of this, I could begin the mounting.


The front and back of the thick plate, I milled in a gap whereto I screwed a big L onto.SO I have a nice finishing touch, and the plexi is tense.


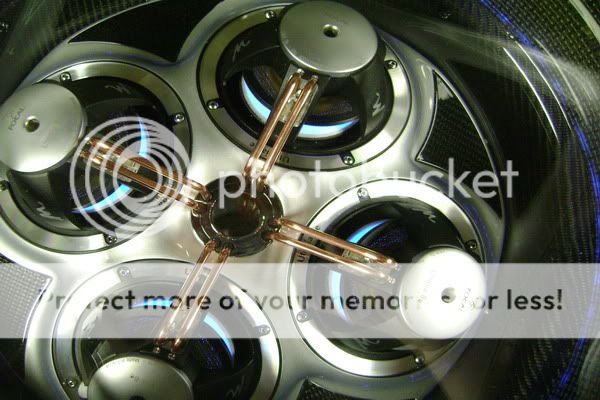
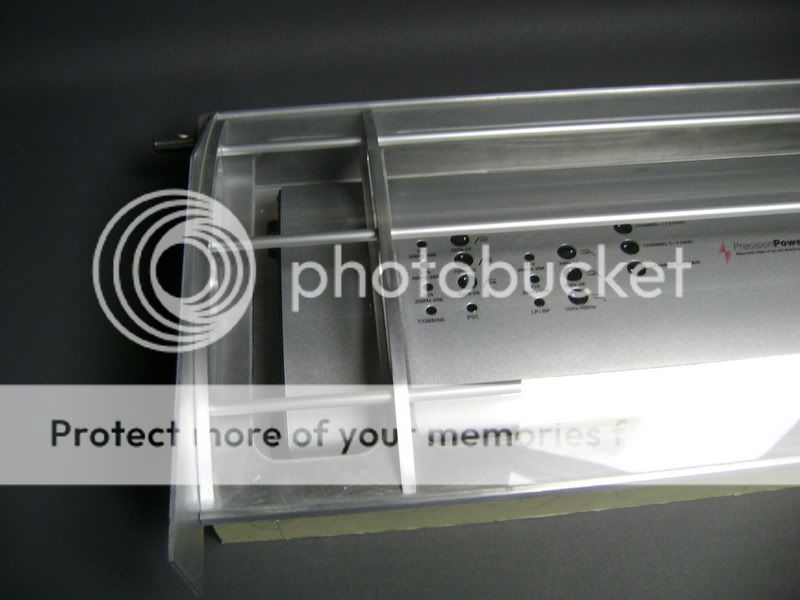
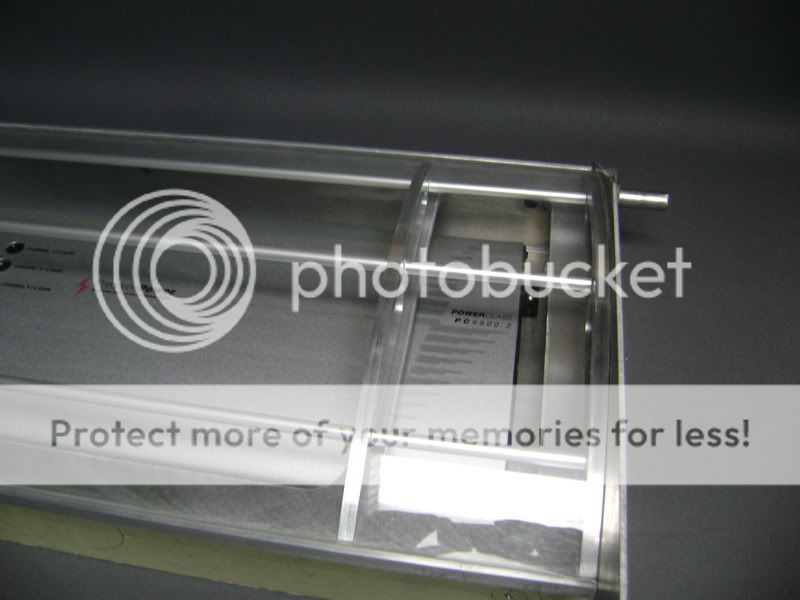
 These are some pictures I took in daylight
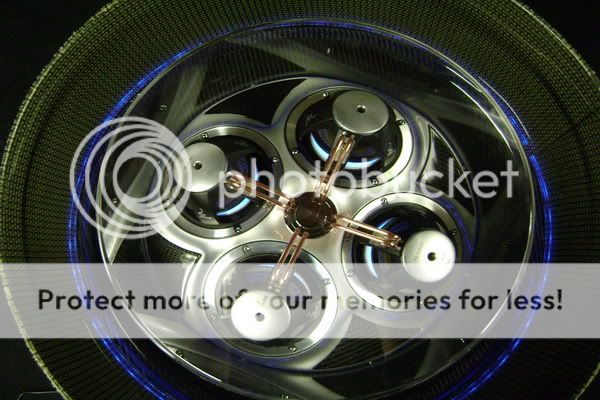


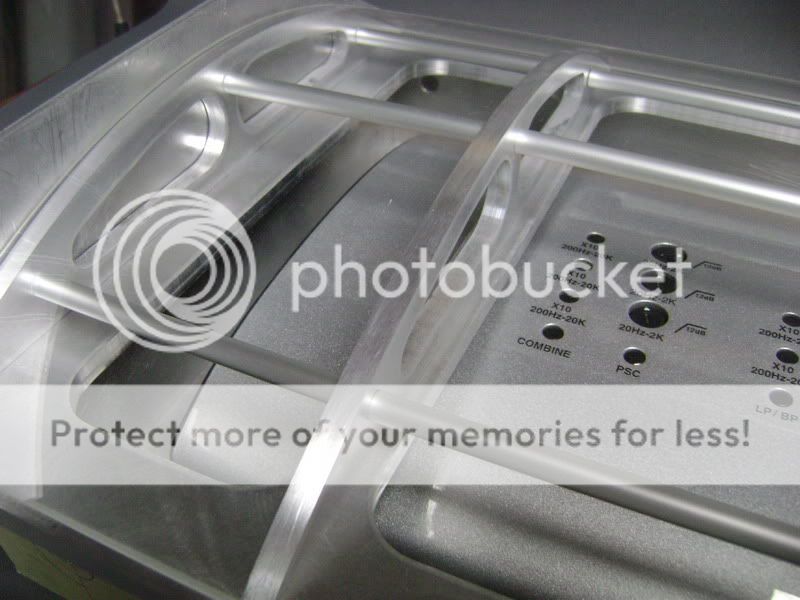
 The windowmoldings on the side please me also more that I tought.
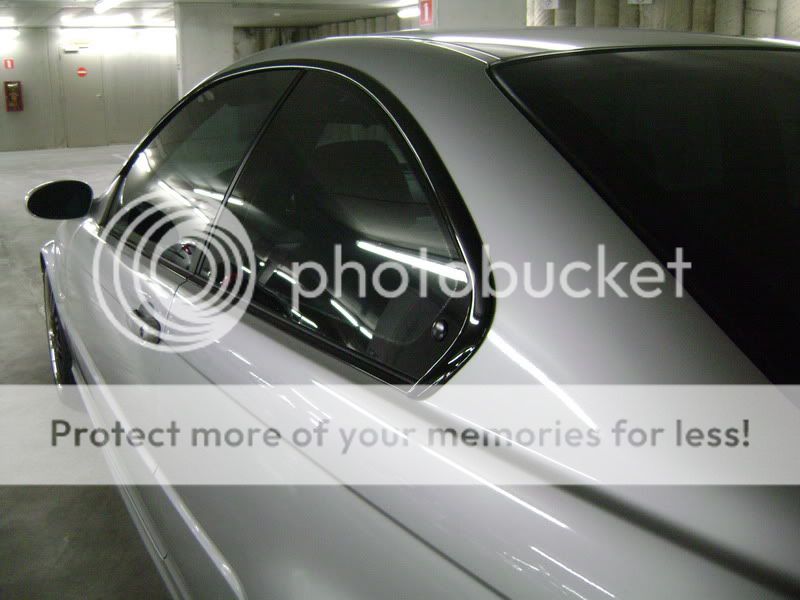


 Printable version


