the12volt.com spacer
icon

Fiberglass Pillar Gauge Pod Step By Step


Post ReplyPost New Topic
< Prev Topic Next Topic >
kommodore 
Member - Posts: 10
Member spacespace
Joined: June 13, 2006
Location: Chile
Posted: June 13, 2006 at 4:09 PM / IP Logged  

hi my name is rodrigo, im from chile, and this is my homemade fiberglass pillar gauge pod, for my 1995 chevy cavalier. my english is not that good, so sorry if you dont understand some things.

Now letīs go to the picīs :P

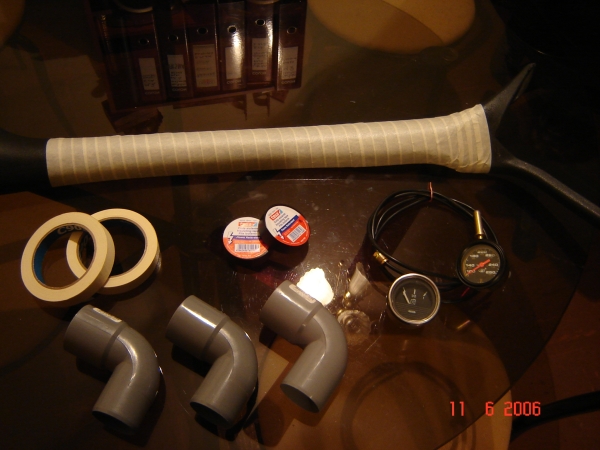
first i take out the a-pillar from my car, and cover ir with masking tape.

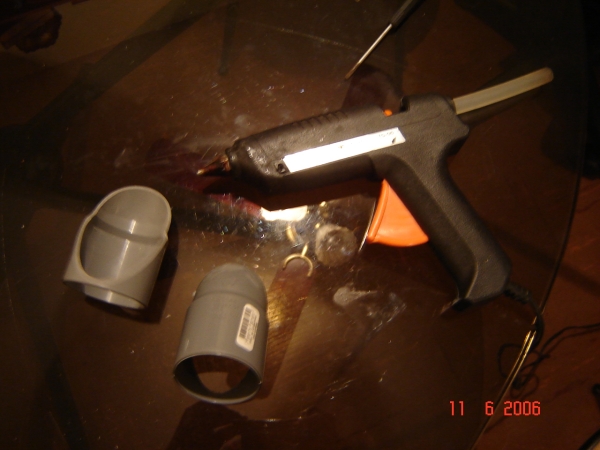
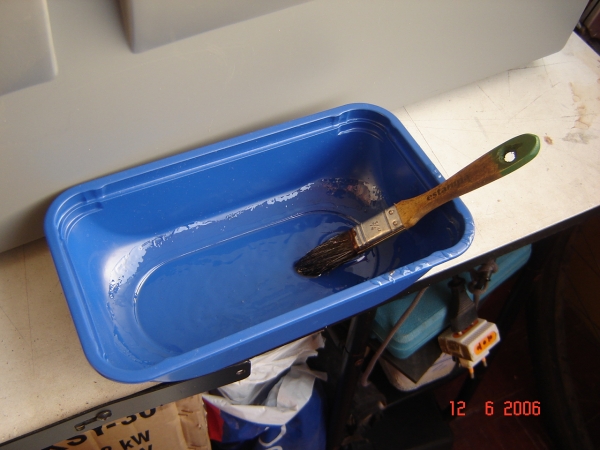
here you can see some of the materials i use.

Fiberglass Pillar Gauge Pod Step By Step -- posted image.

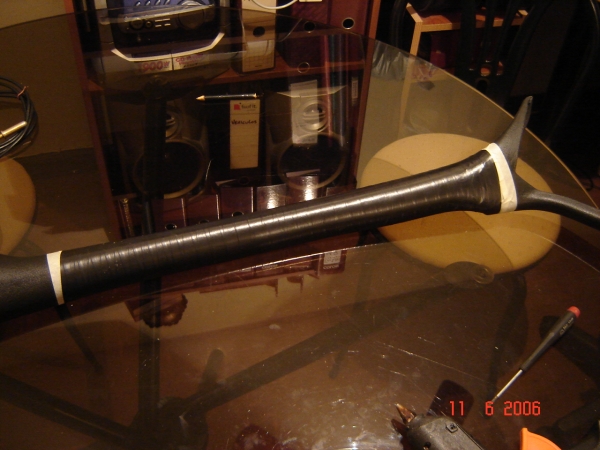
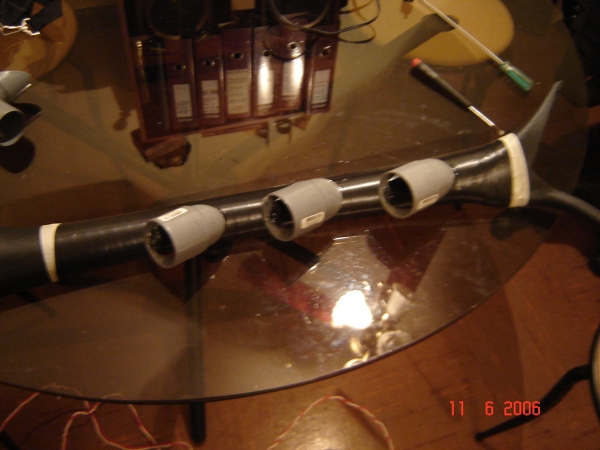
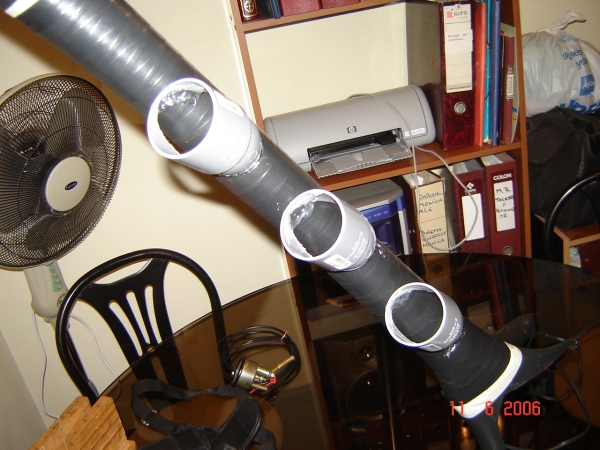
then i put electrical duct tape, cause masking tape gets impregnated with resin, and it will get stick on my pillar.

Fiberglass Pillar Gauge Pod Step By Step -- posted image.

Fiberglass Pillar Gauge Pod Step By Step -- posted image.

Fiberglass Pillar Gauge Pod Step By Step -- posted image.

Fiberglass Pillar Gauge Pod Step By Step -- posted image.

Fiberglass Pillar Gauge Pod Step By Step -- posted image.

Fiberglass Pillar Gauge Pod Step By Step -- posted image.

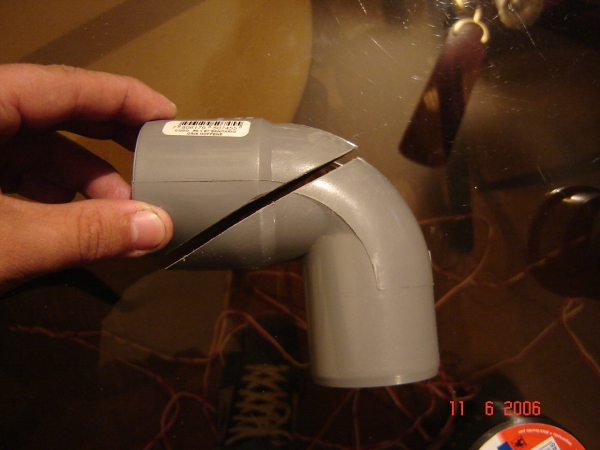
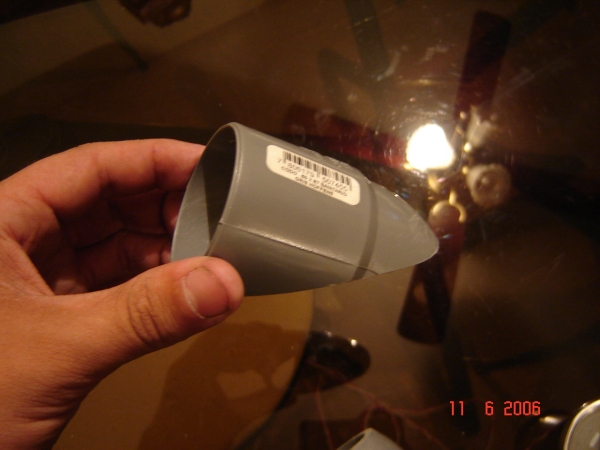
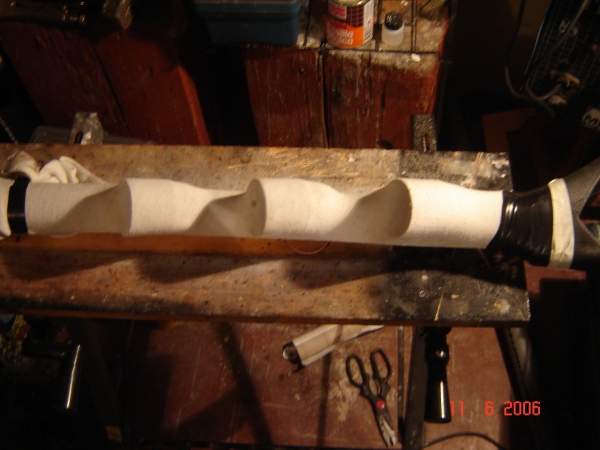
i use an old t-shirt for the next step.

Fiberglass Pillar Gauge Pod Step By Step -- posted image.

Fiberglass Pillar Gauge Pod Step By Step -- posted image.

Fiberglass Pillar Gauge Pod Step By Step -- posted image.

Fiberglass Pillar Gauge Pod Step By Step -- posted image.

Fiberglass Pillar Gauge Pod Step By Step -- posted image.

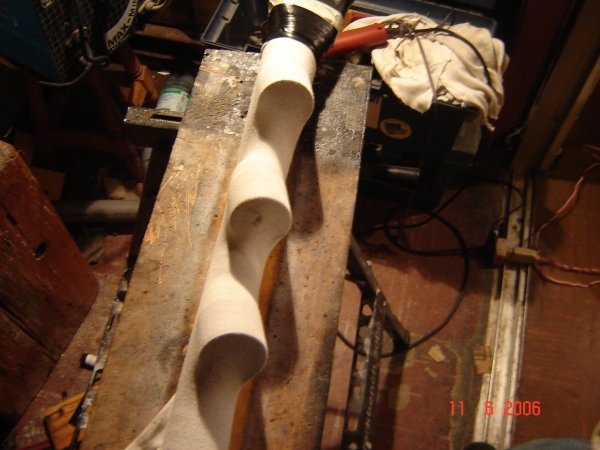
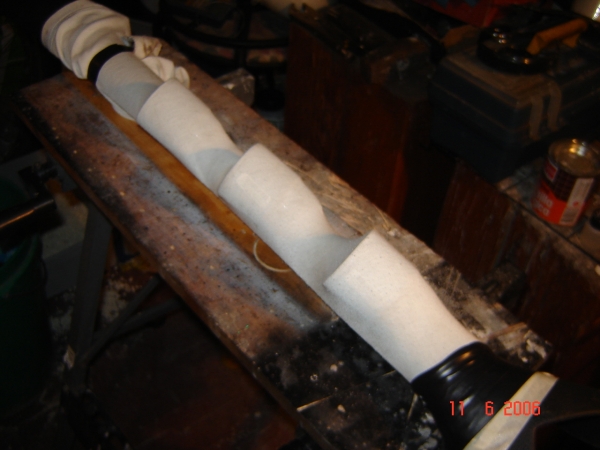
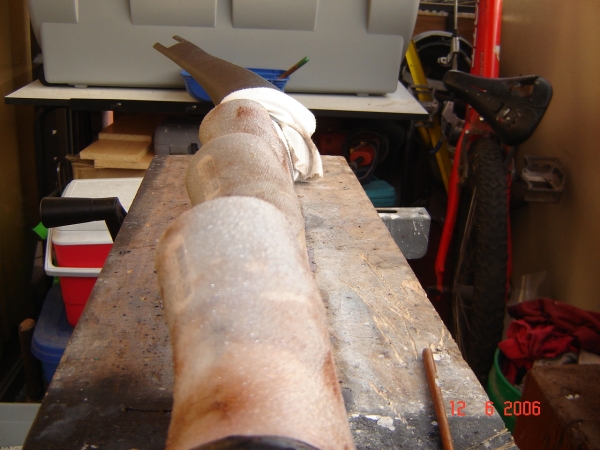
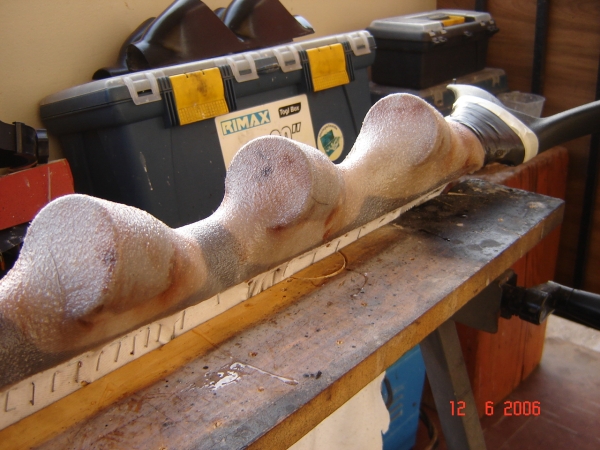
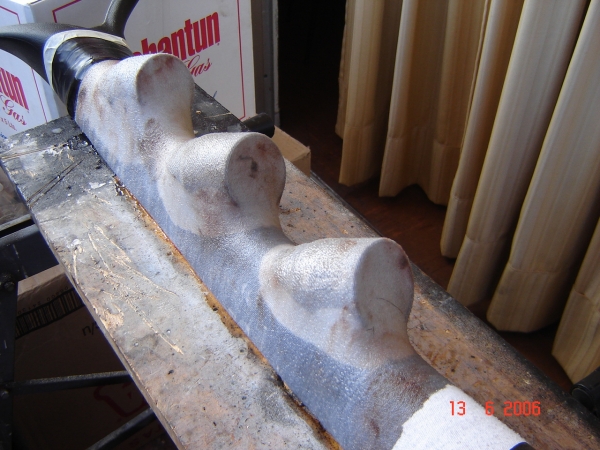
now comes the glassing.

Fiberglass Pillar Gauge Pod Step By Step -- posted image.

Fiberglass Pillar Gauge Pod Step By Step -- posted image.

Fiberglass Pillar Gauge Pod Step By Step -- posted image.

Fiberglass Pillar Gauge Pod Step By Step -- posted image.

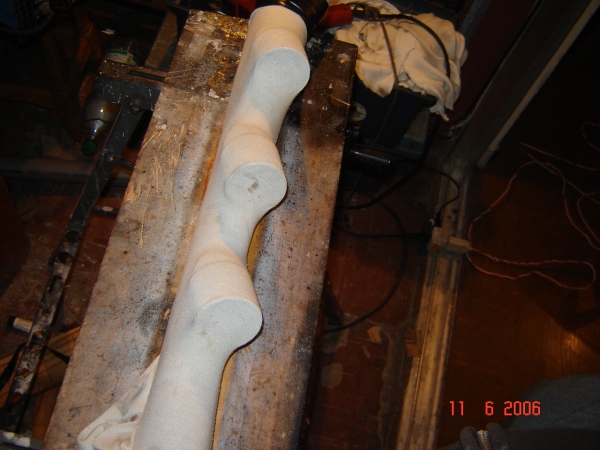
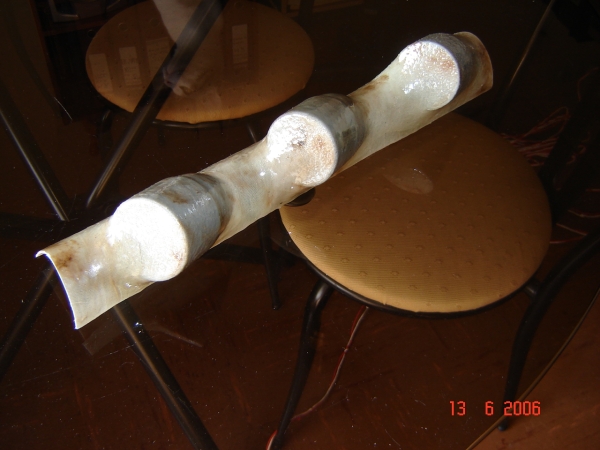
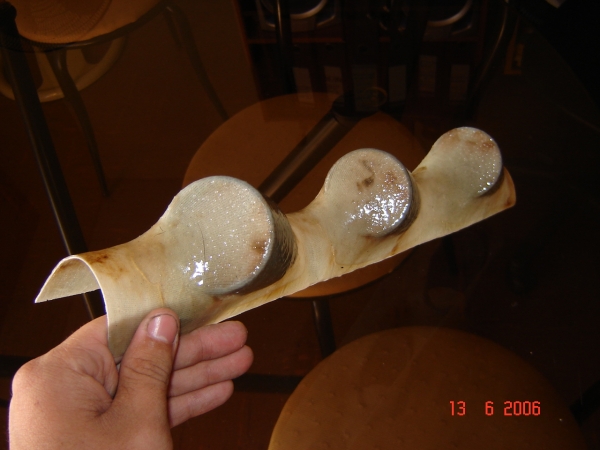
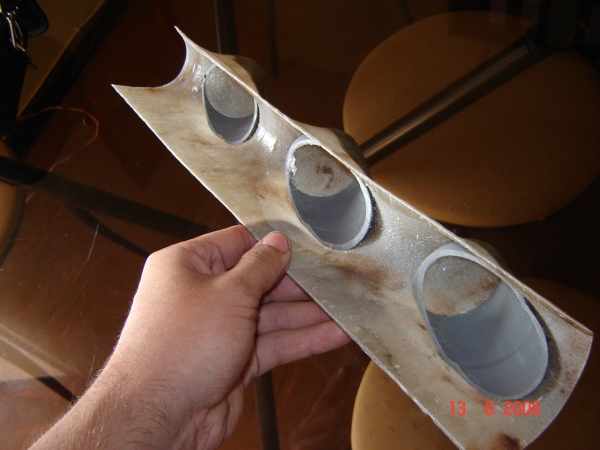
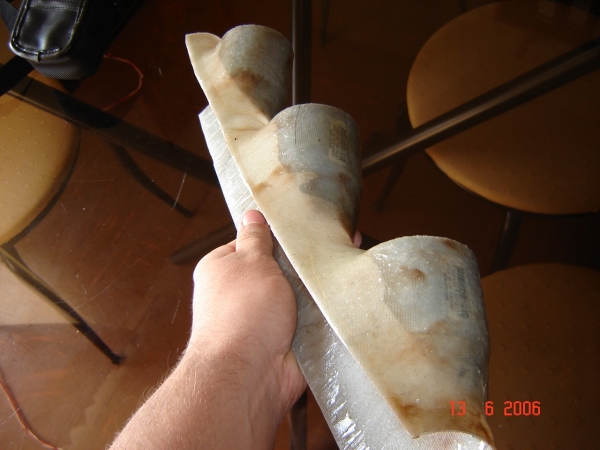
and here is the pod, dismounted from the pillar, and trimmed.

Fiberglass Pillar Gauge Pod Step By Step -- posted image.

Fiberglass Pillar Gauge Pod Step By Step -- posted image.

Fiberglass Pillar Gauge Pod Step By Step -- posted image.

Fiberglass Pillar Gauge Pod Step By Step -- posted image.

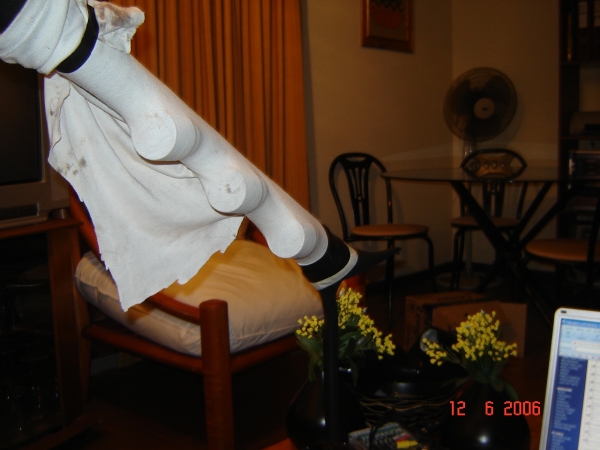
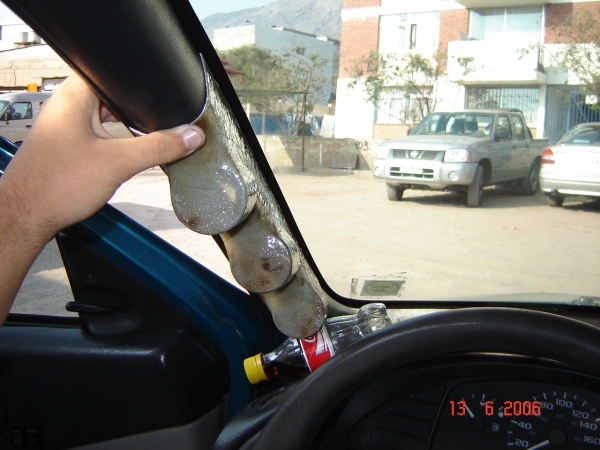
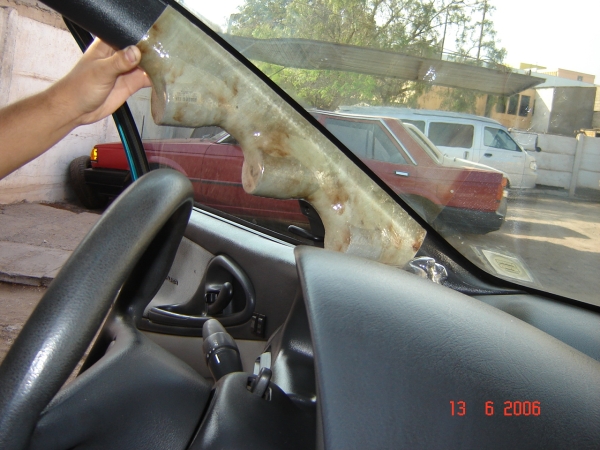
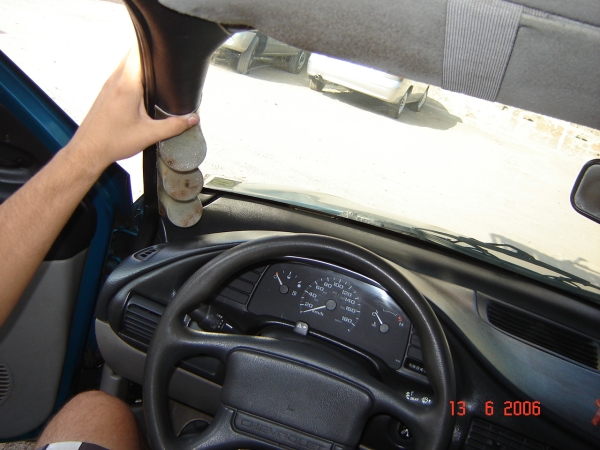
and this is how it fits in teh car, it fit perfectly, and the angle of each pod is perfect.

Fiberglass Pillar Gauge Pod Step By Step -- posted image.

Fiberglass Pillar Gauge Pod Step By Step -- posted image.

Fiberglass Pillar Gauge Pod Step By Step -- posted image.

and thats all, now i will start with the sanding, and then i will aply bondo, primer, and paint.

so i will post some pics when i get finished.

1qwkfox 
Member - Posts: 29
Member spacespace
Joined: January 06, 2006
Location: United States
Posted: June 13, 2006 at 6:16 PM / IP Logged  
Do you take the Pve out or no ?
Thats a good Idea I never thought of pvc
csipg 
Member - Posts: 1
Member spacespace
Joined: June 13, 2006
Location: Chile
Posted: June 13, 2006 at 6:34 PM / IP Logged  

hi brother i'am chilean too, i'am from talca, one question: you have more "manuales" or "bricotuning", jaja ok men , good bye and salu2 compatriota, bye, bye.........

Fiberglass Pillar Gauge Pod Step By Step -- posted image.

i love the tuning cars
kommodore 
Member - Posts: 10
Member spacespace
Joined: June 13, 2006
Location: Chile
Posted: June 13, 2006 at 6:36 PM / IP Logged  

nop, the pvc stayīs there, because it get sticked with the resin.

i dont want to try so hard to take it out because the pod is still fragil and it could break.

kommodore 
Member - Posts: 10
Member spacespace
Joined: June 13, 2006
Location: Chile
Posted: June 13, 2006 at 6:57 PM / IP Logged  
csipg wrote:

hi brother i'am chilean too, i'am from talca, one question: you have more "manuales" or "bricotuning", jaja ok men , good bye and salu2 compatriota, bye, bye.........

Fiberglass Pillar Gauge Pod Step By Step -- posted image.

chek my profile, there is the url of the other pillar gauge pod manual.

ok bye.

mi_what 
Copper - Posts: 208
Copper spacespace
Joined: April 20, 2005
Location: United States
Posted: June 14, 2006 at 9:58 AM / IP Logged  
Looks great, but I am willing to bet that the third (lowest guage) is going to give you problems once you cut out the holes for the guage to go into. I don't think that you stretched the fleece tight enough over that one and maybe the upper most guage pod. Just my opinion but let me know how it turns out.
kommodore 
Member - Posts: 10
Member spacespace
Joined: June 13, 2006
Location: Chile
Posted: June 14, 2006 at 11:49 AM / IP Logged  

mi_what wrote:
Looks great, but I am willing to bet that the third (lowest guage) is going to give you problems once you cut out the holes for the guage to go into. I don't think that you stretched the fleece tight enough over that one and maybe the upper most guage pod. Just my opinion but let me know how it turns out.

yeah you're right that one has problem cause the gauge will not fit wellagainst the plane face, but im planing to make another gauge pod, this time i will strech the fleece well, and will use another kind of fleece, thanks any way men.

bye


Sorry, you can NOT post a reply.
This topic is closed.

  Printable version Printable version Post ReplyPost New Topic
You cannot post new topics in this forum
You cannot reply to topics in this forum
You cannot delete your posts in this forum
You cannot edit your posts in this forum
You cannot create polls in this forum
You cannot vote in polls in this forum

  •  
Search the12volt.com
Follow the12volt.com Follow the12volt.com on Facebook
Monday, September 16, 2024 • Copyright © 1999-2024 the12volt.com, All Rights Reserved Privacy Policy & Use of Cookies
Disclaimer: *All information on this site ( the12volt.com ) is provided "as is" without any warranty of any kind, either expressed or implied, including but not limited to fitness for a particular use. Any user assumes the entire risk as to the accuracy and use of this information. Please verify all wire colors and diagrams before applying any information.

Secured by Sectigo
the12volt.com spacer
Support the12volt.com
Top
the12volt.com spacer