Most of us here have thought about doing this, or seen it done, or even tried it. It has been around for a while, its not new. Having said that I still dont see enough of it around. I really like this look. Its cheep, fast to do, and I get very positive feed back every time I do it. I have a few tips for those who have not tried it yet, and I hope to encourage those who have considered doing this to try it.
I have encountered a number of good installers that have tried this bent and lit plexi rod method and had a bad experience because they did not get the brightness and consistency of color that they were looking for. Like I have said I have had very good experiences with this and I believe that I know why. Before I decide to commit to this lighting theme in a vehicle I first consider a few things.
1. will the rod be viewed an angle or strait on or both?
2. Will the rod be in a place of darkness where the lighting effect will be vivid?
3. If the rod will be out in the light will the rod look out of place if it is frosted white?
4. Can the rod serve some other purpose other than light?
5.
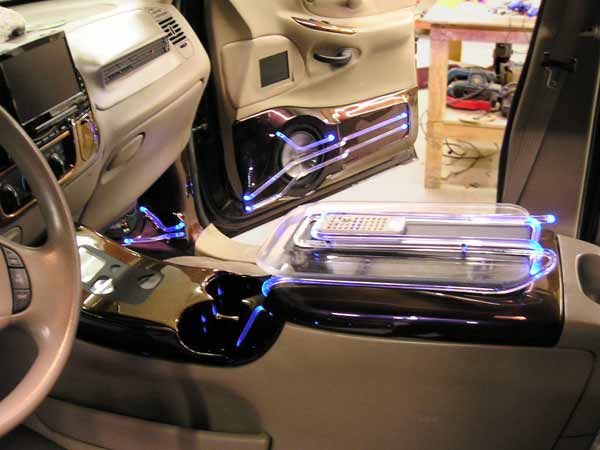
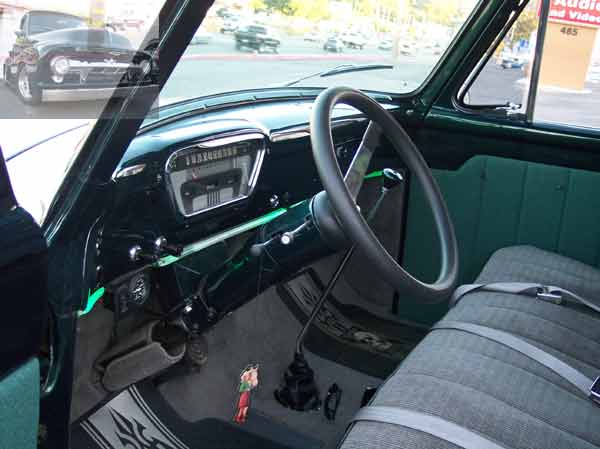
In the vehicle pictured above every lit rod-line serves has a function other than just light. I believe that this obvious functionality helps keep the lighting effect from looking to cheesy. On the center console the rod (that whole top piece is one rod 5 ft long) holds the remote. On the door the rods serve as a grill for the 8. on the kicks the rod continues the line from the door speaker to form a visual connection across the speaker system.
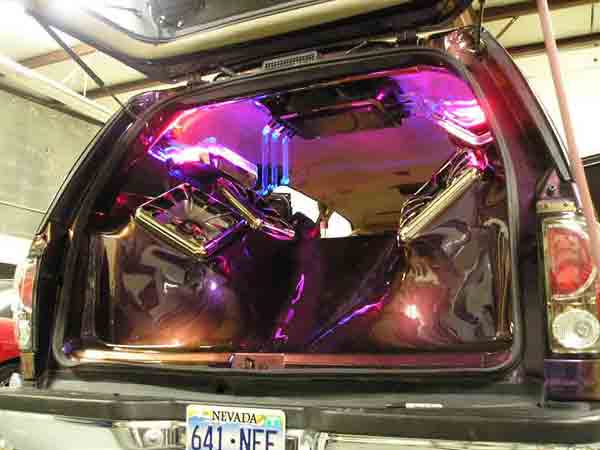
In the back of this same truck I used 1 rods to help support the 15 wide screen on the ceiling (not really but it looks that way). Notice that the rods on the left side are mounted to the C pillar and the rods on the right are mounted to the D pillar, Symmetrical is way over done. The rods in the back are always in the shadows and look great when lit, so I did not frost them. The rods on the front doors are in direct sun light when the doors are opened during the day and consequently you can barley see the color come through the rods.
This still works for this install because the rods look good unlit and still serve the function of speaker grill.
The rods definitely add something to this install, even with no light.
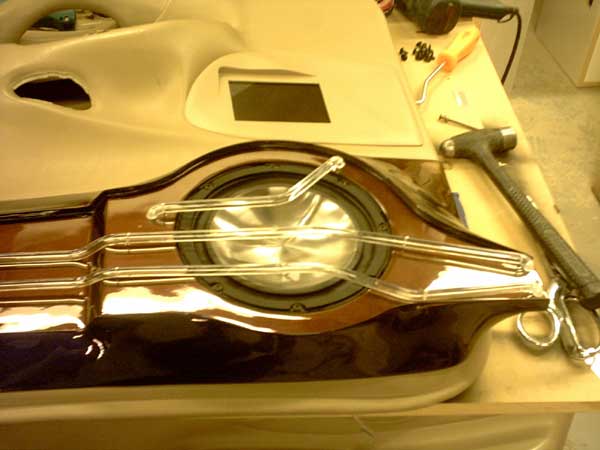
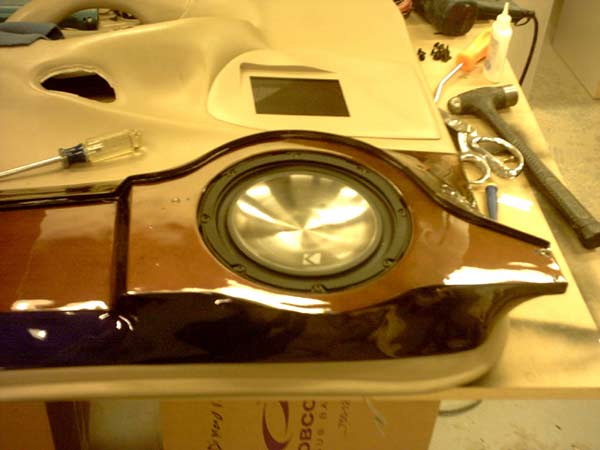
On this install the customer was going for the jukebox-neon beer sign kind of look to go with the Irish green theme. The rods where in direct sunlight all the time. I sanded the backs of the rods with 80 grit on a 3 DA. The rods look white when they are turned off. This white frosting makes the light kick off of the tubes and appears much brighter and uniform along the rod length.
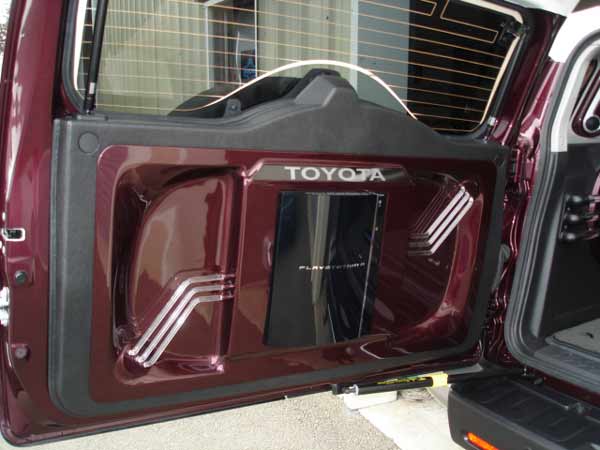
On this install the rods are also always in direct sun light. This is a system that we did for Infineon Raceway a Toyota sponsored NASCAR race track. The truck sits out near the track in the sun all day. The rods here represent wire running through the PS3, and they give three separate effects.
1. Viewers dont really stand directly in front of the door that this project is mounted on.
2. The rods look really good even with no colored light.
3. I put red LEDs in one side and blue LEDs on the other side of every rod. This way the color changes depending on where you stand. And it reflects nicely off of the paint
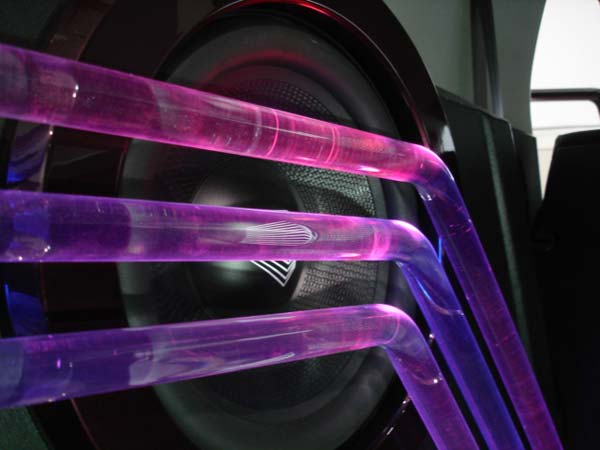
Inside Cody used the same colors on larger rods to make a speaker grill. Viewers always see these rods from an angle and they are in the dark. Consequently they are always bright.
And here I used the plexi rod to hide the wiring on these amps.
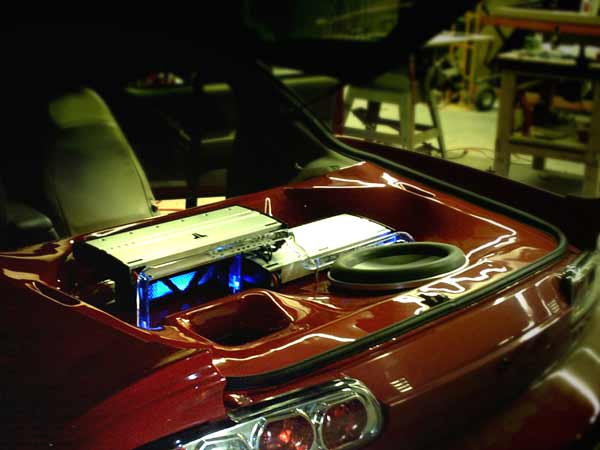
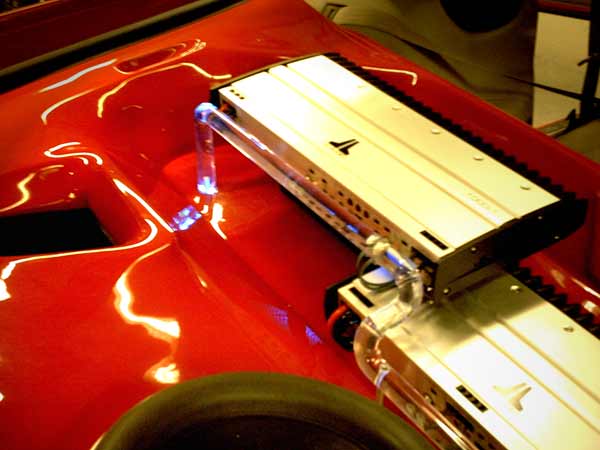
The rod is transparent but it defuses the light and makes it real hard to see the RCAs, speaker wire, and power wire running into these amps. Also notice that the rod dives right into the painted amp rack. You can use a paddle bit the same size as the rod to drill right into fiberglass and you wont be able to see through the rod like you would think.
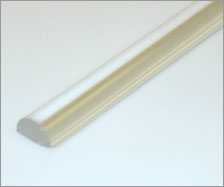
Heat any size rod up to 1 with a heat gun and bend to desired angle when soft enough.
Plastic stays flexible for several minuets.
Dont get heat gun to close or the plastic will bubble.
Dont worry about small bubbles, they sometimes look cool.
Some installers prefer to build jigs to hold the rods in perfect form while they cool.
I prefer to bend by hand and spray with glass cleaner to speed up the cooling when I get the angle right. You can always heat it up again.
The LED dose not have to be right up against the end of the rod. On several of my projects the LED is set back a couple of inches (for mounting purposes), and it looks the same.
Plug all of your LEDs into your 12V drill battery and test your lighting arrangement before you commit.
Cheap LEDs from SoundQuest (Stinger) seem to work as good as any. They are available at every store that carries Stinger.
I want to see some pics of what other people are doing with this. Post some replies with some info on your experiences.


 Printable version


