Hey guys, here is a huge Update:
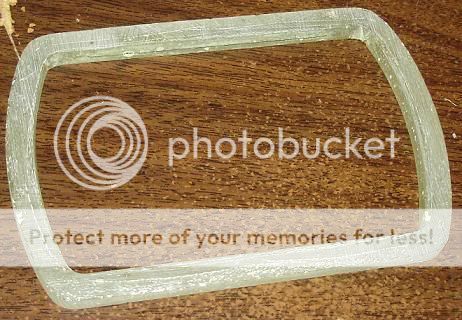
I have the speaker ring made, they look good. I am using my old grills with my new alpine speakers so i had to modify the speaker ring due to the different way the new speaker fits. If i just mounted it regularly, the speaker grill would hover over the speaker ring, it would look terrible. THe way i made this ring is that i made 2: one is to be where the speaker screws into and the other is to fill the gap that wold be there if i just put the grill directly on top of the speaker.
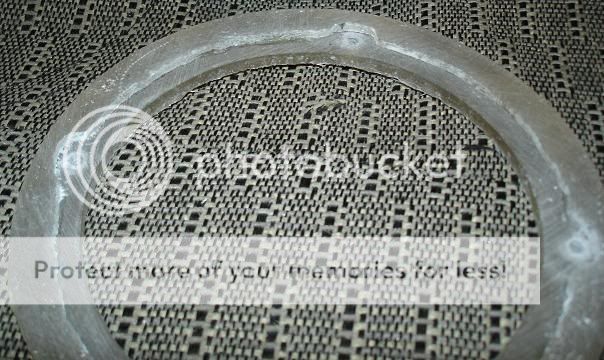
The grill goes over this but i have that part put away right now
UPDATE:
Well its been a while, too long, but I am back on this project. Now i can finally start mounting the speaker ring, tweeter ring and the crossover mount.
A few adjustments to the piece have been made before I started mounting everything:
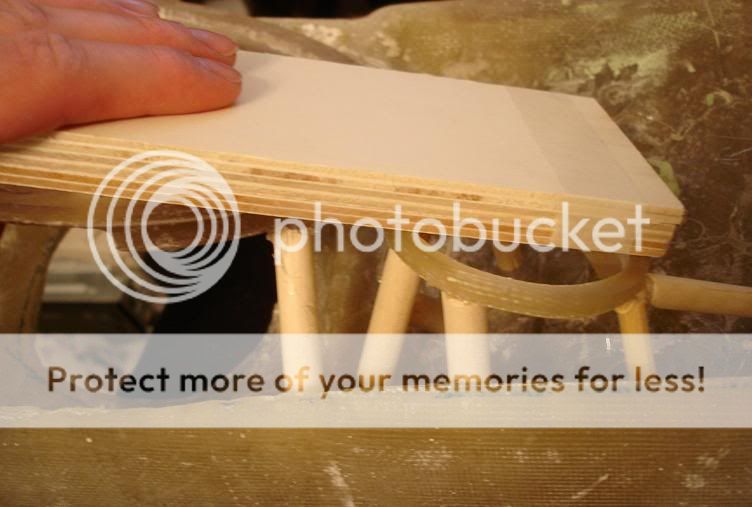
I made the edge of this as thin as possible so it will have less of a ledge when its all done:

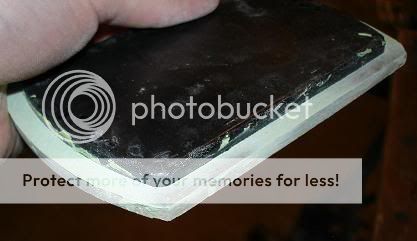
All edges have been straightened or shaped. The hardest part for me was to shape the part on the right side at the top of the piece where the door dips 90 degrees but also curves around at the top. To make it look good i had to 'freehand' 2 curves on the piece to make it wrap around. I am horrible at free handing things so i took extra time in doin this. This picture is of what it looks like now. IT doesn't look ready in the picture but, i have a crappy camera, and im not photographer, but it is ready. any final adjustments along the edge can be made later after its wrapped; nothing major though:
Update:
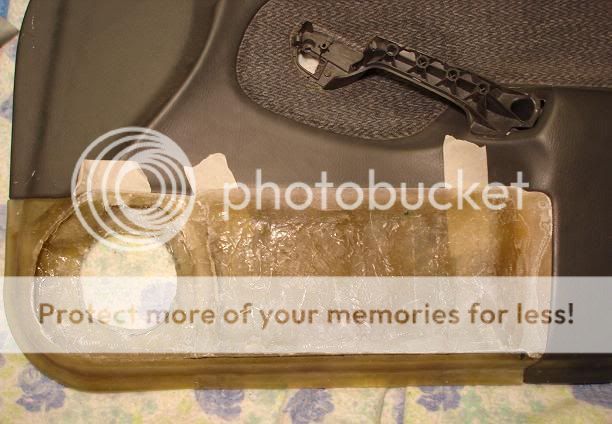
In this picture, I am fixing some imperfections on the edge of the piece; there were little notches that would make a small wave/crease in the piece that i would have to fix. I just put tape on the door, screwed the piece to the door and put a little dab of resin in each place:
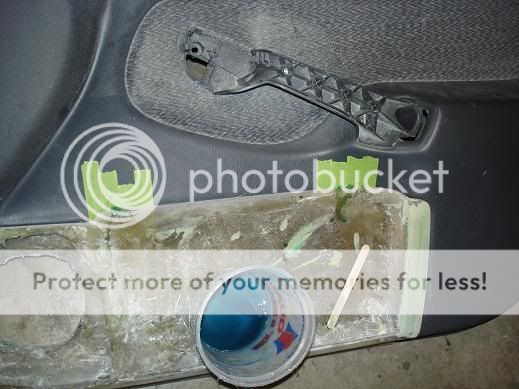

Now, its on to making the crossover mount ring straight and perfect.
I put the molding wax all over the bottom piece of the crossover (which is what I used to initially make the mount ring) and put body filler over all of the edges and sanded them smooth. I noticed when i looked at it closely, the edges weren't perfectly straight; the right side of the crossover had a big wave in it. I sanded the filler smooth and now its all perfectly flat and straight.
I put the crossover mounting ring back on the plastic piece while sanding the edges so there is support for the thin edges...i think this part originally curved because there was a high spot on the bottom side which pushed up causing more of the piece in that spot on top to be sanded so when pressure was relieved, this was a low spot.
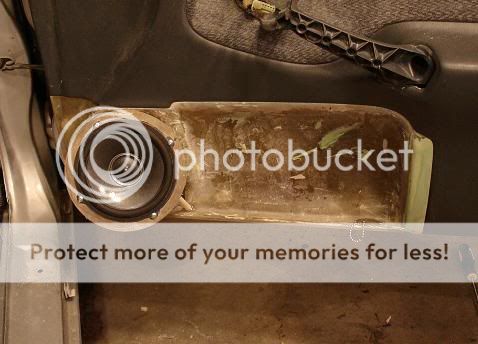
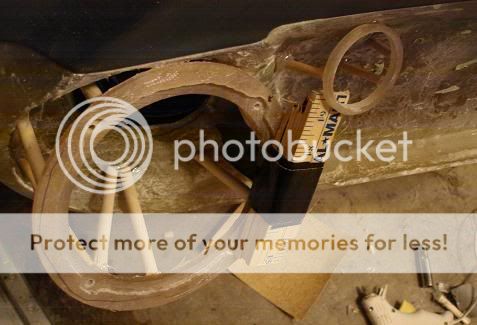
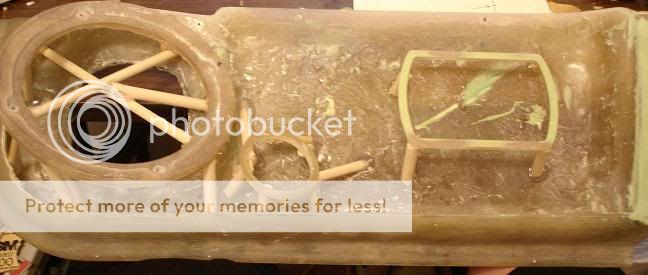
Now since everything is as good as it will get, I am starting to mount the components: first the speaker ring, then the tweeter ring and finally the crossover mounting ring.
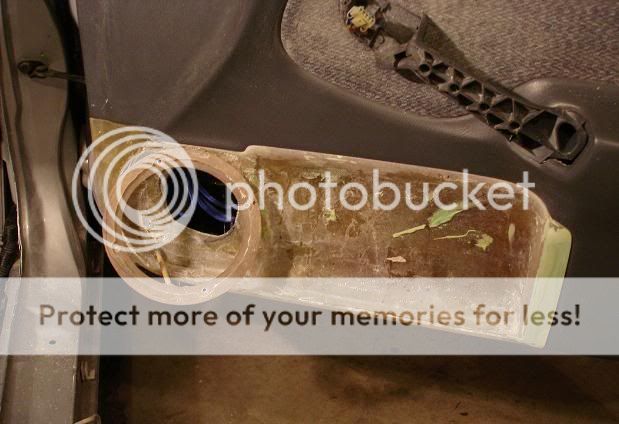
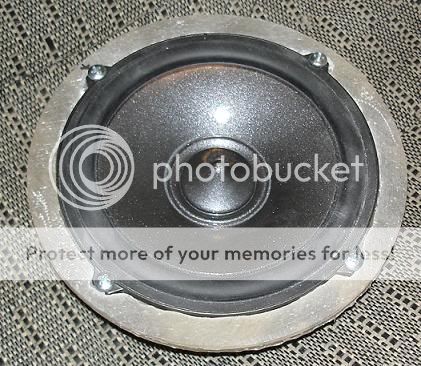
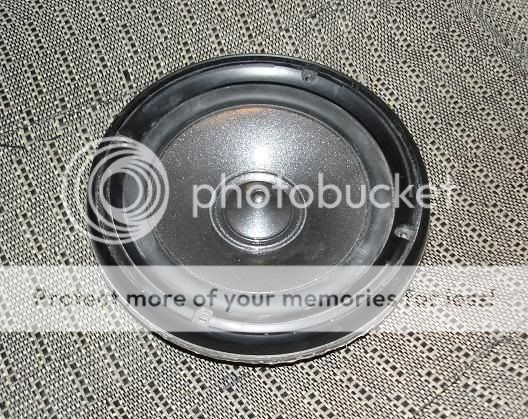
Here is a test fit:
The speaker holes are not "straight" to accommodate for 2 possible grills that I want to use. The grill i want to use is made to fit an older alpine speaker. To make this work, this is why the speaker is recessed into the ring.
Next was adding the tweeter ring. I wanted the tweeter ring to be pointing exactly the same direction (being parallel) even though its a little higher. I taped a broken up ruler together to make a stack of wood. I then attached this to the large speaker ring so the top of the wood stack was exactly parallel to the speaker ring. I then laid the tweeter on this stack of wood so the tweeter ring would be exactly parallel to the speaker ring.


UPDATE:
I decided to relocate the tweeter. I realized that the tweeter would actually cut into the door panel if it was kept there because of the tweeters depth. I moved it to the bottom corner of the large speaker(woofer cone). I use the same principal of lining up the angle of the tweeter ring with the woofer cone by using a flat piece of wood against the flat plane and extending it out. For those who might attempt this, double sided tape might work. I held all this by hand; it came out perfect but it was hard holding the tweeter ring against the wood at the same time as hot gluing the wooden supports:
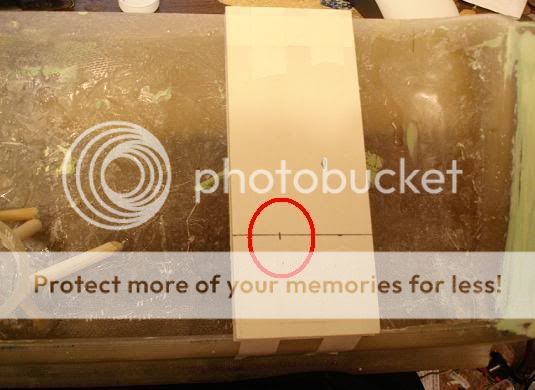
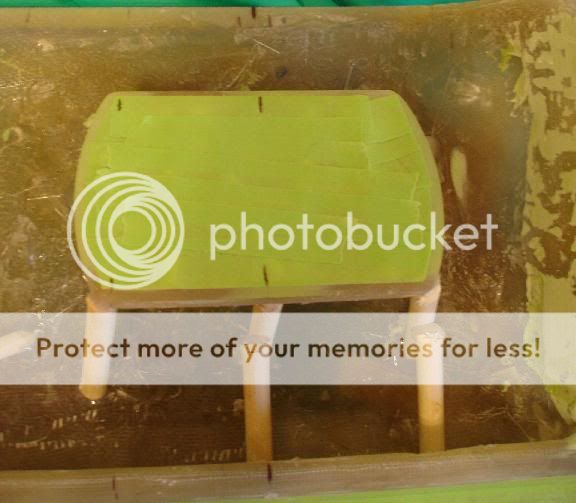
Now it was time to mount the crossover ring. I wanted it to be on the flat plane that goes in a stright line from the top and bottom edge. For this, I laid a stack of 3 pieces of wood and taped it to the piece. I then measured the exact space distance between the top and bottom edge so the crossover ring will be centered; I marked this on the piece of wood. Also, I measured the exact center between the tweeter and the right side edge right when it starts to curve horizontally. I matched this with the exact center of the crossover mounting ring:
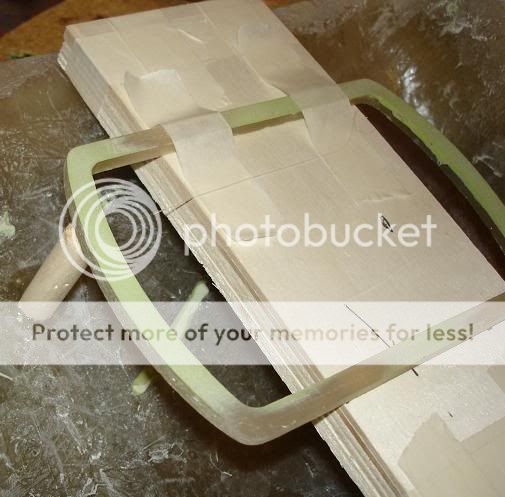
When everything was matched up, i taped the top part of the crossover mounting ring to the wood pieces to hold it still:
After 4 support pieces were under the crossover ring, i untaped the wood pieces and easily slid it out. I will add more support posts to it:

Now this part is ready for wrapping in cloth and ready to put resin on. Before this happens, I am going to tape off the inside of the speaker ring(both woofer and tweeter) but most importantly ill tape off the inside of the crossover so i wont lose the perfect fit when the resin would run down in there:
UPDATE:
Well I have been wrapping the piece very carefully but here is what has gone on before wrapping was started:
Just to check the "fit" or look of the fiberglass piece, i went around it and stretched a piece of cloth over it to make sure nothing interfered or made the piece look bad. One part that I found was that the very bottom right corner looked sort of bad since it was at a right angle; this didnt look the best so i filled the corner in with body filler and sanded it down to a curved shape. This was done with a large diameter socket wrapped in sand paper:
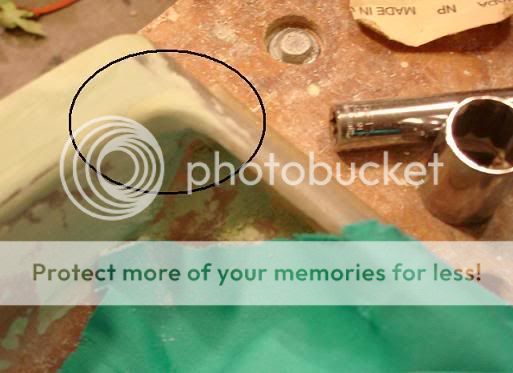
Since I had a perfect fit for the crossover, I didnt want the resin to get inside and mess the spacing up. I covered this with car painting masking tape:
Now its time to wrap the piece with the polyester cloth i got! I got this at Jo Anne's (i think thats how you spell the store name), which is a craft store. I got this kind because its stretchy and easy to work with on pieces that require fine detail. The way that I made this turn out is wherever i hot glued the cloth down at, that same vertical line of thread in the cloth would be at the same vertical position as the bottom. The way i did this was i made marks on the cloth that were on the same vertical row. Also, through trial and error, I learned to stretch the cloth over the high points first, then go back and stretch the lower spots in between the high spots. In this, high spots meant the crossover, tweeter and speaker ring. Low spots were any space in between:

This is not finished being wrapped but you can get the general idea how it will turn out:

Before I put resin on this, I am going to have to hold down the cloth where the speaker rings are (woofer cone and tweeter). I think the way ill do this is, just make another set of speaker rings(which i will use for the drivers side when i make it) using the molds that I made, wax them up with the mold wax, and put them down on top of where the rings are under the cloth. Ill find a way to put tension on them so they lay flat while the resin is curing. for the speaker ring, ill probably just end up screwing it down to to woofer cone ring...but i need to figure something out for the tweeter ring.
This is the corner that is attached:

Now its ready to be fiberglassed! Ill still need to get those speaker rings made to hold the cloth down while its hardening:
Before i fiberglass the piece just yet, i have to attach the second speaker rings on the outside of the piece so the cloth will be pressed down while its curing. Since the cloth is so tight, if theres a hole, then it will all unravel. To solve this, I drew marks where i am going to put screws in to attach the speaker rings and then put epoxy on it. I would recommend epoxy that has a rating of 5 minutes or more. This is so the epoxy is still fluid enough to soak through the cloth and saturate the later. This epoxy will be able to hold the cloth together when a hole is drilled through it. The tweeter ring gets a big spot because i am going to use a bolt and nut on the other side to hold it down:

Epoxy:


 Topic Closed)


 Printable version


