the12volt.com spacer
icon

Focal Beryllium BMW


Post ReplyPost New Topic
< Prev Topic Next Topic >
foxracer 
Member - Posts: 2
Member spacespace
Joined: April 10, 2002
Location: New Zealand
Posted: October 05, 2010 at 6:29 PM / IP Logged Link to Post Post Reply Quote foxracer
i have just spent the last 2 hours of work time reading this thread. im amazed. looks awesome.   
what is your trade ? is this just a hobby ?
83turbocoupe 
Member - Posts: 1
Member spacespace
Joined: October 29, 2010
Location: Ontario, Canada
Posted: October 30, 2010 at 8:07 PM / IP Logged Link to Post Post Reply Quote 83turbocoupe
i know its a long shot for a reply but where did you buy that 5mm copper tube?
jinstaller1 
Member - Posts: 24
Member spacespace
Joined: April 25, 2009
Location: Missouri, United States
Posted: March 05, 2011 at 12:51 AM / IP Logged Link to Post Post Reply Quote jinstaller1
Hey whats up... Mad skills man mad skills!!!!!!! i have seen some high dollar installs on some cars and some hella good custom stuff but this takes the cake... but then again this is your baby if i had the time and skills and patience hell i would try doin stuff to mine but for now she remains mostly stock nothin special... so is there an update to the ICE or any thing else with your ride?????????
Jayce
Melted Fabric 
Silver - Posts: 509
Silver spacespace
Joined: October 24, 2003
Location: California, United States
Posted: March 10, 2011 at 1:02 AM / IP Logged Link to Post Post Reply Quote Melted Fabric
Hey Robo,
Sorry I have been off the forums for many months, the end product is a work of art to be remembered... I hope you know we appreciate the flood of pictures and commentary. I look forward to seeing your future projects, and thanks again for taking the time to reply.
I have not failed. I've just found 10,000 ways that won't work.
When you do not know what you are doing and what you are doing is the best -- that is inspiration.
robolop 
Copper - Posts: 157
Copper spacespace
Joined: October 26, 2008
Posted: March 11, 2011 at 1:15 PM / IP Logged Link to Post Post Reply Quote robolop

A few pages before, you could see I was working on the backside of the front seat. I pumped that thing with some polyester and filler.

Now the time has come to finish this off…
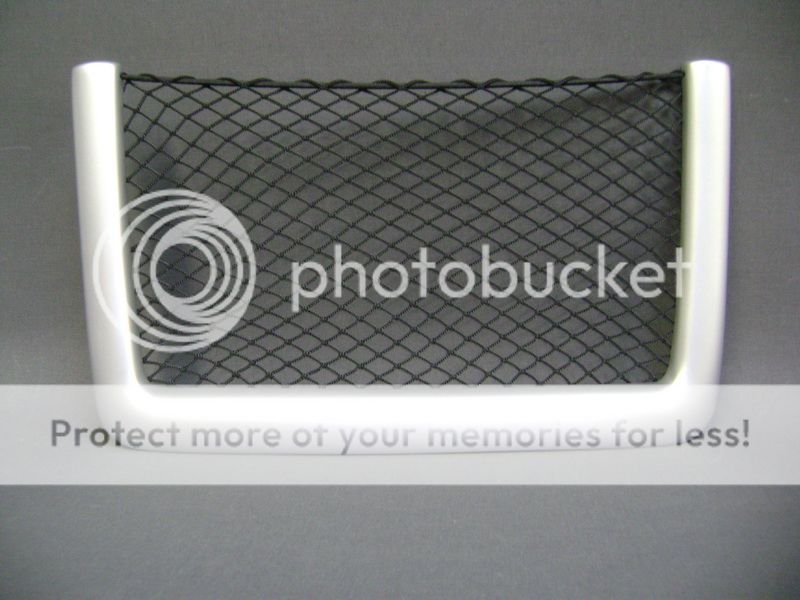
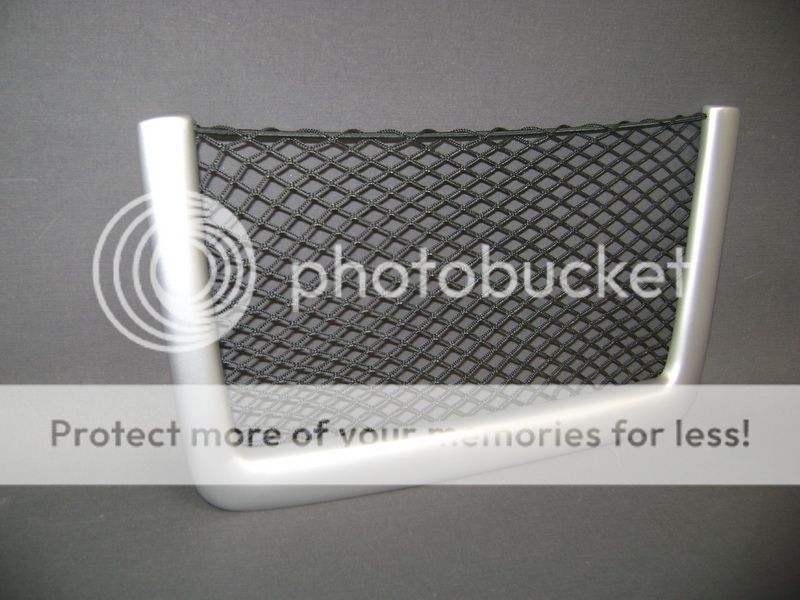
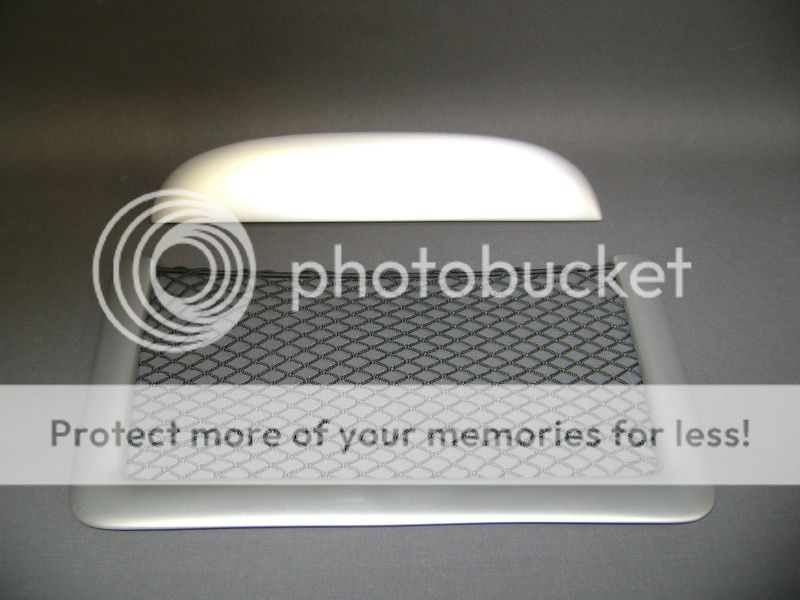
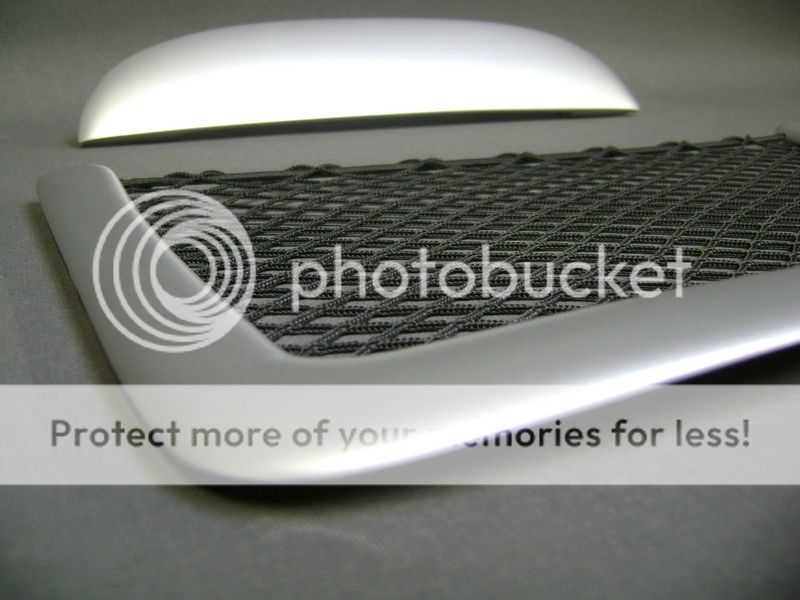
I covered that seatcover with a layer of carbon fibre. And ‘cause I really don’t like big things in carbon fibre, I styled the little net on the backside …
I adjusted the frame onto the form of the carbon plate, and made it a bit wider.
Focal Beryllium BMW - Page 15 -- posted image.
You can also see that I painted it silver, like the rest of the moldings inside the car. So it all takes part in one total package, and I get a nice contrast between the silver and the black carbon fibre.
Focal Beryllium BMW - Page 15 -- posted image.

To screw this thing tight, I use a bit thicker hold-screws.

Focal Beryllium BMW - Page 15 -- posted image.

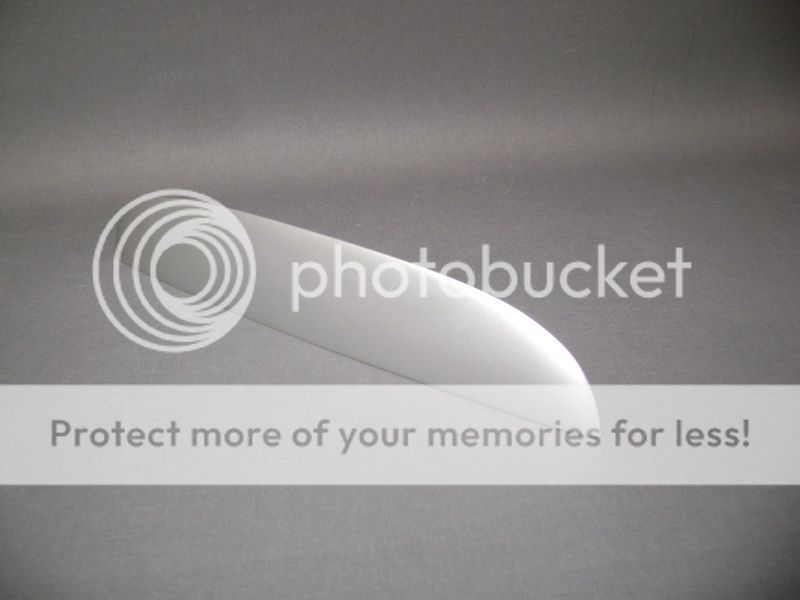
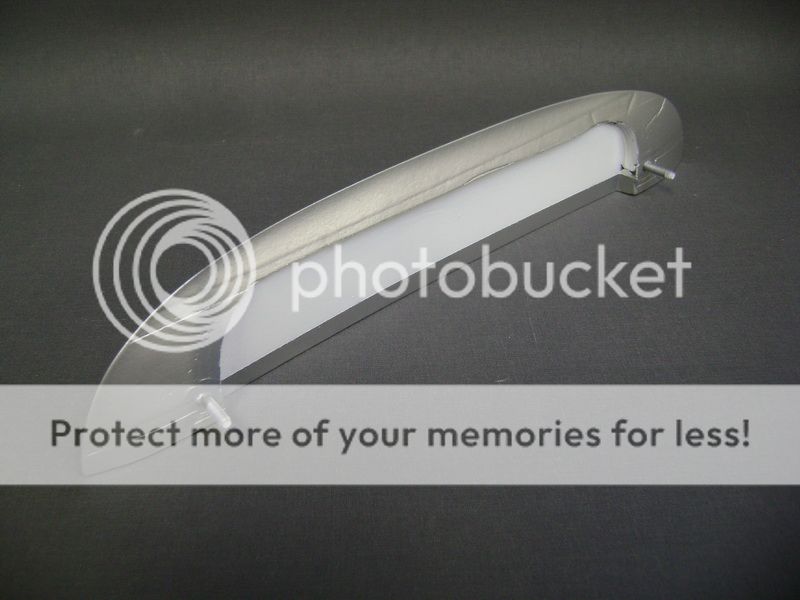
Another piece I made, and this will get on the top of the back-rest.

Focal Beryllium BMW - Page 15 -- posted image.

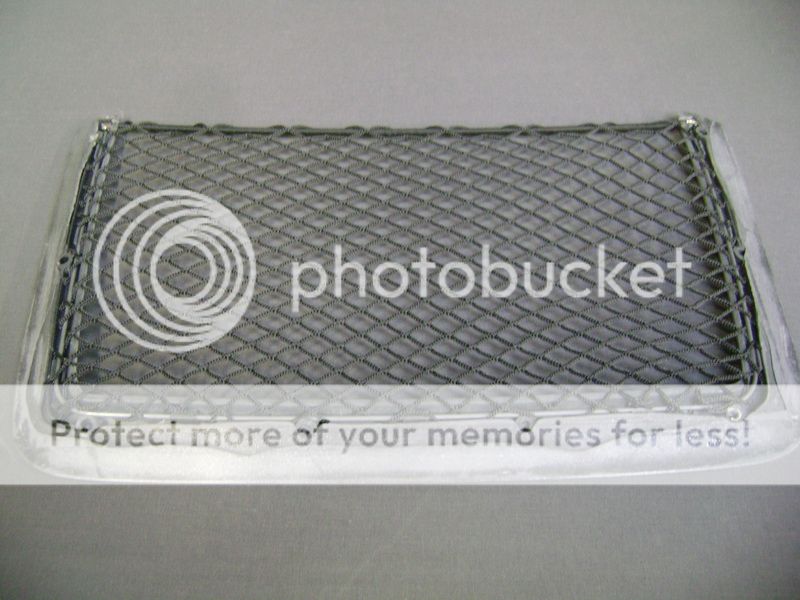
On the rear, I made a sloth, where a neon will be added. This is also the reason I painted it white.

Focal Beryllium BMW - Page 15 -- posted image.

Here a picture of how it’ll look when mounted in the car.

Focal Beryllium BMW - Page 15 -- posted image.

Focal Beryllium BMW - Page 15 -- posted image.

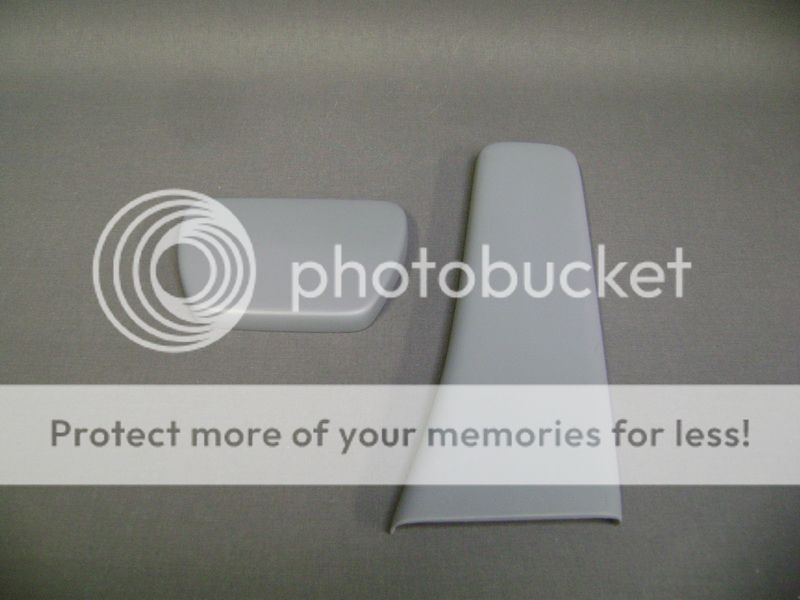
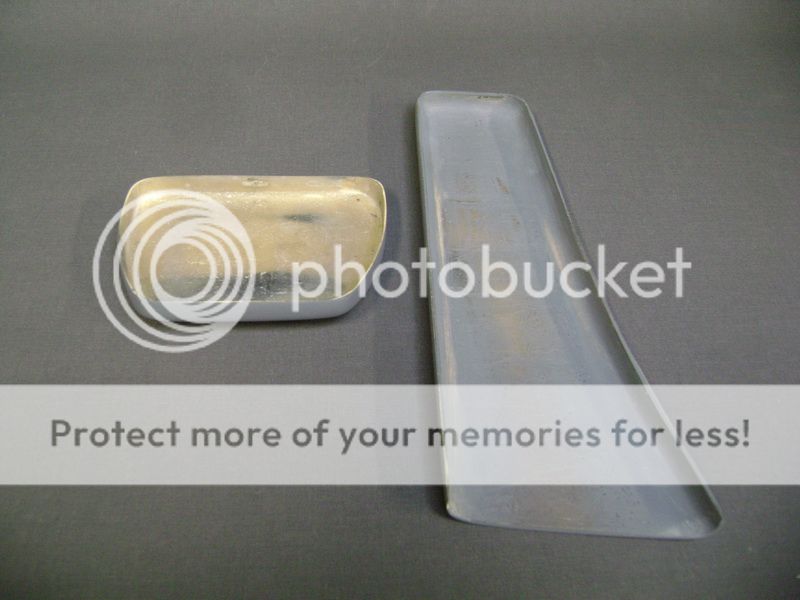
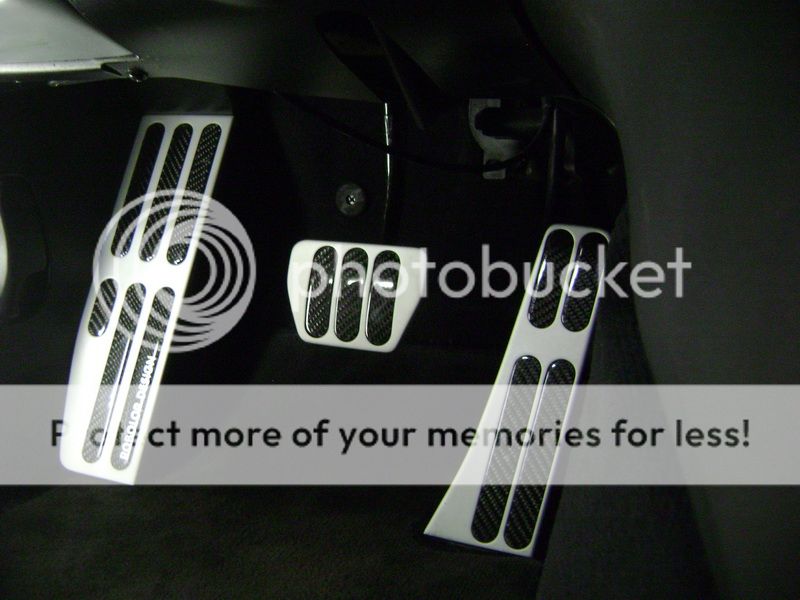
These polyester covers I made to cover up the pedals, so I can’t damage them.

These are in primer, and must get to the painter soon, also they need to be provided with some rubber.

Focal Beryllium BMW - Page 15 -- posted image.

Focal Beryllium BMW - Page 15 -- posted image.

robolop 
Copper - Posts: 157
Copper spacespace
Joined: October 26, 2008
Posted: March 13, 2011 at 11:07 AM / IP Logged Link to Post Post Reply Quote robolop

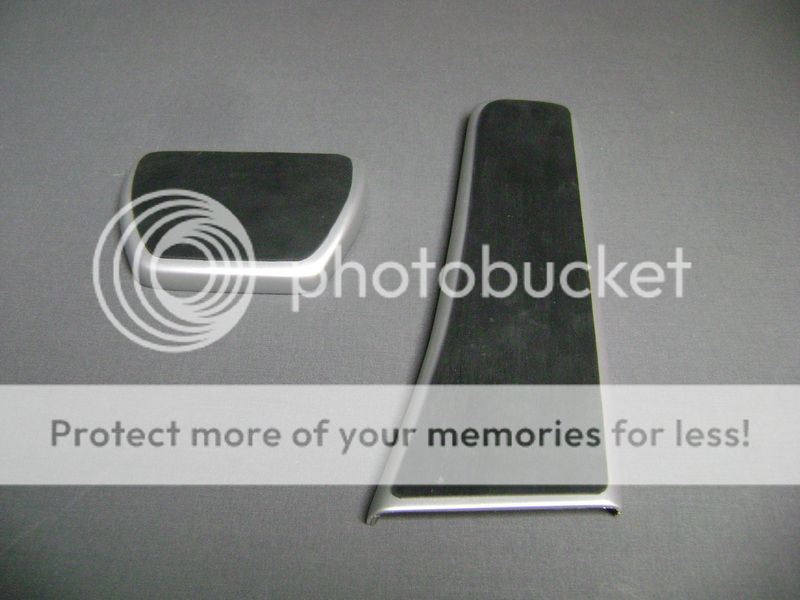
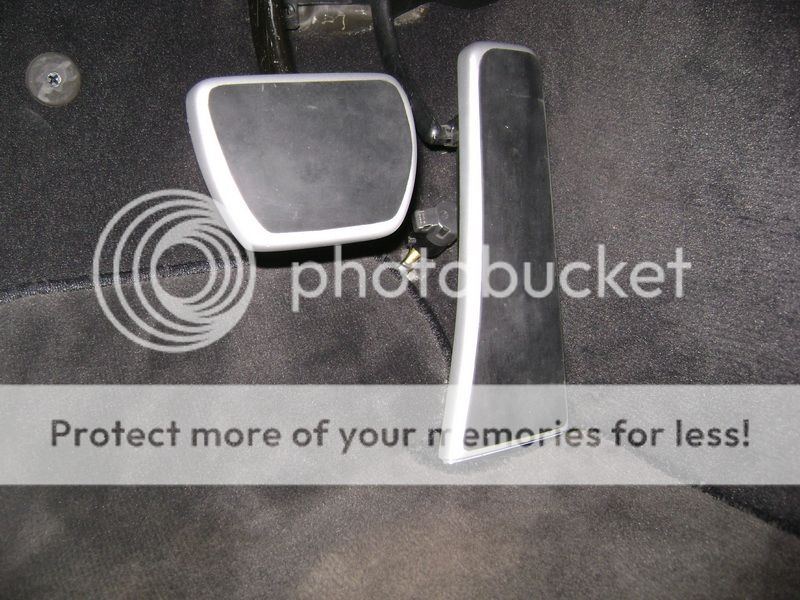
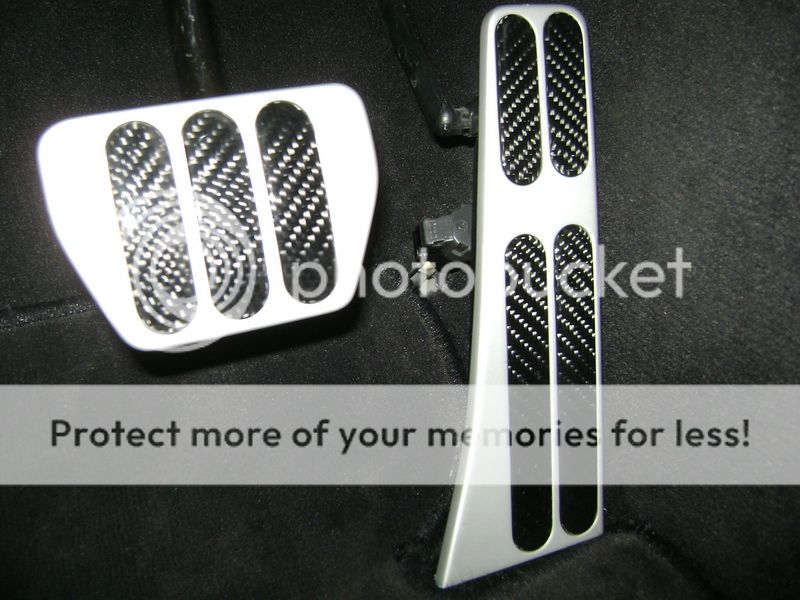
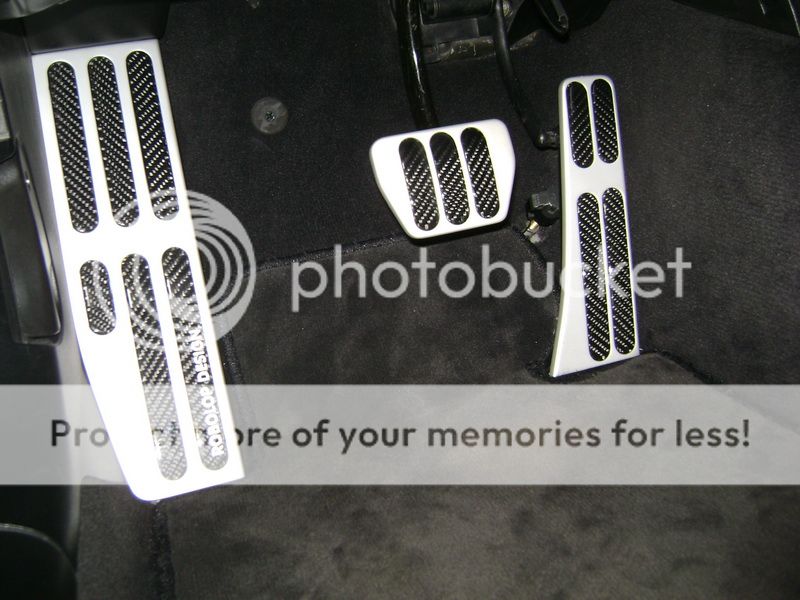
I mounted the pedals, who were finished some time ago, in the car.

The covers, I sprayed in silver, cause everything else in the car is in silver.
Focal Beryllium BMW - Page 15 -- posted image.
I taped a little rubber on there too.
Focal Beryllium BMW - Page 15 -- posted image.
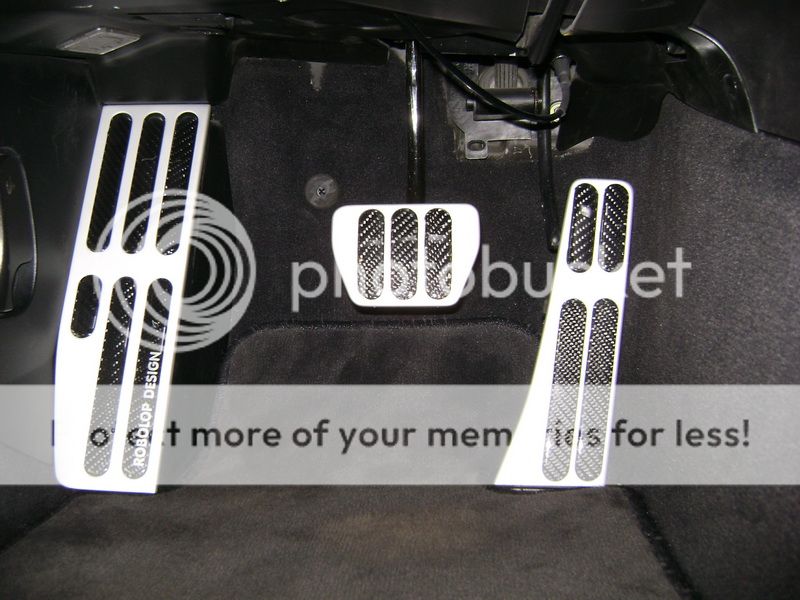
Here the rest of the pedals.
Focal Beryllium BMW - Page 15 -- posted image.

Focal Beryllium BMW - Page 15 -- posted image.

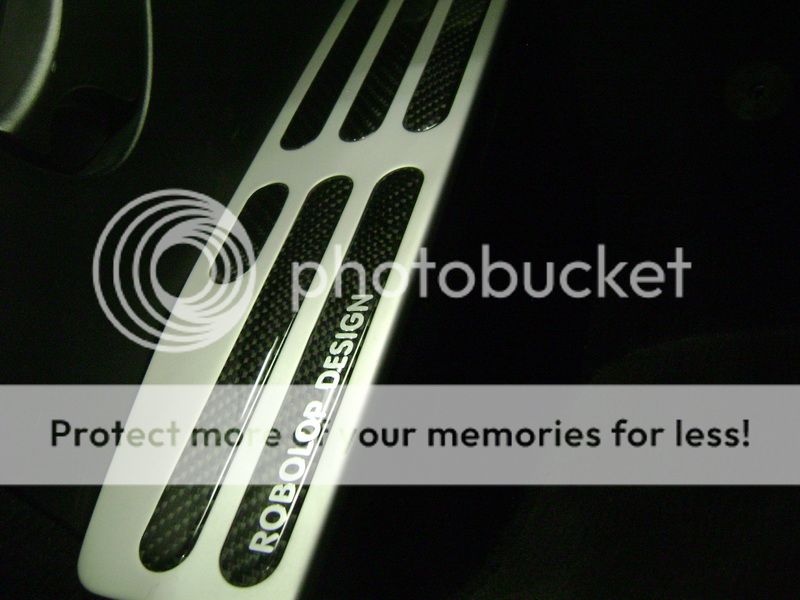
Again, this is something that took a lot of work to make. But when I take a good look at these things, I don't care about the time and work.

About the letters... next winter I will take out that carbon plate, and put an ever smaller sticker on there.
Since this is underneath the layers of clear-coat, I'll have to rubb till those are gone...

robolop 
Copper - Posts: 157
Copper spacespace
Joined: October 26, 2008
Posted: March 13, 2011 at 11:08 AM / IP Logged Link to Post Post Reply Quote robolop

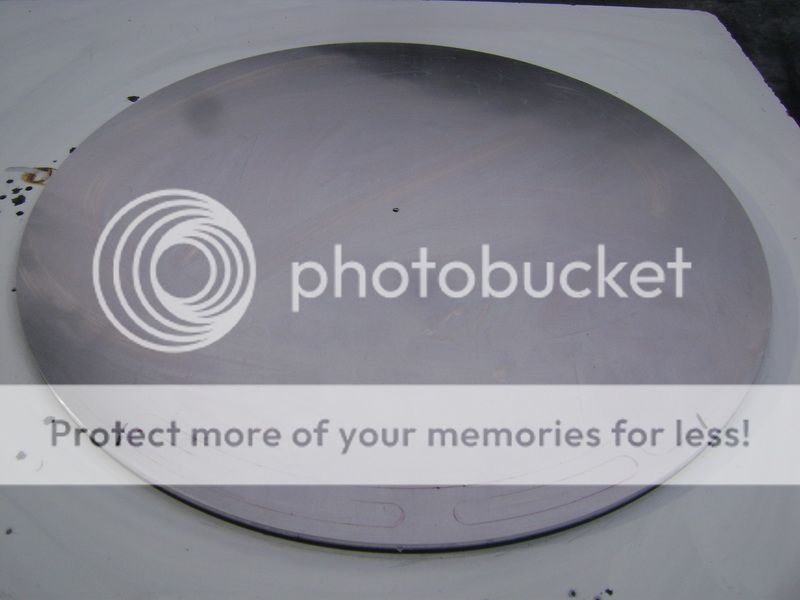
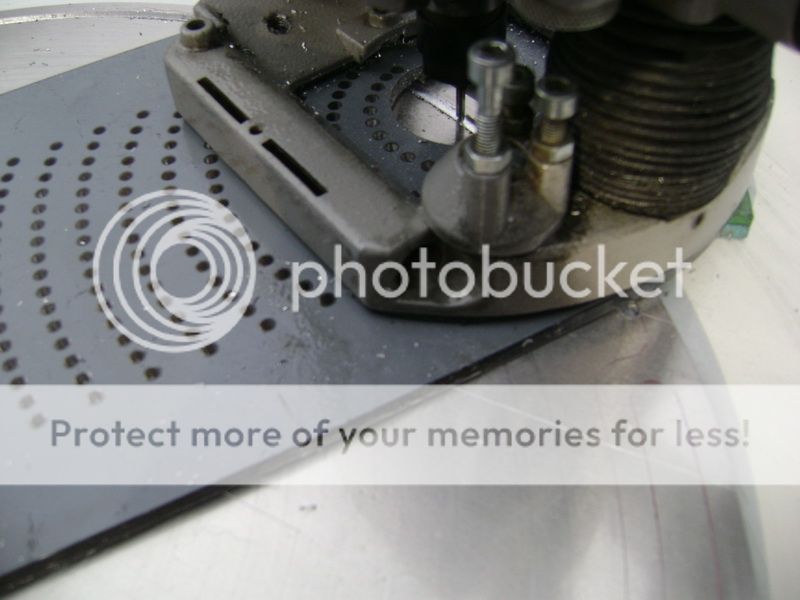
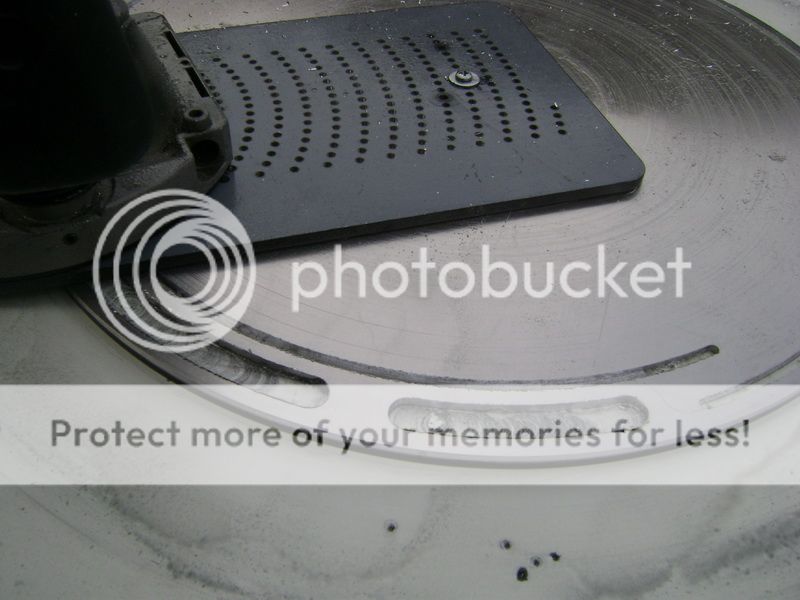
I had some rubbish laying around to make something out of. The carbon dustcovers who are behind the wheels, were never completely finished in my opinion. I mean, it was just “plain” and nothing special. Now I was able to put some more time and effort into it, and started milling some aluminum from 3mm thick. First I made a round disc of MDF, pasted the aluminum on it, and milled out the 4 plates.

Focal Beryllium BMW - Page 15 -- posted image.

Offcourse this was childsplay, but then we stepped up a level. The meaning is to make a little frame around the carbon, on the outerside from the disc.

This may not be too wide, so it wouldn’t look to plumb.
Once this was all drawn out on the aluminum, we could get started.

Focal Beryllium BMW - Page 15 -- posted image.

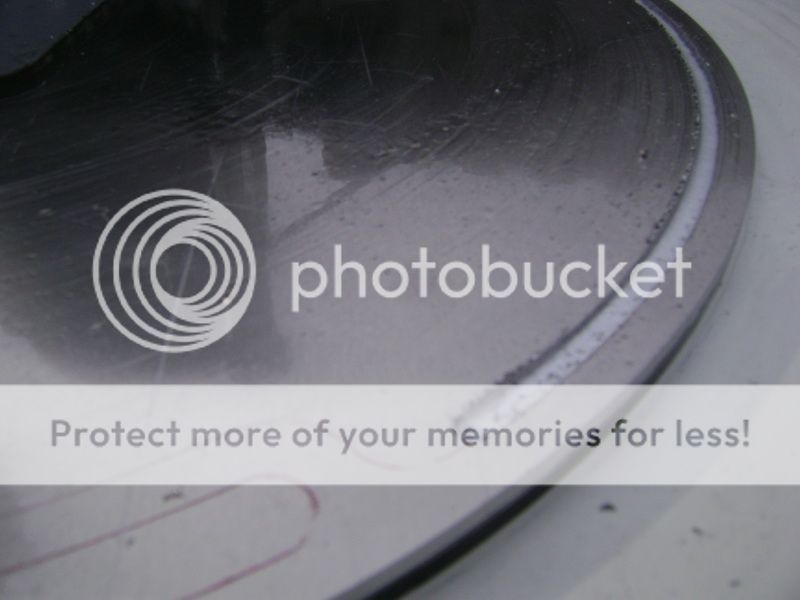
The outer border is 7mm thick. The dangereous part is, that it could bend from the heat, or that the mill would cut in. But I thought about this long, and used a lot of WD40, and also I milled away a half mm per time.

Focal Beryllium BMW - Page 15 -- posted image.

Focal Beryllium BMW - Page 15 -- posted image.

Here they are, and it all worked out very well, although some polishing will be necessary.

Focal Beryllium BMW - Page 15 -- posted image.

This one is already abraded and polished.

Focal Beryllium BMW - Page 15 -- posted image.

This time I didn’t do the polishing by machine, just because I didn’t think it would come to a good end. Much do dangereous so hold this to a brush.

So I did it by hand, but offcourse, you don’t get the same result as by machine polishing.
But they shine a bit

Focal Beryllium BMW - Page 15 -- posted image.

Focal Beryllium BMW - Page 15 -- posted image.

robolop 
Copper - Posts: 157
Copper spacespace
Joined: October 26, 2008
Posted: March 13, 2011 at 11:09 AM / IP Logged Link to Post Post Reply Quote robolop

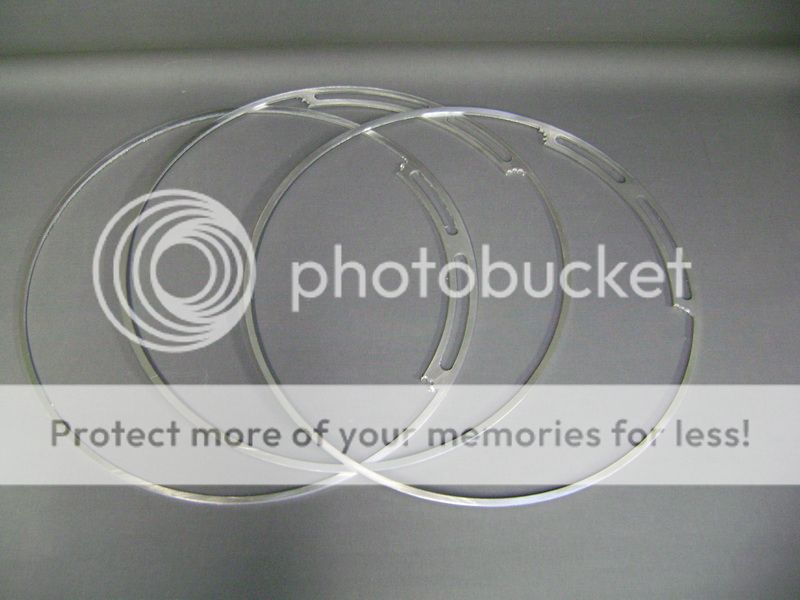
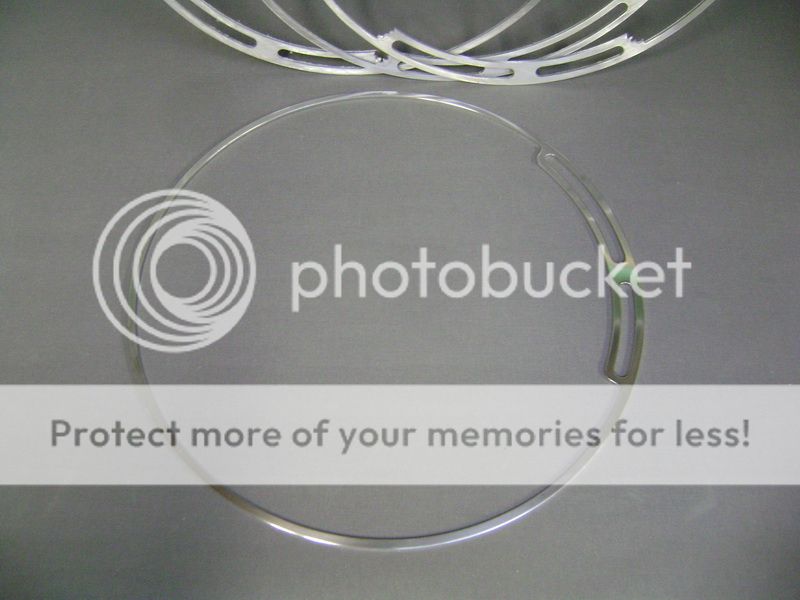
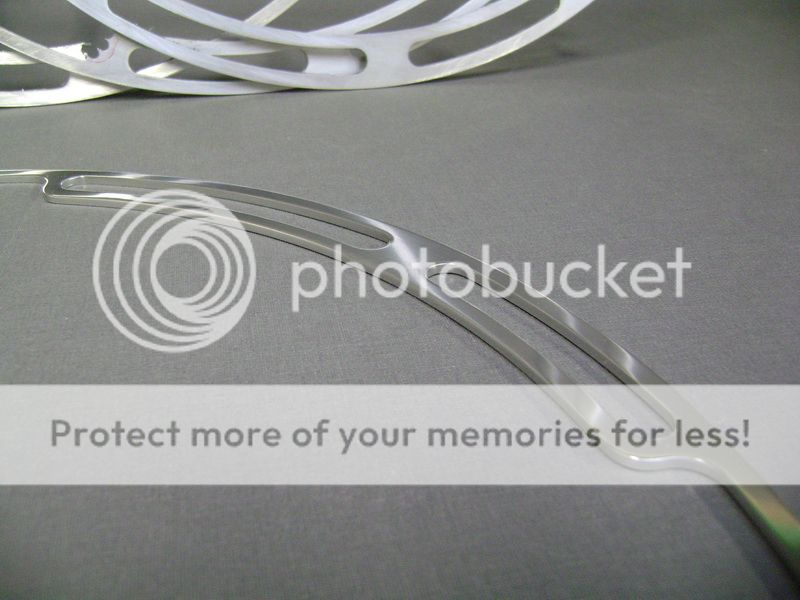
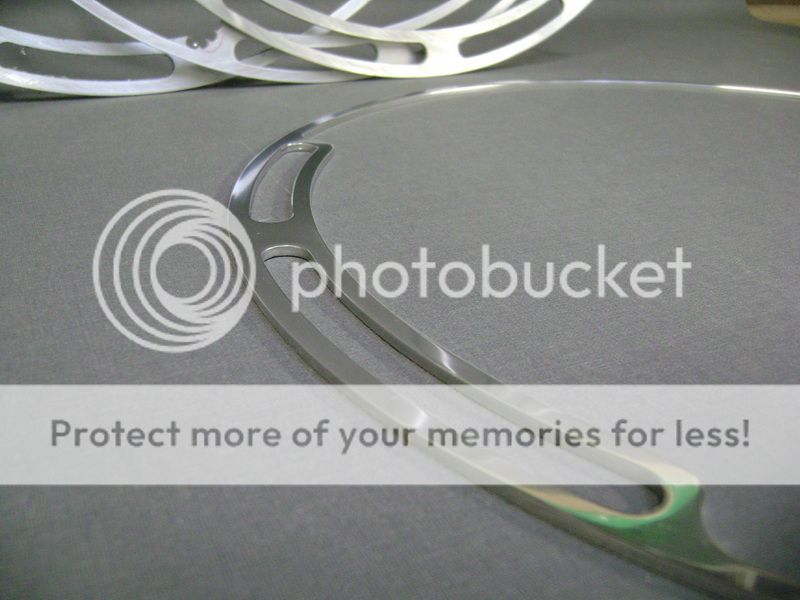
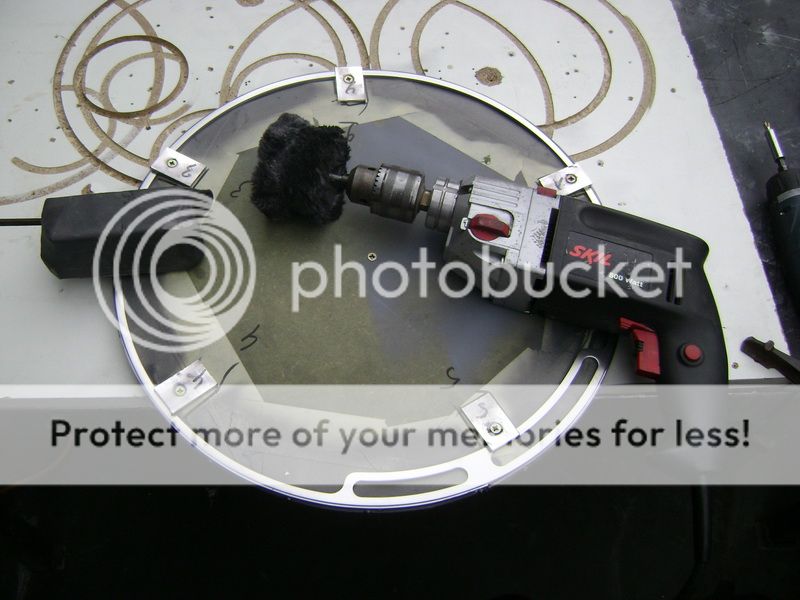
I managed to find a way to polish those tiny alu rings with the machine.

This is the little plank of MDF I used to mill them.
On the outside I screwed a little slat that sticks out a few mm's

Focal Beryllium BMW - Page 15 -- posted image.

Made some more little plates.

Focal Beryllium BMW - Page 15 -- posted image.

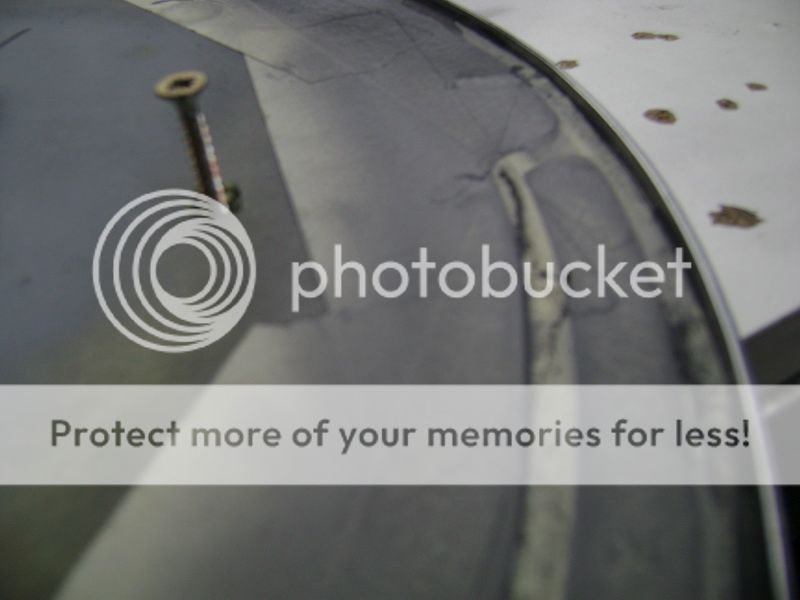
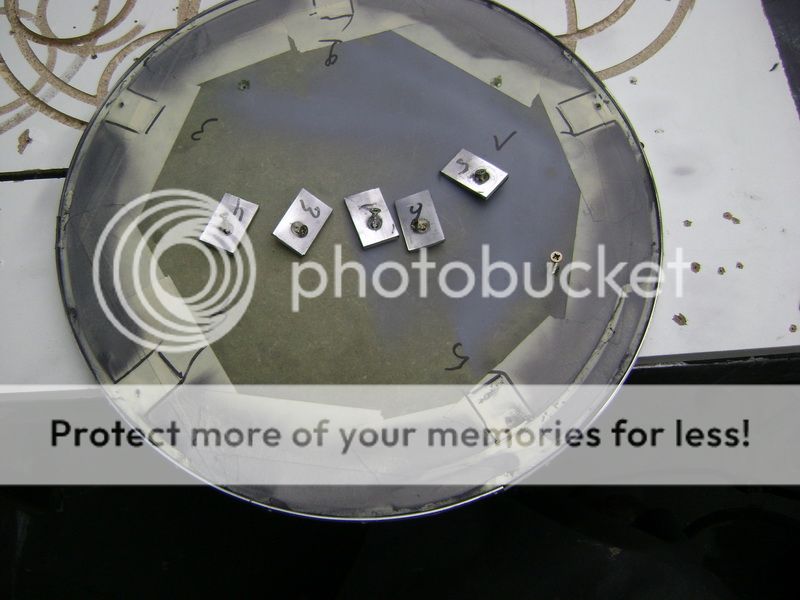
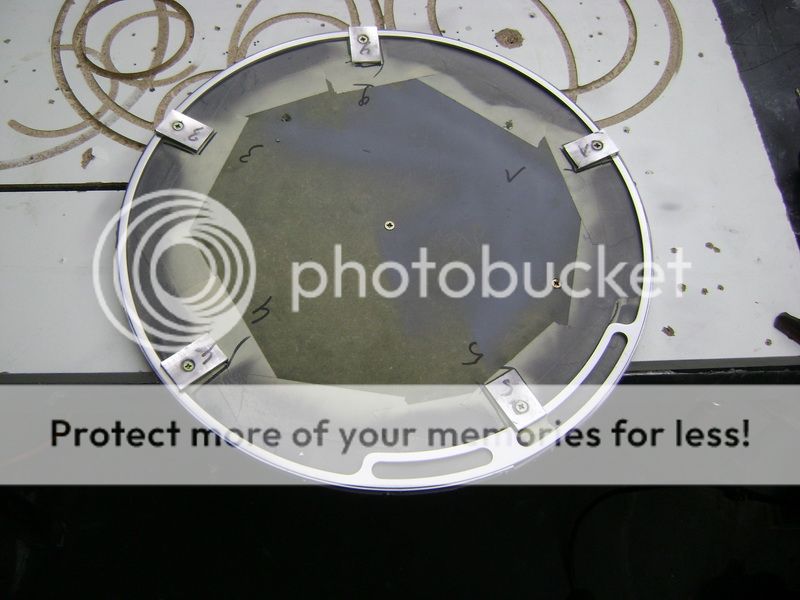
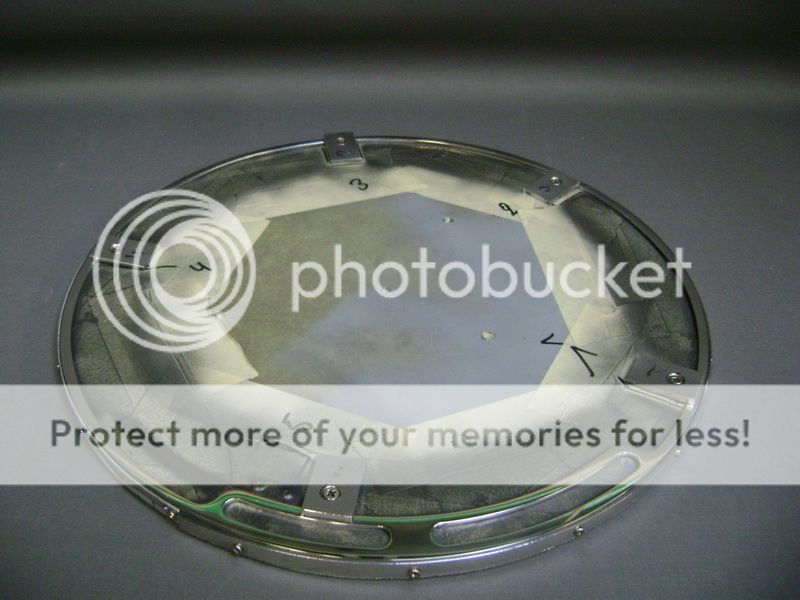
Here you can see how tight it is, and it can't slide or shift somewhere.

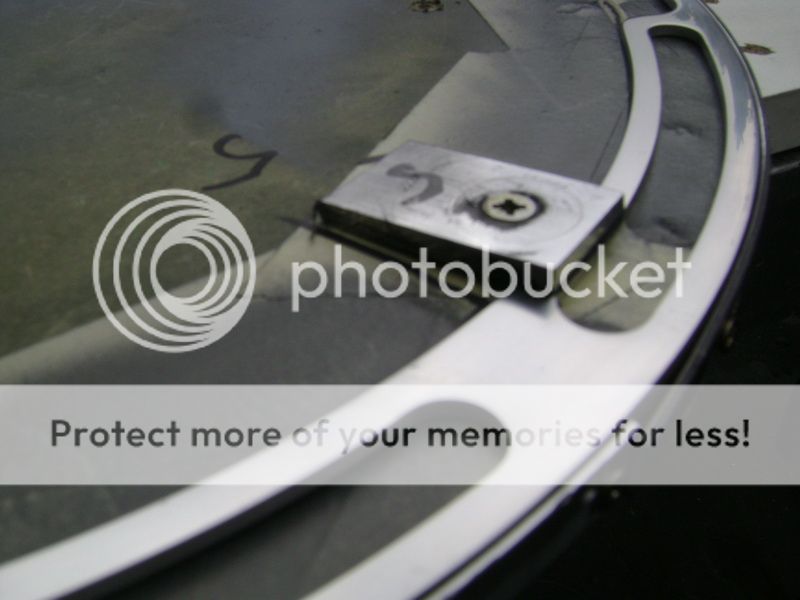
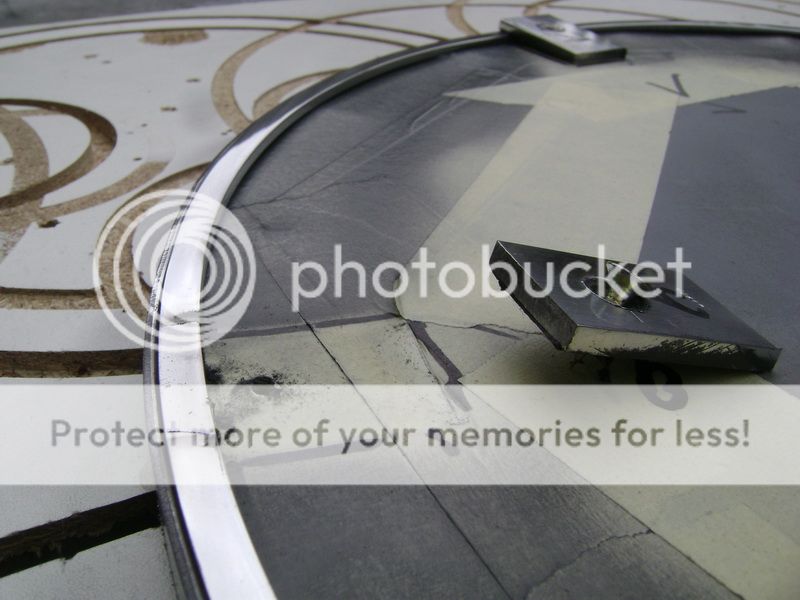
The 5 plates are holding the piece down.

Focal Beryllium BMW - Page 15 -- posted image.

Offcourse I taped some "mush?" on the plates, so I didn't scratch the aluminum.

Focal Beryllium BMW - Page 15 -- posted image.

Instead of keeping it against the polishingmachine, I chose to do it with the drillingmachine, and this worked a little bit better as usual.

Focal Beryllium BMW - Page 15 -- posted image.

Once this was done, I had to screw the piece loose, and slide the piece a bit.

So I could reach the 5 places where the plates were, too.

Focal Beryllium BMW - Page 15 -- posted image.

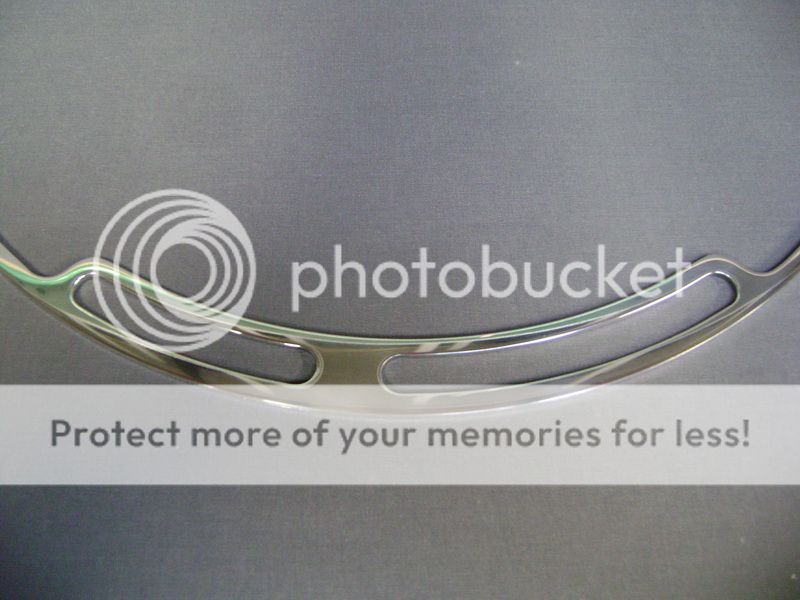
This was the result, and you can never accomplish this by doing it by hand.
Focal Beryllium BMW - Page 15 -- posted image.

Focal Beryllium BMW - Page 15 -- posted image.

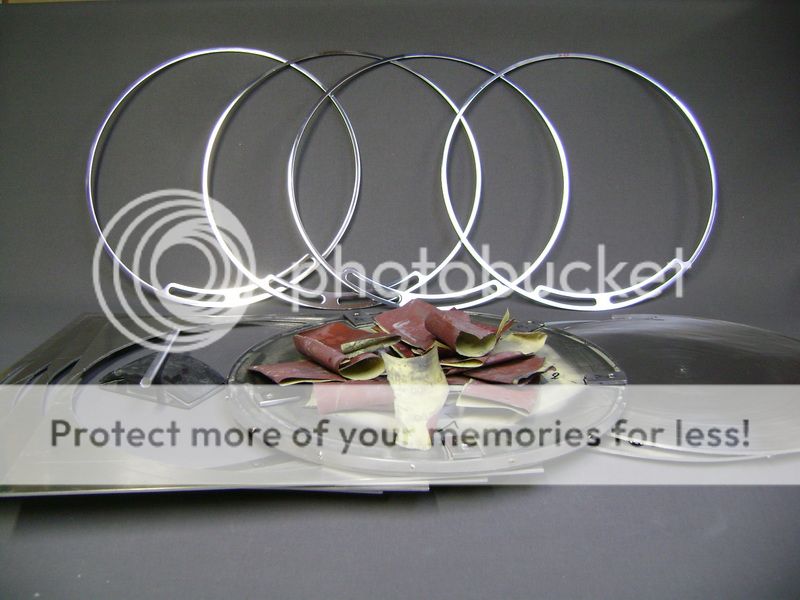
Here a familiy picture.

Focal Beryllium BMW - Page 15 -- posted image.

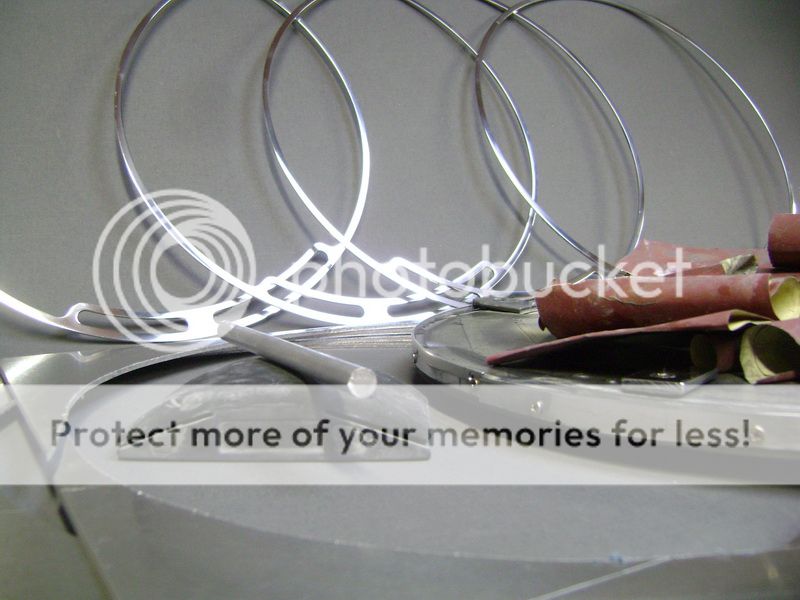
The aluminium bar that lays on the sanding block, I used to abrade the roundings on the inside. Just turned some sanding paper around it.

Focal Beryllium BMW - Page 15 -- posted image.

I get a lot of questions about how many time I put in to these things. Well, this is the first time I kept track of time.

I worked on these rings 26 hours.
and then I mean:
Drawing out
Mill the MDF
Saw out the aluminum, milling, and ...a lot of milling
a little bit of "filing"
abrading and a lot of abrading.
cleaning and polishing
quickly making a set of 4 rings, LOL

robolop 
Copper - Posts: 157
Copper spacespace
Joined: October 26, 2008
Posted: March 16, 2011 at 5:44 AM / IP Logged Link to Post Post Reply Quote robolop

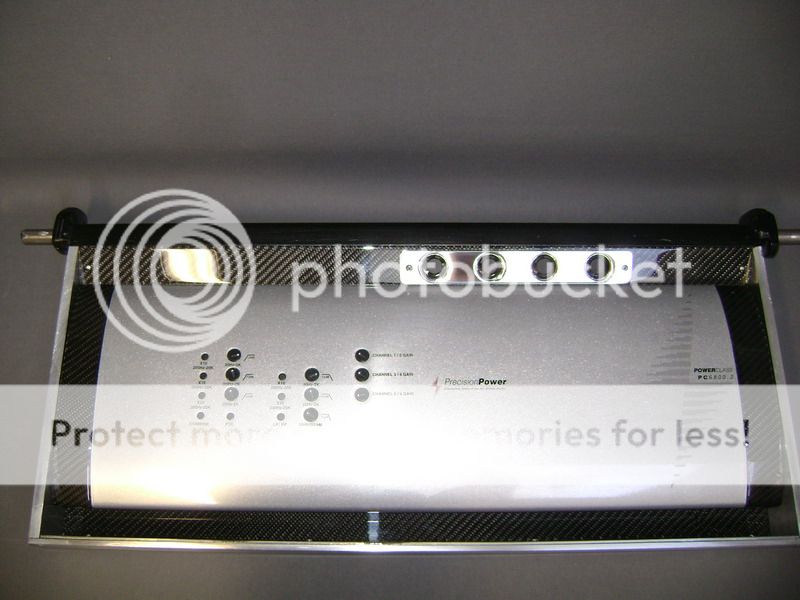
As you may have read, I replaced the PPI amplifier by 2 JL Audio’s. Here’s a picture of how I worked-in the PPI in the aluminum box.

Focal Beryllium BMW - Page 15 -- posted image.

The alu cover and the plexi will stay like they were. The carbon fibre, and the aluminum with the vents will be replaced.

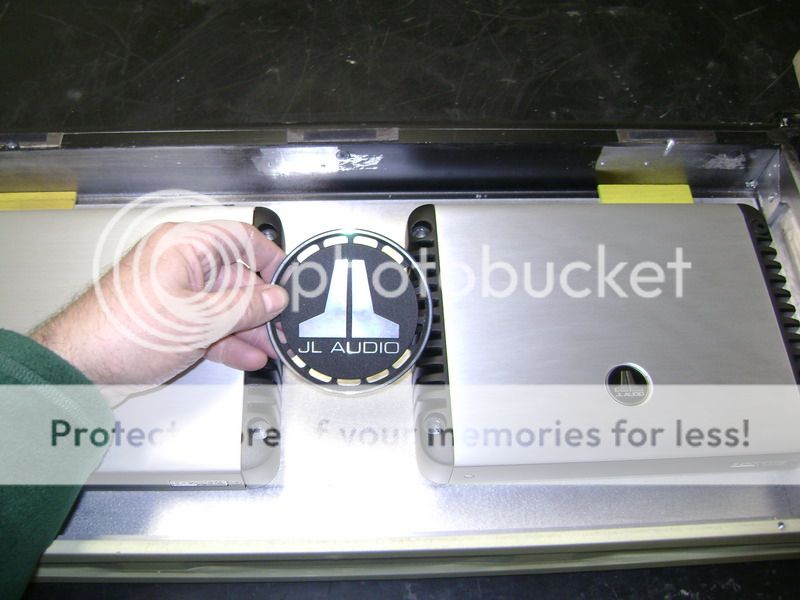
These are the JL’s who traded places with the PPI.

Focal Beryllium BMW - Page 15 -- posted image.

You may also remember that I wanted to work-in a logo between the amp.
Well, now that the box is back on my working table, that’s the next thing I will be working on this couple of weeks.
So you could say: we’re going back to the ICE age, o yeah!
I realised quickly that if I remade this box, it had to look more beautifull and way more cooler then how it was with the PPI.
I did some thinking , and thought on something I once made…
A couple years back, I made “CONES” to put speakers in. Back then I found that so cool, that I said: “these things I’ll make again sometime”;
So… PARTYTME !
The meaning of this is that I’m going to work-in the JL logo between the amplifiers.
This is the first thing I made, so we call it EVO1.
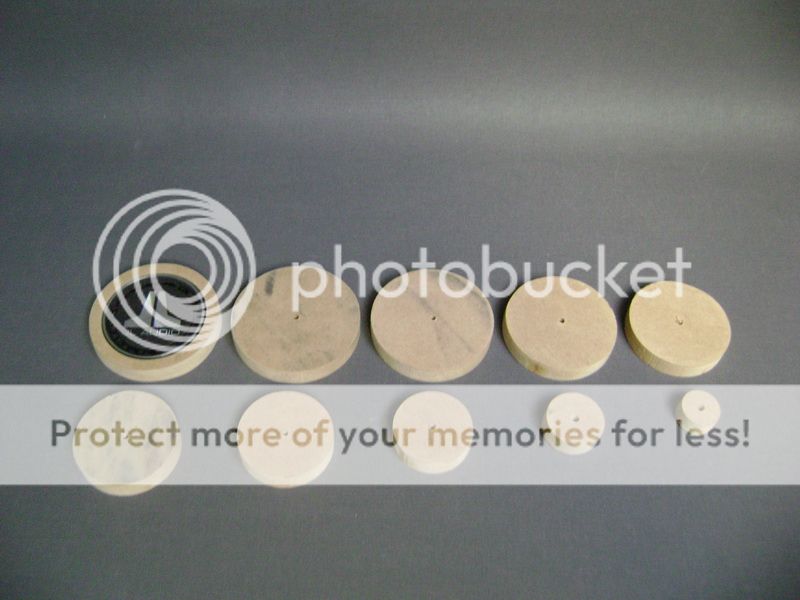
First I made a little MDF ring where the logo should be, and I milled all the rest afterwards.

Focal Beryllium BMW - Page 15 -- posted image.

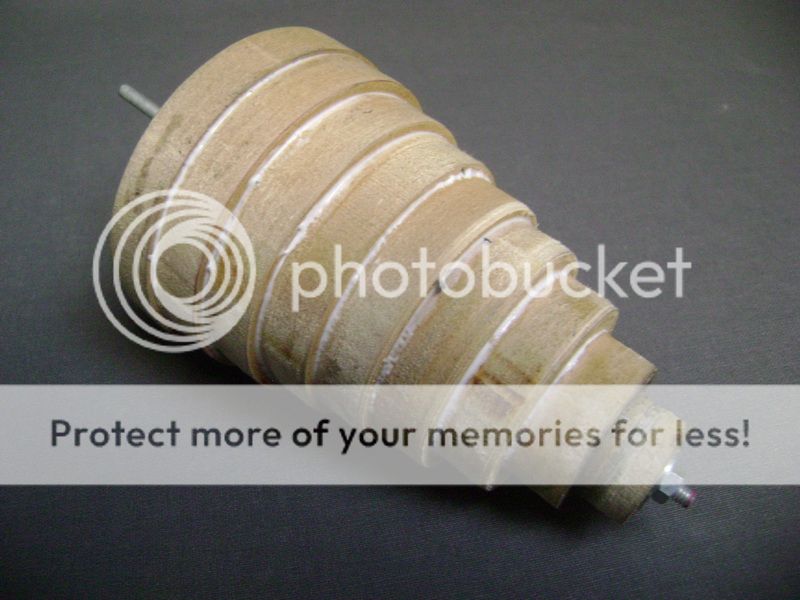
Once I had this, I glued it all on each other, and put a spar with an M4 through it, and screwed it all tight.

Focal Beryllium BMW - Page 15 -- posted image.

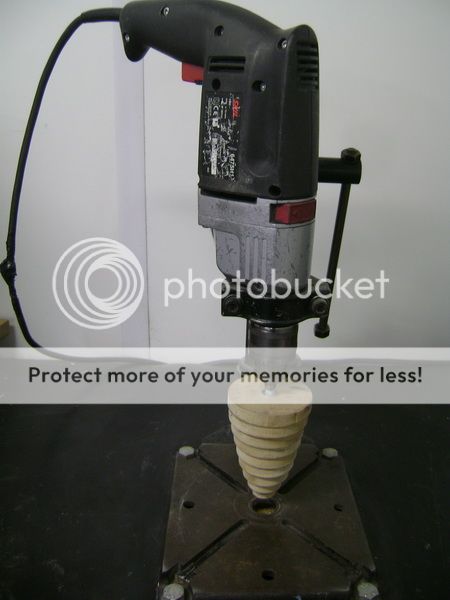
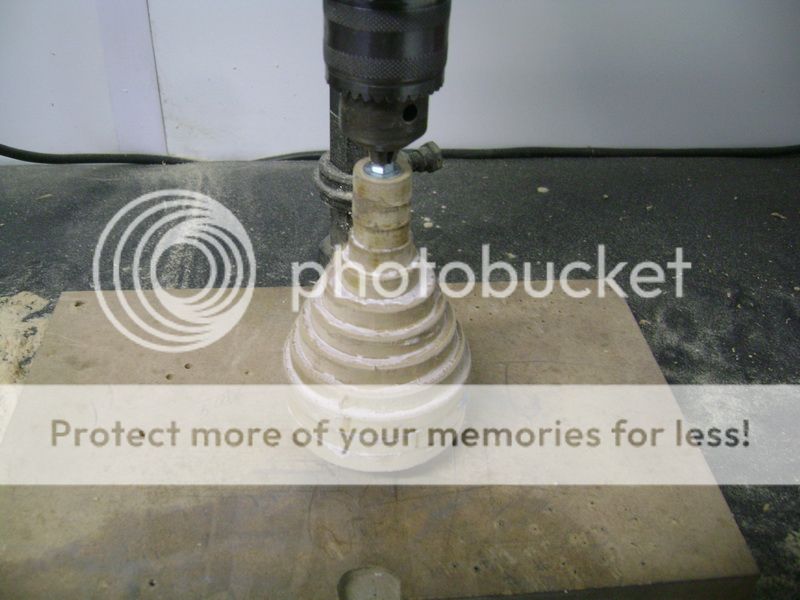
Put this in the drilling machine.

Focal Beryllium BMW - Page 15 -- posted image.

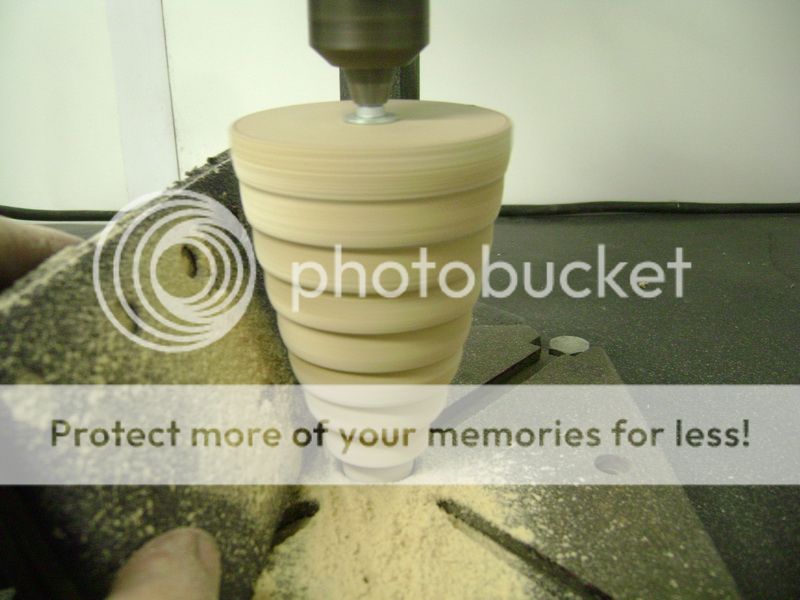
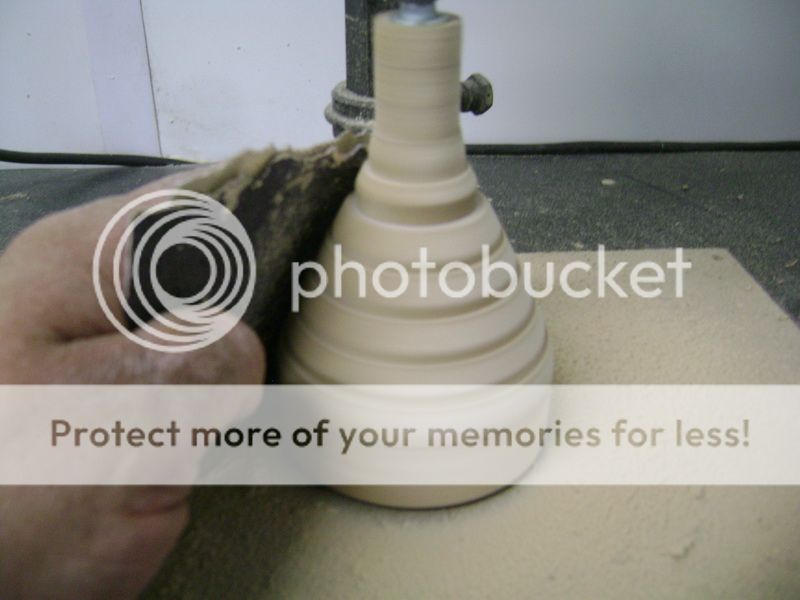
Let the drilling machine spin, and held a sanding Block against it.

Focal Beryllium BMW - Page 15 -- posted image.

So I could abrade it all smoothly, and this was the result.

Focal Beryllium BMW - Page 15 -- posted image.

A cone, nothing more, nothing less. :worthless: :worthless: :worthless:

The model looked like doodie, and when I held the sanding Block against it, I pushed it all a bit out of center.
So the cone did end up in de bin.
EVO2 is coming up, with more shapes.

robolop 
Copper - Posts: 157
Copper spacespace
Joined: October 26, 2008
Posted: March 16, 2011 at 5:47 AM / IP Logged Link to Post Post Reply Quote robolop

Time for EVO 2

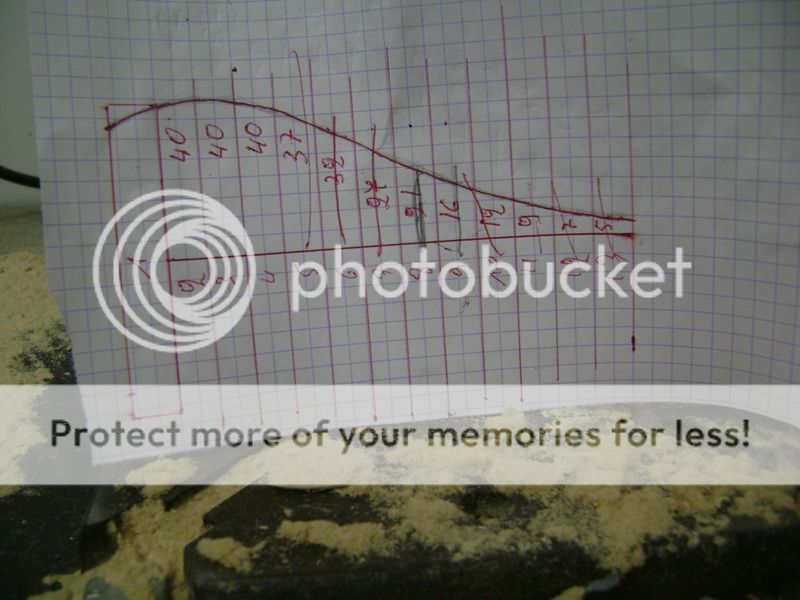
First of all, I put everything on paper First. Drawed it all out how I wanted it, with some more pretty roundings in it.

Focal Beryllium BMW - Page 15 -- posted image.
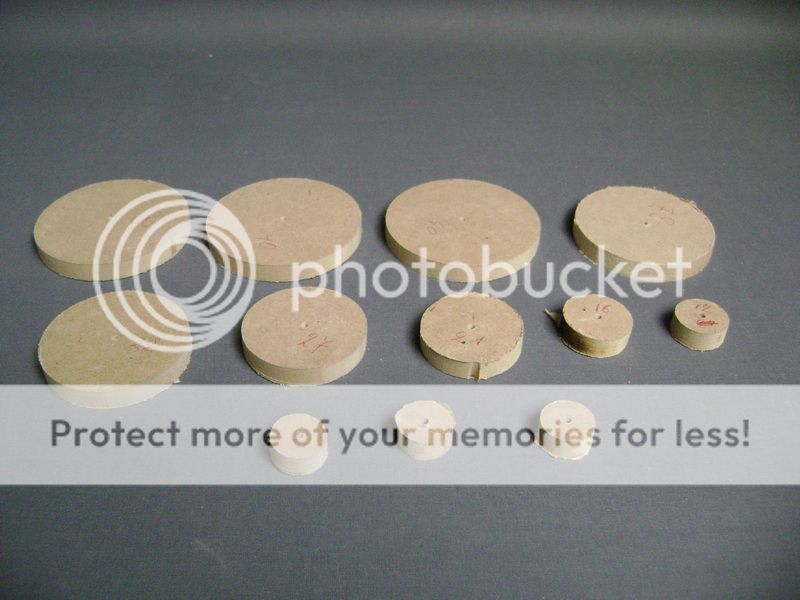
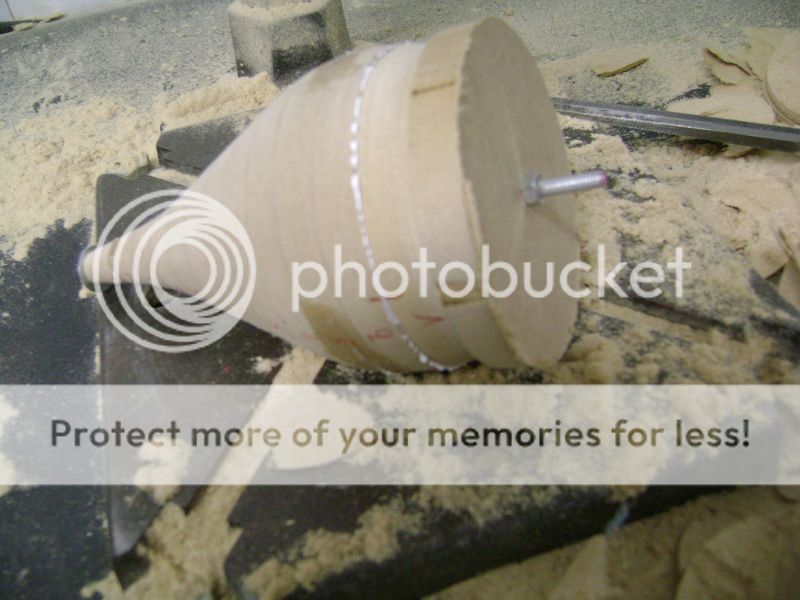
After that I milled some discs, and glued them on each other, and put in an M5 shaft.
Focal Beryllium BMW - Page 15 -- posted image.
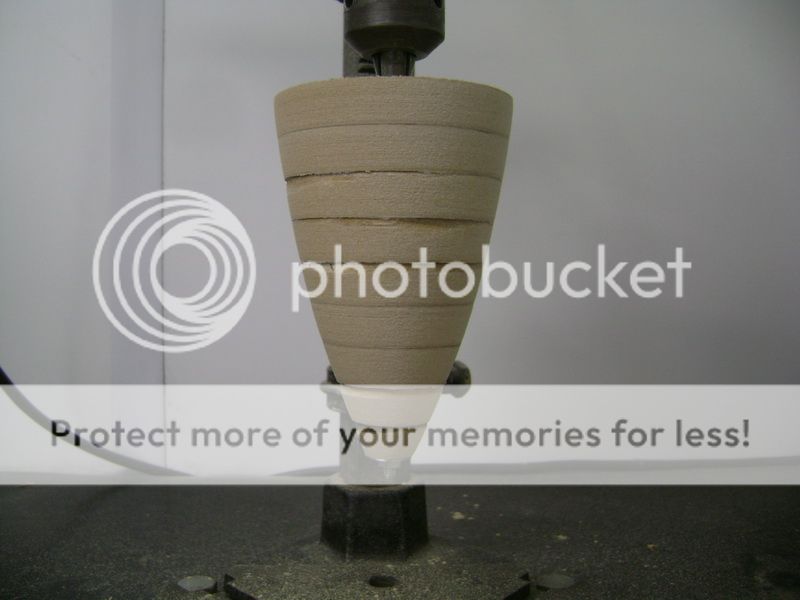
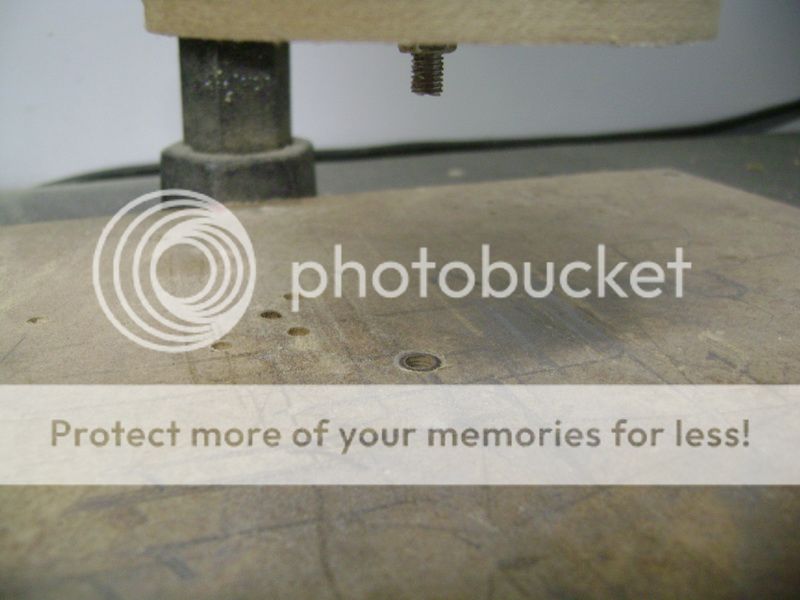
Placed it all in the drilling machine, and put a little plank underneath. If you look closely you see a hole of 5mm in the plank

Focal Beryllium BMW - Page 15 -- posted image.

Placed the drill below, and the little shaft is now in the hole. I did this so the MDF Block won’t be able to swing out of it’s axis.

Once this was placed properly, I screwed the drill tight, so it couldn’t get any higher or lower anymore.

Focal Beryllium BMW - Page 15 -- posted image.

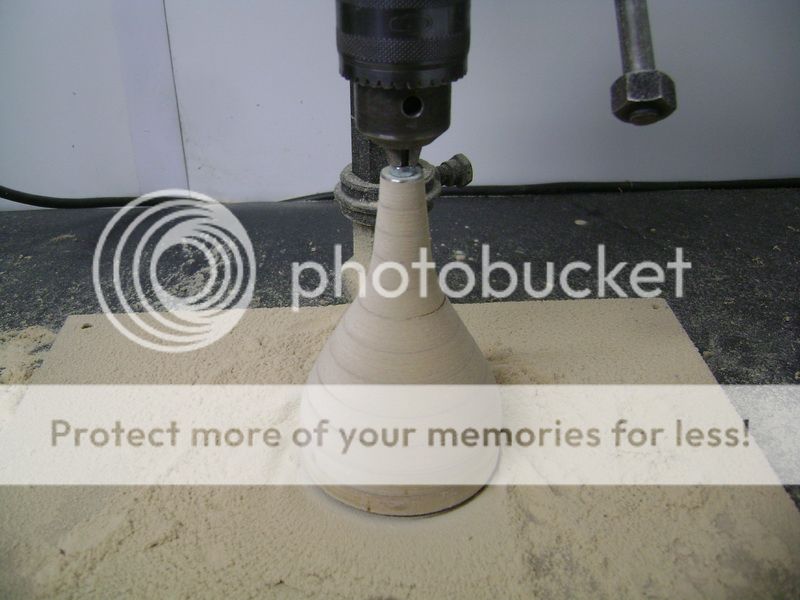
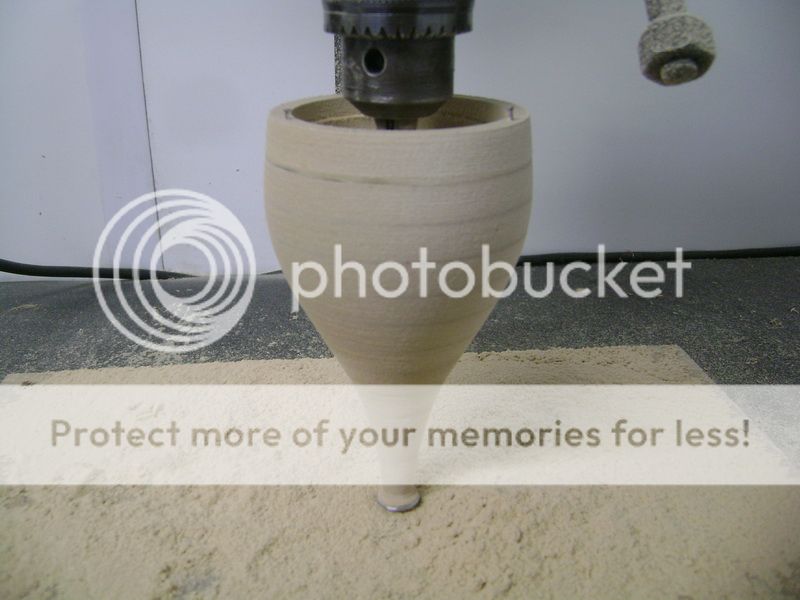
Started with the abrading proces again, and this time I didn’t use a sanding Block.

Focal Beryllium BMW - Page 15 -- posted image.

This model looks a lot better

Focal Beryllium BMW - Page 15 -- posted image.

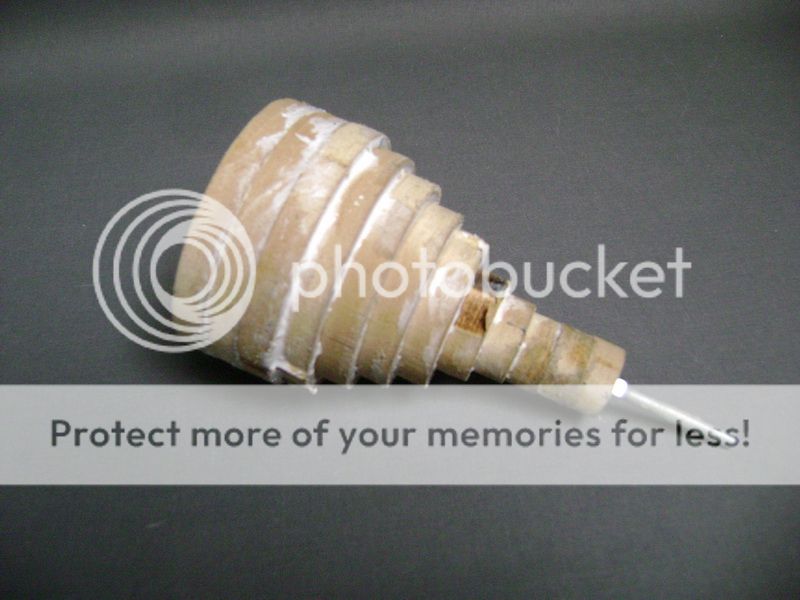
Then I knocked in the front little disc with 3 little nails. This little disc also has a small side where the logo falls in.

Focal Beryllium BMW - Page 15 -- posted image.

Abraded it all

Focal Beryllium BMW - Page 15 -- posted image.

Focal Beryllium BMW - Page 15 -- posted image.

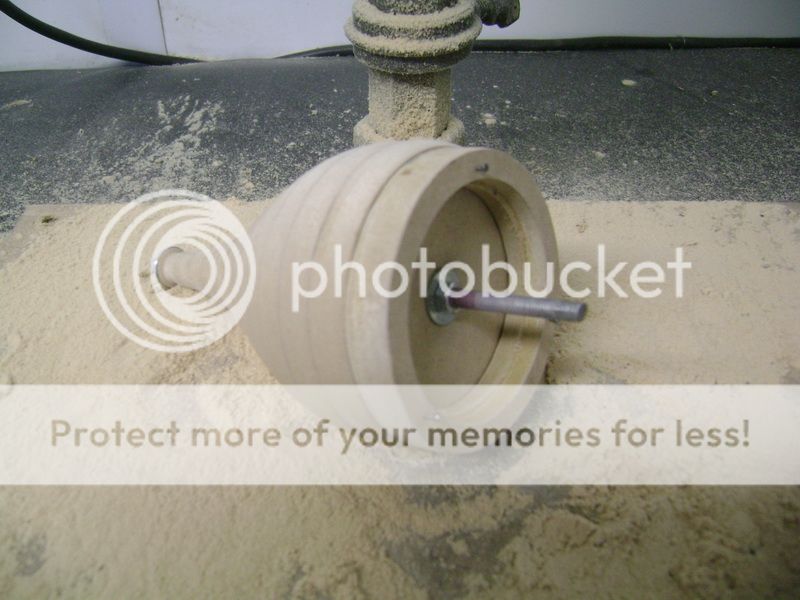
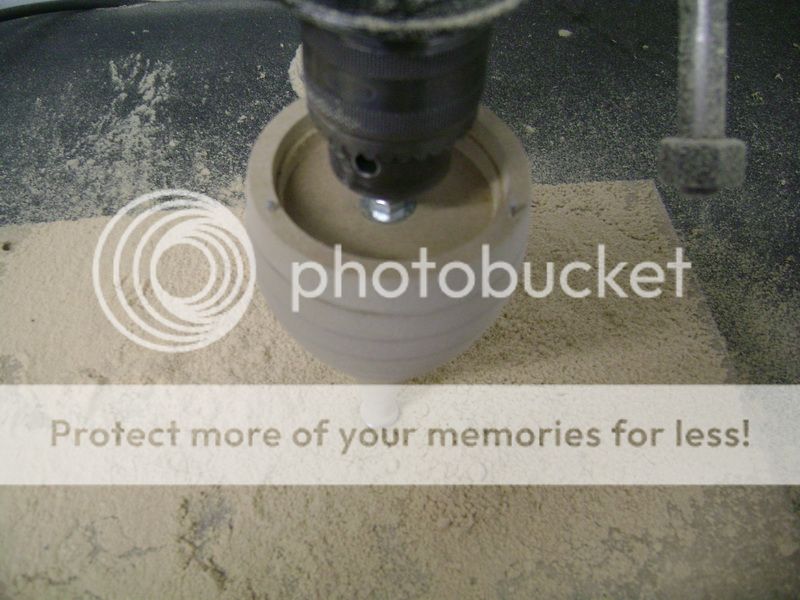
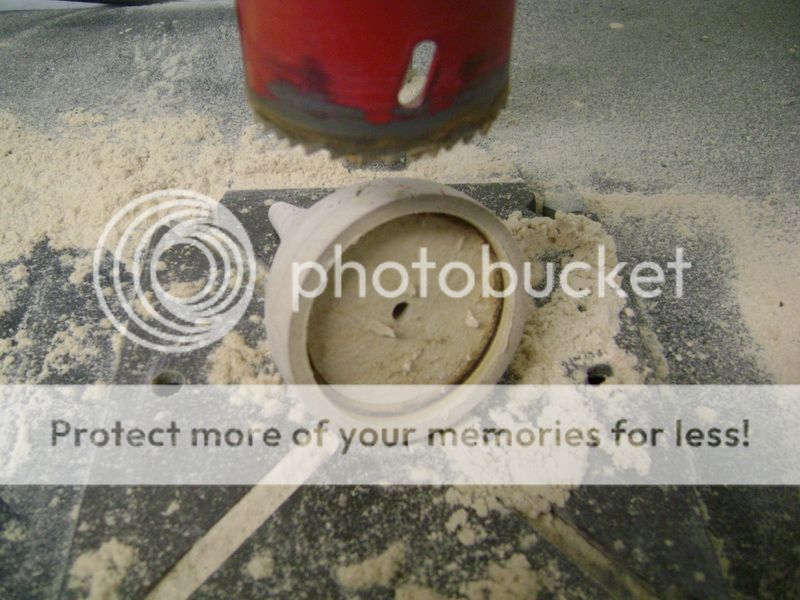
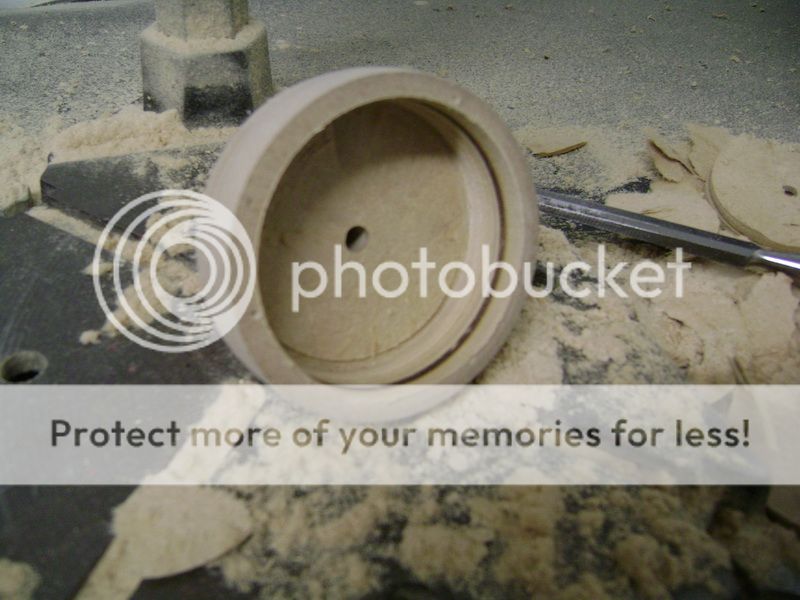
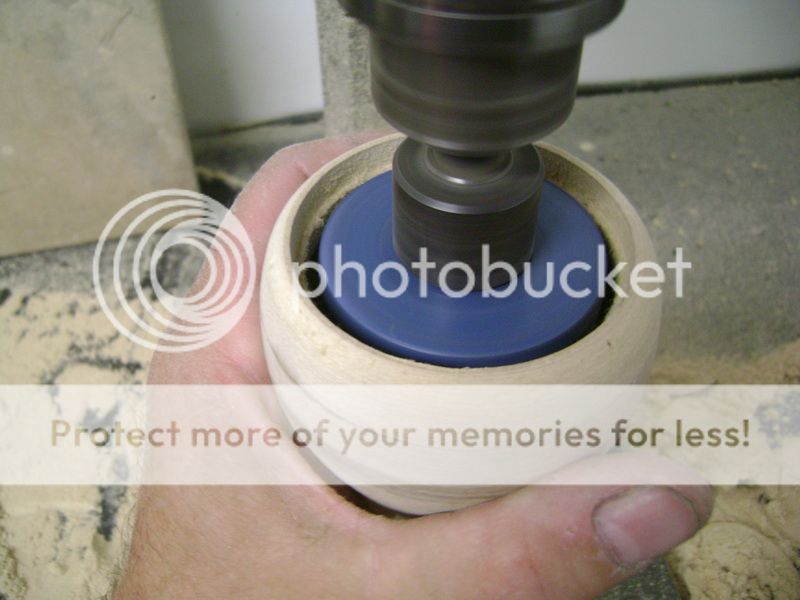
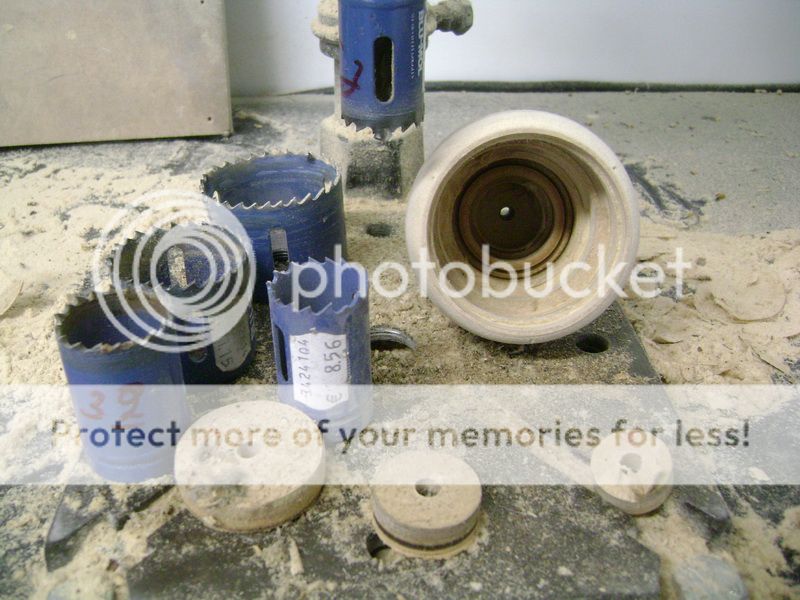
Then I took away the last ring, and used the “klockdrill” to empty the inside;

Focal Beryllium BMW - Page 15 -- posted image.

Focal Beryllium BMW - Page 15 -- posted image.

Once I saw I was almost at the limit, I glued the final ring back on there.

Focal Beryllium BMW - Page 15 -- posted image.

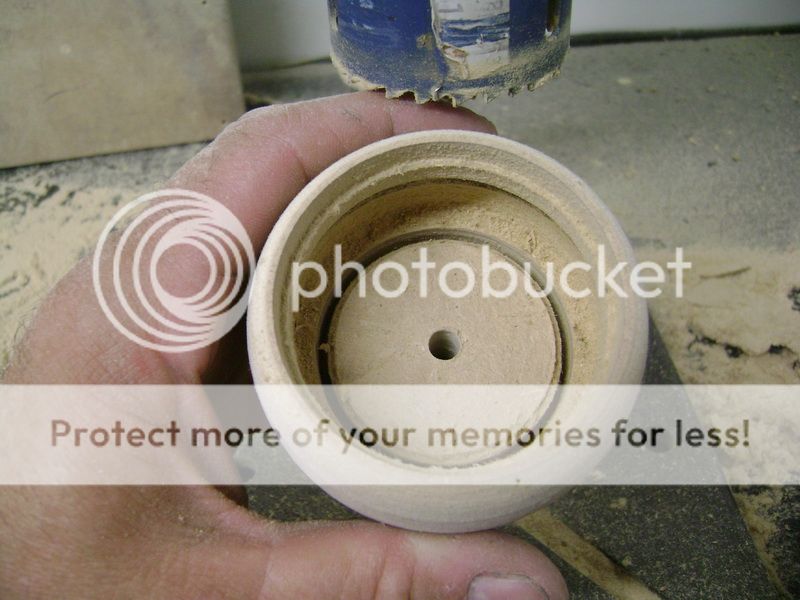
Every time I replaced the drill by a smaller one, and extracted layer by layer.

If you see how I’ve done this, you must be sure you don’t drill too far, or you’ll have a hole in your hand.

Focal Beryllium BMW - Page 15 -- posted image.

Focal Beryllium BMW - Page 15 -- posted image.

The whole family

Focal Beryllium BMW - Page 15 -- posted image.

Page of 17

  Printable version Printable version Post ReplyPost New Topic
You cannot post new topics in this forum
You cannot reply to topics in this forum
You cannot delete your posts in this forum
You cannot edit your posts in this forum
You cannot create polls in this forum
You cannot vote in polls in this forum

  •  
Search the12volt.com
Follow the12volt.com Follow the12volt.com on Facebook
Thursday, April 25, 2024 • Copyright © 1999-2024 the12volt.com, All Rights Reserved Privacy Policy & Use of Cookies
Disclaimer: *All information on this site ( the12volt.com ) is provided "as is" without any warranty of any kind, either expressed or implied, including but not limited to fitness for a particular use. Any user assumes the entire risk as to the accuracy and use of this information. Please verify all wire colors and diagrams before applying any information.

Secured by Sectigo
the12volt.com spacer
Support the12volt.com
Top
the12volt.com spacer