the12volt.com spacer
icon

Focal Beryllium BMW


Post ReplyPost New Topic
< Prev Topic Next Topic >
robolop 
Copper - Posts: 157
Copper spacespace
Joined: October 26, 2008
Posted: March 16, 2011 at 5:49 AM / IP Logged Link to Post Post Reply Quote robolop

Now the cone worked perfectly for me, I just need to make some aluminium toggles to Mount it.

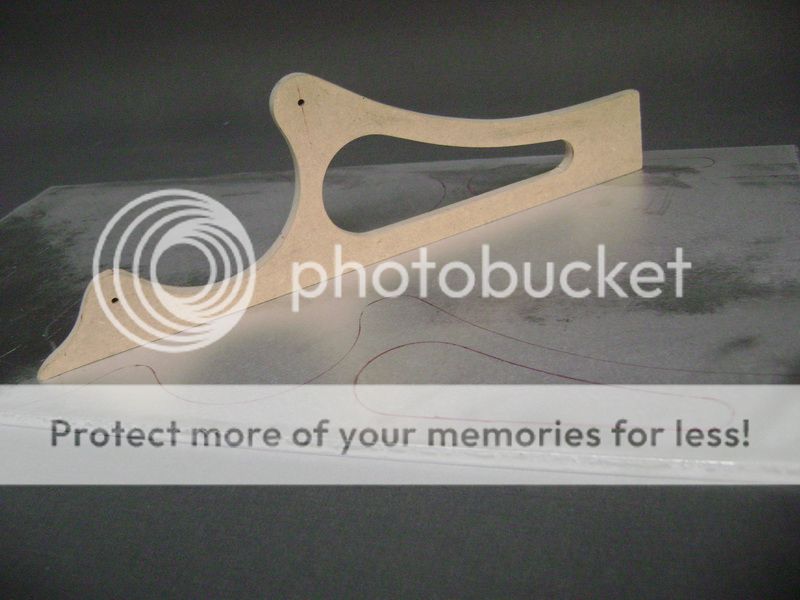
I drawed some models first, and then made one out of 10mm thick MDF.
I drawed it out on an aluminum plate of 6mm thick.

Focal Beryllium BMW - Page 16 -- posted image.

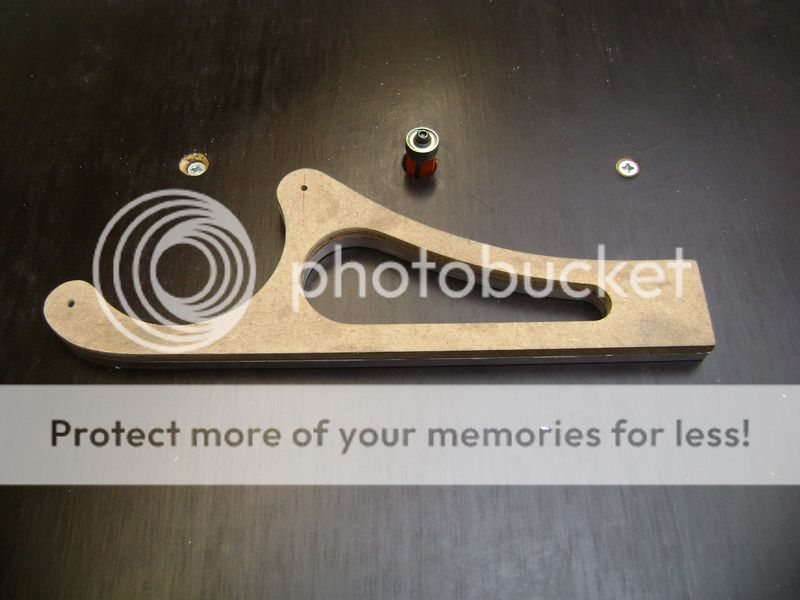
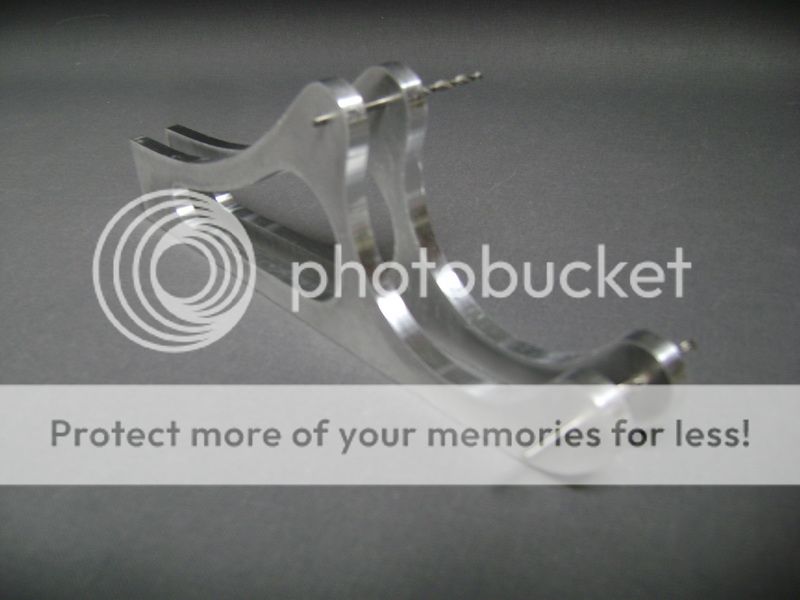
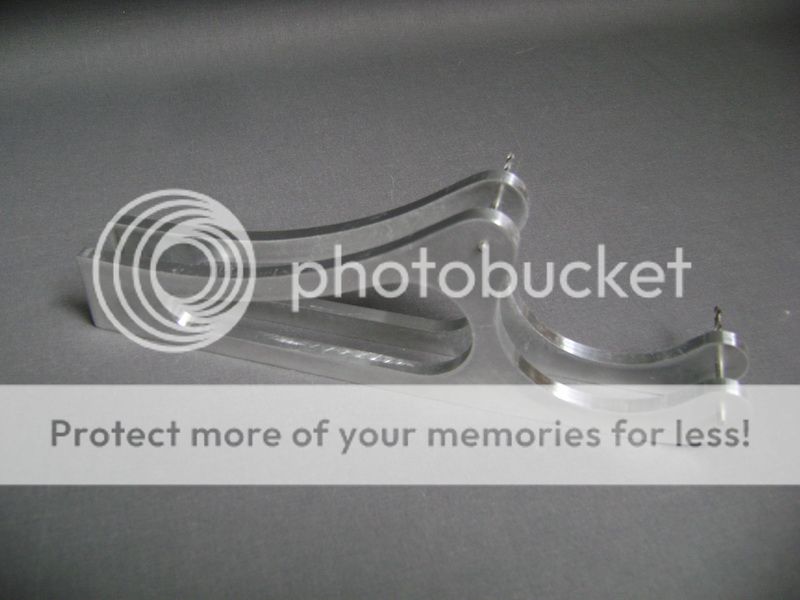
I sawed out the toggles, and pasted them on the MDF, and held them against the copy mill with this result.

Focal Beryllium BMW - Page 16 -- posted image.

You can also see that I modified the model a bit, on the front. I made it rounder, so it looks a bit like a sled now.

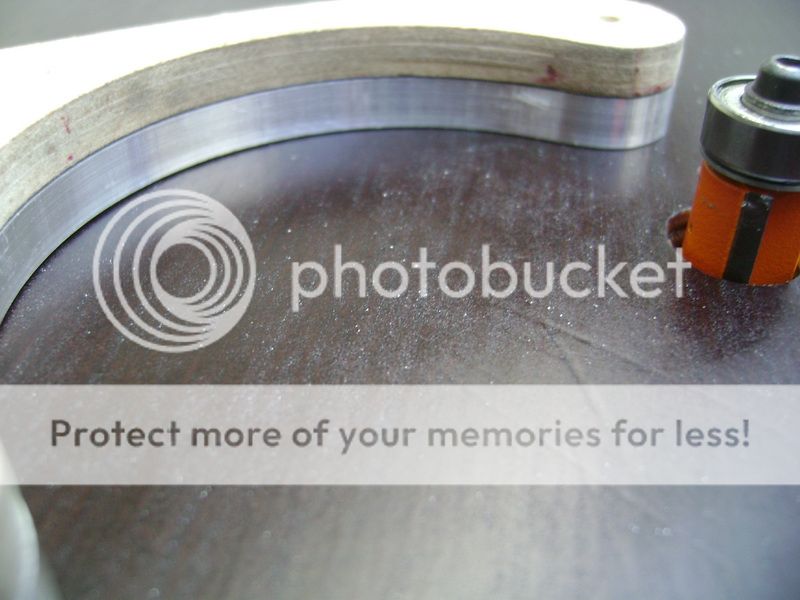
What you can also see on the alu, is that I used a new mill. The sides are more smooth then usual, but some polishing will still be necessary.

Focal Beryllium BMW - Page 16 -- posted image.

Focal Beryllium BMW - Page 16 -- posted image.

Focal Beryllium BMW - Page 16 -- posted image.

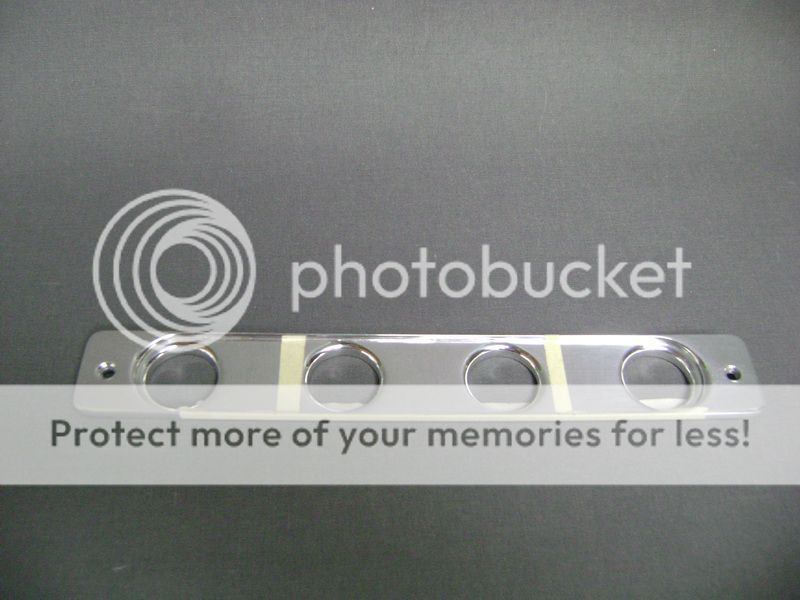
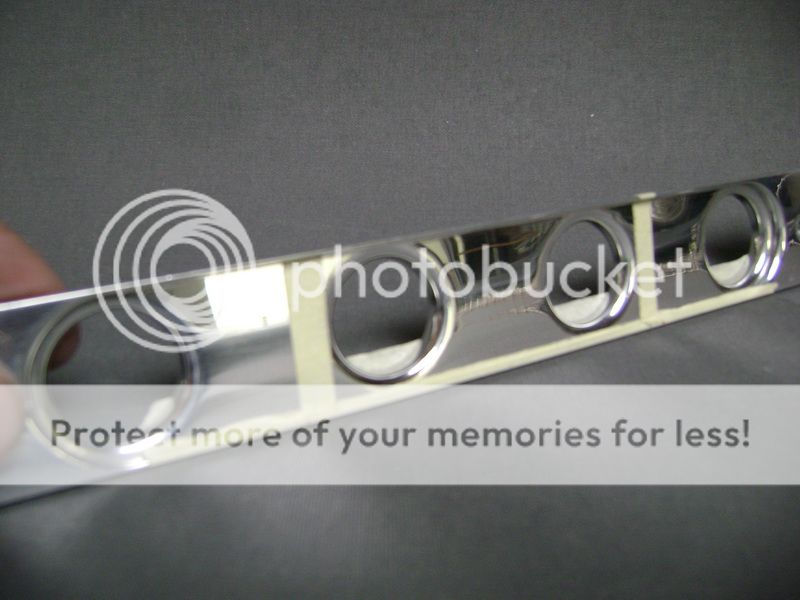
This aluminium plate I made for the PPI, I modified a bit, so I can still use it in the new set-up.

Focal Beryllium BMW - Page 16 -- posted image.

Focal Beryllium BMW - Page 16 -- posted image.

sullivan91 
Copper - Posts: 86
Copper spacespace
Joined: December 25, 2010
Location: Texas, Eritrea
Posted: August 05, 2011 at 1:32 AM / IP Logged Link to Post Post Reply Quote sullivan91
Wow. Jaw dropping.
Melted Fabric 
Silver - Posts: 509
Silver spacespace
Joined: October 24, 2003
Location: California, United States
Posted: September 11, 2011 at 5:42 PM / IP Logged Link to Post Post Reply Quote Melted Fabric
Just when you thought he was out of ideas. Marvelous work mate.
I have not failed. I've just found 10,000 ways that won't work.
When you do not know what you are doing and what you are doing is the best -- that is inspiration.
trae08 
Member - Posts: 41
Member spacespace
Joined: October 27, 2006
Location: United States
Posted: October 16, 2011 at 7:58 PM / IP Logged Link to Post Post Reply Quote trae08
This is the most amazing work i have ever seen. I cannot believe how amazing your work is. I just went through all 16 pages and expected it to be finished. But now i think this is a project that is never done. Keep up the great work.
toy civic 
Member - Posts: 9
Member spacespace
Joined: October 19, 2011
Location: California, United States
Posted: November 16, 2011 at 7:22 PM / IP Logged Link to Post Post Reply Quote toy civic

This is the kind of build that automotive engineers need to read up on before they design the crap that rolls off the assembly line. This is awe inspiring.

I am just starting out in this industry..........sort of. I've been a novice for about 17 years, but spent the past 20 years in the US Navy. Now that I am retired, I am going to a Mobile Electronics school so I can do this kind of stuff full time and have access to the right tools and facilities. 

fatgotti 
Copper - Posts: 177
Copper spacespace
Joined: October 11, 2004
Location: Oklahoma, United States
Posted: January 05, 2012 at 10:30 PM / IP Logged Link to Post Post Reply Quote fatgotti
Unbelievable.... Standing Ovation....WOW...........
Fatgotti    Yeah my name is John and I am FAT!! YEAH BABY
ekgotskillzz 
Member - Posts: 1
Member spacespace
Joined: January 09, 2012
Location: New York, United States
Posted: February 09, 2012 at 11:55 PM / IP Logged Link to Post Post Reply Quote ekgotskillzz
Dude you are sick....incredible build..thanks for sharing
robolop 
Copper - Posts: 157
Copper spacespace
Joined: October 26, 2008
Posted: October 21, 2012 at 4:04 AM / IP Logged Link to Post Post Reply Quote robolop

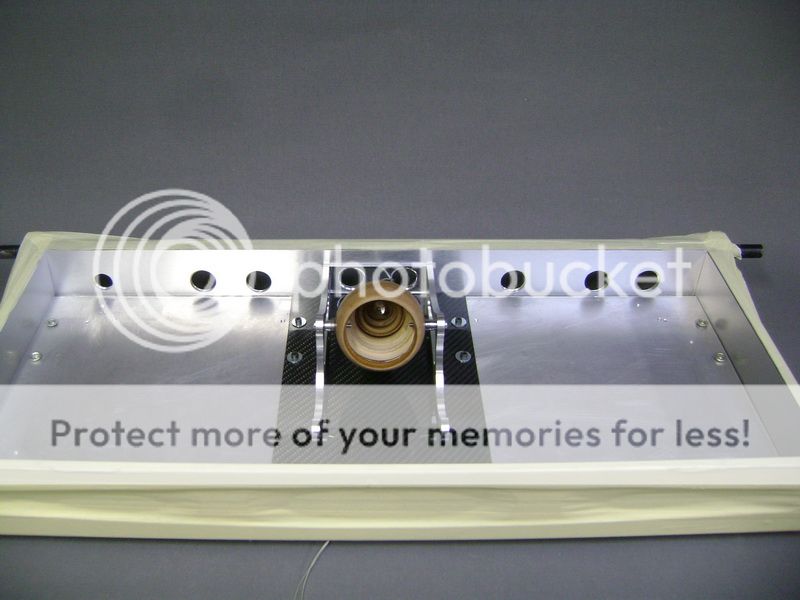
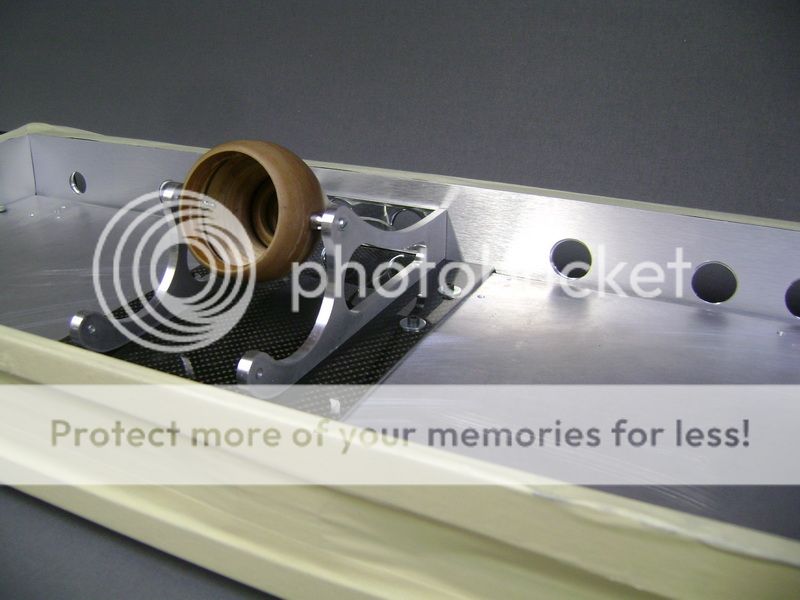
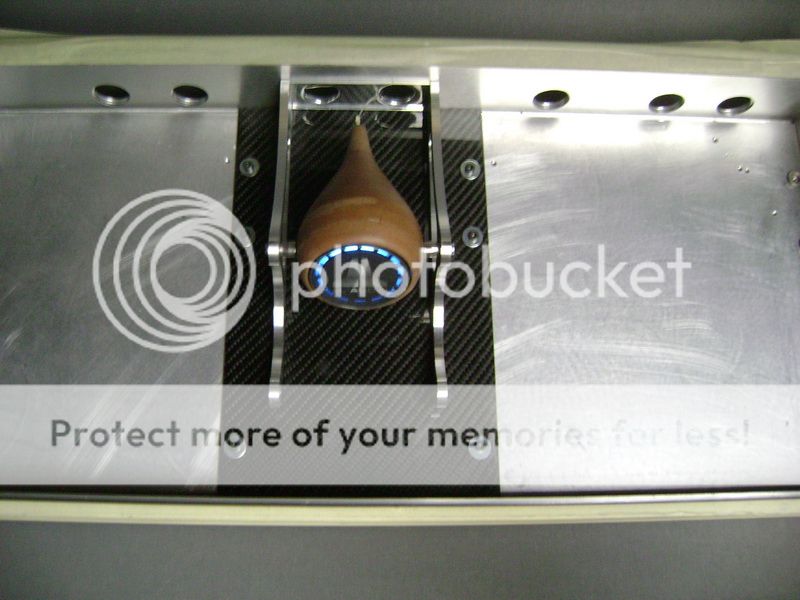
Here you can see what will happen to the cone and the aluminium toggles.

Focal Beryllium BMW - Page 16 -- posted image.
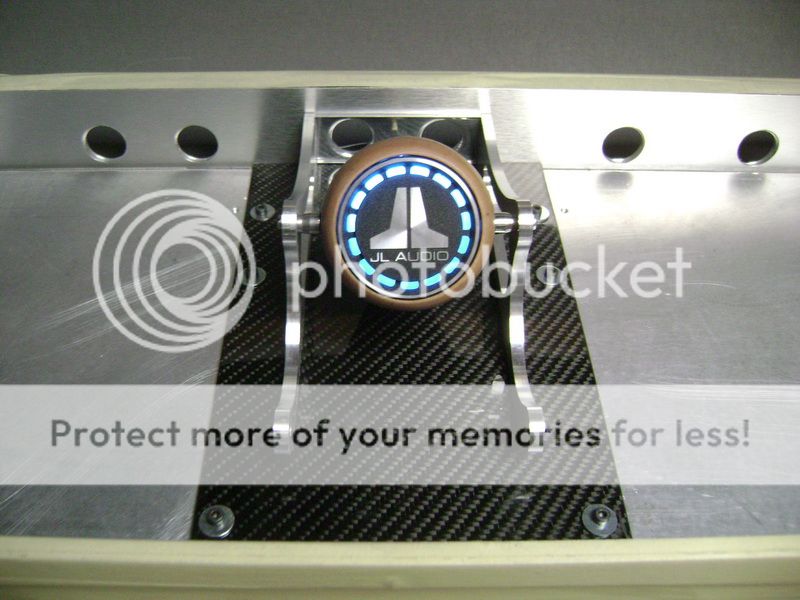
As you can see this stands in the centre of the amplifierbox. I also made a little carbon plate where it all is mounted on.
Focal Beryllium BMW - Page 16 -- posted image.
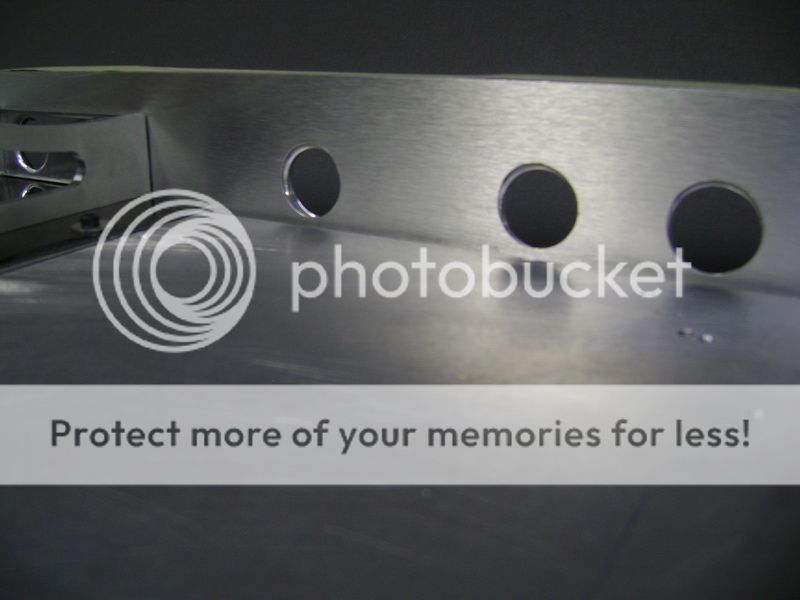
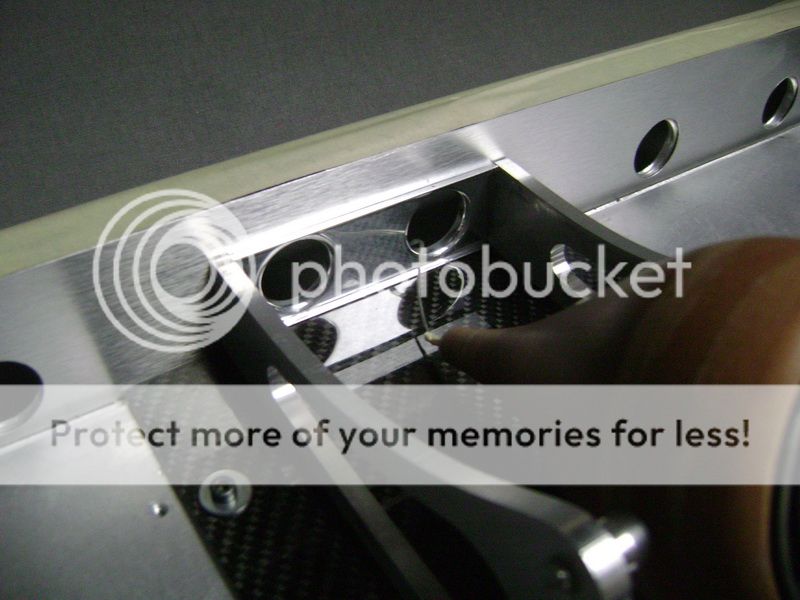
Through these holes, the amplifier-cabling will go.
Focal Beryllium BMW - Page 16 -- posted image.
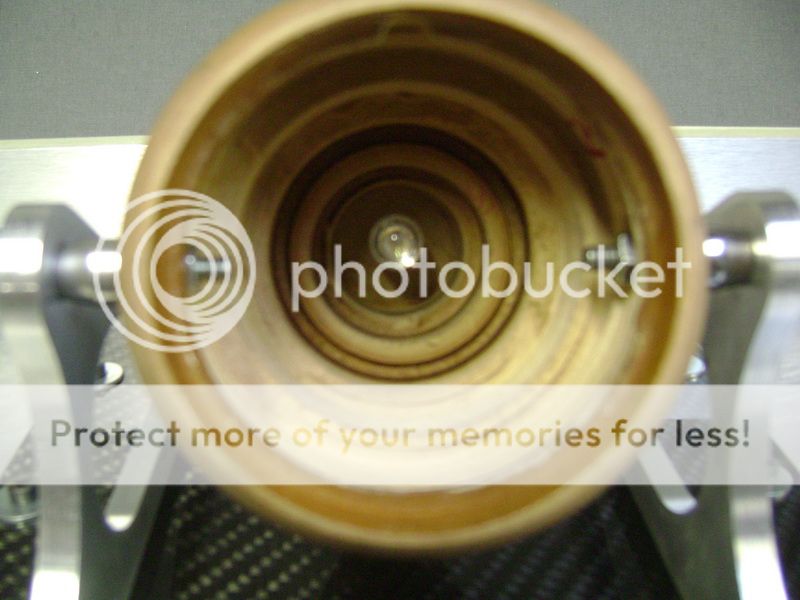
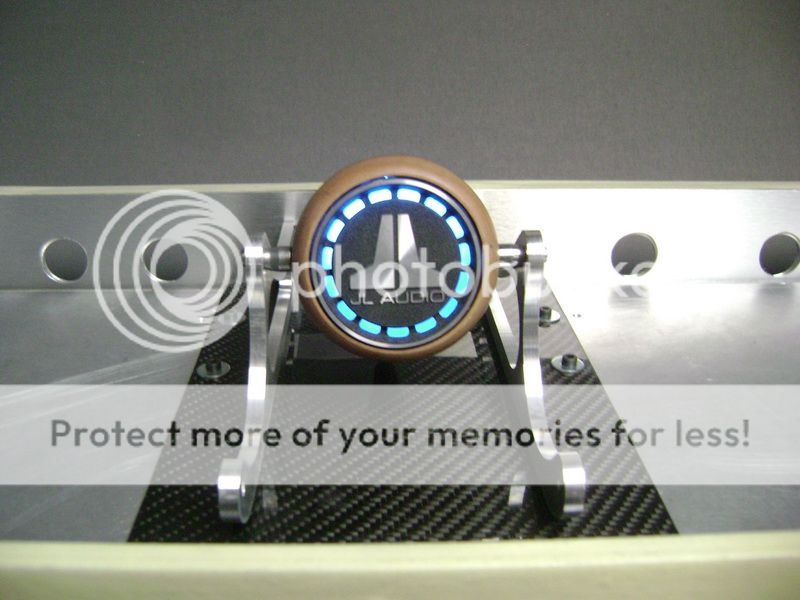
For the moment, in the centre of the cone, there's a big blue led.
Focal Beryllium BMW - Page 16 -- posted image.
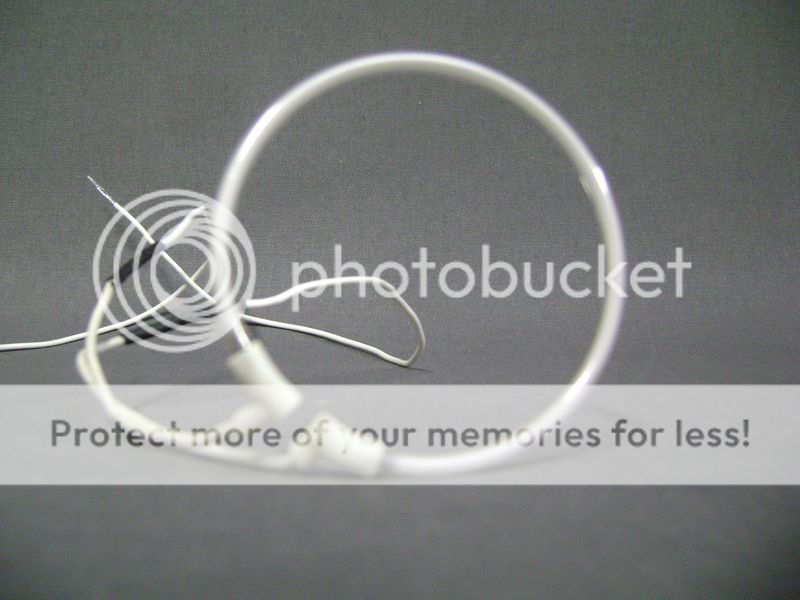
If this will remain, I'm not sure. I also have a white little neon that fits into there.
Focal Beryllium BMW - Page 16 -- posted image.

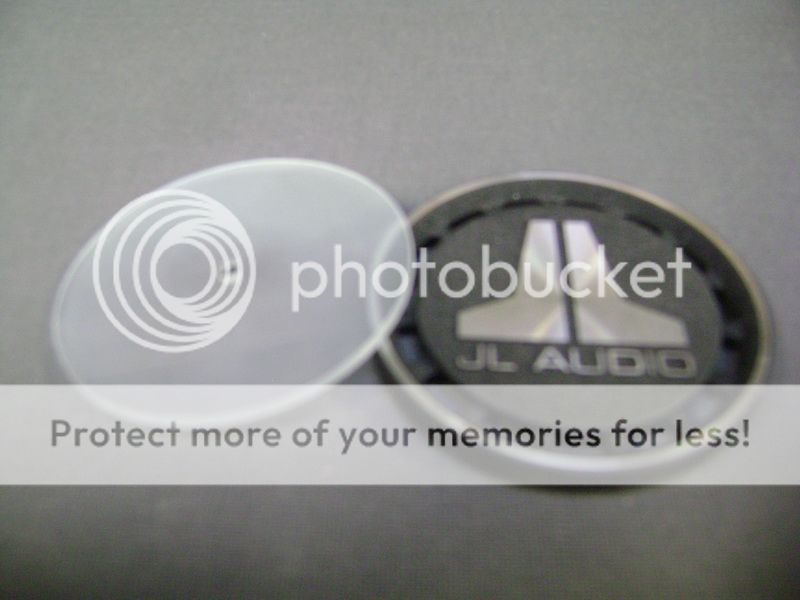
To divide the light a bit better, I milled a finer piece of plexi glass, and . This will come behind the JL Logo.

Focal Beryllium BMW - Page 16 -- posted image.

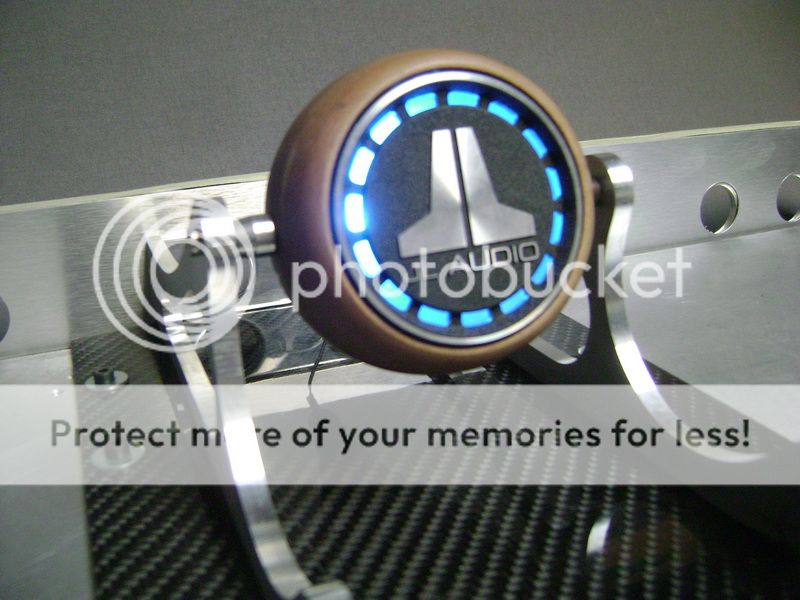
Here you can see the result with the blue led.

Focal Beryllium BMW - Page 16 -- posted image.

Focal Beryllium BMW - Page 16 -- posted image.

Focal Beryllium BMW - Page 16 -- posted image.

I think you can see that the cone is 10x more beautifully shaped. I call this is a female cone, a "conin"

Focal Beryllium BMW - Page 16 -- posted image.

You can also see I re-used the aluminum plate from the PPI. This was a bit to nice to throw into the bin, so it's being re-used.

Focal Beryllium BMW - Page 16 -- posted image.

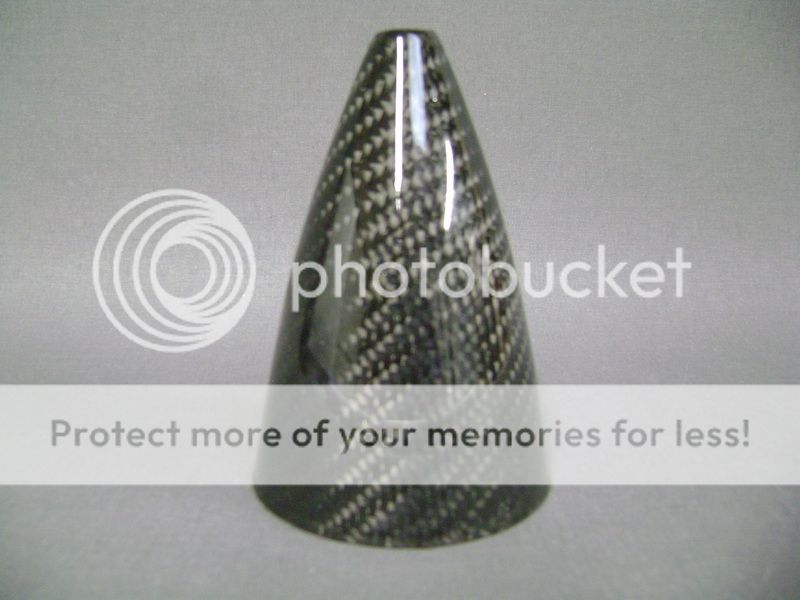
The first cone I made, the one that landed directly into the garbage, I recovered.

I used this one to cover with carbon fire. I didn't had any problems with this.

Focal Beryllium BMW - Page 16 -- posted image.

Focal Beryllium BMW - Page 16 -- posted image.

About Evo2, I'm still not sure how to do this. It'll stay a mistery, and I'll have to do some magic. I hope there's

robolop 
Copper - Posts: 157
Copper spacespace
Joined: October 26, 2008
Posted: October 21, 2012 at 4:06 AM / IP Logged Link to Post Post Reply Quote robolop

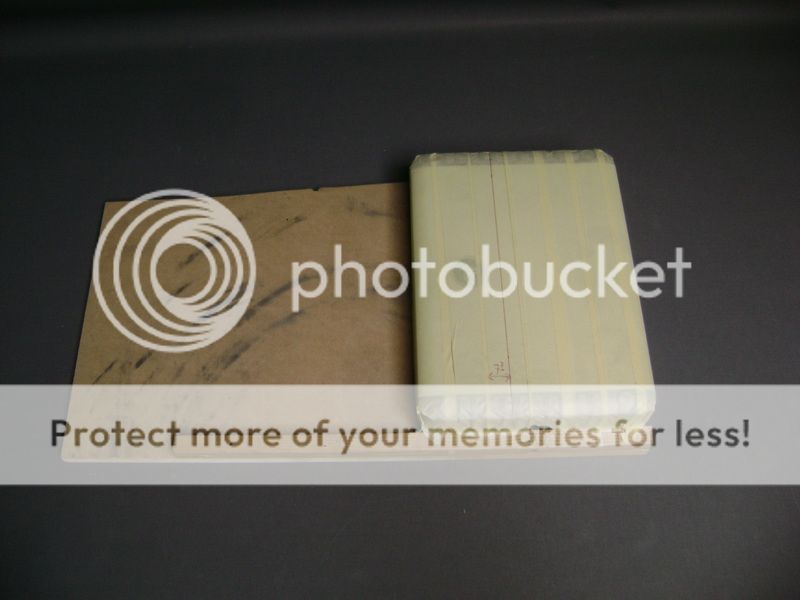
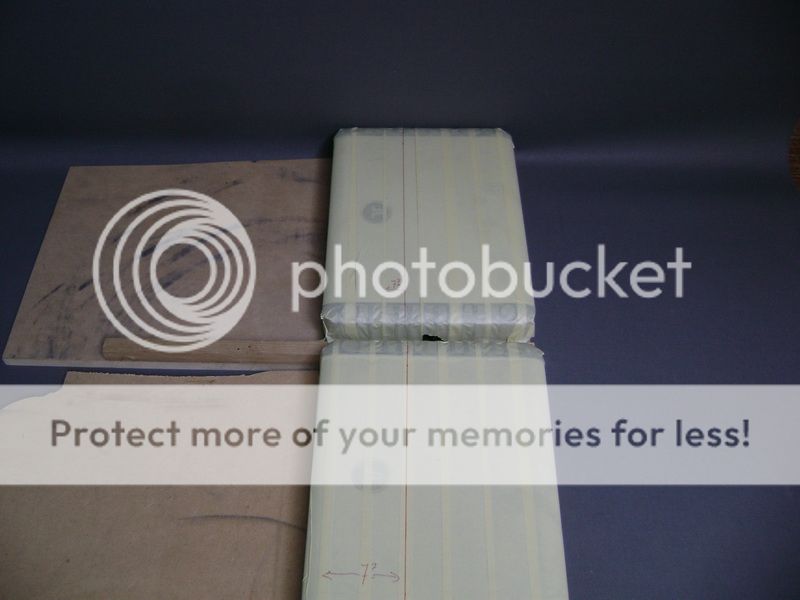
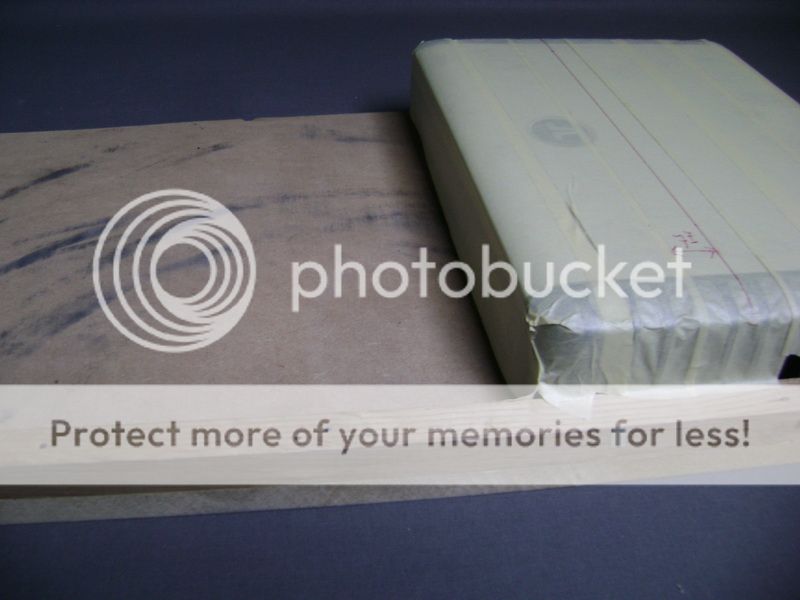
Most of you may remember I bough 2 JL audio amplifiers.

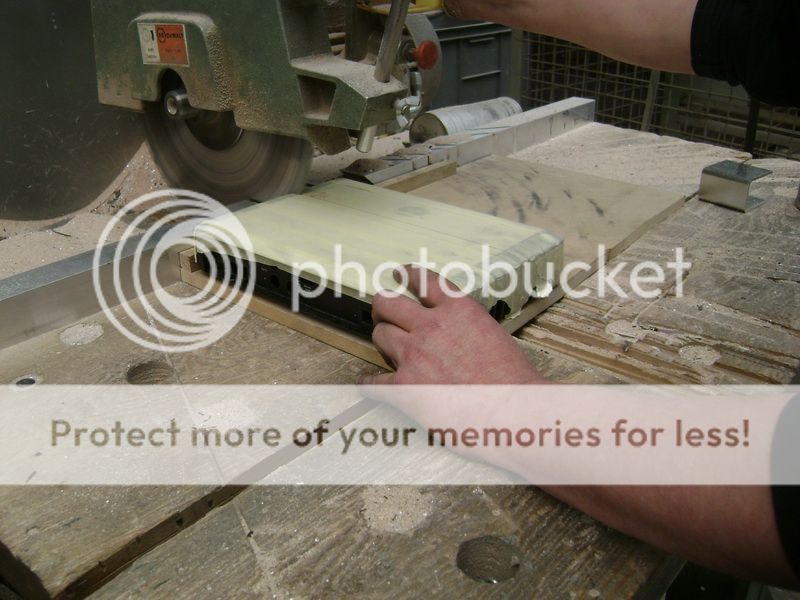
Because they are too heavy (power), I did a little trick.
I first screwed them on a shelf.

[SIZE="5"]Do not try this at home :[/SIZE] :yahoo:  :yahoo:  :yahoo:  :yahoo:  :yahoo:

Focal Beryllium BMW - Page 16 -- posted image.

Focal Beryllium BMW - Page 16 -- posted image.
Then I put in the disc...
Focal Beryllium BMW - Page 16 -- posted image.

What I was thinkin' while cutting...." will the waranty expire now ?"

You never know these things go bad after some time...
LOL

robolop 
Copper - Posts: 157
Copper spacespace
Joined: October 26, 2008
Posted: October 21, 2012 at 4:07 AM / IP Logged Link to Post Post Reply Quote robolop

After some serious thinking, I made an attempt to cover the little cone with carbon fibre.

The first attempt went wrong from the start, but sometimes you need these setbacks to get back on track, and to think about what you’ve done wrong.
The second attempt went better, but I must say that my hat of tricks…is empty again.
Today was the day to see if it was really good. After some abrading, I saw that I went perfectly.
The one thing that needed to be done is to bring on a set of epoxi-layers.

Since the cone is round, the epoxy would drip off the carbon fibre, so there would be more epoxi on the floor, then on the carbon fibre.

In my hat, I had another trick left.
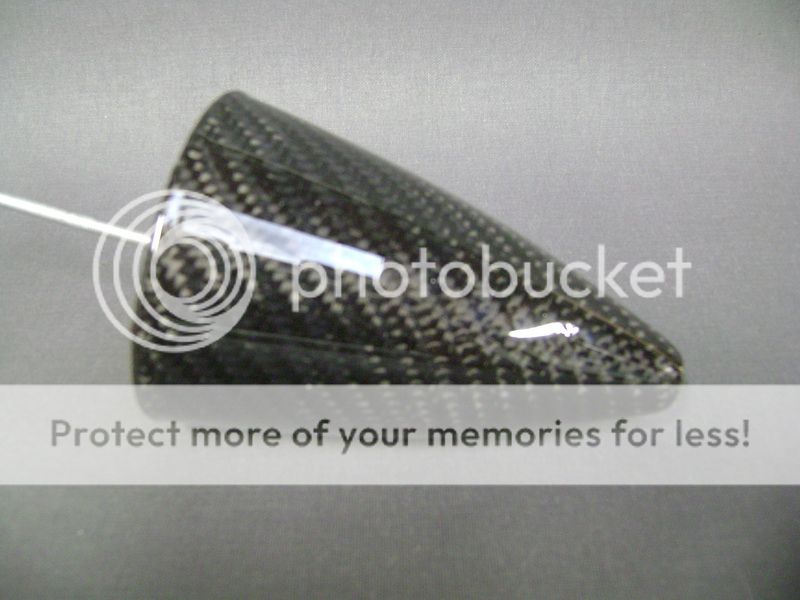
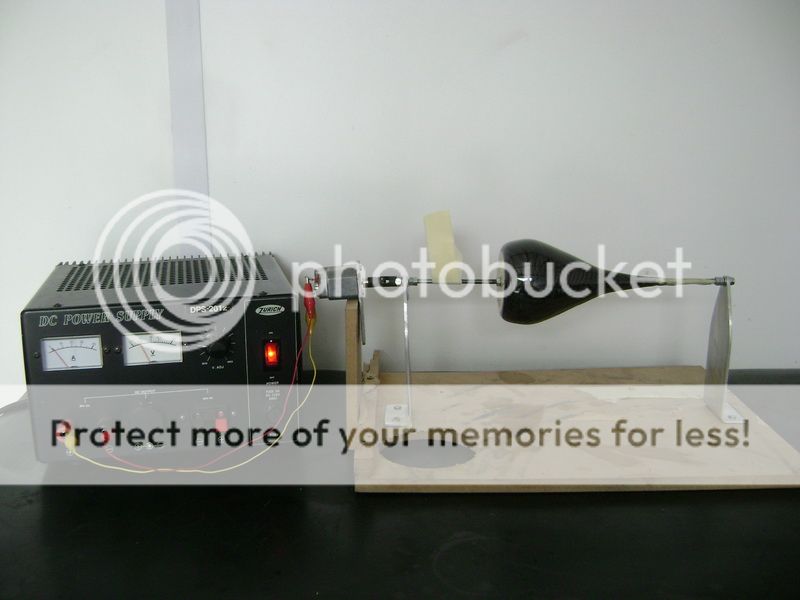
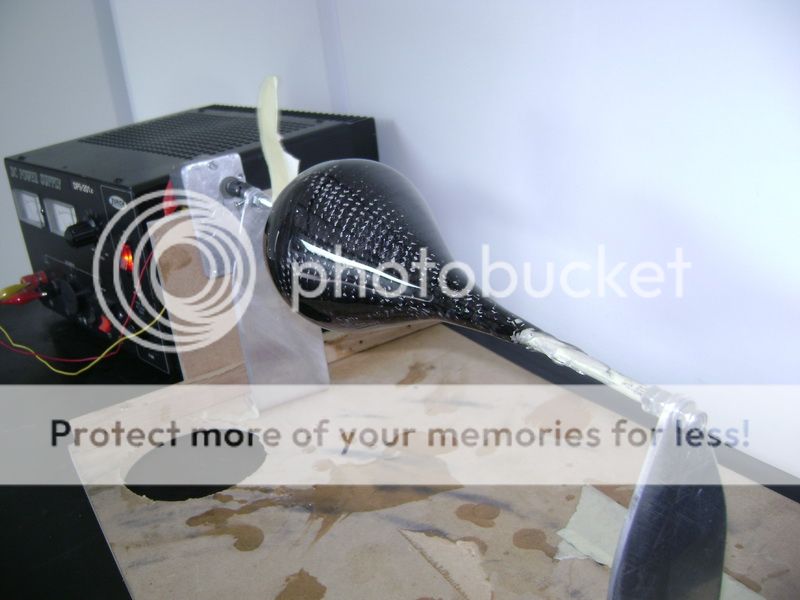
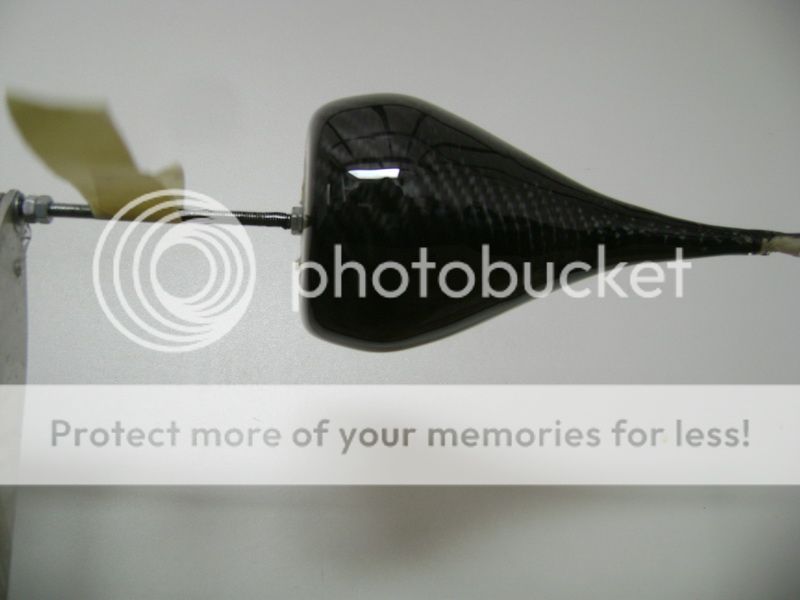
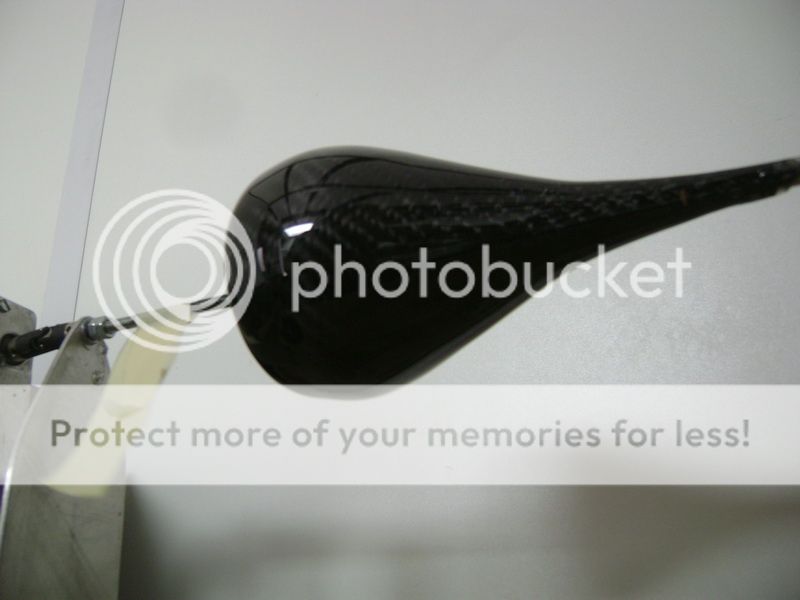
So I put a stang through the cone, and made 2 aluminium bracelets. Then I mounted this with the stand on to a little motor.
I also added some adjustable feeding, to I could begin with my first layer of epoxy.
Here you can see how I did it.
“let’s roast the cone”

Focal Beryllium BMW - Page 16 -- posted image.

Focal Beryllium BMW - Page 16 -- posted image.

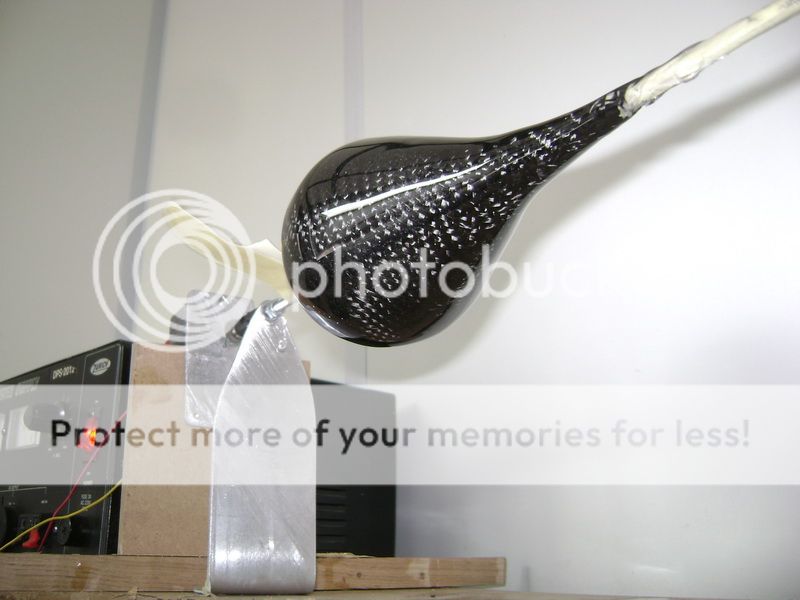
Cause the cone is turning now, the epoxi can’t drip off.

Focal Beryllium BMW - Page 16 -- posted image.

Focal Beryllium BMW - Page 16 -- posted image.

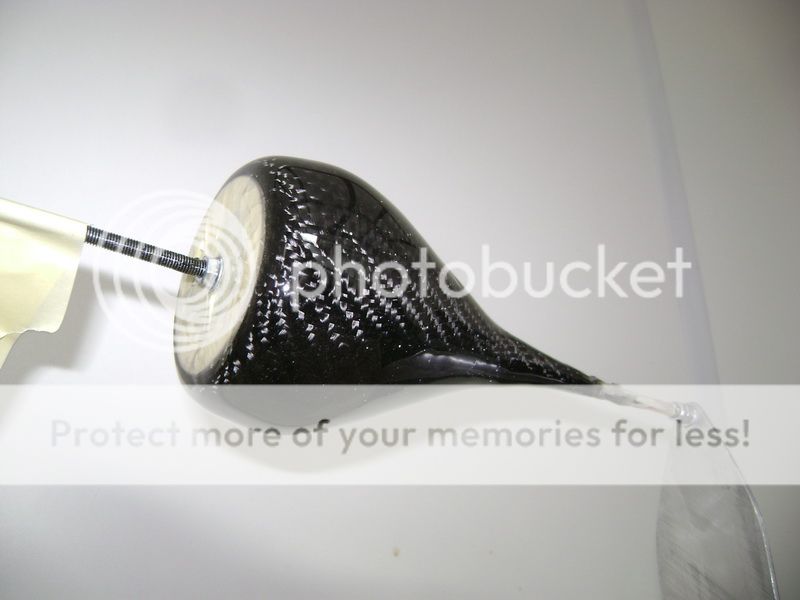
Here you can see there’s a lot of epoxi on there, and it’s still nice and smooth after the first layer.

Focal Beryllium BMW - Page 16 -- posted image.

Focal Beryllium BMW - Page 16 -- posted image.

I let this turn for about 2 hours, untill the epoxi didn’t stick anymore. After that I put it into the oven.

The next few days I can abrade it firmly, and give it another layer of epoxi.
At the end of the cone, I’m going to make a little aluminium piece to finish it off.
I’m really happy I managed to do this, because it was that could go terribly wrong, but it worked out fine.
Up to the next!

Page of 17

  Printable version Printable version Post ReplyPost New Topic
You cannot post new topics in this forum
You cannot reply to topics in this forum
You cannot delete your posts in this forum
You cannot edit your posts in this forum
You cannot create polls in this forum
You cannot vote in polls in this forum

  •  
Search the12volt.com
Follow the12volt.com Follow the12volt.com on Facebook
Saturday, December 14, 2024 • Copyright © 1999-2024 the12volt.com, All Rights Reserved Privacy Policy & Use of Cookies
Disclaimer: *All information on this site ( the12volt.com ) is provided "as is" without any warranty of any kind, either expressed or implied, including but not limited to fitness for a particular use. Any user assumes the entire risk as to the accuracy and use of this information. Please verify all wire colors and diagrams before applying any information.

Secured by Sectigo
the12volt.com spacer
Support the12volt.com
Top
the12volt.com spacer