


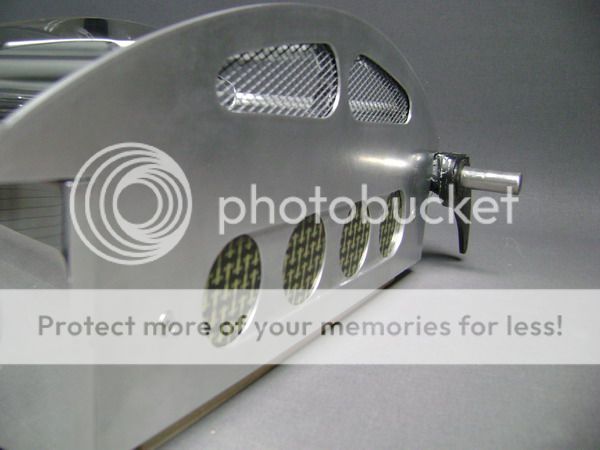
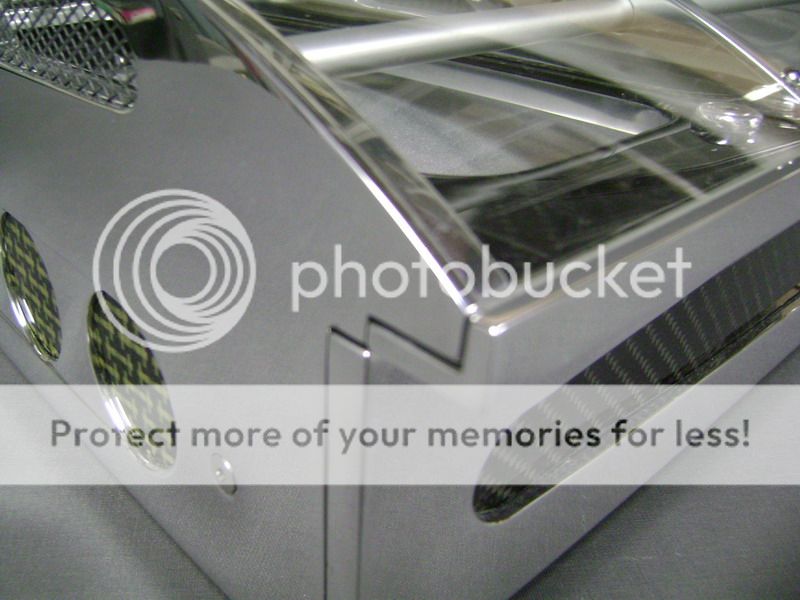
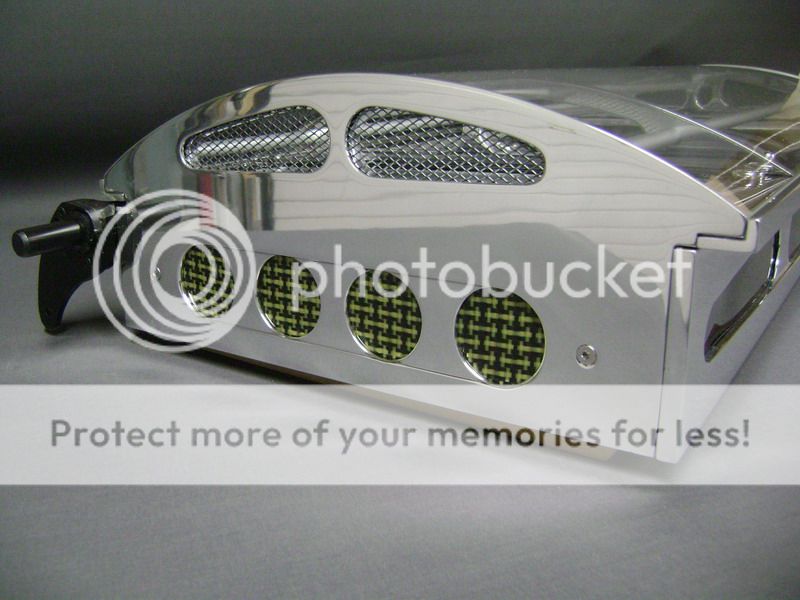
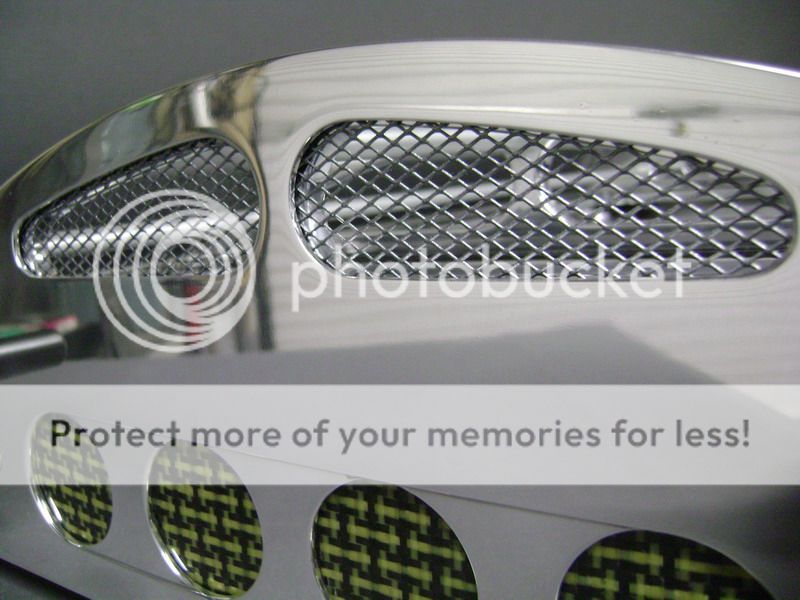
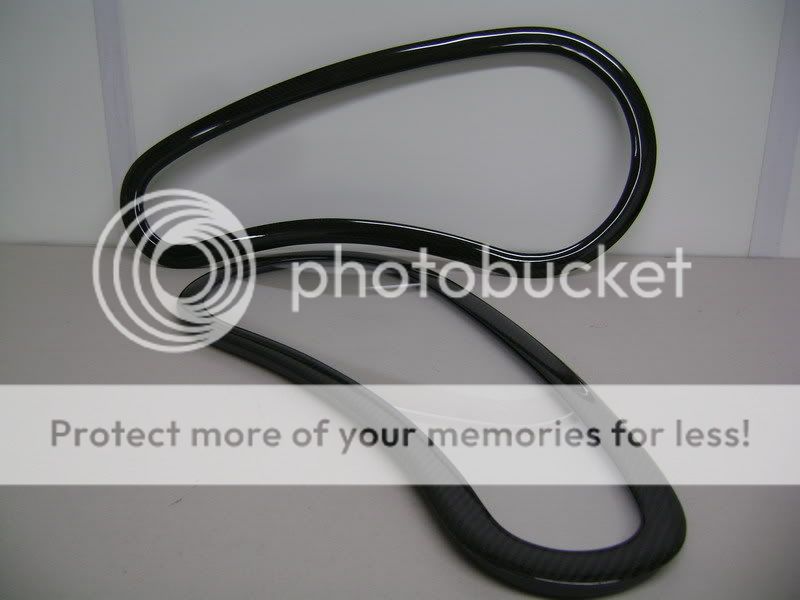

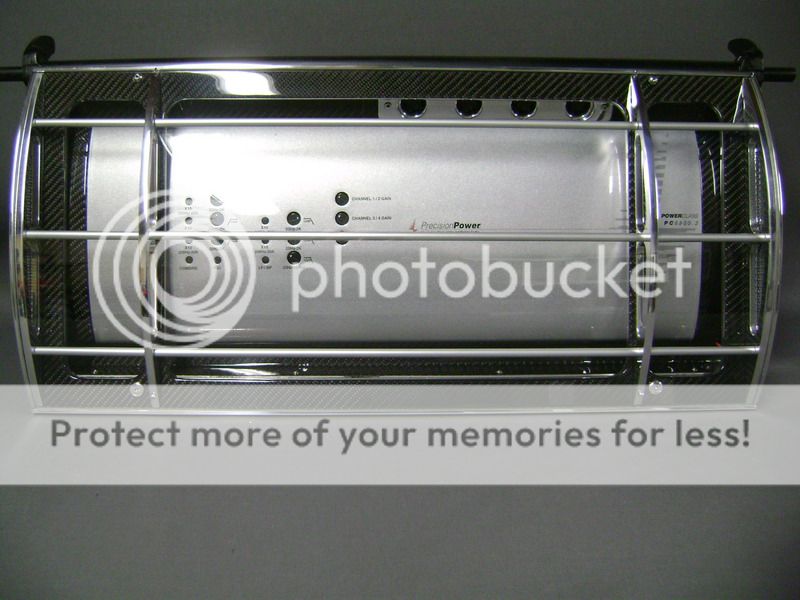
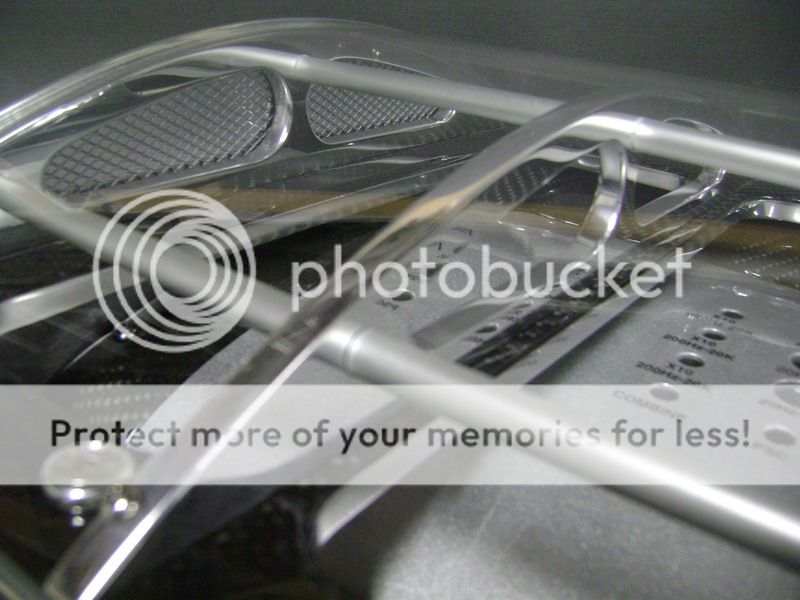
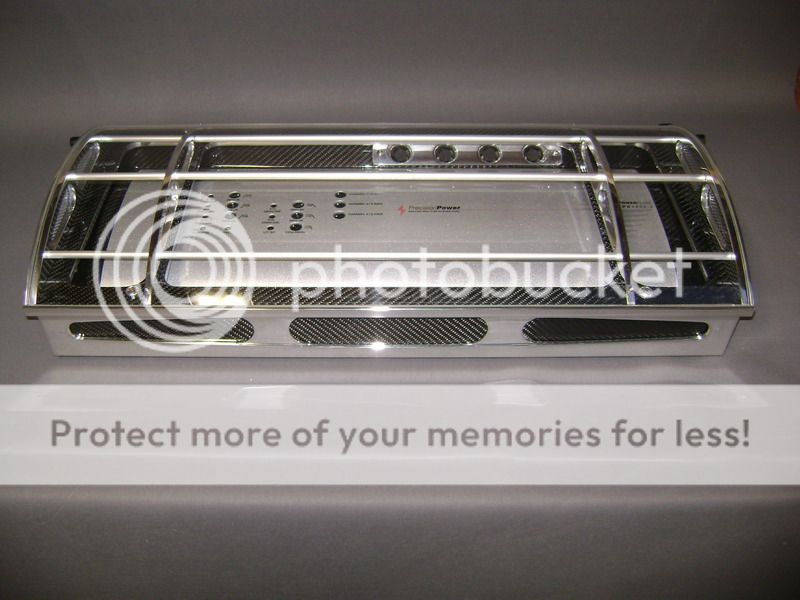
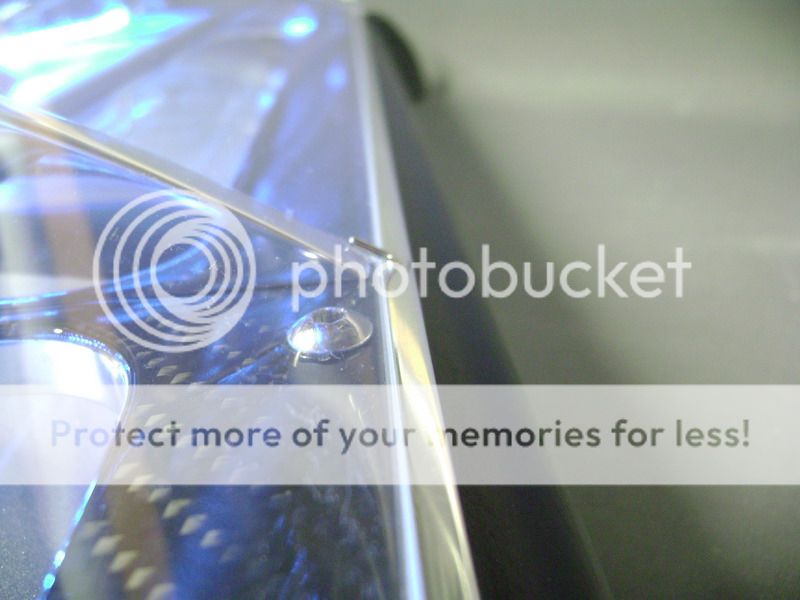
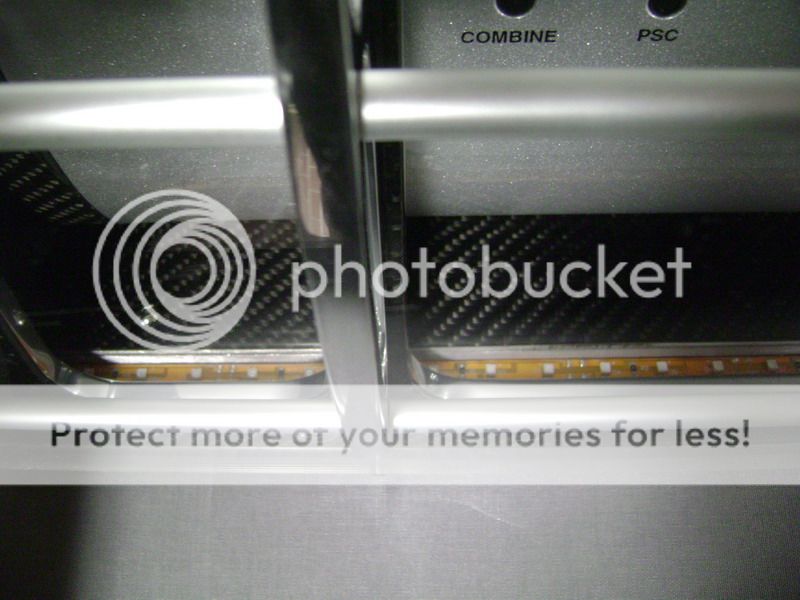
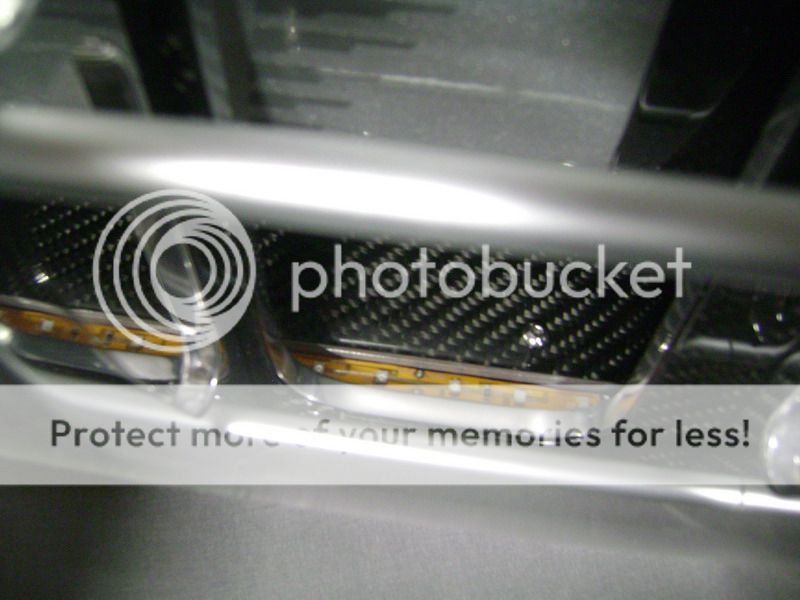
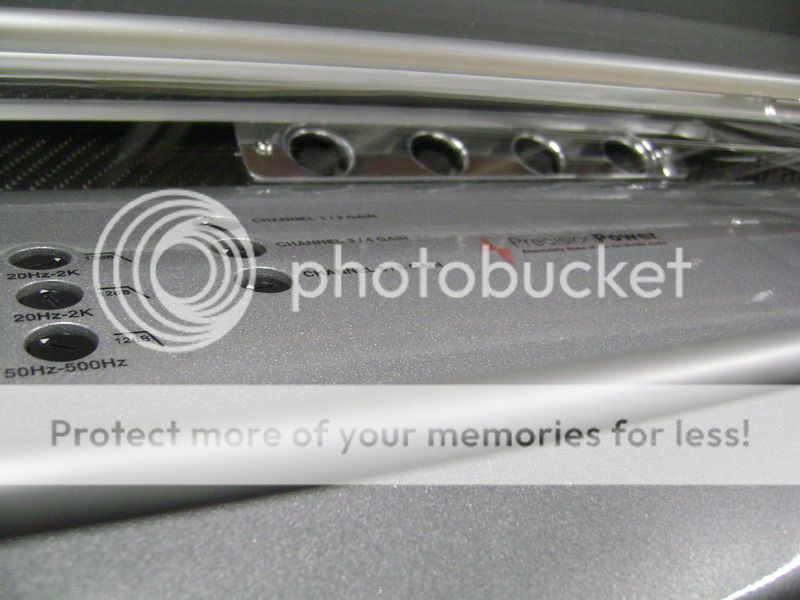
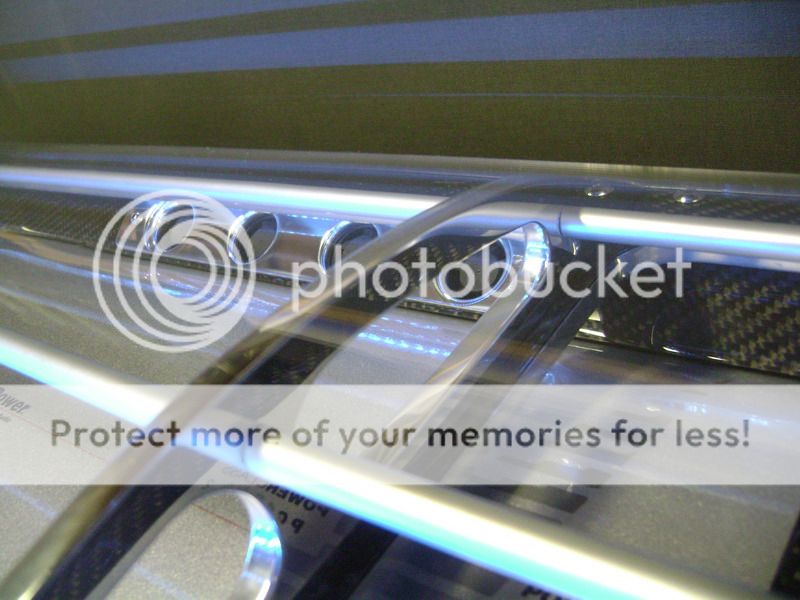
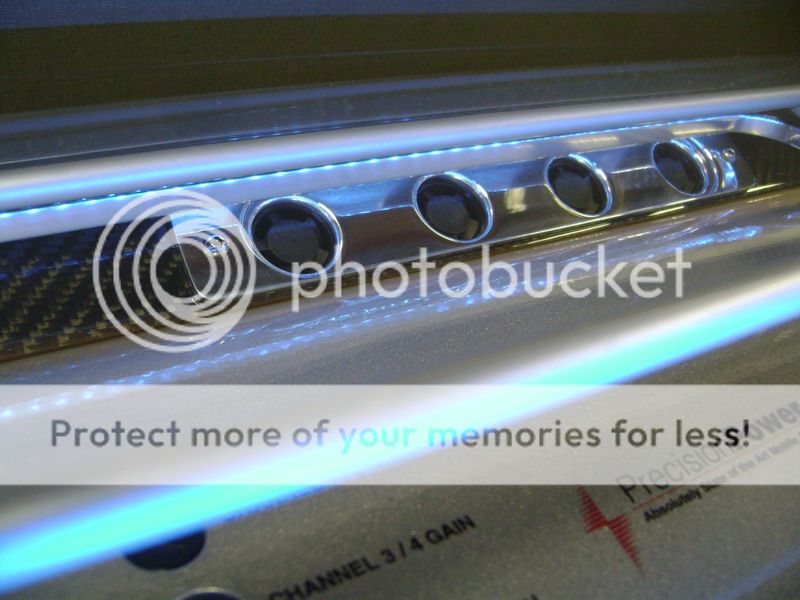
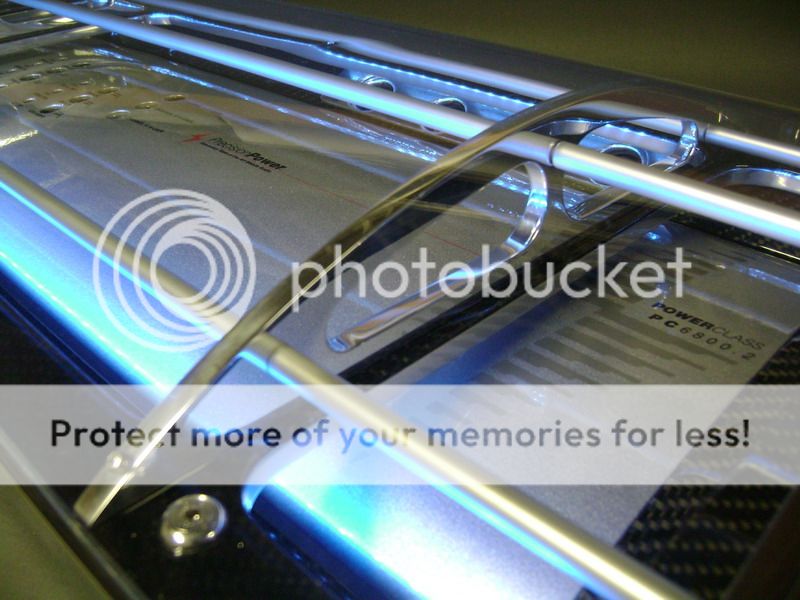
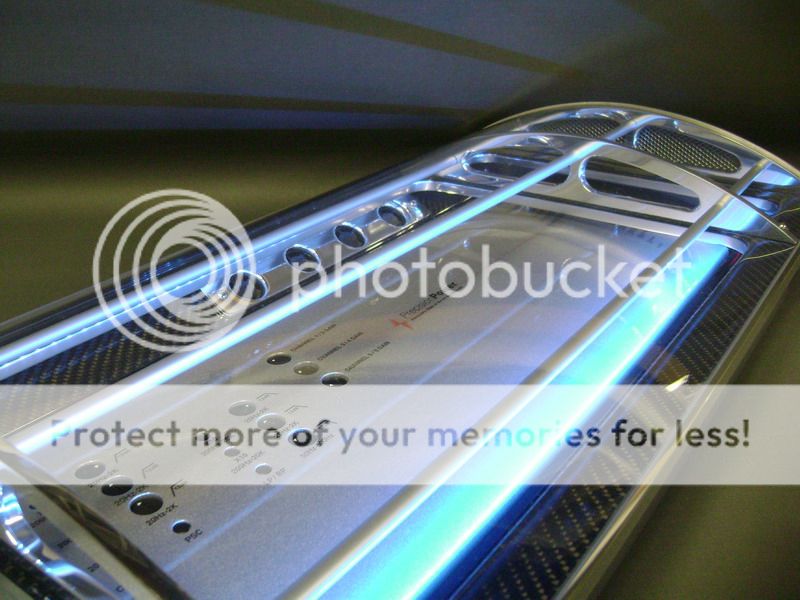
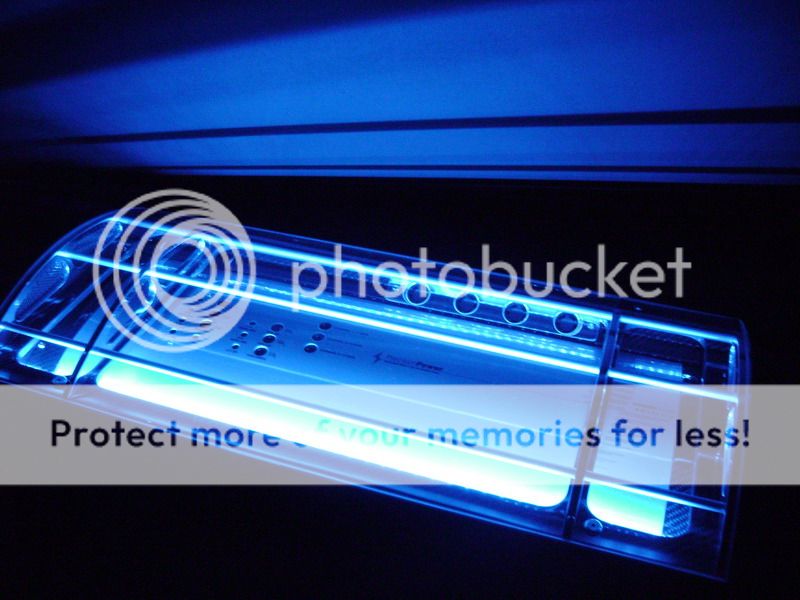
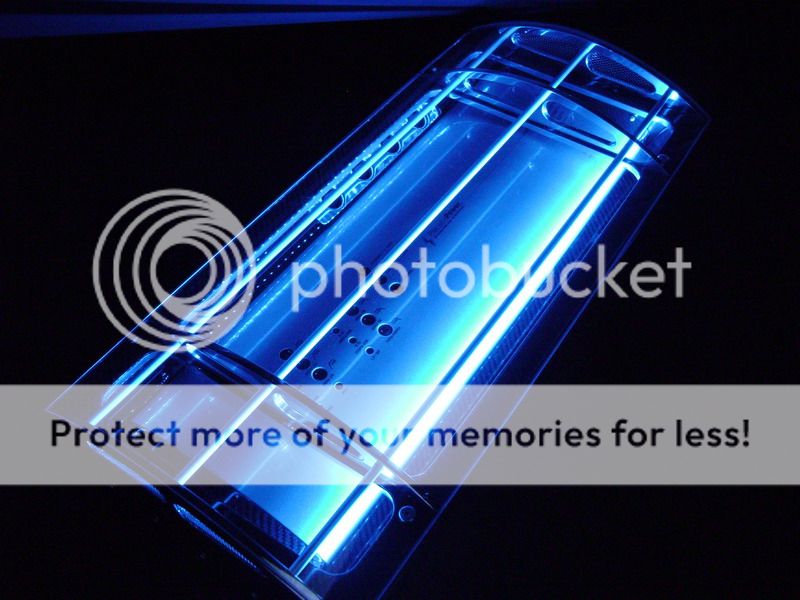
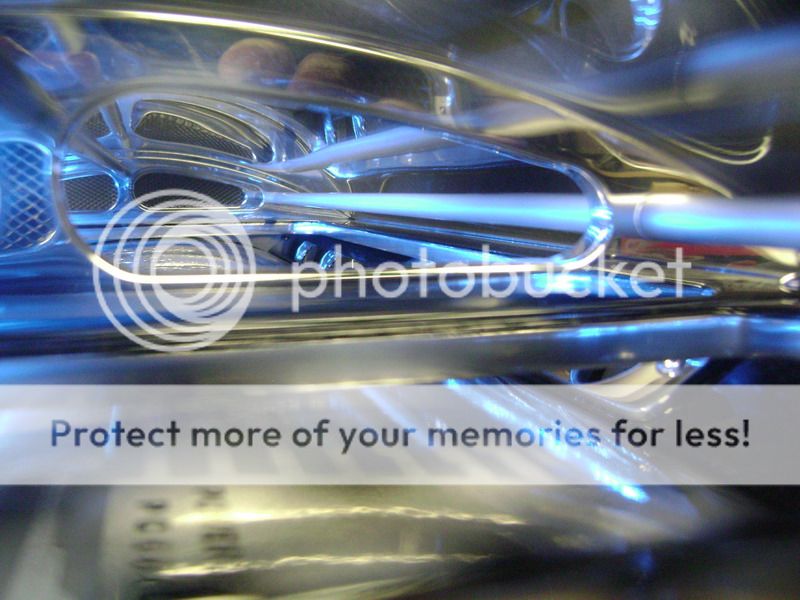
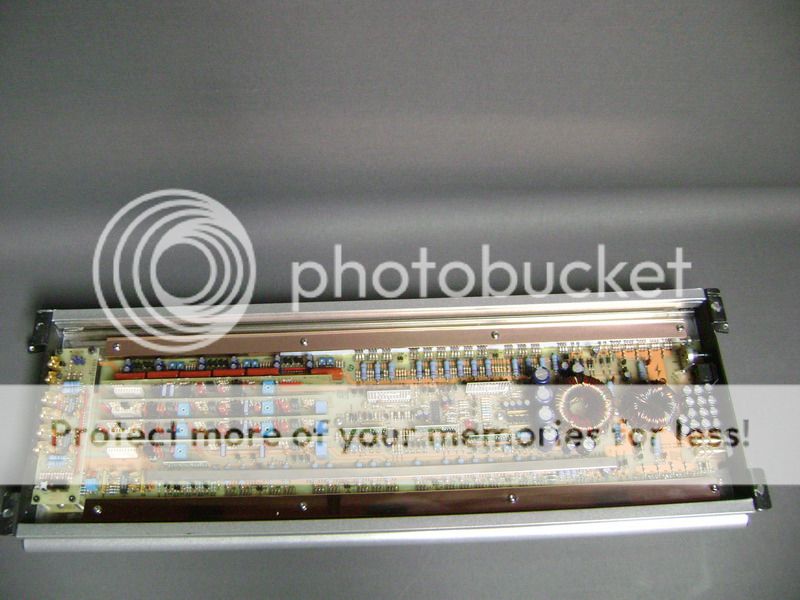
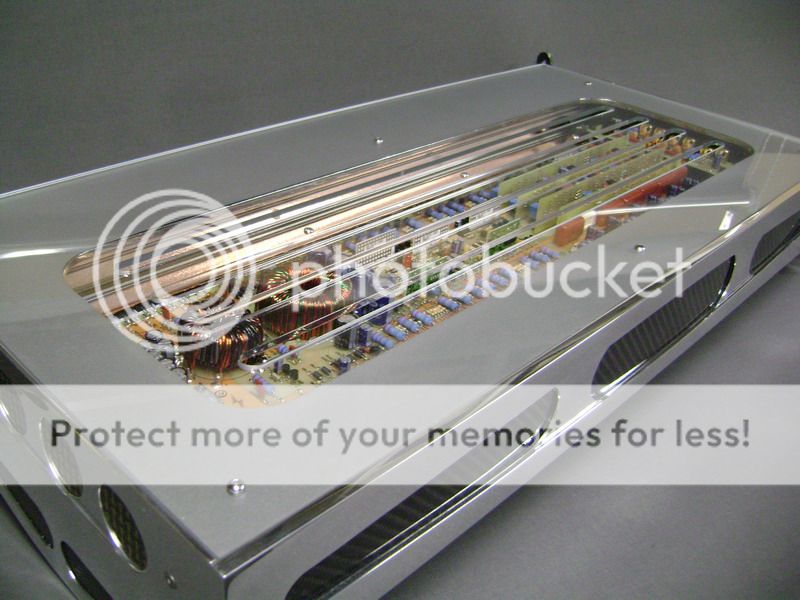
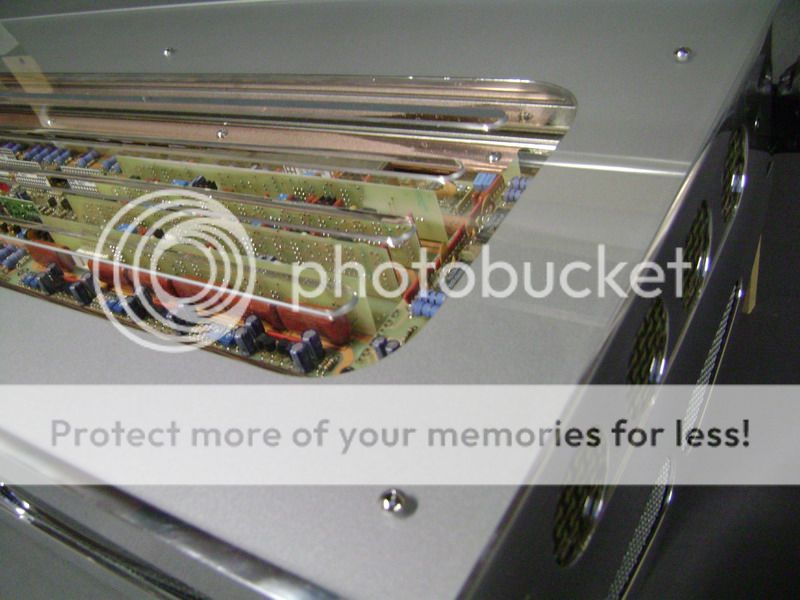
 On the front I managed to work in some carbon fibre. The middle part wont stay this way though. I want a logo in there, but since Im not sure how Im going to make this
itll have to wait some more. It has to something WOOOOOOOOOOOOOOOW , made in plexi and carbon fibre.
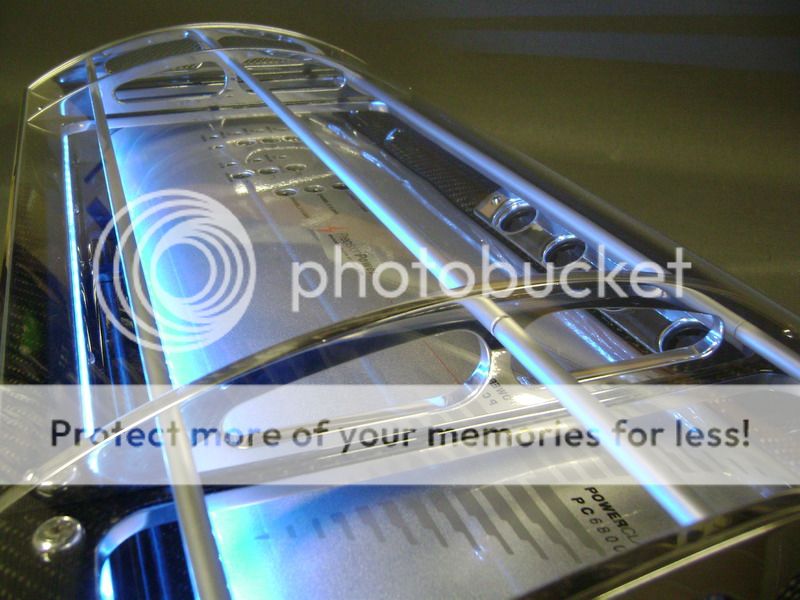
On the front I managed to work in some carbon fibre. The middle part wont stay this way though. I want a logo in there, but since Im not sure how Im going to make this
itll have to wait some more. It has to something WOOOOOOOOOOOOOOOW , made in plexi and carbon fibre.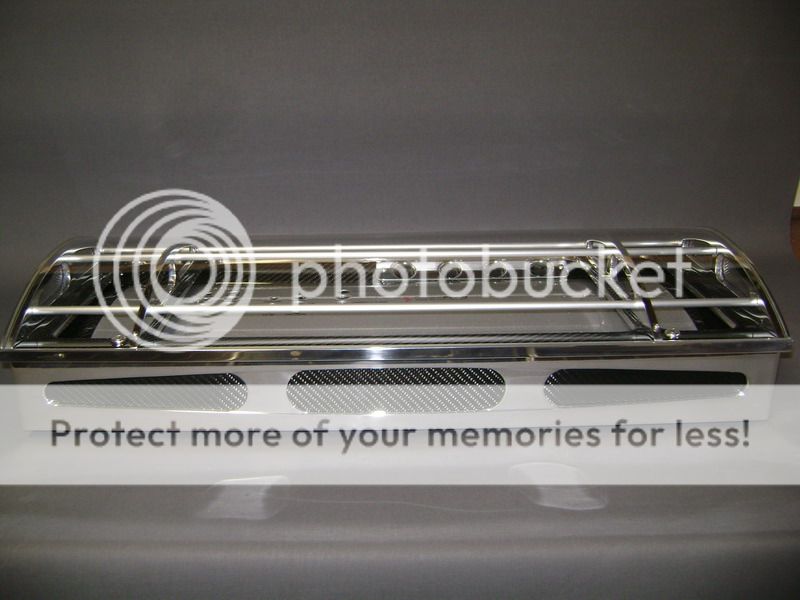

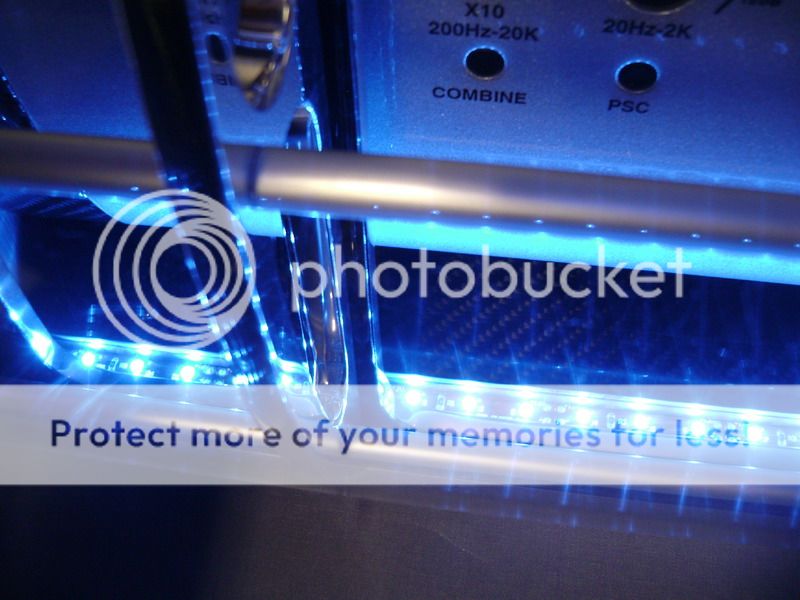

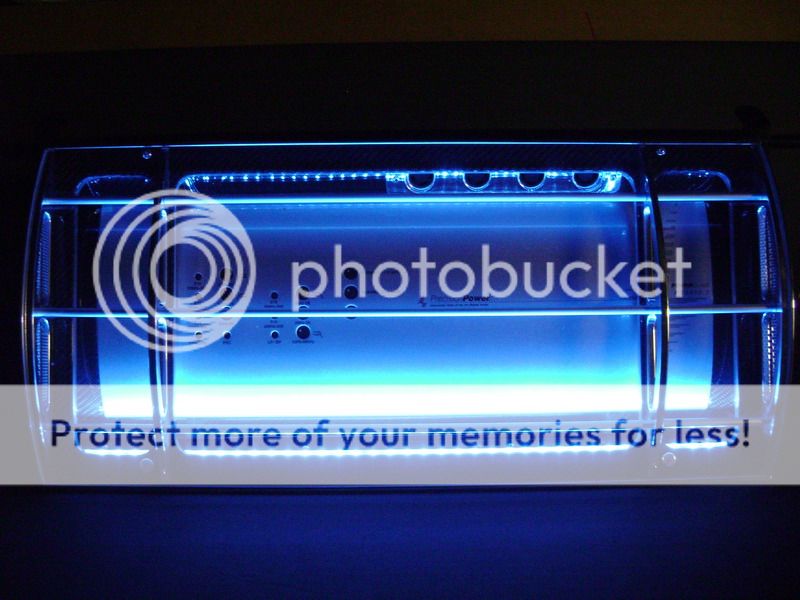
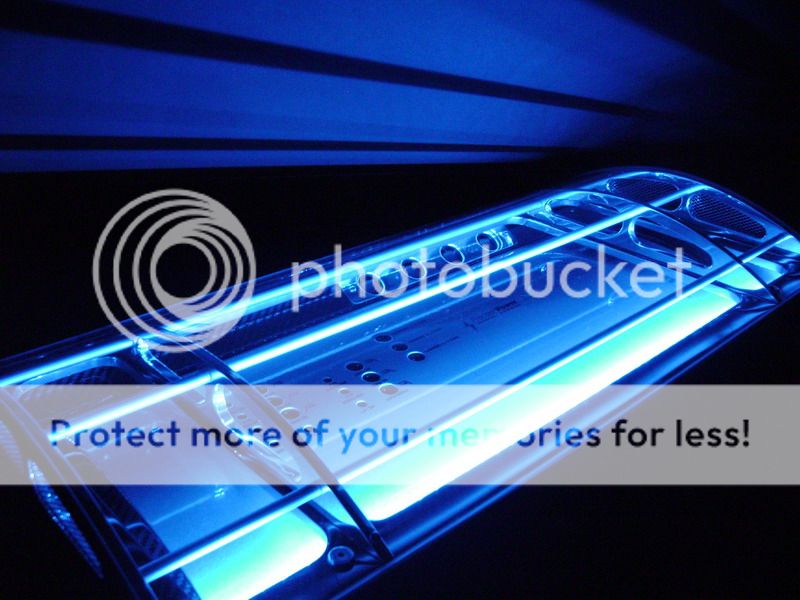
 The pictures of the the lighting will be for another time
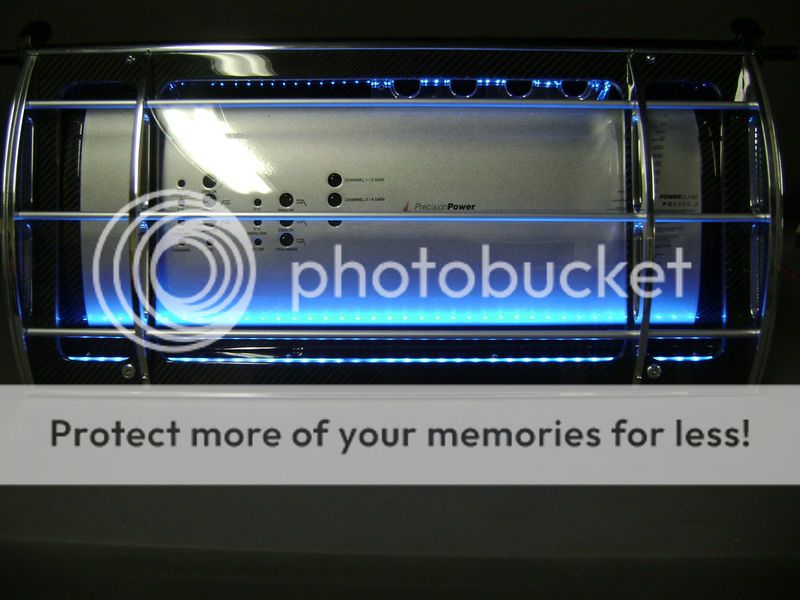


 , but I am appreciative of it though !!
Great work, I assume you will answer questions of other members when time allows.
KarTuneMan, good to see you are still around
, but I am appreciative of it though !!
Great work, I assume you will answer questions of other members when time allows.
KarTuneMan, good to see you are still around  , I am just now getting back to being on here on a regular basis.
I am a Idiot, good to see you as well!
, I am just now getting back to being on here on a regular basis.
I am a Idiot, good to see you as well! Printable version


| You cannot post new topics in this forum You cannot reply to topics in this forum You cannot delete your posts in this forum You cannot edit your posts in this forum You cannot create polls in this forum You cannot vote in polls in this forum |

| Search the12volt.com |
Follow the12volt.com 
Wednesday, April 8, 2026 • Copyright © 1999-2026 the12volt.com, All Rights Reserved • Privacy Policy & Use of Cookies

Wednesday, April 8, 2026 • Copyright © 1999-2026 the12volt.com, All Rights Reserved • Privacy Policy & Use of Cookies
Disclaimer:
*All information on this site ( the12volt.com ) is provided "as is" without any warranty of any kind, either expressed or implied, including but not limited to fitness for a particular use. Any user assumes the entire risk as to the accuracy and use of this information. Please
verify all wire colors and diagrams before applying any information.
