


2007 Jeep Commander Remote Start Pictorial
Home /
the12volt's Install Bay /
Car Security and Convenience - Alarm/Remote Start Pictorials / 2007 Jeep Commander Remote Start Pictorial ( Topic Closed)


Posted: December 14, 2013 at 4:27 PM / IP Logged
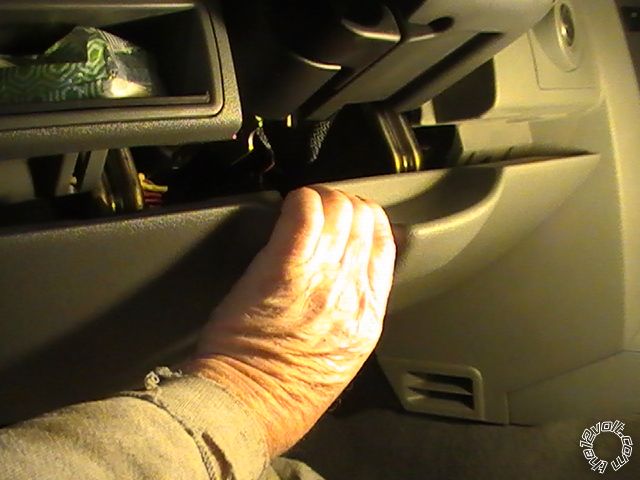
 Lower panel is removed by pulling down and then popping the panel off the hinges on each side. A sharp hit with the palm of the hand will do it.
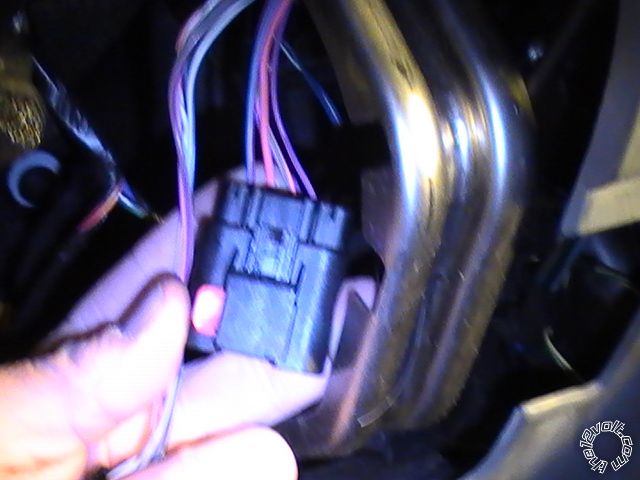
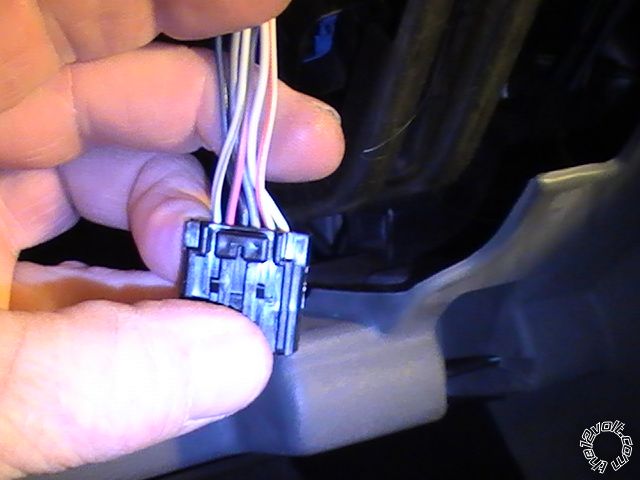
 The two ignition connectors are up under the dash and were in a tight location. The wires do not come down the steering column to work on. They go up from the ignition switch so it leaves very little room to work on. The larger connector has a RED locking tab that needs to be slid to one side in order to remove while the smaller one has a tab that needs to be depressed for removal. If you have big hands, Good Luck. In a tight location
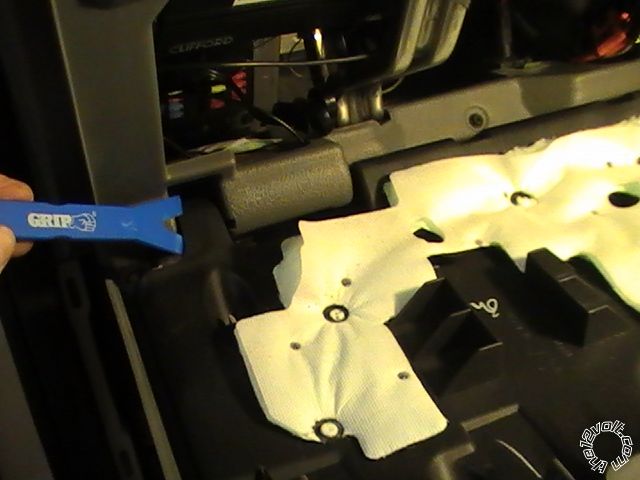
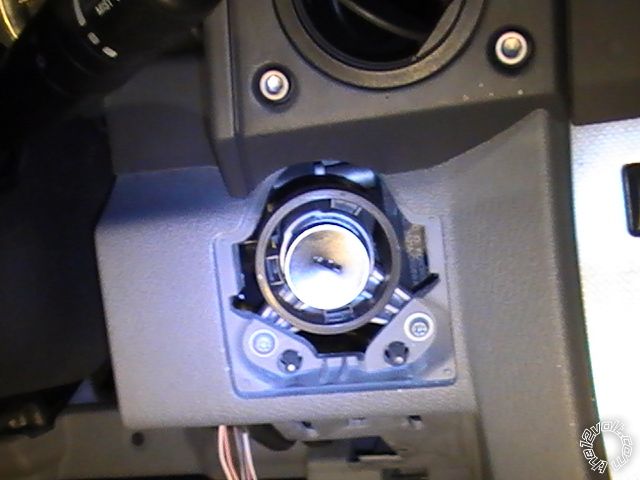
 View of the ignition switch from underneath and removing the key cylinder cover provides little help.
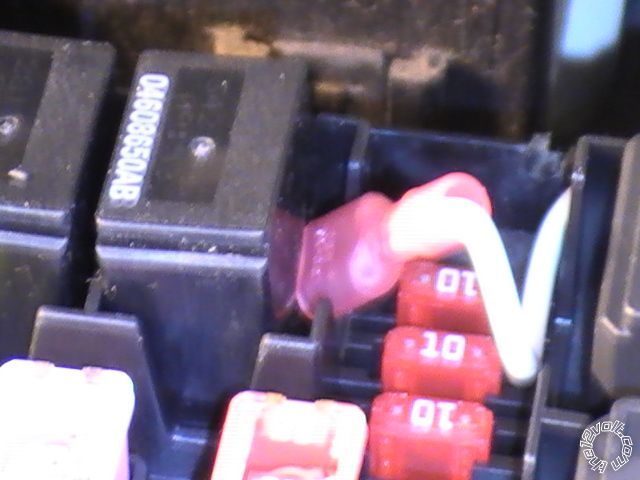
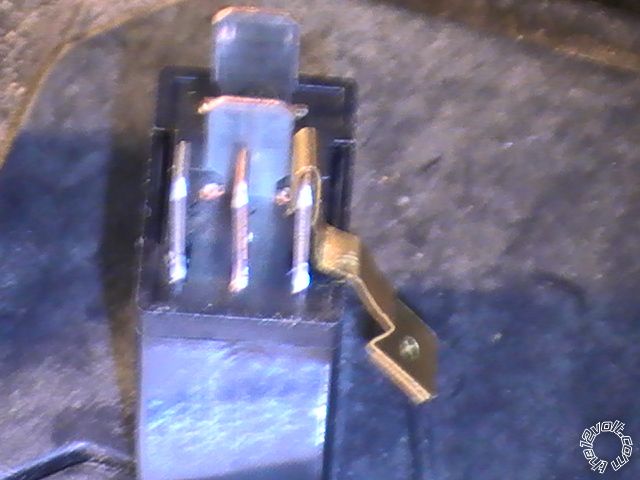
 Very nice grommet above the gas pedal for running wires out to the engine compartment. Wires out were Hood Pin, Parking Lights, 12 Volts at the battery, and Horn. Horn and Parking Lights were both NEG(-) at the IPM right behind the battery. Both relays were connected the same way on Pin 1 using a blade adapter.

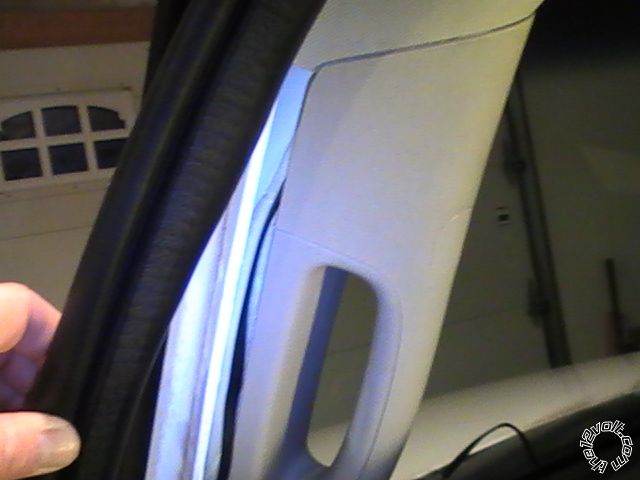
 Antenna routing behind the A pillar. A tight fit at the top, so you will need to remove the bolt covers to loosen the bolts. The clips for those are on the left and right side of those small cap. Forgot to take a photo of that.
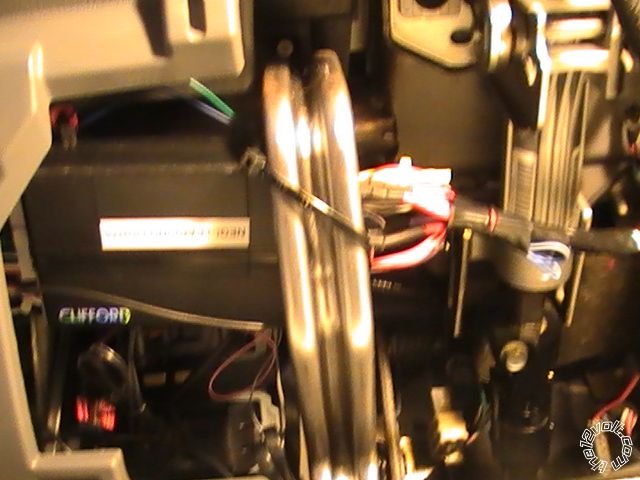
 All put away. Took about 6 hours for this install, including the prep time.

Sorry, you can NOT post a reply.
This topic is closed.
 Printable version
| You cannot post new topics in this forum You cannot reply to topics in this forum You cannot delete your posts in this forum You cannot edit your posts in this forum You cannot create polls in this forum You cannot vote in polls in this forum |

| Search the12volt.com |
Follow the12volt.com 
Sunday, July 13, 2025 • Copyright © 1999-2025 the12volt.com, All Rights Reserved • Privacy Policy & Use of Cookies

Sunday, July 13, 2025 • Copyright © 1999-2025 the12volt.com, All Rights Reserved • Privacy Policy & Use of Cookies
Disclaimer:
*All information on this site ( the12volt.com ) is provided "as is" without any warranty of any kind, either expressed or implied, including but not limited to fitness for a particular use. Any user assumes the entire risk as to the accuracy and use of this information. Please
verify all wire colors and diagrams before applying any information.
