the12volt.com spacer
icon

Integra Fiberglass Enclosure Version 2.0


Post ReplyPost New Topic
< Prev Topic Next Topic >
justtegit 
Member - Posts: 47
Member spacespace
Joined: February 15, 2004
Posted: March 03, 2006 at 5:19 PM / IP Logged  

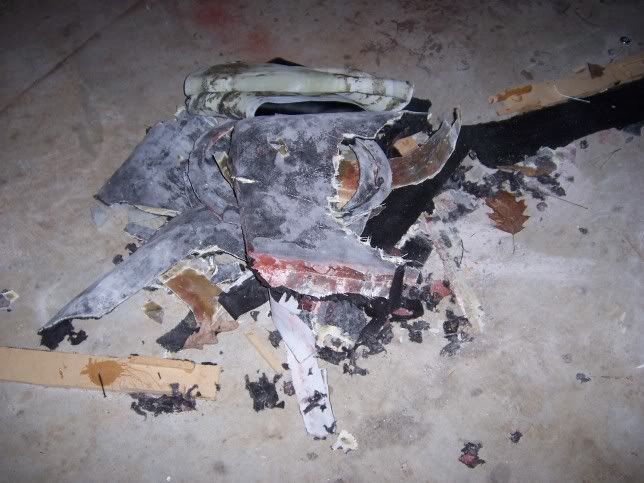
Well guys, call me freakin crazy for destoying a ton of hard work and expensive fiberglass....but I have begun rebuilding an inproved design of my custom fiberglass sub enclosure.

Some of you may remeber my thread:

DIY custom fiberglass trunk setup

If not, you can see how I built it the first time around. I knew a pretty good deal then about fiberglassing, but unfortunately I was working with limited tools (i am at college and use a relatives garage to work), and I was afraid of tight tolerances. This led me to build off of a speaker ring that was COMPLETELY INADEQUATE, and as such led to a number of problems that I am now fixing.

The first ring as you can see in my old thread is only 1/2" MDF to begin with, and the width of the ring was less than 3/4", and it was very choppy since I cut it with a jig saw (i didnt have my router at school).

This led to flexing in the ring when i stretched the fleece, and as such the sub never sat flat, causing an air leak around the rim. It also didnt allow for a perfectly shaped and air tight fiberglass tunnel into the lower box portion. The ring was also only a single ring, makingi t a surface munt sub. I have always though flush mounted subs wre cleaner, but since i was afraid of clearance for the hatch glass I didnt do it. I now know that with modification the the plastic trim in the hatch I can easily fit a bigger flush mount ring. So....

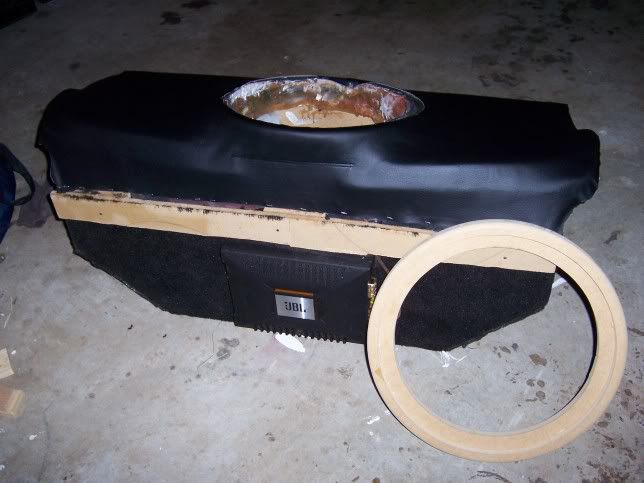
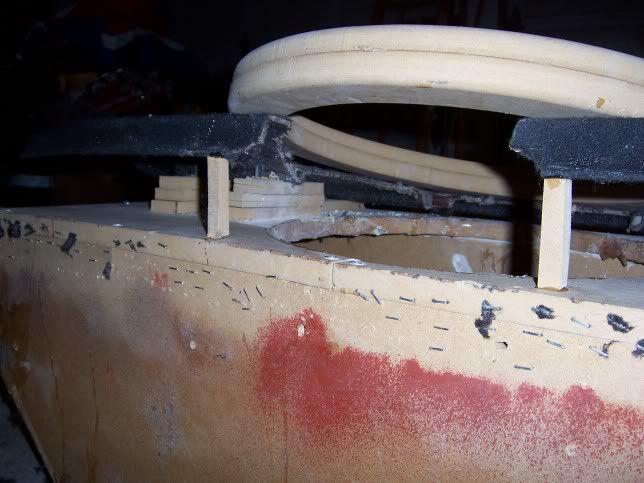
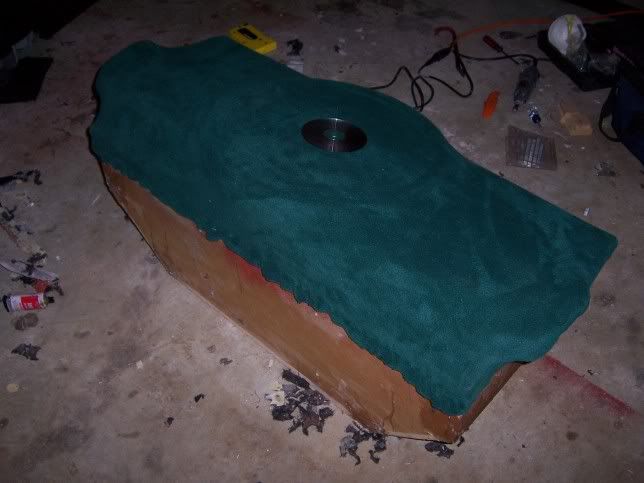
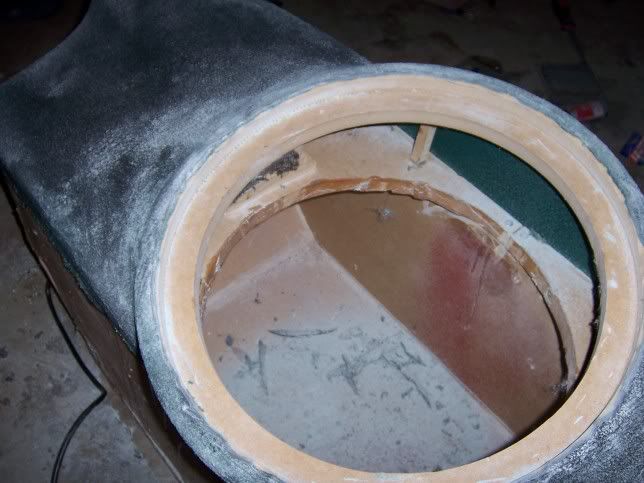
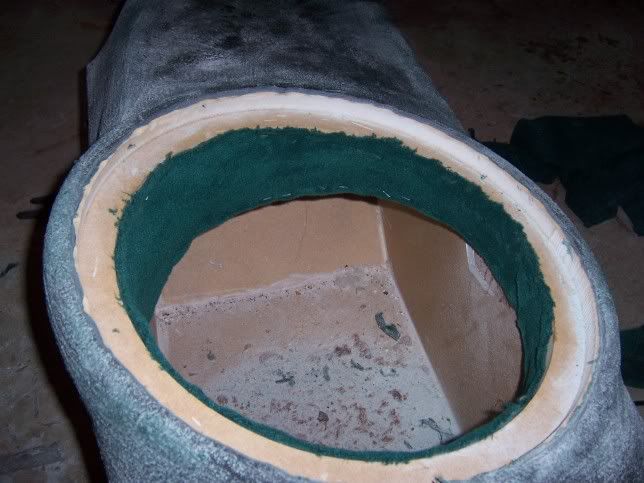
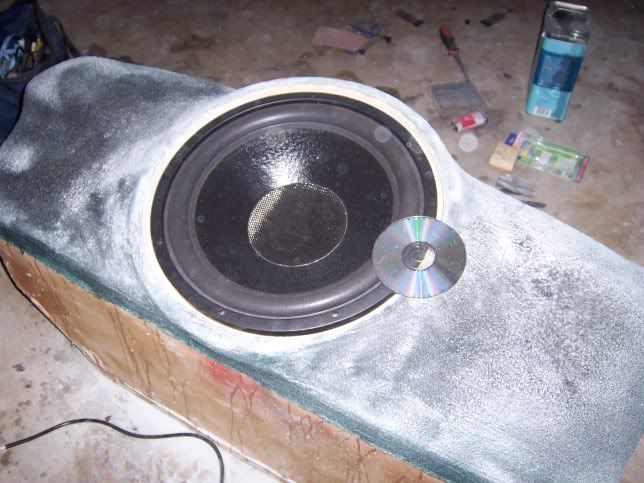
I created this big-ass MDF ring while home for Xmas this year (I miss my woodshop and tools more than anything else while being at school, lol)

I will measure the actual outer diamter but it is somewhere near 18 inches!!! I dont know anyone else with an 18 inch sub ring in their integra cargo cover, lol.

Hereis what it looked like, as well as the initial construction pics up until fleecing. I will glass it next weekend ans update with new pics as I go.

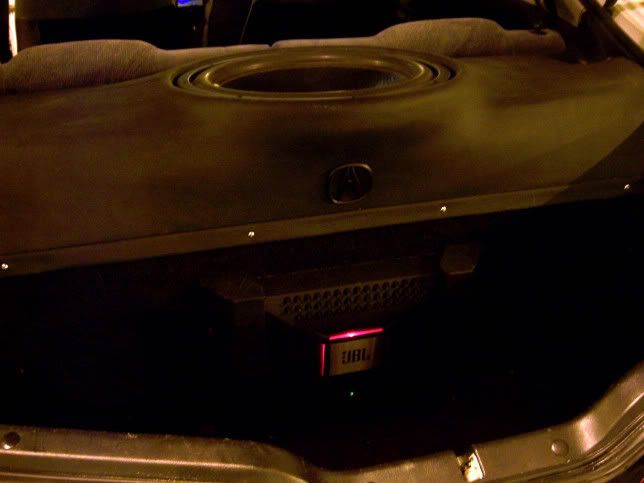
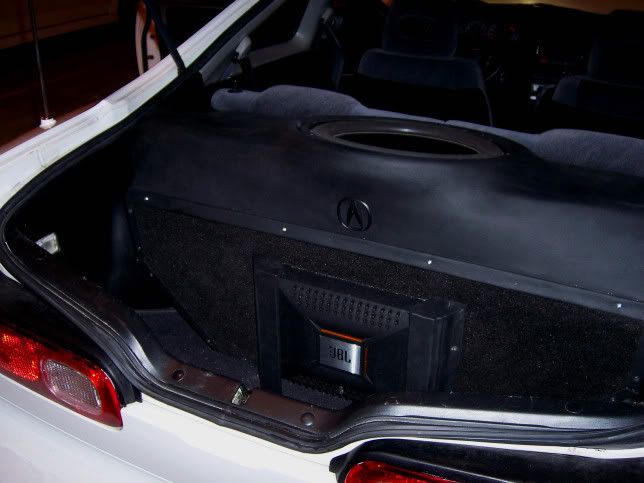
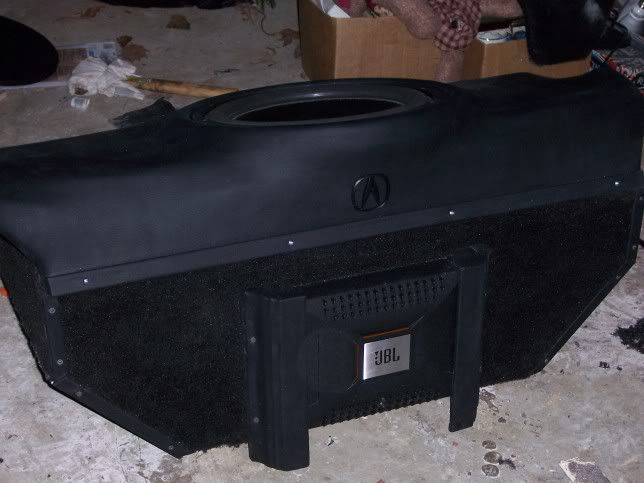
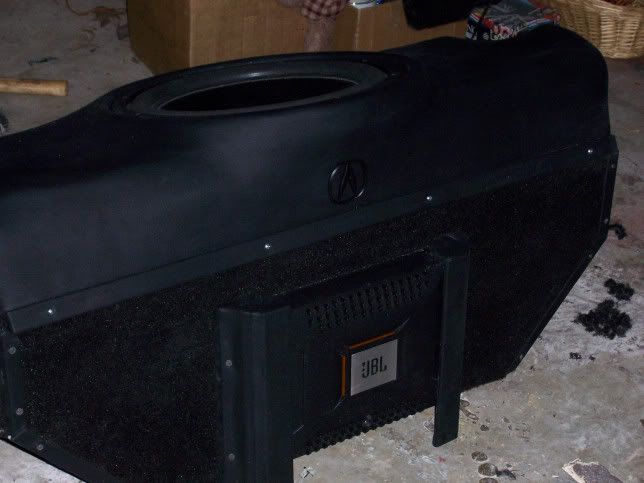
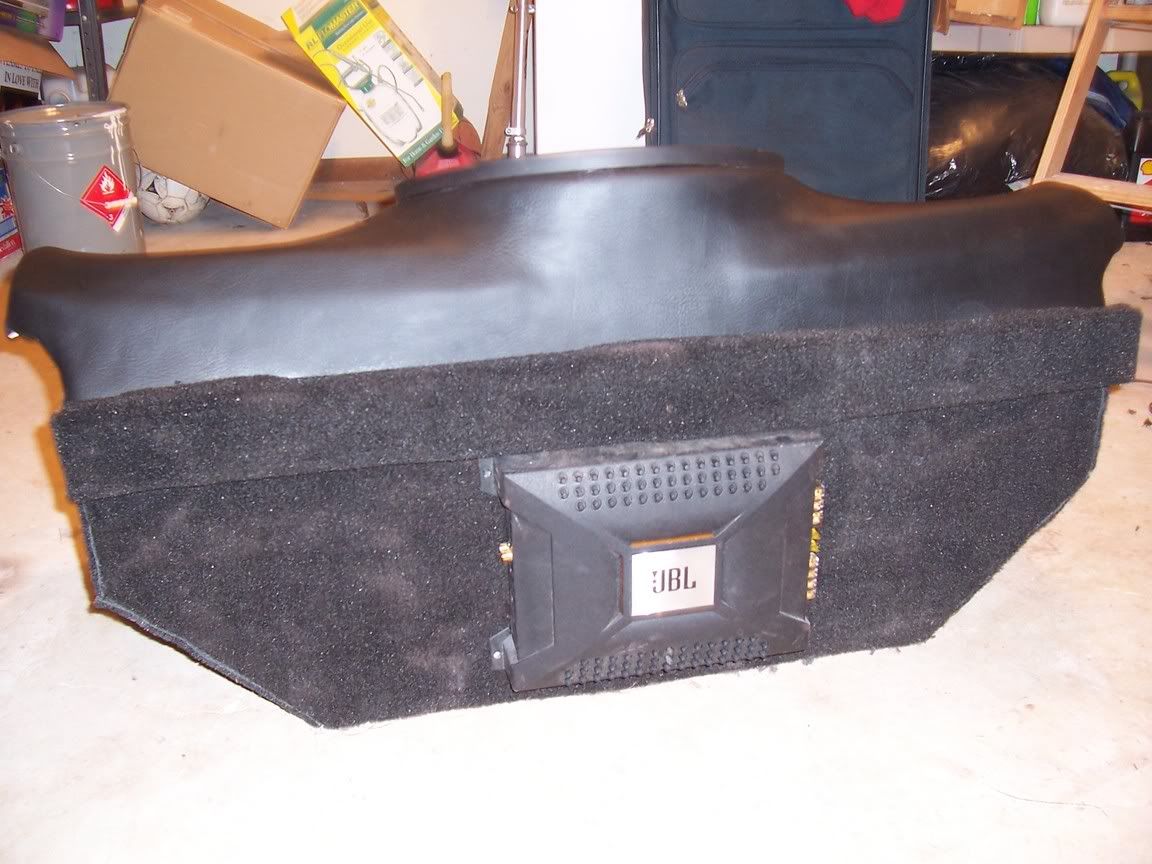
Oh, and as far as other upgrades - I will be using a much better contact cement to bond the vinyl so that I dont have bubbling issues with direct sunlight like before. As well, I will be eliminating that ugly squarish transition form the viyl to the carpet, and will be replacing it with a vinyl wrapped cover. I will also be making endcaps for the amp out of sections of PVC pipe wrapped in black vinyl. The tope will of course remain black vinyl and the bottom will get new carpet. I am also going to supposrt it from underneath a little better, and before it just rested on wood block on the false floor.

Enjoy!

https://img.photobucket.com/albums/v62/JustTegIt/000_00861.jpg
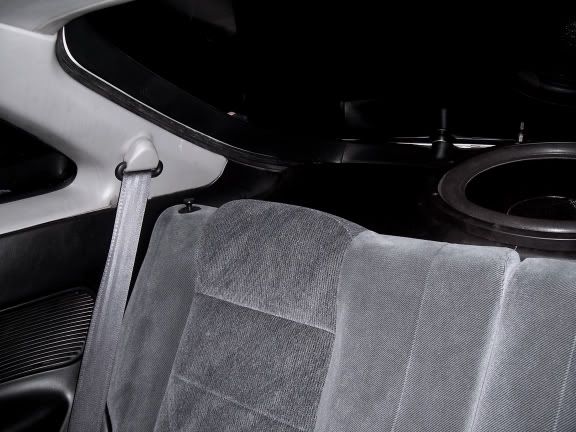
Integra Fiberglass Enclosure Version 2.0 -- posted image.

New work:

Integra Fiberglass Enclosure Version 2.0 -- posted image.

Integra Fiberglass Enclosure Version 2.0 -- posted image.

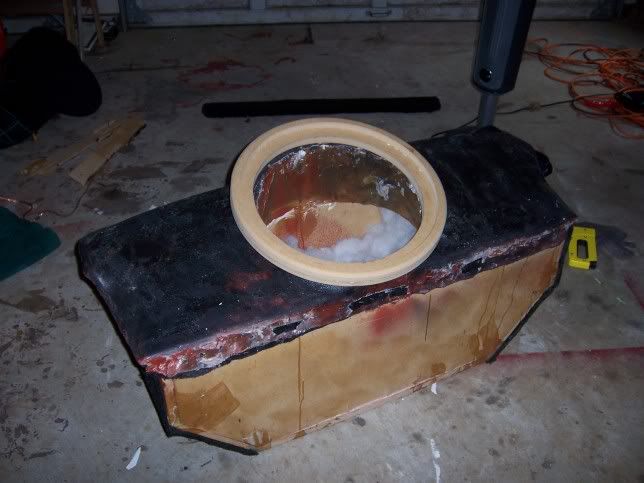
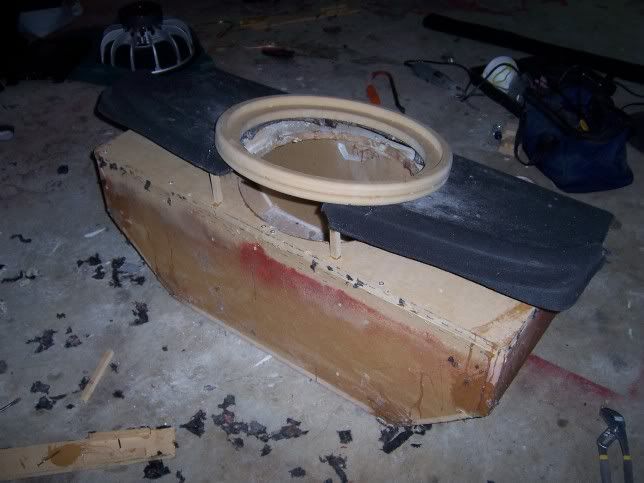
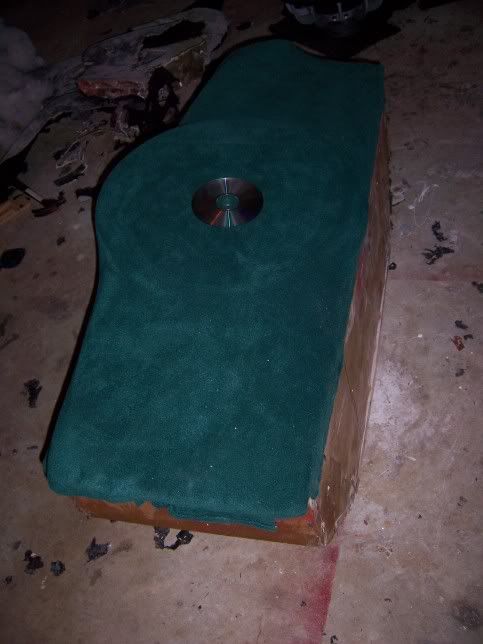
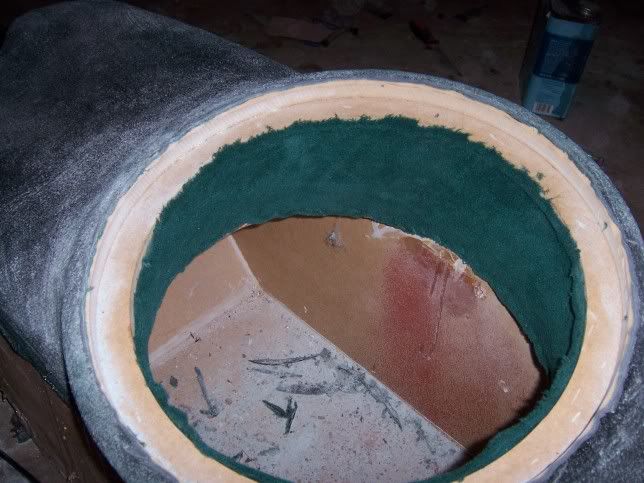
I put the CD on their to establish scale of how big the 18 inch ring really is...

UPDATE: 2-19-06

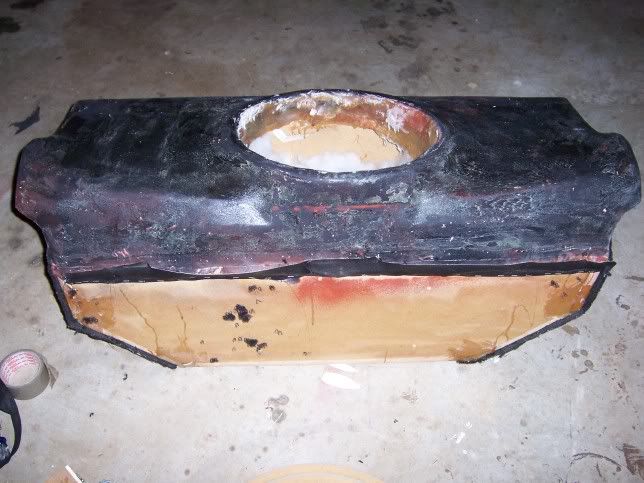
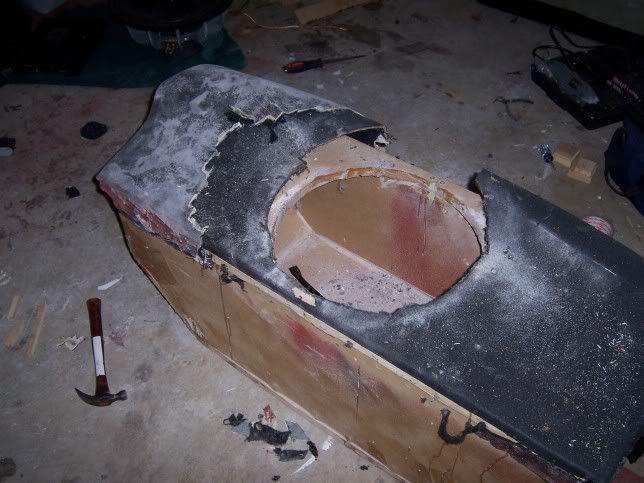
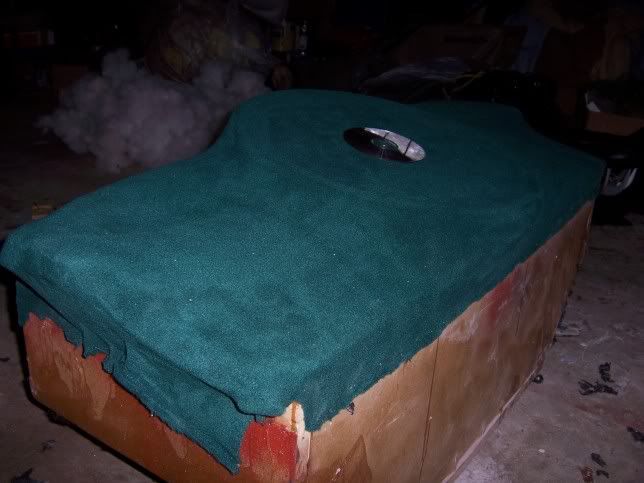
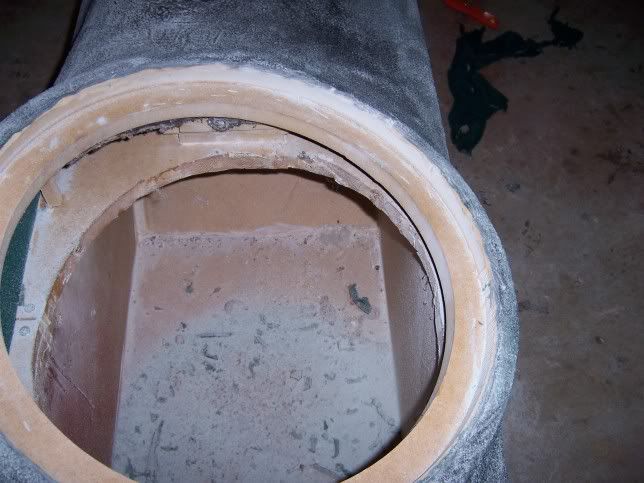
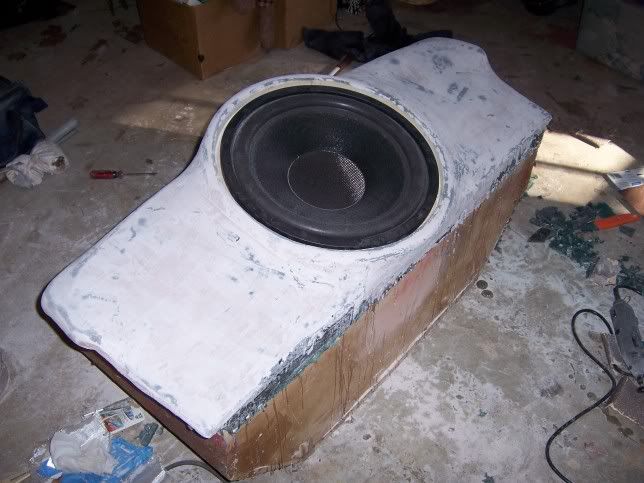
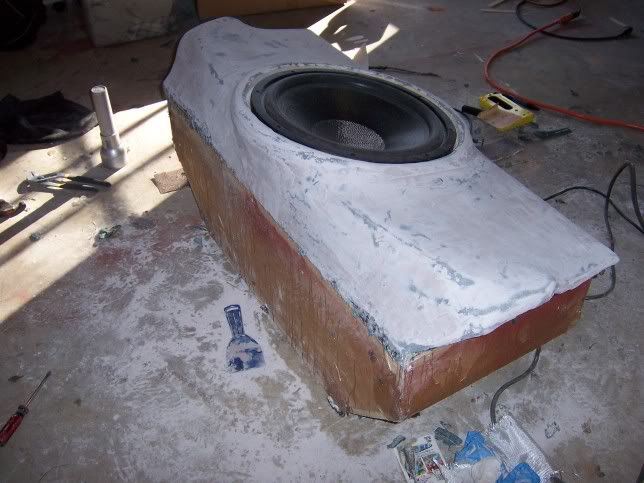
Well this weekend I fiberglassed that mutha bitch. I soaked the fleece in resin, then added a few layers of real fiberglas mat for strength. The glass does have to be very strong since it is purely cosmetic and no actual sound pressure will be exerted on it (except for the small tunnel section). I cut out the middle of the ring and exposed the tunnel. I then stapled and fiberglassed new fleece inot the tunnel area to direct all sound pressure into the MDF portion of the box. This will create a totally sealed enclosure, as the air is contained entirely in the MDF box portion and the small area i am referring to as the 'tunnel'. Next week I will be sanding like crazy and adding alot of BONDO to smooth things out in preparation for the vinyl. Enjoy the nex pics!

Integra Fiberglass Enclosure Version 2.0 -- posted image.

Integra Fiberglass Enclosure Version 2.0 -- posted image.

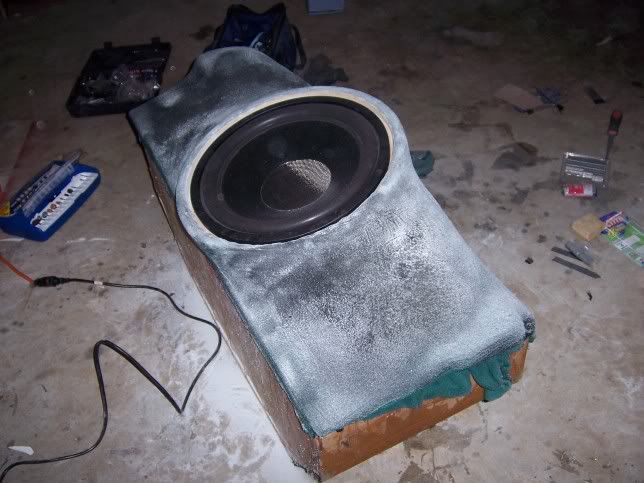
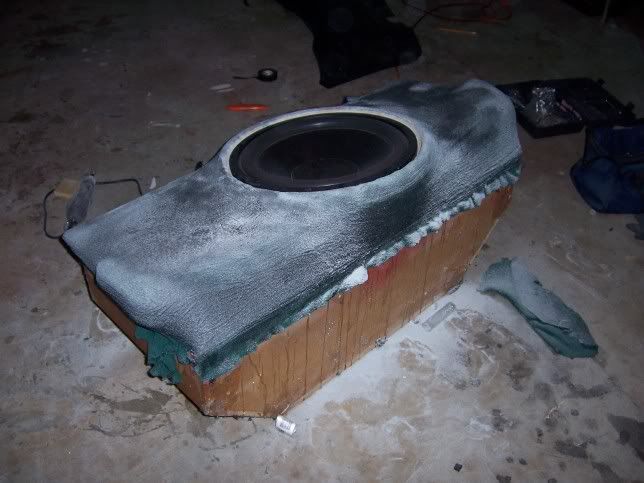
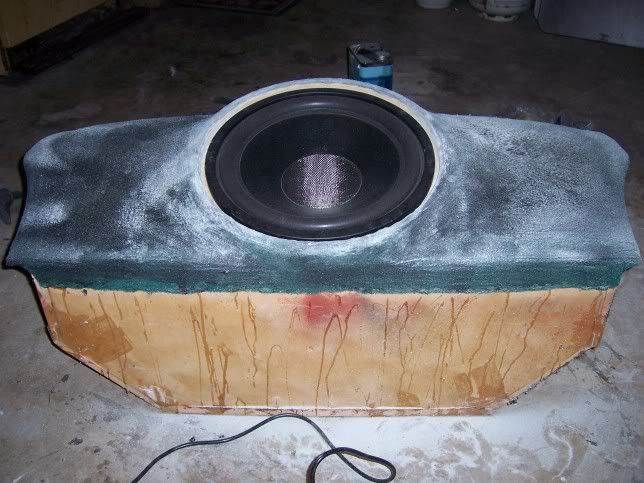
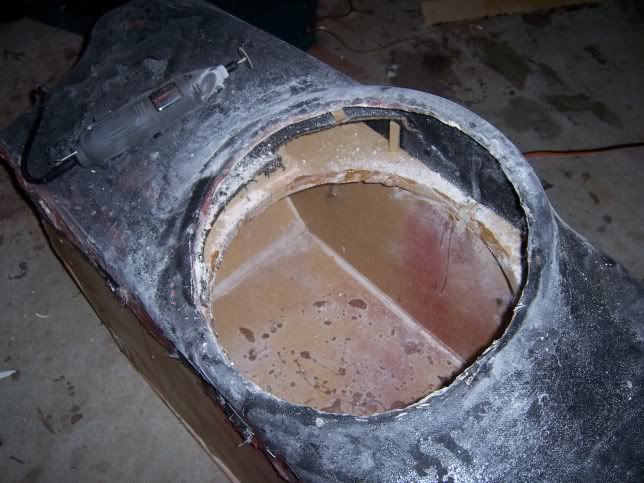
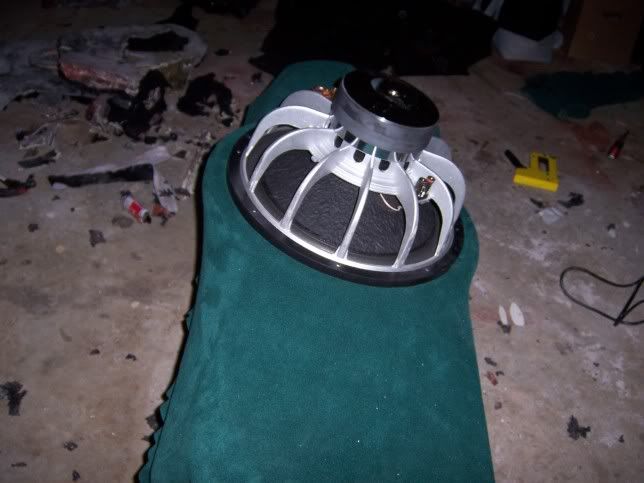
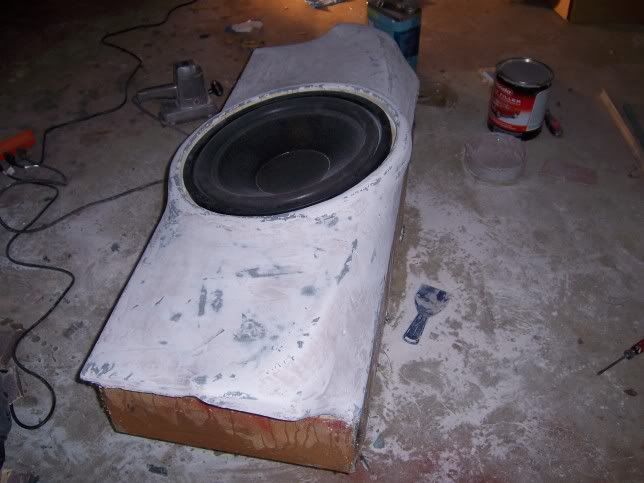
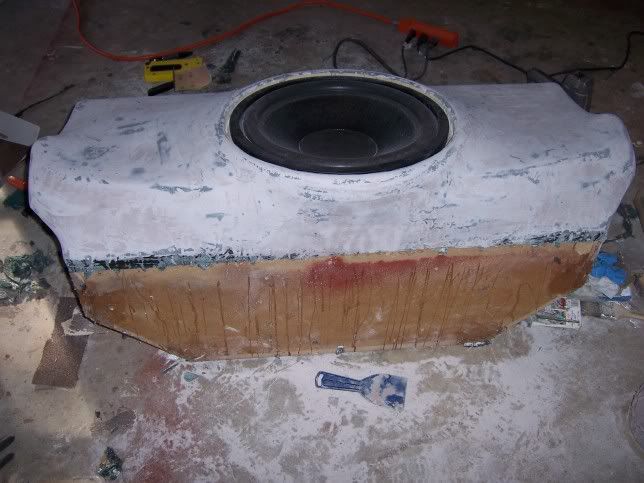
UPDATE: Well I didnt get as much done as I wanted to this weekend sicne i needed to backtrack a little and redesign the tunnel since the subwoofer metal frame was hitting the fleece once i glassed it the first time.....had to get out the Dremel and cut up last sundays' hard work :( Anyway all of the Bondo is now done and I just have a bit more sanding to do next weekend and then I will cover it in vinyl and carpet and doo all of the finishing touches...I cant wait to get this beast back in my car sounding better than ever!

Integra Fiberglass Enclosure Version 2.0 -- posted image.

Integra Fiberglass Enclosure Version 2.0 -- posted image.

https://img.photobucket.com/albums/v62/JustTegIt/000_00831.jpg https://img.photobucket.com/albums/v62/JustTegIt/100_0320.jpg
jlord16 
Silver - Posts: 322
Silver spacespace
Joined: September 08, 2005
Location: Australia
Posted: March 04, 2006 at 6:25 AM / IP Logged  
it looks quite good now
Clarion DB36MP
Infinity Kappa Perfect 10"
Respone 800w Mono
ALPINE MRP-F250
*Custom fabrications*
justtegit 
Member - Posts: 47
Member spacespace
Joined: February 15, 2004
Posted: March 06, 2006 at 12:06 AM / IP Logged  

FINISHED PICS ADDED 3-6-06

Integra Fiberglass Enclosure Version 2.0 -- posted image.

Integra Fiberglass Enclosure Version 2.0 -- posted image.

SoundAudio 
Copper - Posts: 242
Copper spaceThis member has made a donation to the12volt.com. Click here for more info.spacespace
Joined: May 26, 2004
Location: United States
Posted: March 06, 2006 at 9:59 AM / IP Logged  
I like that.  It turned out really nice.
Good Luck!
-Thad
HottAccord 
Silver - Posts: 247
Silver spacespace
Joined: August 12, 2004
Location: United States
Posted: March 07, 2006 at 9:18 PM / IP Logged  
Wow, looks really good! I cant count how many times I wanted to rip apart projects and re-do them, so I give you a lot of credit for that! Nice job! Integra Fiberglass Enclosure Version 2.0 -- posted image.
Im a fiberglass whore!!
justtegit 
Member - Posts: 47
Member spacespace
Joined: February 15, 2004
Posted: March 08, 2006 at 2:37 PM / IP Logged  
thanks guys...yea it was a tough decision to rip it all apart, but i figured what the hell - at least it gave me a project ot work on for a few weekends...a nice repreve from the rigors of being a civil engineering student all week long, lol
younguru 
Member - Posts: 28
Member spacespace
Joined: January 17, 2006
Posted: March 23, 2006 at 7:12 PM / IP Logged  
Looks really clean and good nice
alex
g-twizzl 
Member - Posts: 20
Member spacespace
Joined: April 23, 2005
Location: United States
Posted: March 23, 2006 at 11:15 PM / IP Logged  
yo man, you're enclosure looks real real nice. that 18 must pound in that little integra. props with the flush mount too! it's a little more work, but that's the only way to go in my book. nice freakin work mane and keepon glassin!
Pr0to 
Member - Posts: 13
Member spacespace
Joined: June 01, 2005
Location: United States
Posted: March 23, 2006 at 11:26 PM / IP Logged  
does that thing fit in the stock trunk shelf hinges and clear the hatch closeure?
bikeboard15 
Member - Posts: 15
Member spacespace
Joined: February 24, 2005
Location: United States
Posted: April 02, 2006 at 11:26 AM / IP Logged  
Great looking project. And nice job on the "tunnel". I was half expecting that to be left exposed, which would've made for some really weird waves in that box. Also, the Acura logo on the back really finishes it off. Super clean, especially for a big 18. Props man!
Page of 3

  Printable version Printable version Post ReplyPost New Topic
You cannot post new topics in this forum
You cannot reply to topics in this forum
You cannot delete your posts in this forum
You cannot edit your posts in this forum
You cannot create polls in this forum
You cannot vote in polls in this forum

  •  
Search the12volt.com
Follow the12volt.com Follow the12volt.com on Facebook
Thursday, March 28, 2024 • Copyright © 1999-2024 the12volt.com, All Rights Reserved Privacy Policy & Use of Cookies
Disclaimer: *All information on this site ( the12volt.com ) is provided "as is" without any warranty of any kind, either expressed or implied, including but not limited to fitness for a particular use. Any user assumes the entire risk as to the accuracy and use of this information. Please verify all wire colors and diagrams before applying any information.

Secured by Sectigo
the12volt.com spacer
Support the12volt.com
Top
the12volt.com spacer