Here's some simple steps and photo's on how to make a fiberglass enclosure/amp rack. The techniques outlined in this step by step is my own personal techniques and experiences so please feel free to modify the way it is done here. Hope this will help you in your enclosure fabrications and these techniques can be transferred to fabricate other fiberglass parts & projects....even vehicle body parts & home audio projects.
Let's start from the trunk:
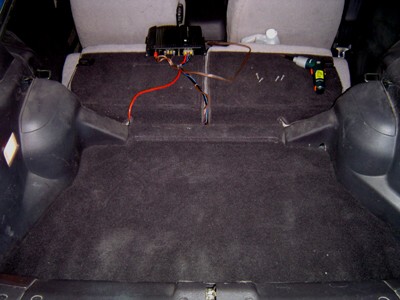
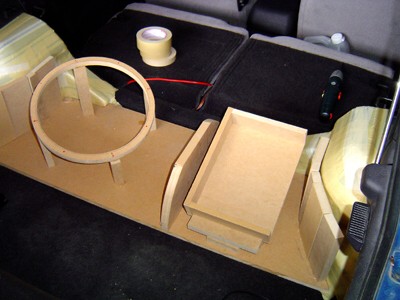
Here is the trunk of a 1992 Plymouth Laser Turbo ( or Mitsubishi Eclipse or Eagle Talon ). We start out with a clean trunk and an idea of what we want to do with the enclosure and the equipment that we're installing into the trunk.
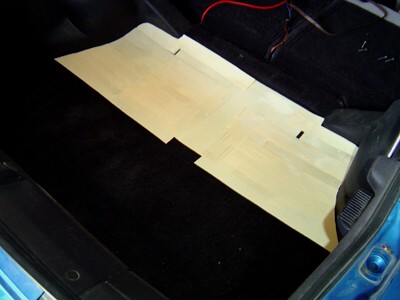
The next step is to draw out the base of the enclosure and use poster board paper cut into strips to contour the edges of the base. This will ensure a tight and accurate shape around the trunk edge.

Next step is to mask the sides of the trunk to avoid fiberglass from sticking to areas that you don't want it to. **TIP: for large areas that doesn't require a mold you can lay down two layers of tin foil and some plastic to save time and masking tape **
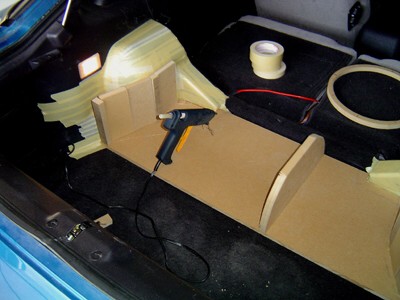
After you have cut the base out of MDF( Medium Density Fiberboard ) & masked the edges of the trunk you can start building the initial shape of the enclosure you designed. Using MDF I cut the peices that I needed to frame the inside of the enclosure and hot glued & super glued the peices in place. Using Cyanoacrylates (best known as Super/Krazy glues) bond in seconds through the evaporation process when in contact with air.
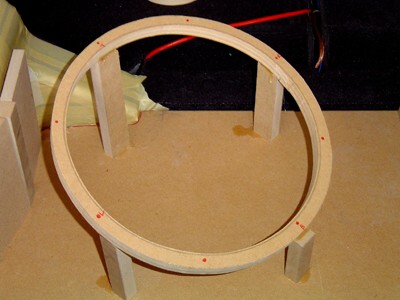
After you have cut the MDF trim ring you must mount the trim ring and suspend it in the position you want. I used strips of MDF and super glued them in place to hold the position.
After you have framed the entire enclosure and glued all the peices in place securely, you are ready to wrap the project in fleece and start with the resin.
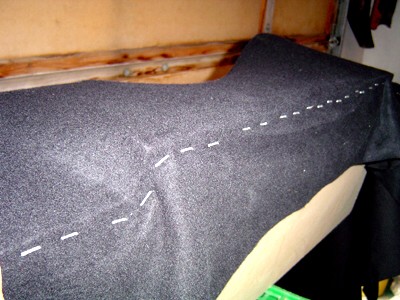
Using an pneumatic staple gun I used light weight fleece from my local fabric store and started to staple the fleece to the enclosure. ** TIP : Make sure you staple the fabric on the bottom of the project and not the side ( if possible ). This will save you time in the end because you won't have to cover your staple divits you create when you attach the fleece to the MDF.
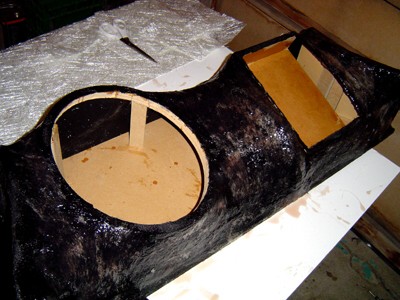
Here is the enclosure pre-resin state. Make sure that you attach the fleece on the top of the project with spray glue or staples. This will ensure that the fleece is attached to the frame. I used 3M Super 90 spray adhesive & you can get this at any Home Hardware store or Home Depot.
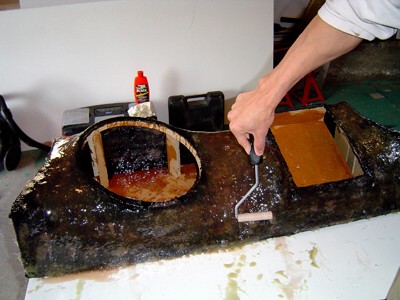
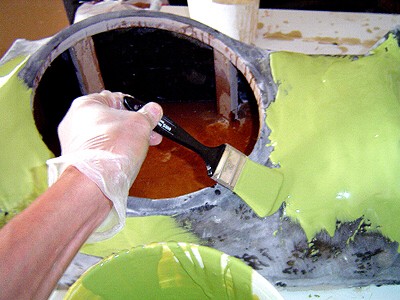
Here is the first coat of fiberglass resin that I used on the enclosure. Soak it down until the resin shines on the fleece , this will indicate that the resin is completely saturated with resin. Allow this to dry and next step will be the fiberglass matting and resin.
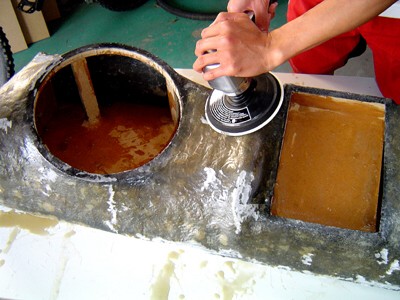
After you have the first 3-4 layers of fiberglass matting alow it to dry. I used a roller to smooth out the bubbles and also this allows me to sqeeze out all the extra resin that I used. I just applied more matting to soak up the resin that the roller sqeezed out.
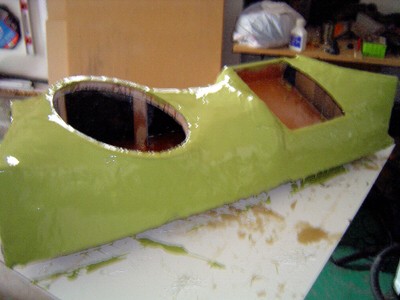
Here's the enclosure after the 2nd 4 layer coating. THere is 8 layers of matting on this enclsoure and now it's time to smooth out the fiberglass and continue to the final stages of the enclsoure.
After doing a little sanding to get rid of the small pills of resin your ready to apply the first layer of filler/fiberglass resin. Note the smoothness of the fiberglass and the fact the we need little sanding here to go tot he next step. The entire project requires it to be sanded to 80 grit for the filler/fiberglass resin to adhere properly.
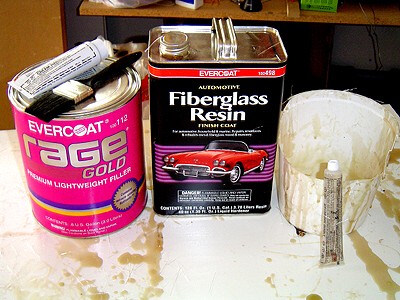
Next you will need some body filler ( Rage Gold is what we used ) and some fiberglass resin, mixing cup and hardener for both.
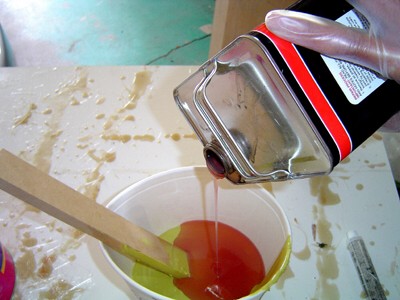
By mixing a batch of body filler and resin ( 5:1 ratio ) you create a thinned out mixture that you can paint onto the project. Add the appropriate hardener amounts for each of the resin and the body filler as normal
** TIP: this allows you to use this mixture to fill in dips and cracks without having you spread it on with a body filler knife.
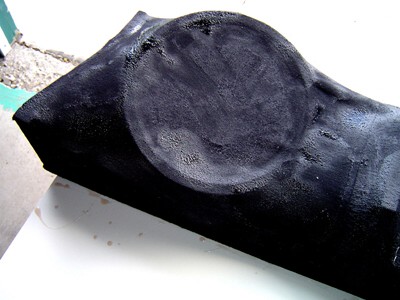
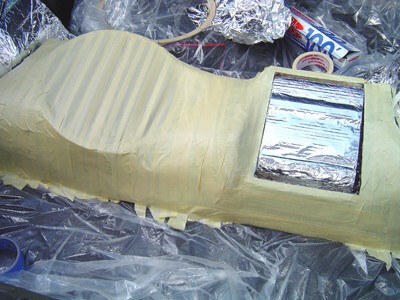
Here is the completed subenclosure with the mixture completely covering the project. Get it at the stage where the mixture is 75 % dry and use 36 - 50 grit sand paper on a soft sanding block and go to town and sand down the project before it totally dries. It will gum up your paper rather quickly but will take off lots of the semi dry mixture ( which is what you want ) because this is the excess stuff that is the high spots on the project.
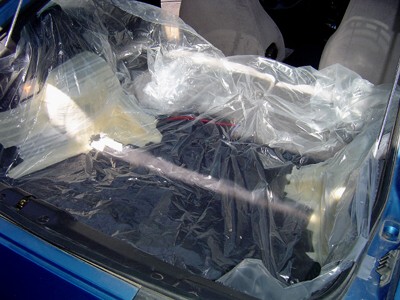
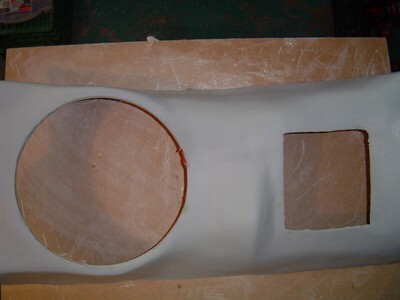
Next we covered the trunk with a thick plastic sheet and proceeded to make our enclsoure cover.
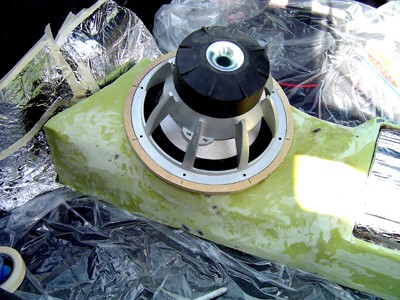
We placed the enclosure into the trunk and made another trim ring to fit on the outside of the subwoofer with a reverse mount on the sub for asthetics.
The enclosure was completely masked over and the amplifier was tin foiled to add protection incase of some resing getting through the first layer of tin foil.
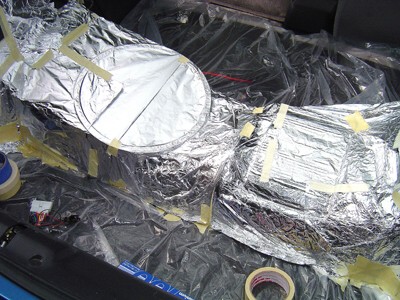
I used 2 layers of tin foil to cover the entire enclosure so that when I fiberglass over top, I will be able to remove a perfect mold of the enclosure. Use 2-3 layers of matting for the shape of the cover as this will be plenty strong enough for the cover peice. After you have the cover peice glassed and edges cut and sanded your ready to use the body filler/resin mixture again on the cover.
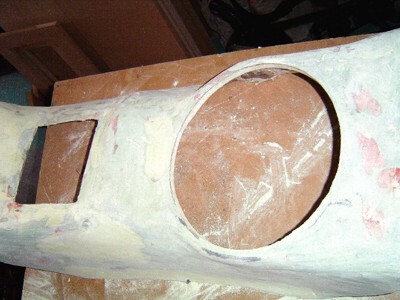
Get it at the stage where the mixture is 75 % dry and use 36 - 50 grit sand paper on a soft sanding block and go to town and sand down the project before it totally dries. It will gum up your paper rather quickly but will take off lots of the semi dry mixture ( which is what you want ) because this is the excess stuff that is the high spots on the project. Here is the cover after we removed it from the initial mold and used the same technique with the filler/fiberglass resin as before. In this stage we sanded it down to 240 grit and is now ready for some polyester filler to fill in small scratches and imperfections.
Here is the cover pre-paint ready to get a 400 grit sanding and then a 600 grit sanding. Paint is next and installation.
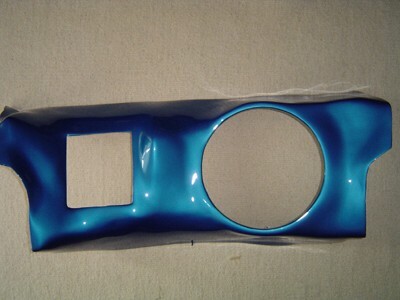
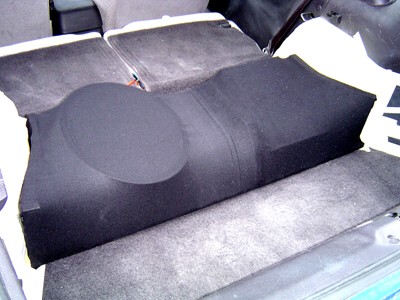
Here's the finished cover with paint and ready to install. The paint was matched to the exterior of the vehicle.
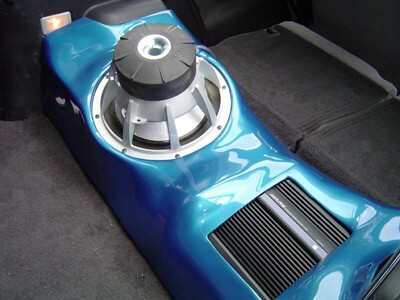
Finished & installed enclsoure and cover.
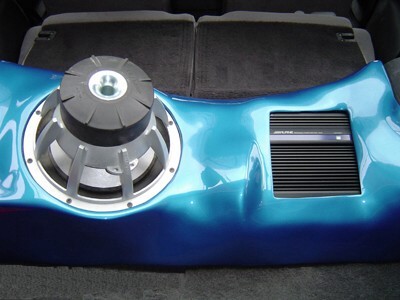
Another happy customer 
Jeff
Velocity Custom Home Theater
Mobile Audio/Video Specialist
Morden, Manitoba CANADA


 Topic Closed)


 Printable version


