


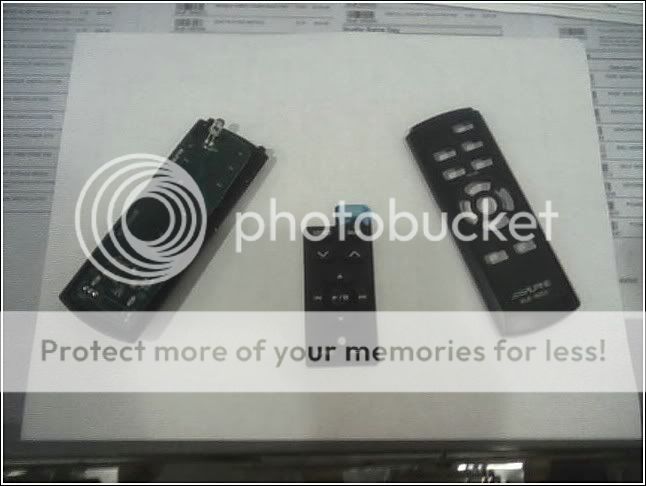
Modifying a remote control.


Posted: December 15, 2006 at 4:41 PM / IP Logged

Posted: December 16, 2006 at 3:09 AM / IP Logged
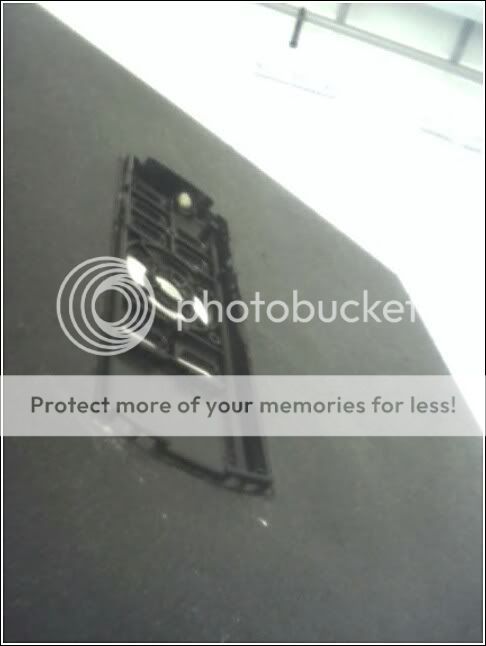
 step 2.. trace upper shell onto desired location
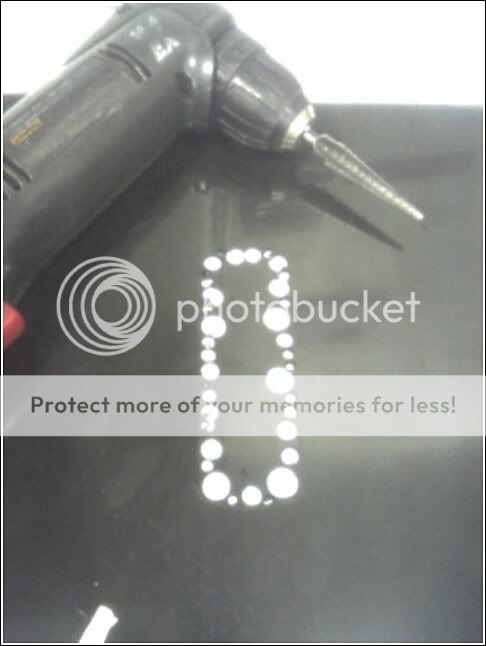
 step 3.. start removing material (sucks when you leave your dremel at home)
 step 4.. test fit the piece. needs to be nice and snug
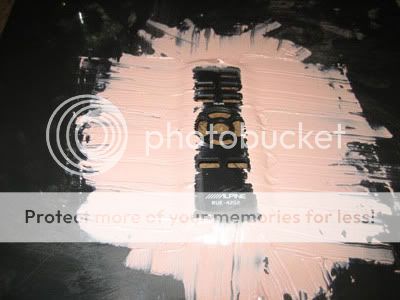
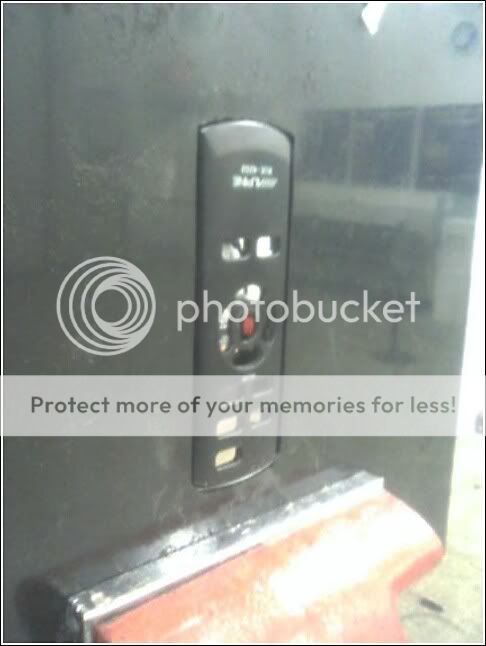 step 5.. epoxy the pieces together, making sure to keep all epoxy on the front
 here's a shot from the back, showing the mounting rail sitting above the surface
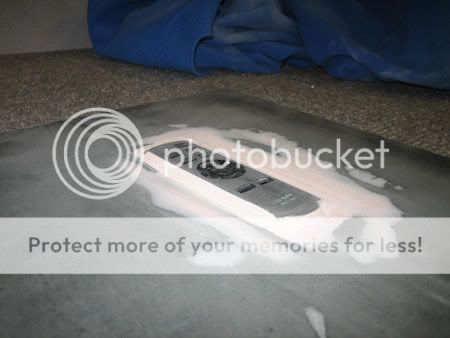
 step 6.. slap on some bondo. i kinda over-did it, but oh well, that's what electric sanders are for
 step 7.. sand her nice and smooth, trying to get the pieces to blend together
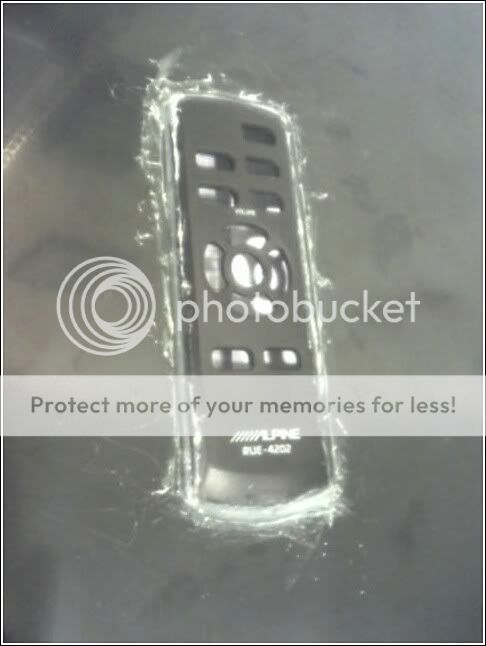
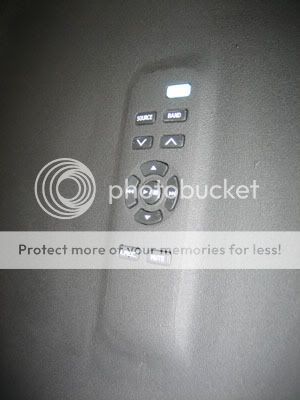
 step 8.. paint surface and test fit the button pad to get an idea what the finished product will look like. i used some cool dashboard texture paint i had laying around
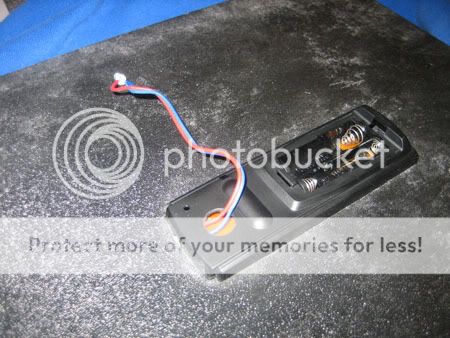
 step 9.. snap the remote back together again after extending the led outside the case. i just drilled a simple hole and ran the lines right thru. the same method could be used to extend the battery contacts, i just didn't care to in this project
 well that's it.. pretty simple, only took about 30 minutes to do (excluding the misc drying times of course) had this been for an actual car i woulda took a bit more time getting the final product a little smoother
anyways, hope this gives someone some useful ideas
well that's it.. pretty simple, only took about 30 minutes to do (excluding the misc drying times of course) had this been for an actual car i woulda took a bit more time getting the final product a little smoother
anyways, hope this gives someone some useful ideasSorry, you can NOT post a reply.
This topic is closed.
 Printable version
| You cannot post new topics in this forum You cannot reply to topics in this forum You cannot delete your posts in this forum You cannot edit your posts in this forum You cannot create polls in this forum You cannot vote in polls in this forum |

| Search the12volt.com |
Follow the12volt.com 
Thursday, May 14, 2026 • Copyright © 1999-2026 the12volt.com, All Rights Reserved • Privacy Policy & Use of Cookies

Thursday, May 14, 2026 • Copyright © 1999-2026 the12volt.com, All Rights Reserved • Privacy Policy & Use of Cookies
Disclaimer:
*All information on this site ( the12volt.com ) is provided "as is" without any warranty of any kind, either expressed or implied, including but not limited to fitness for a particular use. Any user assumes the entire risk as to the accuracy and use of this information. Please
verify all wire colors and diagrams before applying any information.
