


fiberglass trick of the year
Home /
the12volt's Install Bay /
Fiberglass, Fabrication, and Interiors / fiberglass trick of the year ( Topic Closed)


Posted: February 26, 2007 at 1:00 AM / IP Logged


Posted: February 27, 2007 at 8:40 AM / IP Logged
Posted: March 05, 2007 at 1:38 PM / IP Logged
Posted: March 05, 2007 at 3:40 PM / IP Logged
Posted: March 05, 2007 at 6:05 PM / IP Logged


Posted: March 06, 2007 at 10:38 AM / IP Logged
Posted: March 07, 2007 at 12:16 AM / IP Logged
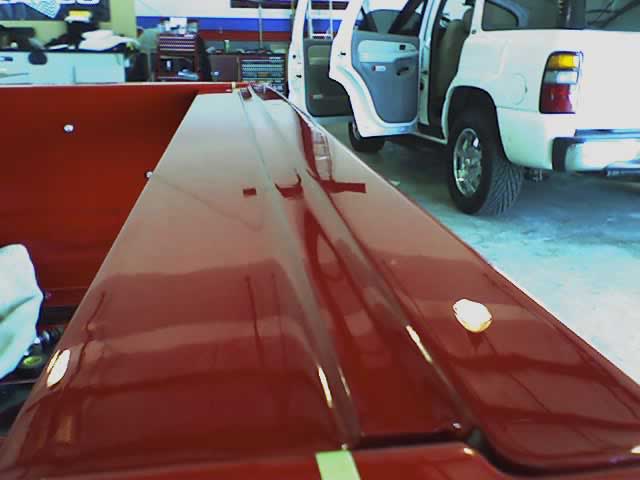
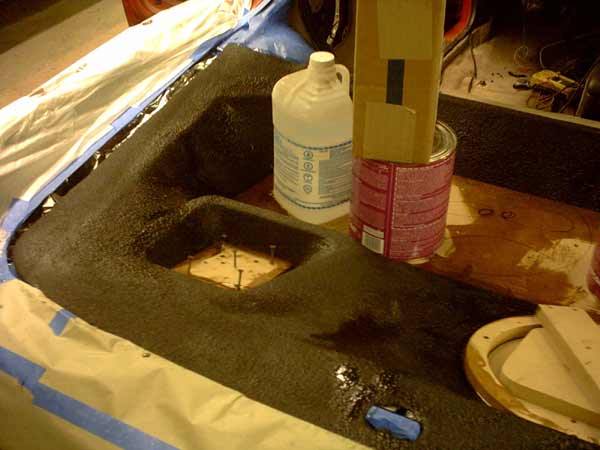
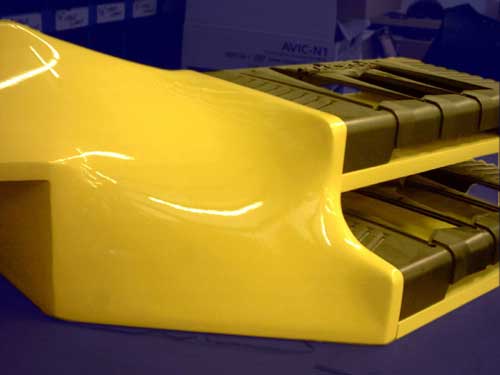 This amp rack took me les than an hour too go from fleece to paint. Also dont forget to reinforce with real glass (I have a trick for that to!). If you do not, the sun will cause your project to crack in a dozen places after a couple of weeks, making you look real bad!
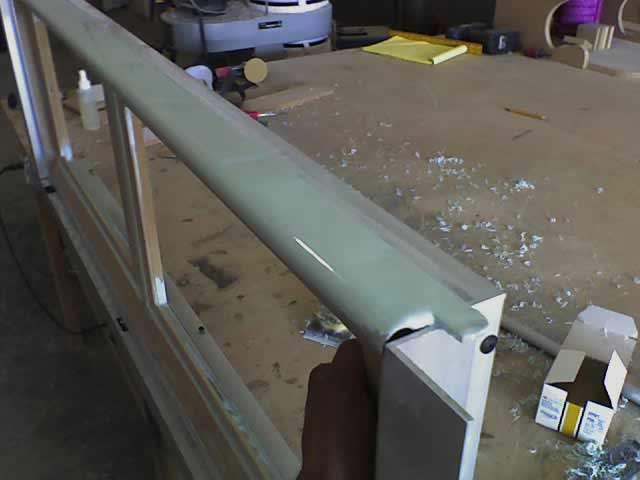
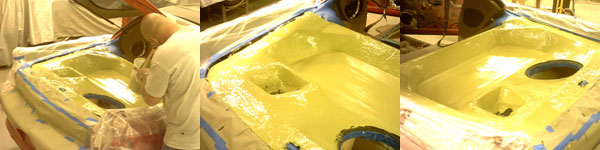 And dont make the mistake that Scott and I made here. mix mo more than 1 sq. ft. at one time or it will harden completely before you can do your magic. This project took me a full day and a half of extra sanding do to this mistake.
Posted: March 22, 2007 at 9:50 AM / IP Logged
Posted: March 28, 2007 at 1:02 AM / IP Logged
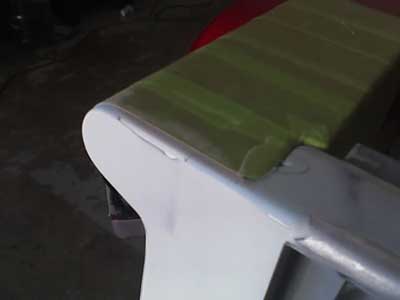
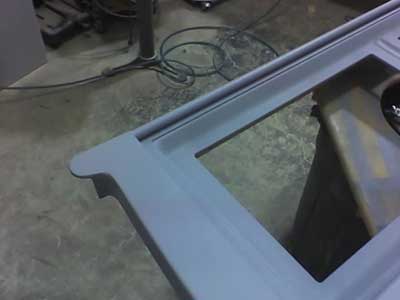
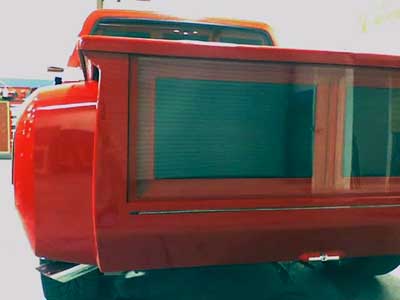
 What happens when the fleece and body filler expands in the heat of the sun and the glass reinforced layer beneath dose not? It CRACKS!
It is critical to reinforce both sides of fleece with glass!
Resin soaked fleece is extremely unstable. It will shrink 7-9% initially in the first week and continue to expand and contract in the heat and the cold forever. Anyone who might not believe me on this should go to a resin producers web site and check out the technical specifications of polyester resin.
Keep on mind when reinforcing that the glass is the strong part. Glass its self will not expand or contract.
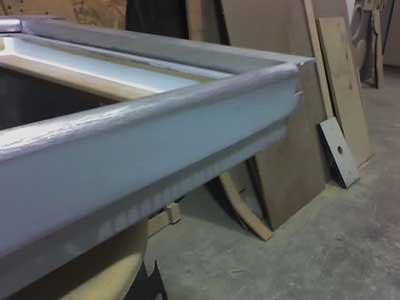
On the Back side of my projects I will often pour a mix of Kitty Hair (long stranded fiberglass reinforced body filler) and resin. It takes 2 minuets to mix, 1 minuet to pour, and 10 minuets to harden. This is the fast way. It works just fine in most cases. The trick is to become familiar with just how much your mixtures and layers will shrink and how stable they will be from that point on.
What happens when the fleece and body filler expands in the heat of the sun and the glass reinforced layer beneath dose not? It CRACKS!
It is critical to reinforce both sides of fleece with glass!
Resin soaked fleece is extremely unstable. It will shrink 7-9% initially in the first week and continue to expand and contract in the heat and the cold forever. Anyone who might not believe me on this should go to a resin producers web site and check out the technical specifications of polyester resin.
Keep on mind when reinforcing that the glass is the strong part. Glass its self will not expand or contract.
On the Back side of my projects I will often pour a mix of Kitty Hair (long stranded fiberglass reinforced body filler) and resin. It takes 2 minuets to mix, 1 minuet to pour, and 10 minuets to harden. This is the fast way. It works just fine in most cases. The trick is to become familiar with just how much your mixtures and layers will shrink and how stable they will be from that point on.

Posted: March 28, 2007 at 9:30 AM / IP Logged
 Printable version
| You cannot post new topics in this forum You cannot reply to topics in this forum You cannot delete your posts in this forum You cannot edit your posts in this forum You cannot create polls in this forum You cannot vote in polls in this forum |

| Search the12volt.com |
Follow the12volt.com 
Wednesday, March 18, 2026 • Copyright © 1999-2026 the12volt.com, All Rights Reserved • Privacy Policy & Use of Cookies

Wednesday, March 18, 2026 • Copyright © 1999-2026 the12volt.com, All Rights Reserved • Privacy Policy & Use of Cookies
Disclaimer:
*All information on this site ( the12volt.com ) is provided "as is" without any warranty of any kind, either expressed or implied, including but not limited to fitness for a particular use. Any user assumes the entire risk as to the accuracy and use of this information. Please
verify all wire colors and diagrams before applying any information.
