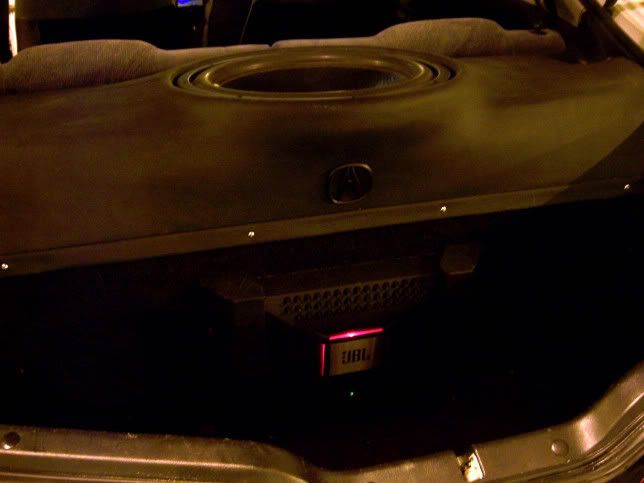
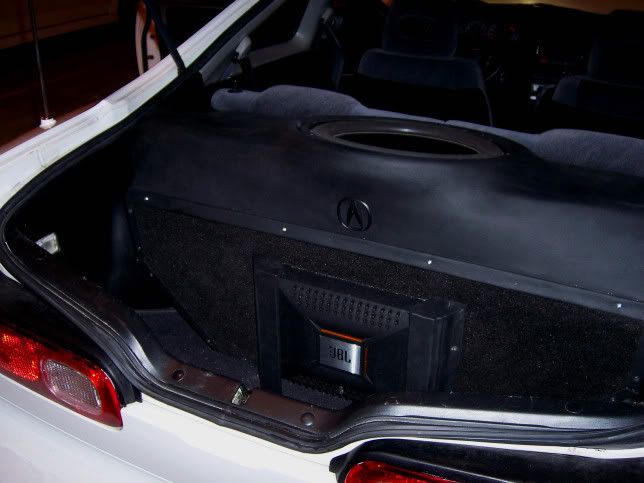
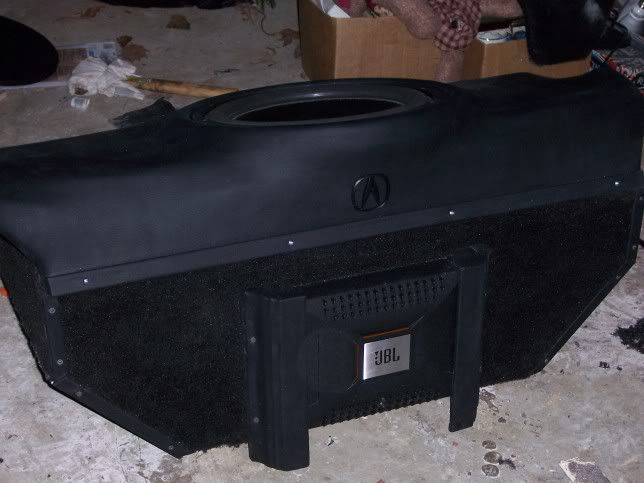
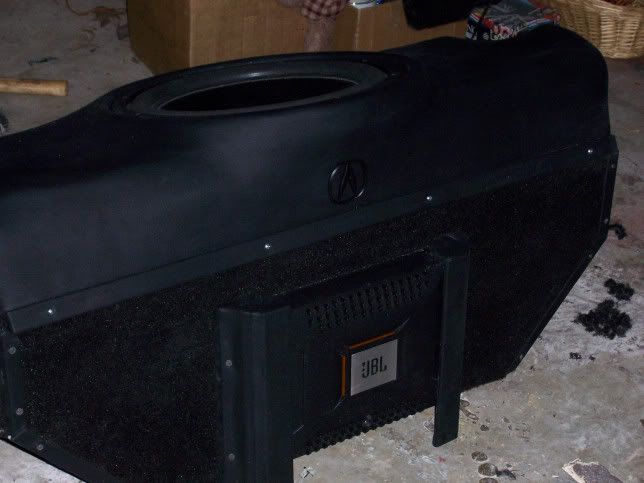
Well guys, call me freakin crazy for destoying a ton of hard work and expensive fiberglass....but I have begun rebuilding an inproved design of my custom fiberglass sub enclosure.
Some of you may remeber my thread:
DIY custom fiberglass trunk setup
If not, you can see how I built it the first time around. I knew a pretty good deal then about fiberglassing, but unfortunately I was working with limited tools (i am at college and use a relatives garage to work), and I was afraid of tight tolerances. This led me to build off of a speaker ring that was COMPLETELY INADEQUATE, and as such led to a number of problems that I am now fixing.
The first ring as you can see in my old thread is only 1/2" MDF to begin with, and the width of the ring was less than 3/4", and it was very choppy since I cut it with a jig saw (i didnt have my router at school).
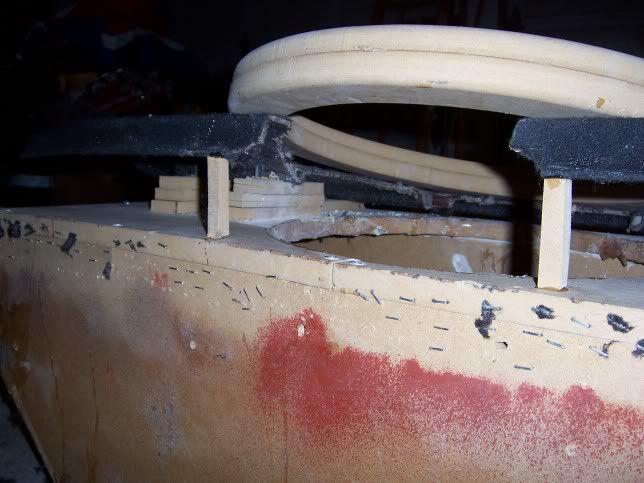
This led to flexing in the ring when i stretched the fleece, and as such the sub never sat flat, causing an air leak around the rim. It also didnt allow for a perfectly shaped and air tight fiberglass tunnel into the lower box portion. The ring was also only a single ring, makingi t a surface munt sub. I have always though flush mounted subs wre cleaner, but since i was afraid of clearance for the hatch glass I didnt do it. I now know that with modification the the plastic trim in the hatch I can easily fit a bigger flush mount ring. So....
I created this big-ass MDF ring while home for Xmas this year (I miss my woodshop and tools more than anything else while being at school, lol)
I will measure the actual outer diamter but it is somewhere near 18 inches!!! I dont know anyone else with an 18 inch sub ring in their integra cargo cover, lol.
Hereis what it looked like, as well as the initial construction pics up until fleecing. I will glass it next weekend ans update with new pics as I go.
Oh, and as far as other upgrades - I will be using a much better contact cement to bond the vinyl so that I dont have bubbling issues with direct sunlight like before. As well, I will be eliminating that ugly squarish transition form the viyl to the carpet, and will be replacing it with a vinyl wrapped cover. I will also be making endcaps for the amp out of sections of PVC pipe wrapped in black vinyl. The tope will of course remain black vinyl and the bottom will get new carpet. I am also going to supposrt it from underneath a little better, and before it just rested on wood block on the false floor.
Enjoy!
https://img.photobucket.com/albums/v62/JustTegIt/000_00861.jpg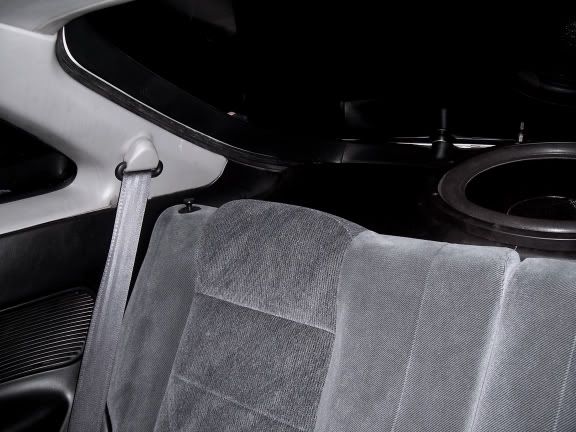
New work:
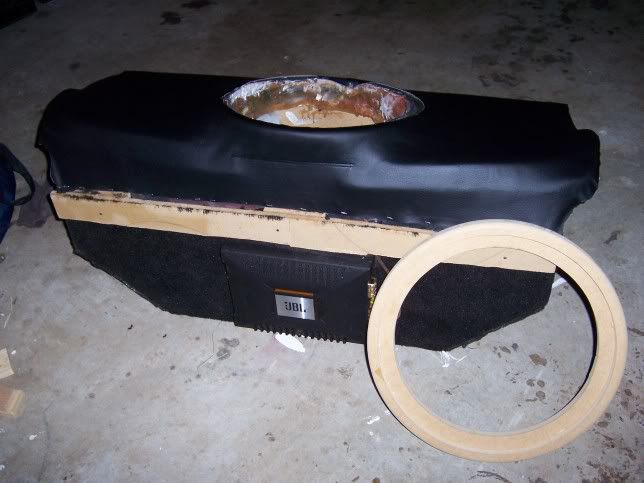
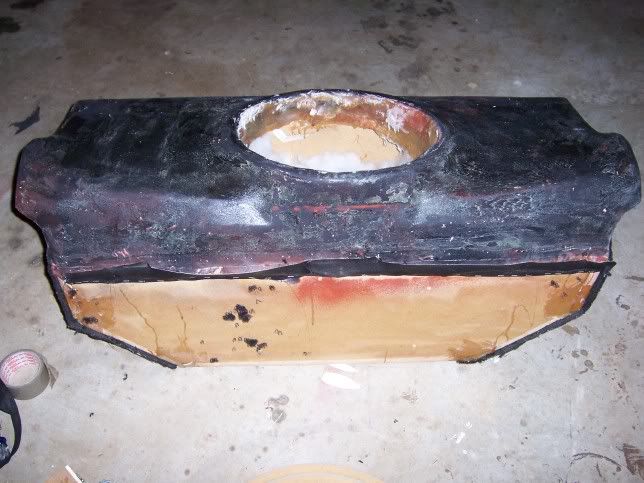
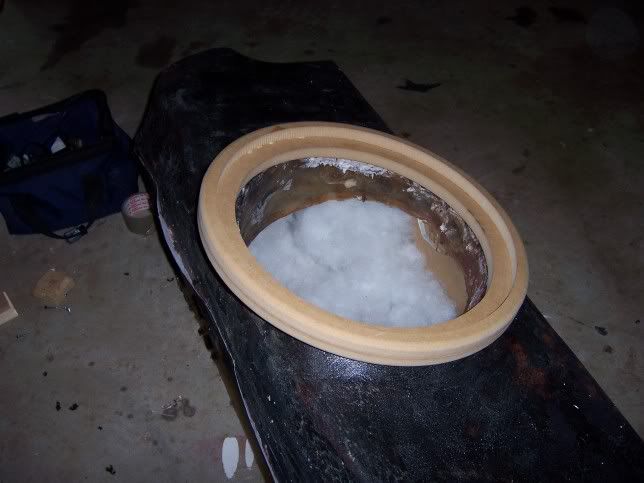
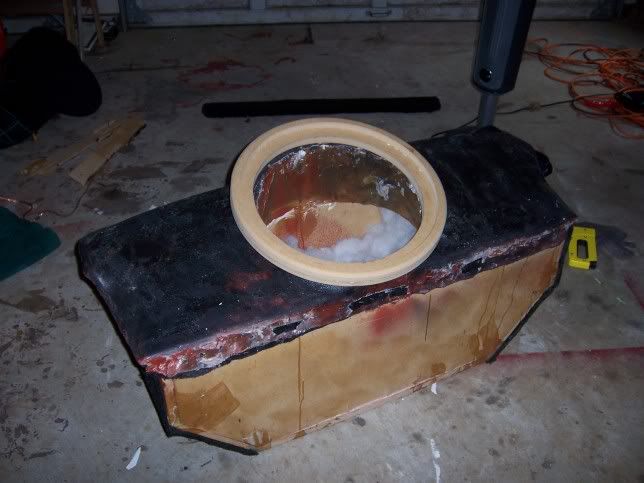
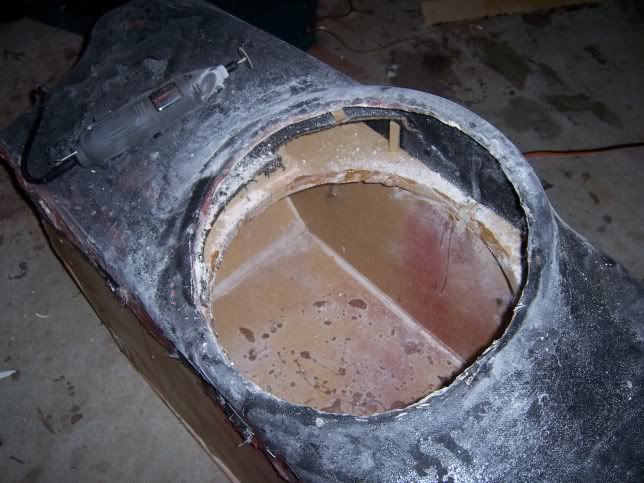
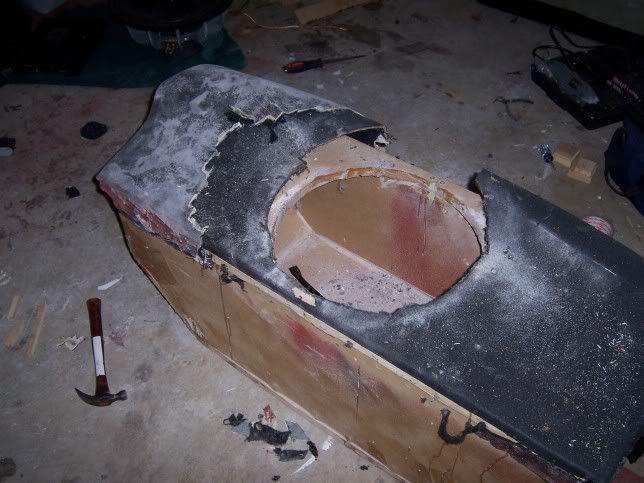
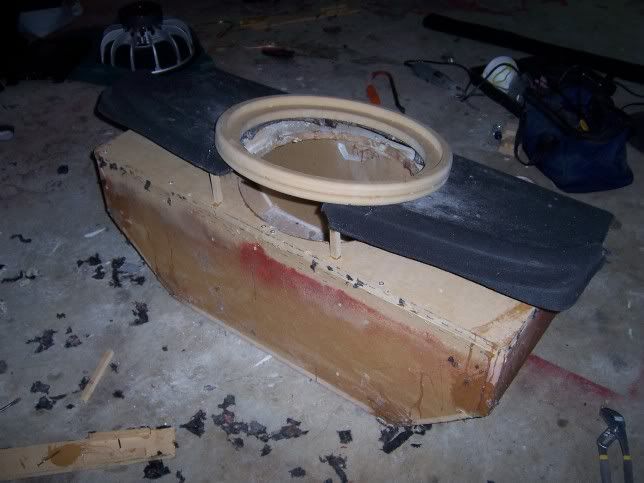
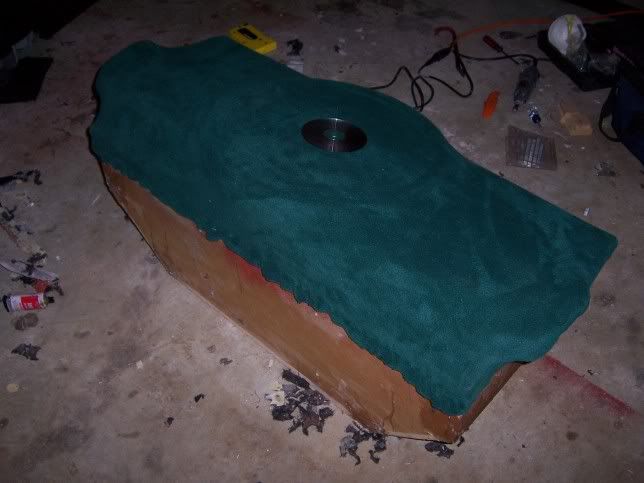
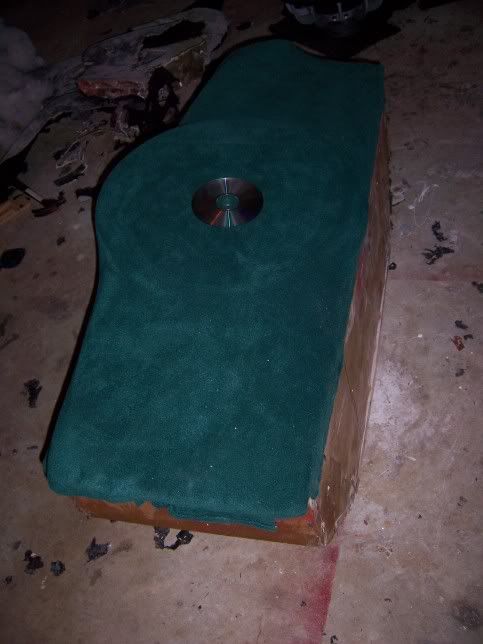
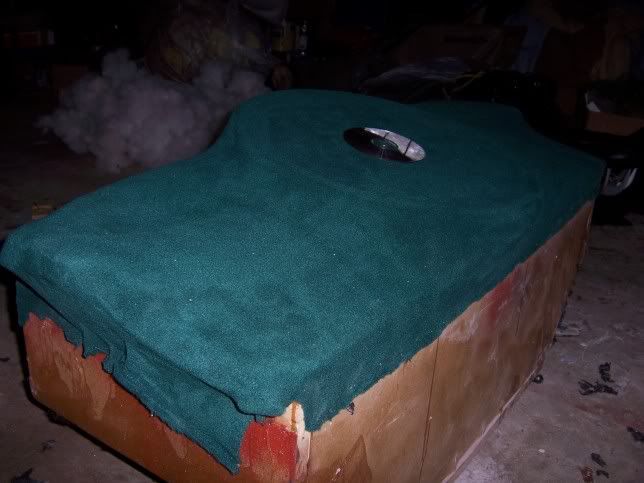
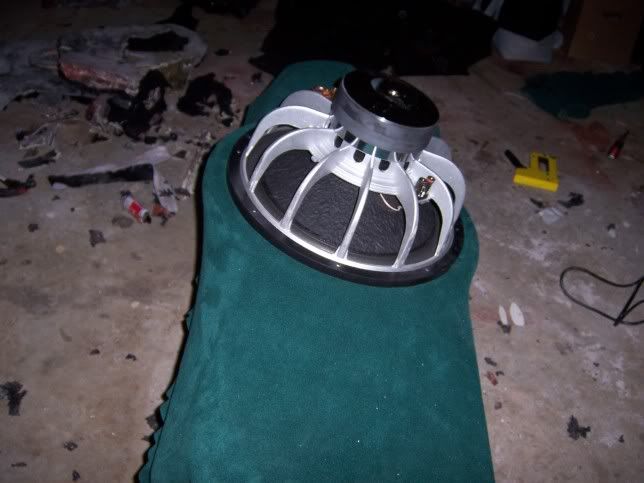
I put the CD on their to establish scale of how big the 18 inch ring really is...
UPDATE: 2-19-06
Well this weekend I fiberglassed that mutha bitch. I soaked the fleece in resin, then added a few layers of real fiberglas mat for strength. The glass does have to be very strong since it is purely cosmetic and no actual sound pressure will be exerted on it (except for the small tunnel section). I cut out the middle of the ring and exposed the tunnel. I then stapled and fiberglassed new fleece inot the tunnel area to direct all sound pressure into the MDF portion of the box. This will create a totally sealed enclosure, as the air is contained entirely in the MDF box portion and the small area i am referring to as the 'tunnel'. Next week I will be sanding like crazy and adding alot of BONDO to smooth things out in preparation for the vinyl. Enjoy the nex pics!
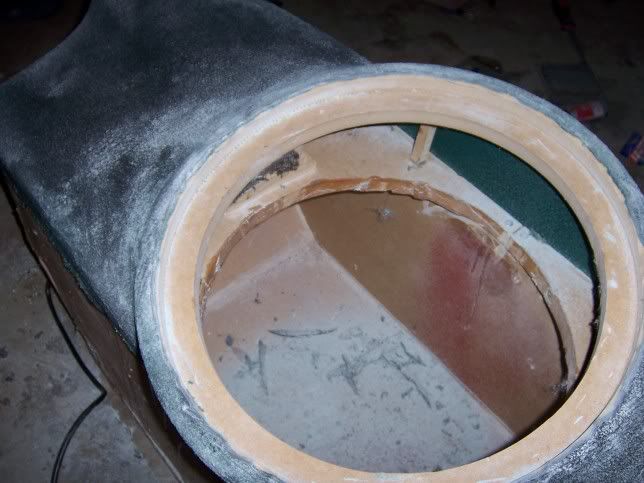
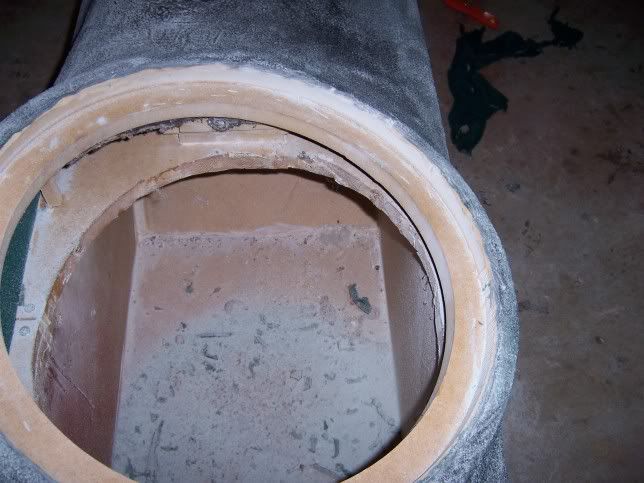
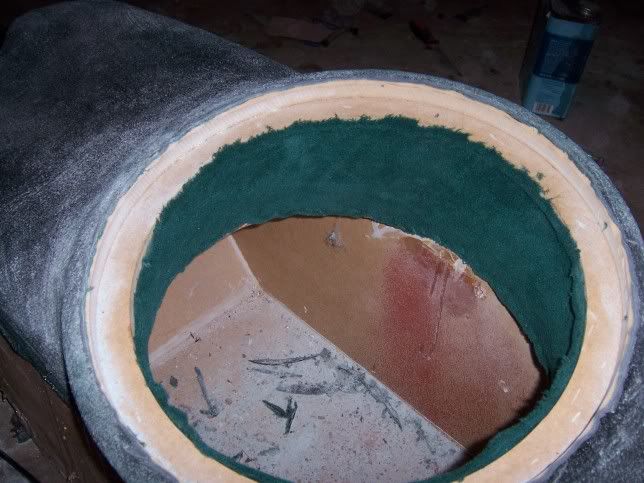
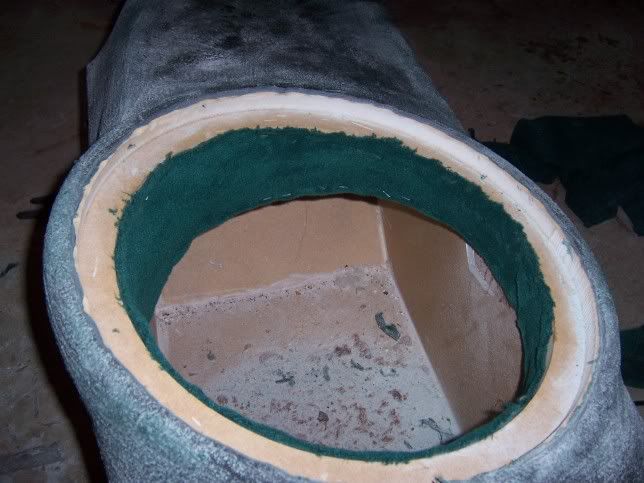
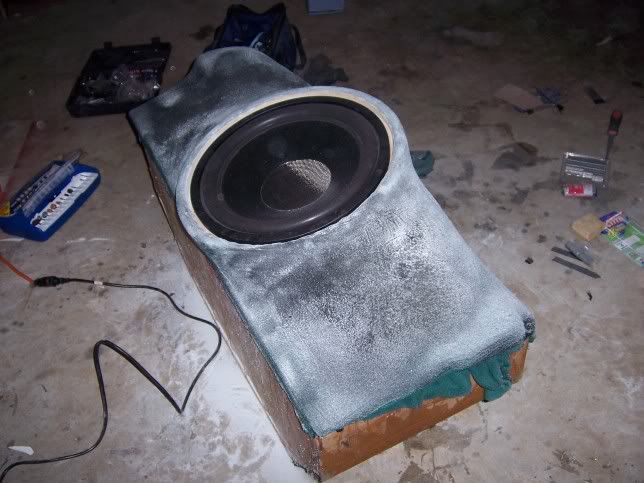
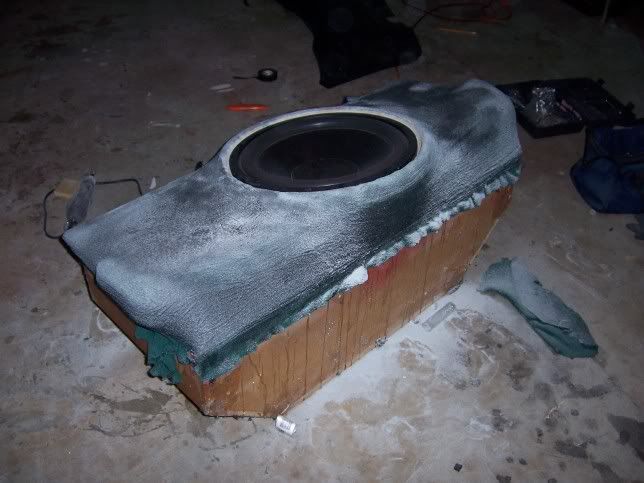
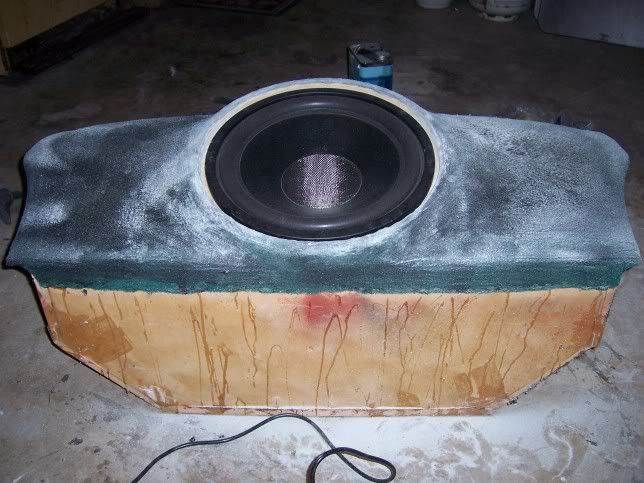
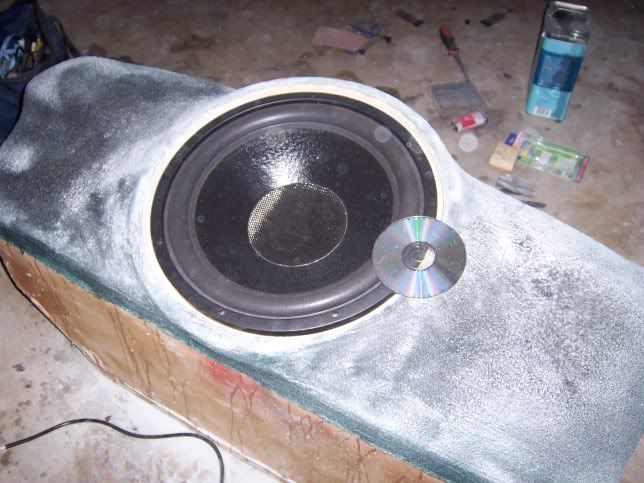
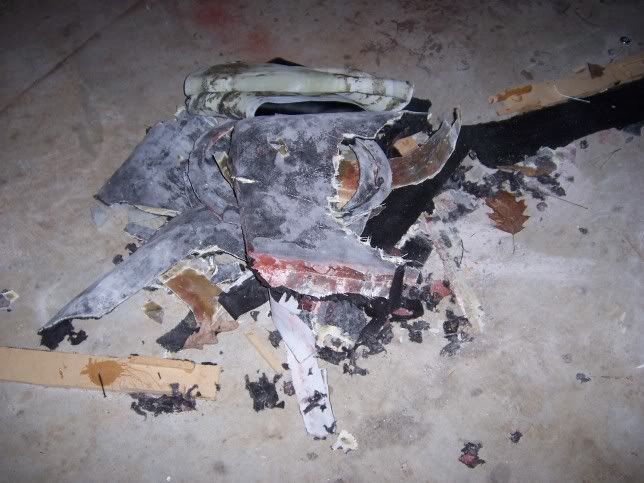
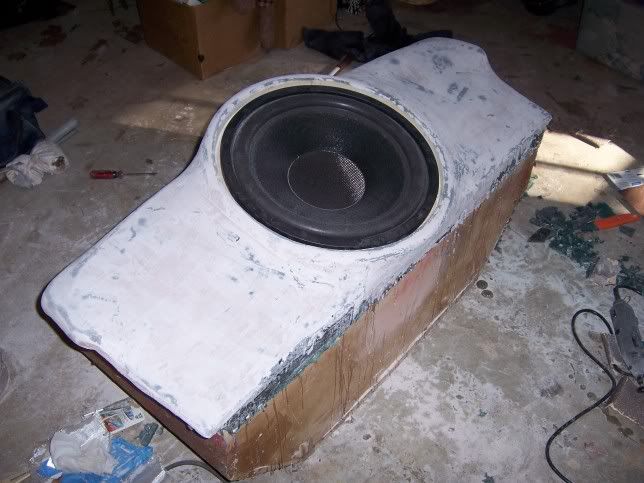
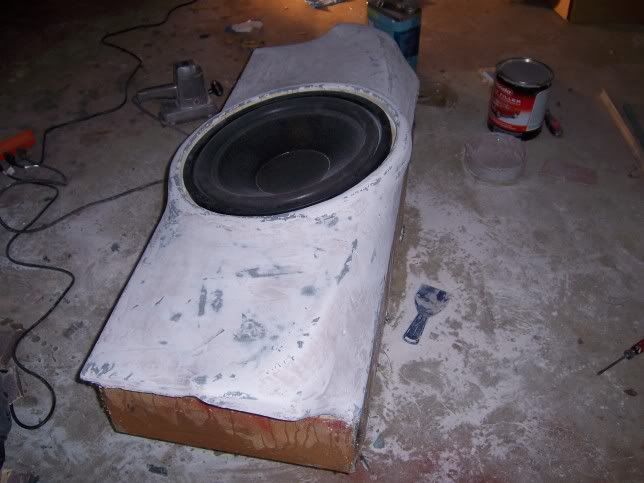
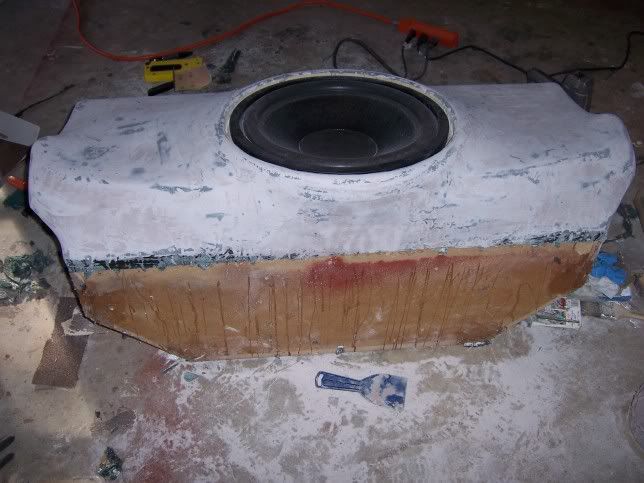
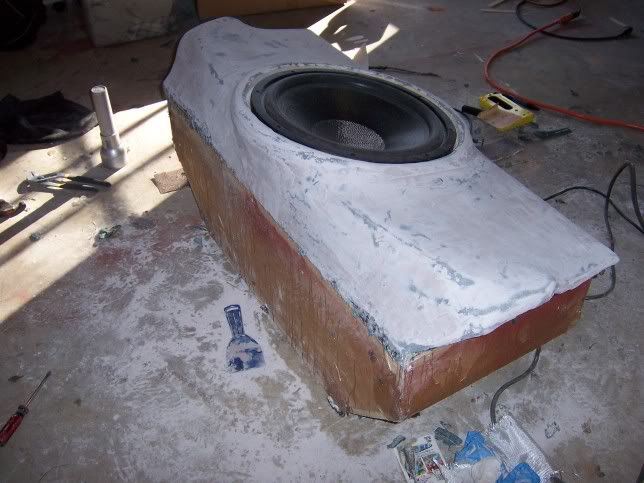
UPDATE: Well I didnt get as much done as I wanted to this weekend sicne i needed to backtrack a little and redesign the tunnel since the subwoofer metal frame was hitting the fleece once i glassed it the first time.....had to get out the Dremel and cut up last sundays' hard work :( Anyway all of the Bondo is now done and I just have a bit more sanding to do next weekend and then I will cover it in vinyl and carpet and doo all of the finishing touches...I cant wait to get this beast back in my car sounding better than ever!
 https://img.photobucket.com/albums/v62/JustTegIt/000_00831.jpg https://img.photobucket.com/albums/v62/JustTegIt/100_0320.jpg
 Printable version


