


start kill 98 crown vic pics/vid
Home /
the12volt's Install Bay /
Car Security and Convenience / start kill 98 crown vic pics/vid ( Topic Closed)


Posted: March 13, 2007 at 1:04 AM / IP Logged
 Once you remove the knee bolster, you'll see a black connector with a bunch of wires going into it...You'll need to slip a socket in the hole, and unscrew the screw holding the connector in..... which looks like this...
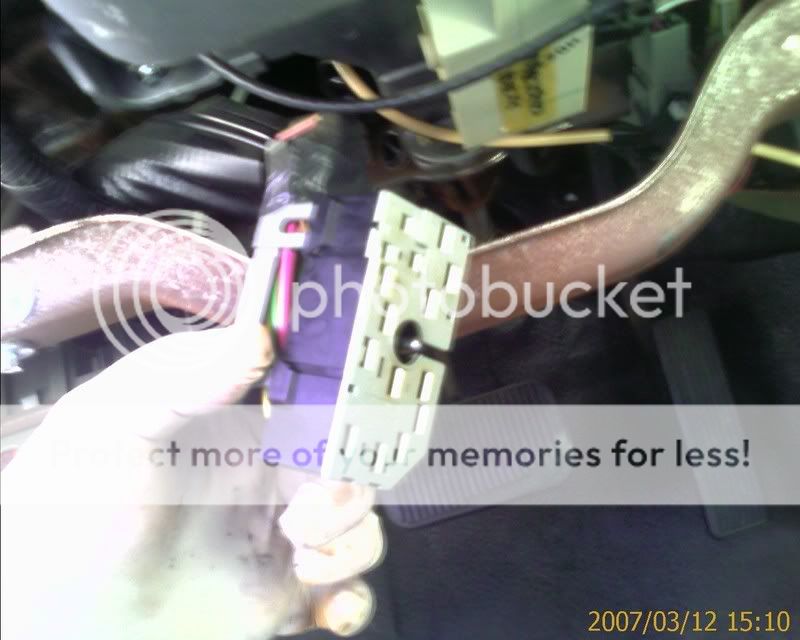 now, remove the grey protective cover from the black connector.... the sides squeeze in, to allow them to come out...
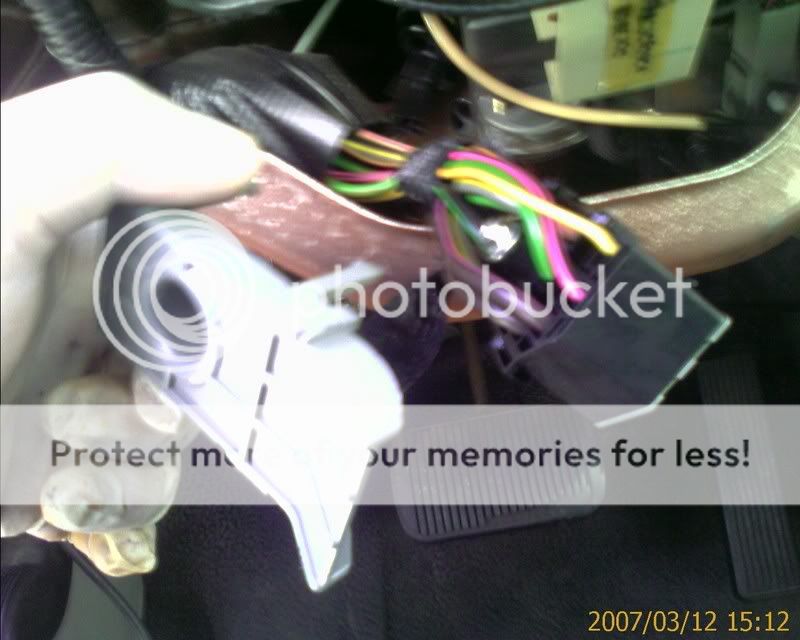
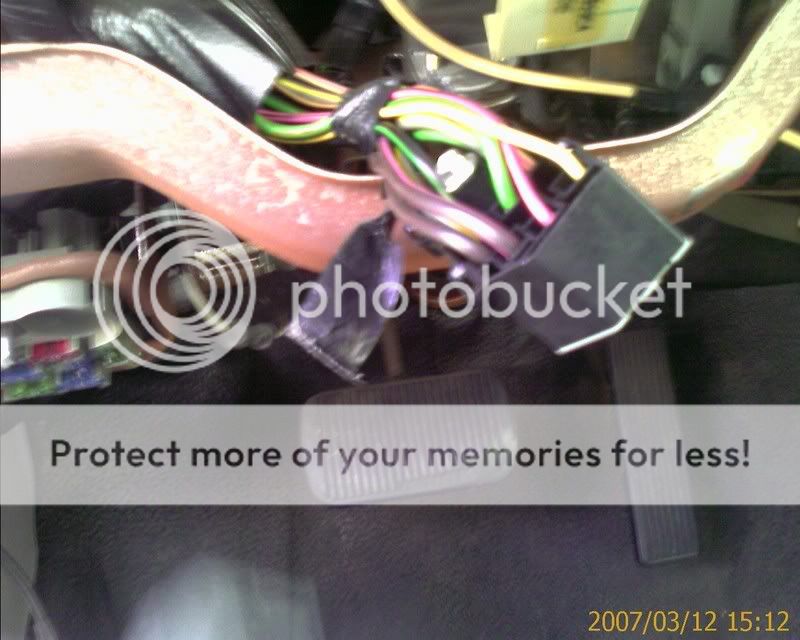 Cut the wires per the diagram at the bottom of this post...I used a combo of solder and crimp connectors, insulated with tape... the electrical tape serves two purposes, one, it insulates the wires, and two, it relieves stress on the connector, and the wires going into the connector...I Opted to use shielded quick disconnects instead of a relay socket.... It makes for a lot less mess, IMO, and confuses the hell out of anyone look at it who doesn't know what they're looking at ;)
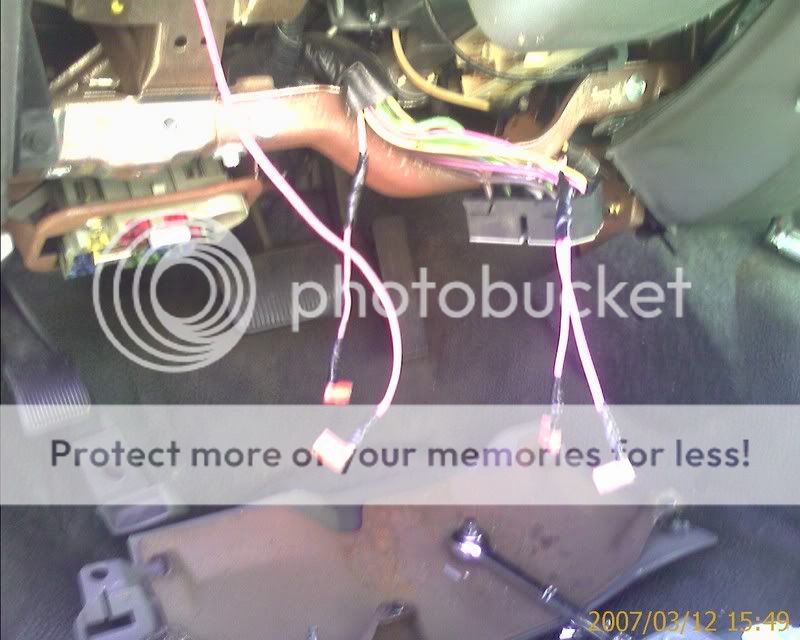 Relay Connected to wiring...
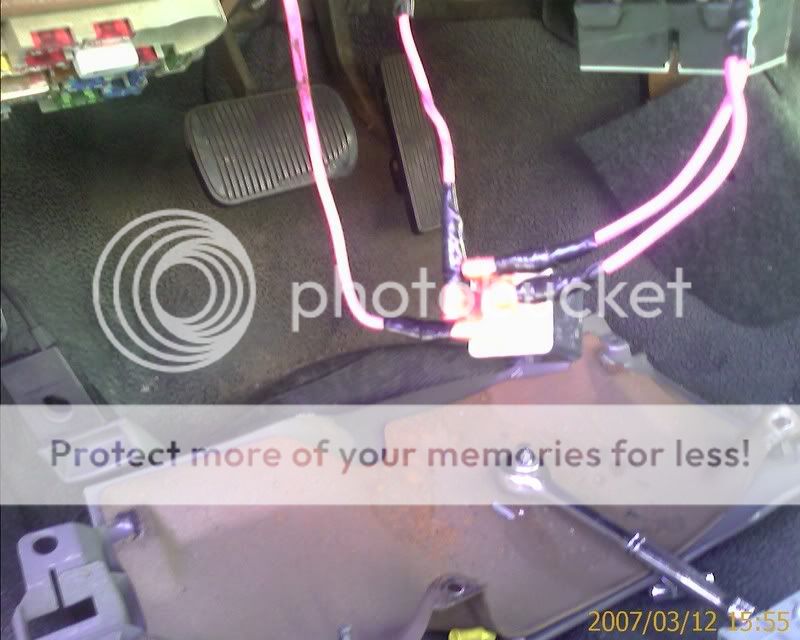 Here's the wiring diagram.......
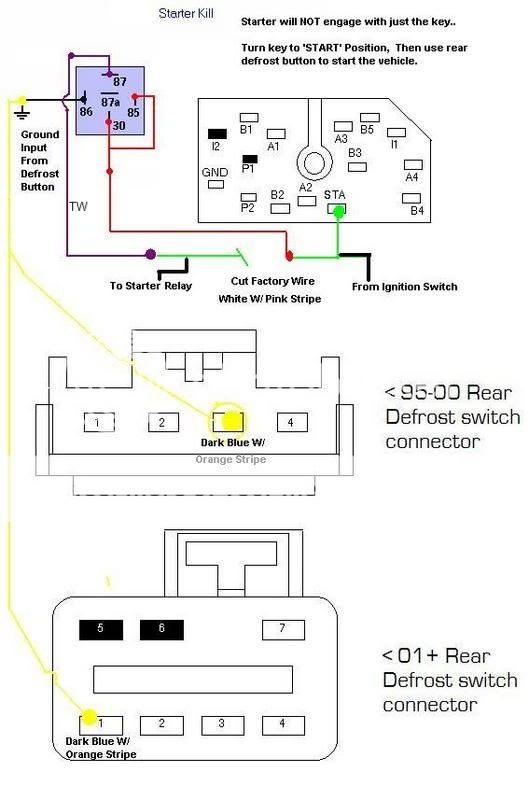 And the Videos........


Posted: March 13, 2007 at 1:09 AM / IP Logged

Sorry, you can NOT post a reply.
This topic is closed.
 Printable version
| You cannot post new topics in this forum You cannot reply to topics in this forum You cannot delete your posts in this forum You cannot edit your posts in this forum You cannot create polls in this forum You cannot vote in polls in this forum |

| Search the12volt.com |
Follow the12volt.com 
Friday, May 3, 2024 • Copyright © 1999-2024 the12volt.com, All Rights Reserved • Privacy Policy & Use of Cookies

Friday, May 3, 2024 • Copyright © 1999-2024 the12volt.com, All Rights Reserved • Privacy Policy & Use of Cookies
Disclaimer:
*All information on this site ( the12volt.com ) is provided "as is" without any warranty of any kind, either expressed or implied, including but not limited to fitness for a particular use. Any user assumes the entire risk as to the accuracy and use of this information. Please
verify all wire colors and diagrams before applying any information.
