


2008 Kia Rio Clifford 20.7x Remote Start Pictorial
Home /
the12volt's Install Bay /
Car Security and Convenience - Alarm/Remote Start Pictorials / 2008 Kia Rio Clifford 20.7x Remote Start Pictorial ( Topic Closed)


Posted: April 18, 2014 at 8:18 PM / IP Logged
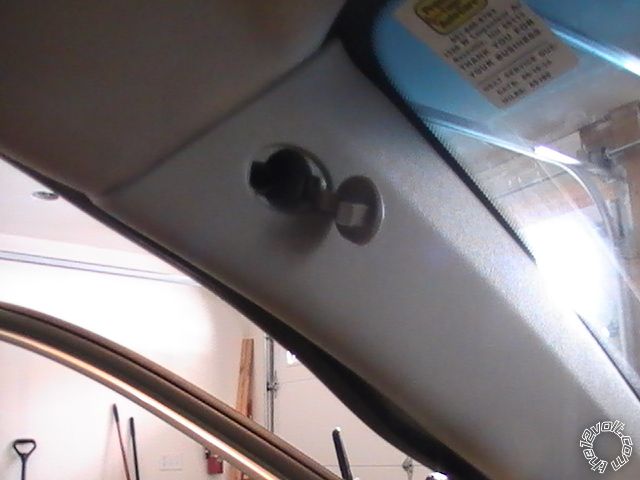
 Dimmer Switch. Nothing to connect to here.
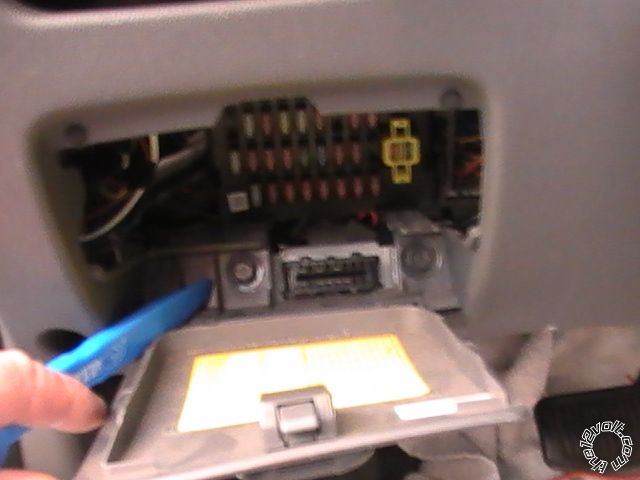
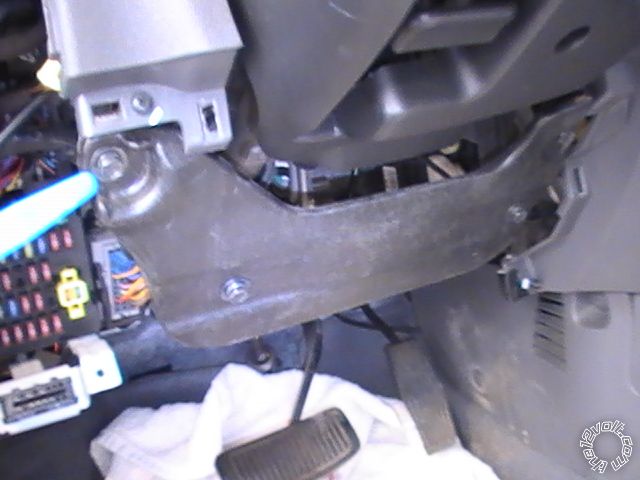
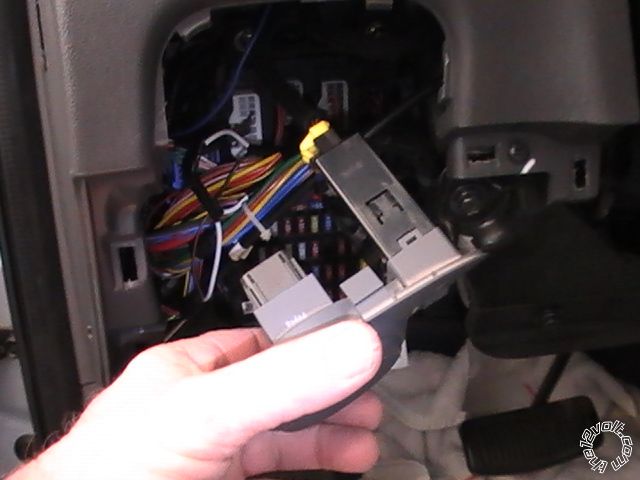 Bracket behind dash panel. Held by 4 10mm bolts.
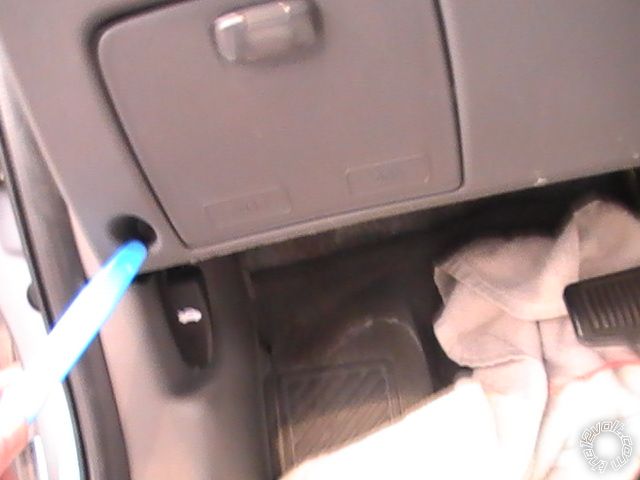
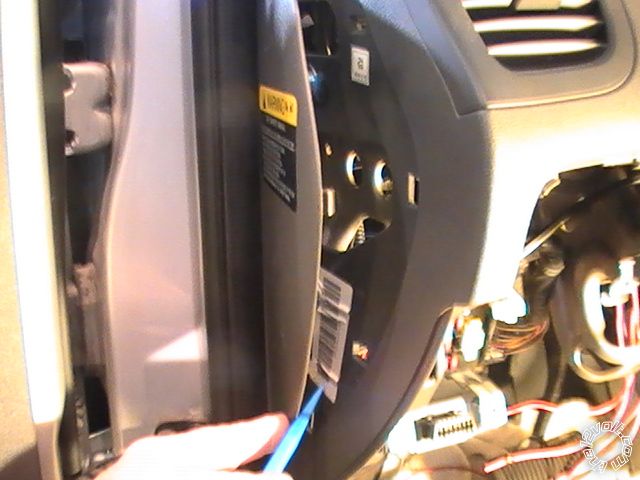
 Side panel held on with clips
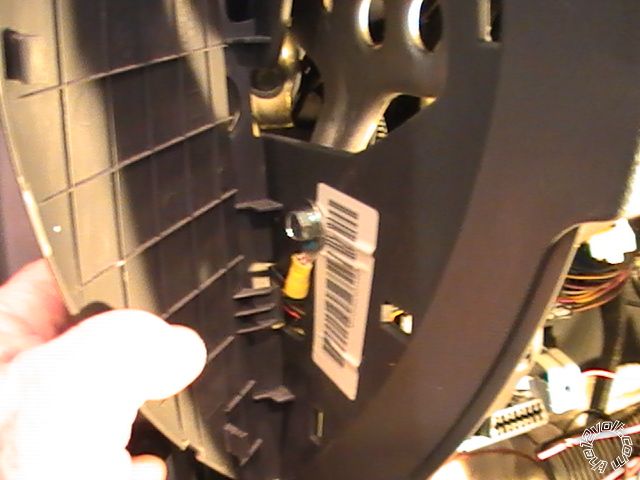
 I used this bolt for the ground.
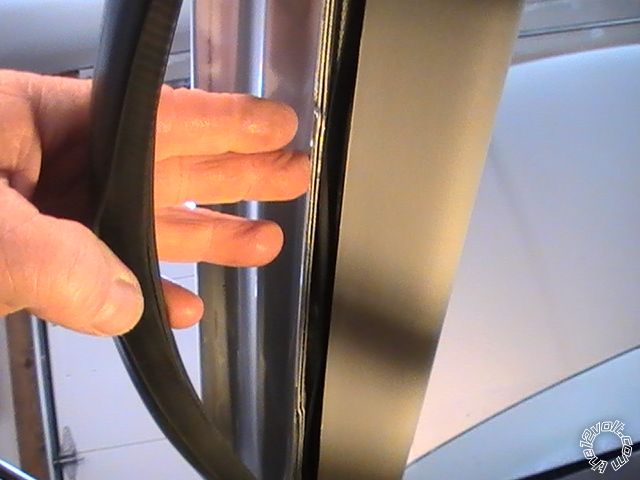
 My usual running of the antenna wire behind the A pillar weather seal. Care of the Airbag system in A pillar.
 Screw cover at top of A pillar. Phillips screw behind it.
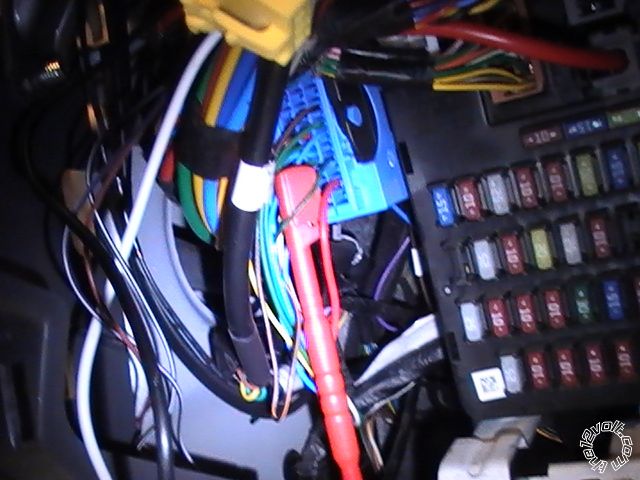
 Second connector from right, 18 Pin, Gray, contains parking light wires. One for left and one for right. Also contains the brake wire.
 This Blue connector contains the AC Tach signal, Pin 32 as sown across the end of the probe. The horn wire is in the Pin 35 spot, above the AC Tach wire.
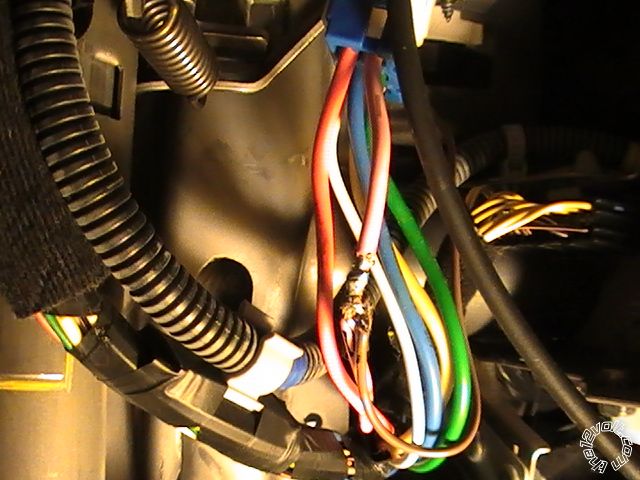
 View of Ignition, 12 Volt, Starter, and Two Accessory wires at switch.
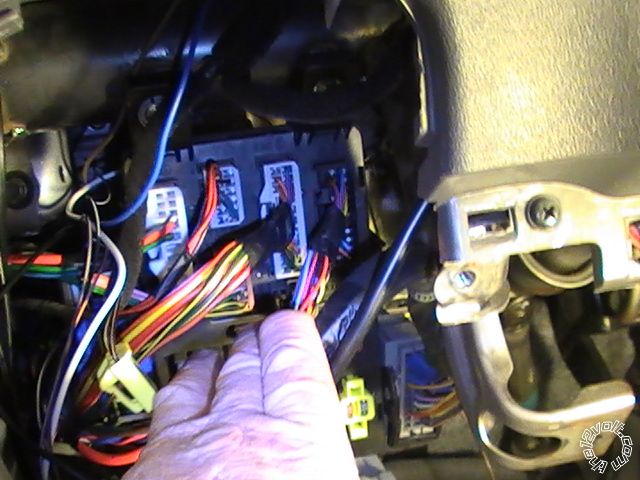
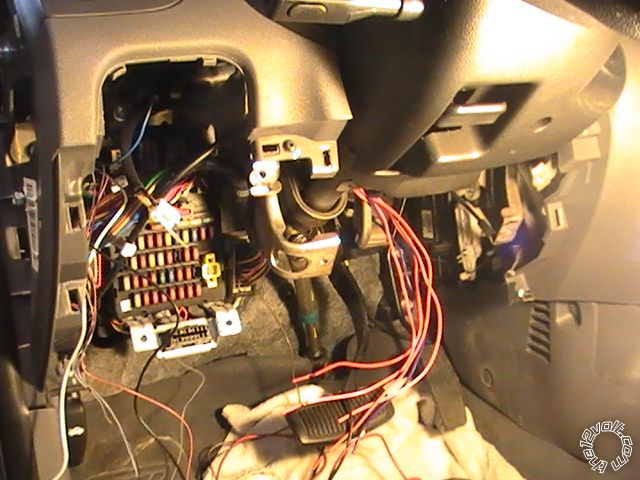
 View of under dash with all panels removed. A bit tight to work in.
Scraped a 3 inch cut on my head from one of the lower edges near the center dash area.
View of under dash with all panels removed. A bit tight to work in.
Scraped a 3 inch cut on my head from one of the lower edges near the center dash area.

Sorry, you can NOT post a reply.
This topic is closed.
 Printable version
| You cannot post new topics in this forum You cannot reply to topics in this forum You cannot delete your posts in this forum You cannot edit your posts in this forum You cannot create polls in this forum You cannot vote in polls in this forum |

| Search the12volt.com |
Follow the12volt.com 
Saturday, May 23, 2026 • Copyright © 1999-2026 the12volt.com, All Rights Reserved • Privacy Policy & Use of Cookies

Saturday, May 23, 2026 • Copyright © 1999-2026 the12volt.com, All Rights Reserved • Privacy Policy & Use of Cookies
Disclaimer:
*All information on this site ( the12volt.com ) is provided "as is" without any warranty of any kind, either expressed or implied, including but not limited to fitness for a particular use. Any user assumes the entire risk as to the accuracy and use of this information. Please
verify all wire colors and diagrams before applying any information.
