Posted: November 05, 2009 at 2:55 PM / IP Logged
Posted: November 05, 2009 at 4:54 PM / IP Logged
Posted: November 05, 2009 at 5:15 PM / IP Logged
Posted: December 07, 2009 at 7:30 PM / IP Logged
Posted: December 07, 2009 at 7:56 PM / IP Logged
Posted: December 07, 2009 at 8:09 PM / IP Logged
Posted: December 07, 2009 at 8:10 PM / IP Logged
Posted: December 07, 2009 at 8:23 PM / IP Logged
Posted: December 07, 2009 at 8:38 PM / IP Logged
Posted: December 07, 2009 at 8:52 PM / IP Logged
 Printable version


| You cannot post new topics in this forum You cannot reply to topics in this forum You cannot delete your posts in this forum You cannot edit your posts in this forum You cannot create polls in this forum You cannot vote in polls in this forum |

| Search the12volt.com |
Follow the12volt.com 
Thursday, January 29, 2026 • Copyright © 1999-2026 the12volt.com, All Rights Reserved • Privacy Policy & Use of Cookies


Thursday, January 29, 2026 • Copyright © 1999-2026 the12volt.com, All Rights Reserved • Privacy Policy & Use of Cookies
Disclaimer:
*All information on this site ( the12volt.com ) is provided "as is" without any warranty of any kind, either expressed or implied, including but not limited to fitness for a particular use. Any user assumes the entire risk as to the accuracy and use of this information. Please
verify all wire colors and diagrams before applying any information.


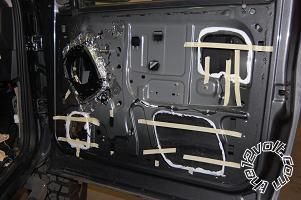
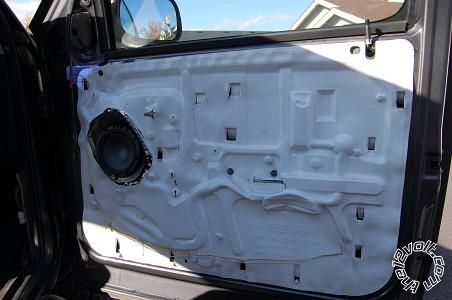 This is what my doors looked like before.
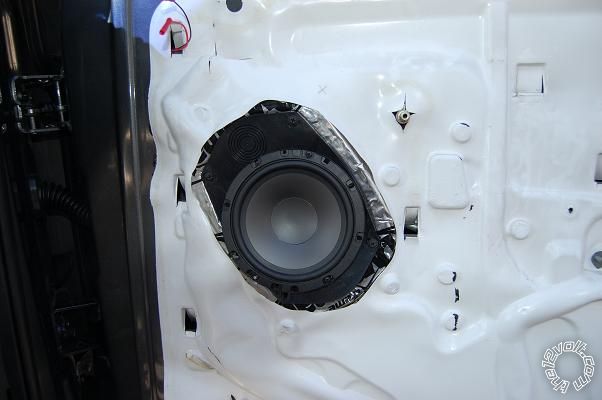
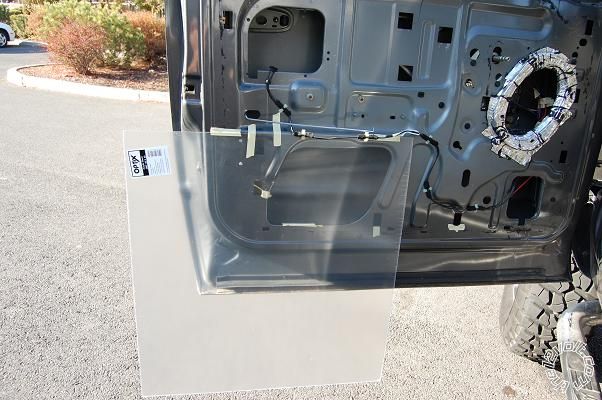 This is the pleix glass to cover up the holes
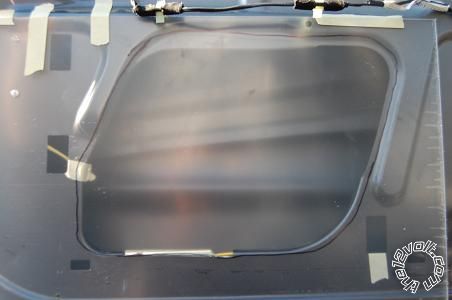 This is the outline i drew of the hole,did that to all 3 holes in door.I will trace those and cut duplicates then flip them over for the other door!!
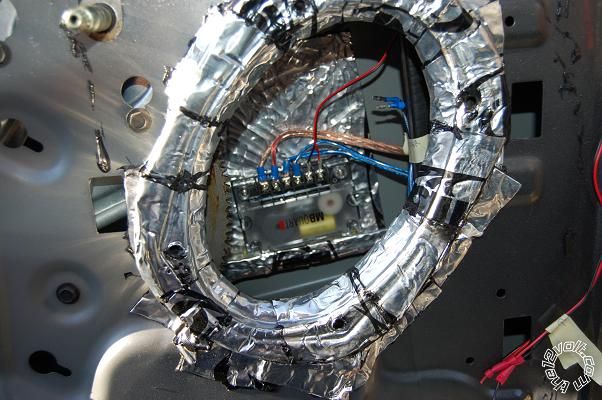 This is the crossover with dynamat backing inside the door panel
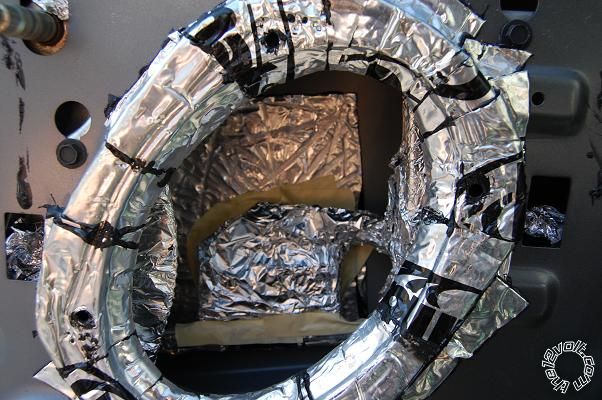 This is the crossover and window channel covered with foil,so sound deadener does not get on it.
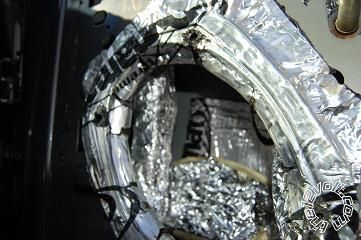
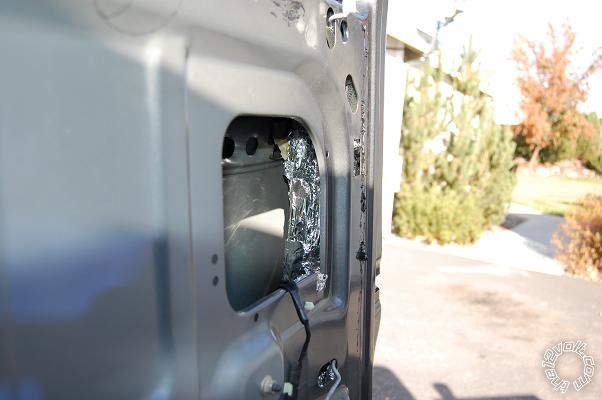 More pics of crossover and window channel wrap in foil.I also masked off the window tract,door lock and the bottom of the window.I will posts after sound deadener pics soon.suggestions appreciated

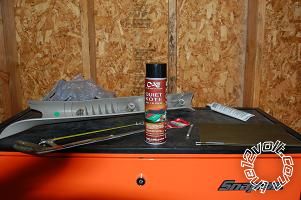 This is the product i used to sound deaden the door skin,its called quiet kote by cascade products
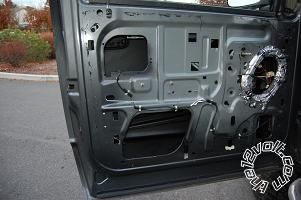
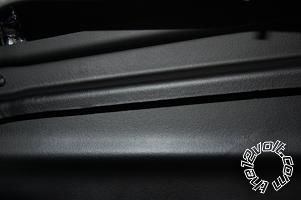 Heres a close up of the door skin support coated with the sound deadener
 Here is the 1/8" plexi glass cut to shape and silicone caulked

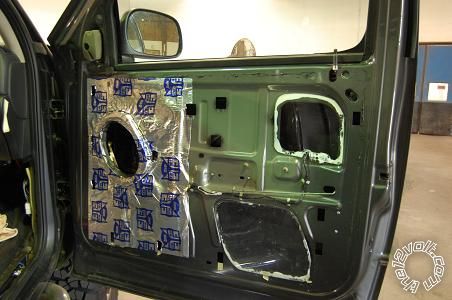 Heres the fat mat being applied ,If I knew then what I know now about this stuff I would have chose a different sound deadener , This stuff is way to thin ,i ended up doubling it up to try to help.
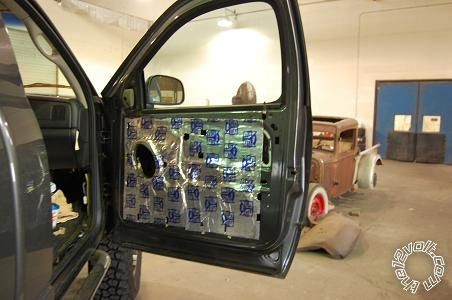 Here the first layer on one of the doors,both doors were done the same no need to upload so many pics
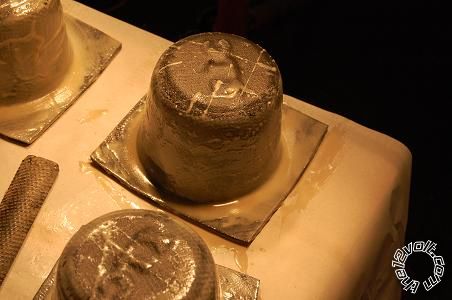 Heres a pic of the 6.5" xtc baffles getting sealed up with f/g resin/bondo mix and crushed up f/g mat.applied 3 medium coats and let dry over night
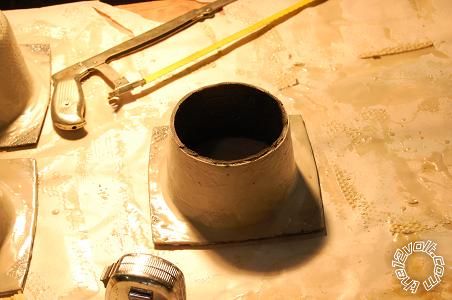 This is a pic of one of the four baffles with the bottom cut off,The makings of an aperiodic vent!!
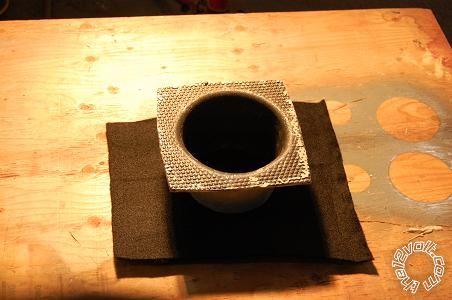 Heres how i made the vent,I took some left over speaker box carpet from a previous install and cut it about an 1/8" bigger than the hole I cut in the baffle
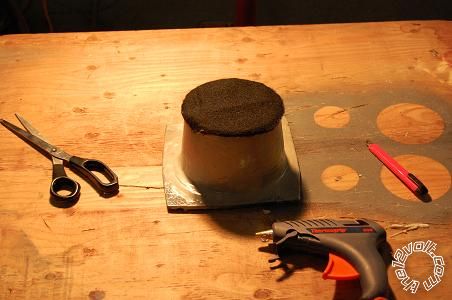 Then I hot glued it to the baffle!!!These ended up workin really well ,just remember to measure the baffle to length bfore you cut I.E. if its going in your door measure the depth in your door with the window down.
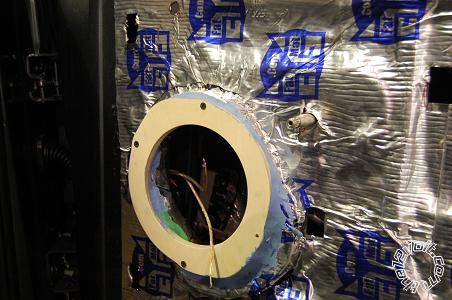 Here is the custom made 6x9 adapter to fit a peerless sls 6.5" woofer perfectly!!!(im pretty proud of that accomplishment)There is non drying molding clay around the inside and the outside of the ring to seal any gaps,make sure you put the screws in slowly so that you dont push the clay out!!.
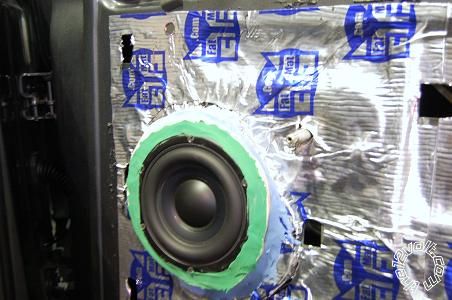 Here is the peerless sls 6.5" mounted and clayed ,I cleaned up the clay more so it really isnt that messy looking, I installed the baffle in the door and cut the top to the diameter of the speaker, I ran the wires through a tiny hole i cut in the carpet of the baffle.These woofers will be my dedicated mid bass they are bandpassed from 80-hz/hp- 600hz/lp .These are very good sounding speakers by the way, thanks dyohn!!
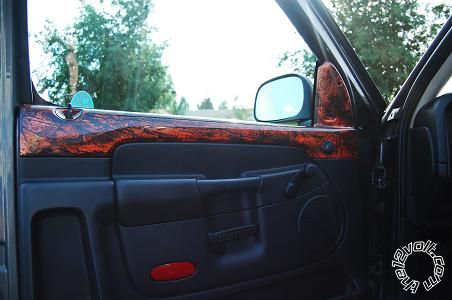 Here is a pic of the door panel reinstalled , the marbilizing was done previously by me ,I will explain how to do it later in this post if interested
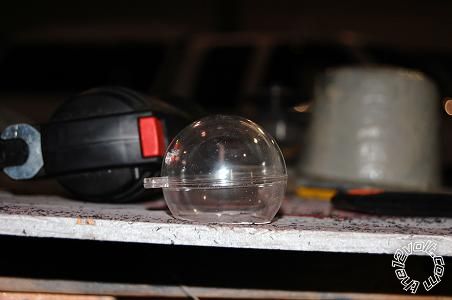
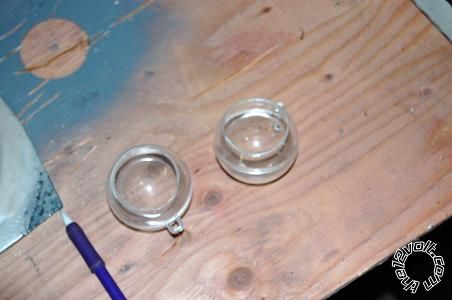 These are clear spheres that cost about 2.00 at any craft store,I cut a hole in them just big enough to house the jl audio crt 050 tweeters i am installing in my qlogic kick panels, honestly I dont know if they made a bit of difference but it sounded like a good idea and it was only 2.00
