


First box, w/ pics
Home /
the12volt's Install Bay /
Fiberglass, Fabrication, and Interiors / First box, w/ pics ( Topic Closed)


Posted: January 28, 2005 at 2:38 AM / IP Logged
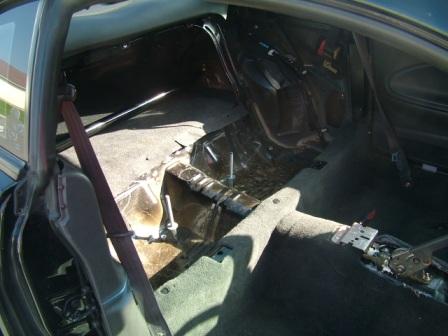
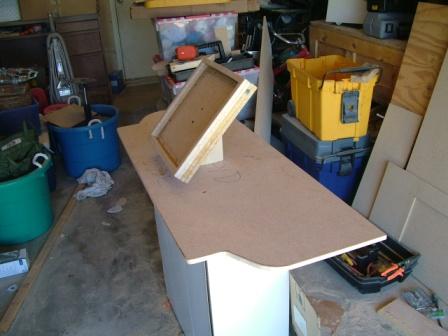
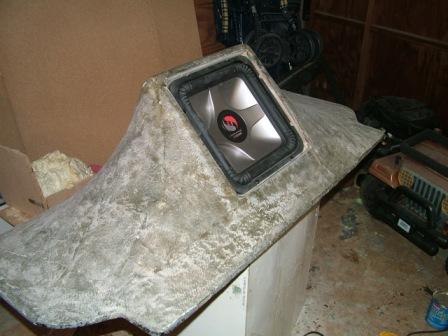
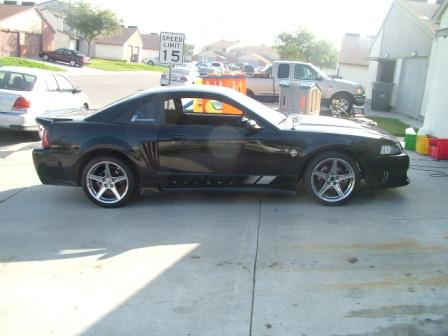 and here's where it'll mount down:
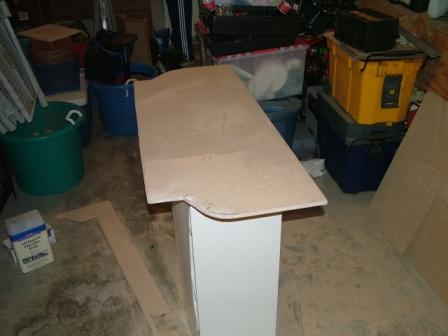
 after getting a template on cardboard of the contours of the rear panels, we get our base cut:
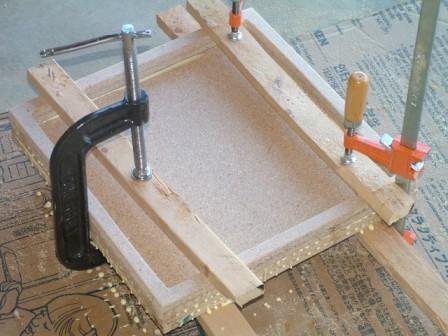
 four pieces of 5/8" mdf, lots of cutting, and lots of glue, got us our ring:
 ring sanded, and mounted to the base with a 2x4 to support the stretching:
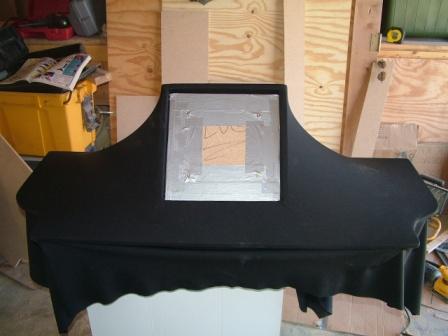
 and all stretched and plugged:
 first layer of glass. over the next couple days of working on this when i could, i came to the conclusion that weave is bad, mat is the shiz:
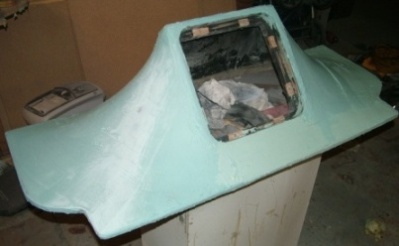
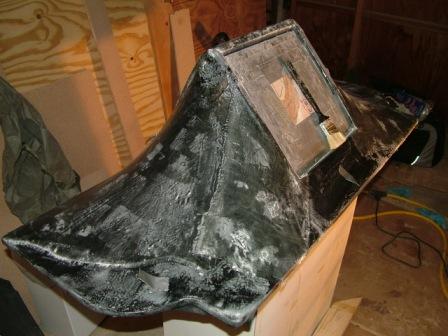 and after the 7th and final layer of glass:
 then the real fun begins....SANDING!!:
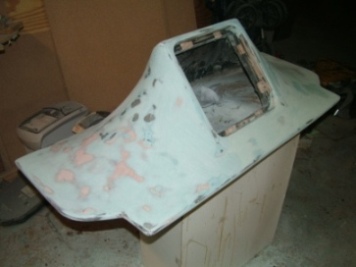
 one of the many things that i learned on this project, is that i really don't like hurricane nuts. my friend ordered them from parts express because of how much better than t-nuts they claimed to be, i didn't find them to be all that. when doing a mock up with the sub, four of the hurricane nuts came out with the bolts half on them, so the only way to get them off the bolts, was to cut a hole in the bottom to get my hand up there to hold them. luckily i read in the forum how to repair such a F-up:
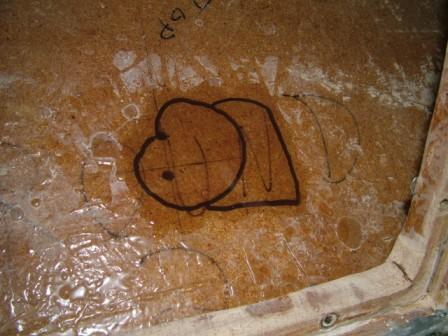 couldn't find any rage gold, not that we looked for days or anything, so went with the bondo premiere. not bad stuff:
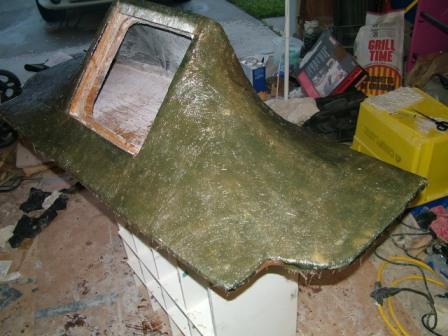
 and after way more sanding:
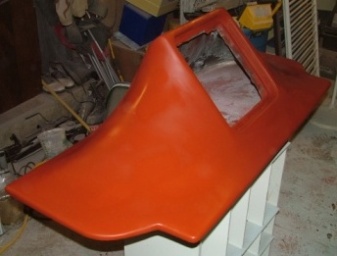
 which brings us to the current state, fresh primer, waiting for wetsand and paint:
 and after that's done, wire it, and build the amprack. finished pics should be in by next week. hope you enjoy.


Posted: January 28, 2005 at 8:27 AM / IP Logged

Posted: January 28, 2005 at 8:30 AM / IP Logged


Posted: January 28, 2005 at 11:41 AM / IP Logged
Posted: January 28, 2005 at 12:34 PM / IP Logged
Posted: January 28, 2005 at 12:44 PM / IP Logged
Posted: January 28, 2005 at 4:43 PM / IP Logged
Posted: January 31, 2005 at 1:29 PM / IP Logged
Posted: January 31, 2005 at 4:07 PM / IP Logged
Posted: February 01, 2005 at 7:49 AM / IP Logged
 Printable version
| You cannot post new topics in this forum You cannot reply to topics in this forum You cannot delete your posts in this forum You cannot edit your posts in this forum You cannot create polls in this forum You cannot vote in polls in this forum |

| Search the12volt.com |
Follow the12volt.com 
Tuesday, May 12, 2026 • Copyright © 1999-2026 the12volt.com, All Rights Reserved • Privacy Policy & Use of Cookies

Tuesday, May 12, 2026 • Copyright © 1999-2026 the12volt.com, All Rights Reserved • Privacy Policy & Use of Cookies
Disclaimer:
*All information on this site ( the12volt.com ) is provided "as is" without any warranty of any kind, either expressed or implied, including but not limited to fitness for a particular use. Any user assumes the entire risk as to the accuracy and use of this information. Please
verify all wire colors and diagrams before applying any information.
