the12volt.com spacer
icon

planing a center console


Post ReplyPost New Topic
< Prev Topic Next Topic >
pstanton 
Member - Posts: 16
Member spacespace
Joined: November 19, 2006
Location: United States
Posted: December 03, 2006 at 11:47 PM / IP Logged  
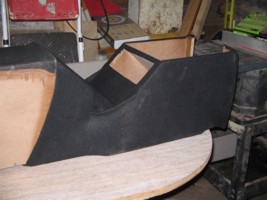
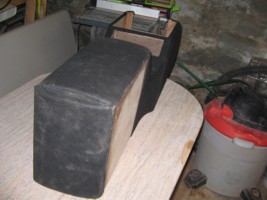
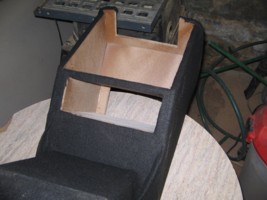
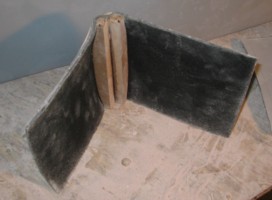
ok here are a few more pictures i have these are when i streched the fleece on
planing a center console - Page 3 - Last Post -- posted image.
what do u think so far. it seems like it going ok for a first time job?
In the back part i fighure i would resin and glass it all in. Then i will cut my doors in after it is finished. That way i will have two doors that i can use to make to coverthat will be the at the some contour as the holes so how does it look so far
wattslok187 
Member - Posts: 9
Member spacespace
Joined: November 13, 2005
Location: United States
Posted: December 04, 2006 at 7:12 PM / IP Logged  

Looks like very good wood work. It looks good and is starting to take shape.

1996 DGGM Impala SS
Cali-SS And ISSCA member # 1680
Alpine 7995, AudioControl EQS, Memphis amps, Crossfire subs, Infinity Highs
pstanton 
Member - Posts: 16
Member spacespace
Joined: November 19, 2006
Location: United States
Posted: December 05, 2006 at 2:38 AM / IP Logged  
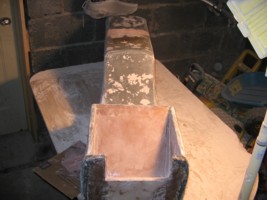
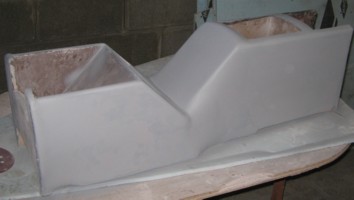
ilost a few pictures of the first coat of resin and after the mat. but here is one with thats its taking shape now planing a center console - Page 3 - Last Post -- posted image.
i had some diffrent views but lost them too. i will post some more tomorrow.
realitycheck 
Silver - Posts: 751
Silver spacespace
Joined: September 09, 2004
Posted: December 05, 2006 at 12:20 PM / IP Logged  
Mr stanton it looks pretty good. Especially for your first project. Looks like you got the fleece good and tight, thats good. As for the question you had about your resin geling.  The reason it was geling was because your first batch was starting to dry in the bottom while you mixed your second batch. This is what I do on all my glass projects go to walmart, or lowes, home depot. One of those stores they all have small plastic paint buckets, they're like 40 cents a piece or something. I get like three of them, then I mix my first batch, after im done with that bucket, if the resin is starting to harden while im using it or if it runs out or w/e. I just sit that bucket to the side and let it start drying, then start with a fresh bucket, and mix my next batch.  Once your all the way through however many you have your first buckets should be drying. I usually kind of squeeze the bucket a little and the resin should start cracking once its dry enough, it will all pop out then you have a clean fresh bucket to start with again.
Learning the trade one fiberglass creation at a time!
pstanton 
Member - Posts: 16
Member spacespace
Joined: November 19, 2006
Location: United States
Posted: December 05, 2006 at 8:36 PM / IP Logged  
thanks reality that was what i thought but wasnt sure. That was real informative and just a great way to put it. a perfect explination.
pstanton 
Member - Posts: 16
Member spacespace
Joined: November 19, 2006
Location: United States
Posted: December 05, 2006 at 9:16 PM / IP Logged  
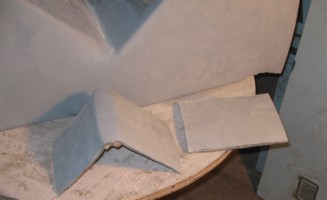
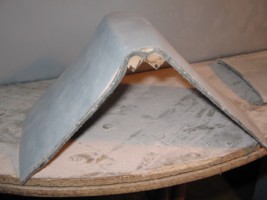
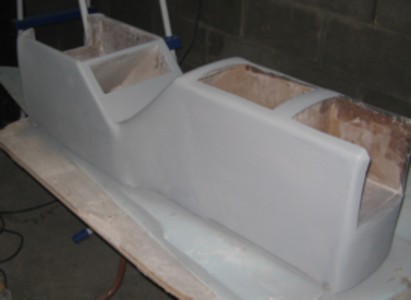
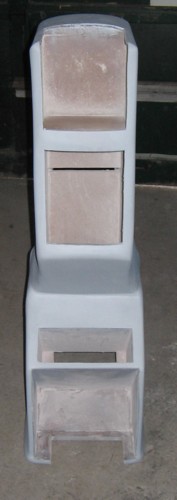
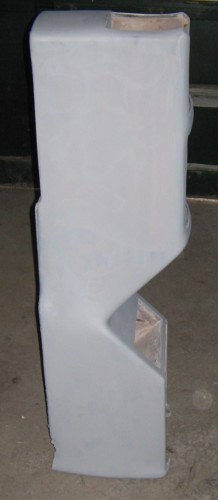
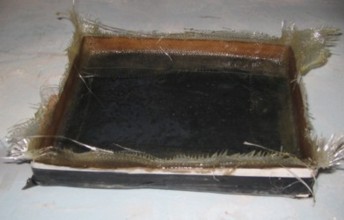
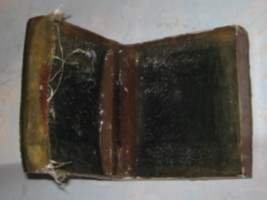
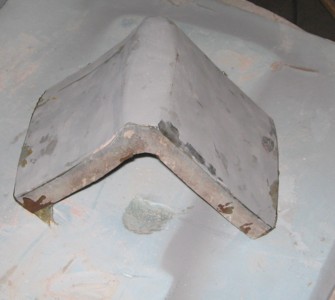
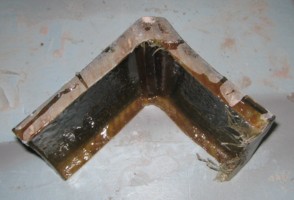
well here i have got the console smooth so i threw a coat of high build primer on it to see any small imprefections. Then I cut out the two doors for the game cube and the storage compartment. I would like theres doors to hinge open and close so i am working on getting a lip about 3/4" all the way around the doors. there is a description above the pictures
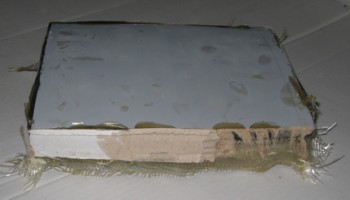
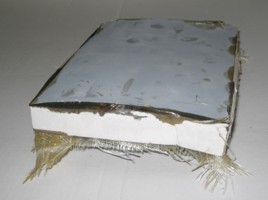
these are the doors i cut out
planing a center console - Page 3 - Last Post -- posted image.planing a center console - Page 3 - Last Post -- posted image.planing a center console - Page 3 - Last Post -- posted image.
here are some of the whole console primed                        
planing a center console - Page 3 - Last Post -- posted image.planing a center console - Page 3 - Last Post -- posted image.
planing a center console - Page 3 - Last Post -- posted image.planing a center console - Page 3 - Last Post -- posted image.planing a center console - Page 3 - Last Post -- posted image.
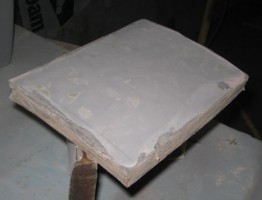
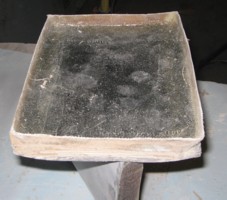
here is where i am working on the lips on the doors
planing a center console - Page 3 - Last Post -- posted image.planing a center console - Page 3 - Last Post -- posted image.planing a center console - Page 3 - Last Post -- posted image.
planing a center console - Page 3 - Last Post -- posted image.planing a center console - Page 3 - Last Post -- posted image.
it coming alone. What do u guys think?
memphis9 
Copper - Posts: 53
Copper spacespace
Joined: November 12, 2005
Location: United States
Posted: December 06, 2006 at 9:34 AM / IP Logged  
Nice job. The console is looking good. Keep us posted on the progress of the console. Keep up the good work.
G-Boys Customz
Northville, MI
realitycheck 
Silver - Posts: 751
Silver spacespace
Joined: September 09, 2004
Posted: December 07, 2006 at 10:54 AM / IP Logged  
Looks very good stanton I like the build of the doors cool idea.  I thought of something you may have already thought of, but you could line those drawers with felt and it would look awesome.
Learning the trade one fiberglass creation at a time!
Page of 3

Sorry, you can NOT post a reply.
This topic is closed.

  Printable version Printable version Post ReplyPost New Topic
You cannot post new topics in this forum
You cannot reply to topics in this forum
You cannot delete your posts in this forum
You cannot edit your posts in this forum
You cannot create polls in this forum
You cannot vote in polls in this forum

  •  
Search the12volt.com
Follow the12volt.com Follow the12volt.com on Facebook
Friday, April 19, 2024 • Copyright © 1999-2024 the12volt.com, All Rights Reserved Privacy Policy & Use of Cookies
Disclaimer: *All information on this site ( the12volt.com ) is provided "as is" without any warranty of any kind, either expressed or implied, including but not limited to fitness for a particular use. Any user assumes the entire risk as to the accuracy and use of this information. Please verify all wire colors and diagrams before applying any information.

Secured by Sectigo
the12volt.com spacer
Support the12volt.com
Top
the12volt.com spacer