the12volt.com spacer
icon

First Time with Fiberglass Santa Fe


Post ReplyPost New Topic
< Prev Topic Next Topic >
spawn12336 
Member - Posts: 47
Member spacespace
Joined: July 11, 2006
Location: Canada
Posted: March 02, 2007 at 8:16 AM / IP Logged  

Figured I would throw this up for the pro's opinions. It was my first time playing with FG. After 3 months of research and design, I finally jumped in and started a full redesign on my sub boxes. I've been taking most of the lessons learned here and on mp3car.com.

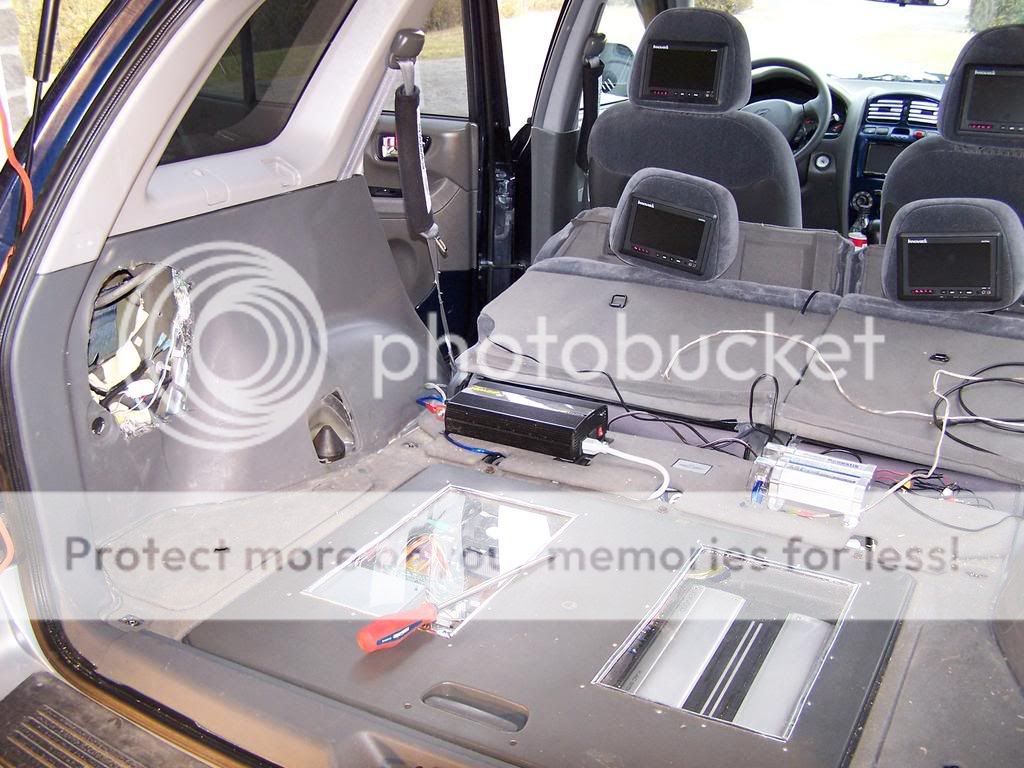
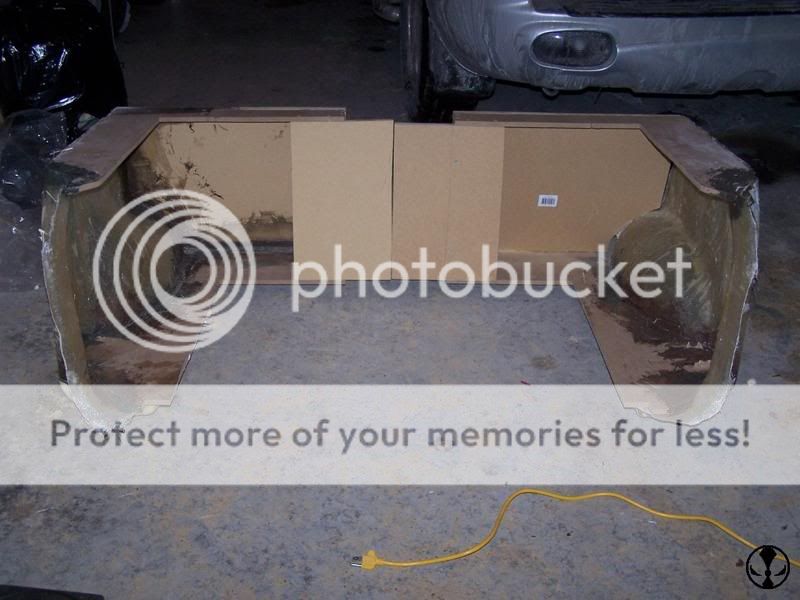
The ride is a 2004 Hyundai Santa Fe, not your typical show ride, but that's why I did it up, that and I got a fantastic deal on it as my wingman was the salesperson. Here is what I started with. The gaping hole was from the previous boxes I had made, the subs stuck too far back so they cut out some of the moulding. Not a big deal, they asked me prior to doing it anyway.

First Time with Fiberglass Santa Fe -- posted image.

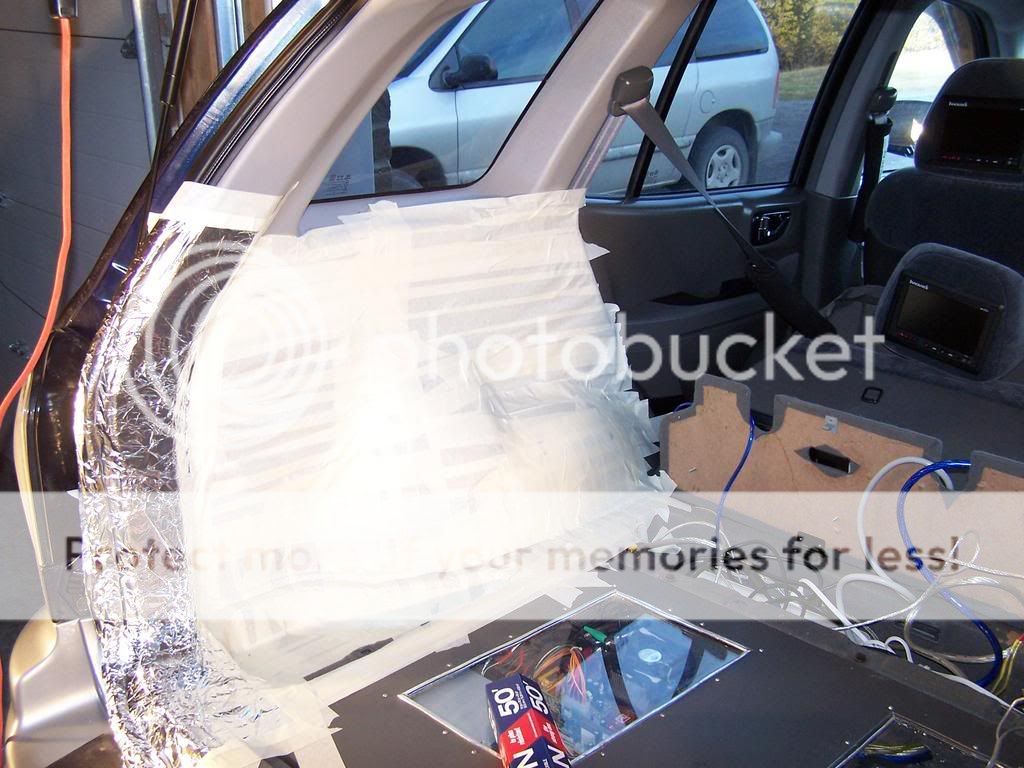
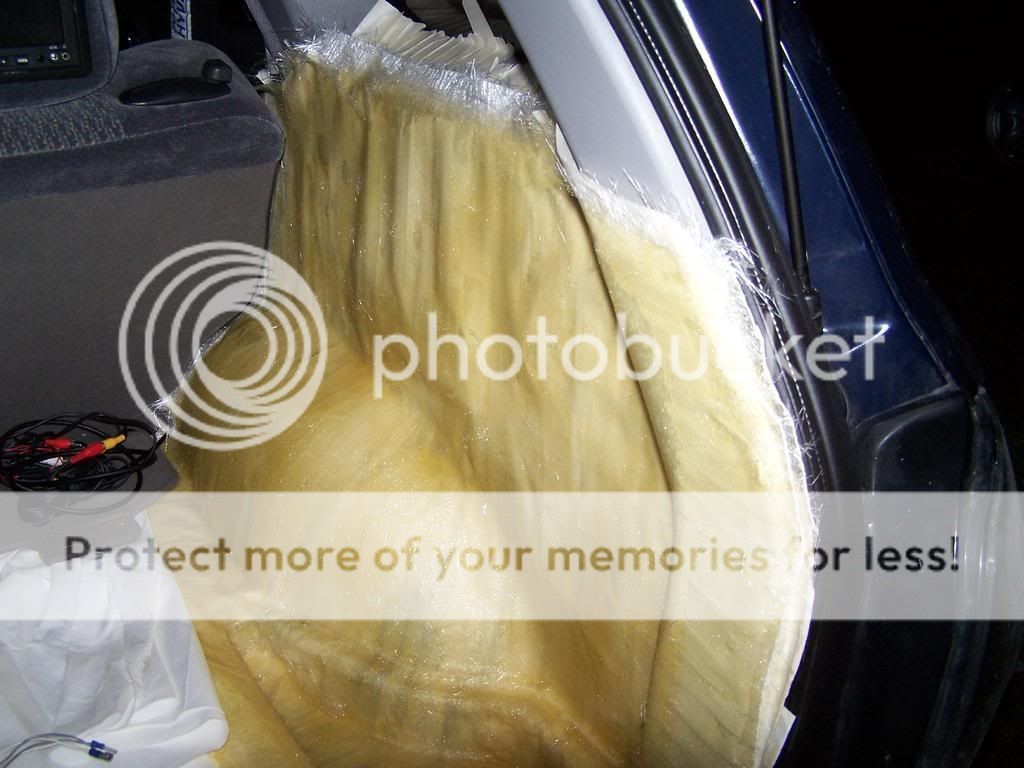
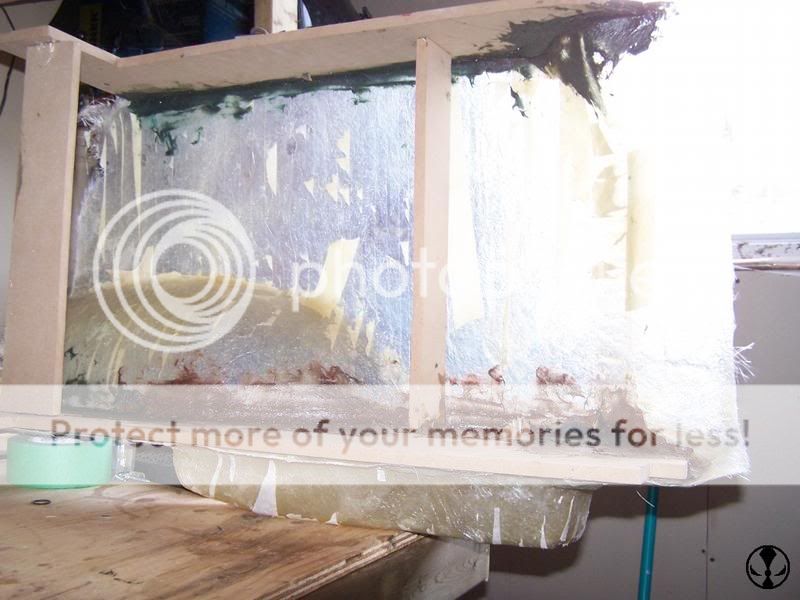
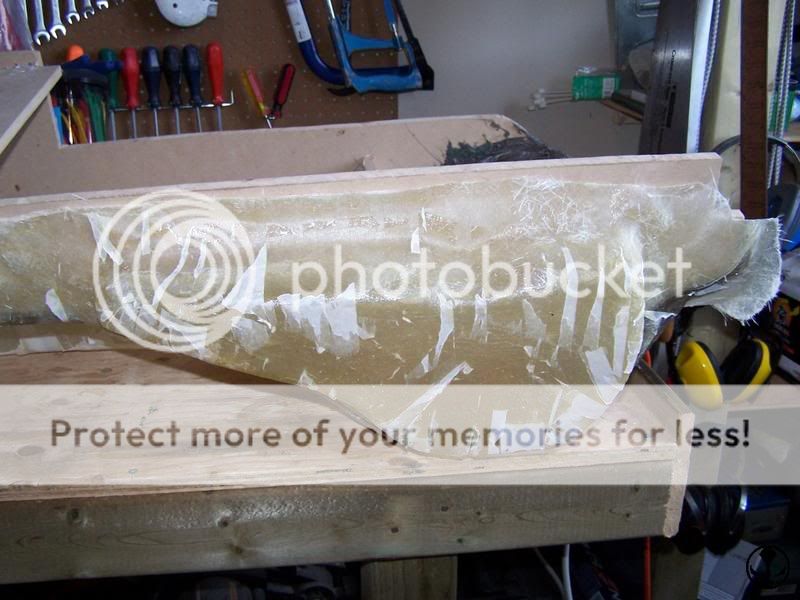
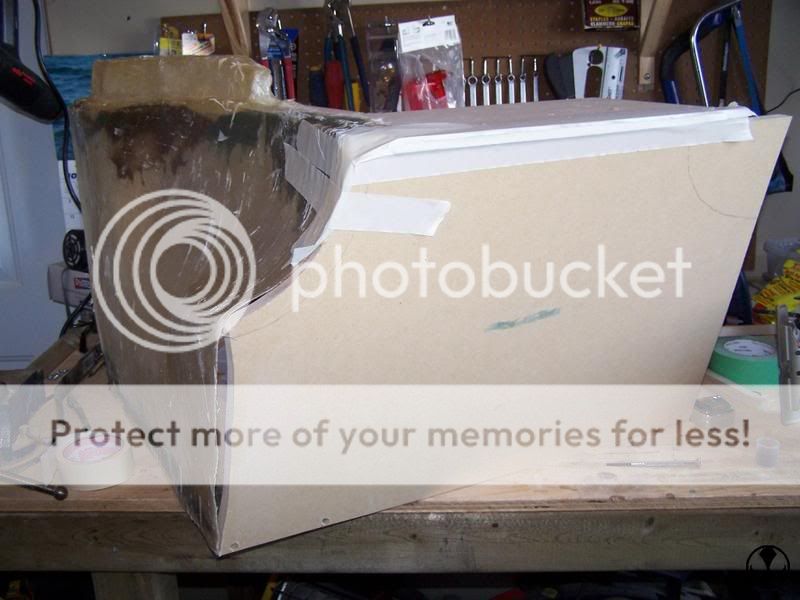
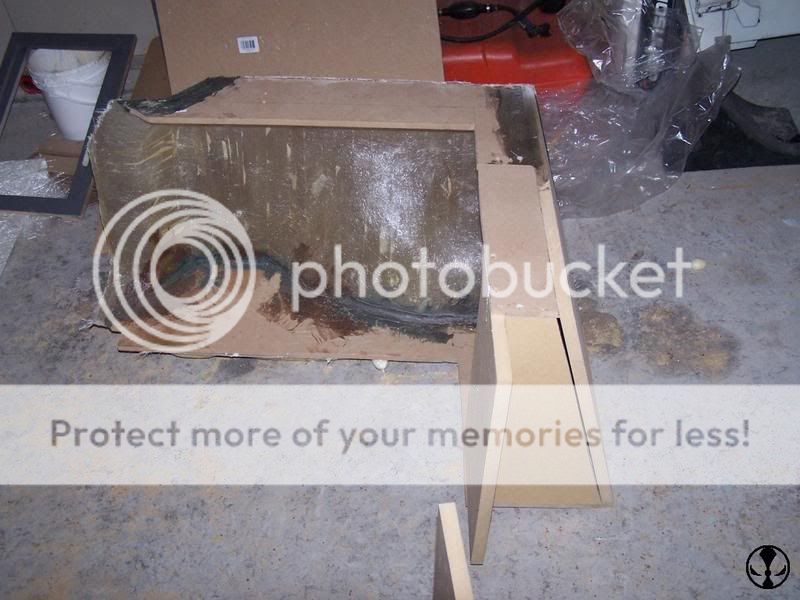
Did all the taping and layed down my first layer of glass. The first time, it was -10 degrees (I'm in Canada), and I didn't know that the glass wouldn't cure that cold. So the pics are actually from the second attempt. I only did 2 layers of glass to get the shape first.

First Time with Fiberglass Santa Fe -- posted image.

First Time with Fiberglass Santa Fe -- posted image.

[IMG]https://i15.photobucket.com/albums/a376/spawn12336/Fibreglass/Fibreglass009.jpg[/IMG]

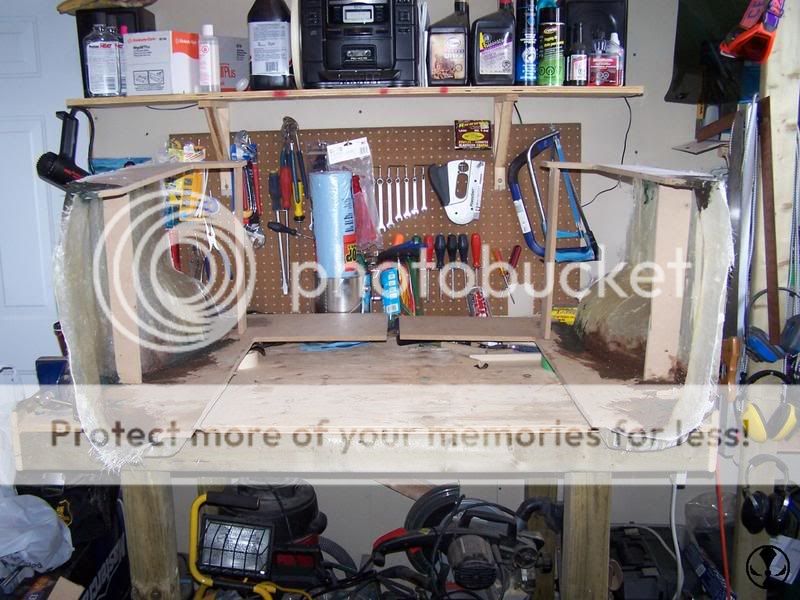
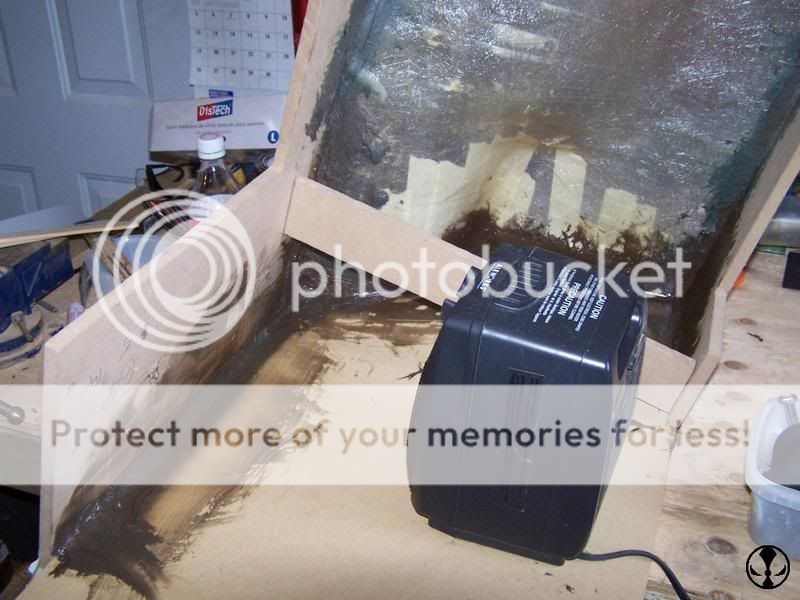
I built the top and bottoms from MDF and attached them to the mould with shortstrand bondo glass. The original boxes had an issue with being sealed properly, so even though it's more work, I am taking extra steps to make sure that all seams are perfectly sealed.

First Time with Fiberglass Santa Fe -- posted image.

First Time with Fiberglass Santa Fe -- posted image.

On each side of the the cargo area are 2 little storage areas that are going to be used as the slot-b to the boxes tab-a. I filled them with expanding foam to stabilize them even more.

First Time with Fiberglass Santa Fe -- posted image.

The floor and top were made with 1/2" MDF as they were going to be glassed over anyway, but the panel behind the seat is made of 3/4" mdf. Screwed, glued, and glassed in at the seams.

First Time with Fiberglass Santa Fe -- posted image.

Again, I am working in an un-heated garage, so my best helpers are 2 small space heaters to help with the curing.

First Time with Fiberglass Santa Fe -- posted image.

This was the structural base complete. It's 2 seperate sealed boxes, and a trim piece will be covering the join between the 2.

First Time with Fiberglass Santa Fe -- posted image.

First Time with Fiberglass Santa Fe -- posted image.

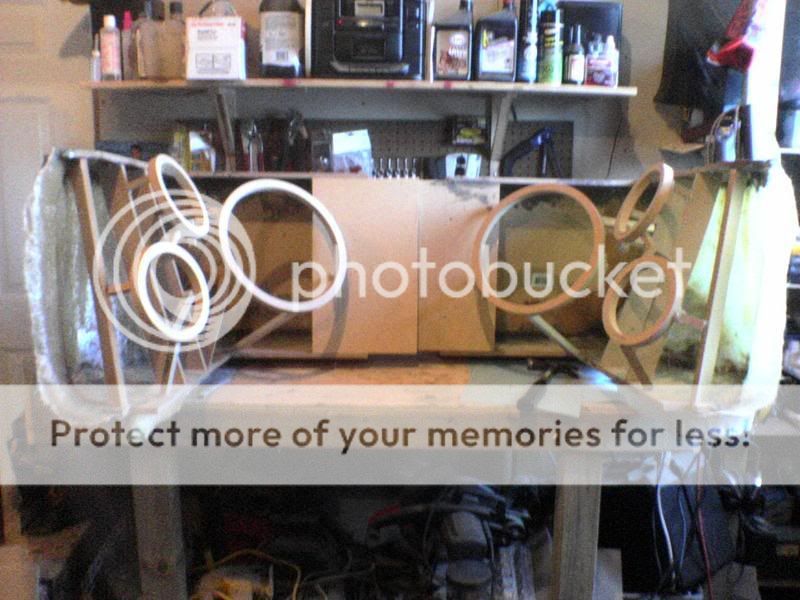
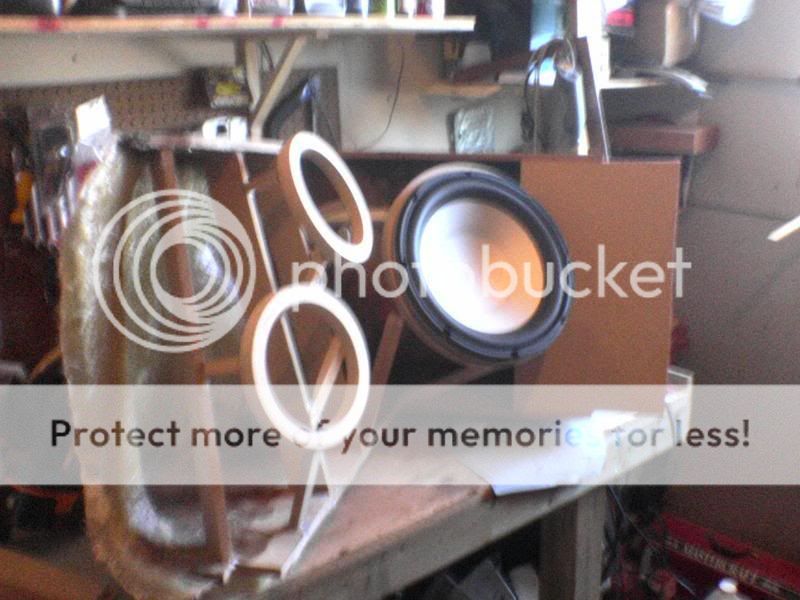
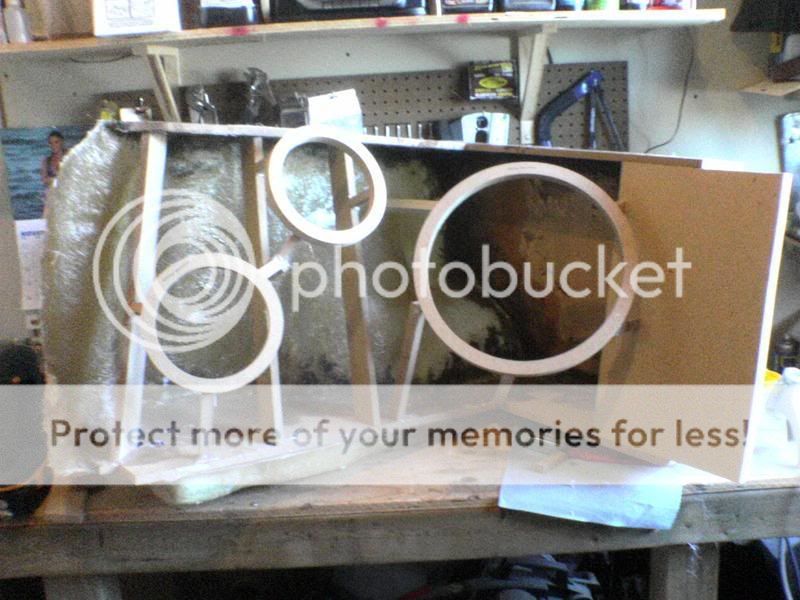
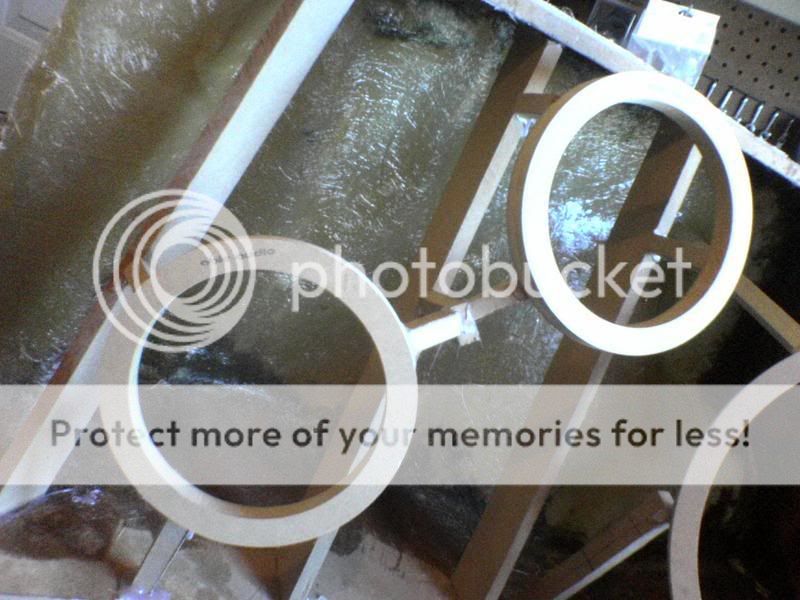
After 5 layers of glass on each piece, the speaker rings and support structure went in, with a test fit of the new subs. Most of the framing is either just for support of the rings and a few of the pieces that look randomly placed are there to give me place to staple the fabric down and shape the curves (freaking geometry)

First Time with Fiberglass Santa Fe -- posted image.

First Time with Fiberglass Santa Fe -- posted image.

First Time with Fiberglass Santa Fe -- posted image.

First Time with Fiberglass Santa Fe -- posted image.

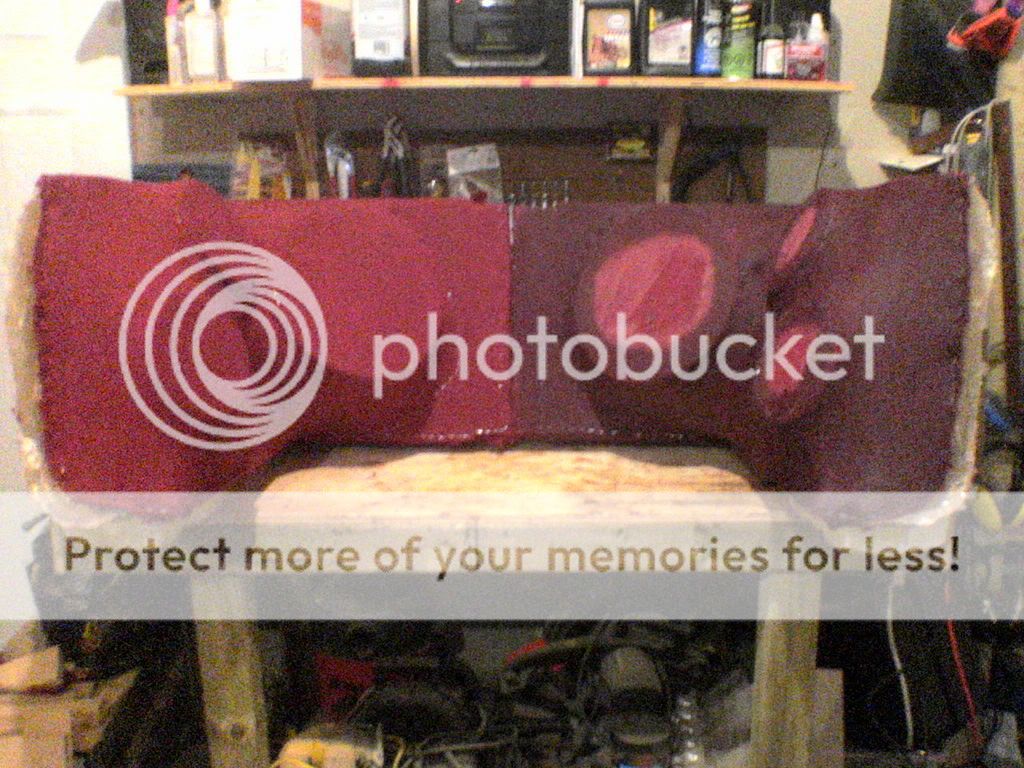
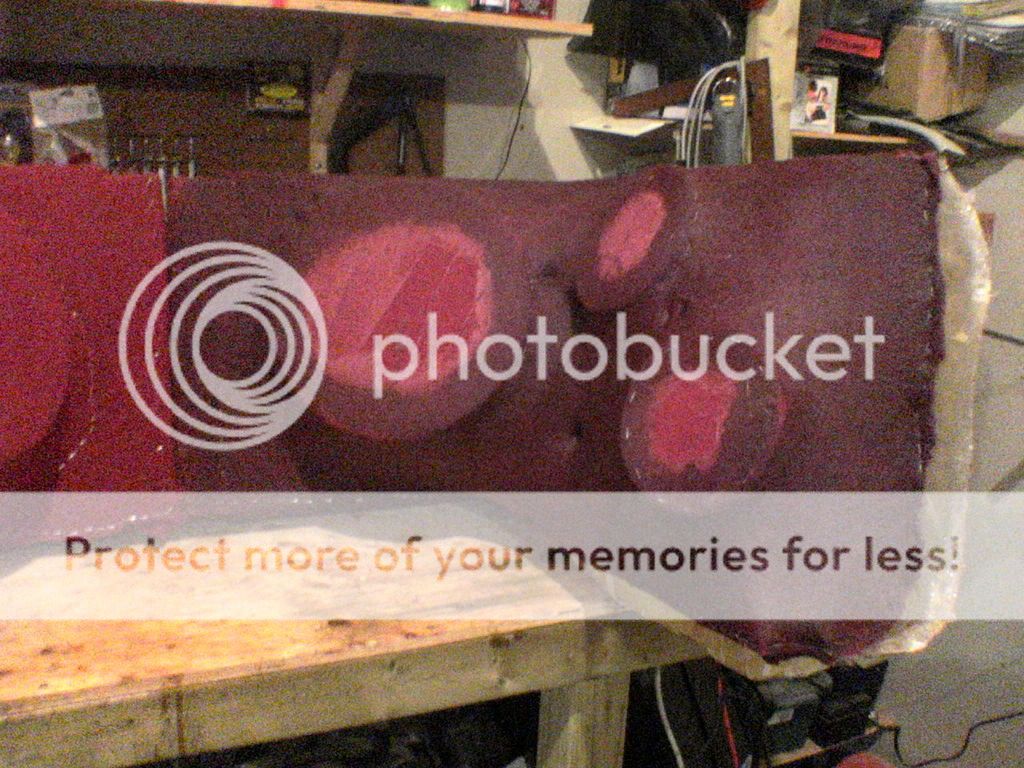
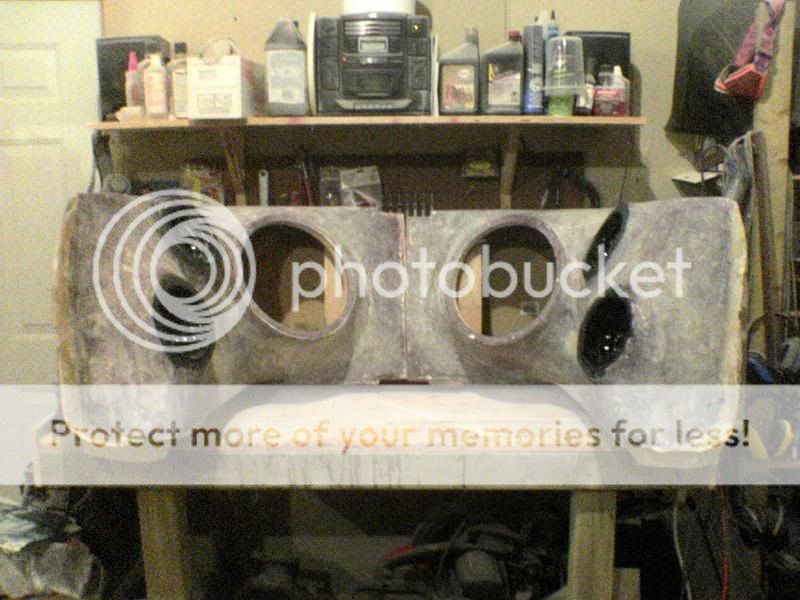
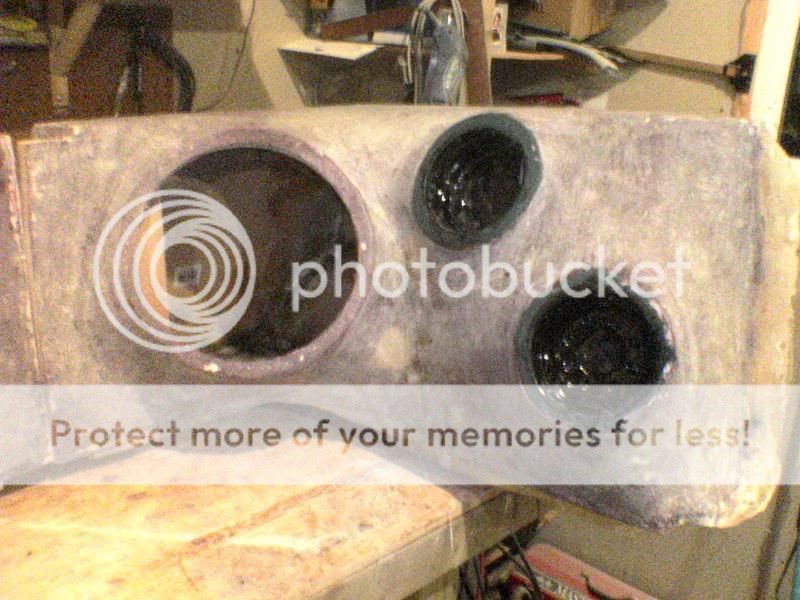
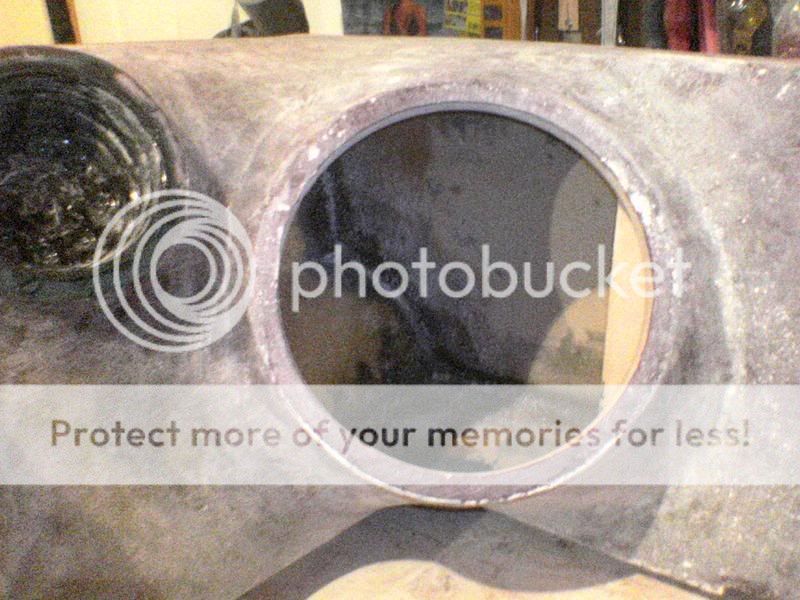
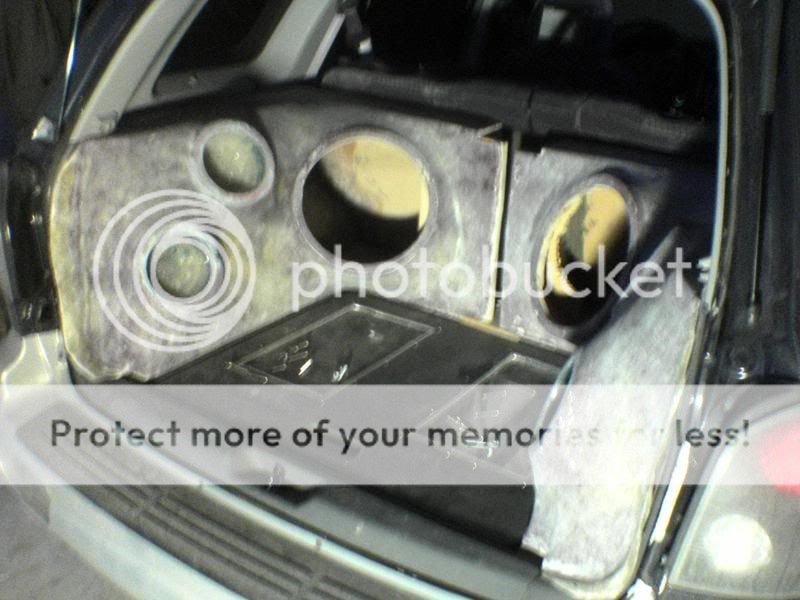
Here the are fleeced and one side has resin, these pics suck as they were from my phone. I was supposed to be laying on 5 layers of glass today, but thanks to this freaking storm, I won't be driving 50 km out to the boondocks to work on it, until maybe later.

Before the questions get asked, The expected interior volume is 1.6 Cubic feet including the displacement of the speakers. The 6.5" speakers are isolated from the sub volume with FG compartments. What look like holes in the fleece are where it was stapled to the extra supports to shape the curves deeper, and will be filled and flattened out.

First Time with Fiberglass Santa Fe -- posted image.

First Time with Fiberglass Santa Fe -- posted image.

"the universe has a way of balancing itself"
racerx22 
Copper - Posts: 57
Copper spaceThis member has made a donation to the12volt.com. Click here for more info.spacespace
Joined: May 24, 2005
Location: United States
Posted: March 04, 2007 at 8:45 PM / IP Logged  

Looks frickin awesome. i miss my santafe

pmendoza408 
Copper - Posts: 56
Copper spacespace
Joined: December 23, 2005
Location: United States
Posted: March 12, 2007 at 12:34 AM / IP Logged  
that looks really cool cant wait to see it finished>.
spawn12336 
Member - Posts: 47
Member spacespace
Joined: July 11, 2006
Location: Canada
Posted: March 12, 2007 at 2:07 PM / IP Logged  

This is definitely the ichiest I have ever been. Saturday was the first sanding day. I smoothed down the irregularities, and made the flat parts nice and smooth. I also glassed in the chambers for the 6.5" speakers. All of the structural supports that were used during fleecing were removed as they aren't needed anymore for strength, the glass handles that now. Sunday was supposed to be the first layer of bondo, followed by the milkshake layer. I am now using Evercoat Plus 1 filler and shortstrand. According to Evercoat it is their replaccement for Rage Gold in Canada. This stuff blows Bondo out of the water in workability, and smells nowhere near as strong.

Here is what I left with tonight.

First Time with Fiberglass Santa Fe -- posted image.

All the airspace I'll need for the new subs

First Time with Fiberglass Santa Fe -- posted image.

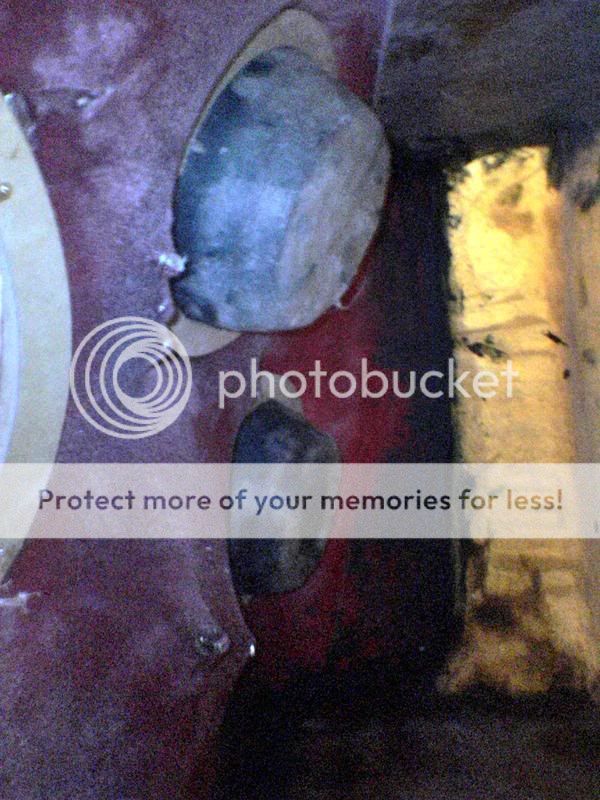
inside the box behind the small chambers.

First Time with Fiberglass Santa Fe -- posted image.

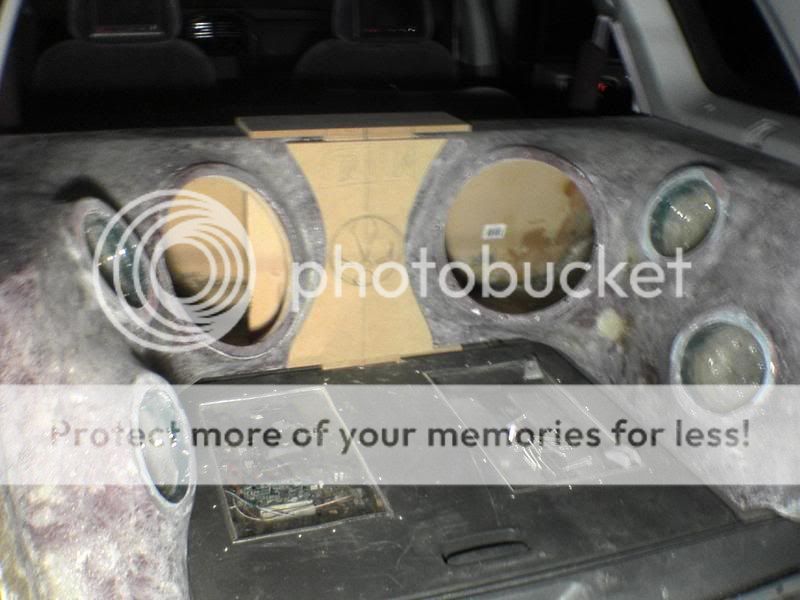
So much for Bondo Sunday. Freaking Daylight Savings Time, got there technically an hour late. Sanded off the excess of the small chambers and pulled out the plastic cups. Tried to mount one of the subs using the T-nuts, let's just say an hour wasted, T-nuts in the garbage. I realized that before I could bondo, I had to test fit everything again. So out with the current system, and in with the new. I also came to the conclusion that I needed to build the trim panel and do some taping before all of the bondo.

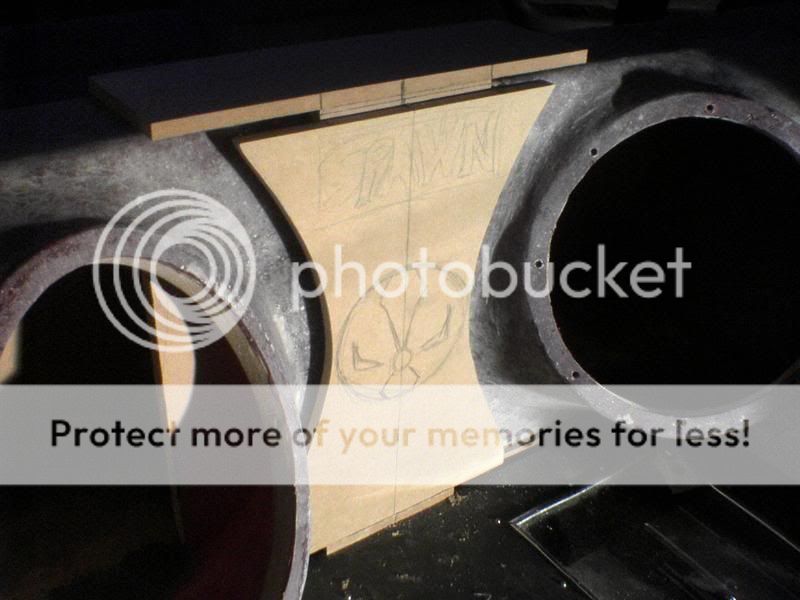
The Trim panel itself took over 2 hours of trial and error to get it right and finally finished, well the frame of it anyway, I still have to bondo it as well. I also fabbed up the shelf for the cap that will be in between the 2 boxes. So all in all, no bondo, but still alot of progress. Don't worry about the scratched to doodiee floor, it will have a new trim panel for itself soon.

First Time with Fiberglass Santa Fe -- posted image.

First Time with Fiberglass Santa Fe -- posted image.

You can see the outline of the special bits that are going to be added and wired up....

First Time with Fiberglass Santa Fe -- posted image.

"the universe has a way of balancing itself"
realitycheck 
Silver - Posts: 751
Silver spacespace
Joined: September 09, 2004
Posted: March 12, 2007 at 3:55 PM / IP Logged  
Well spawn I've got to say for your first job, that actually looks quite amazing. Good job bud. I hope you enjoy it.
Learning the trade one fiberglass creation at a time!
maliboom 
Copper - Posts: 111
Copper spacespace
Joined: October 27, 2006
Location: Canada
Posted: March 12, 2007 at 5:03 PM / IP Logged  
Good job. And I hear you on the daylight savings time, still screwin me up today.
Bumpint 
Member - Posts: 5
Member spacespace
Joined: May 19, 2004
Location: United States
Posted: March 12, 2007 at 8:05 PM / IP Logged  
if thats your first fiberglass project, you got skills! great job!
spawn12336 
Member - Posts: 47
Member spacespace
Joined: July 11, 2006
Location: Canada
Posted: March 13, 2007 at 10:09 AM / IP Logged  
Thanks guys. This is indeed my first fibreglass job, and technically my first sub box as well, I started with store bought boxes, then got a body shop to do up the original FG boxes. I wanted to make them exactly as I envisioned them , so after a boatload of reading/research and asking my local shop questions, I dove in.
"the universe has a way of balancing itself"
bellsracer 
Silver - Posts: 703
Silver spacespace
Joined: January 14, 2006
Location: United States
Posted: March 13, 2007 at 12:15 PM / IP Logged  
VNB! I would love to see the end product.
Never send your ducks to eagle school.
The difference between ordinary and extraordinary is that little extra.
The 3Ls of life: Learn from the Past, Live for the Present, Look to the Future.
spawn12336 
Member - Posts: 47
Member spacespace
Joined: July 11, 2006
Location: Canada
Posted: March 13, 2007 at 3:04 PM / IP Logged  

I should be at a few of the northeast NOPI shows in the states, and of course the Nationals in Atlanta. I was hoping to be ready for the ATCO show, but it's not looking promising.

And what in hades is VNB?

"the universe has a way of balancing itself"
Page of 5

  Printable version Printable version Post ReplyPost New Topic
You cannot post new topics in this forum
You cannot reply to topics in this forum
You cannot delete your posts in this forum
You cannot edit your posts in this forum
You cannot create polls in this forum
You cannot vote in polls in this forum

  •  
Search the12volt.com
Follow the12volt.com Follow the12volt.com on Facebook
Wednesday, April 24, 2024 • Copyright © 1999-2024 the12volt.com, All Rights Reserved Privacy Policy & Use of Cookies
Disclaimer: *All information on this site ( the12volt.com ) is provided "as is" without any warranty of any kind, either expressed or implied, including but not limited to fitness for a particular use. Any user assumes the entire risk as to the accuracy and use of this information. Please verify all wire colors and diagrams before applying any information.

Secured by Sectigo
the12volt.com spacer
Support the12volt.com
Top
the12volt.com spacer