the12volt.com spacer
icon

First Time with Fiberglass Santa Fe


Post ReplyPost New Topic
< Prev Topic Next Topic >
spawn12336 
Member - Posts: 47
Member spacespace
Joined: July 11, 2006
Location: Canada
Posted: March 14, 2007 at 8:18 PM / IP Logged  

A few more shots from today's work (I have some time off)...

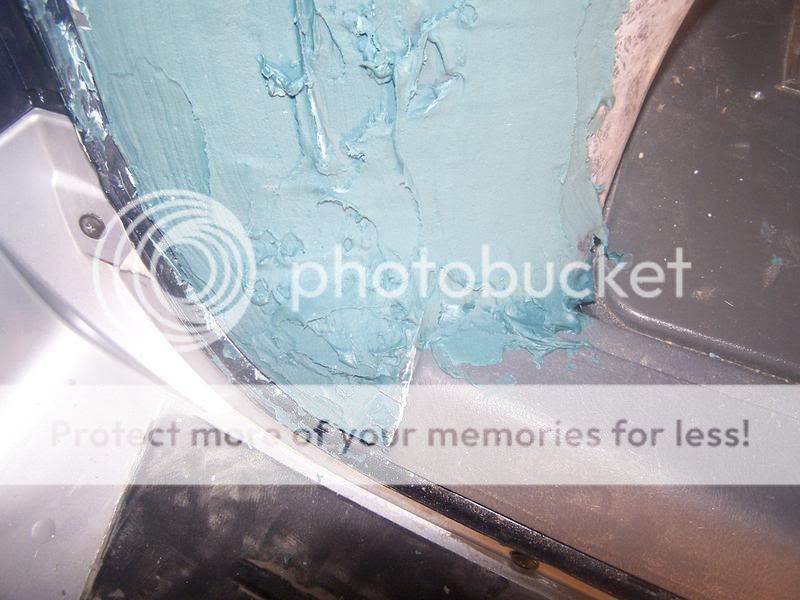
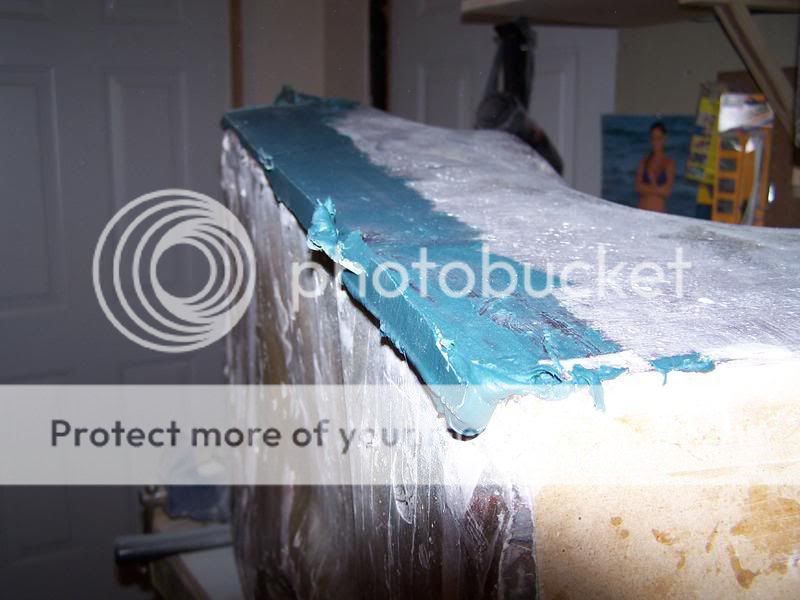
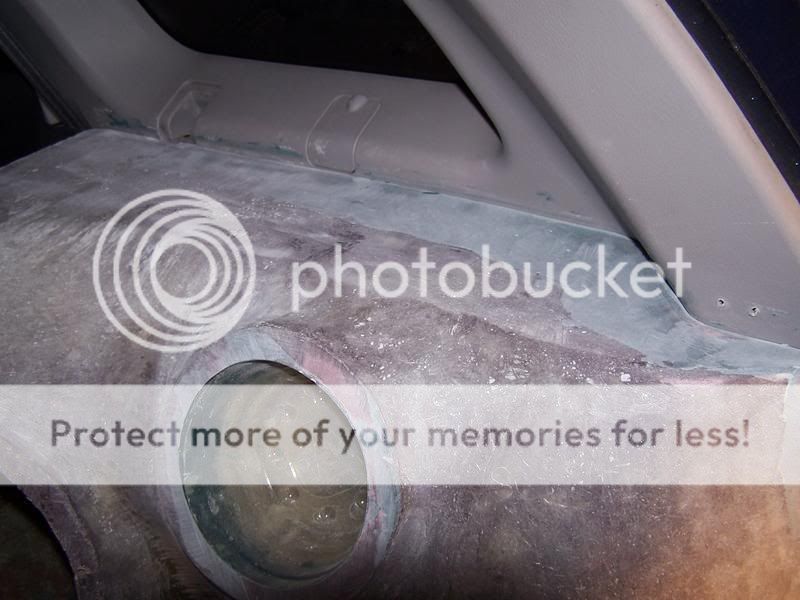
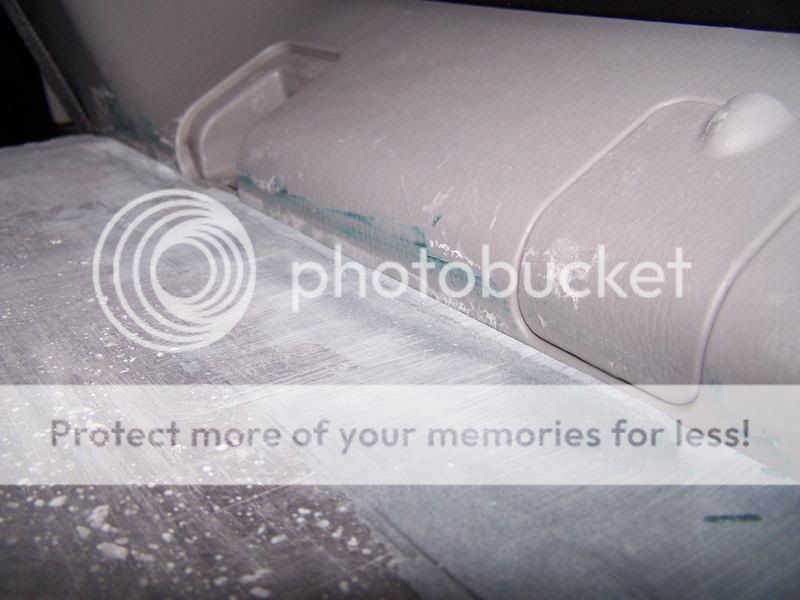
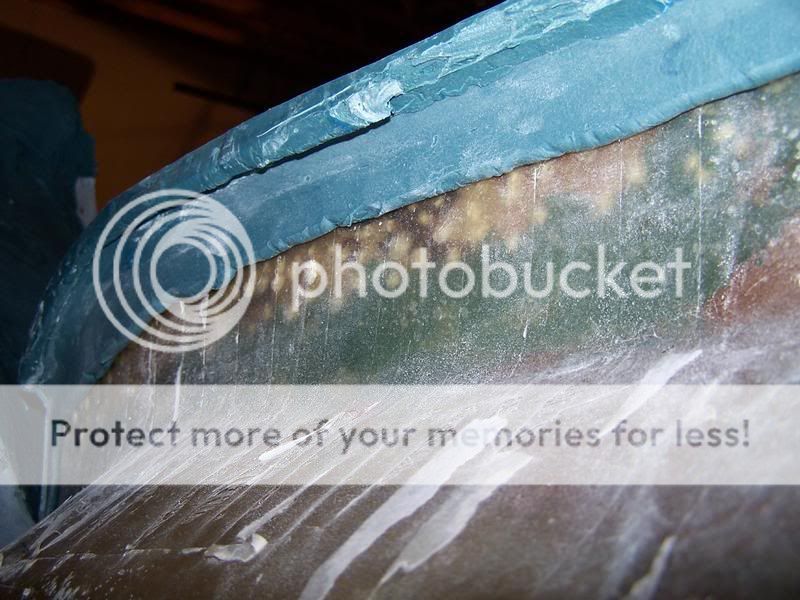
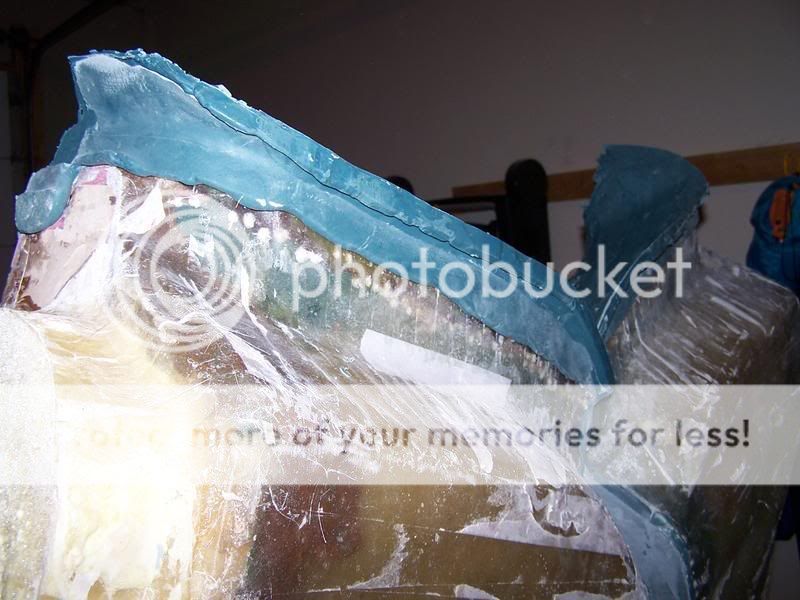
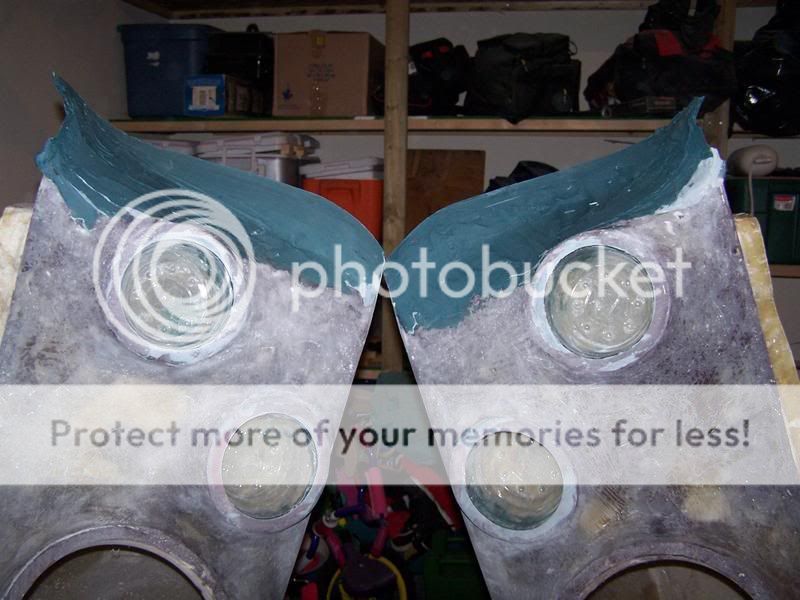
In my fight against gaps between the boxes, I tried an experiment, and succeeded. Went out and got some premium shortstrand filler by evercoat (this s*** is gold by the way! I love it!) and figured that 3 years of detailing and armour all would prevent it from sitcking to the panels. BINGO! I was right. So today was spent filling all of the gaps and a little shaping at the edge to flow smoother. It took 2 layers, but the pics speak for themselves.

First Time with Fiberglass Santa Fe - Page 2 -- posted image.

First Time with Fiberglass Santa Fe - Page 2 -- posted image.

MMMMMMMMM.... TIGHT!!

First Time with Fiberglass Santa Fe - Page 2 -- posted image.

The only issue is that when you press the filler into the gap, it wants to fill ALL of the space, so it actually wraps around the panel making it slightly difficult to get out. A little carefull prying and "POP" she's out. You have to trim off the excess once it dries. Not a big deal.

First Time with Fiberglass Santa Fe - Page 2 -- posted image.

This is how I left them tonight. Right up to the edge of the rubber strip on the door baby!

First Time with Fiberglass Santa Fe - Page 2 -- posted image.

"the universe has a way of balancing itself"
realitycheck 
Silver - Posts: 751
Silver spacespace
Joined: September 09, 2004
Posted: March 15, 2007 at 2:59 PM / IP Logged  
Dont get too close you might actually want to pull that back a little bit from the door, and the rubber strip. Trust me I know now from experience the door will hit it will chip the paint and maybe even crack your duraglass. Trust me on this.First Time with Fiberglass Santa Fe - Page 2 -- posted image.
Learning the trade one fiberglass creation at a time!
Ctoh 
Copper - Posts: 123
Copper spacespace
Joined: June 15, 2005
Posted: March 16, 2007 at 9:56 AM / IP Logged  

You've got some skills to build on,,,one small suggestion when you float your edges in, run a layer of masking tape where you're going to dynaglass your edges, it will still give you a tight fit but you won't have to clean your panels off everytime and it acts as a release agent.  Nice work though for a first build,,,

spawn12336 
Member - Posts: 47
Member spacespace
Joined: July 11, 2006
Location: Canada
Posted: March 16, 2007 at 6:47 PM / IP Logged  

Thanks for the props guys. I went up to the edge to give me enough thickness that when I trim it back 1/4" it would still be strong enough to not have to worry about it cracking. Normally I would have run a line of masking tape, but all I had around was green painters tape, and with 3 years of detailing, it was sliding off faster than an egg on teflon. The excess came off with a little acetone and gentle rubbing.

"the universe has a way of balancing itself"
spawn12336 
Member - Posts: 47
Member spacespace
Joined: July 11, 2006
Location: Canada
Posted: March 20, 2007 at 9:36 AM / IP Logged  
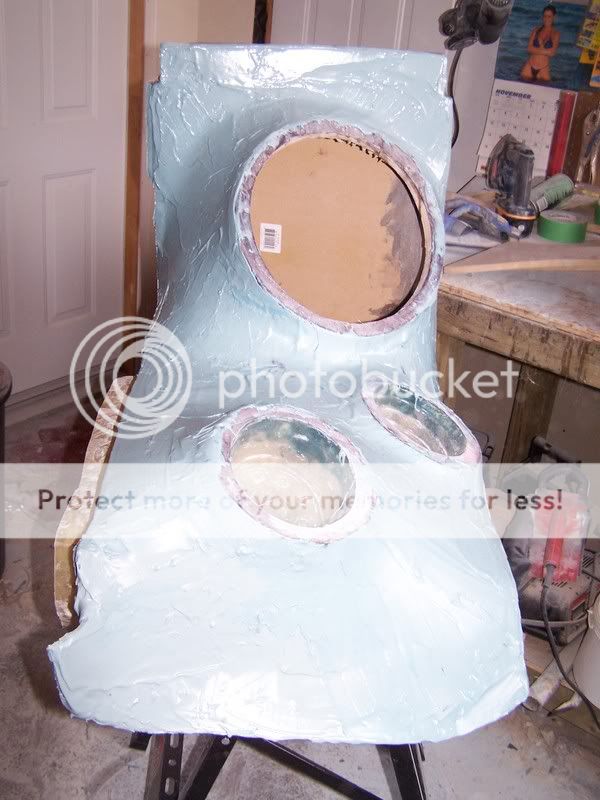
So I threw on the first layer of filler last week. I will be doing the milkshake on it after this layer, the only reason is that I had some REALLY low and high spots that I wanted to even out that sanding wouldn't have fixed. And now for my question... on the sections between the speakers where the curves are very pronounced, what is the easiest and best way to sand in those tight spots? I can't use either my 5" random orbit sander, or my detail sander as the curves are too heavy and the space too tight for them to fit and do a proper job. The only thing I could think of was wrapping some paper around a pipe and doing it the old fashioned way. Any suggestions from you guys?
"the universe has a way of balancing itself"
Ctoh 
Copper - Posts: 123
Copper spacespace
Joined: June 15, 2005
Posted: March 20, 2007 at 10:22 PM / IP Logged  
A 3" DA Sander to get the big stuff then "block" sand the rest, we have a whole kit with like 7 diffrent shaped "Blocks" that help with stuff like that, you're on the right track with wrapping sand paper around something but you do want it to have a little "Flex" to get the contours better,,,I think they may be called "DuraBlocks" or something like that.  Run ya about $50,,,
spawn12336 
Member - Posts: 47
Member spacespace
Joined: July 11, 2006
Location: Canada
Posted: March 21, 2007 at 9:10 AM / IP Logged  
Only issue is that this is really only for me, I'm not a pro installer by any stretch of the imagination. I don't have an air compressor, although I might look into renting one for a day to see. Can you tell me where to get the Durablocks of which you speak?
"the universe has a way of balancing itself"
david pascale 
Member - Posts: 10
Member spacespace
Joined: October 07, 2006
Location: United States
Posted: March 22, 2007 at 5:19 AM / IP Logged  
 very nice. Dosent it feel good to do it yourself? that same job would have cost a fortune at the shop, I an doing the same thing in my durango.
information is the key to solving problems
spawn12336 
Member - Posts: 47
Member spacespace
Joined: July 11, 2006
Location: Canada
Posted: March 22, 2007 at 8:55 PM / IP Logged  
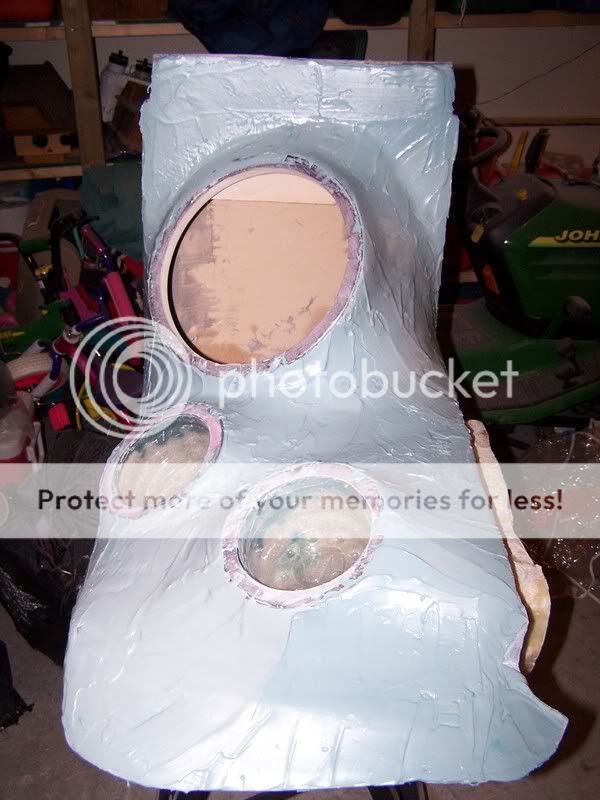
Hell yeah, it feels great. Here are 2 shots from last week when I was doing the filler, right after the filler was laid on and sitting for about 30 minutes. I couldn't get over just how shiny this stuff dries, is that normal?. I have sanded 95% of one of them down already. I should have them mostly finished next weekend. Hindsight tells me I should have tried to cheese grater the tight spots, but live and learn.
First Time with Fiberglass Santa Fe - Page 2 -- posted image.
"the universe has a way of balancing itself"
david pascale 
Member - Posts: 10
Member spacespace
Joined: October 07, 2006
Location: United States
Posted: March 23, 2007 at 5:12 AM / IP Logged  
yes the shiny coat you see is normal. there is a spray to coat that before you sand you can get it from a bodyshop. the spray will help you sand down all the highs and lows, but remember you may still have to add more filler in some spots and the curves around the rings are a real pain in the ass to get just right. are you going to paint or wrap to match the interior?
information is the key to solving problems
Page of 5

  Printable version Printable version Post ReplyPost New Topic
You cannot post new topics in this forum
You cannot reply to topics in this forum
You cannot delete your posts in this forum
You cannot edit your posts in this forum
You cannot create polls in this forum
You cannot vote in polls in this forum

  •  
Search the12volt.com
Follow the12volt.com Follow the12volt.com on Facebook
Thursday, April 25, 2024 • Copyright © 1999-2024 the12volt.com, All Rights Reserved Privacy Policy & Use of Cookies
Disclaimer: *All information on this site ( the12volt.com ) is provided "as is" without any warranty of any kind, either expressed or implied, including but not limited to fitness for a particular use. Any user assumes the entire risk as to the accuracy and use of this information. Please verify all wire colors and diagrams before applying any information.

Secured by Sectigo
the12volt.com spacer
Support the12volt.com
Top
the12volt.com spacer