the12volt.com spacer
icon

Setting Up Front Imaging


Post ReplyPost New Topic
< Prev Topic Next Topic >
tubbs04 
Copper - Posts: 212
Copper spacespace
Joined: March 31, 2007
Location: United States
Posted: May 19, 2008 at 9:55 PM / IP Logged  

**** UPDATES****

Setting Up Front Imaging - Page 11 -- posted image.

Setting Up Front Imaging - Page 11 -- posted image.

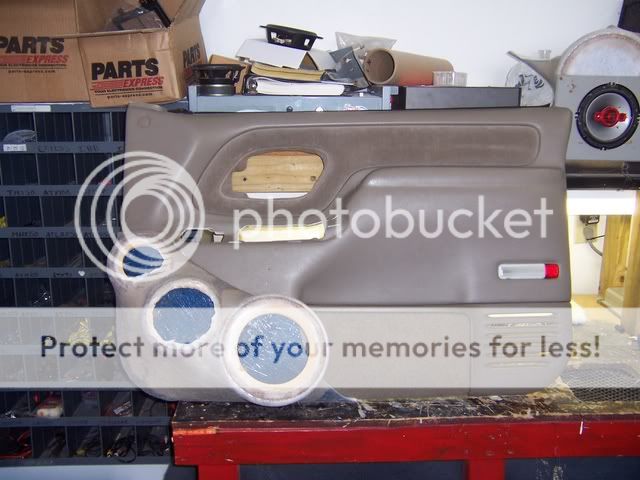
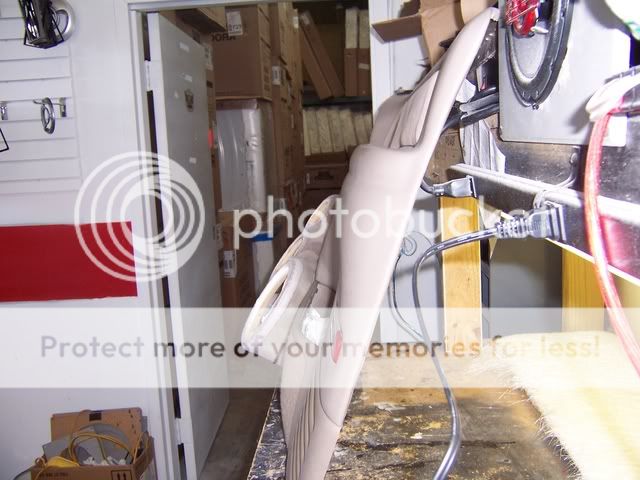
This is what they WOULD HAVE looked like if they had FIT!!!! I stuck the pod on the panel with a couple screws to do a test fit to see what I needed to trim, and something told me to put the panel back on the door to make sure everything cleared before I glassed the top piece. AM I GLAD I DID!!! The sub hit the floor and the door wouldn't close the last 8 inches..... needless to say they don't look the same anymore lol! I'm thinking about moding the base mold to come up where the stock tweeter goes, and put the vifa there so I can bring the Silver flute higher and more forward, and do the same with the Tang Band.

I wanted those to work out so bad. They were going to end up looking killer IMO. Oh well... Just means I was meant to build something cooler lol!

On A side note, Should the rings have had more angle to them for SQ purposes????

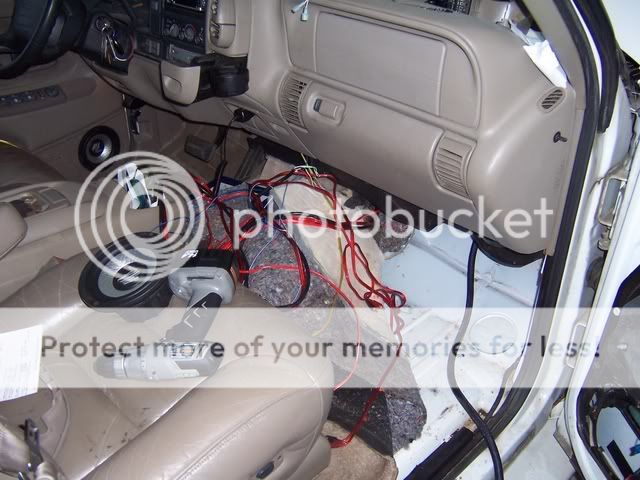
So I took the rest of my day off to wire my truck up for this build.... Heres some pics!!!

Setting Up Front Imaging - Page 11 -- posted image.

This is the nightmare the last shop left for me to find underneath the carpet.... off to a GREAT start! (sarcastic as hell!!!)

Setting Up Front Imaging - Page 11 -- posted image.

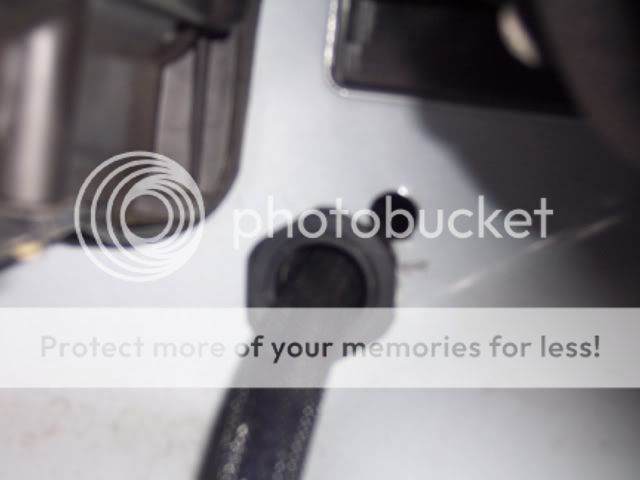
This is where I pulled the 0ga. please notice the gromet I used next to the hole where the previous shop had just drilled a hole and pulled 8ga through with nothing used to protect the wire!

Setting Up Front Imaging - Page 11 -- posted image.

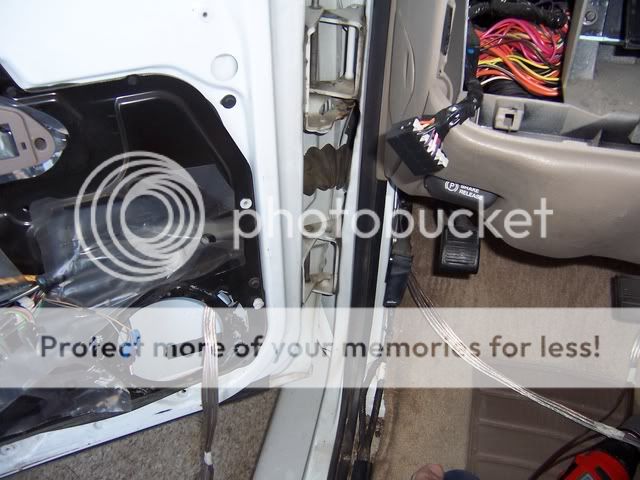
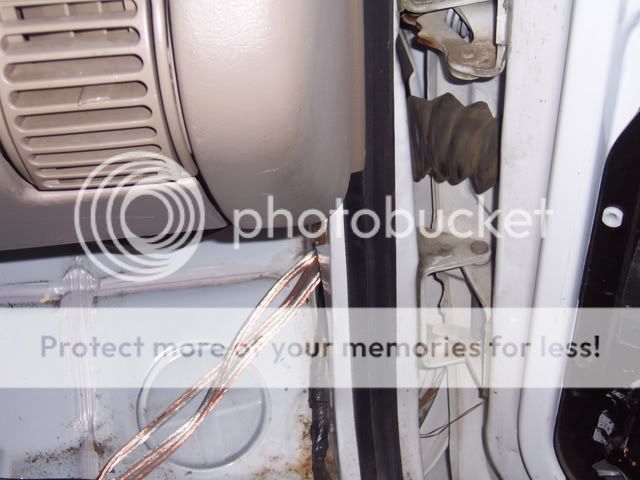
I pulled wire for the 3speakers through the sleeve in the door jam. Thank god there was no molex!

Setting Up Front Imaging - Page 11 -- posted image.

other side done.

Setting Up Front Imaging - Page 11 -- posted image.

This wasn't 5 minutes into starting the wiring... Don't you love putting your hands inside doors???

Setting Up Front Imaging - Page 11 -- posted image.

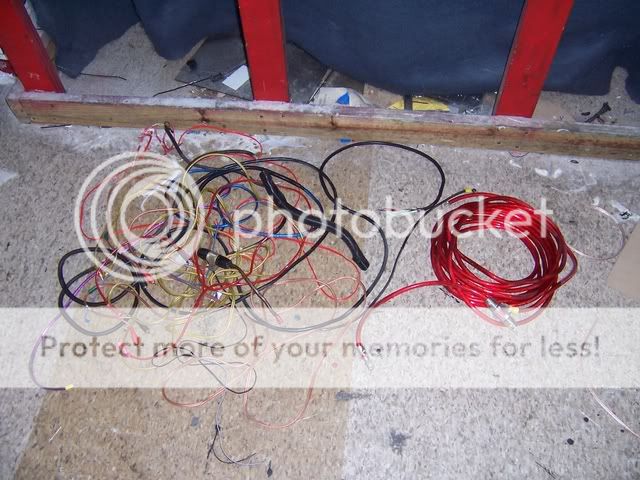
This is MOST of what I pulled out that DIDN'T Go back in! There was so much crap!

There is now a single strand of 0ga running down the passenger side to a distribution block where I've got 4 ga running to my 2 amps (there is going to be a 3rd amp added when I get the pod situation fixed.) I have seperate grounds for the amps. Down the drivers side I ran my RCA's along with 6 sets of 14ga speaker wire (I didn't use ANY factory wiring for this!) The RCA's were fed into my 4XS (that things pretty damn cool!)

I have no more alternator whine, my system no longer makes a loud THUMP when the truck is cranked, and I know I feel better knowing that I did it!  

So that was today for me. I didn't get finished by any means. I still have to put little trim pieces back on and clean up the wiring a little more. I just plan ran out of time today.

I'll be making new speaker rings this weekend when I'm home at my parents so I can start over on the pods = ( !

...don't crush the weasel...
theetimurban 
Copper - Posts: 126
Copper spacespace
Joined: December 30, 2007
Location: South Carolina, United States
Posted: May 20, 2008 at 1:13 AM / IP Logged  
tubbs04 wrote:

Setting Up Front Imaging - Page 11 -- posted image.

This is why I <3 Mechanix gloves...

haemphyst 
Platinum - Posts: 5,054
Platinum spaceThis member has been recognized as an authority in Electrical Theory. Click here for more info.spaceThis member has been recognized as an authority in Mobile Audio and Video. Click here for more info.spacespace
Joined: January 19, 2003
Location: Michigan, Bouvet Island
Posted: May 20, 2008 at 8:03 AM / IP Logged  
theetimurban wrote:
This is why I <3 Mechanix gloves...
~~FREE~~ (With the purchase of any 18v Makita!) Setting Up Front Imaging - Page 11 -- posted image.
It all reminds me of something that Molière once said to Guy de Maupassant at a café in Vienna: "That's nice. You should write it down."
tubbs04 
Copper - Posts: 212
Copper spacespace
Joined: March 31, 2007
Location: United States
Posted: May 20, 2008 at 9:13 AM / IP Logged  

haemphyst wrote:
theetimurban wrote:
This is why I <3 Mechanix gloves...
~~FREE~~ (With the purchase of any 18v Makita!) Setting Up Front Imaging - Page 11 -- posted image.

or if you watch a 10min video from the directed website they'll give you some..... too bad they didn't fit...

Its okay... superglue fixed the cut real quick!

...don't crush the weasel...
haemphyst 
Platinum - Posts: 5,054
Platinum spaceThis member has been recognized as an authority in Electrical Theory. Click here for more info.spaceThis member has been recognized as an authority in Mobile Audio and Video. Click here for more info.spacespace
Joined: January 19, 2003
Location: Michigan, Bouvet Island
Posted: May 20, 2008 at 9:17 AM / IP Logged  
Oh, and in answer to your question, I think that angle will be adequate. The bands you will be running should be well within the 45 degree output plot of them, so really only a little bit of angle is necessary.
I do feel for ya, though... doing all the work, THEN discovering something doesn't quite fit the way you wanted it to... Yeah, it sux.
It all reminds me of something that Molière once said to Guy de Maupassant at a café in Vienna: "That's nice. You should write it down."
tubbs04 
Copper - Posts: 212
Copper spacespace
Joined: March 31, 2007
Location: United States
Posted: May 20, 2008 at 10:18 AM / IP Logged  

Cool. I'll keep the same angles on the new pod's then.

I'm just glad I didn't waste all that fiberglass on the top, THEN find out it wasn't going to work. I'll make something work

off to think

...don't crush the weasel...
boogeyman 
Silver - Posts: 359
Silver spacespace
Joined: October 18, 2007
Location: Tennessee, United States
Posted: May 20, 2008 at 7:14 PM / IP Logged  
 I feel ya too . I built a wall in my 1993 sentra years back for 8 15 inch subs got it nearly done test fitted the subs and the 2 in the middle the magnets hit forcing me to start over. The second designed turned out looking better so it was worth it .  good luck to you
Page of 11

Sorry, you can NOT post a reply.
This topic is closed.

  Printable version Printable version Post ReplyPost New Topic
You cannot post new topics in this forum
You cannot reply to topics in this forum
You cannot delete your posts in this forum
You cannot edit your posts in this forum
You cannot create polls in this forum
You cannot vote in polls in this forum

  •  
Search the12volt.com
Follow the12volt.com Follow the12volt.com on Facebook
Friday, April 19, 2024 • Copyright © 1999-2024 the12volt.com, All Rights Reserved Privacy Policy & Use of Cookies
Disclaimer: *All information on this site ( the12volt.com ) is provided "as is" without any warranty of any kind, either expressed or implied, including but not limited to fitness for a particular use. Any user assumes the entire risk as to the accuracy and use of this information. Please verify all wire colors and diagrams before applying any information.

Secured by Sectigo
the12volt.com spacer
Support the12volt.com
Top
the12volt.com spacer