


2002 chevy avalanche 2 din mods


Posted: August 15, 2012 at 9:00 PM / IP Logged


Posted: August 15, 2012 at 9:19 PM / IP Logged


Posted: August 20, 2012 at 11:31 PM / IP Logged
Posted: August 21, 2012 at 3:10 PM / IP Logged
Posted: August 22, 2012 at 11:42 AM / IP Logged
Posted: August 22, 2012 at 4:43 PM / IP Logged
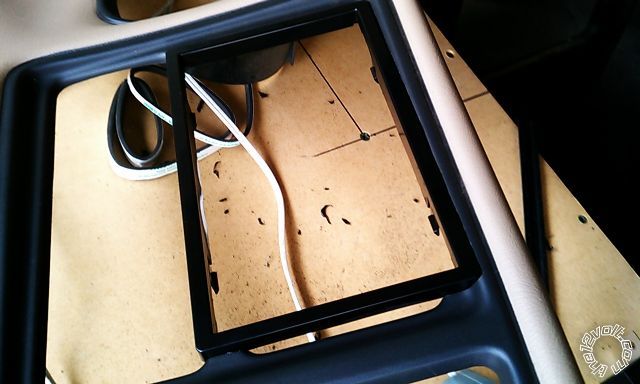

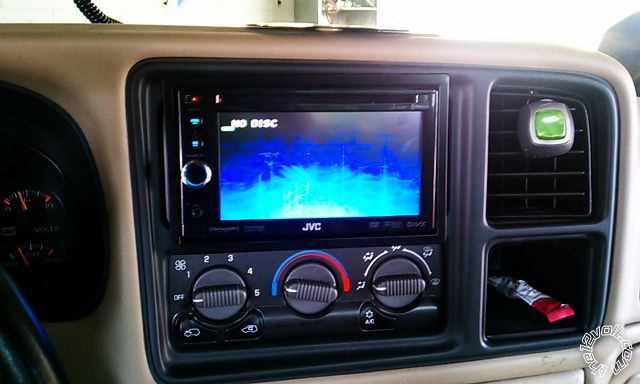
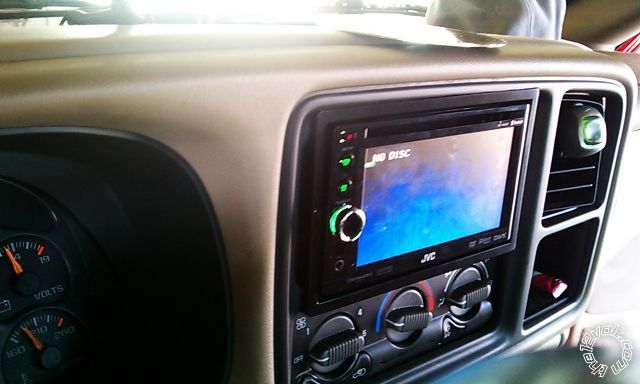 i cut the hole in the trim the exact size of the radio trim ring so that i could make it sit flush with the dash. the cut is as close to perfect as it will ever get using a cutoff wheel and a dremmel but i used some sticky-backed foam strip on top just to eliminate any possible light gap. in addition to cutting the trim, i also had to cut out a metal brace and a bunch of plastic from behind the radio just so the new tv will fit. i used cheese strap to mount it using two factory screws, but i could have used the dash kit bracket clips if i had more time to get the spacing and angle the way it needed to be.
Posted: August 24, 2012 at 10:47 AM / IP Logged
Sorry, you can NOT post a reply.
This topic is closed.
 Printable version
| You cannot post new topics in this forum You cannot reply to topics in this forum You cannot delete your posts in this forum You cannot edit your posts in this forum You cannot create polls in this forum You cannot vote in polls in this forum |

| Search the12volt.com |
Follow the12volt.com 
Thursday, May 14, 2026 • Copyright © 1999-2026 the12volt.com, All Rights Reserved • Privacy Policy & Use of Cookies

Thursday, May 14, 2026 • Copyright © 1999-2026 the12volt.com, All Rights Reserved • Privacy Policy & Use of Cookies
Disclaimer:
*All information on this site ( the12volt.com ) is provided "as is" without any warranty of any kind, either expressed or implied, including but not limited to fitness for a particular use. Any user assumes the entire risk as to the accuracy and use of this information. Please
verify all wire colors and diagrams before applying any information.
