


haemphyst's new system


Posted: July 03, 2007 at 6:17 AM / IP Logged


Posted: July 03, 2007 at 8:01 AM / IP Logged

Posted: July 03, 2007 at 8:25 AM / IP Logged

Posted: July 03, 2007 at 8:39 AM / IP Logged
Posted: July 03, 2007 at 8:50 AM / IP Logged
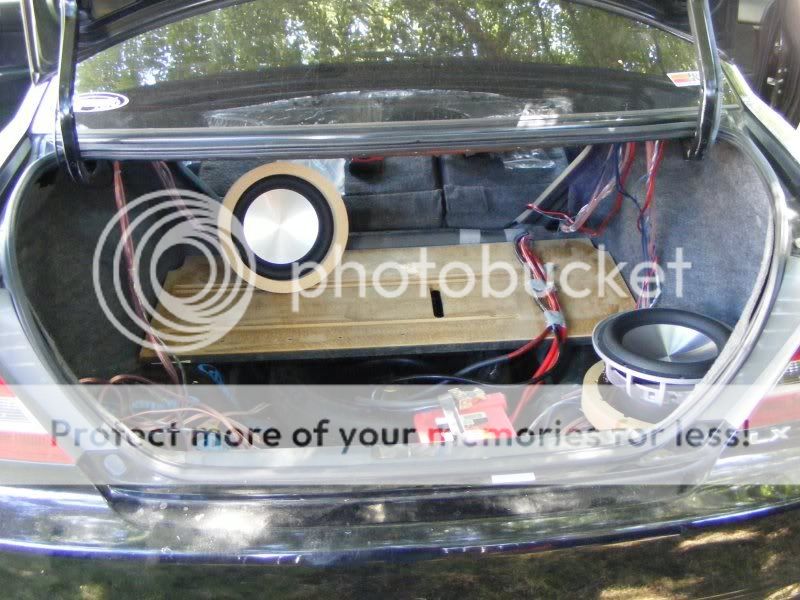
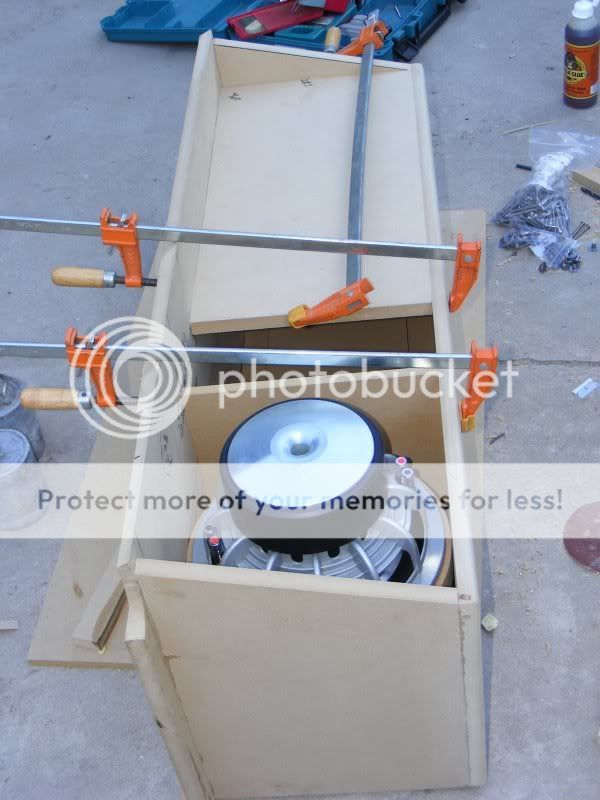
 This moved the septum back a half an inch, AND caused the front woofer to protrude about an additional ¼ inch from the front of the entire enclosure.
Also, I can't get the back woofer in! Still haven't cut the cleats yet, to allow it to enter from the rear. I have to be able to have them OUT, because the fleckstone is a spray-on coating!
More details on the way. Off to work right now!
This moved the septum back a half an inch, AND caused the front woofer to protrude about an additional ¼ inch from the front of the entire enclosure.
Also, I can't get the back woofer in! Still haven't cut the cleats yet, to allow it to enter from the rear. I have to be able to have them OUT, because the fleckstone is a spray-on coating!
More details on the way. Off to work right now!Posted: July 03, 2007 at 11:52 AM / IP Logged
 Big mess... Soon to be gone complelety!
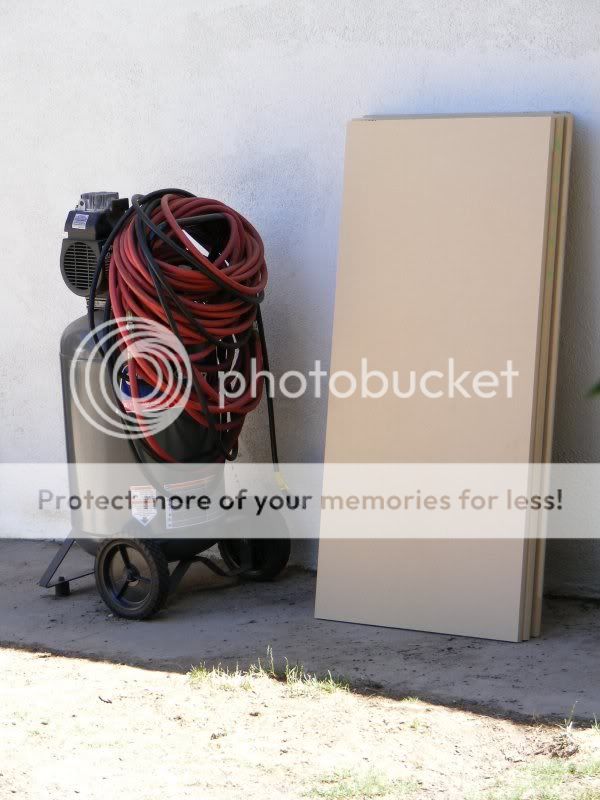 Parts, and tools! (I like tools!)
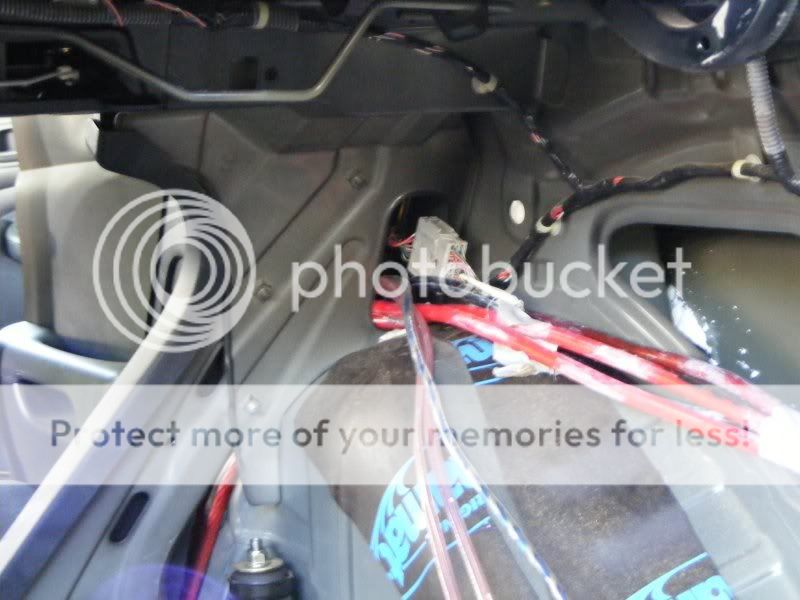
 Old wire(s) path.
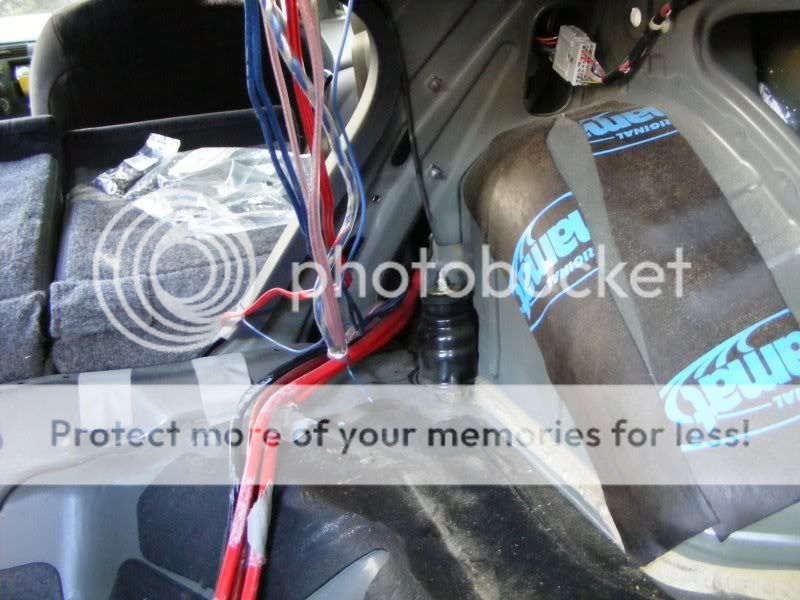
 New power wire path
  New speaker wire route, as well. This is the left side, right side is similar.
 James.
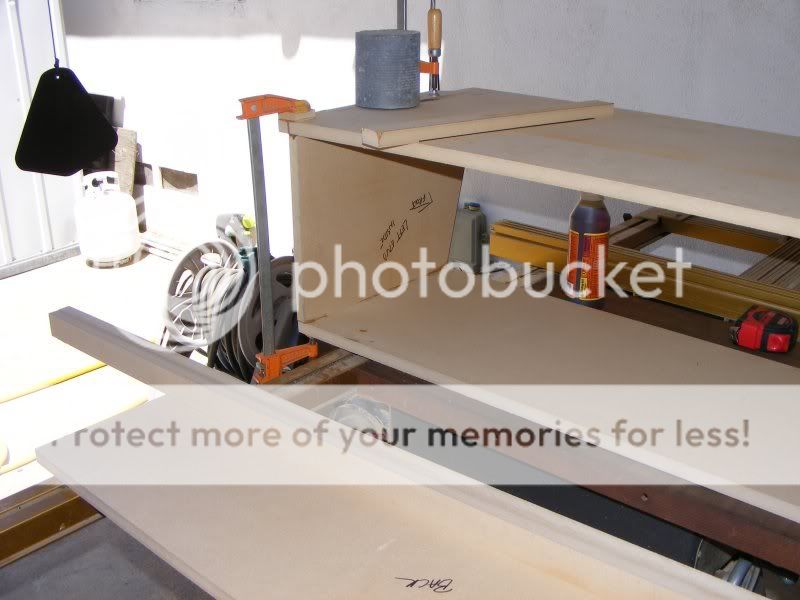
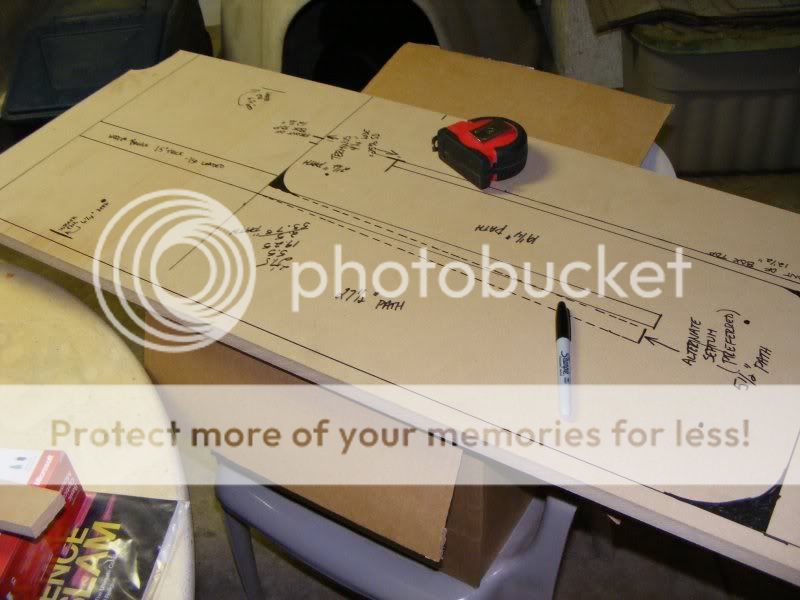 Rough layout of TL on bottom panel, before assembly started.
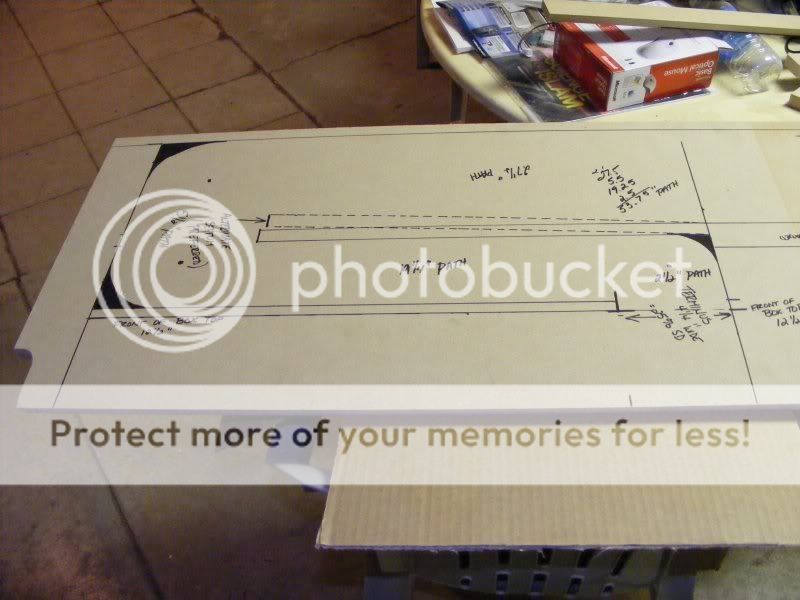 Different angle of same.
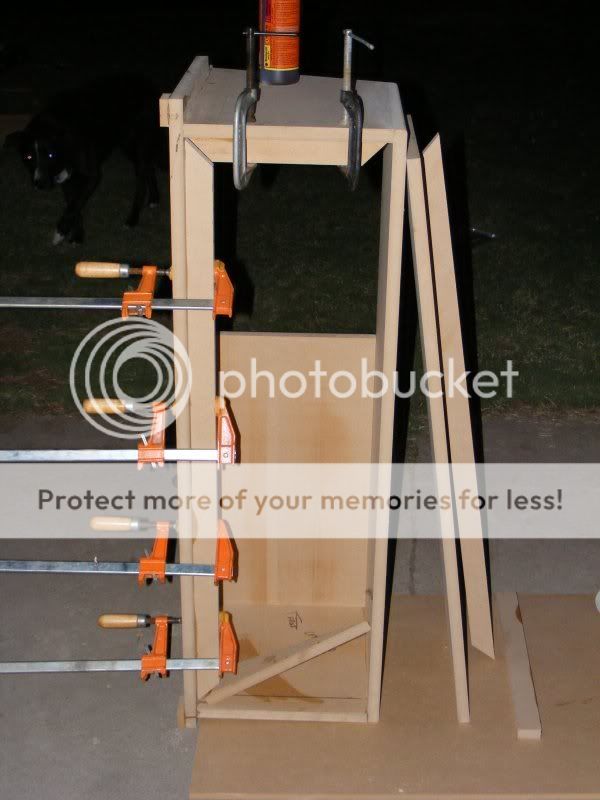
 An assembly step.
 Another...
 Another...
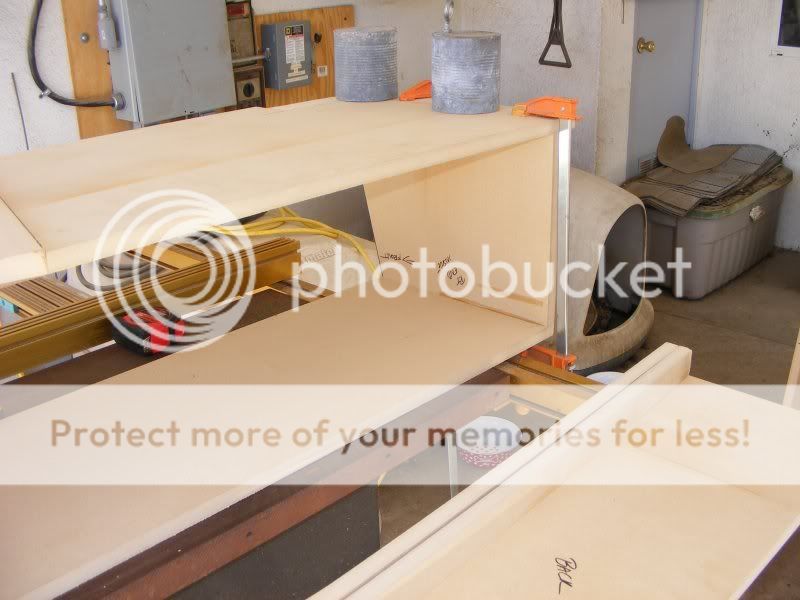 Another...
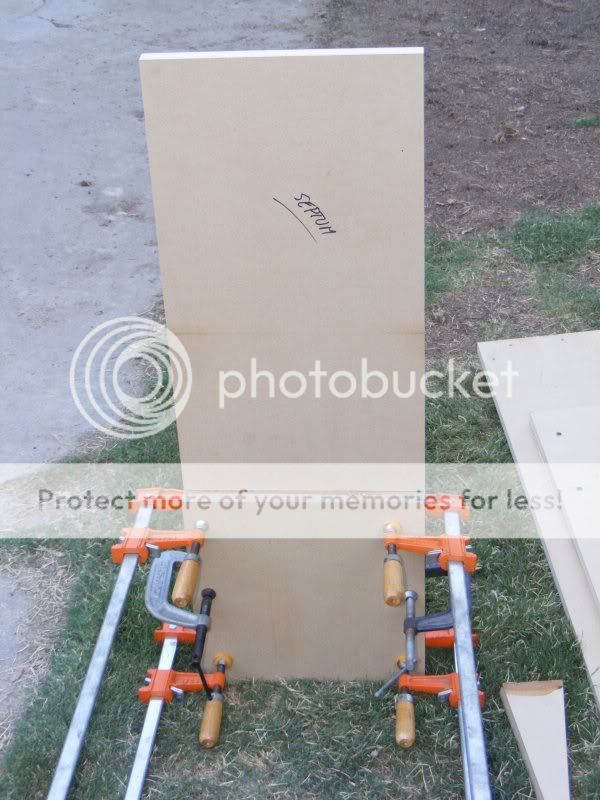
 Front panel, cut and test fit.
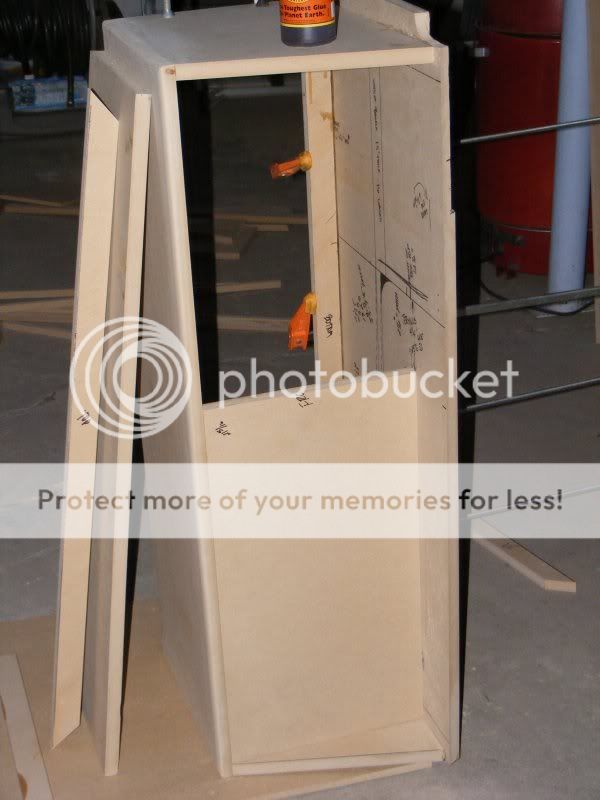
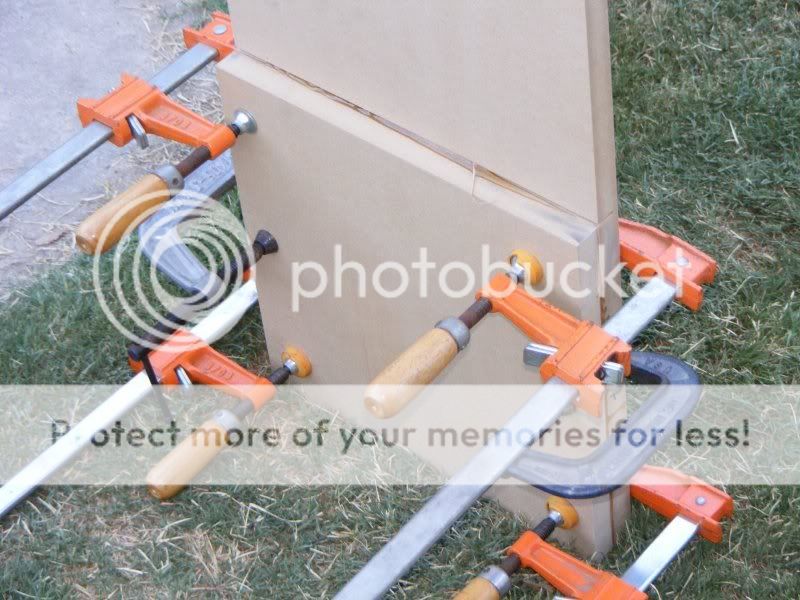
 Cleat being held in place during gluing.
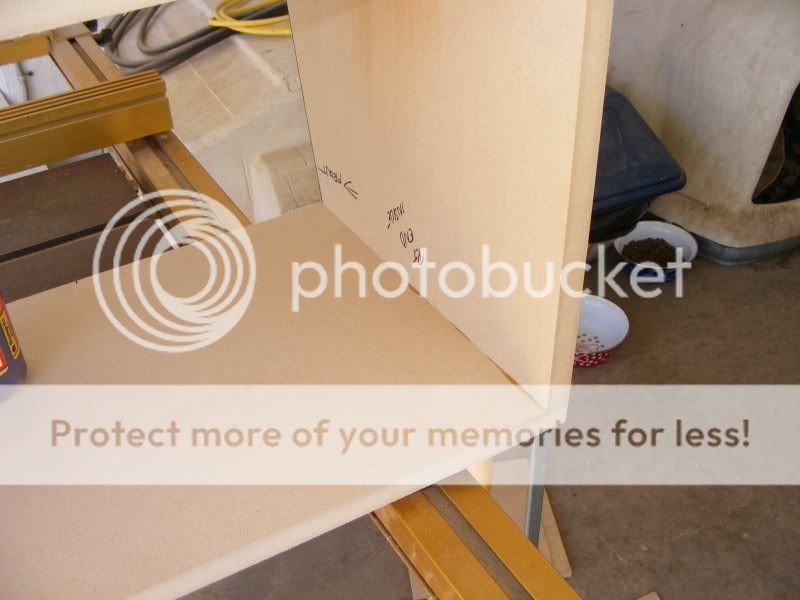
 Another cleat.
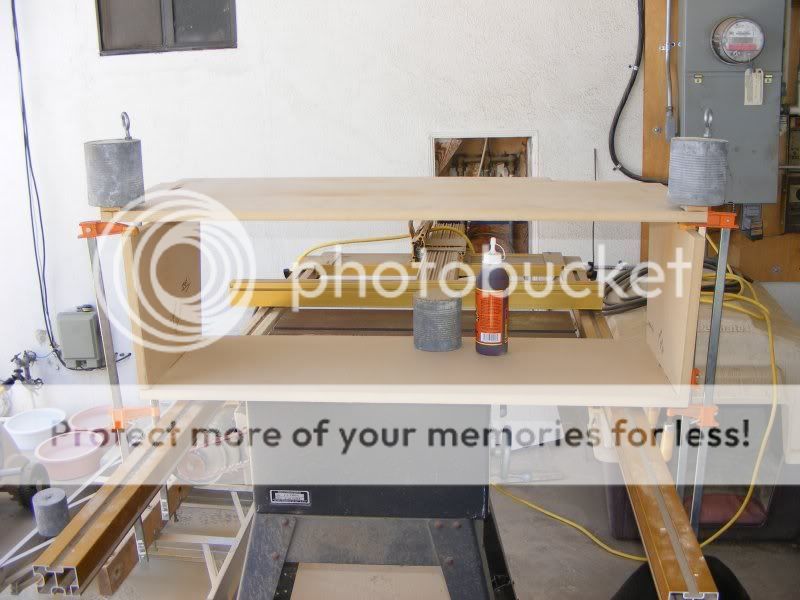
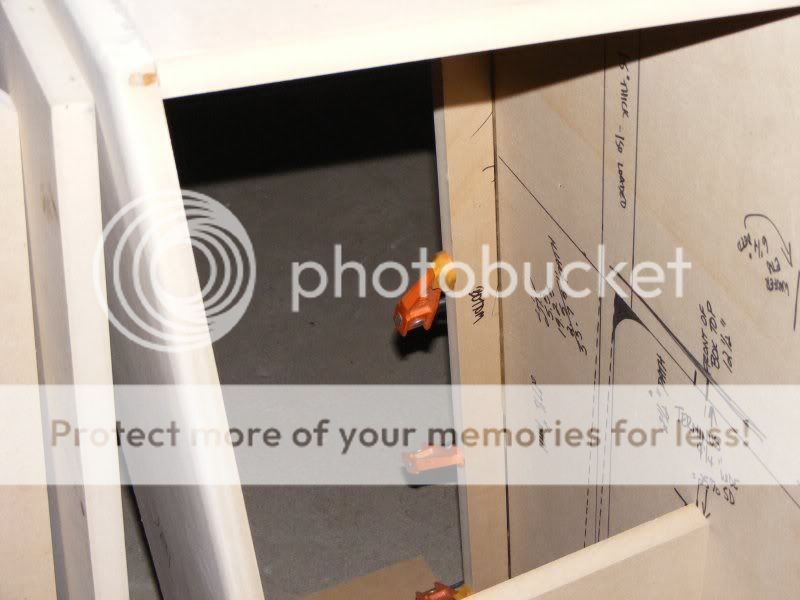
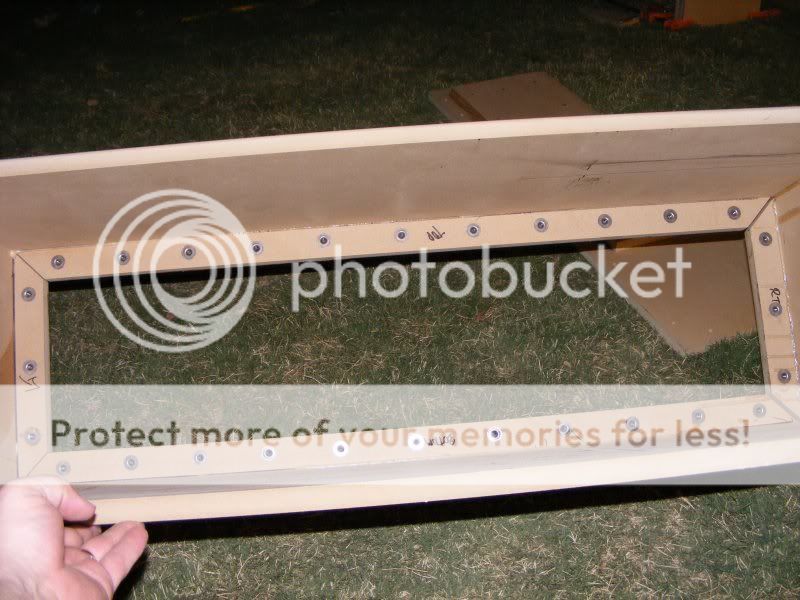
 Big pic of cleats being installed.
 Marc... We're not sure about Marc, yet...
 Another cleat. The lead weights are from my trebuchet. Yes, I have a trebuchet!
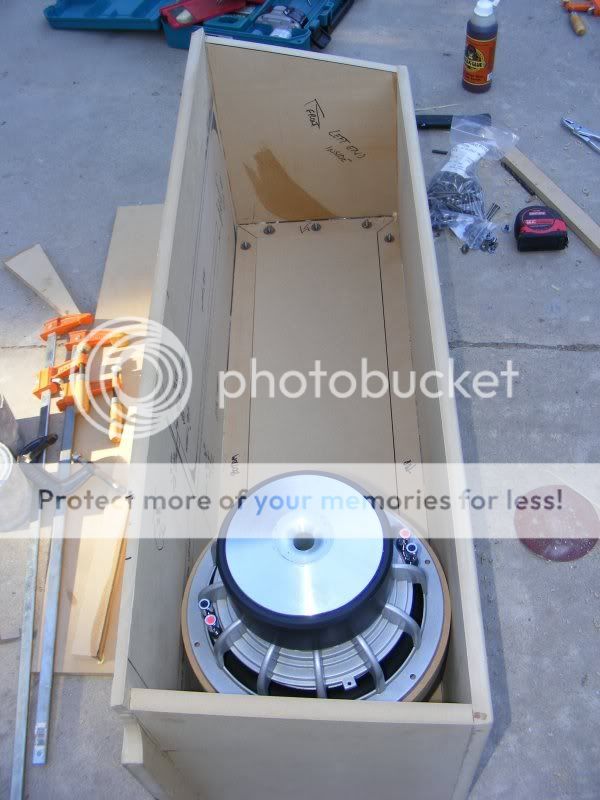
 Back panel test fit.
 Like a finger in a nose!
 LOTS of line space... Dave is giddy with excitement at this point!
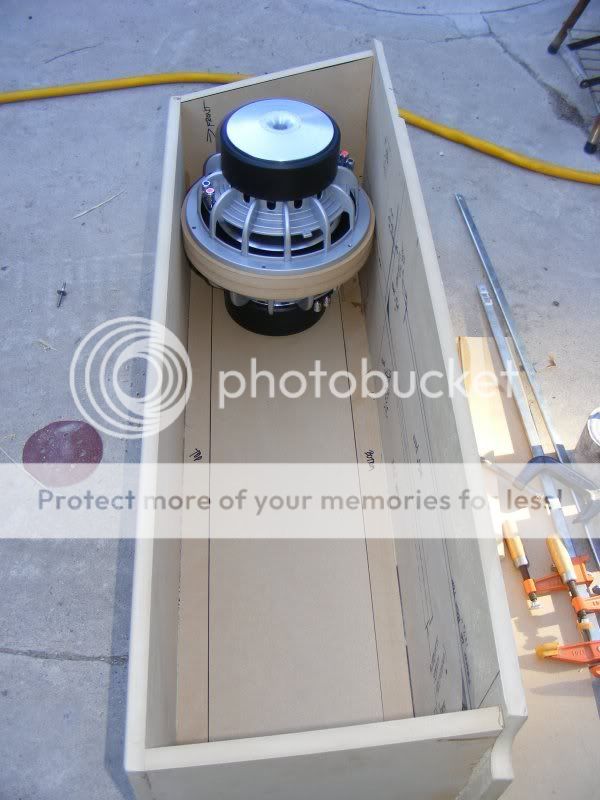
 More test fitting!
 Approximately what the front will look like when complete.
 Back panel lamination. (Had to cut the end out of the inside piece so the woofer would have some place to breathe.)
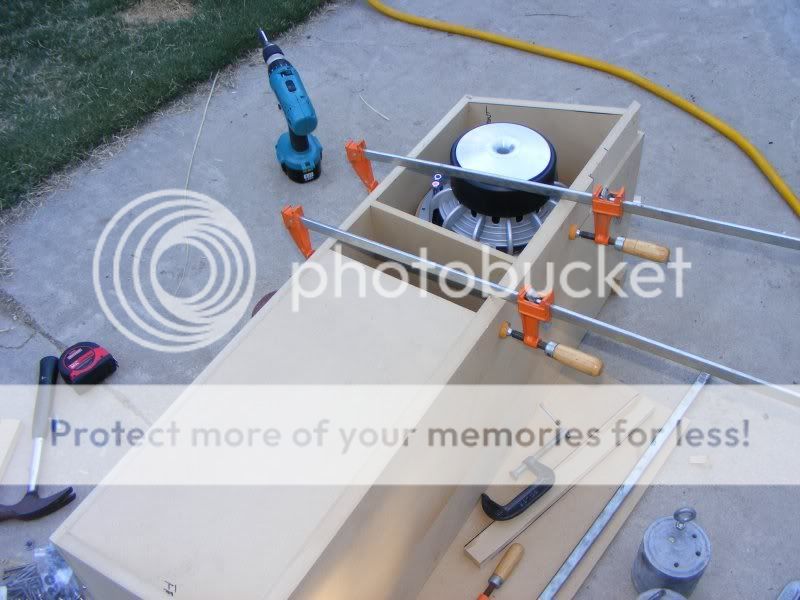
 Baffle plate, and septum, in gluing stage.
 Full view of same.
 Quality control inspection.
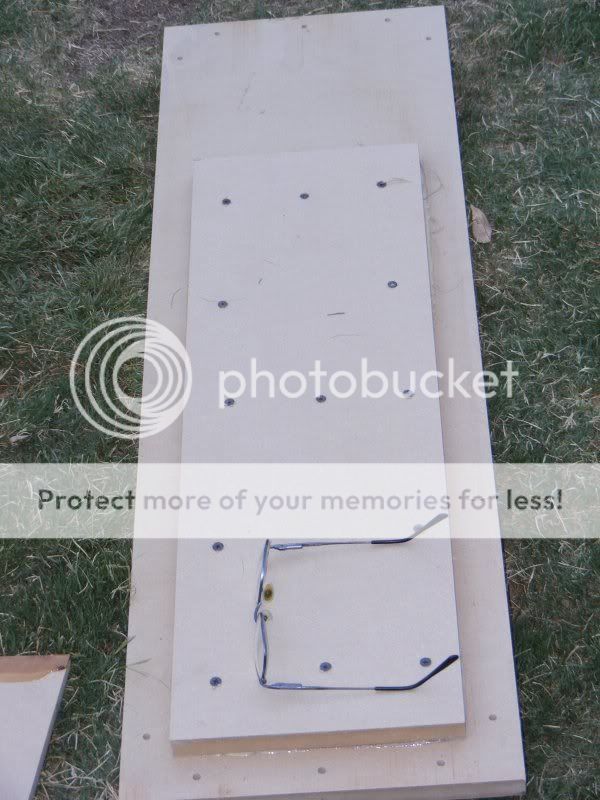
 Hurricane nuts are Dave's friend!
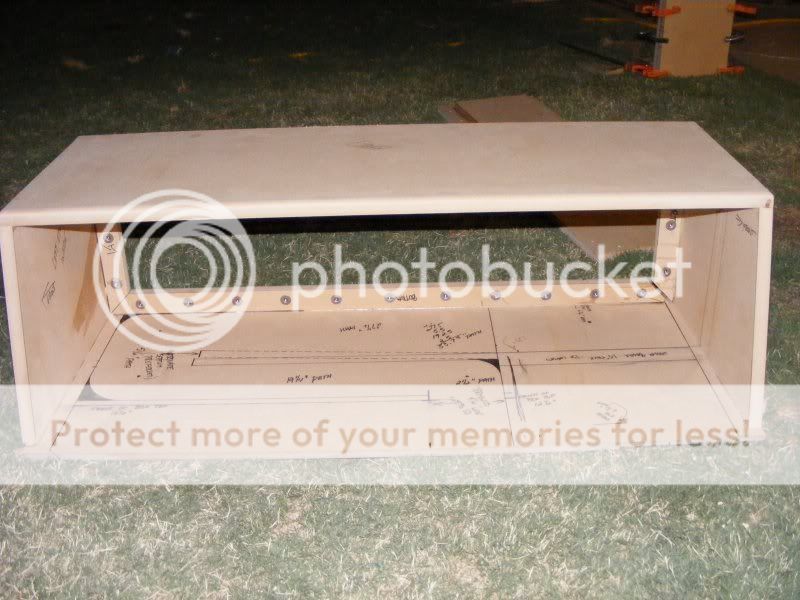
 Full view of back of enclosure, from the front.
Posted: July 03, 2007 at 12:52 PM / IP Logged
Posted: July 03, 2007 at 1:30 PM / IP Logged


Posted: July 03, 2007 at 1:55 PM / IP Logged
 the12volt
 Posted: July 03, 2007 at 2:34 PM / IP Logged
 Printable version
| You cannot post new topics in this forum You cannot reply to topics in this forum You cannot delete your posts in this forum You cannot edit your posts in this forum You cannot create polls in this forum You cannot vote in polls in this forum |

| Search the12volt.com |
Follow the12volt.com 
Saturday, April 18, 2026 • Copyright © 1999-2026 the12volt.com, All Rights Reserved • Privacy Policy & Use of Cookies

Saturday, April 18, 2026 • Copyright © 1999-2026 the12volt.com, All Rights Reserved • Privacy Policy & Use of Cookies
Disclaimer:
*All information on this site ( the12volt.com ) is provided "as is" without any warranty of any kind, either expressed or implied, including but not limited to fitness for a particular use. Any user assumes the entire risk as to the accuracy and use of this information. Please
verify all wire colors and diagrams before applying any information.
